
'%20x='0'%20y='0'%20height='100%25'%20width='100%25'%20%0A%20%20%20%20%20%20%20%20%20%20xlink%3Ahref='data:image/jpg;base64,/9j/4AAQSkZJRgABAQAAAQABAAD/2wCEAAMDAwMDAwQEBAQFBQUFBQcHBgYHBwsICQgJCAsRCwwLCwwLEQ8SDw4PEg8bFRMTFRsfGhkaHyYiIiYwLTA+PlQBAwMDAwMDBAQEBAUFBQUFBwcGBgcHCwgJCAkICxELDAsLDAsRDxIPDg8SDxsVExMVGx8aGRofJiIiJjAtMD4+VP/AABEIAAcACgMBIgACEQEDEQH/xABeAAEBAQAAAAAAAAAAAAAAAAAABgkQAAICAgIDAAAAAAAAAAAAAAECAwQAEQUUITFBAQEAAAAAAAAAAAAAAAAAAAADEQABAwUAAAAAAAAAAAAAAAABAAIDISIxMlH/2gAMAwEAAhEDEQA/ANGuZk5mrdqR0UrCHth7RcEsaxG9R6I1Lv6fGXEUTvGjNLICygkbHs4xjSasPQhjF76nK//Z'%3E%3C/image%3E%3C/svg%3E)
The virtual machine is a terrific software-based computer method that allows you to utilize multiple operating systems on one physical device. It creates an isolated setting for you, allowing for easy installation and running of diverse applications without harming your primary system. Analysts, hackers, and developers often make use of this powerful technology. Virtual machines aim to maximize resources, enhance efficiency, and decrease secondary hardware costs. With a virtual machine, you can test or develop new software applications without allocating an exclusive physical computer for every task.
You can also use it as an experimental platform by experimenting with different configurations. This article will guide you in setting up virtual machines (sandbox environments) on your computer.
Note: Before proceeding, I want to mention that this guide will be my choice based, so if you choose a different software or method, it might show you a different result.
A guide to installing the virtual machine on your PC
Ensure you enable virtualization on your computer from the boot (if it is Windows). Based on my suggestion, make sure your PC has a minimum i3 processor, 4GB RAM, and a minimum of 20 - 30 GB of space available on your hard disk.
Let's begin the setup of a virtual machine by installing VMware:
Several options are available for virtualization, such as VirtualBox, VMware, and Hyper-V. You can choose any of them, but I will select VMware for this guide because it is beginner-friendly.
1) Install VMware Workstation: There are two possibilities for downloading, one is for Windows, and the other is for Linux. My Base Operating System is Windows 10, so I chose VMware for Windows. If your Operating system is Linux, choose VMware for Linux.

2) Go to the Downloads Folder.

3) Install the downloaded VMware file by clicking on it.
4) Click on VMware Software and click and choose "Pin to Taskbar."
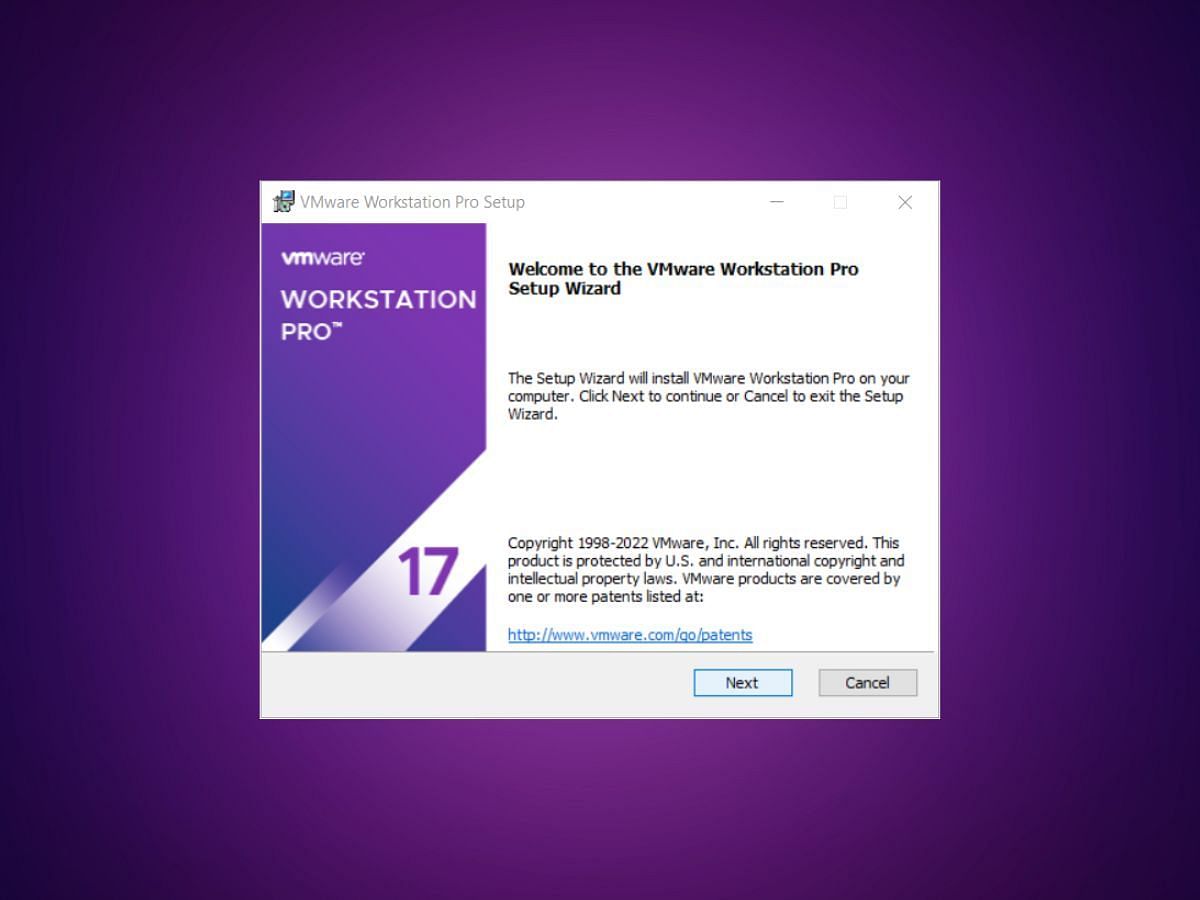
5) Click on VMware software and proceed with the installation wizard by clicking Next.
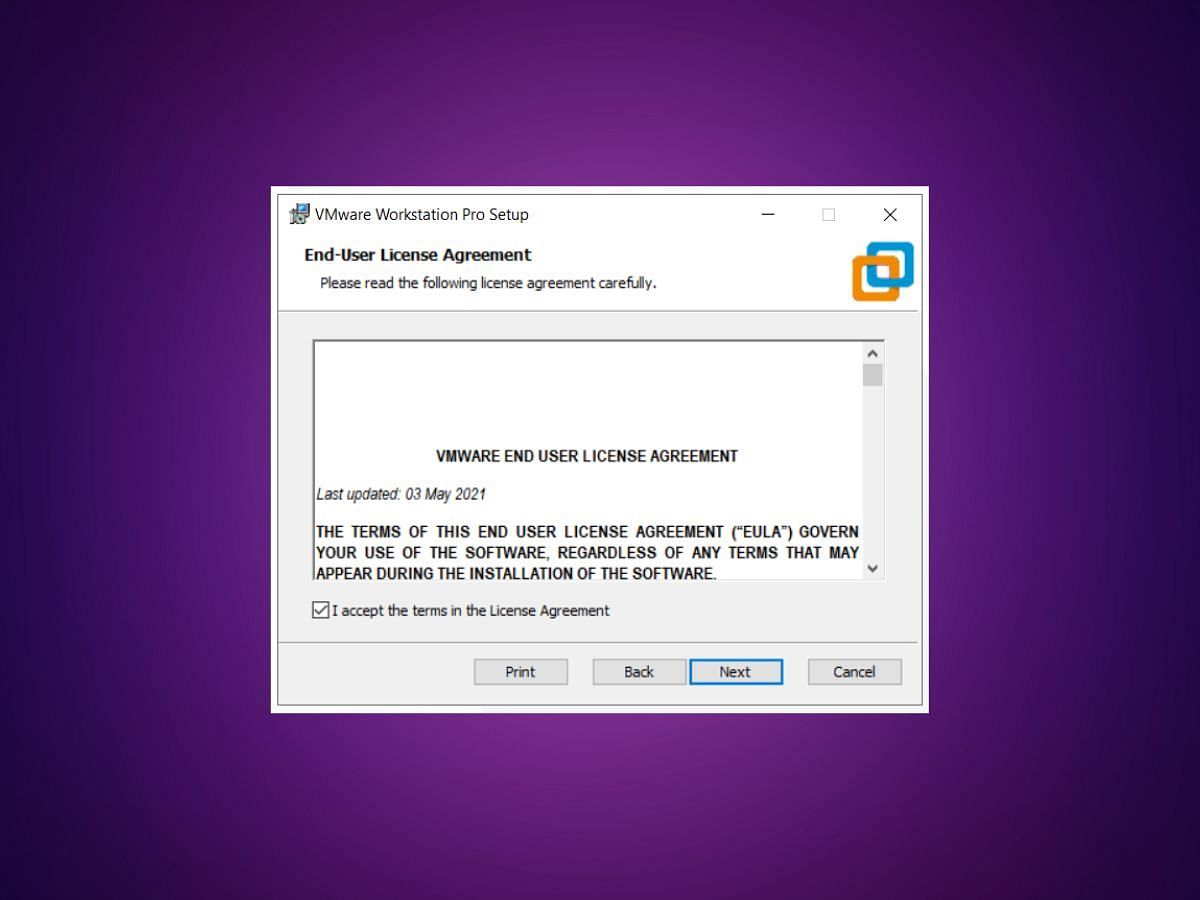
6) Read and accept the VMware End User License Agreement, then click Next to continue.
7) Select the installation directory and optionally enable the enhanced keyboard driver.
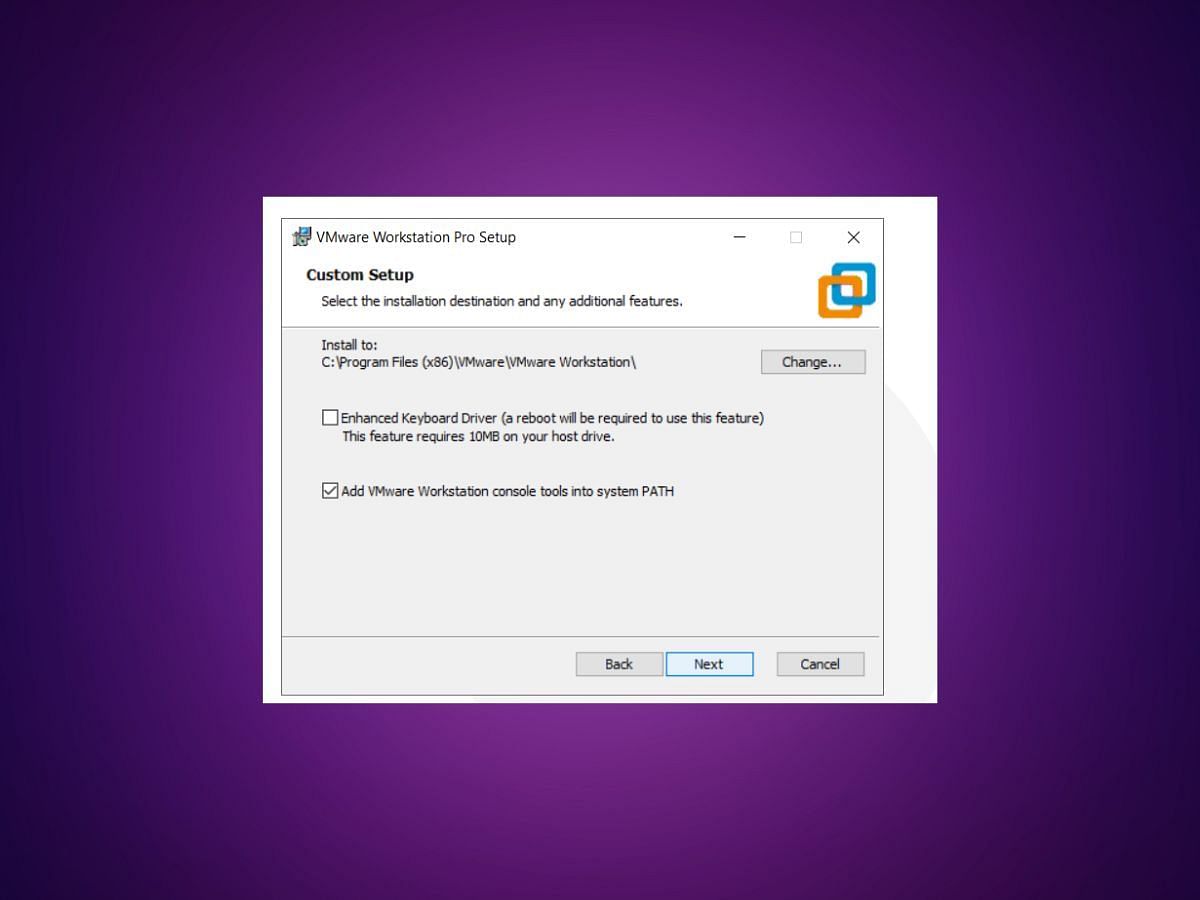
Click Next to continue.
8) You can enable product startup and join the VMware Customer Experience Improvement program here.
Click Next to Continue.
9) Select the shortcuts you desire to create for easy access to VMware Workstation.
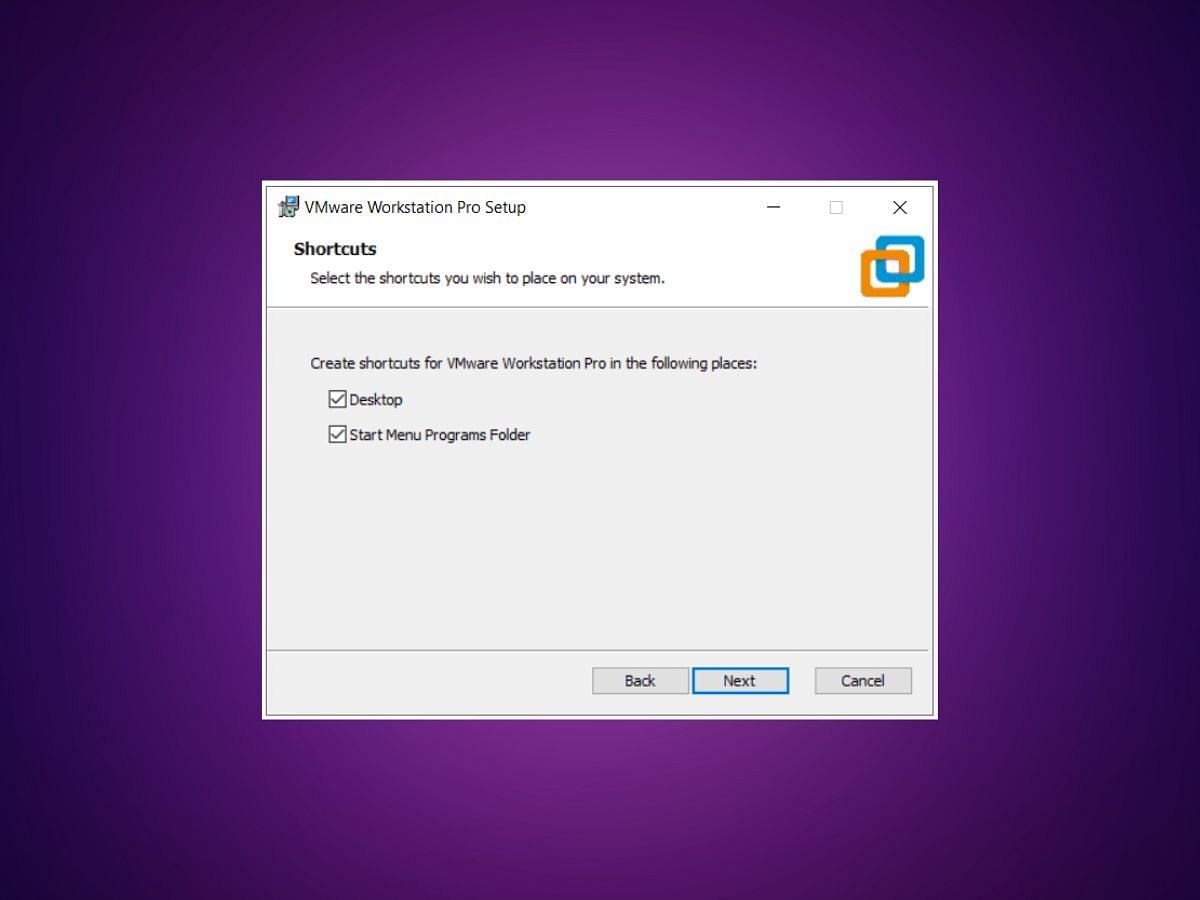
Click Next to Continue.
10) Click the Install button to start the installation.
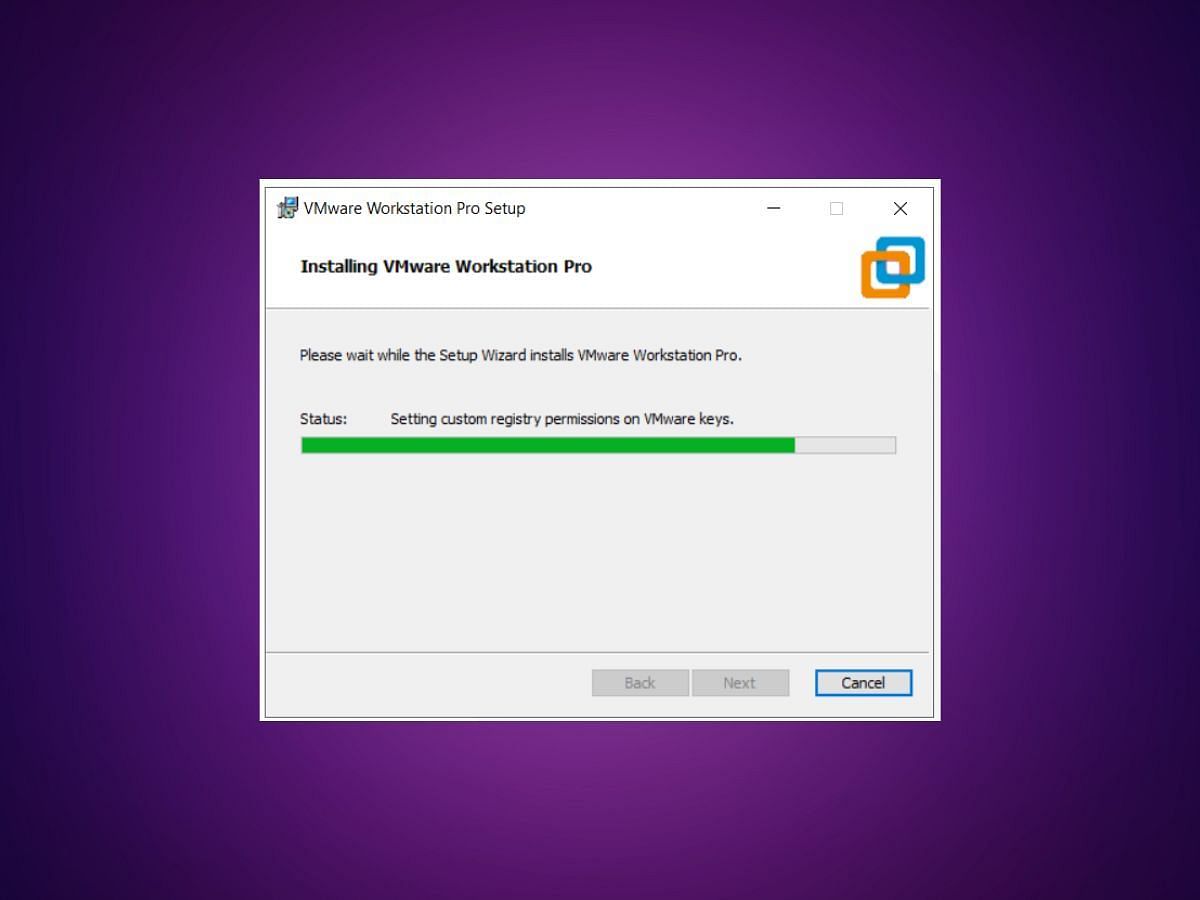
11. Installation will take just a few seconds to complete.
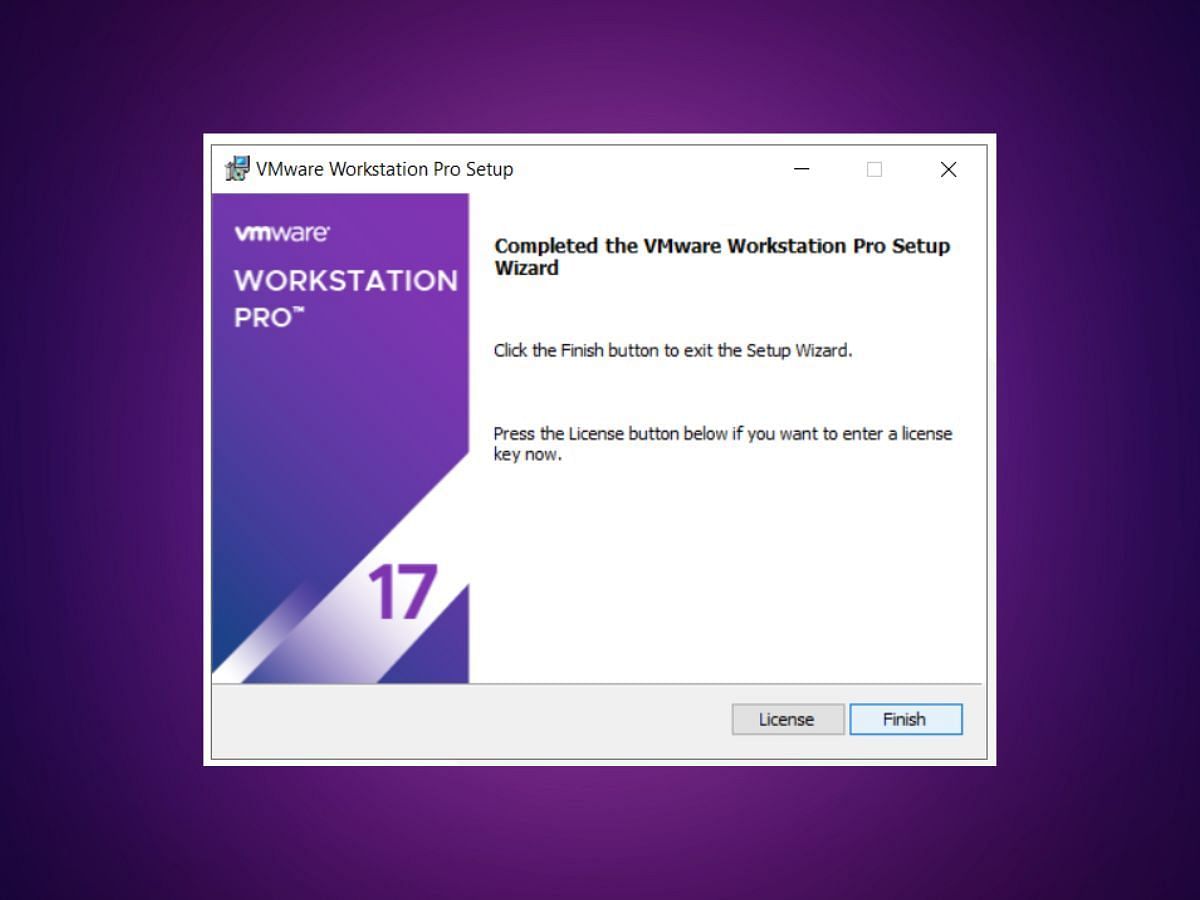
If you have the license key, click on the license to enter the license, or you can also click Finish to exit the Installer.
12) Enter the license key for VMware Workstation Pro.
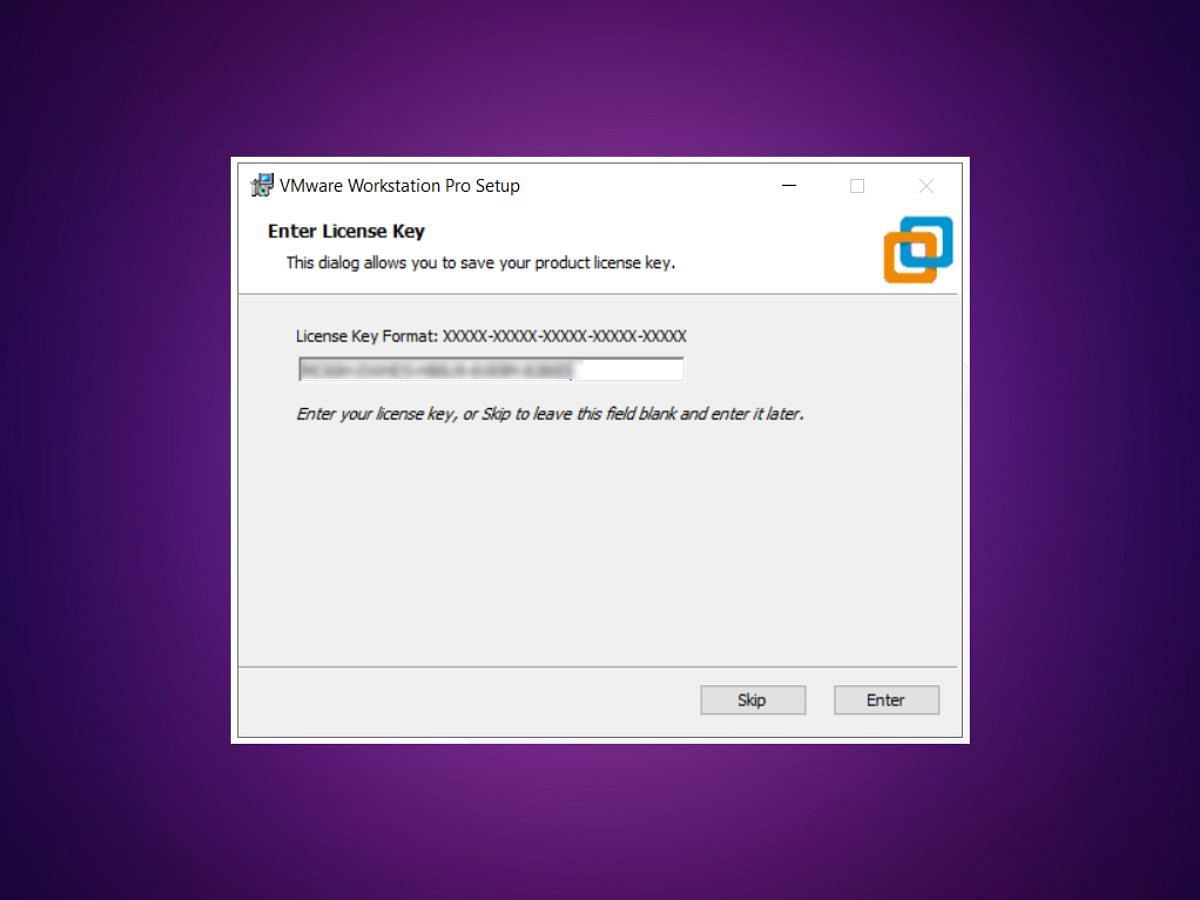
Press Enter and continue.
(Suggestion: If you don't have a License Key, you can select the skip option, else, comment below and I will help you out.)
13) Click Finish to exit the wizard.
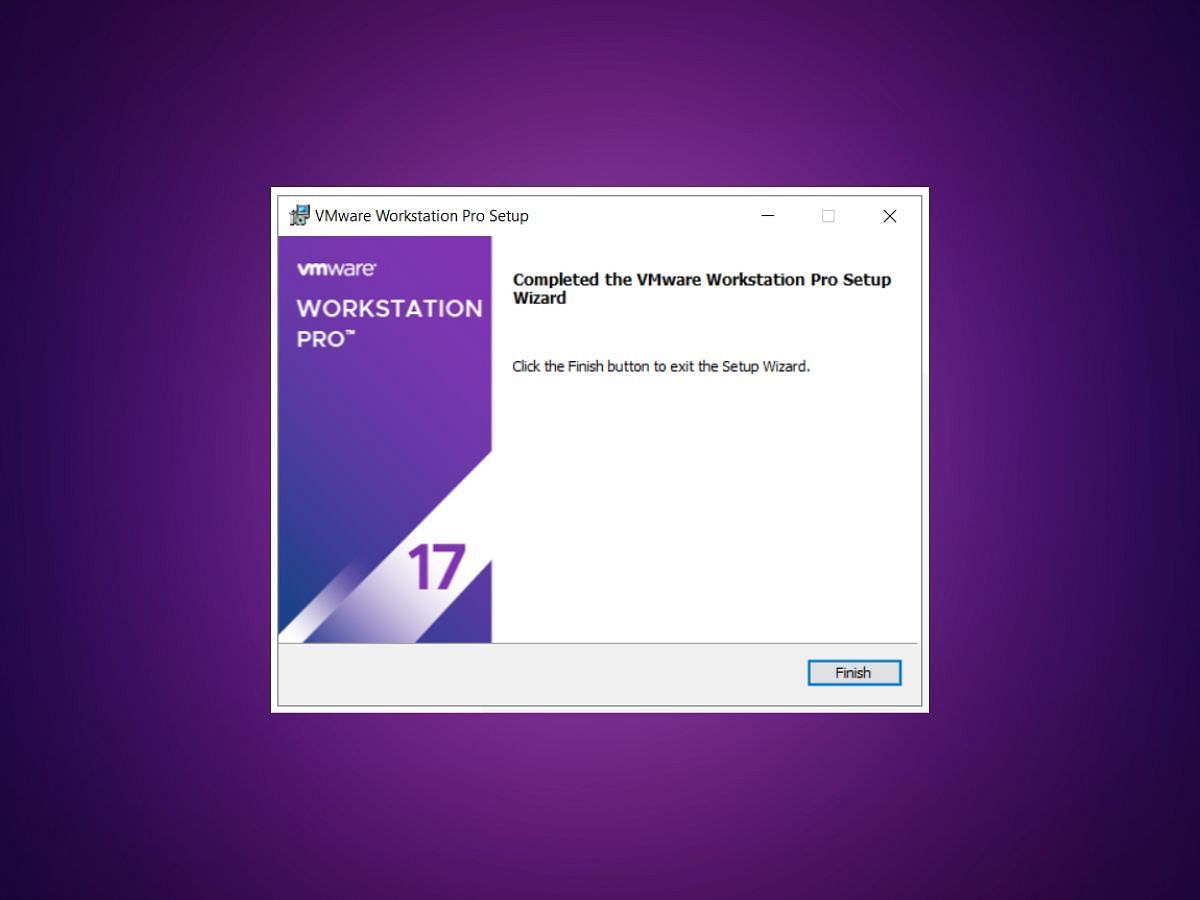
14) VMware Workstation is now installed and can be launched via the Desktop shortcut.
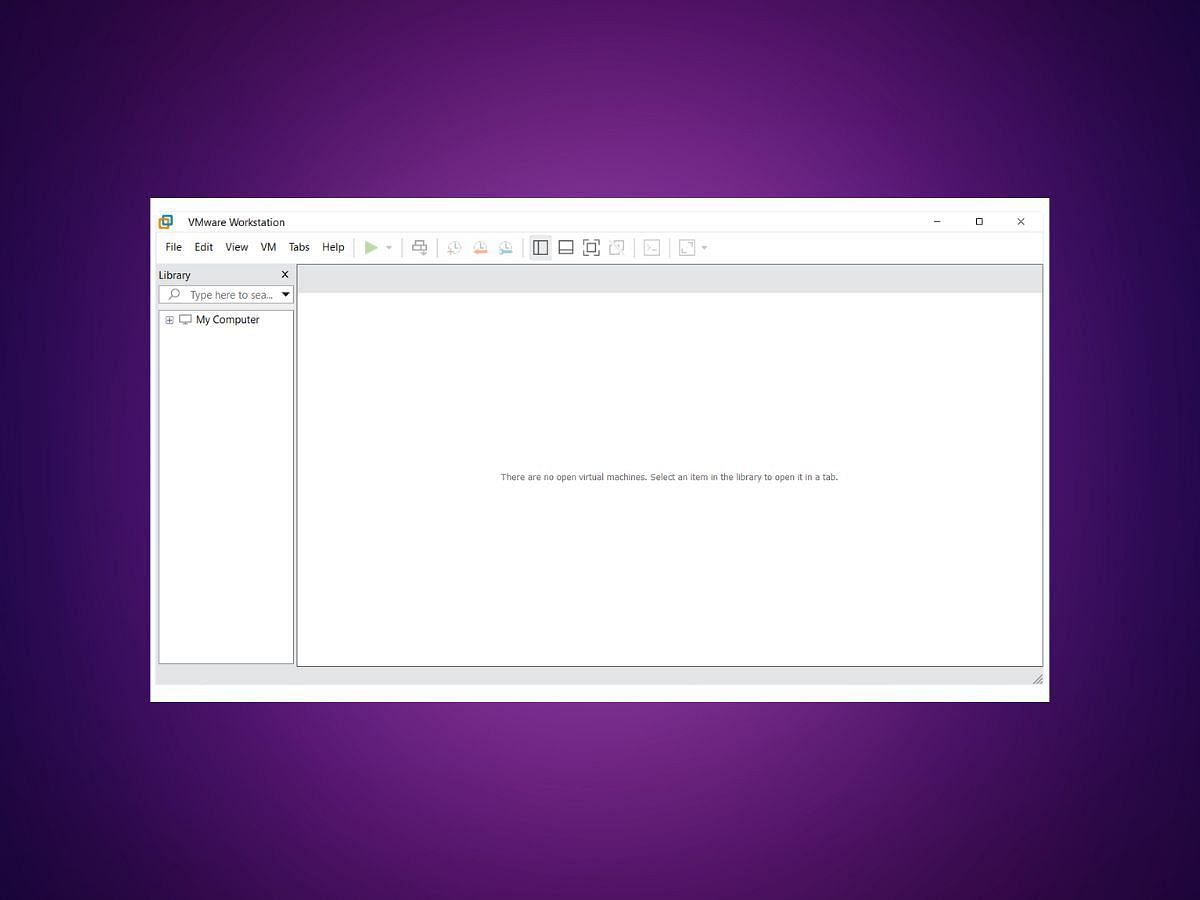
Below is the Home screen of the VMware Workstation, which you will see whenever you start the Workstation.
VMware was successfully set up and installed.
