
'%20x='0'%20y='0'%20height='100%25'%20width='100%25'%20%0A%20%20%20%20%20%20%20%20%20%20xlink%3Ahref='data:image/jpg;base64,/9j/2wBDAAYEBQYFBAYGBQYHBwYIChAKCgkJChQODwwQFxQYGBcUFhYaHSUfGhsjHBYWICwgIyYnKSopGR8tMC0oMCUoKSj/2wBDAQcHBwoIChMKChMoGhYaKCgoKCgoKCgoKCgoKCgoKCgoKCgoKCgoKCgoKCgoKCgoKCgoKCgoKCgoKCgoKCgoKCj/wgARCAAFAAoDASIAAhEBAxEB/8QAFAABAAAAAAAAAAAAAAAAAAAABv/aAAgBAQAAAAAWg//EABQBAQAAAAAAAAAAAAAAAAAAAAX/2gAIAQIQAAAAO//EABQBAQAAAAAAAAAAAAAAAAAAAAL/2gAIAQMQAAAAP//EAB4QAAEDBAMAAAAAAAAAAAAAAAMAARECBAUUIVKS/9oACAEBAAE/AMrektMtUAUMOX4hawulHll//8QAFxEAAwEAAAAAAAAAAAAAAAAAAAIRBP/aAAgBAgEBPwDOitaf/8QAFxEAAwEAAAAAAAAAAAAAAAAAAAISAf/aAAgBAwEBPwCFldP/2Q=='%3E%3C/image%3E%3C/svg%3E)
Automatic farms are one of the best ways to obtain resources in Minecraft. Through automation, players can get a variety of items without putting in much effort. In Minecraft, players can farm almost every item available.
Automatic crop farms are useful for both beginners and end-game players. Crops can be used as food, trading items, or for feeding animals. Players can build an automatic potato farm to solve their food shortage. Potatoes can be cooked to make baked potatoes or traded for emeralds.
This article is a step-by-step guide on how to build an automatic potato farm in Minecraft. Here are the items needed to make this farm:

- dirt blocks
- two villagers
- one composter
- two slabs
- a bucket of water
- lots of potatoes
- a hoe
- one hopper
- one chest
- building blocks
Chart New Territories with the ultimate Minecraft Seed Generator!
Build an automatic potato farm in Minecraft
After gathering all the items needed for building this farm, follow these steps:
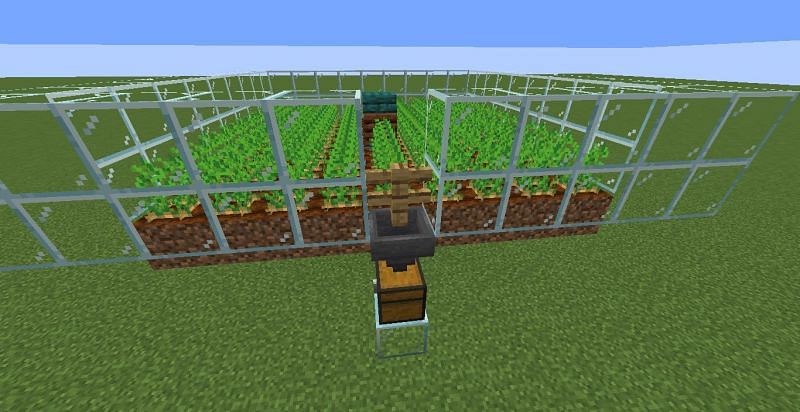
Step 1: Build a 9x9 farm area using dirt/grass blocks.
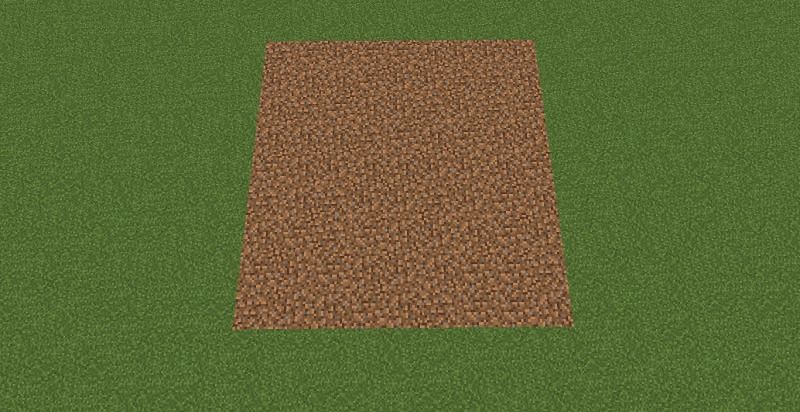
Instead of dirt, players can also use grass blocks. After making the farm area, dig out the center dirt block. Place a bottom slab here.
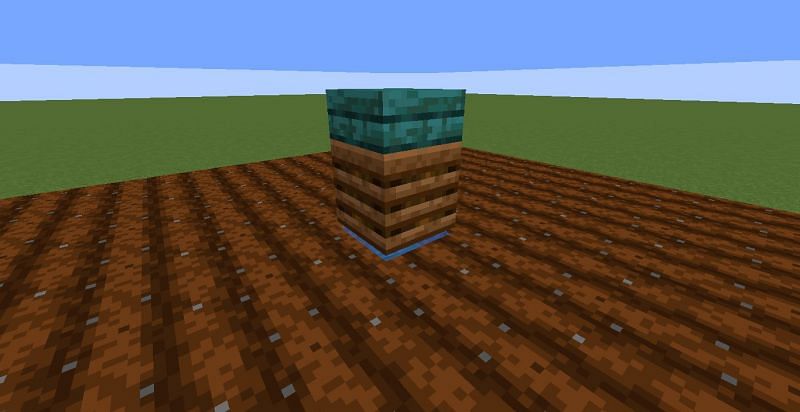
After placing the bottom slab, place water on it using a bucket. Once it is waterlogged, put a composter on the slab and then another bottom slab on top of it. This will prevent the farmer from jumping and breaking the crops.
Step 2: Till the dirt/grass blocks using a hoe and plant potatoes
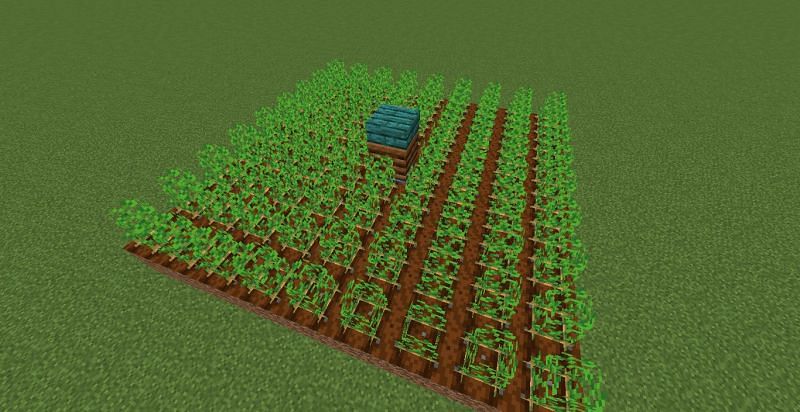
Next, players have to till the dirt block using a hoe. Right-click on all the dirt blocks in the 9x9 farm area. After tilling them, plant potatoes on each one of them. Players can also give potatoes to the villagers coming in the next steps. Farmer villagers can plant and harvest crops in Minecraft.
Step 3: Surround the farm with two high block wall

After planting the crops, surround the farm area with a two-block high wall. Players can use any building block of their choice such as cobblestones or glass.
After surrounding the farm, break two blocks on one side of the wall, as shown in the image.
Step 4: Collection system
Just below that place, put a chest as shown in the image. Then, connect a hopper going into the chest. On top of this hopper, place a fence. After this step, it's time to bring two villagers.
Step 5: Bring the villagers

This farm requires two villagers to work properly. First, add a villager to the farming area. Players can use a minecart to add villagers. Once a villager is inside the farm, make sure he takes the profession of farmer.
Next, players have to bring the second villager to the other side of the fence. Place a trapdoor above the fence, as shown in the image. That's it. The farm is ready to work.
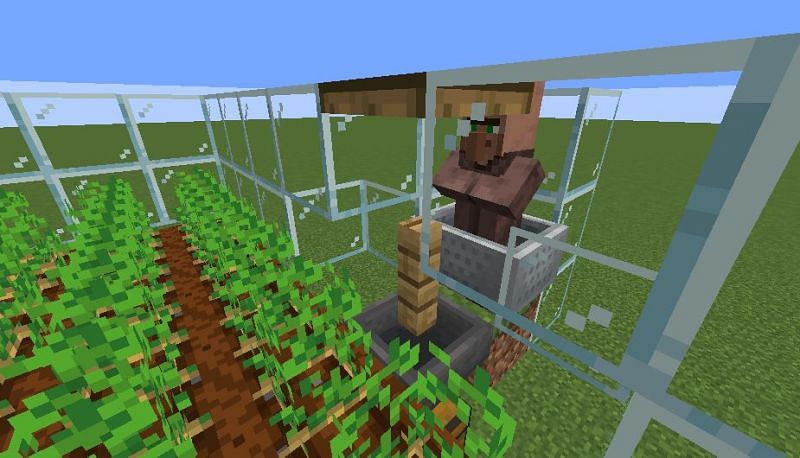
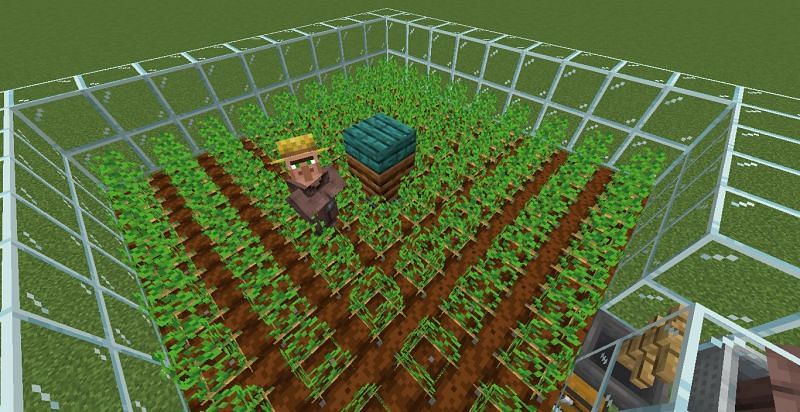
Villagers like to throw food items like bread and potato at each other from time to time. Since farmer villagers can storm crops in their inventory, they always throw food at other villagers.
In this farm, the farmer tries to throw the food at the other villagers, but it gets collected inside the chest. This way, players can get potatoes automatically. A similar approach can be used for carrot farms too.

Uncover new worlds with our Minecraft Seed Generator!