
'%20x='0'%20y='0'%20height='100%25'%20width='100%25'%20%0A%20%20%20%20%20%20%20%20%20%20xlink%3Ahref='data:image/jpg;base64,/9j/2wBDAAYEBQYFBAYGBQYHBwYIChAKCgkJChQODwwQFxQYGBcUFhYaHSUfGhsjHBYWICwgIyYnKSopGR8tMC0oMCUoKSj/2wBDAQcHBwoIChMKChMoGhYaKCgoKCgoKCgoKCgoKCgoKCgoKCgoKCgoKCgoKCgoKCgoKCgoKCgoKCgoKCgoKCgoKCj/wgARCAAGAAoDASIAAhEBAxEB/8QAFgABAQEAAAAAAAAAAAAAAAAAAAQG/8QAFQEBAQAAAAAAAAAAAAAAAAAAAwT/2gAMAwEAAhADEAAAAJcmFL//xAAkEAABAgQFBQAAAAAAAAAAAAADAgQAARETBQYHEiEWIjFBkv/aAAgBAQABPwDrDEktWiCPDFdyTMaTEENU/PvjmC6nZuuLsuGFqvZvajrT4j//xAAaEQACAgMAAAAAAAAAAAAAAAABAgADBBKR/9oACAECAQE/ALci0PqHPZ//xAAZEQACAwEAAAAAAAAAAAAAAAABAgADBEH/2gAIAQMBAT8Az1qxYkdn/9k='%3E%3C/image%3E%3C/svg%3E)
Building in Minecraft can be a time-consuming and laborious process, especially when you are creating incredibly large-scale builds. Every minute detail can make a difference, and not having precise block placement can lead to mistakes. This is particularly true when you have to recreate a certain build, but fortunately, the advent of in-game blueprints can make the entire process easier.
With blueprints, Minecraft players can save and import builds using a simple interface and set of commands. By doing so, you can recreate a build as many times as you need to and know exactly which blocks to place and where to place them. The blueprint system does require some modding, but the good news is plenty of mods can facilitate this function.

How to create Minecraft blueprints/schematics with the Litematica mod
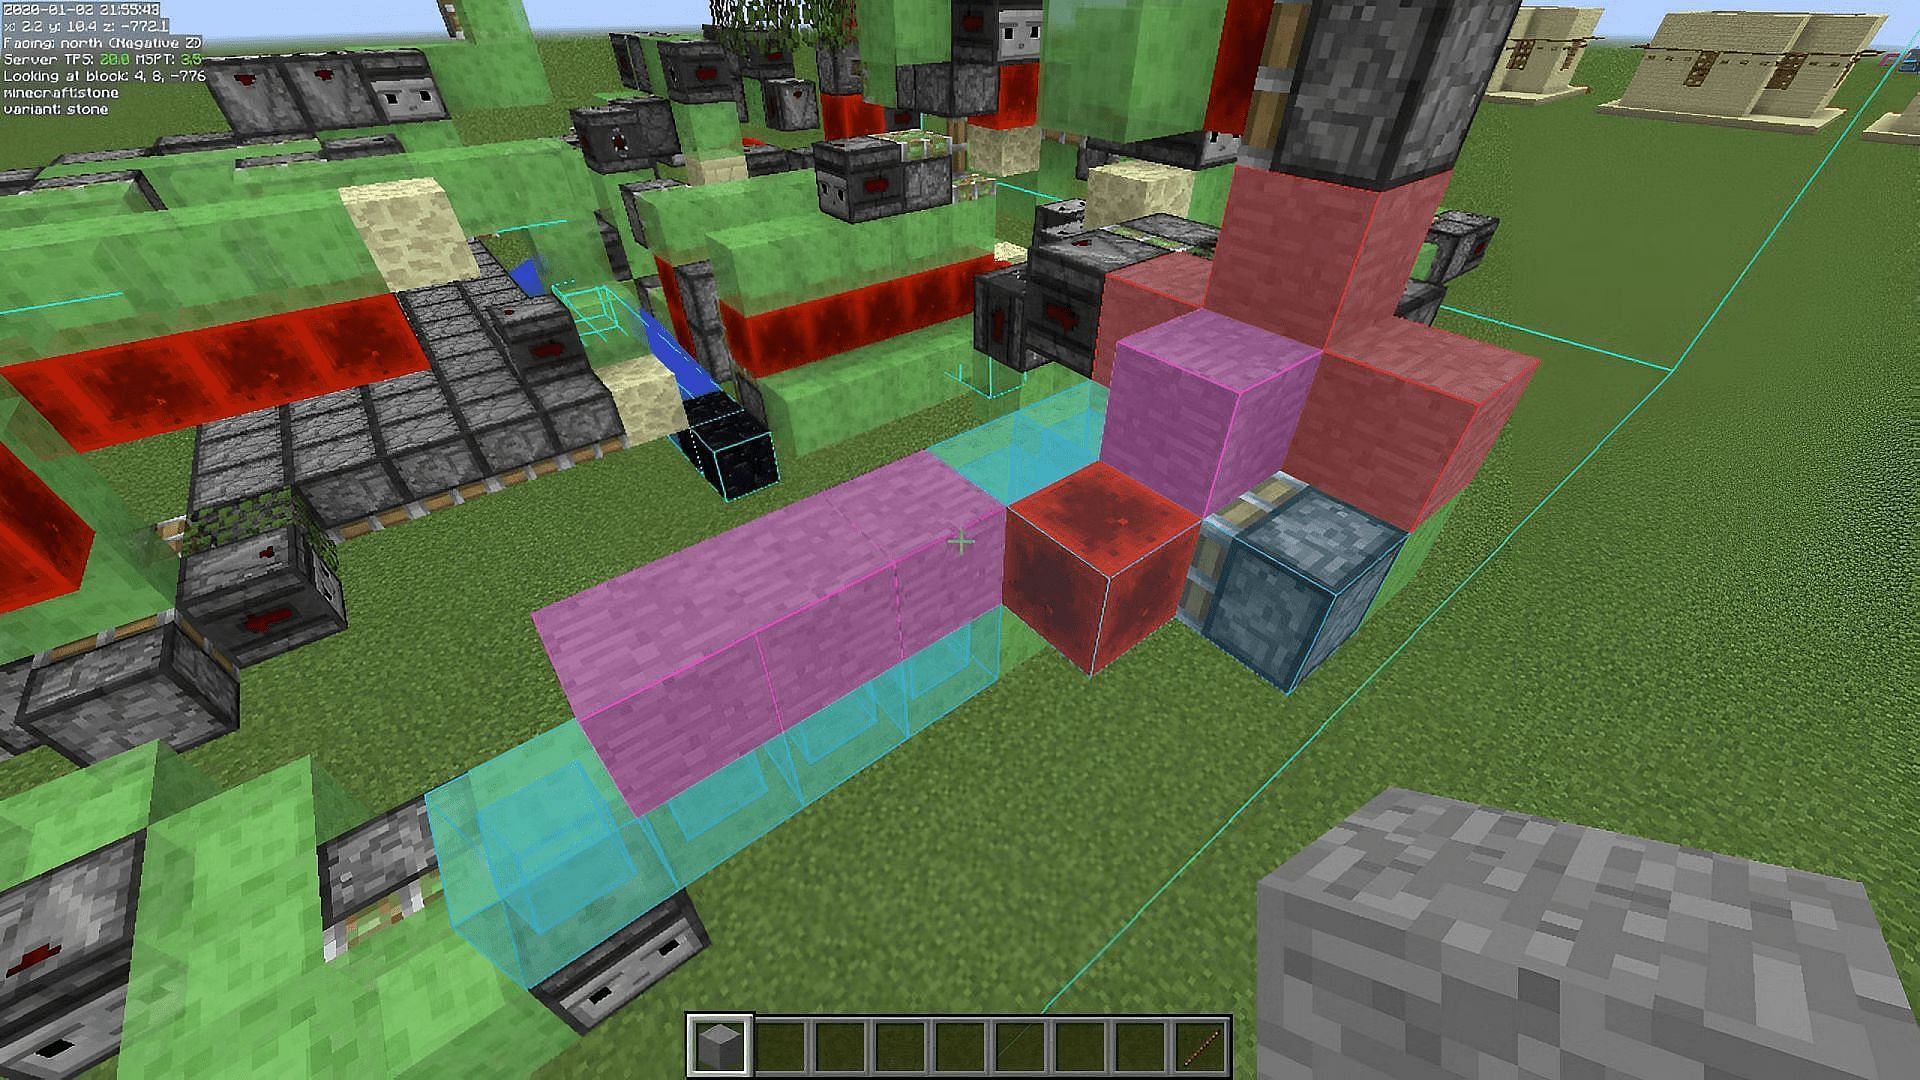
Chart New Territories with the ultimate Minecraft Seed Generator!
Although many Minecraft mods allow you to create blueprints/schematics, Litematica may be one of the most efficient and accessible options. Fans playing on Java Edition can quickly and effectively download the mod using the popular mod loader Fabric, and the setup process should only take a few moments to complete.
You can install Litematica with Fabric by following these steps:
- Head to the official site for Fabric and download the mod loader to your PC.
- Run the Fabric installer and select the version of Minecraft you plan to play on, then click the install button.
- To ensure the smooth operation of Litematica, once you've downloaded Fabric, you'll also want to download the Fabric API and the MaLiLib. First, snag the API from CurseForge's file list, depending on which version of the game you're using.
- Next, perform the same routine for MaLiLib. It can also be found via CurseForge.
- Downloading these two mod extensions should result in two .jar files. After completing the downloads, move or cut/paste these two .jar files and place them in your newly-made mods folder. You can find this folder on Windows by opening your search bar, searching for "%appdata%", and then opening the resulting .minecraft folder. If a mods folder doesn't exist within, you can go ahead and create one and place the .jar files there.
- Mac users can find the game's root folder via the directory ~/Library/Application Support/minecraft.
- Once Fabric and its extensions are taken care of, download Litematica from CurseForge (once again matching your game version). Like before, take the .jar file and place it into your mods folder.
- Lastly, open your game launcher and use the game version selector to choose your Fabric installation instead of the latest release/snapshot. The game should load up with any compatible mods installed, including Litematica and its dependency.
With Litematica taken care of, there are quite a few things to learn with the mod. The good news is that saving blueprints/schematics is a pretty easy process with Litematica, so you won't have to worry about needing a ton of expertise to save your creations for later use.
After installing Litematica in Minecraft, you can save your creations using these steps:
- Obviously, before starting, you'll need a build that you want to save. You can create just about anything you'd like, but once you've done so, grab an ordinary stick.
- Once you've equipped a stick, hold the Ctrl key and then scroll with your mouse wheel until the Litematica menu in the bottom left of your screen reads "Area Selection."
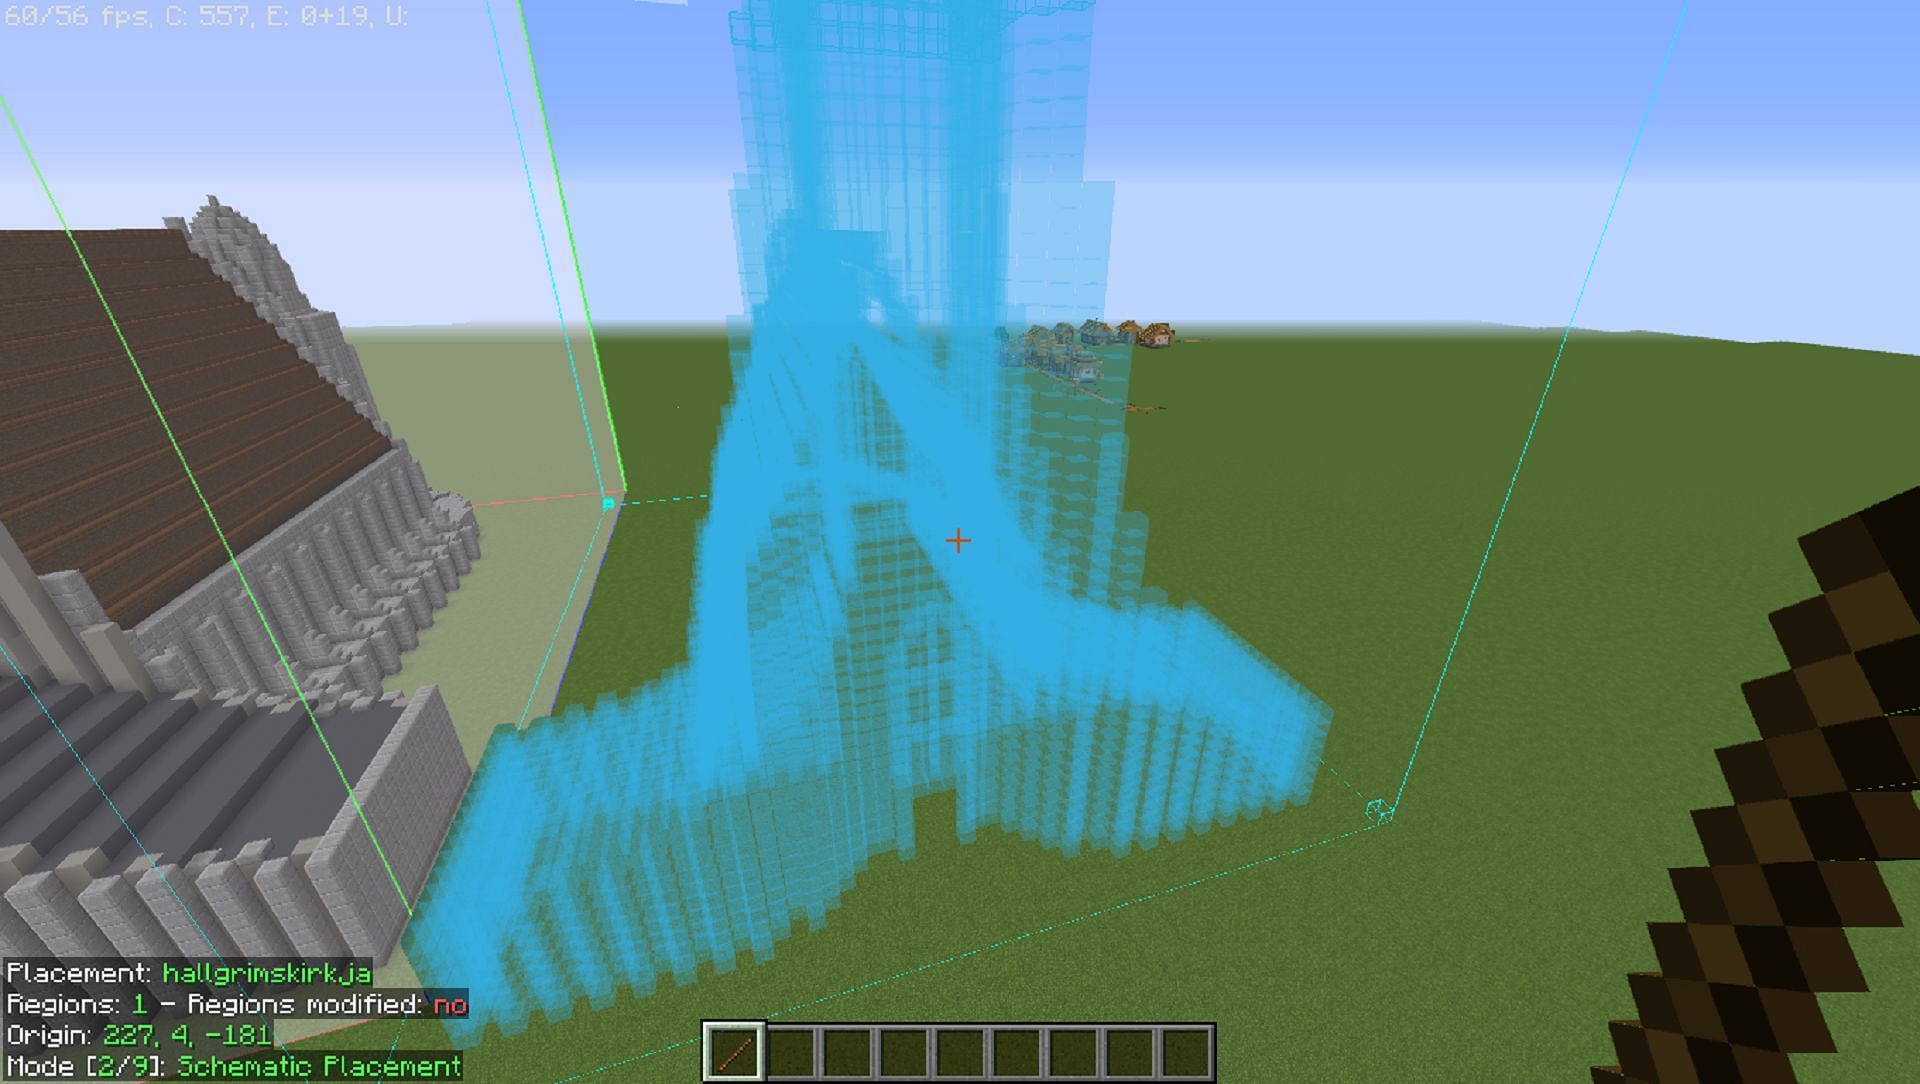
- Right-click one corner of the build that you'd like to make into a blueprint, then head to the opposite corner and right-click once more. You should see an area highlighted in-game.
- Press the M key and then select the Area Editor button. From here, set the coordinates and parameters for your build and give it a name before pressing the "Save Schematic" button.
- You'll be brought to the saved schematics screen. Name your schematic again and press "Save Schematic" preserve the build in Litematica's folder.
From here, you can use Litematica to import your saved blueprints and build them in-game. Even better, you can navigate to your Litematica save directory and use the files of their blueprints/schematics to share them online or even download schematics from fellow players to import into your game.

Uncover new worlds with our Minecraft Seed Generator!