
'%20x='0'%20y='0'%20height='100%25'%20width='100%25'%20%0A%20%20%20%20%20%20%20%20%20%20xlink%3Ahref='data:image/jpg;base64,/9j/2wBDAAYEBQYFBAYGBQYHBwYIChAKCgkJChQODwwQFxQYGBcUFhYaHSUfGhsjHBYWICwgIyYnKSopGR8tMC0oMCUoKSj/2wBDAQcHBwoIChMKChMoGhYaKCgoKCgoKCgoKCgoKCgoKCgoKCgoKCgoKCgoKCgoKCgoKCgoKCgoKCgoKCgoKCgoKCj/wgARCAAGAAoDASIAAhEBAxEB/8QAFQABAQAAAAAAAAAAAAAAAAAAAAb/xAAVAQEBAAAAAAAAAAAAAAAAAAABBP/aAAwDAQACEAMQAAAAirEZf//EACEQAAICAQIHAAAAAAAAAAAAAAIDAQUhAAQGESIxMjRy/9oACAEBAAE/ALJG5VaWVax0eyxcwPiXXzmc5jOqkeKE1WyUq7IFgkBEYLtED86//8QAGBEAAgMAAAAAAAAAAAAAAAAAAAECAyH/2gAIAQIBAT8AoybP/8QAFxEAAwEAAAAAAAAAAAAAAAAAAAECMv/aAAgBAwEBPwC8o//Z'%3E%3C/image%3E%3C/svg%3E)
Finding a way around a player's world seed can be tricky, but this task is made significantly easier thanks to Minecraft seed maps, also known as biome finders.
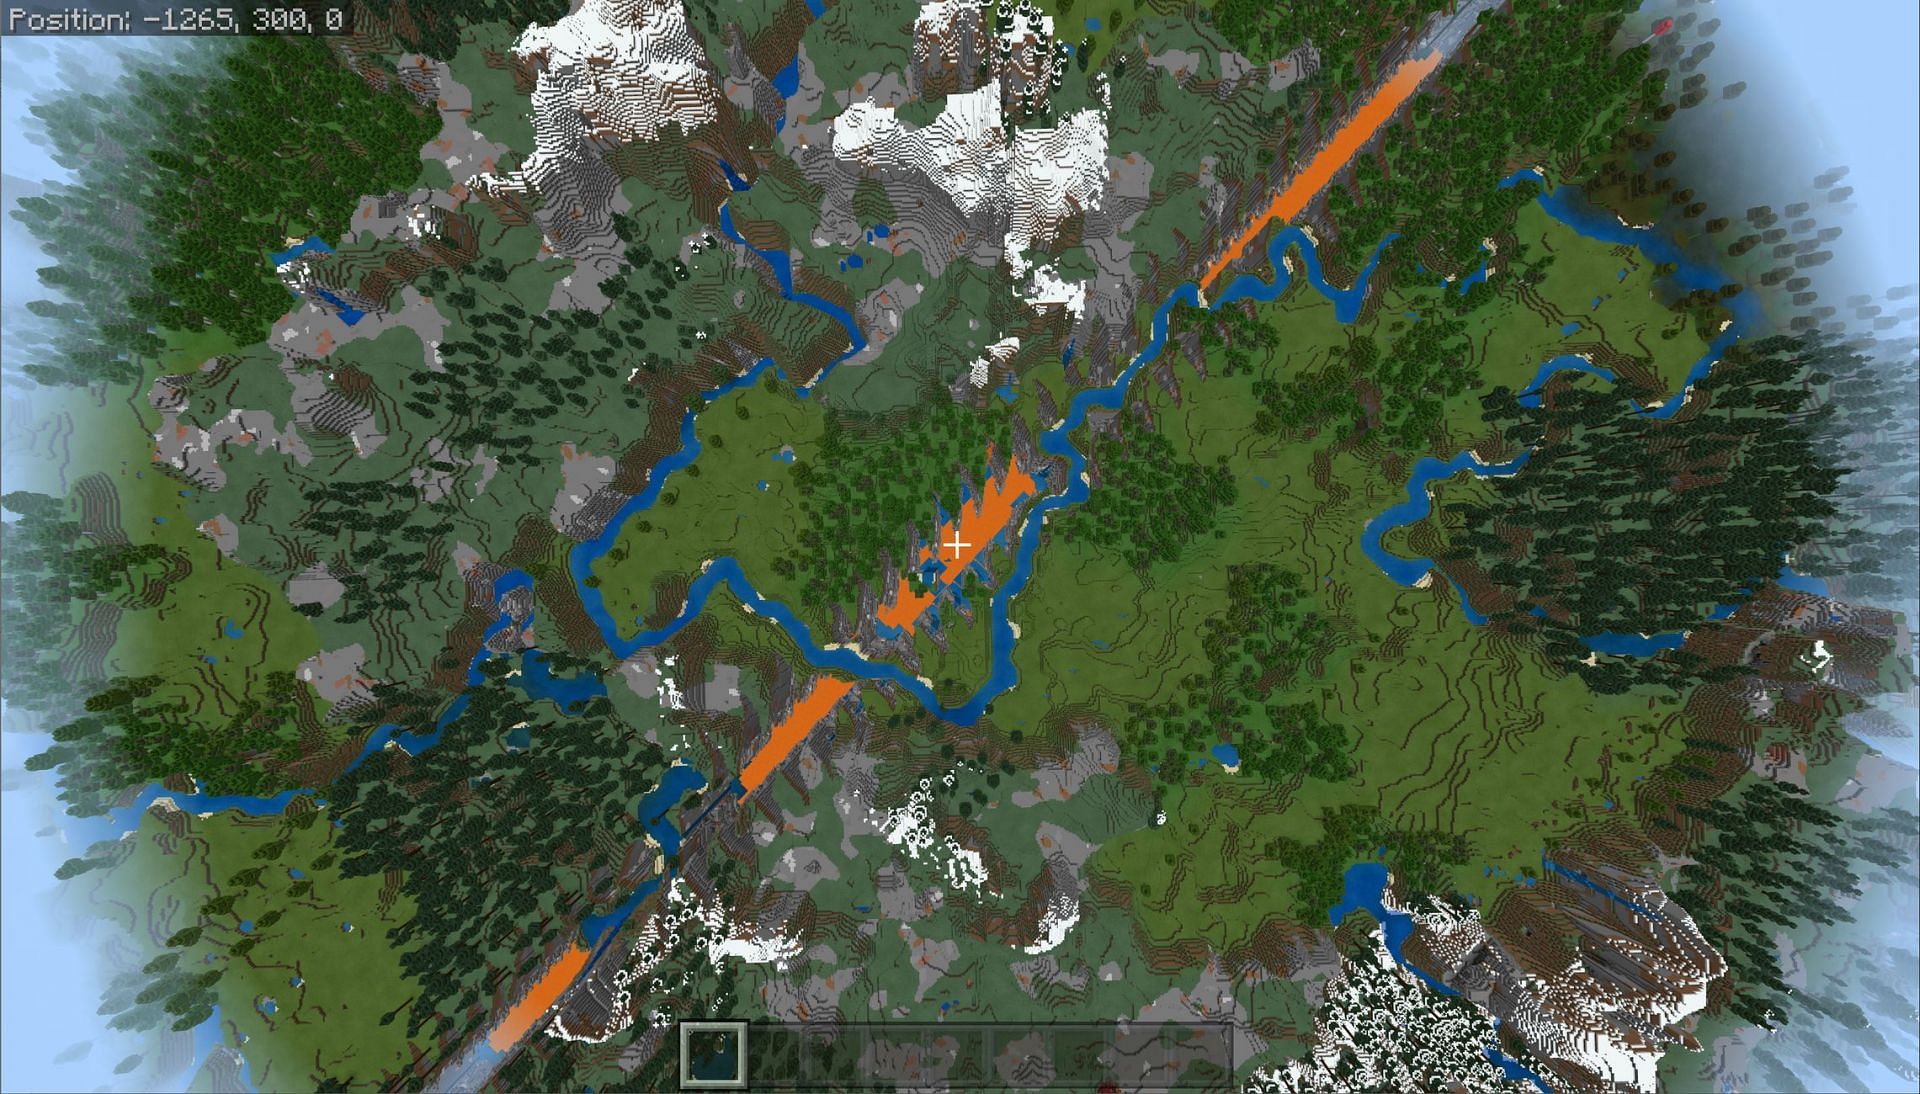
Put in a plain sense, Minecraft seed maps are external applications that take a world seed's information and create a map detailing the different aspects of the world.
Players can find different biomes, generated structures, and even map out the landscape of the Nether and the End for their seed. Granted, these features are used via third-party sites or programs, but they're much more helpful with regards to information compared to standard Minecraft map items.

Chart New Territories with the ultimate Minecraft Seed Generator!
How to use Minecraft seed map
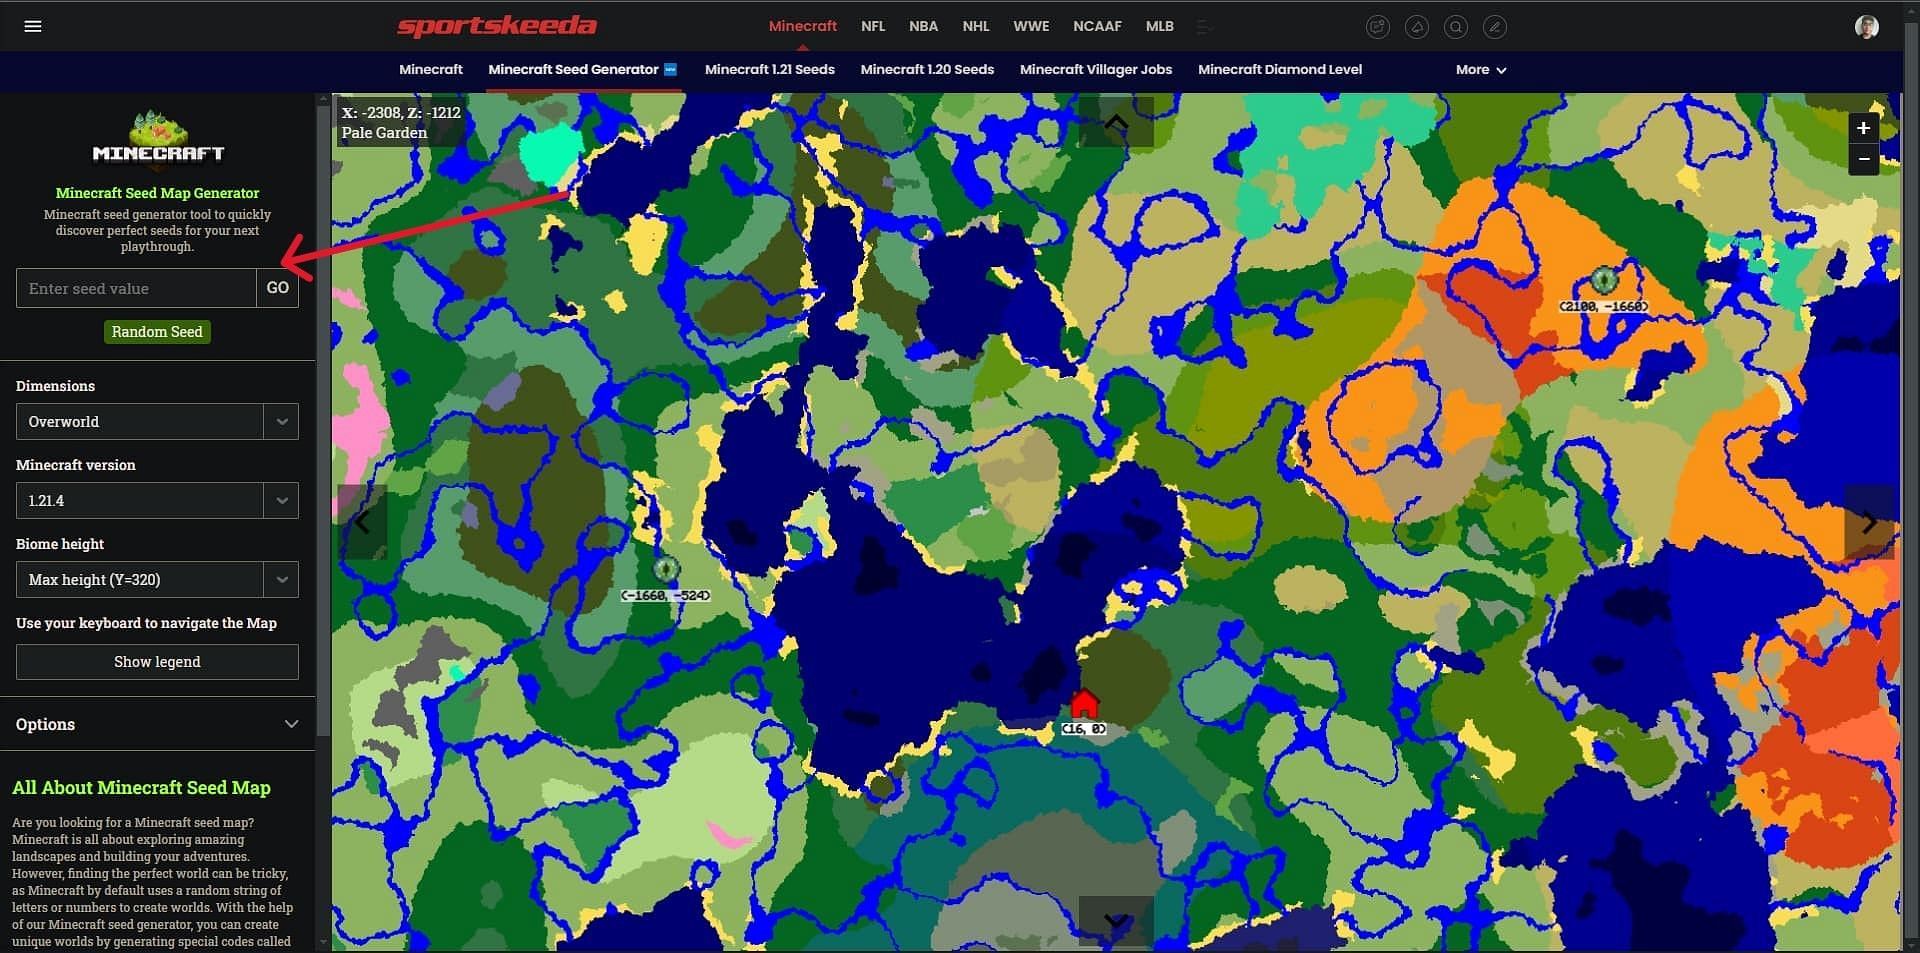
On the internet, you can find many tools for generating a seed map of your Minecraft world. Most seed map tools are quite similar in functionality. In this guide, we will focus on Sportskeeda's Minecraft seed map tool. You can visit our Minecraft seed map tool page to access the interface, which showcases different biomes, structures, and options to switch between the three dimensions.
After opening the tool page, players can enter their Minecraft world seed and select the applicable game version. Once the seed information is entered, the map will generate in the center of the screen.
For a quick step-by-step guide on using Sportskeeda's Minecraft seed map tool, follow these instructions:
- Visit Sportskeeda's Minecraft seed map generator in your preferred web browser.
- Navigate to the "Enter seed value" box on the left side of the tool.
- Input your world seed or opt for a random seed.
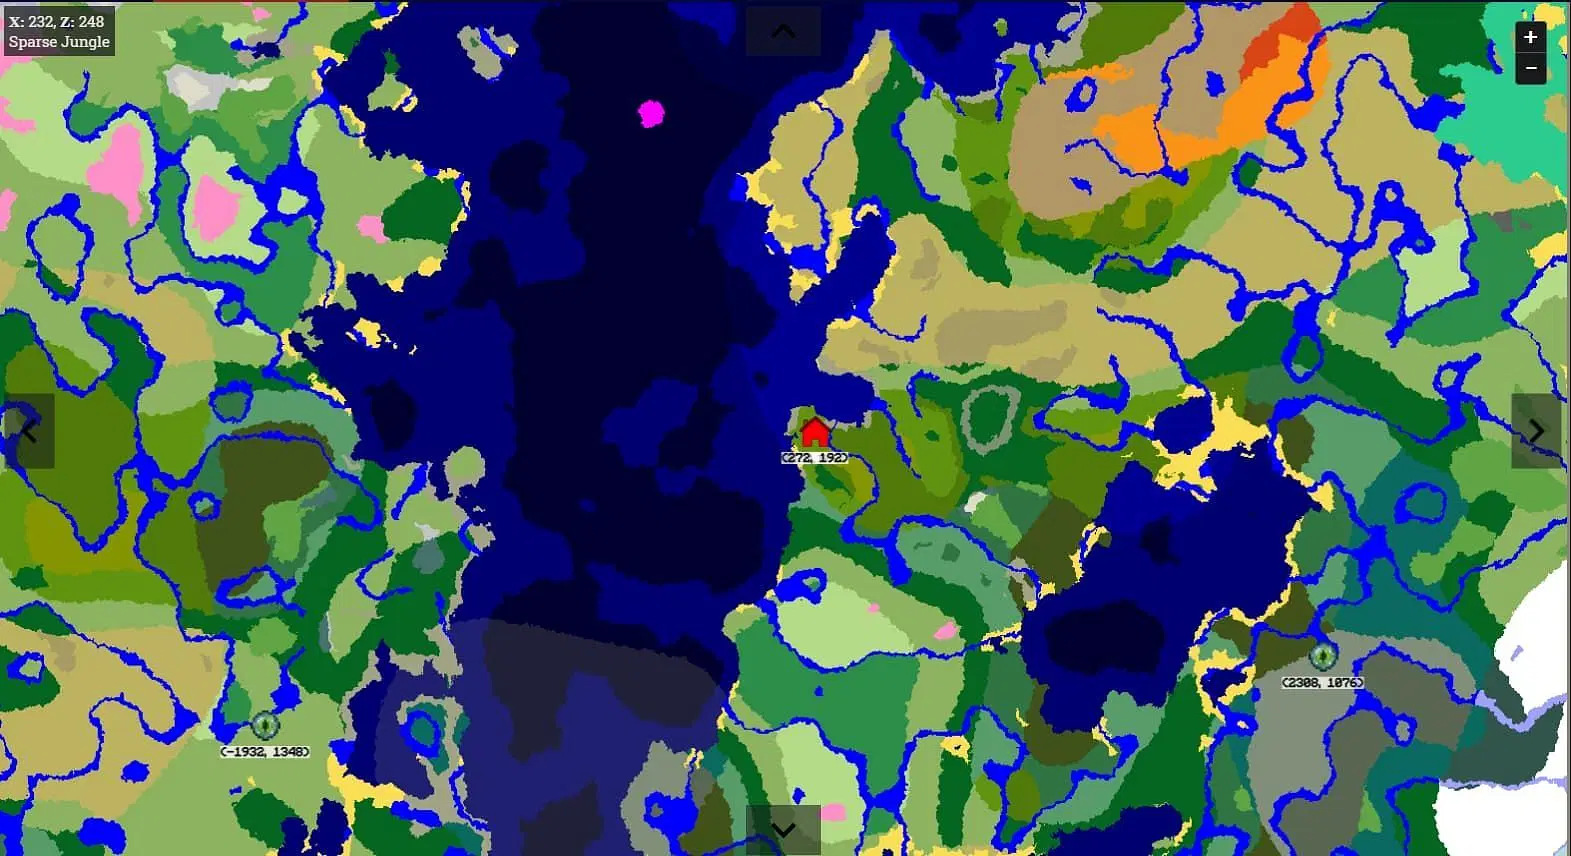
- Once the tool generates the map of your world, explore it using the arrow keys located on the four sides of the map.
- Open the Options menu to enable coordinates for structures and select the specific structures you want to locate on the map.
That's all there is to it! Players can manipulate the map, zoom in and out, and save images of the map for later viewing on their device.
Using touch controls or a mouse, players can drag the central map to explore different biomes and features of their seed, such as giant structures. A slider beneath the map allows players to zoom in and out for a closer look at the seed's details.
In our Minecraft seed map tool, all biomes are represented by distinct colors, making it easy to locate specific biomes. Players can view the color legend for all biomes by clicking on the "Show Legends" button on the left side of the page. Additionally, the map can be switched between the Overworld, Nether, and End dimensions, and players can check XYZ coordinates for structures and biomes on the map.
Furthermore, it's possible to highlight cave biomes or terrain elevation by using the Biome height option on the left side the page.
Players can even save the maps they generate into image files for easy viewing. Simply press the right-click on the map and click on "save image as" option. Then, select a location on the player's device to save the Minecraft seed map as an image. The image should save as a .PNG file which can be easily viewed by most current-day software.
Also Read: Best Seeds Minecraft 1.21

Uncover new worlds with our Minecraft Seed Generator!