
'%20x='0'%20y='0'%20height='100%25'%20width='100%25'%20%0A%20%20%20%20%20%20%20%20%20%20xlink%3Ahref='data:image/jpg;base64,/9j/2wBDAAYEBQYFBAYGBQYHBwYIChAKCgkJChQODwwQFxQYGBcUFhYaHSUfGhsjHBYWICwgIyYnKSopGR8tMC0oMCUoKSj/2wBDAQcHBwoIChMKChMoGhYaKCgoKCgoKCgoKCgoKCgoKCgoKCgoKCgoKCgoKCgoKCgoKCgoKCgoKCgoKCgoKCgoKCj/wgARCAAGAAoDASIAAhEBAxEB/8QAFQABAQAAAAAAAAAAAAAAAAAABAX/2gAIAQEAAAAAJF//xAAUAQEAAAAAAAAAAAAAAAAAAAAE/9oACAECEAAAAG//xAAUAQEAAAAAAAAAAAAAAAAAAAAD/9oACAEDEAAAAE//xAAfEAACAgIBBQAAAAAAAAAAAAACAwEEAAURFEFhYuH/2gAIAQEAAT8A0F5Z69PT0KgsYJwAGHISfn1jtllaV2WgVSnMicxPCfuf/8QAFhEBAQEAAAAAAAAAAAAAAAAAAQAC/9oACAECAQE/AMrf/8QAFREBAQAAAAAAAAAAAAAAAAAAAAL/2gAIAQMBAT8Ap//Z'%3E%3C/image%3E%3C/svg%3E)
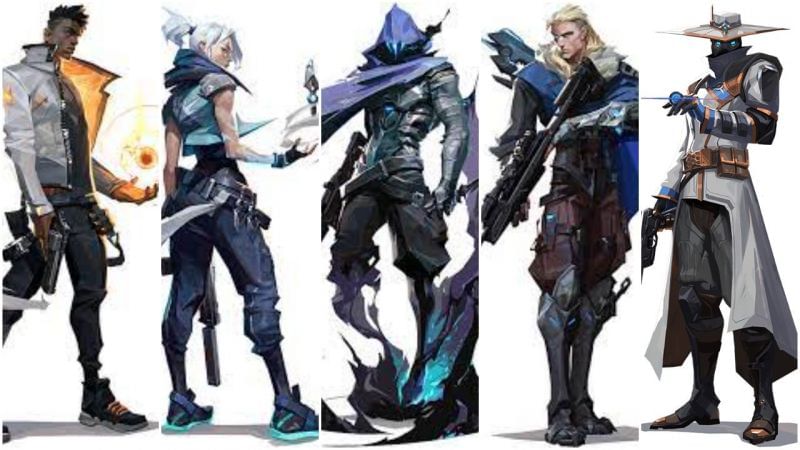
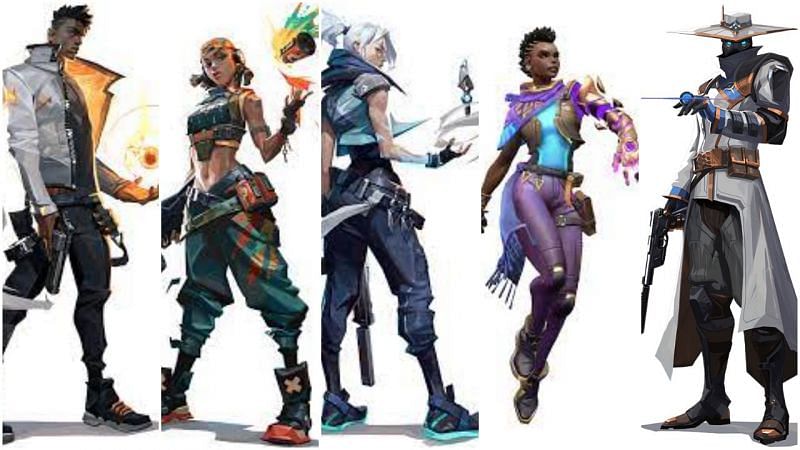
Picking the right agent combinations increases the chance of winning a match in Valorant. Valorant offers a large pool of agents with different abilities. It demands a lot of synergy between agents to win a match in Valorant.
The Ascent map is set in Italy and features a large and open middle area, where both teams can skirmish. It has two different sites to plant the bomb, along with a central courtyard. Last-minute rotations and close-combat fights are the specialties of this map.
With perfect agent combinations, players can easily win the game on this map.
Top 3 Valorant agent combinations in Ascent Map
#1 - Balanced combination
As last-minute rotations and close-combat fights are quite normal on this map, some teams prefer a balanced combination.
Phoenix: Phoenix can be very useful on this map. Using his curve balls and fire-wall, he can help his team enter a site safely.
Jett: Jett can be a perfect support duelist for this map. Jett's mobility helps players get the better of their opponents in certain situations.
Omen: Omen is a perfect controller in this line-up. He can outclass opponents with Shrouded Steps and can teleport between sites and move to high ground to confuse enemies.
Sova: Sova is very impactful on this map with his scouting abilities. He can also cause damage with his Shock Dart and Hunter's Fury.
Cypher: Cypher is one of the primary picks on this map in Valorant. With Spycam, cages, and trapwires, Cypher can easily hold a site and is also very useful at cutting off enemy rotations while on the attacking side.
#2 - Aggressive combination
Some teams prefer to play aggressively on this map. In this combination, players sacrifice an initiator for a duelist.
Phoenix: Phoenix can be very useful in this line-up as well. With his curve balls and fire-wall, he can help his team enter a site safely.
Raze: Raze can be very influential on this map with his paint-shells and boom bot, which can cause serious damage to the opponents.
Jett: Jett can be the perfect support duelist for this line-up as well. Jett's quick mobility will help players get the better of their opponents in certain situations.
Astra: Astra is more of a defensive controller, which can set the balance in the team. For this map, Astra's Gravity Well, Nebula, and Nova Pulse can be highly beneficial when defending or in post-plant scenarios.
Cypher: Cypher will be the automatic choice in this combination as he can gather intel of enemy location with his Spycam and Trapwires.
#3 - Defensive Combination
In this combination, players pick two Sentinels from their team in place of an Initiator.
Reyna: Some players prefer Reyna as the main entry-fragger for their team. Using her leer, Reyna can help her team get onto the site safely.
Raze: Raze can be a perfect second duelist for this team. She'll be instrumental for the team with her paint-shells and boom bots.
Brimstone: Brimstone can be very useful in this map. Brimstone's dense smoke, molly, and steam beacon can be instrumental on various occasions in the match.
Sage: Sage can be very useful in this Valorant map to slow down while enemies are trying to rush into the site. Her healing and revival can change the outcome of a round.
Killjoy: Killjoy can hold a site of her own with her turret, alarm-bot, and nanoswarm, which helps her team in defending and in a post-plant scenario.
These are some basic agent combinations in Valorant's Ascent in Episode 2 Act 3. However, it fully depends on the players and their comfort zones.