
'%20x='0'%20y='0'%20height='100%25'%20width='100%25'%20%0A%20%20%20%20%20%20%20%20%20%20xlink%3Ahref='data:image/jpg;base64,/9j/2wBDAAYEBQYFBAYGBQYHBwYIChAKCgkJChQODwwQFxQYGBcUFhYaHSUfGhsjHBYWICwgIyYnKSopGR8tMC0oMCUoKSj/2wBDAQcHBwoIChMKChMoGhYaKCgoKCgoKCgoKCgoKCgoKCgoKCgoKCgoKCgoKCgoKCgoKCgoKCgoKCgoKCgoKCgoKCj/wgARCAAGAAoDASIAAhEBAxEB/8QAFgABAQEAAAAAAAAAAAAAAAAAAAMG/8QAFAEBAAAAAAAAAAAAAAAAAAAAA//aAAwDAQACEAMQAAAAwUgH/8QAHxAAAgICAQUAAAAAAAAAAAAAAQIDBAAFIQYRMUFR/9oACAEBAAE/ALvVe62oezcasi+USBSACMm3Ny1NJYEi9pWMnIPvn7n/xAAVEQEBAAAAAAAAAAAAAAAAAAABAP/aAAgBAgEBPwBVb//EABYRAAMAAAAAAAAAAAAAAAAAAAABMf/aAAgBAwEBPwBQ/9k='%3E%3C/image%3E%3C/svg%3E)
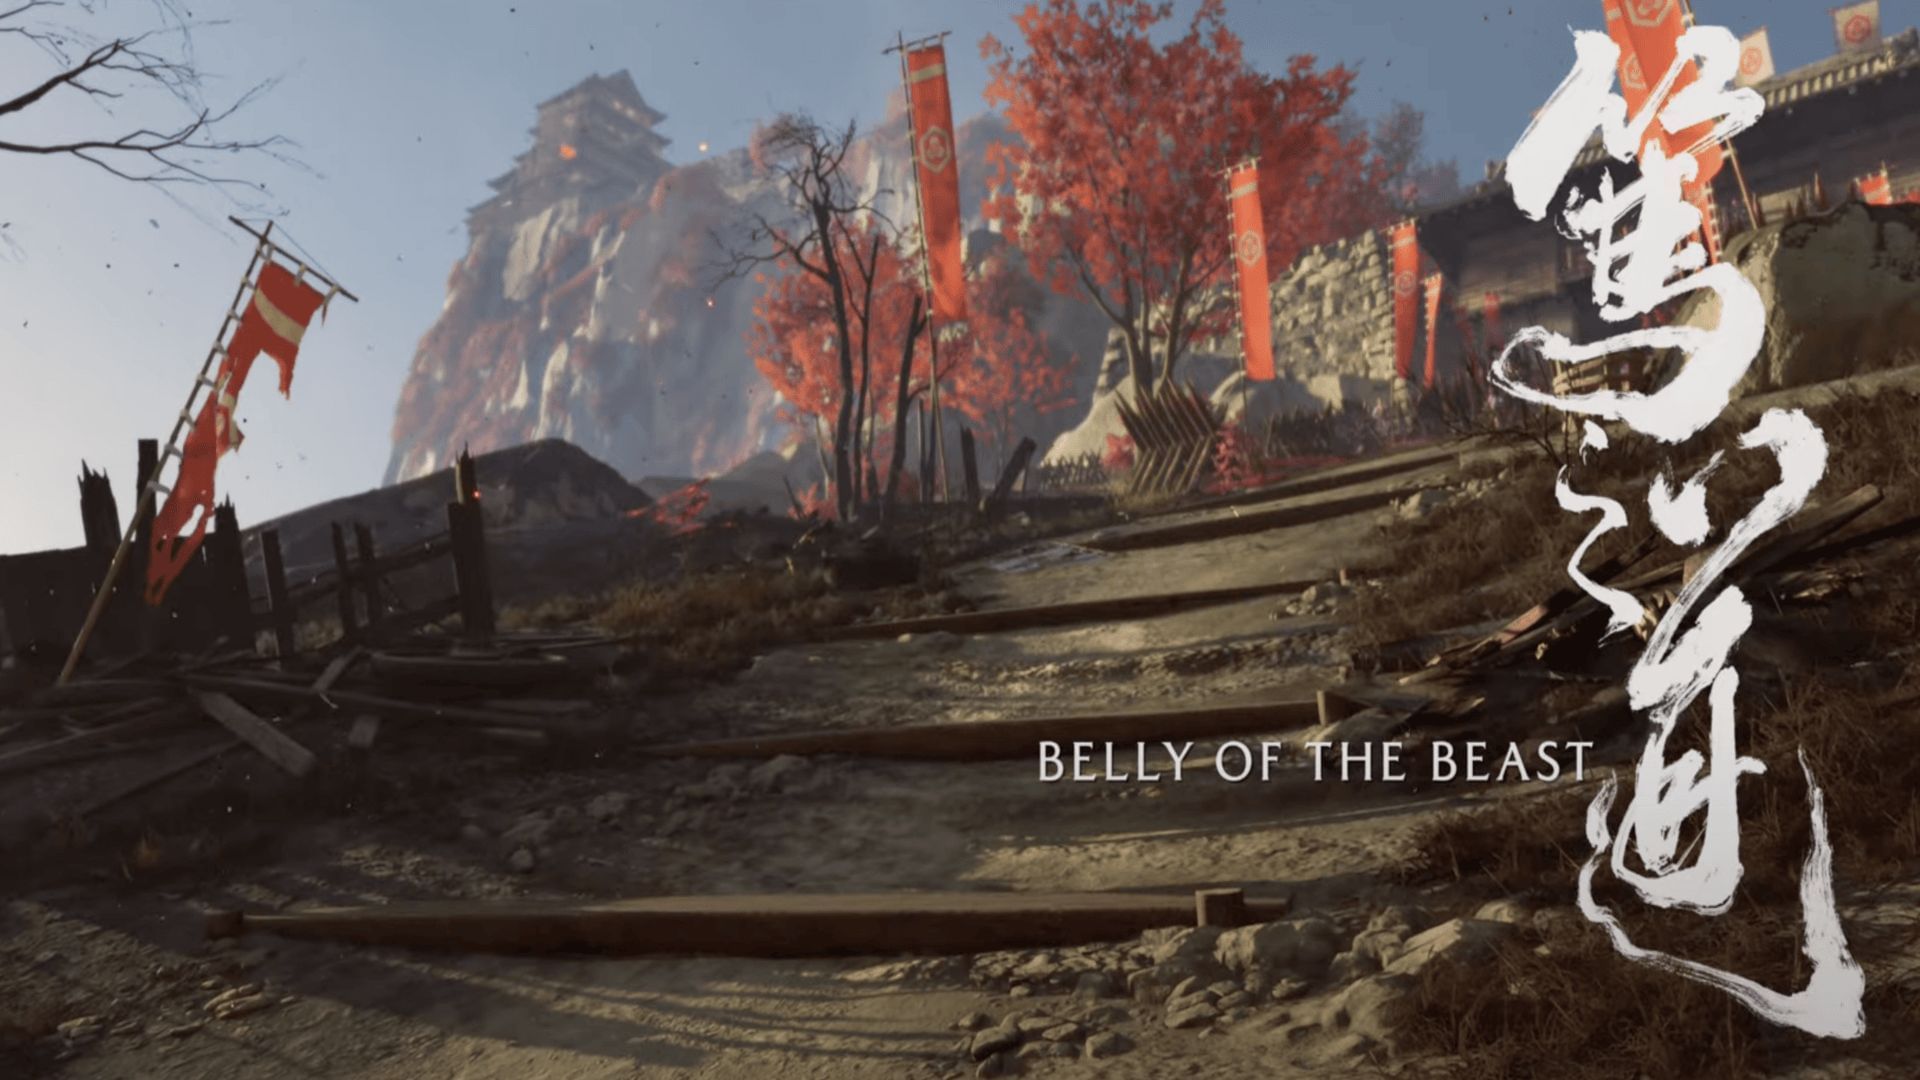
Belly of the Beast is one of the most intense main quests in Ghost of Yotei. Atsu is finally walking straight into danger, trying to trick the Oni and rescue Jubei at the same time. There’s no room for mistakes here. You’ll sneak, fight, and make some risky calls that decide how the rest of the story unfolds.
Here’s how to complete the whole thing step-by-step.
Check out: Ghost of Yotei complete guide and walkthrough
Looking for Crossword hints & solutions? Check out latest NYT Mini Crossword Answers, LA Times Crossword Answers, and Atlantic Crossword Answers
Belly of the Beast quest (The Oni) in Ghost of Yotei: Walkthrough
Start the Quest
Once you finish A Mad Pursuit, you’ll find yourself near a Hot Spring tucked into the mountains. Take a second to visit it. It’s right beside a red tree and a cliff with steam rising. After that, your next stop is Ishikari Market, located southwest of where you caught Mad Goro.
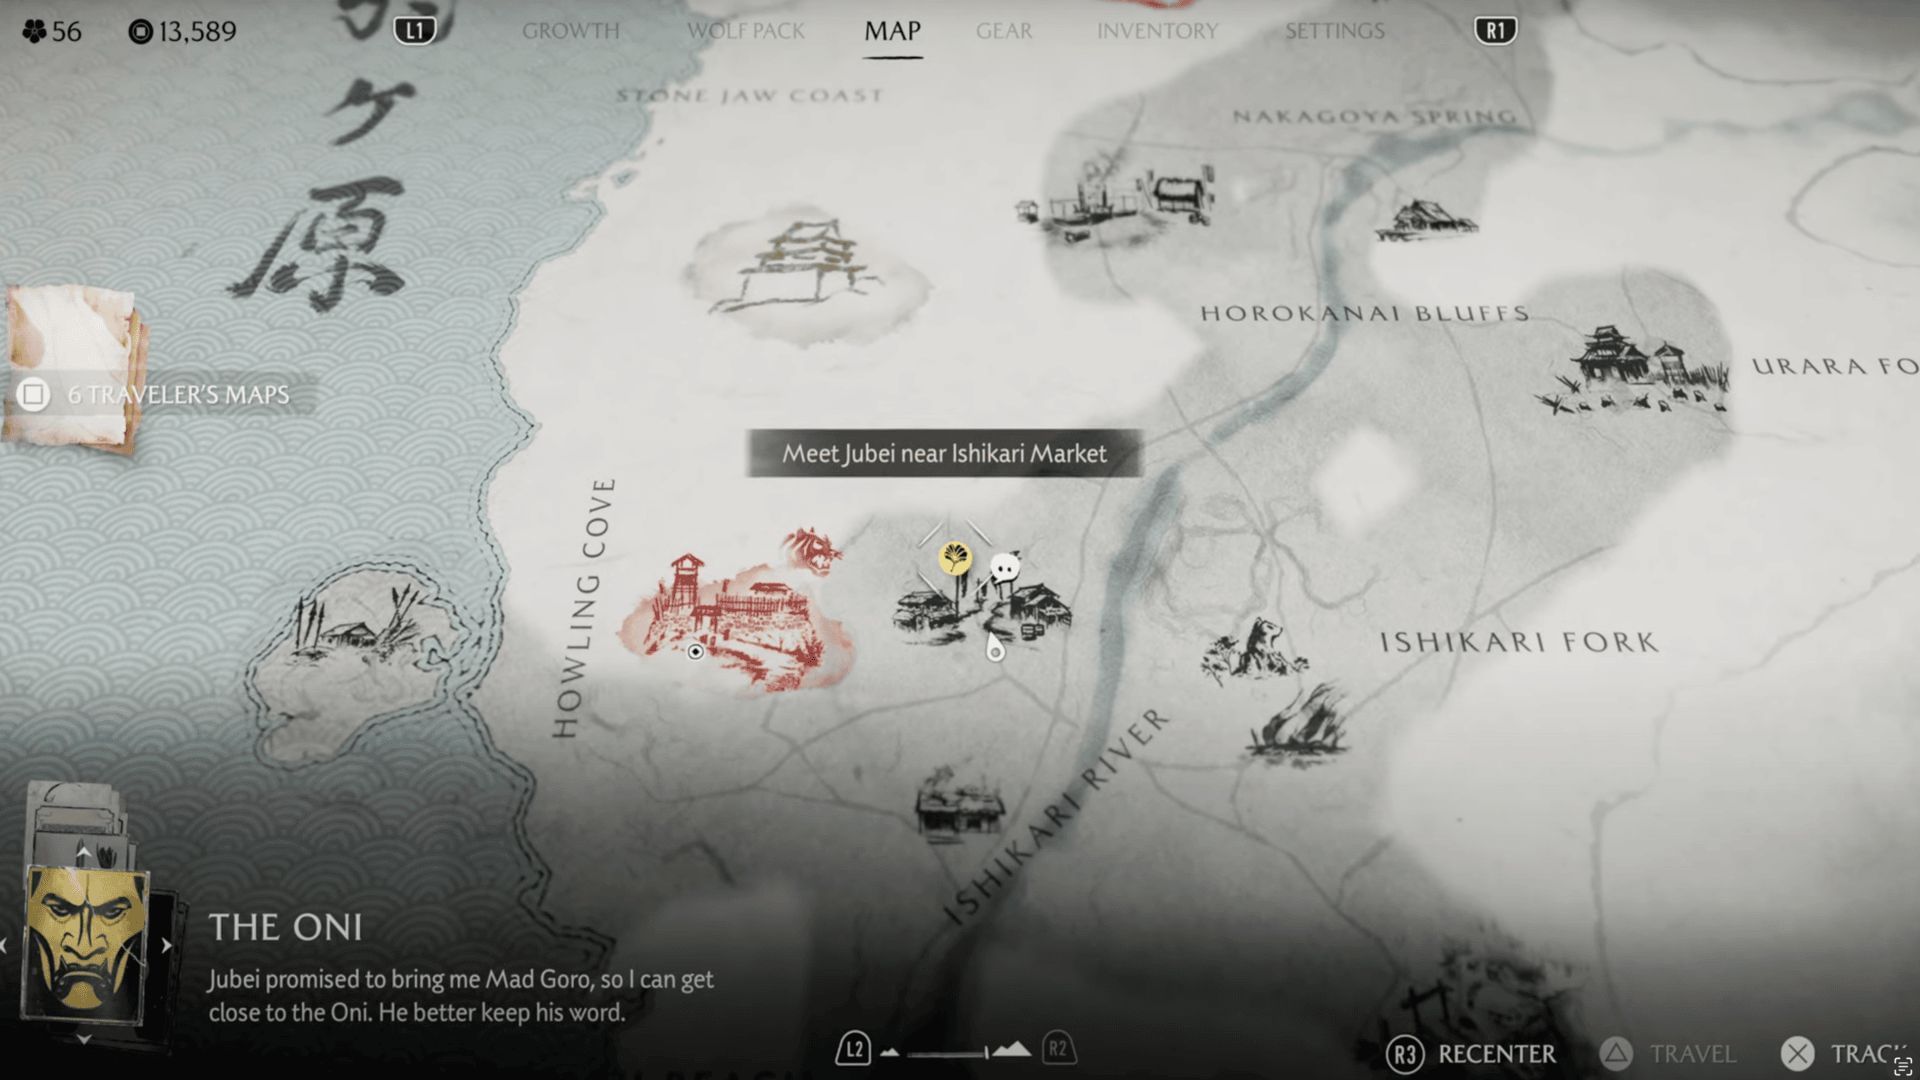
When you arrive at the market, walk around a bit. There are a few new people here, including some traders and side quest givers. You’ll eventually find Jubei waiting near a large tree. Talk to him to start Belly of the Beast.
During the conversation, you’ll learn the Matsumae Clan isn’t releasing Mad Goro like you expected. Atsu quickly improvises a new plan: she’ll pretend to deliver Jubei as a prisoner to lure out the Oni. Jubei obviously hates the idea, but he agrees. From here, the mission begins properly.
Enter the Oni’s Castle
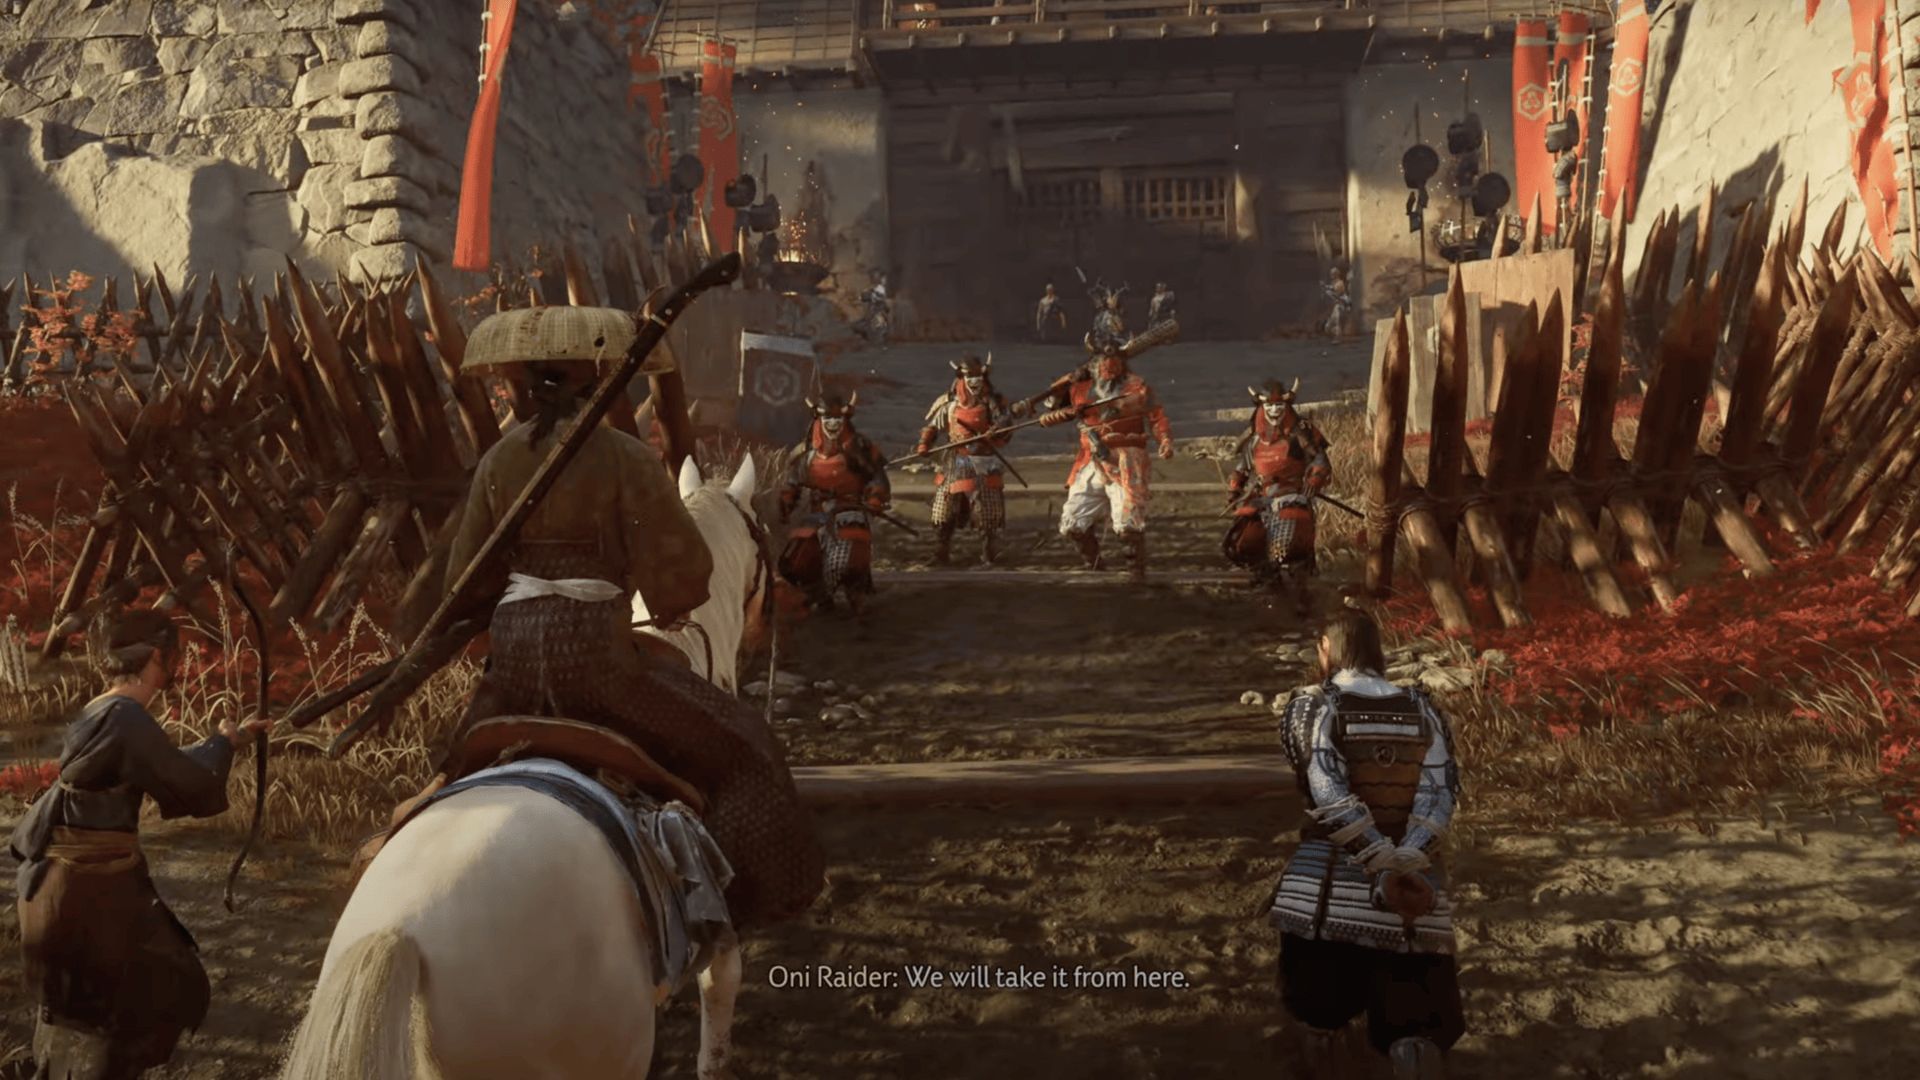
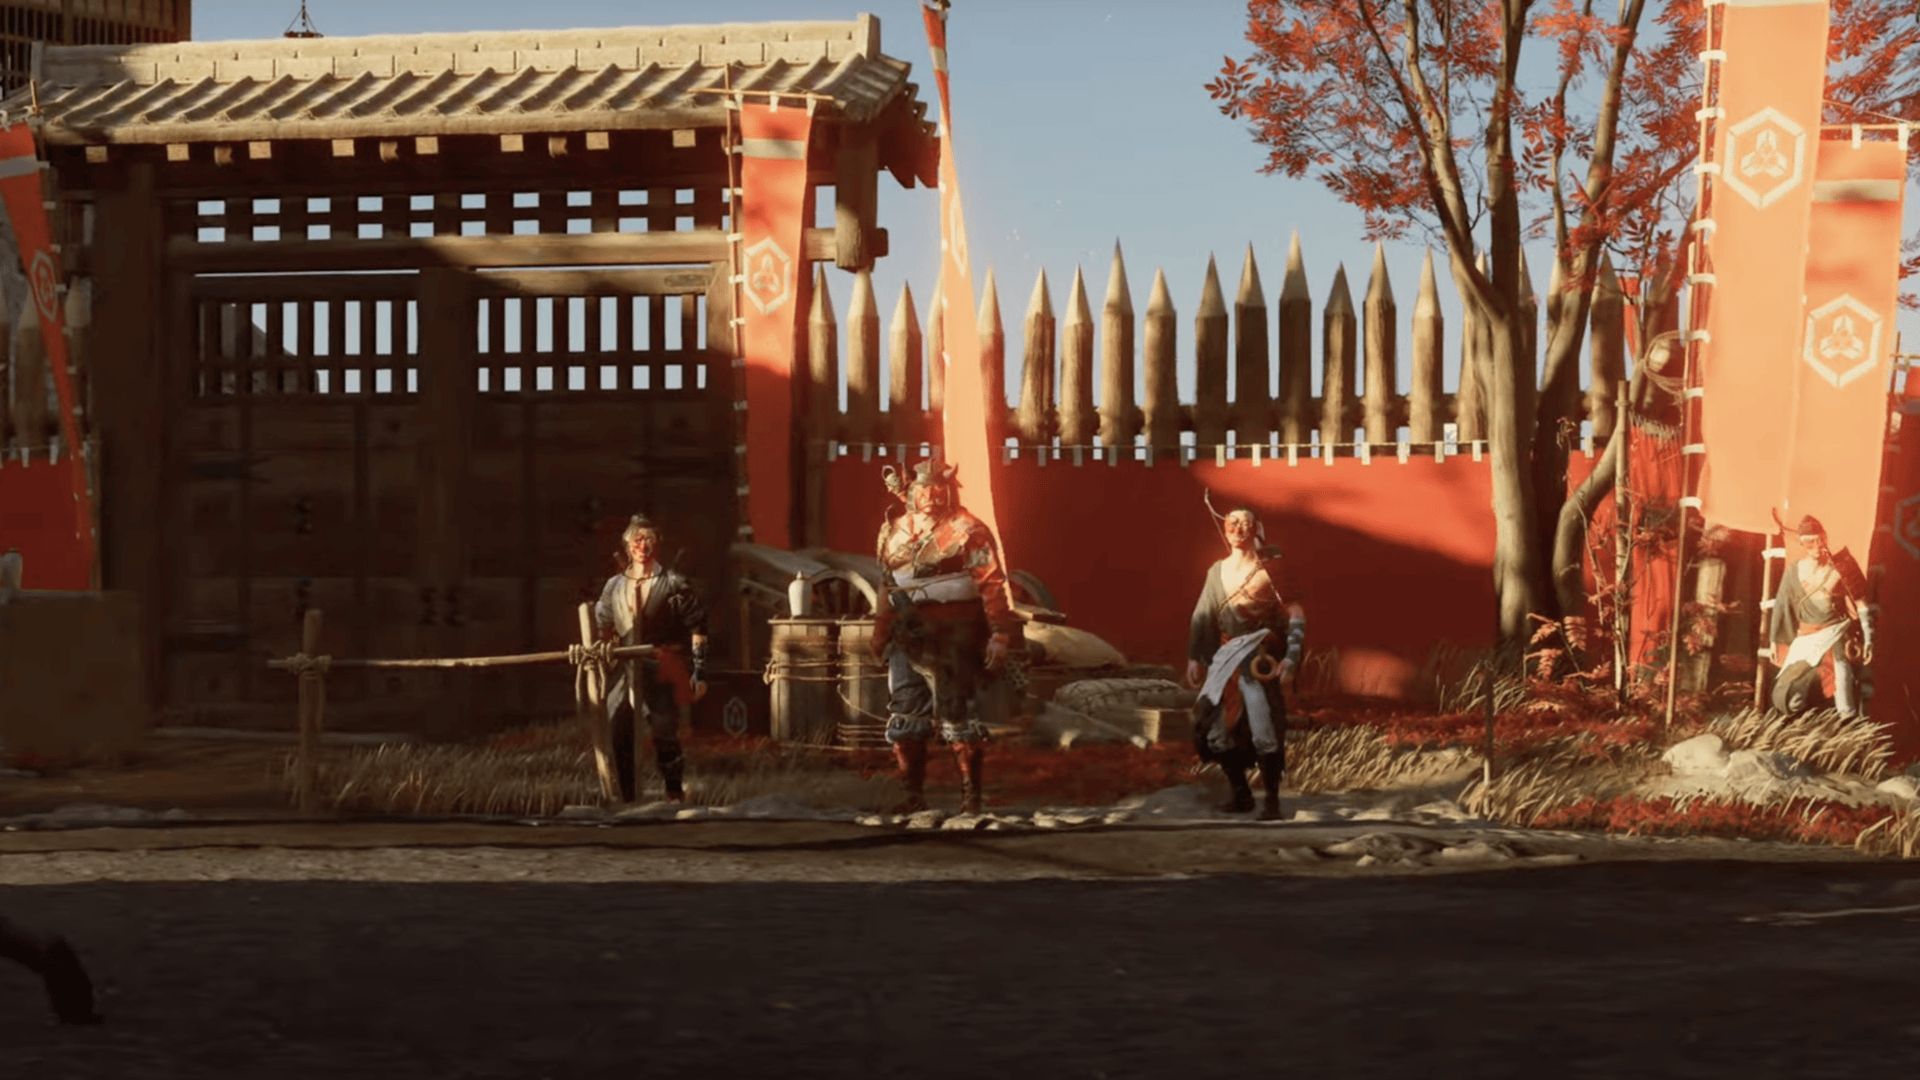
Atsu puts on the Mercenary Attire and walks Jubei right up to the castle gates. The guards stop you, question your identity, and throw some shade, but it doesn’t matter what dialogue options you pick. No matter what you say, they eventually let you in.
Inside, you finally meet The Oni himself. Atsu hands over the musket and the “prisoner,” pretending to be one of his mercenaries. The Oni takes an interest in her and invites her deeper into the castle to claim her reward.
He brings her into a trophy room, lined with old relics and personal items, like armor, paintings, weapons,and even war memorabilia. You can walk around and examine everything, but pay attention to the scabbard (saya) on the right side. Atsu immediately recognizes it as it belonged to her father.
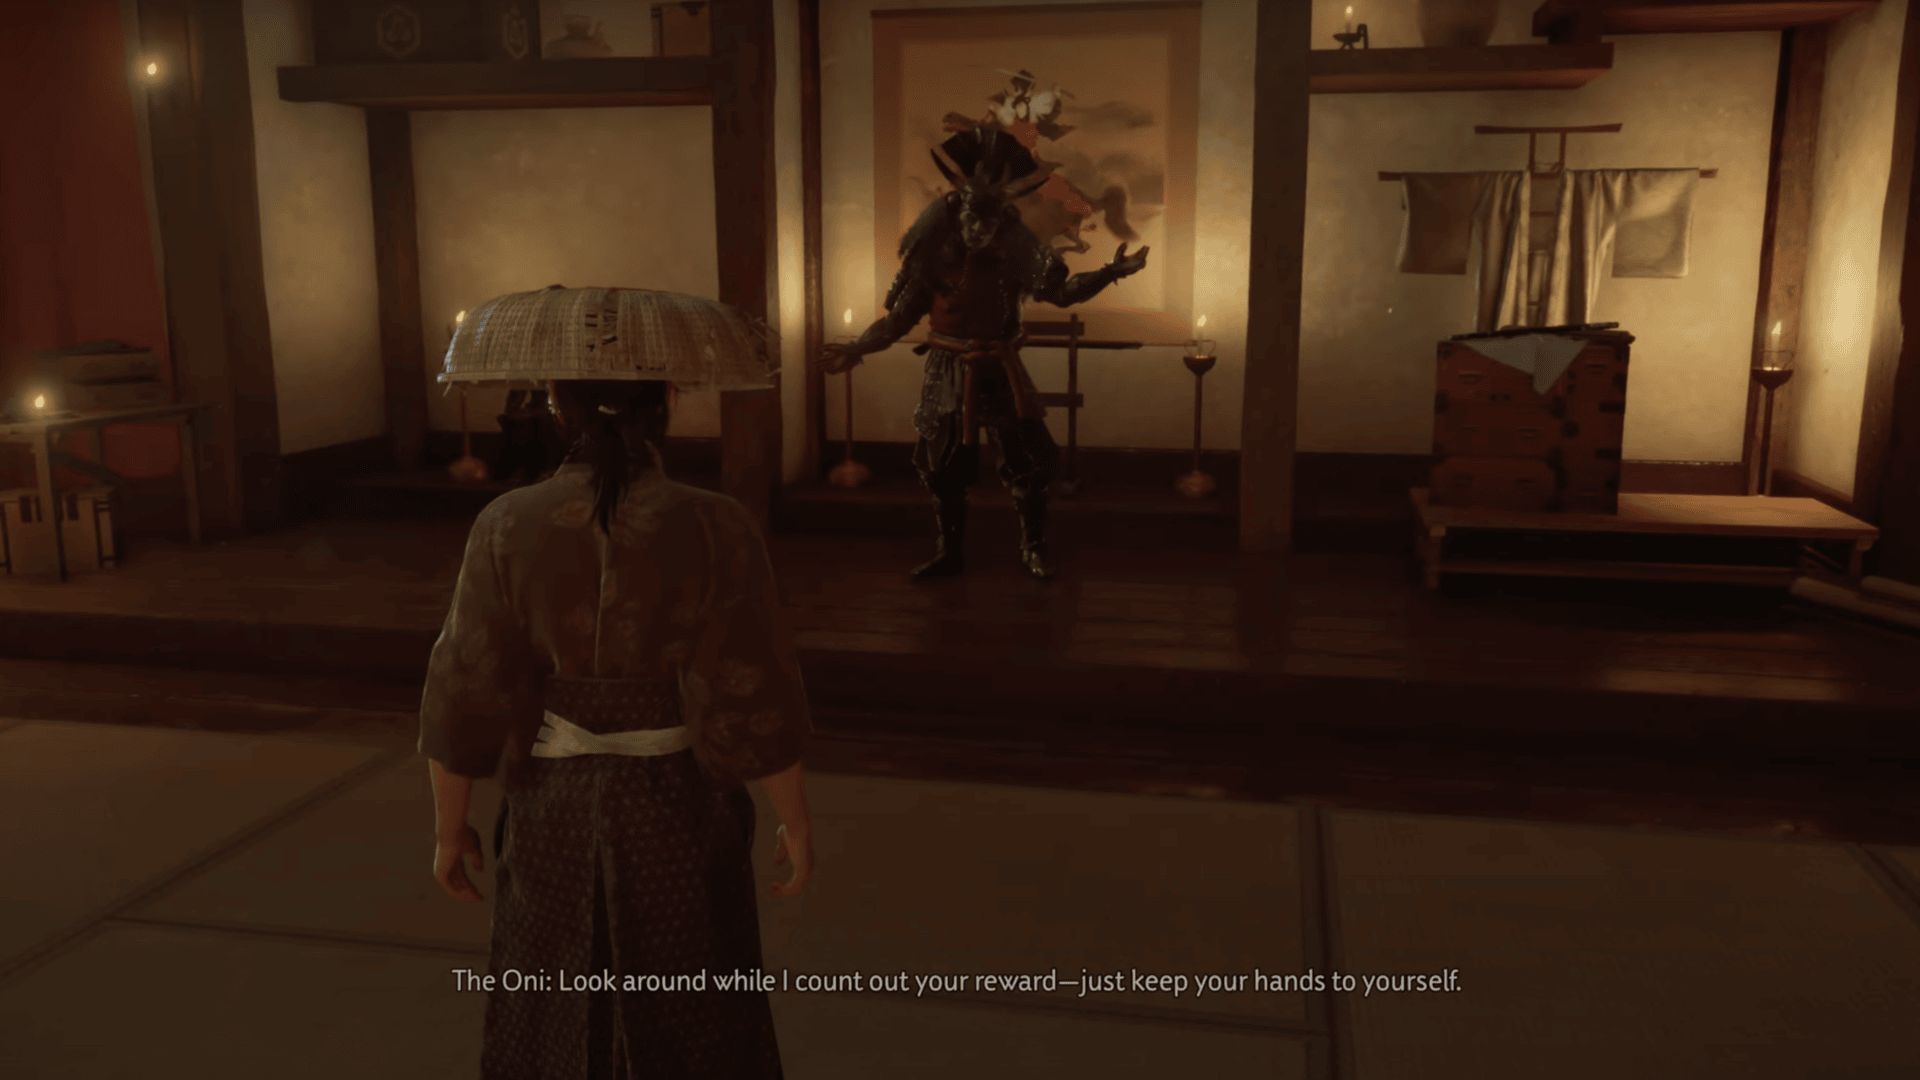
No matter what order you do it in, Atsu asks for the scabbard as her reward. The Oni accepts, giving her 3,000 mon and the Twin Wolves sword kit before dismissing her.
Also read: Ghost of Yotei ending explained
Scout the Castle
Once you regain control, it’s time to plan your next move. Use your spyglass to survey the area from the balcony. You’ll want to mark these three key things:
- A prisoner tied near a post
- The prison building itself
- Kanta the Jailer, the massive brute guarding the keys
These markers will guide your path in the next section.
Take Down Kanta the Jailer
Move quietly along the right side of the courtyard and grab a few sake bottles from the crates. These restore Spirit and can distract guards later. When you try to sneak up and steal Kanta’s keys, a cutscene triggers, and you’re forced into a duel.
The Oni insists it’s an “honorable match,” which means you’ll be fighting with a wooden training sword.
Here’s how to handle him:
- He loves charging at you. When he lowers his stance, roll sideways fast. Don’t try to block it.
- He attacks in short combos. Wait until he’s done before hitting back.
- If his weapon flashes gold, hold and release Triangle to counter and disarm him.
- When it flashes red, get out of the way immediately, as that’s a grab move and it hurts.
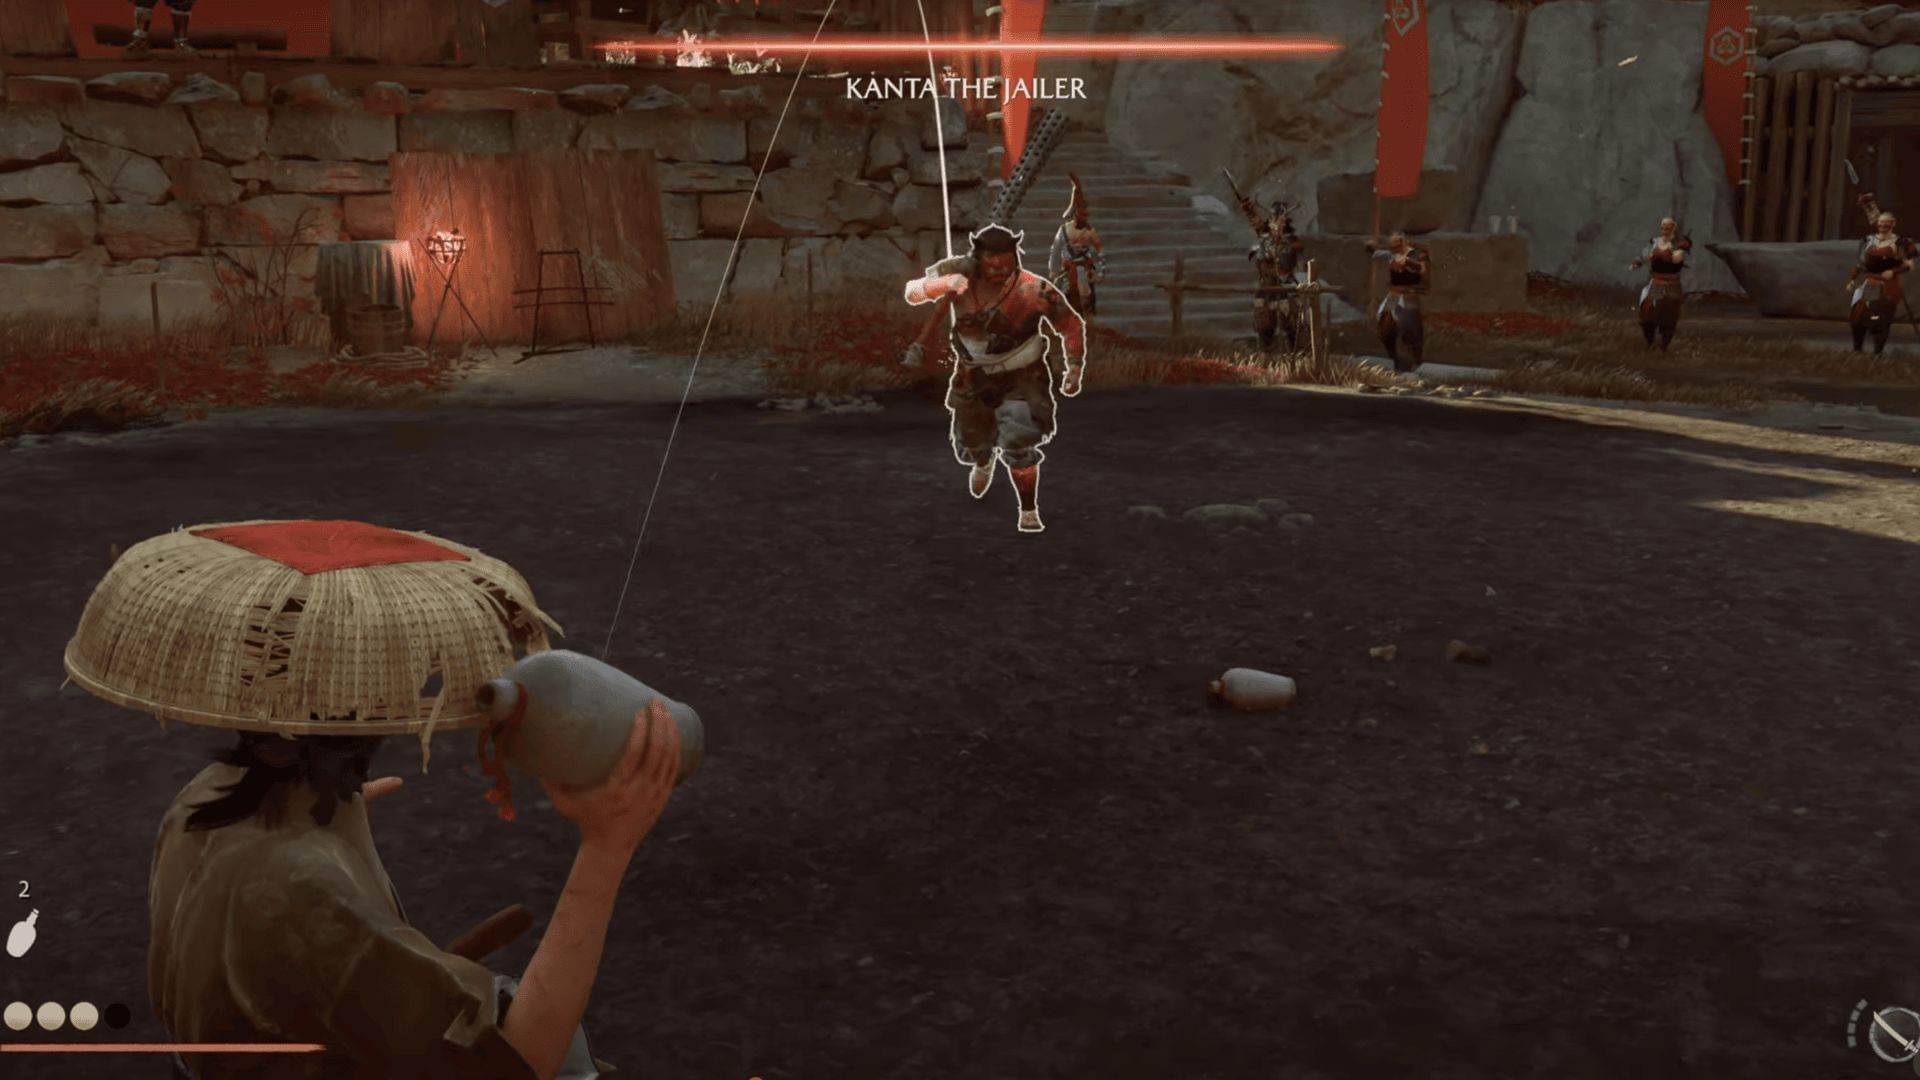
You can’t block most of his hits, so patience is everything. Dodge, punish, and retreat. If you’re feeling bold, throw empty sake bottles at him to stagger him briefly. After enough hits, Kanta goes down. Atsu helps him up, pretending to show respect but quietly pockets his prison keys when he’s not looking.
Also read: How to get money (Coins) fast in Ghost of Yotei
Free Jubei
You’ll be escorted toward the stables next, but don’t go anywhere until you interact with your horse. Doing that gives you back all your real weapons. Once you’re armed again, sneak back toward the castle.
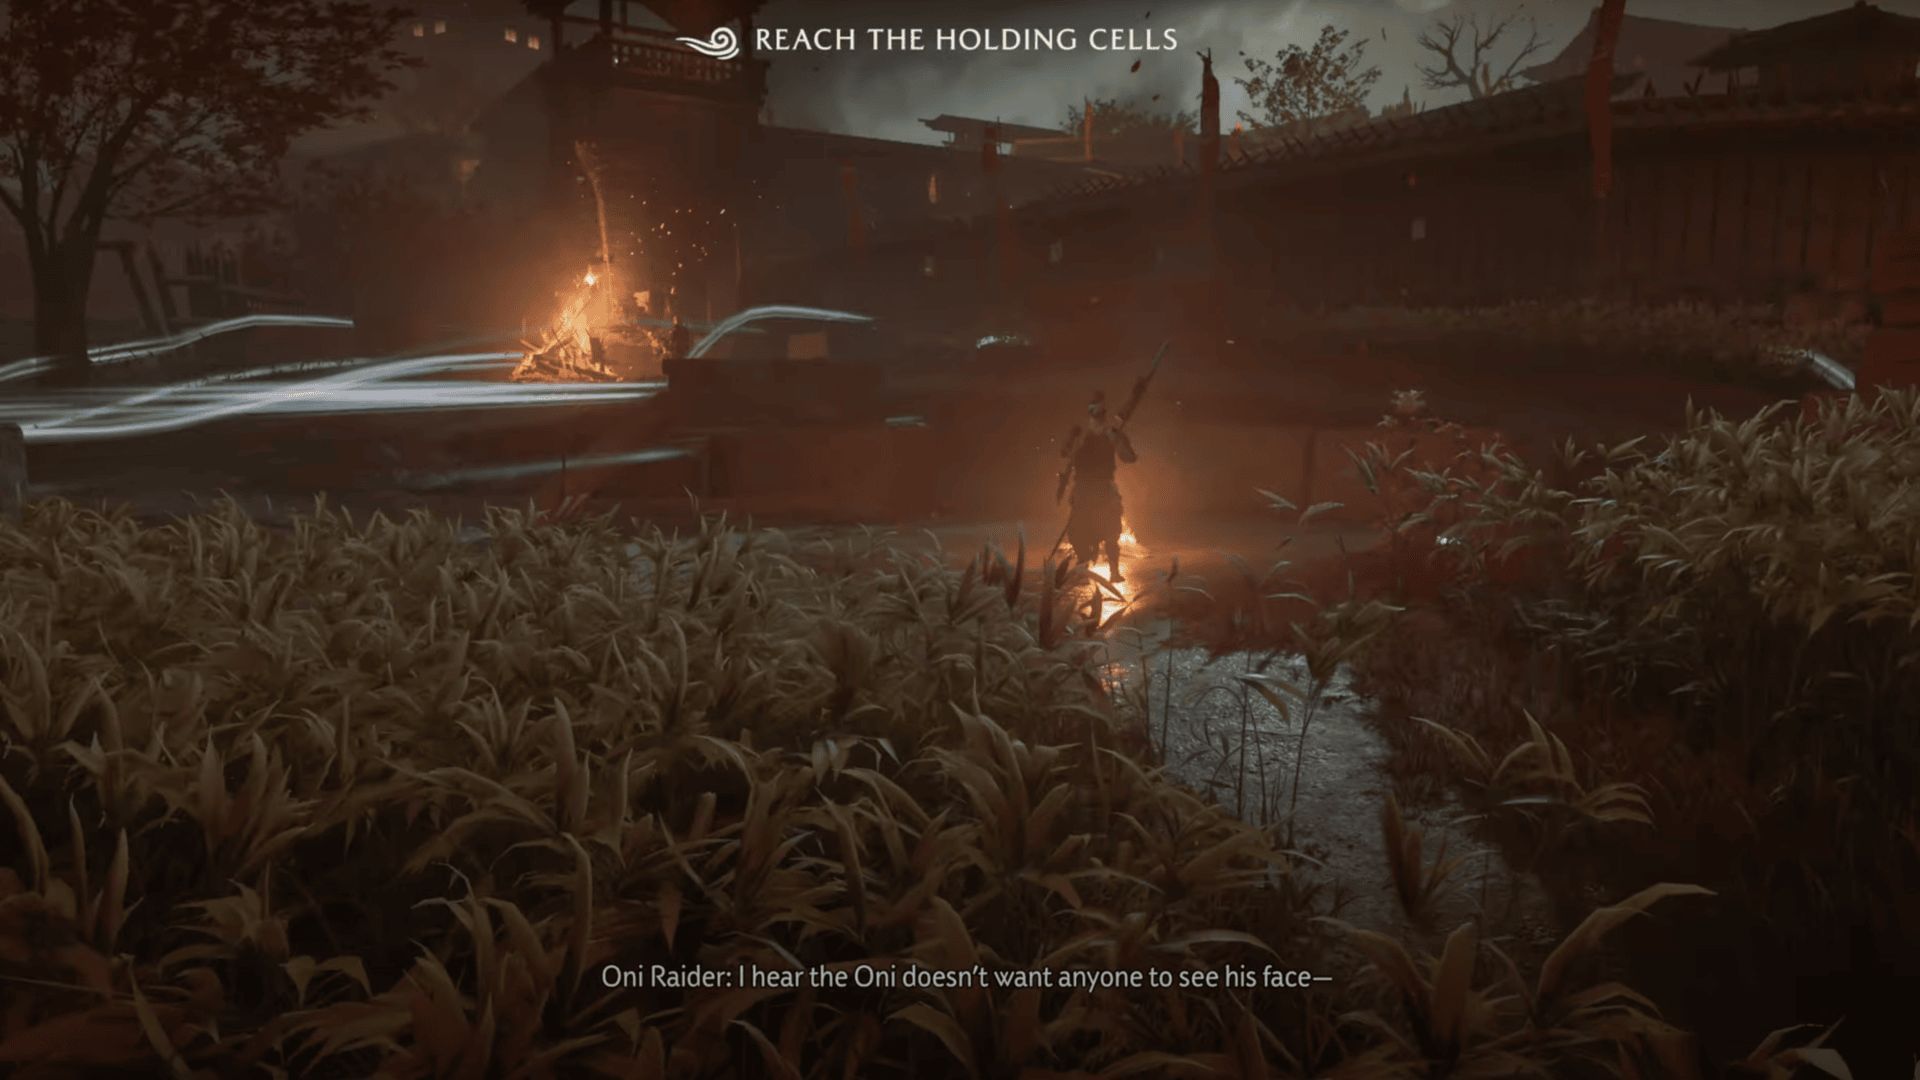
Stick to the tall grass and use stealth. There’s a guard dog nearby, which can sniff you out easily. Use the rope to climb up into a tower, take out the guard on top, and restock your arrows from the quiver. Then, cross the rope bridge to the next section and silently eliminate any raiders along the way.
Soon, you’ll spot a prisoner being harassed by two guards. Take them out and talk to the prisoner. He’ll tell you the cells are “up the ledge and past the drums.” Follow his advice. Climb the wall, squeeze through a hole in the wall, and you’ll reach the prison area. Use the keys you stole from Kanta to unlock Jubei’s cell.
Atsu and Jubei reunite, but things are far from over.
Break out
Jubei leads you to a weak section of the wall. Help him pull off the bars, then use the rope to climb down the cliffside. Loot any supplies you see; there’s Copper Ore, sake, and arrows scattered around the path.
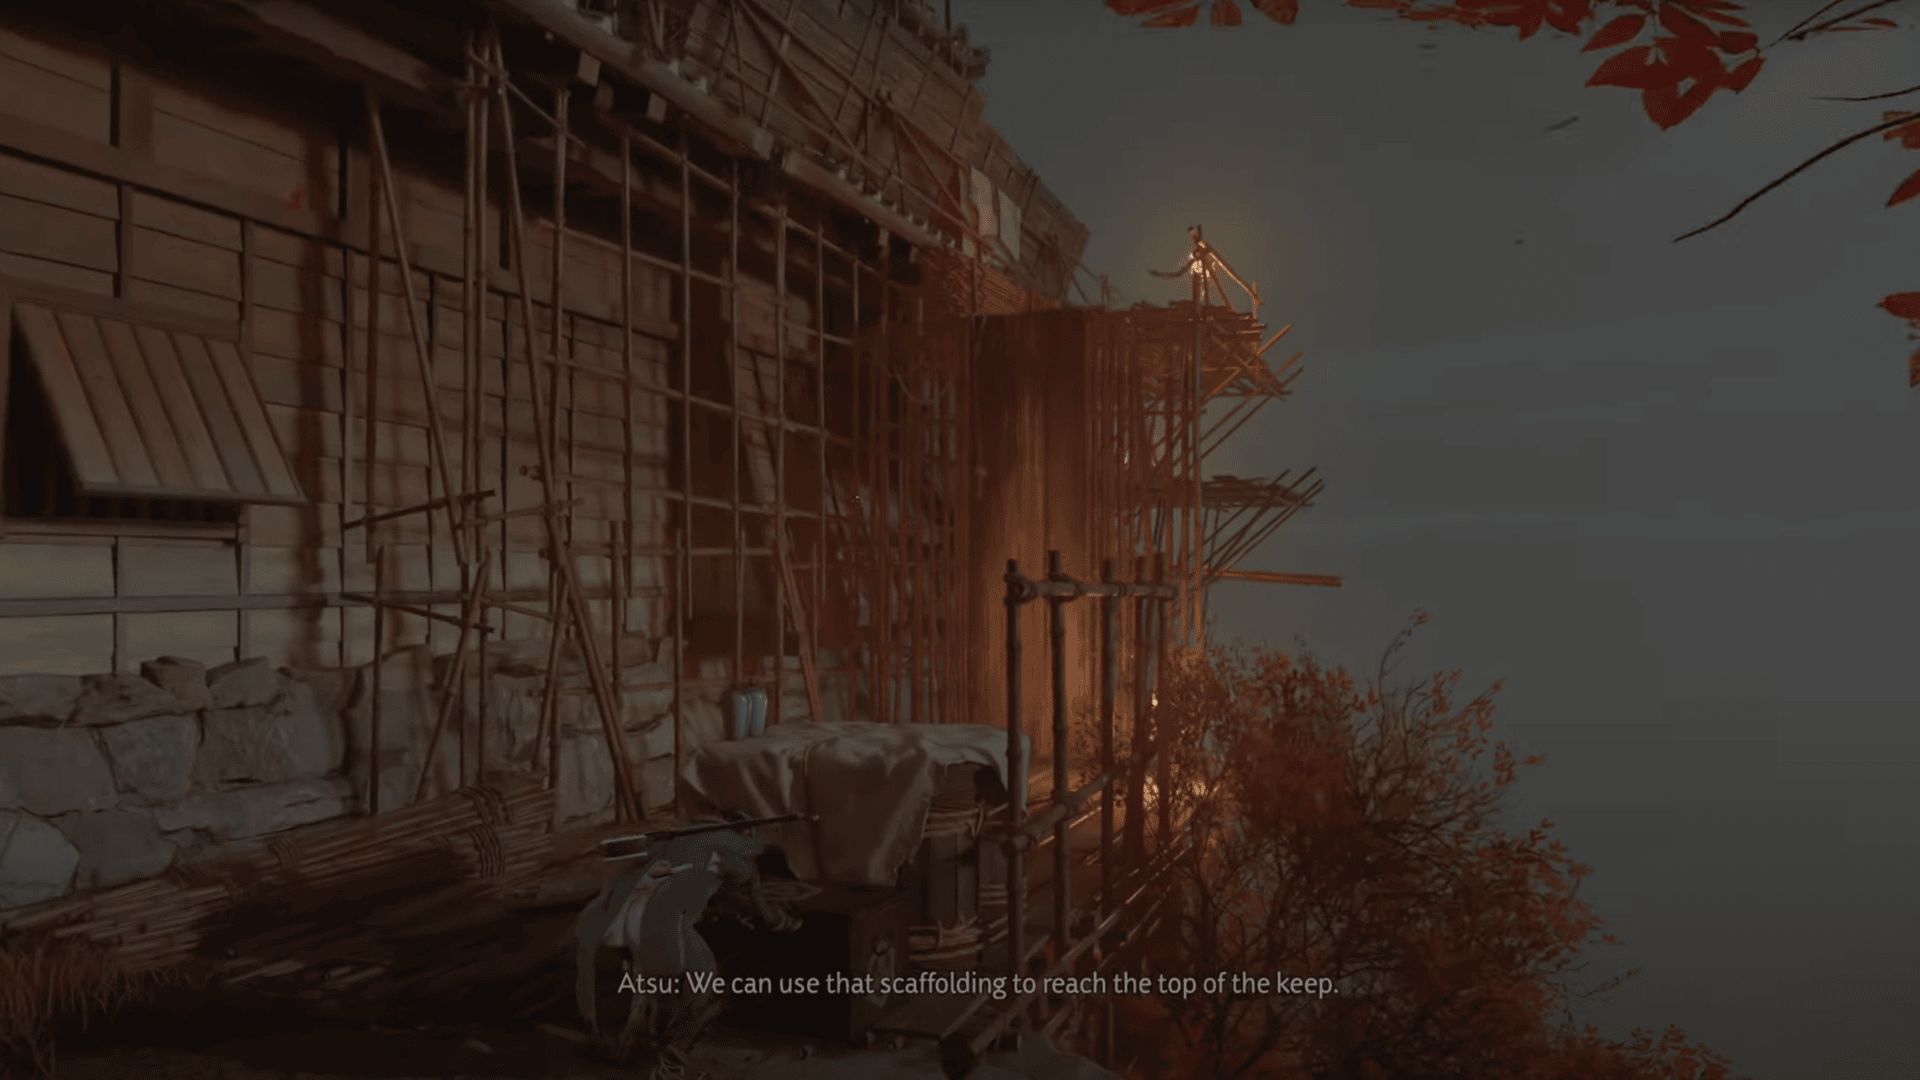
As you climb up the wooden scaffolding, you’ll reach an upper ledge overlooking the Oni’s throne room. Push open the large doors to trigger a cutscene.
Here’s where it all blows up: the Oni reveals he already knew who Atsu was. He recognized her the moment she asked for her father’s scabbard. Chaos breaks loose. Jubei jumps in to save her, and both of them make a run for it.
Follow Jubei through the corridors until you reach the horses. Mount up, and the game introduces the Horse Charge mechanic. Hold L1 + R1 to crash through enemies as you gallop. Keep close to Jubei and don’t stop moving until you’ve escaped the castle grounds.
Once you’re finally clear, a cutscene wraps things up. Atsu failed to kill the Oni, and Jubei is furious that they had to abandon his men. The two argue, and their uneasy partnership starts to crumble. The mission ends on that bitter note, setting up what’s coming next: A Fiery Consequence.
For more such gameplay guides, follow Sportskeeda:
- How to unlock Odachi in Ghost of Yotei
- All Ghost of Yotei voice actors: Cast list
- All Mountain Reliquaries in Ghost of Yotei and how to solve them

Are you stuck on today's Wordle? Our Wordle Solver will help you find the answer.