
'%20x='0'%20y='0'%20height='100%25'%20width='100%25'%20%0A%20%20%20%20%20%20%20%20%20%20xlink%3Ahref='data:image/jpg;base64,/9j/2wBDAAYEBQYFBAYGBQYHBwYIChAKCgkJChQODwwQFxQYGBcUFhYaHSUfGhsjHBYWICwgIyYnKSopGR8tMC0oMCUoKSj/2wBDAQcHBwoIChMKChMoGhYaKCgoKCgoKCgoKCgoKCgoKCgoKCgoKCgoKCgoKCgoKCgoKCgoKCgoKCgoKCgoKCgoKCj/wgARCAAGAAoDASIAAhEBAxEB/8QAFgABAQEAAAAAAAAAAAAAAAAAAAUH/8QAFQEBAQAAAAAAAAAAAAAAAAAABAb/2gAMAwEAAhADEAAAAJeeE4r/xAAdEAABAwUBAAAAAAAAAAAAAAACAQQRAAMFBiIx/9oACAEBAAE/ANIz7JpqeQF1jRcAId9kilKRPtX3YlfuKIkIqSwM+V//xAAaEQAABwAAAAAAAAAAAAAAAAAAAQIDBBNx/9oACAECAQE/AIyStc0f/8QAFhEBAQEAAAAAAAAAAAAAAAAAAgAx/9oACAEDAQE/AHhv/9k='%3E%3C/image%3E%3C/svg%3E)
The Lightning Temple is the only temple found on the ground level in The Legend of Zelda Tears of the Kingdom. It’s found deep within the Gerudo Desert and is unlocked after you complete the Riju of Gerudo quest. Once you find and fix the three main pillars in the desert, the Lightning Temple will emerge from the sands of the Gerudo Desert.
Lightning Temple Solution - The Legend of Zelda Tears of the Kingdom
Looking for Crossword hints & solutions? Check out latest NYT Mini Crossword Answers, LA Times Crossword Answers, and Atlantic Crossword Answers
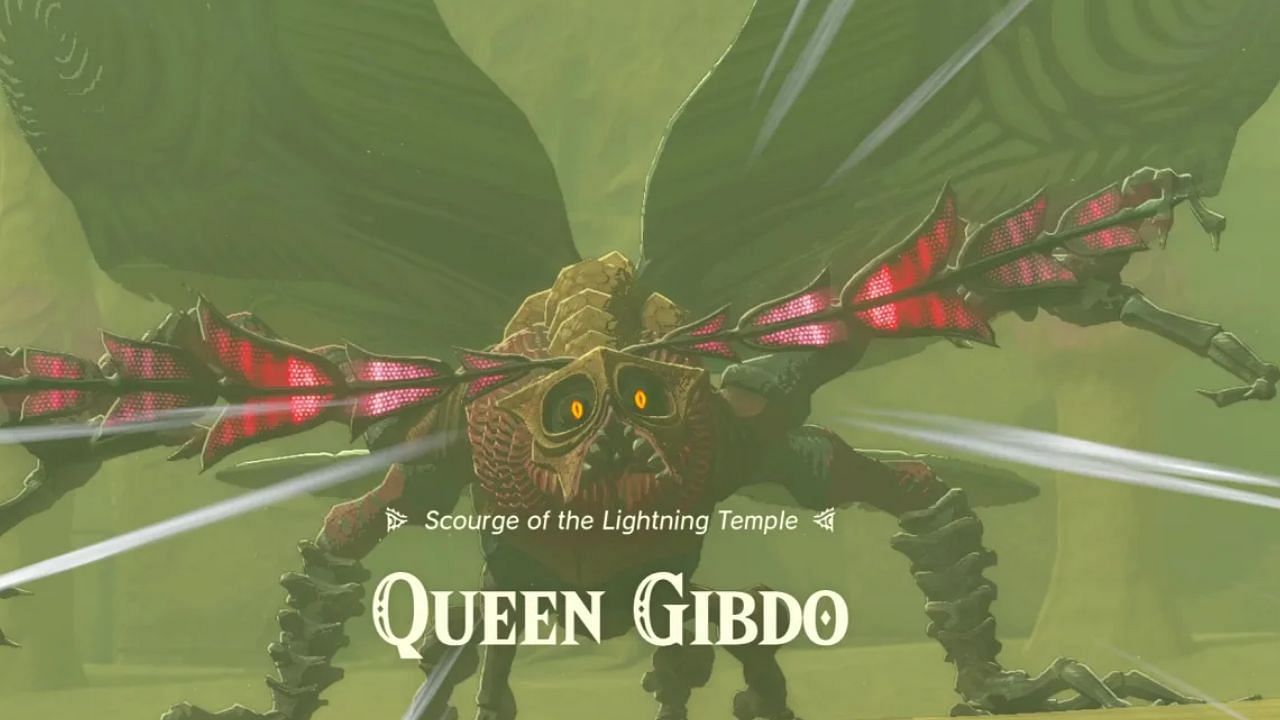
After you unlock Riju, your first course of action will be to fight Queen Gibdo in the Legend of Zelda Tears of the Kingdom. Before you do, you’ll need to fend off enemies spawned by pillars in Gerudo Town and Kaka Bazaar. Riju’s ability comes in handy here. And then spawns Queen Gibdo.
Riju’s Lightning can penetrate her shell, allowing you to start effectively damaging Queen Gibdo. When her body starts glowing light, normal attacks start to become effective. After her health goes down to 80 percent or so, she’ll retreat into the Lightning Temple.
Make your way inside the Lightning Temple
To make it into the Lightning Temple in The Legend of Zelda Tears of the Kingdom, stand on the trigger to open the entrance door. Descend via the staircase to enter B1. You need to navigate the bridges and turn right toward the end. Once there, quickly deal with the Gibdos using Riju’s Lightning and follow-up attacks.
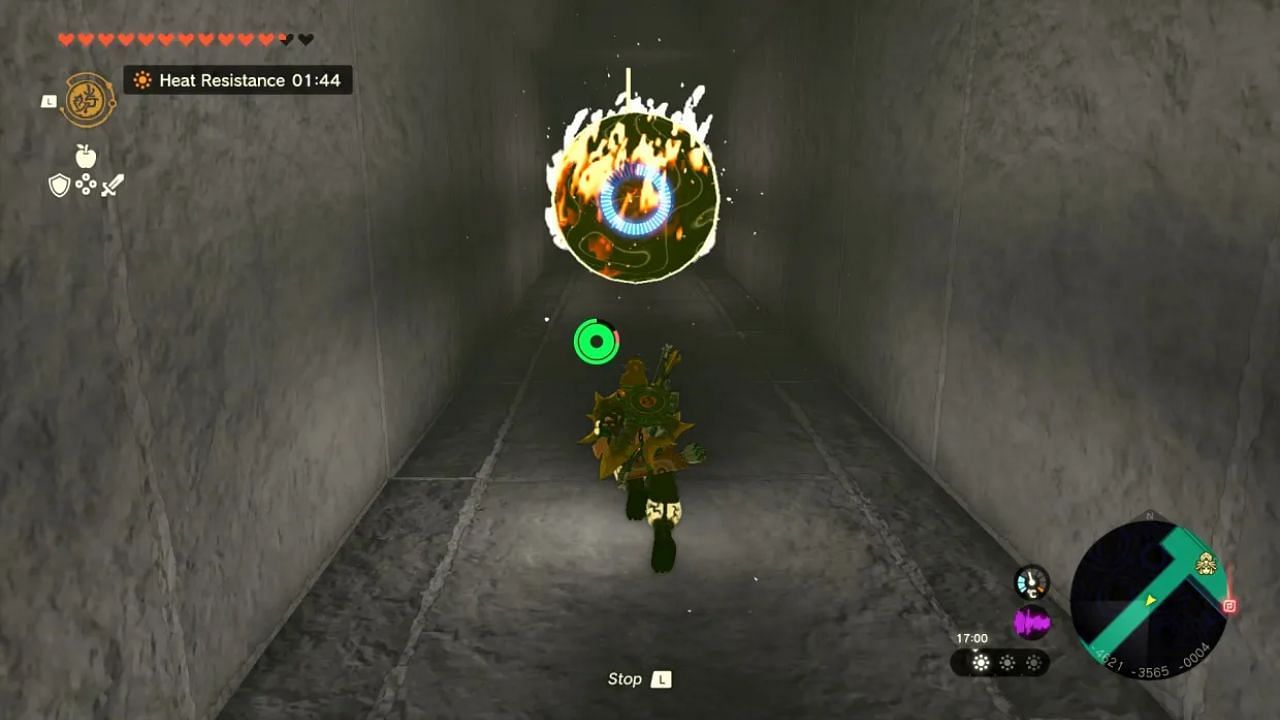
Afterward, trigger the switch to unlock the next section. You'll have to deal with the flaming balls in the hallway using Recall. With that done, keep moving forward and head right. You can unlock the next section by standing on the switch. Once done, keep moving forward to make it to the Room of Hopeful Light.
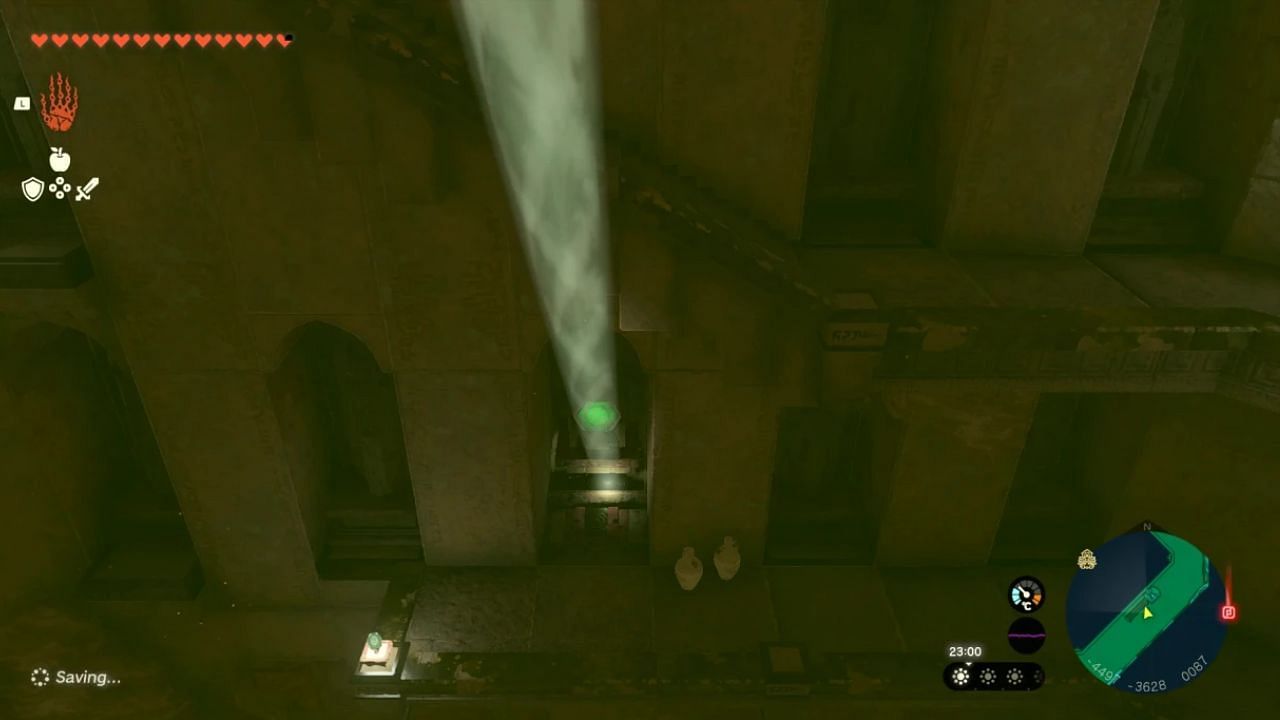
There, snag a mirror from the sand and use Link's Ultrahand ability to point the beam of light at the switch to unlock the Room of Ascension in The Legend of Zelda Tears of the Kingdom. This will allow you to make it to the main room of the Lightning Temple.
First Lightning Temple Battery
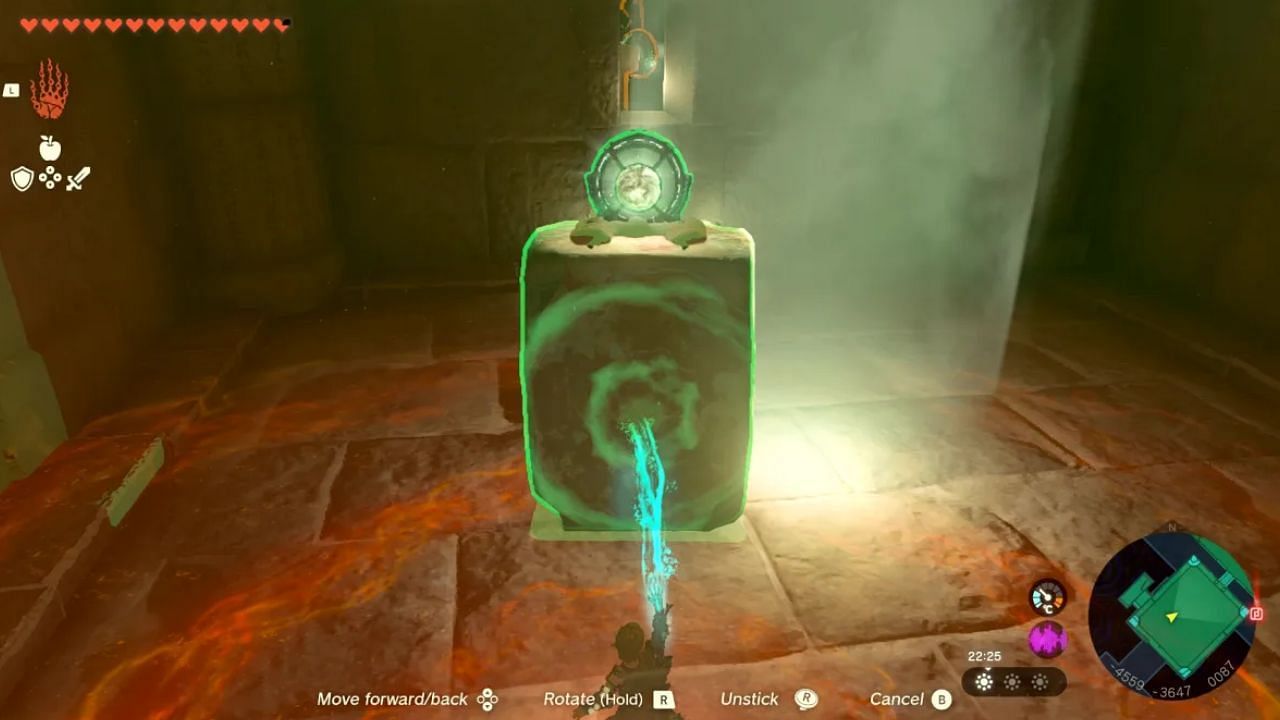
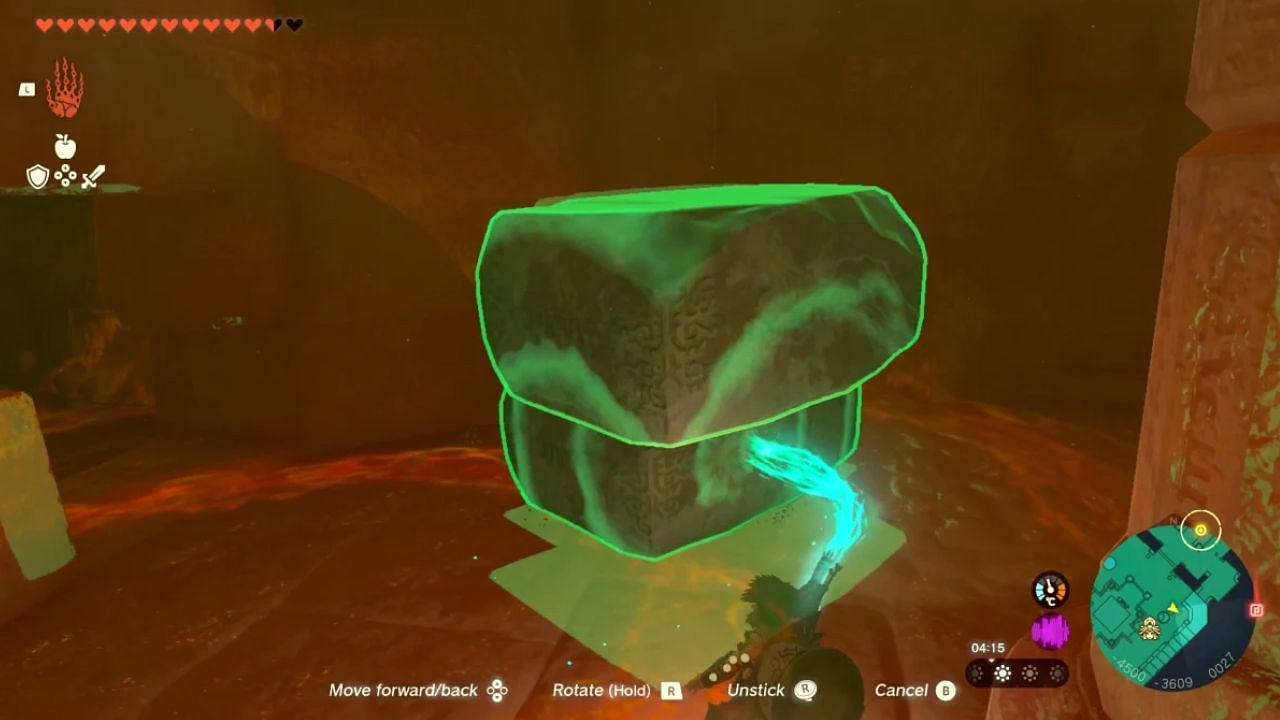
Interact with the terminal and use Ultrahand to move the stone to 1F after the cutscene. After that, use the gust of wind to paraglide to the top. On the top floor, move through the passage of the Southwest side to discover the Room of Natural Light.
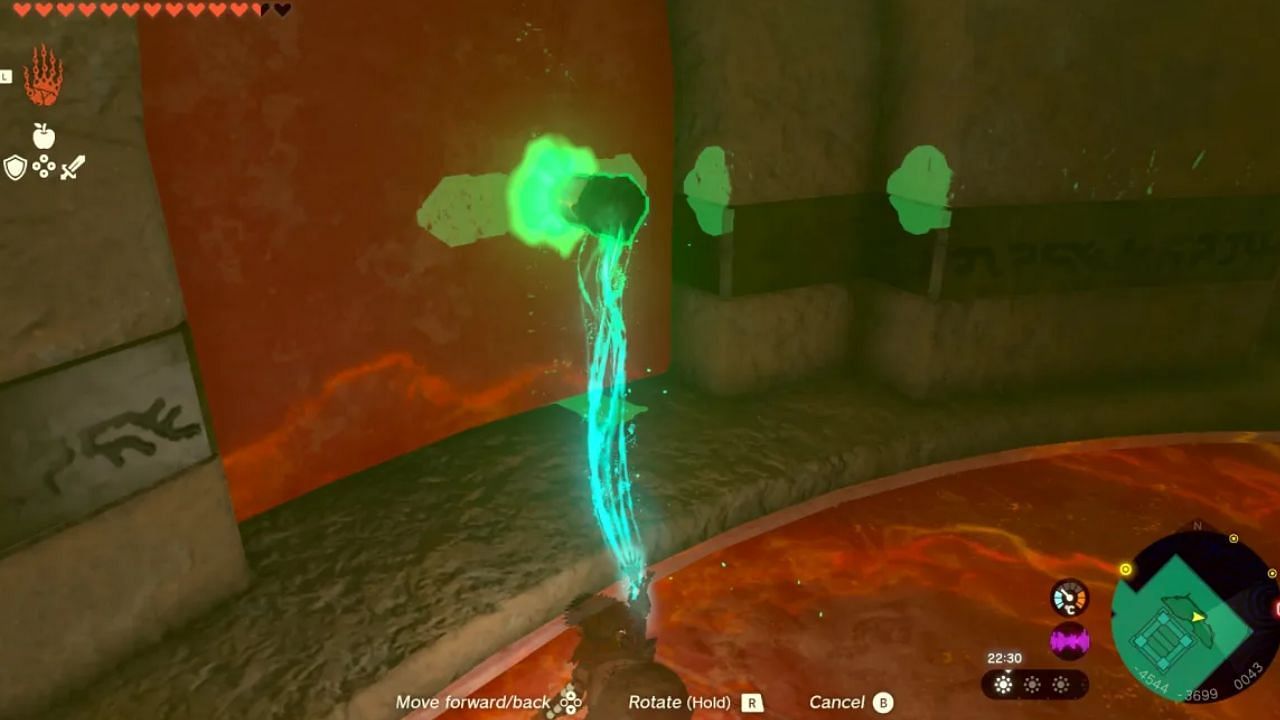
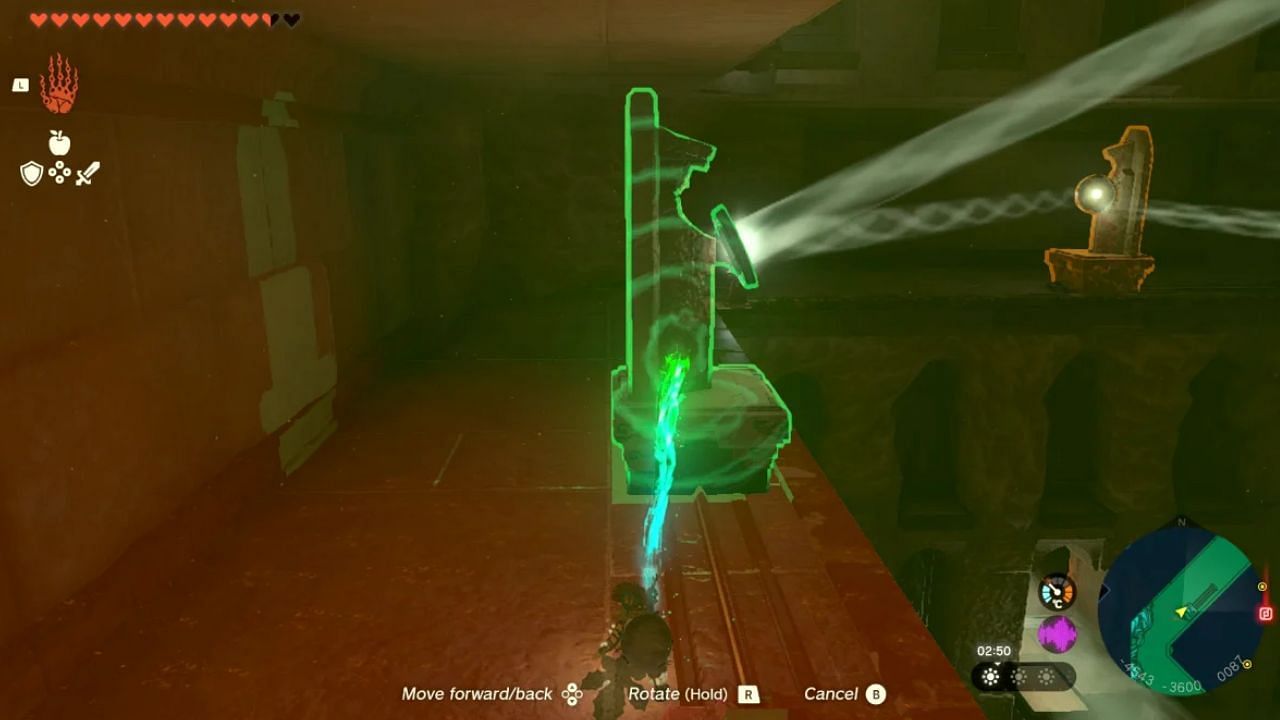
Fuse the stone with the mirror and position it to shoot light into the main room. Back in the main room via the top floor, you’ll spot a mirror on rails on each side. Using the mirror nearest to the Room of Natural Light, shine a light beam at a light panel on the statue below. The statue will now move.
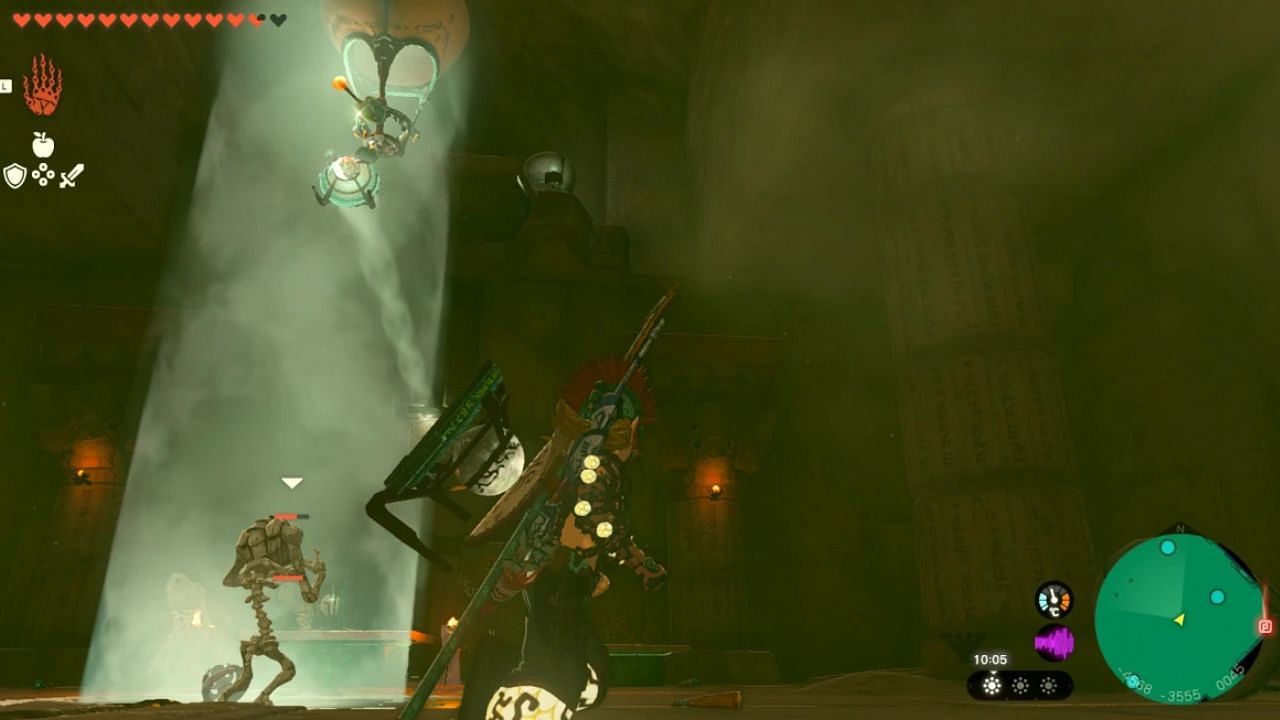
Follow the light into 2F and trigger the switch near the statue to unlock the Room of Offered Light. There, deal with the enemies and their spawns. After that, redirect the light beam shining down to the middle of the room toward the room above the altar.
To do this, use a hot air balloon and attach a mirror to it. This will unlock the altar. Inside, you need to use Riju’s Lightning to charge the altar battery.
Second Lightning Temple Battery
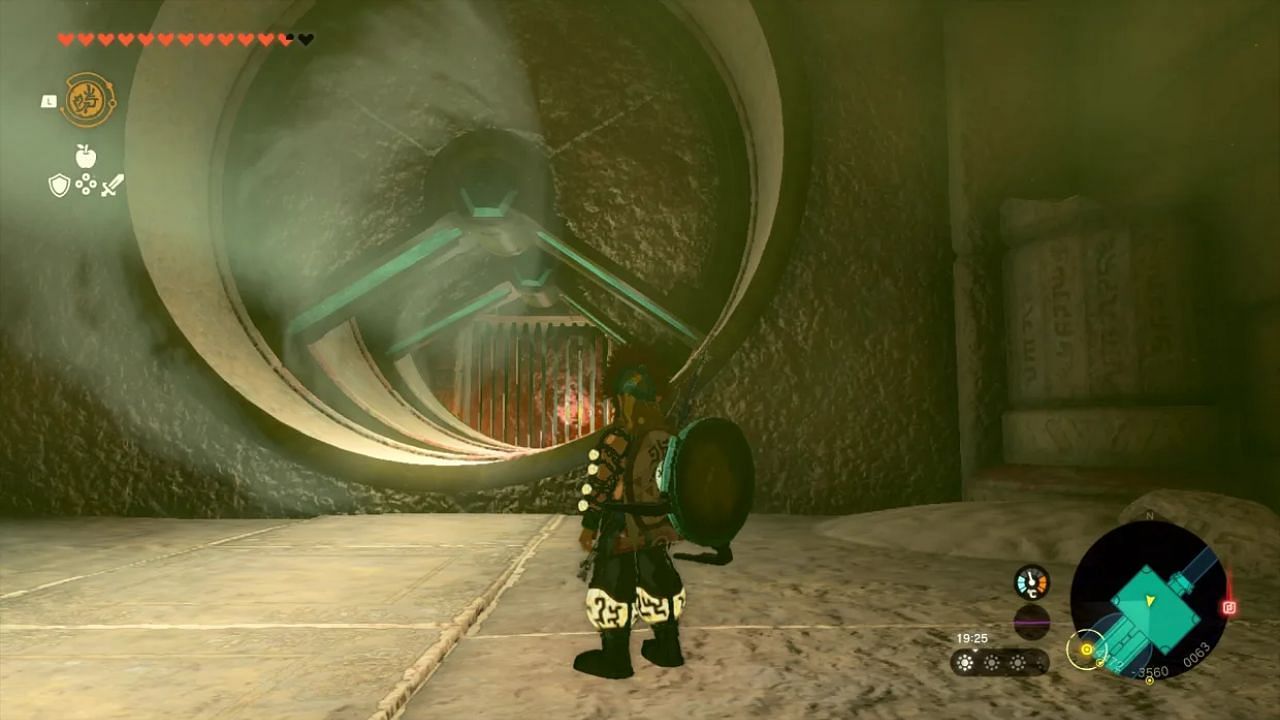
At the Northwest wall on 4F, you’ll find a tight passage on a corner of the statue. Paraglide here and make your way inside. You'll Pass through the gaps in the spinning doors and remove the stones from the wall to uncover a light beam.
Use Recall on the spinning doors to redirect the light to the main room. You’ll unlock another passage here. You need to follow the light beam, move past the statue, and stop the spike wall using one of the stones.
Once done, keep moving forward and trigger the switch on the other side to deactivate the spike wall. Use the same tactic for the next spike wall.
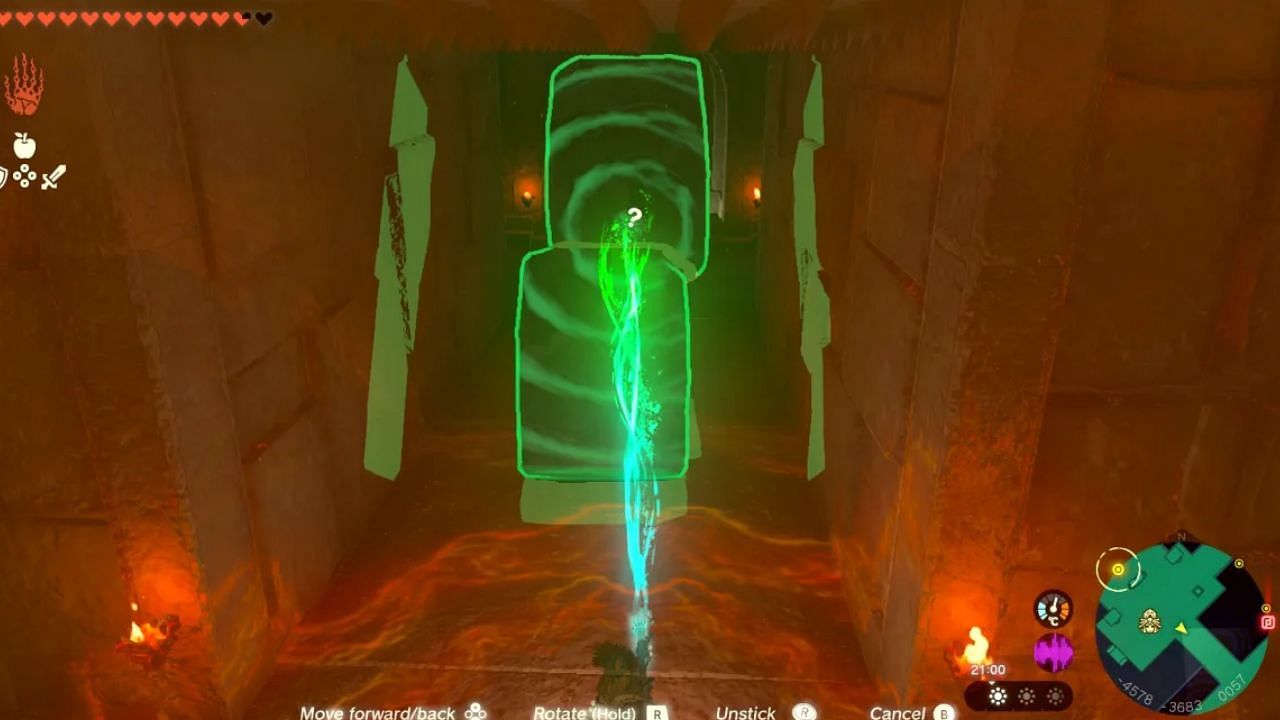
You’ve made it to the Room of Light and Shape. To stop the room from moving, use a stake and fix it in the outer wall. Then, aim a mirror at the beam of light to send it to the room above.
Retrace your steps to the spike ceiling path and redirect the beam of light at the light pad in the previous room. This will unlock the pathway to the second lightning altar in the Legend of Zelda Tears of the Kingdom.
Third Lightning Temple Battery
Navigate back to 5F, where you found the mirrors on rails. You need to shine a beam of light on the opposite side– which is the Southeast side of the room. Tinker with the mirror there to open the passage on 6F.
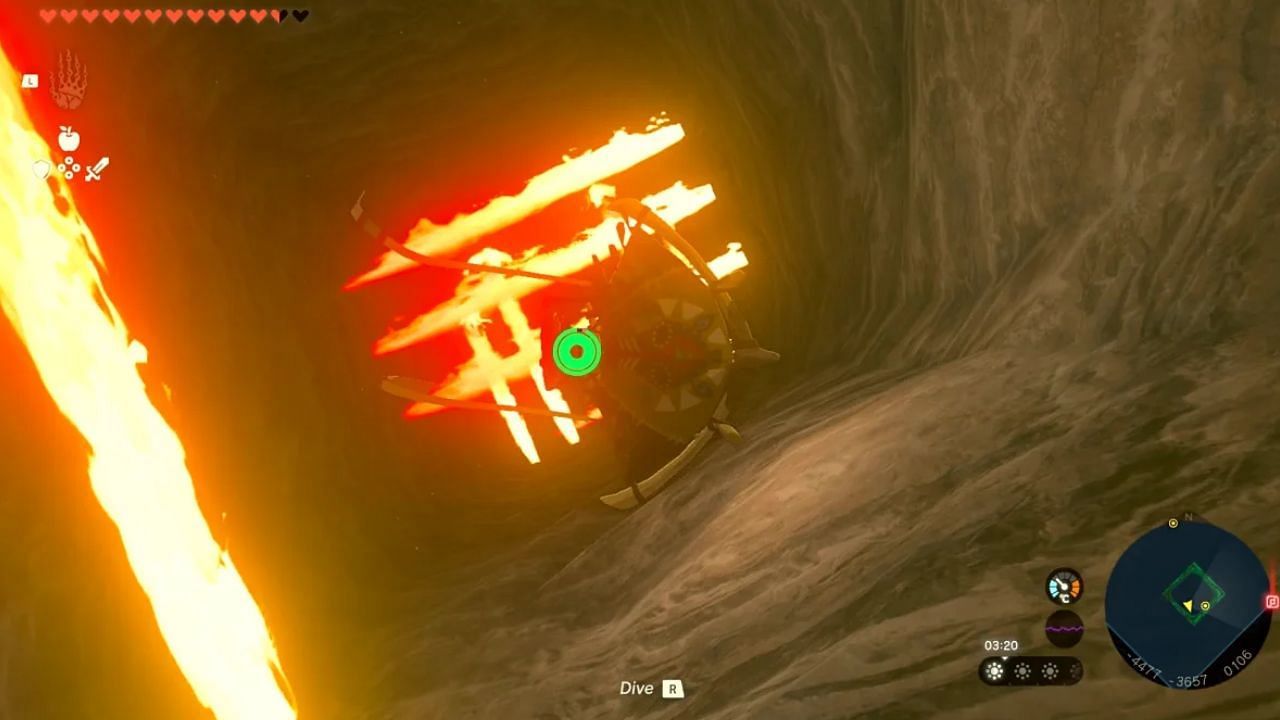
Navigate the vertical flames corridor to make it to 2F. You must ensure Link has enough stamina to nail the vertical ascent. Now, you’ve made it to the Room of Light and Flame, where you’ll find the third Lightning Temple battery in The Legend of Zelda Tears of the Kingdom.
Fourth Lightning Temple Battery
At 1F, just next to the terminal, you can see a lightning altar in the distance, past the door. Move around the stones on the right side to discover a hole in the wall. Walk past it and charge the altar in The Legend of Zelda Tears of the Kingdom.
After all four batteries have been activated, head back to the terminal on 1F and interact with it to unlock an elevator that ascends all the way up to 7F.
Queen Gibdo Final Boss Fight - The Legend of Zelda Tears of the Kingdom
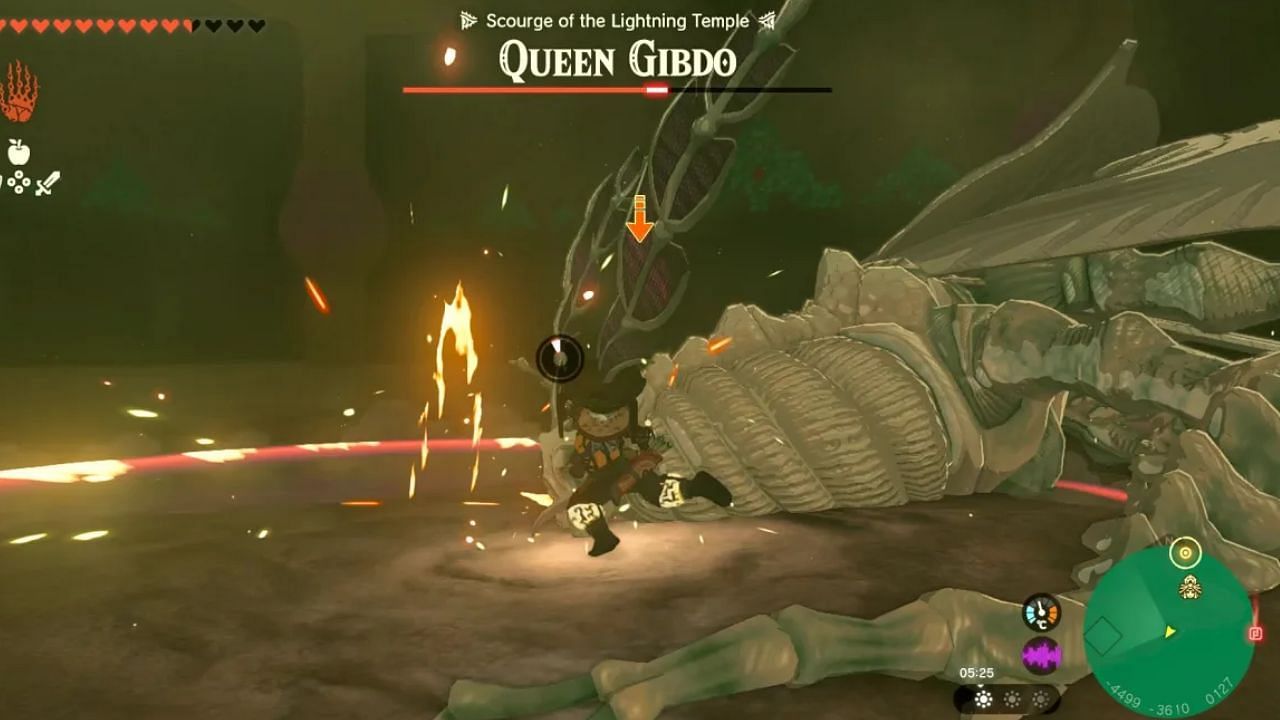
Use Riju’s Lightning on the ceiling to spawn Queen Gidbo. After that, use lightning to weaken her and follow up with normal attacks. After chipping her health down, she’ll spawn smaller Gibdos. Use the room's mirrors and light beams to weaken them and the Queen.
Once you defeat her, that pretty much wraps up the Lightning Temple in The Legend of Zelda Tears of the Kingdom. Afterward, you can use the Lightning Temple as a fast travel point.

Are you stuck on today's Wordle? Our Wordle Solver will help you find the answer.