

'%20x='0'%20y='0'%20height='100%25'%20width='100%25'%20%0A%20%20%20%20%20%20%20%20%20%20xlink%3Ahref='data:image/jpg;base64,/9j/4AAQSkZJRgABAQAAAQABAAD/2wCEAAMDAwMDAwQEBAQFBQUFBQcHBgYHBwsICQgJCAsRCwwLCwwLEQ8SDw4PEg8bFRMTFRsfGhkaHyYiIiYwLTA+PlQBAwMDAwMDBAQEBAUFBQUFBwcGBgcHCwgJCAkICxELDAsLDAsRDxIPDg8SDxsVExMVGx8aGRofJiIiJjAtMD4+VP/AABEIAAYACgMBIgACEQEDEQH/xABhAAEBAQAAAAAAAAAAAAAAAAAABQcQAAIBAwIHAAAAAAAAAAAAAAEDAgAEBREyBgcIExQhIwEBAQAAAAAAAAAAAAAAAAAAAQMRAAICAwAAAAAAAAAAAAAAAAIhAAEDEkH/2gAMAwEAAhEDEQA/AMb5udQmR4mw9ziFWE7ALgUzYp5+2mm/1tqhjVeRjrRzTAsZbrnM9qB1MogmlKMIC1JCV3s+z//Z'%3E%3C/image%3E%3C/svg%3E)
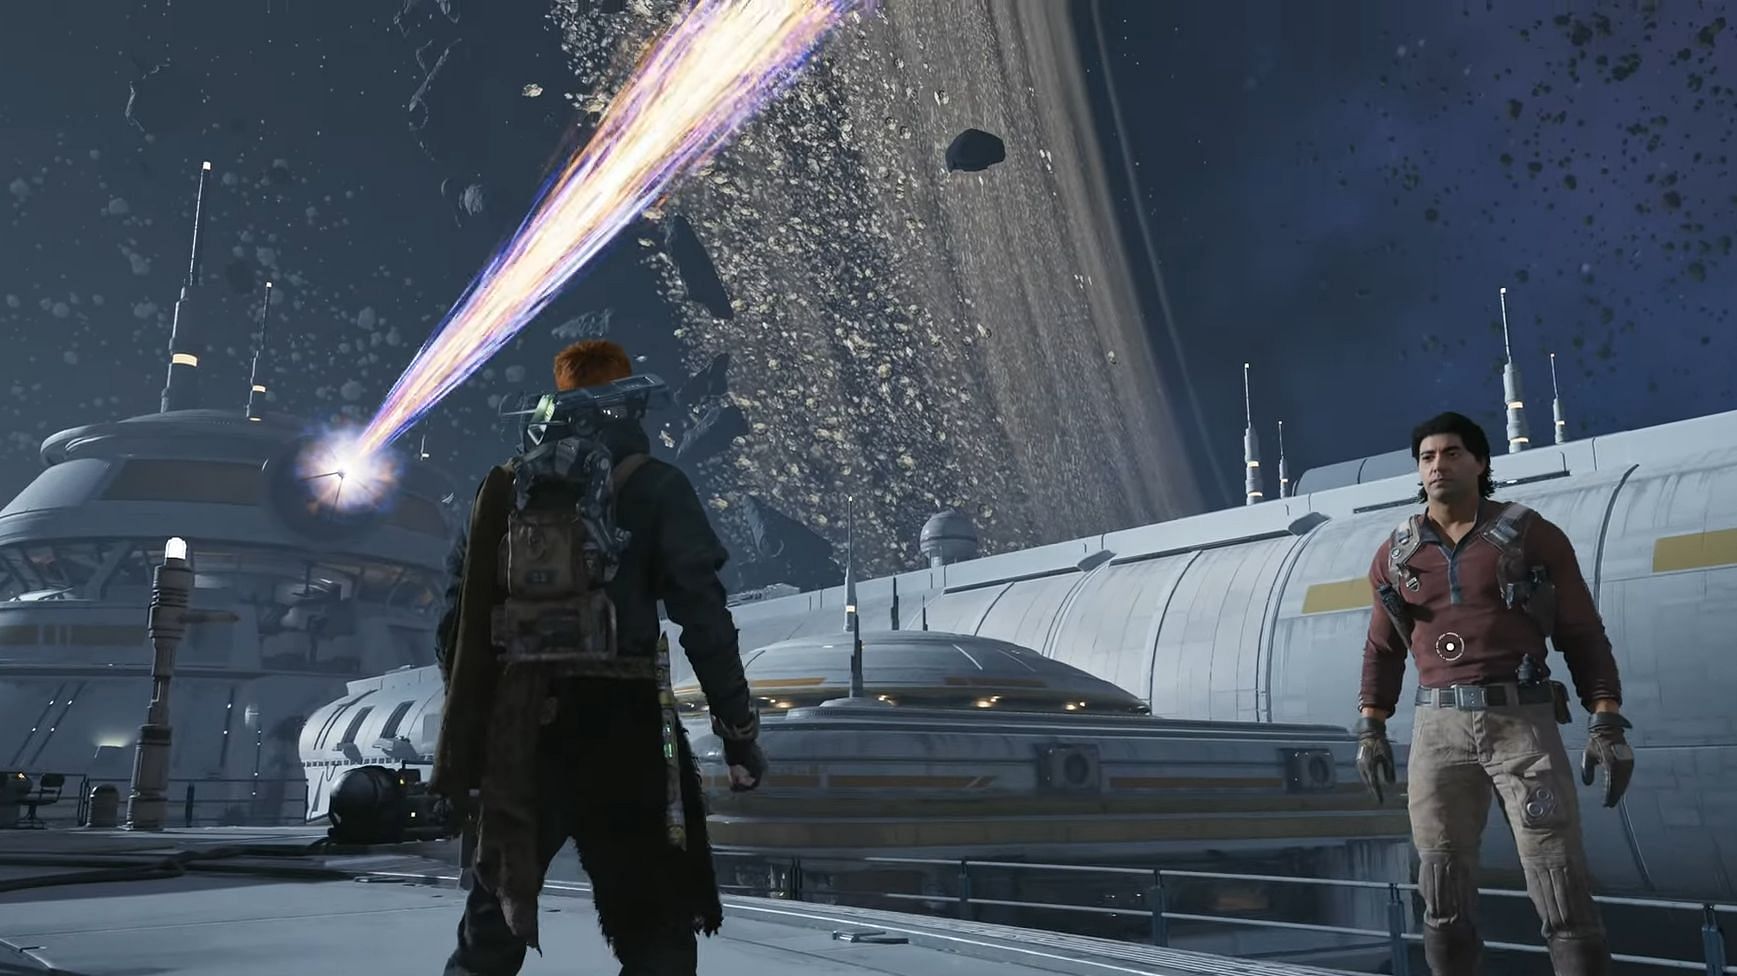
Star Wars Jedi Survivor takes players to various adventurous locales around the galaxy. From ancient ruins to hostile urbanscapes, each brim with secrets to discover. On their journey to breaking the shackles of the Empire, Cal Kestis and BD-1 will visit the planet of Jedha for answers. After meeting with Nightsister Merrin and rendezvousing with Cere at her base, it's time for the next part of the plan: Researching Tanalorr. This is the first step towards unearthing new information about how to navigate the Koboh Abyss to reach the planet world first discovered by Dagan Gera.
After returning to the hangar, Cal will meet up with Bode Akuna, who opens up two possibilities for travel: Koboh or its Shattered Moon. Both will need to be explored to progress the narrative in Star Wars Jedi Survivor. However, this walkthrough covers the lab on the moon first.
Gear up to explore Koboh's moon in Star Wars Jedi Survivor
Looking for Crossword hints & solutions? Check out latest NYT Mini Crossword Answers, LA Times Crossword Answers, and Atlantic Crossword Answers
Here are the objectives for the Shattered Moon segment in Star Wars Jedi Survivor:
- Research Tanalorr on the Shattered Moon
- Defeat Reprogrammed Magnaguard
- Continue navigating the facility
- Defeat Drya Thorne
Research Tanalorr on the Shattered Moon
Enter the Mantis and set the Shattered Moon as your destination. On arrival, head out and take the elevator down (which is marked on the map). This leads to the first Meditation Point in this area. However, the destroyed bridge will force Cal to take a detour. Go to the left and follow the parkour path to reach the other end.
Be wary of the hot jet-like blasts popping out of the gratings as you cross them. Interact with the Automated Forge Meditation Point, and create a zipline back to the mouth of the bridge. Head further inside the door next to the point to come across a maintenance droid. While paths branch in all directions, simply head forward but be watch out for the Bedlam Raider Veteran waiting in ambush around the corner.
Head past to find a couple more enemies near a locked door. Since it cannot be opened yet, take the path to the right and head upwards to find more foes. Battle them and head inside a sizable room with a bunch of B1 Droids inside cases. It is recommended to use Force to pull them to you and instantly destroy them before they can come to life as Cal heads further into the room.
Reach the other end to find another locked door, which BD-1 can unlock. Be prepared because the corridor up ahead leads to the first boss fight on the Shattered Moon in Star Wars Jedi Survivor.
Defeat the Reprogrammed Magnaguard

After heading right, this will initiate a fight against the Reprogrammed Magnaguard mini-boss in Star Wars Jedi Survivor. Wielding a staff, the mini-boss is capable of multi-hit combos. It mixes things up with an unblockable swing during its string of attacks, but this should be relatively easy to avoid. The most dangerous trick up its sleeve is an unblockable attack where it launches itself into the air and lunges toward Cal.
Thankfully, its stance gauge is easy to whittle down and does not have much health either. Note that carelessness will still lead to trouble as it is a surprisingly agile foe that can deal decent damage. This is true especially at half health, where it will become more aggressive. Once dealt with, Cal can proceed through the doorway the droid entered.
Continue navigating the facility
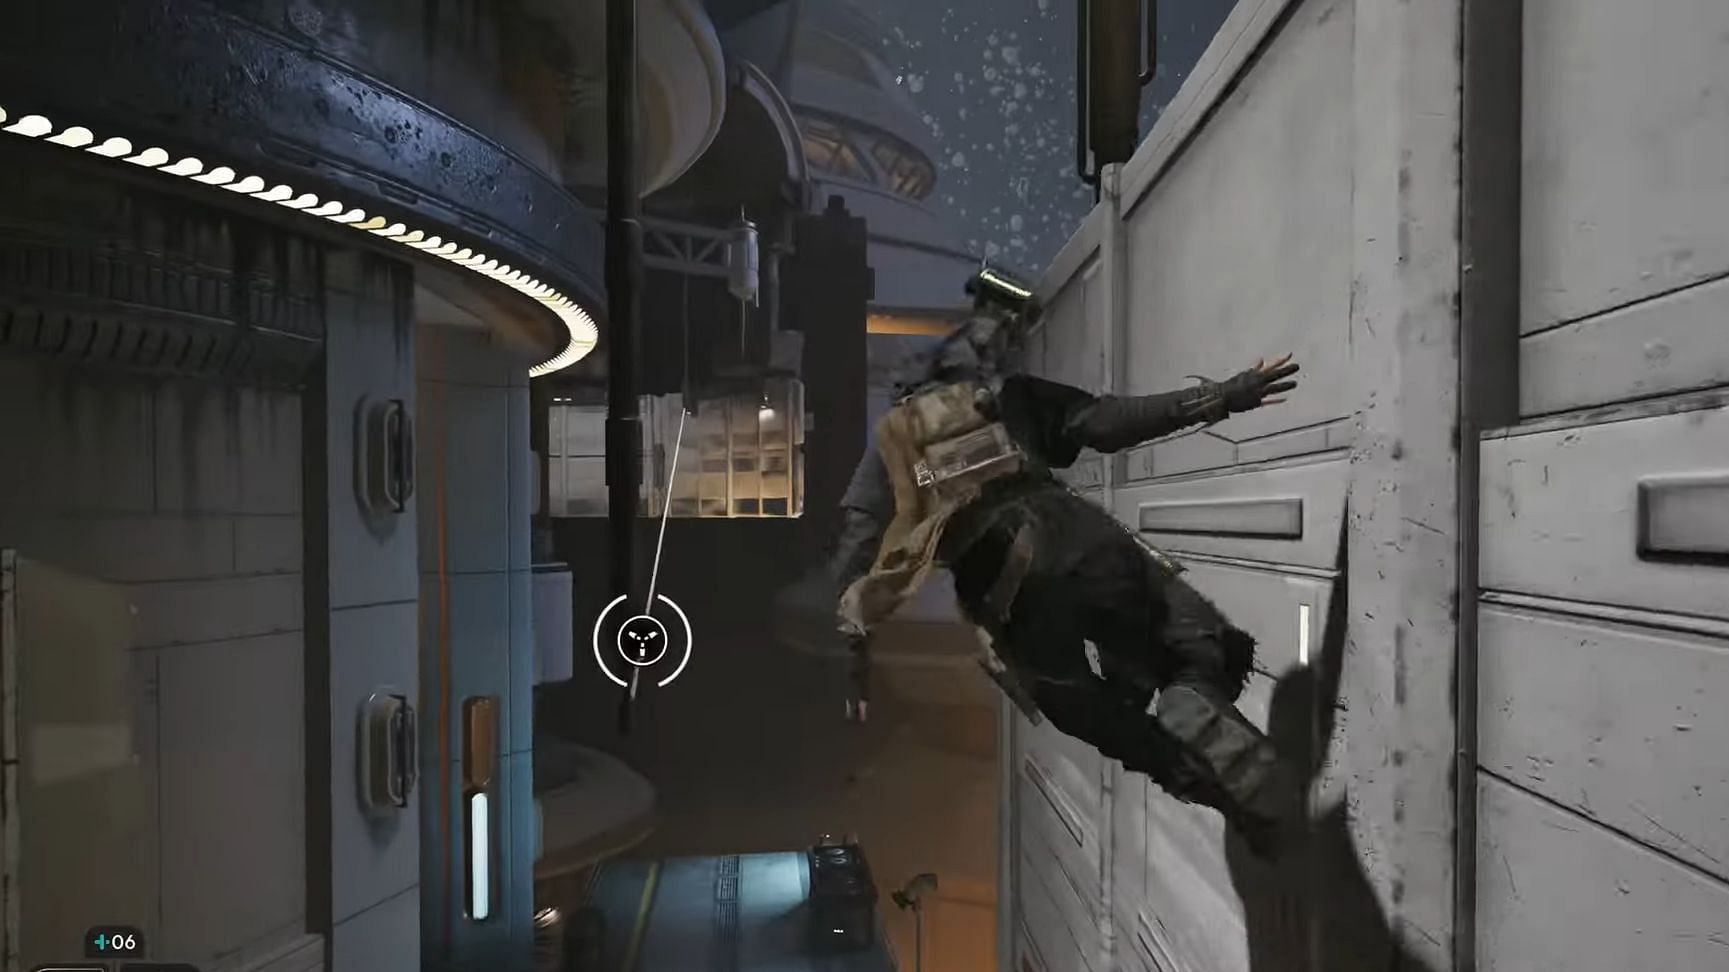
Take note of the Force interactable panel on the left, which should turn off the harmful fumes coming from the wall. Parkour across the next segment while taking care not to come in contact with the electric arcs. Climb to the top and cross the gap on the right by wall-running. Activate the zipline and hop on it to reach the next platform. Another set of ziplines awaits, except there are parts where Cal can be electrocuted, so be sure to switch lanes on the way down.
The main path is to the left, but first unlock the door on the right which leads back to the Automated Forge Meditation Point. Now head back and follow the path to encounter more hazardous wall-climbing. Once again, avoid the damaging electric arcs and reach the end of the linear section after crossing more ziplines and wall-run platforms. There is more wall-climbing to be done as the path curves, leading to ambushing a couple of droids.
Follow the path to reach the Staging Assembly and interact with the zipline to establish a shortcut. To the right of it is a force field with a Bedlam Raiders group behind it. Take the path to the right of the force field to grapple onto a grate that will fall down, pushing Cal into a pit with many critters to deal with. After defeating them, grapple onto the small droid above to continue climbing.
Be sure to unlock another rope shortcut at the end of the path and look right to drop down into the area beyond the previously encountered force field. In addition to the Raider, there are a couple of B2 Droids. Parkour across the walls after dealing with them to get to the other side on top. Interact with another zipline machine to be able to go back to the previous area.
Head further down the main path to reach more enemies, but most notably, a slope of platforms past them with waves of electricity coursing through. Platform your way across while avoiding both the current and enemy fire. On reaching the end, cross the gap to fight a few BX Droids. Past them, take a right, and use the rope to swing across the chasm. Here onwards, it is a linear romp filled with platforming and combat segments.
At the top, the Bedlam Raiders will close the lab doors, forcing Cal to find a way around. Take the right path to come across the Array Channel Meditation Point. Hop onto a blue swinging platform nearby using Force Stop and reach the grapple. Get to the other side to reach the Superstructure Fabricators area and use the machine on the left to unlock a shortcut back to the Meditation Point. Now take a right to swing across another set of ropes to reach a circular room.
Defeat Drya Thorne
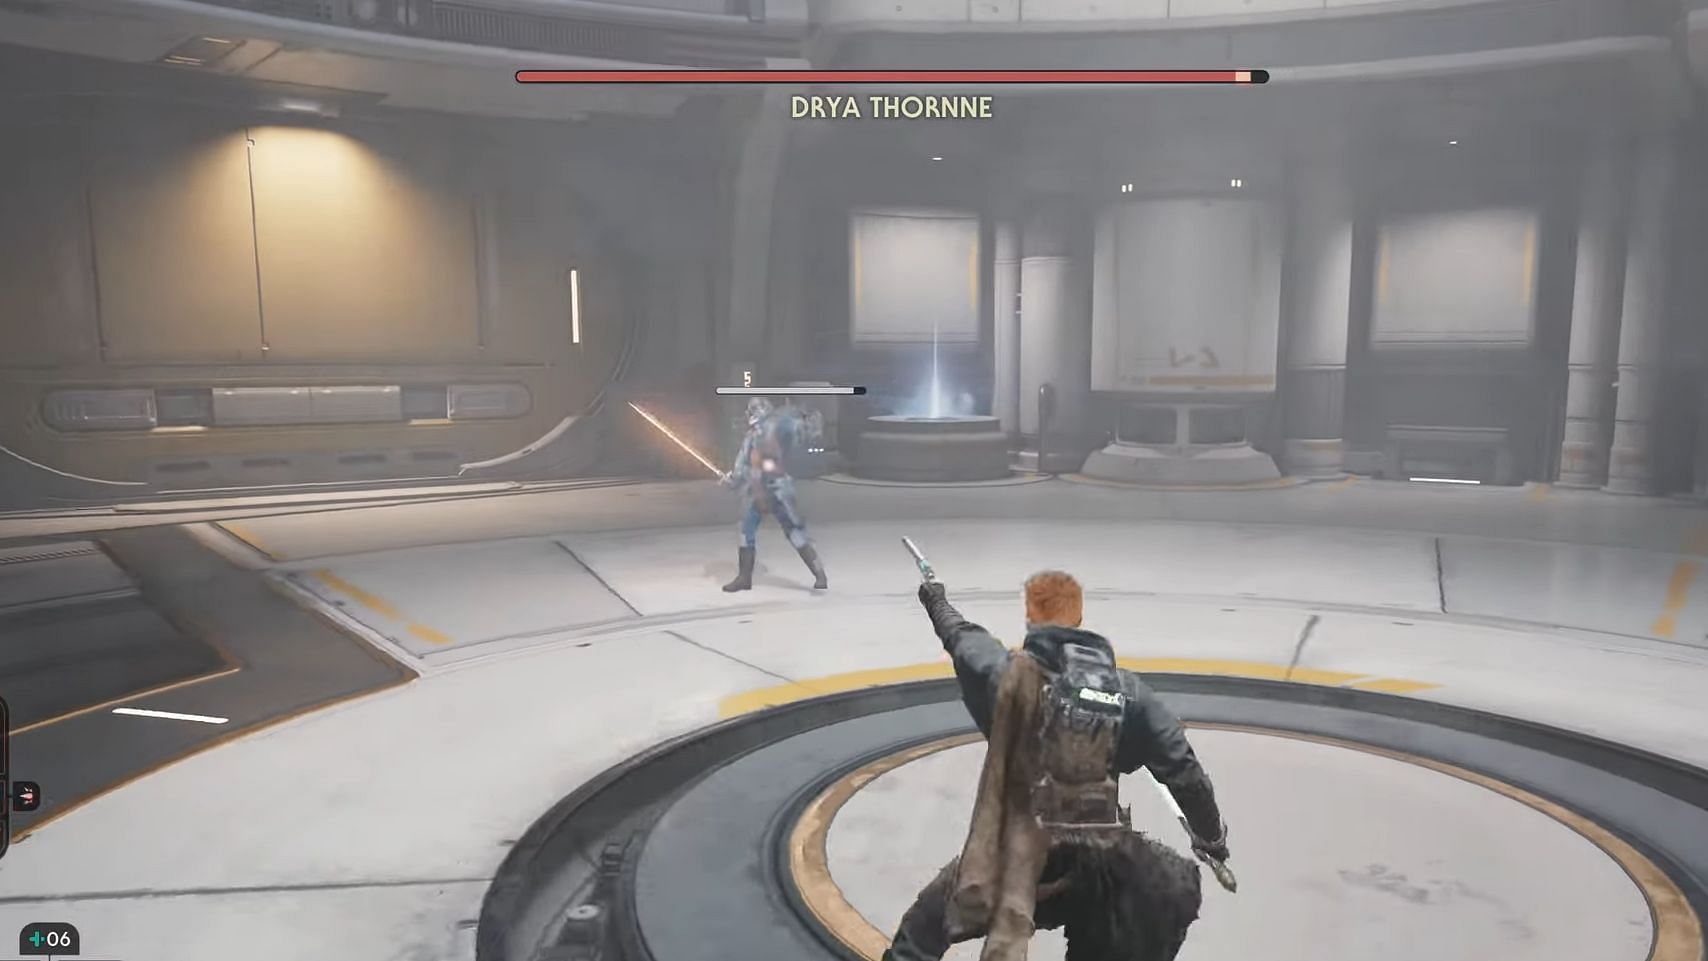
Interact with the High Republic device on the left side of the room to initiate a main story boss fight against the Bedlam Raider's Drya Thorne. His main gimmick is invisibility. However locking on to him should relieve this issue. He is still a pretty agile foe who attacks using a combination of lightsaber and blaster attacks. He utilizes the Crossguard stance, making his attacks slow but also hard-hitting.
Thorne uses a three-hit combo and can dodge attacks at range. Occasionally, he can throw a proximity mine at Cal. Focus on parrying while swooping in during opportune moments to demolish his stance gauge. When he is in low health, this should initiate a cutscene where Cal finishes him off. This also unlocks the Crossguard stance for Cal's use in Star Wars Jedi Survivor.
The Crossguard stance grants extra stamina for the slow but powerful swings. Unlock the door to exit the area and test the new stance on a few enemies in your way. Reach the other end to unlock a zipline back to the hangar with the Mantis for the second destination in researching Tanalorr: Koboh. This wraps up the On the Trail section for Star Wars Jedi Survivor. Check out the previous walkthrough here.
Star Wars Jedi Survivor is available on PC, PS5, and Xbox X|S.

Struggling in a galaxy far far away? Our guides make it easy. May the force be with you!