
'%20x='0'%20y='0'%20height='100%25'%20width='100%25'%20%0A%20%20%20%20%20%20%20%20%20%20xlink%3Ahref='data:image/jpg;base64,/9j/2wBDAAYEBQYFBAYGBQYHBwYIChAKCgkJChQODwwQFxQYGBcUFhYaHSUfGhsjHBYWICwgIyYnKSopGR8tMC0oMCUoKSj/2wBDAQcHBwoIChMKChMoGhYaKCgoKCgoKCgoKCgoKCgoKCgoKCgoKCgoKCgoKCgoKCgoKCgoKCgoKCgoKCgoKCgoKCj/wgARCAAGAAoDASIAAhEBAxEB/8QAFQABAQAAAAAAAAAAAAAAAAAABAf/2gAIAQEAAAAAkRf/xAAUAQEAAAAAAAAAAAAAAAAAAAAC/9oACAECEAAAAF//xAAUAQEAAAAAAAAAAAAAAAAAAAAB/9oACAEDEAAAAH//xAAeEAACAgEFAQAAAAAAAAAAAAABAgMEEQAFEyEi0f/aAAgBAQABPwCGzZuLuUqcULSgSeCwEZXs8Yz5zopbQlW3C1kdHEjfdf/EABQRAQAAAAAAAAAAAAAAAAAAAAD/2gAIAQIBAT8Af//EABgRAAIDAAAAAAAAAAAAAAAAAAABAhEh/9oACAEDAQE/AIq1p//Z'%3E%3C/image%3E%3C/svg%3E)
Fans of Minecraft PvP servers have likely come across Lunar Client in the past. For those unaware, it will optimize the game and make it run more smoothly with higher FPS.
Lunar Client also includes PvP mods that will help players win more PvP fights. Some of these mods include FPS counter, CPS counter, Hitboxes, Macros, and Auto-sprint.
Downloading and using Lunar client is completely free. Users can learn how to do so by following the helpful guide below.

Chart New Territories with the ultimate Minecraft Seed Generator!
How do you download and install Lunar Client for Minecraft?
Downloading Lunar Client
Lunar client currently only supports Minecraft Java Edition, and there are no plans to support any other versions of Minecraft. It is available for Windows, macOS, and Linux operating systems.
Players can click here to download the Lunar Client installer.

After downloading the installer exe file from the Lunar website, gamers must launch this downloaded file.

On this screen, they should hit "I Agree." The client should now successfully proceed to install.

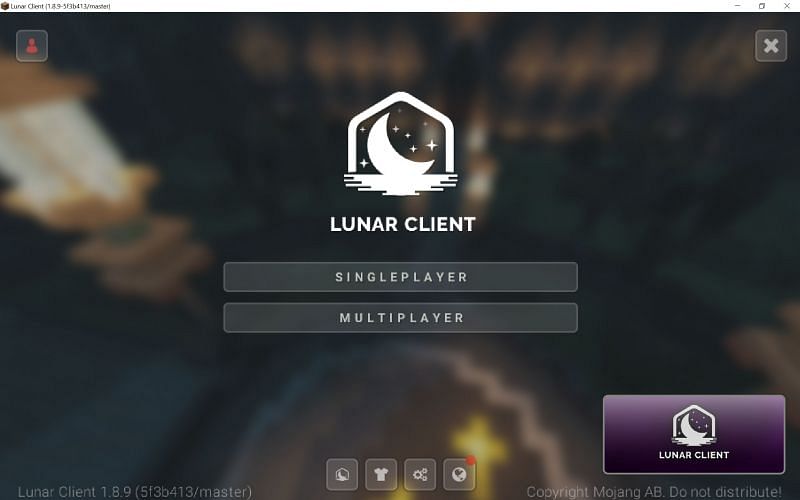
If all has been done correctly thus far, users should now be greeted by the official Lunar Client main menu, as shown above.
Launching Lunar Client for the first time
Lunar Client currently supports five major Minecraft versions, which are:
- Minecraft version 1.7
- Minecraft version 1.8
- Minecraft version 1.12
- Minecraft version 1.16
- Minecraft version 1.17
To change the currently selected Minecraft version to launch the game, players can hit the white arrow on the green box in the center of the screen.
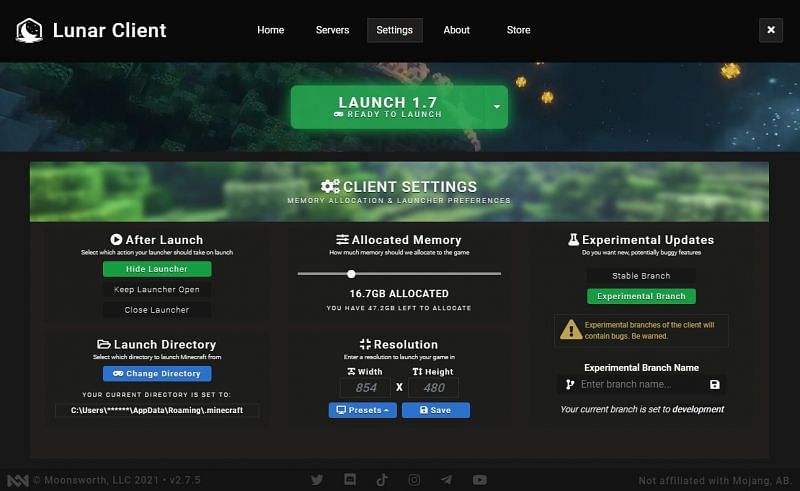
To ensure the game launches correctly with enough RAM, they can navigate to the "Settings" tab on the navbar of the launcher menu screen.
In the settings menu, gamers can change a plethora of features, including allocated memory.
Those on high-end systems can choose to allocate several GB of RAM to Minecraft to ensure high performance, as seen below:
Once the settings have been modified to the user's liking, the "Home" button can be pressed on the navbar. Once they are ready, they can hit the "Launch" button, which will now launch the Minecraft game itself.
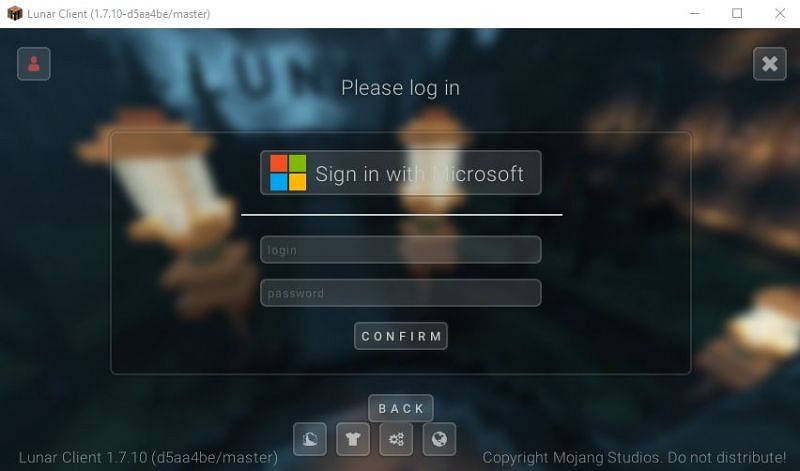
After launching the game, players should be greeted with the login menu, as seen below. Here, they need to fill in their Minecraft account details.
Once done, gamers will be able to enjoy the game as usual with all the bonuses provided by Lunar Client.
Once in-game, they can press their right shift button to open up the Lunar menu, where client settings and enabled PvP mods can be controlled.
Also read: Top 3 Minecraft servers with dropper

Uncover new worlds with our Minecraft Seed Generator!