
'%20x='0'%20y='0'%20height='100%25'%20width='100%25'%20%0A%20%20%20%20%20%20%20%20%20%20xlink%3Ahref='data:image/jpg;base64,/9j/2wBDAAYEBQYFBAYGBQYHBwYIChAKCgkJChQODwwQFxQYGBcUFhYaHSUfGhsjHBYWICwgIyYnKSopGR8tMC0oMCUoKSj/2wBDAQcHBwoIChMKChMoGhYaKCgoKCgoKCgoKCgoKCgoKCgoKCgoKCgoKCgoKCgoKCgoKCgoKCgoKCgoKCgoKCgoKCj/wgARCAAGAAoDASIAAhEBAxEB/8QAFgABAQEAAAAAAAAAAAAAAAAAAAUG/8QAFQEBAQAAAAAAAAAAAAAAAAAAAgT/2gAMAwEAAhADEAAAAIOxIz//xAAfEAACAgIBBQAAAAAAAAAAAAACAwQRAAUHARIjQtL/2gAIAQEAAT8AkcobyfBYpwQUDJU0DKPHog6V6leI5F2IJWC4Wt7BGh8Jfef/xAAZEQABBQAAAAAAAAAAAAAAAAACAAEDBCH/2gAIAQIBAT8AK7OL4S//xAAYEQADAQEAAAAAAAAAAAAAAAABAgMAIf/aAAgBAwEBPwCcUYdG/9k='%3E%3C/image%3E%3C/svg%3E)
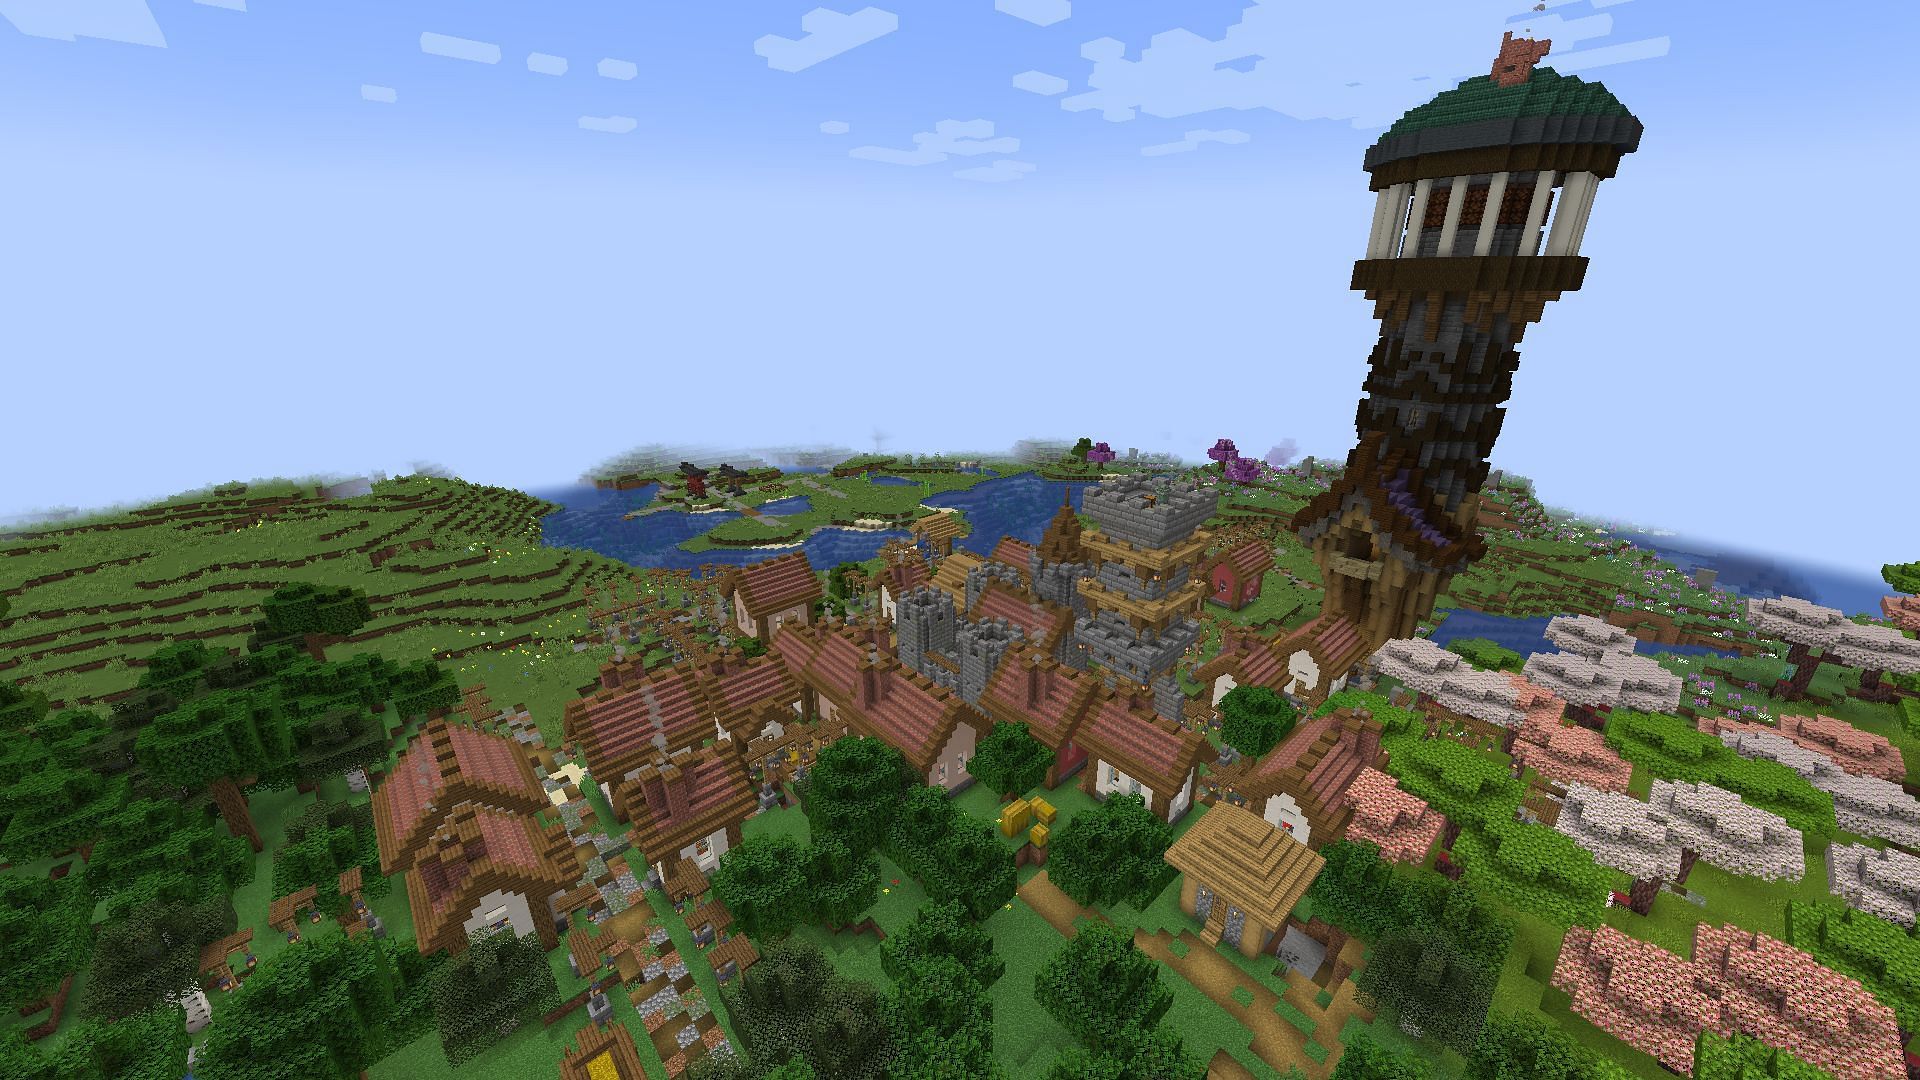
One of the things that has helped ensure Minecraft's continued popularity and success is the game's active modding community. Players have created thousands of different pieces of custom content, from new biomes all the way to entirely custom dimensions. Given how many different mods there are for the game, the creation of modpacks that combine them was inevitable.
While there is no shortage of community-made modpacks for Minecraft, there is something special about tailoring a custom and personalized Minecraft experience. Detailed below is how you can make your own modpack for whichever version of Minecraft you prefer.

How to make a custom modpack for Minecraft
1) Open CurseForge
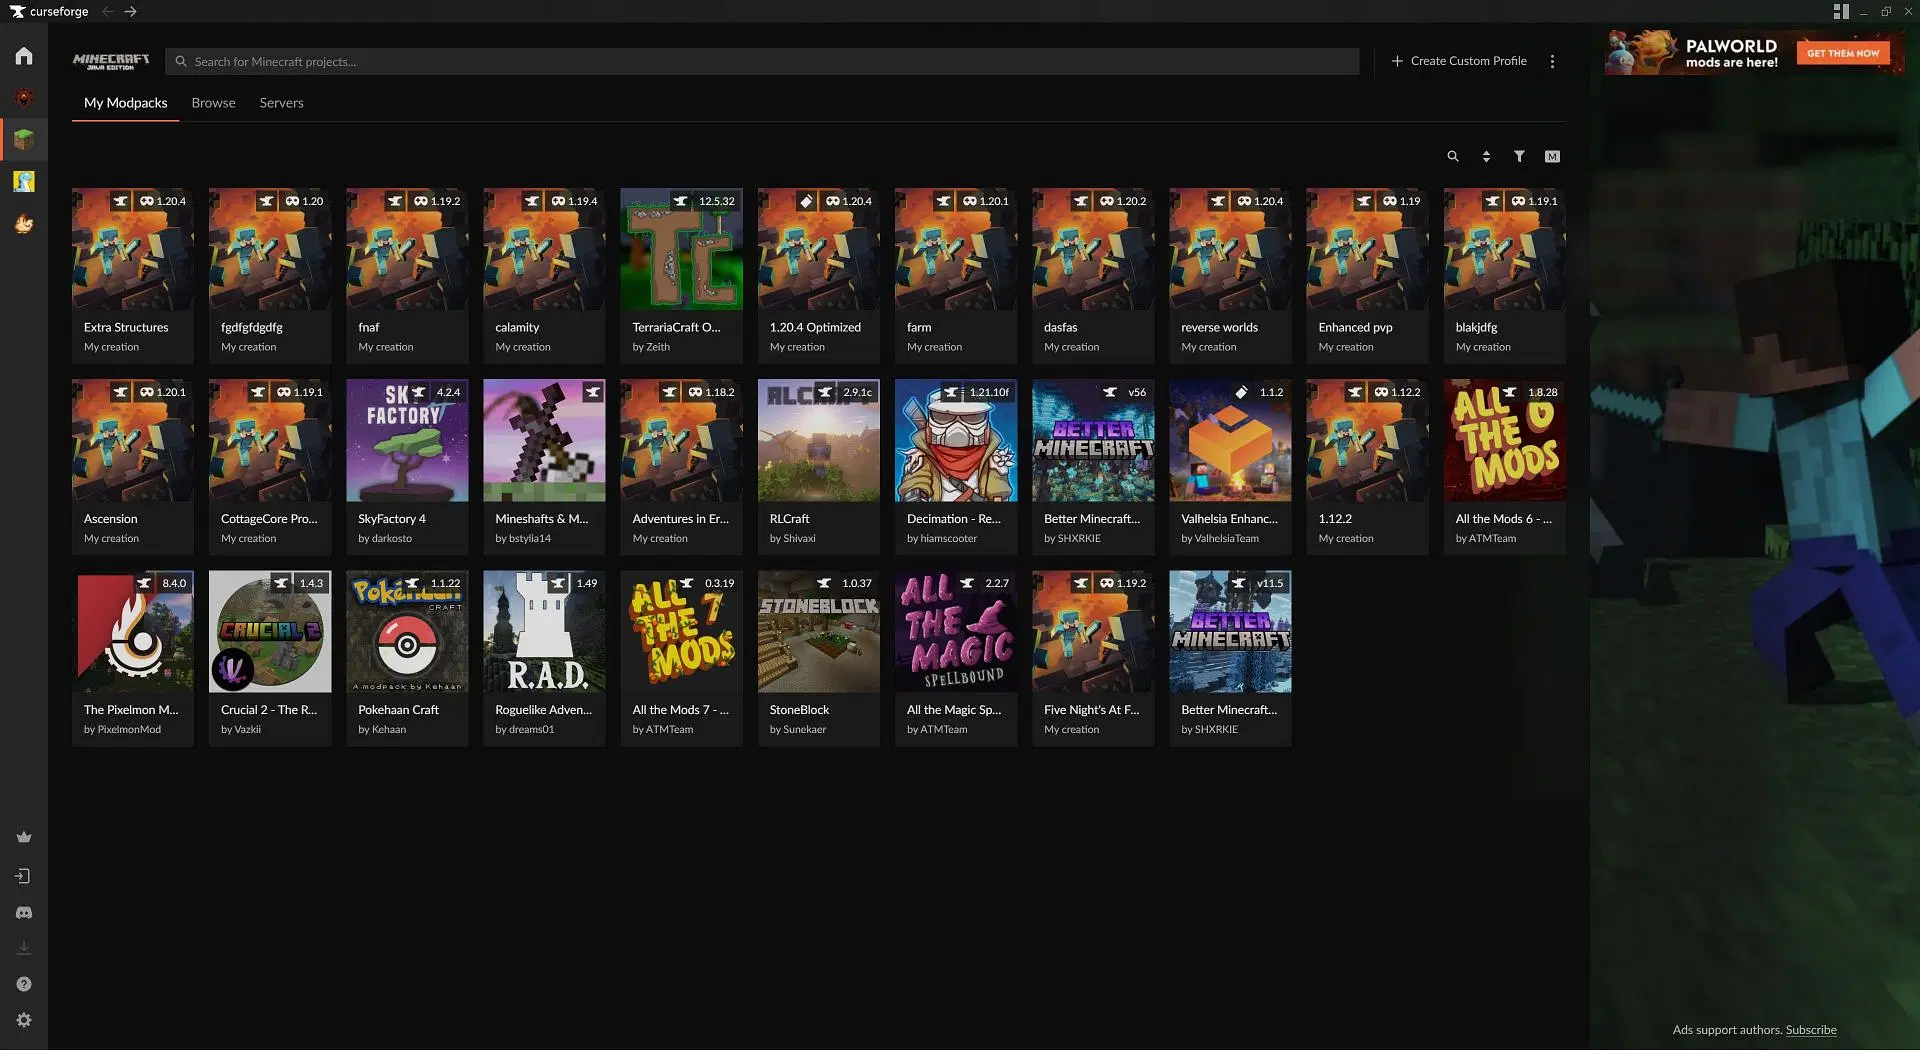
Chart New Territories with the ultimate Minecraft Seed Generator!
The first thing you'll need to do to create a custom modpack is open the CurseForge program. This program handles mod installation and generally makes creating modpacks much easier. The biggest downside is that some of Minecraft's best mods (such as Optifine) are not on the program and have to be installed manually.
2) Create a profile
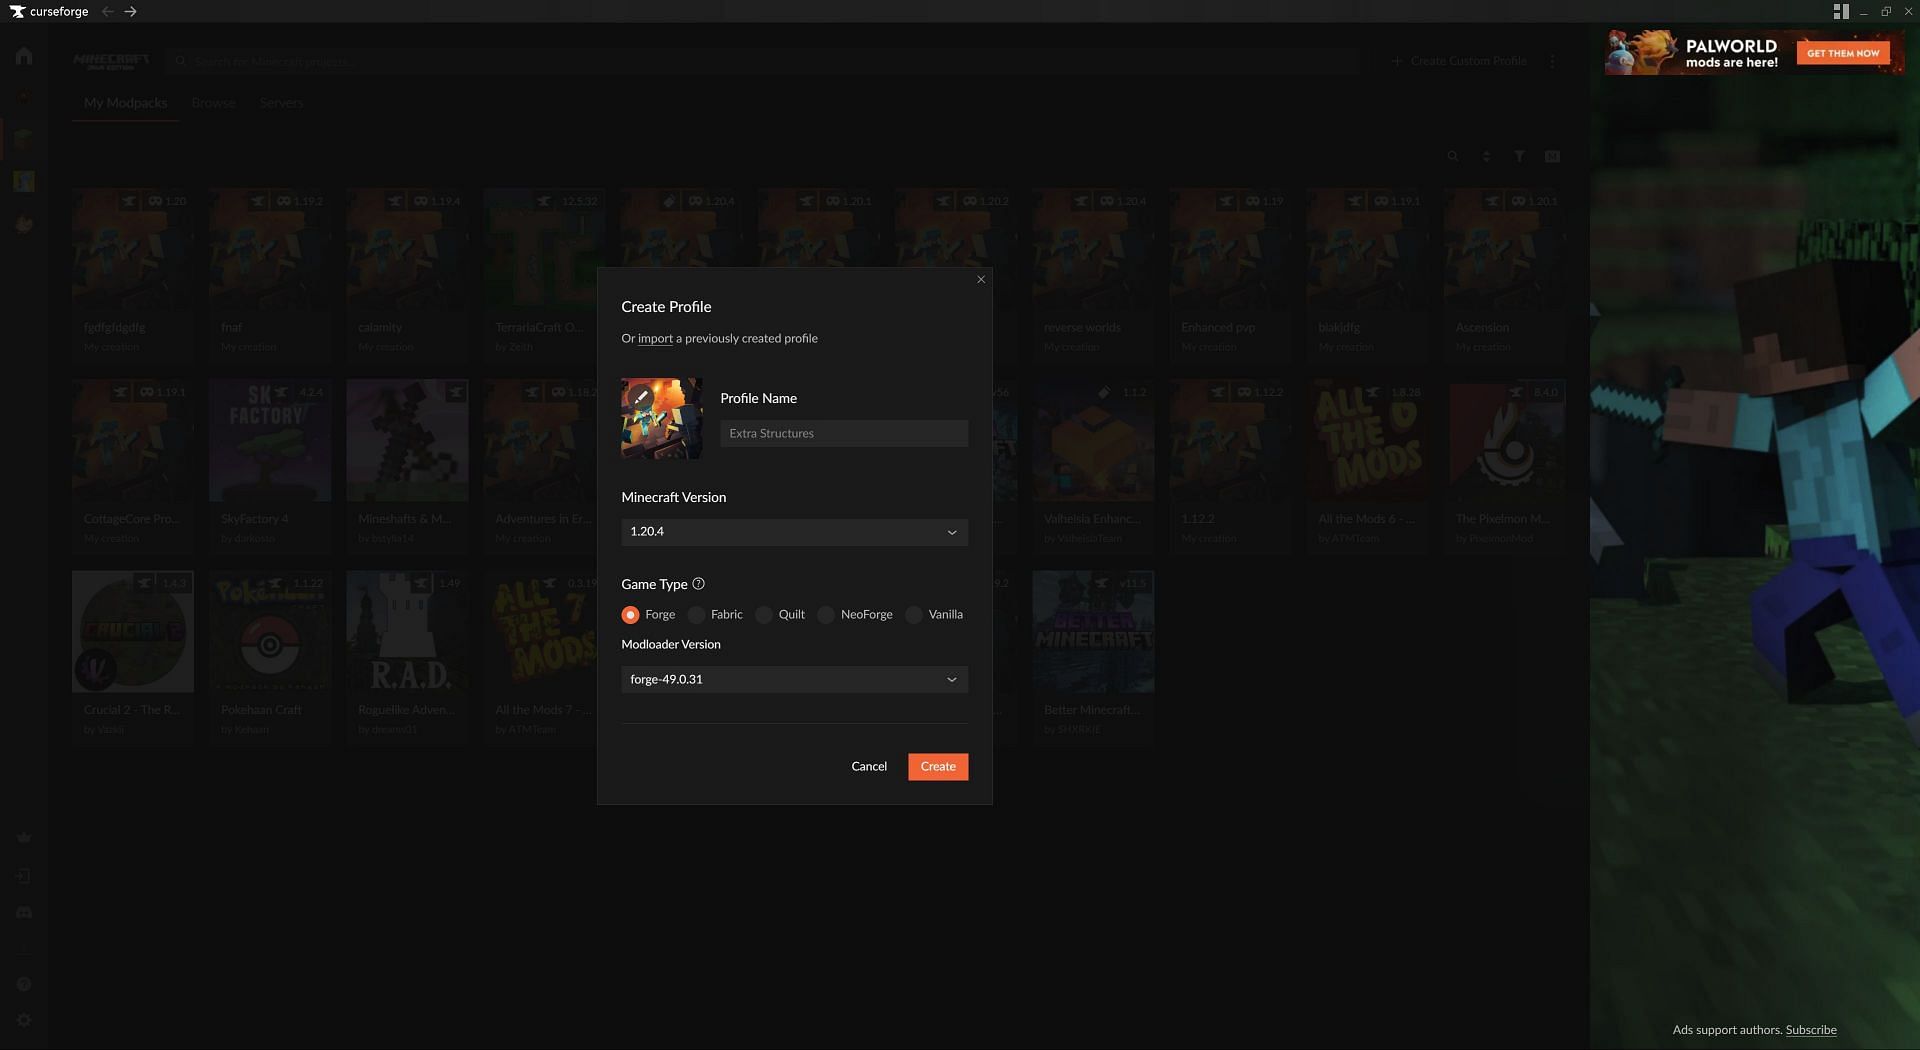
Profiles are distinct installations of Minecraft, each a different version with different mods. Click on the "Create Custom Profile" button near the top right of the screen. You can name your profile whatever you'd like, but it's recommended that the name be useful for remembering the mods installed. This example modpack is called "Extra Structures," for example.
Below this is a drop-down menu that allows you to select any of Minecraft's many different versions to use as your modpack's base. It will automatically adjust the modloader selected to be a compatible version for the selected option.
Speaking of modloaders, the option for different ones is below the game version. The default is Forge, and it is recommended to leave this unless you know you want a mod that doesn't have a Forge version. Forge is the de facto modloader, and as such, it has the most mods made for it.
Once you have made your selections, hit the orange "Create" button in the bottom left of the "Create Profile" window. This will install the selected version of the game along with the modloader for it.
3) Add some mods
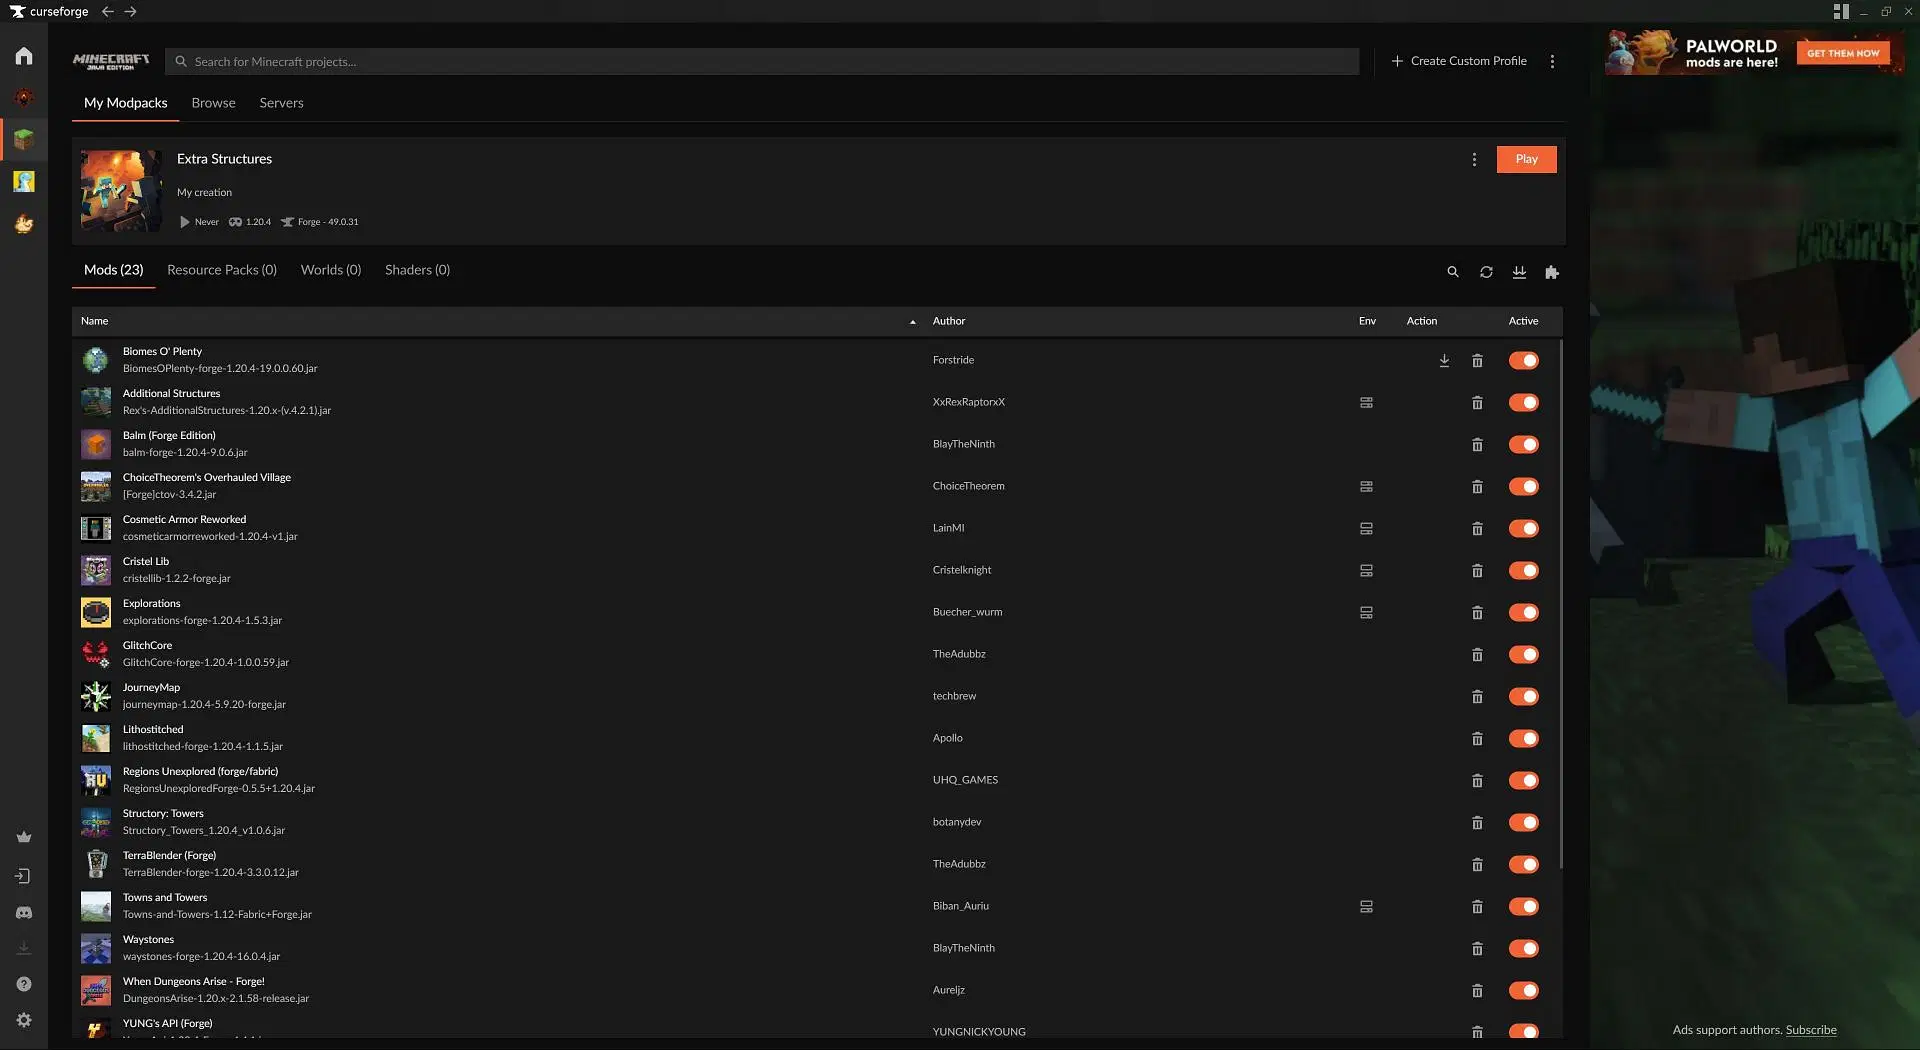
Now that the profile has been created, it's time to put a mod in modpack. Click the button that looks like a jigsaw puzzle piece found underneath the orange "Play" button. This will open the content browser. This is where you can search for whatever mods you want to install and add them to the modpack using the orange "Install" button. Once you are done, use the X to return to the profile's homepage.
CurseForge is normally good at automatically adding dependencies to the modpack, but make sure to double check that all required libraries are installed.
4) Play the game
Now that all of the mods you want to use are installed in your Minecraft modpack, all you need to do is hit the orange "Play" button. This will open a version of the game's launcher set to the modpack's custom profile. Hit play and let the game load. Depending on the number and size of the mods you added, it may take several minutes to launch.
Once you are at the main menu, it is the same as any other Minecraft game. Just hit single player, create a new world, and get to work on a new Minecraft starter base so you can jump into all the custom content you added.

Uncover new worlds with our Minecraft Seed Generator!