
'%20x='0'%20y='0'%20height='100%25'%20width='100%25'%20%0A%20%20%20%20%20%20%20%20%20%20xlink%3Ahref='data:image/jpg;base64,/9j/2wBDAAYEBQYFBAYGBQYHBwYIChAKCgkJChQODwwQFxQYGBcUFhYaHSUfGhsjHBYWICwgIyYnKSopGR8tMC0oMCUoKSj/2wBDAQcHBwoIChMKChMoGhYaKCgoKCgoKCgoKCgoKCgoKCgoKCgoKCgoKCgoKCgoKCgoKCgoKCgoKCgoKCgoKCgoKCj/wgARCAAGAAoDASIAAhEBAxEB/8QAFgABAQEAAAAAAAAAAAAAAAAAAAUH/8QAFQEBAQAAAAAAAAAAAAAAAAAAAgT/2gAMAwEAAhADEAAAAMclCk//xAAdEAACAgMAAwAAAAAAAAAAAAABAgMEAAURFHGB/9oACAEBAAE/AKktQayy/jIwggkRurwsPeNqKQJ6Zu/M/8QAFxEAAwEAAAAAAAAAAAAAAAAAAAERIv/aAAgBAgEBPwCaZ//EABcRAQADAAAAAAAAAAAAAAAAAAIAASH/2gAIAQMBAT8ASsnJ/9k='%3E%3C/image%3E%3C/svg%3E)
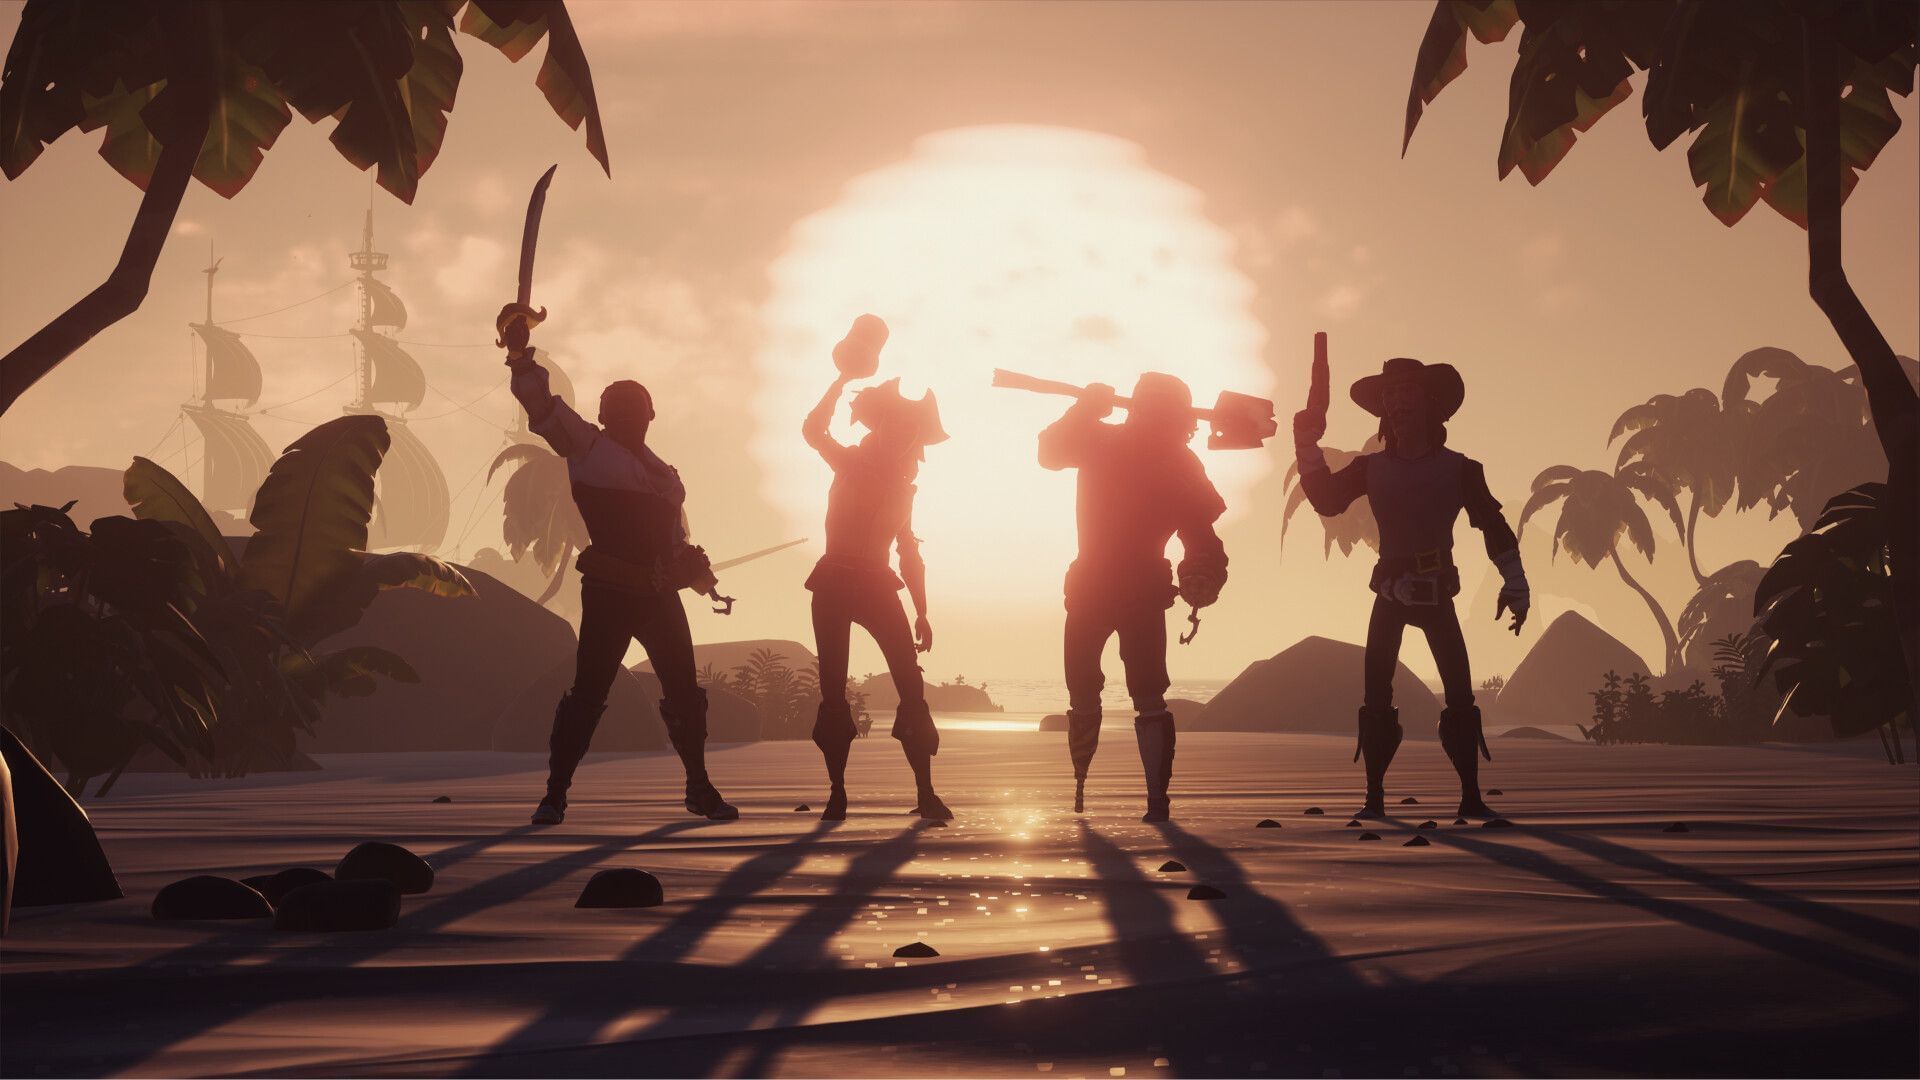
The third iteration of Tall Tales in Sea of Thieves is called The Lair of LeChuck. You will have to start this Tall Tale like all other quests in the game, i.e. by going to to Capsize Charters. It does not matter which outpost you visit for this. Once you reach Capsize Charters, you will have to vote on the third book, which will start The Lair of LeChuck Tall Tale for you.
In this article, we will walk you through everything you need to know about The Monkey Tall Tale 3 - The Lair of LeChuk quest in Sea of Thieves, including how to finish all the commendations and more.
(Note: There has been a bug in this Tall Tale where you might not unlock all the rewards even if you complete all the Commendations. We hope that it gets fixed as soon as possible if the issue has not been rectified yet.)
All Herman’s Note locations in Sea of Thieves - The Lair of LeChuck Tall Tale 3

There are 10 Note locations in The Lair of LeChuck Tall Tale in Sea of Thieves.
- No More Neighbours: This note can be found on a rock that you will come across on the beach, east of where you dock your ship.
- What Goes Around…: This note can be found on the wreckage of a broken down ship near the shore. The note will be nicely placed on a pile of wooden planks.
- Helping Hands: This note can be found on a rocky protrusion along the shoreline. You can find this location a little distance away from the ship wreckage.
- Baiting the Trap: You will find the fourth note inside the Supply Cache. You will have to open the Supply Cache using the Supply Cache Key.
- Vandals: You can find this note while searching for the Herman’s Rowboat location. This will be at the forked road where you will find a pocket watch on the left path.
- Here We Go Again: While leaving the swamp in Herman’s Rowboat, you will come across a skeleton hanging from a tree. On the right side, you will find the next note next to a huge tree.
- A Dilemma: You can find this note next to the giant ship mast holding the Caged Monkey Idol.
- Cease Fire: You will come across this note inside Herman’s Stockade.
- Enough is Enough: After landing from the zipline from Herman’s Stockade, you will find this note on a red rock to your left.
- Please Read: After climbing out of the riverbed using the footholds, you will find the last note in this Tall Tale of Sea of Thieves.
All Memoir locations in Sea of Thieves - The Lair of LeChuck Tall Tale 3
There are 10 Memoir locations in The Lair of LeChuck Tall Tale in Sea of Thieves.
- After docking your ship, run east along the shore until you find two wooden crates. This is the first Memoir location.
- The second Memoir can be found beside the shipwreck on the beach, next to a tall tree. You will have to sit on the tree.
- When you meet Guybrush to start your missions, the Memoir location will be right behind him on a rock. Take a seat and you will get the first Memoir.
- Walk North past Herman’s Chilled Banana Soup location. Take a left from the wooden bridge. Take another left after traveling some distance. Sit on the red rock with an inkwell next to it.
- You will find an inkwell next to a pile of rocks down in the ravine where you had excavated the Rowboat Oars. This is the fifth Memoir location.
- You will find a primitive art next to the last of Herman’s notes. There you will also find an inkwell next to a rock. This will be your sixth Memoir location.
- You will find another ladder leading to a cliff above. Make your way to the top. Here you will find an inkwell. Sit down here to get your seventh Memoir.
- Once you open the large Monkey Head using the Cotton Swab Key, you can find the eighth Memoir location on a lone crate with an inkwell next to it.
- Once you enter the Monkey Head and climb down using the spine, you will find a bunch of purple mushrooms. Here, you will find the next Memoir location.
- Once you are in the last chamber, you will find a pile of rocks with an inkwell next to it. This is the last Memoir location in this Tall Tale of Sea of Thieves.
All LeChuck’s Journal locations in Sea of Thieves - The Lair of LeChuck Tall Tale 3
There are 5 Journal locations in The Lair of LeChuck Tall Tale in Sea of Thieves:
- Chasing: As you are making your way through the catacombs inside the large Monkey Head, you will come across the first Journal near a molten lava chamber. It will be placed neatly on the floor.
- Plotting: You will find the second Journal on the upper level of the chamber filled with molten lava.
- Spying: If you move a few steps ahead, you will find the third journal of LeChuck to your left.
- Restoring: From the spot where Guybrush interacts with the skull, make your way up to the left. Here, you will find the fourth Journal of LeChuck.
- Imprisoning: Head across the bridge from the fourth Journal to find the fifth one next to some mushrooms.
All the Commendations in Sea of Thieves - The Lair of LeChuk Tall Tale 3
- Whoops...
- Part of the Crew
- Highly Strung
- The Castaway's Musings
- No Fruit-Picker Required
- A Helping Hand
- Second Biggest Monkey Head
- Ghost Writing
- Memoirs of a Legend, VOL. III
How to complete The Lair of LeChuck Tall Tale 3 in Sea of Thieves
- After reaching Monkey Island, park your ship parallel to the beach. This is necessary for the “Whoops…” Commendation.
- Start moving east till you reach The Black Pearl. Talk to all the crew members of the Black Pearl. This will give you the “Part of the Crew” Commendation.
- Talk to Guybrush after talking to the crew.
- Find Herman on the map in your Quest Book. You will learn a lot about Monkey Island in Sea of Thieves from him. Pick up Herman’s note from here to add four pages to your Quest Book.
- You will have to read Herman’s Jobs page to learn about Herman’s Supply Cache and Monkey Traps. After that, you will have to hunt in the dense forest for the Supply Cache Key.
- After getting the Cache key, make your way to the bottom of the ravine using a ladder near Herman’s Camp. You will then have to head west till you reach an iron cell.
- Pick a jar of chilled banana soup from here and return to Herman’s Camp to set up a monkey trap. You can use this to trap Herman which will give you the “Highly Strung” Commendation.
- Get the key to Herman’s Chest by shaking him thrice. You will find his Rowboat map which you will have to add to your Quest Book.
- After you find the Rowboat, you will have to make your way out of the swamp. As you paddle your way out, you will come across a hanging skeleton. Take the Buried Idol map from its hand and add it to your Quest Book.
- Using this, you will find the first of three Golden Monkey Idols that you need to open the fence that locks the path to the Giant Monkey Head.
- After placing the first Monkey Idol, you have to find the Caged Monkey Idol. You will find it in a cage hanging from the top of a giant ship’s mast.
- From here, make your way to the Sun Tan Spot. Keep moving north along the ravine and you will reach this location with ease.
- From here, make your way to Herman’s Stockade, which will be located across the water.
- You will need a Stockade key to open the door. The map that holds the location of the key can be found on the door of the Stockade.
- After you find the key and open the Stockade’s gate, use the telescope to locate the ship mast you encountered earlier. Use the cannon next to the telescope to knock down the mast. This will give you the Caged Monkey Idol.
- Pick the banana grease jar and zipline your way down to the mast you just destroyed.
- You will find a Gunpowder Gummy in one of the cages. You will need this to blow open the cage with the Monkey Idol.
- To blow up the Gunpowder Gummy, you will need to set up a chain of reflections using a spyglass. You will find the initial piece near the Black Pearl. Place it in a way that feels right. Since there is no fuse for this purpose, the spyglass will use light from the sun to heat up the gummy and blow it up.
- After this, go back to the shipwreck you came across at the beginning. It will have a couple of cupboards in it. You will have to go inside the wreckage and search the cereal boxes inside to recover the Toy Admiral’s Monocle.
- Take the Monocle and visit the Black Pearl. You will need this to set up the rest of the spyglass to complete the chain of reflections.
- After unlocking the cage, take the Monkey Idol and place it on the same hand as the first one.
- For the third idol, you will have to knock down the tall Monkey Tower that holds the last Monkey Idol in its hands.
- After you travel from the riverbed and reach the top of a cliff, you will find the last of Herman’s notes here. This will give you the “The Castaway’s Musings” Commendation.
- Use the primitive art on top of this cliff to knock down the giant Monkey Tower. Face the art to your South and then make your way to the cliff above. Here, you will need to use a boulder to launch the primitive art and in the process, break the large Monkey Tower.
- Use the primitive art two more times to complete two easy Commendations – “No Fruit-Picker Required” and “Whoops…”.
- Then zipline down from the cliff to collect the last Monkey Idol. Place the idol on the stone hand and this will complete the “A Helping Hand” Commendation in this Tall Tale of Sea of Thieves. It will also reveal a Cotton Swab Key.
- From here, return to Guybrush who will open the gate for you with the help of Spiffy.
- Insert the Cotton Swab Key into the left ear of the Monkey Head. This will complete the “Second Biggest Monkey Head” Commendation.
- After opening the entrance to the catacombs, you will need to use the Head of the Navigator to navigate through the catacombs and make your way into the deeper ends.
- If you reach a chamber filled with lava, you will know you are on the right path.
- Keep making your way deeper into the catacombs and make a few loops around the chamber till the Head of the Navigator finds a new route to the north.
- Follow the new path till you reach a skull that Guybrush will interact with. Around this area, you will find the last two Journals of LeChuck. Reading these will give you the “Ghost Writing” Commendation.
- You will then have to hop down a series of flat platforms to exit the lava chambers.
- Jump into the large pool of water to proceed to the next region of the catacombs.
- After reaching the final chamber, hand over the Head of the Navigator to Guybrush. Once you enter the final chamber, you will get the “Under Monkey Island” Commendation in this Tall Tale of Sea of Thieves.
- Chuck will spot Guybrush as soon as Guybrush takes off the necklace that had previously made him invisible. He will then sail his ship down the river of lava.
- Here, as you get the last Memoir, you will also complete the “Memoirs of a Legend, VOL. III” Commendation.
- Board the ghost ship that comes after Chuck sails off and follow him.
- As you reach Chuck’s ship, you will have to sink his ship. Let Guybrush do most of the fighting with Chuck. Around this time, Corinna will open a portal that you can use to return to the dock of Melee Island.
- Make your way to the church and defeat LeChuck, who will be waiting for you there. This will be the last objective in this Tall Tale of Sea of Thieves.
All Insults and Retorts needed for defeating LeChuck in The Lair of LeChuck Tall Tale in Sea of Thieves
Listed below are all the Insults that you will come across in Sea of Thieves while fighting LeChuck along with their appropriate Retorts:
Insult: Soon I shall rule the waters!
Retort: How appropriate. You fight like a Splashtail.
Insult: It's foolish to stand and fight me!
Retort: You're right, I should have brought a stool.
Insult: I shall be the Dread Pirate Lord!
Retort: You're nothing but a dead pirate fraud.
Insult: You Sea of Thieves pirates are a joke!
Retort: Allow me to deliver the PUNCH-line.
Insult: Captain Flameheart shall serve ME!
Retort: Will you be boiled or roasted?
Insult: Athena's Fortune will rally behind me!
Retort: At least they won't have to look at your face.
Insult: You'll pay for this insolence!
Retort: Do you take Bilge Rat Doubloons?
Insult: I shall claim Ramsey's seat of power!
Retort: Good idea. You look like you could use a rest.
Insult: The Sea of Thieves you know will soon be nothing but a memory!
Retort: Too bad no-one will remember YOU at all.
Insult: Elaine shall be my blushing bride!
Retort: Being seen with you would make anyone blush.
Insult: Pirates will clap their hands when they see me!
Retort: Sure. Over their eyes.
Insult: I'll teach ye to mess up my plans!
Retort: Great! You've got plenty of experience with that.
Insult: I shall rule with an iron fist!
Retort: On the Sea of Thieves, we call that a 'hook'.
Insult: I command you to kneel before me!
Retort: Aw, you need help tying your shoes?
Once you defeat LeChuck, you can board your ship and leave through the portal. This will complete The Lair of LeChuck Tall Tale 3 in Sea of Thieves.