
'%20x='0'%20y='0'%20height='100%25'%20width='100%25'%20%0A%20%20%20%20%20%20%20%20%20%20xlink%3Ahref='data:image/jpg;base64,/9j/2wBDAAYEBQYFBAYGBQYHBwYIChAKCgkJChQODwwQFxQYGBcUFhYaHSUfGhsjHBYWICwgIyYnKSopGR8tMC0oMCUoKSj/2wBDAQcHBwoIChMKChMoGhYaKCgoKCgoKCgoKCgoKCgoKCgoKCgoKCgoKCgoKCgoKCgoKCgoKCgoKCgoKCgoKCgoKCj/wgARCAAGAAoDASIAAhEBAxEB/8QAFgABAQEAAAAAAAAAAAAAAAAAAAQH/8QAFAEBAAAAAAAAAAAAAAAAAAAAA//aAAwDAQACEAMQAAAAwGUcv//EACAQAAEDAgcAAAAAAAAAAAAAAAMBAgQAERIhIjFRkaH/2gAIAQEAAT8ADJaGMQTowCOzsRzdSXS3m6ViXle6/8QAFREBAQAAAAAAAAAAAAAAAAAAAQD/2gAIAQIBAT8AC//EABYRAQEBAAAAAAAAAAAAAAAAAAEAAv/aAAgBAwEBPwB03//Z'%3E%3C/image%3E%3C/svg%3E)
Viper is one of the most widely used Controllers on Valorant’s Icebox. The map features a lot of verticality and has relatively wider sites. This makes it a perfect map for her. The Toxic Screen covers up even vertical angles that enemies can abuse. This may be somewhat tricky for other Agents, such as Clove or Omen, who have orb-like smokes that cannot cover a very wide area at once.
Viper's Orb is also rather potent, and the lurk potential on this map is absolutely brilliant. This article will go over all the essential Viper lineups you can use on Icebox and explain how you can maximize your gameplay output while playing.

Viper lineup guide in Valorant’s Icebox
Toxic Screen guide for attack and defence
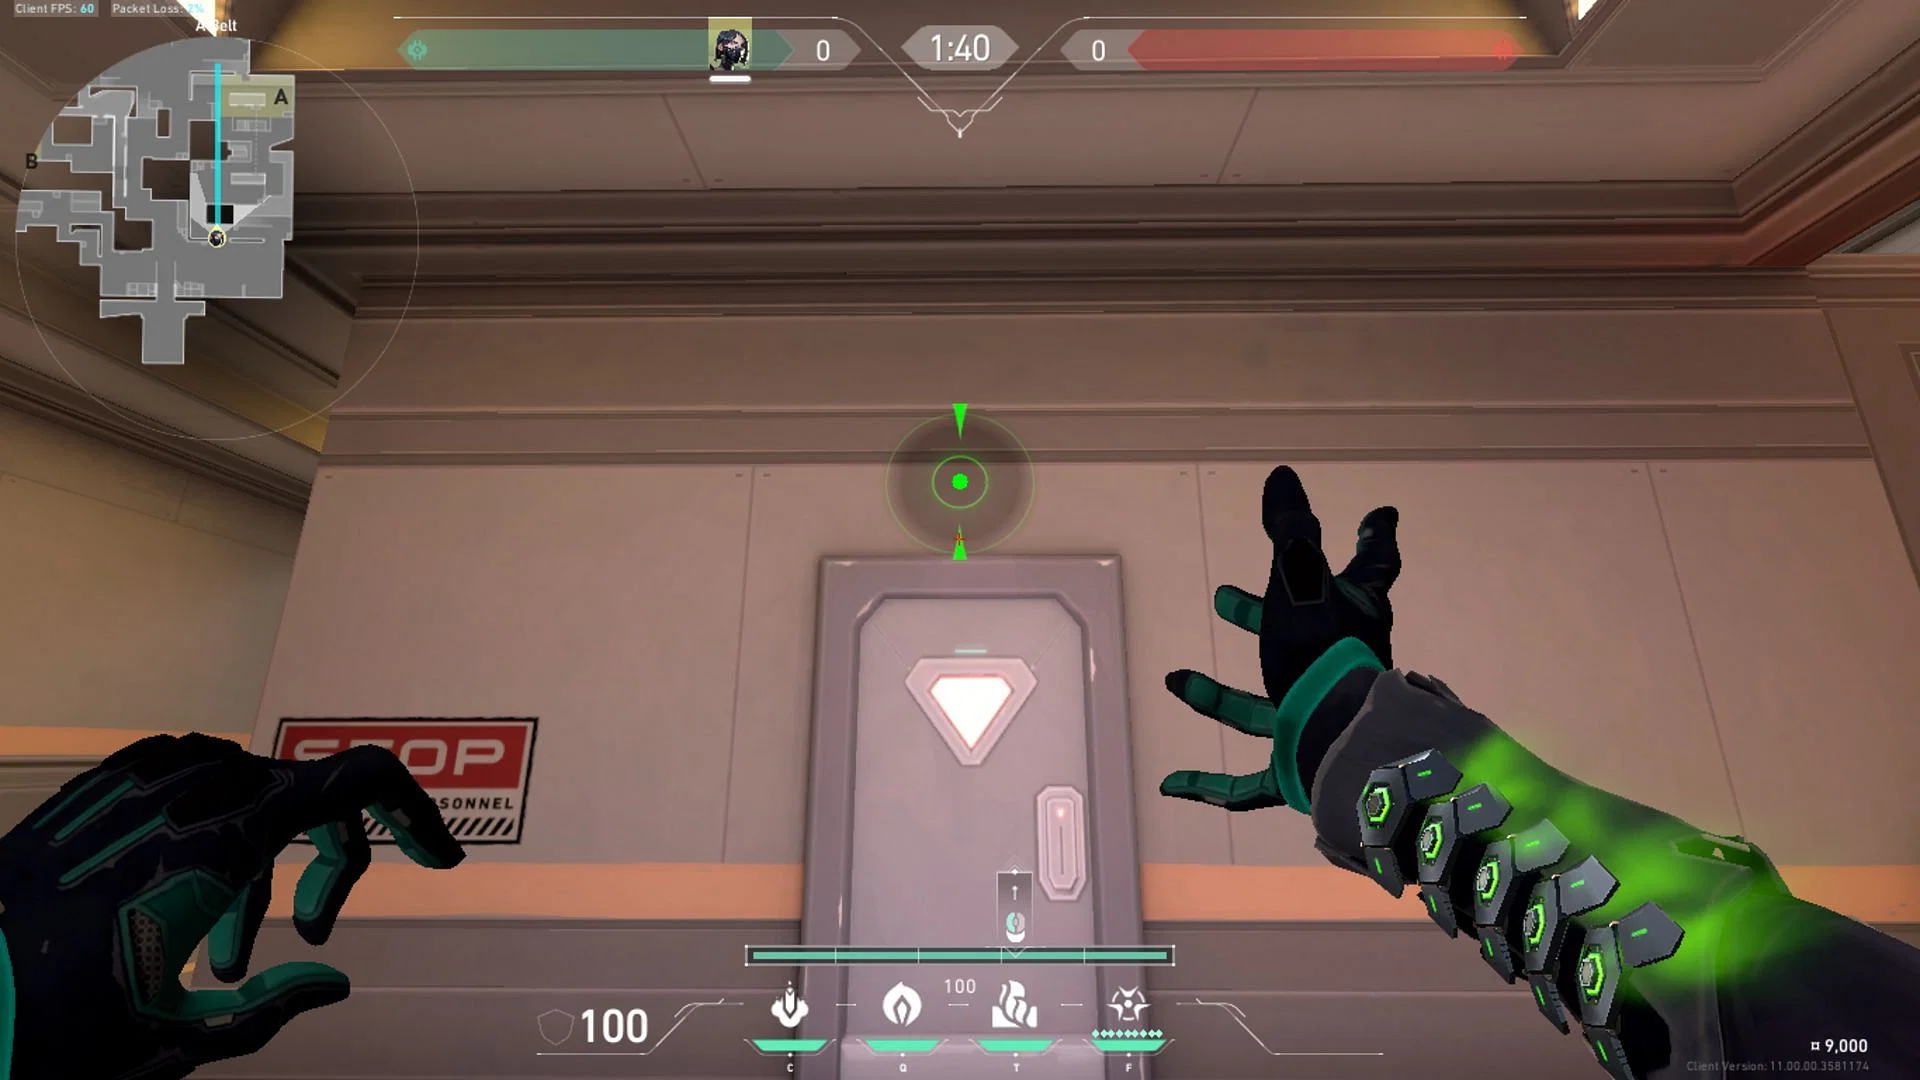
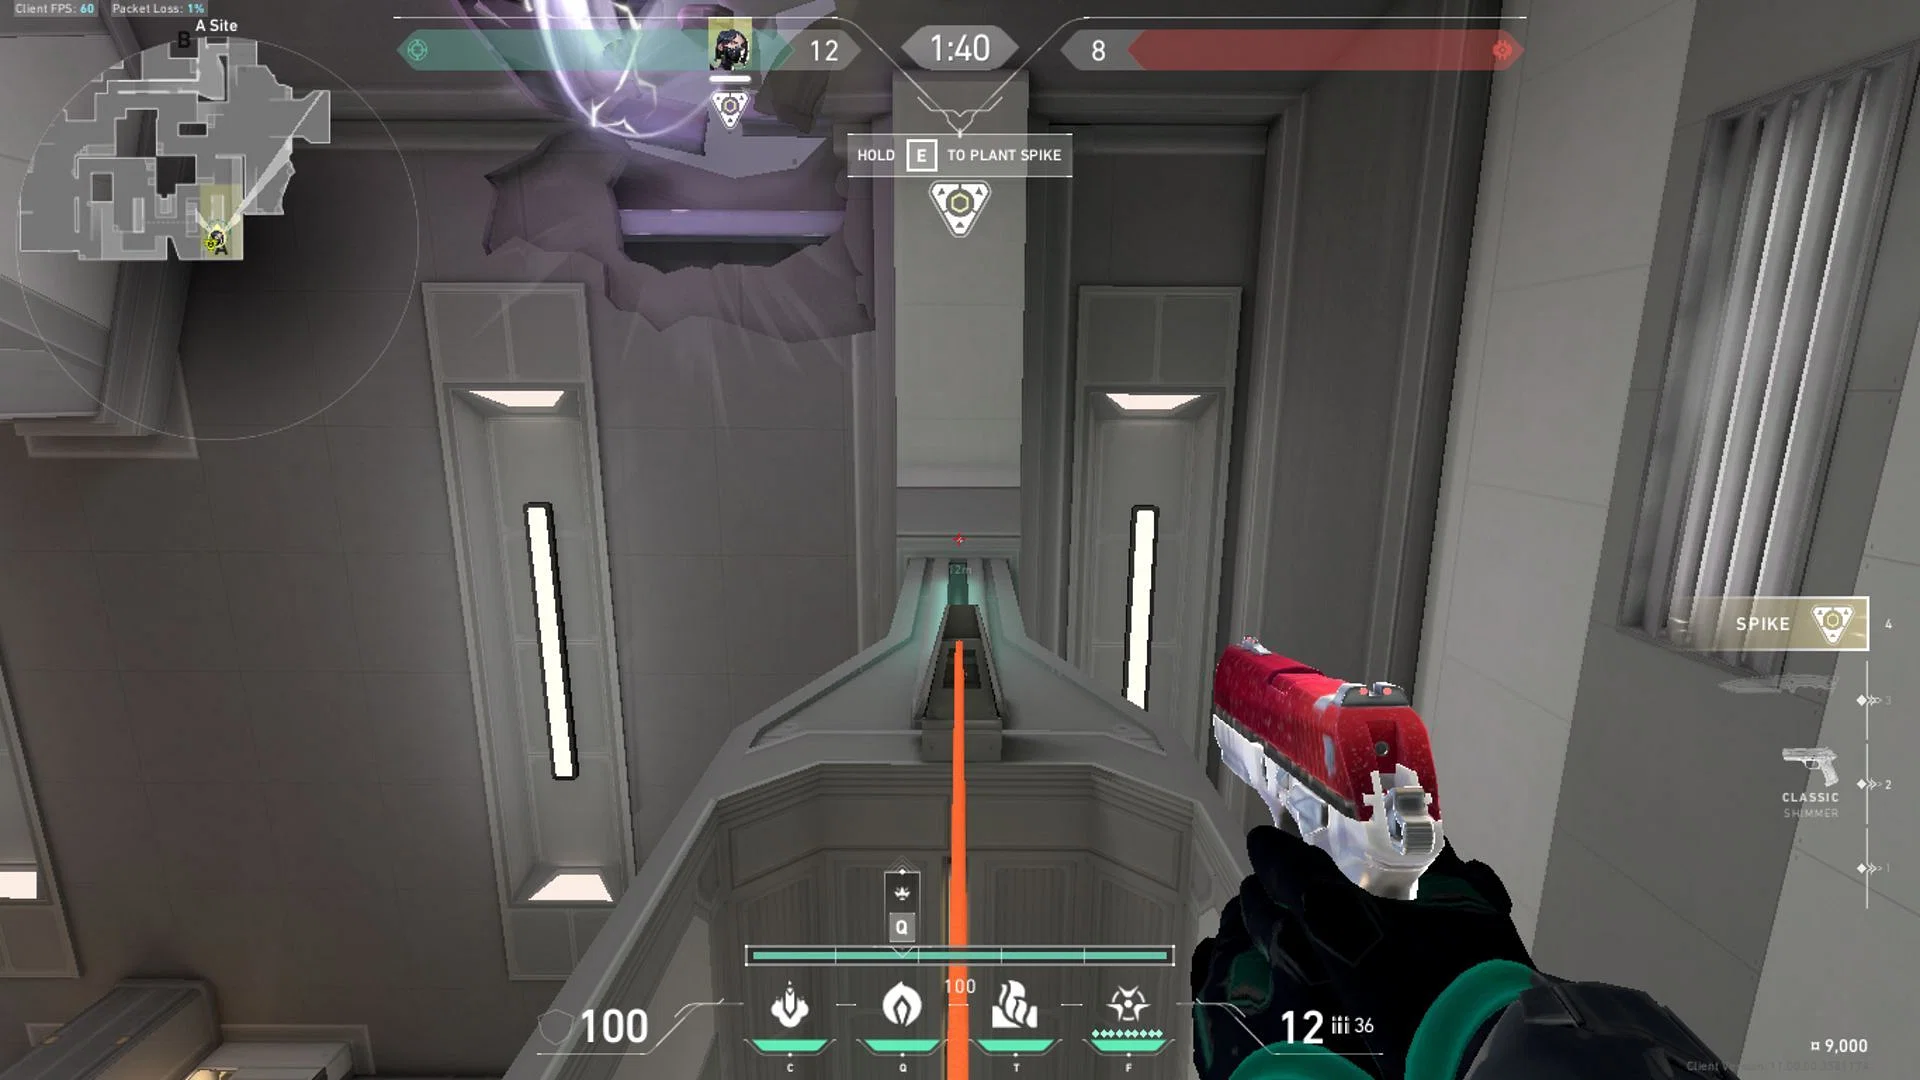
1) A Site defensive wall
You can put down the A Site wall from outside the site. It's a rather simple wall that you can execute to cover up vital vertical areas of the site. You don't have to position yourself in a particular spot, just ensure that the wall lines up in the mini map as shown in the image.
This is the standard defensive wall that leaves very little line of sight for the enemies to attack. Perhaps Duelists like Jett and Raze may still be able to evade it with their abilities, but most others cannot without risking their health.
2) B Main defensive wall
This is an aggressive variant of a wall for B Main. You can use this in conjunction with an Operator. It keeps more space in B Main for your team as compared to the enemy. It's difficult to break through without flashes, and it keeps the opponent guessing about your positions in the small lanes and pockets of the area.
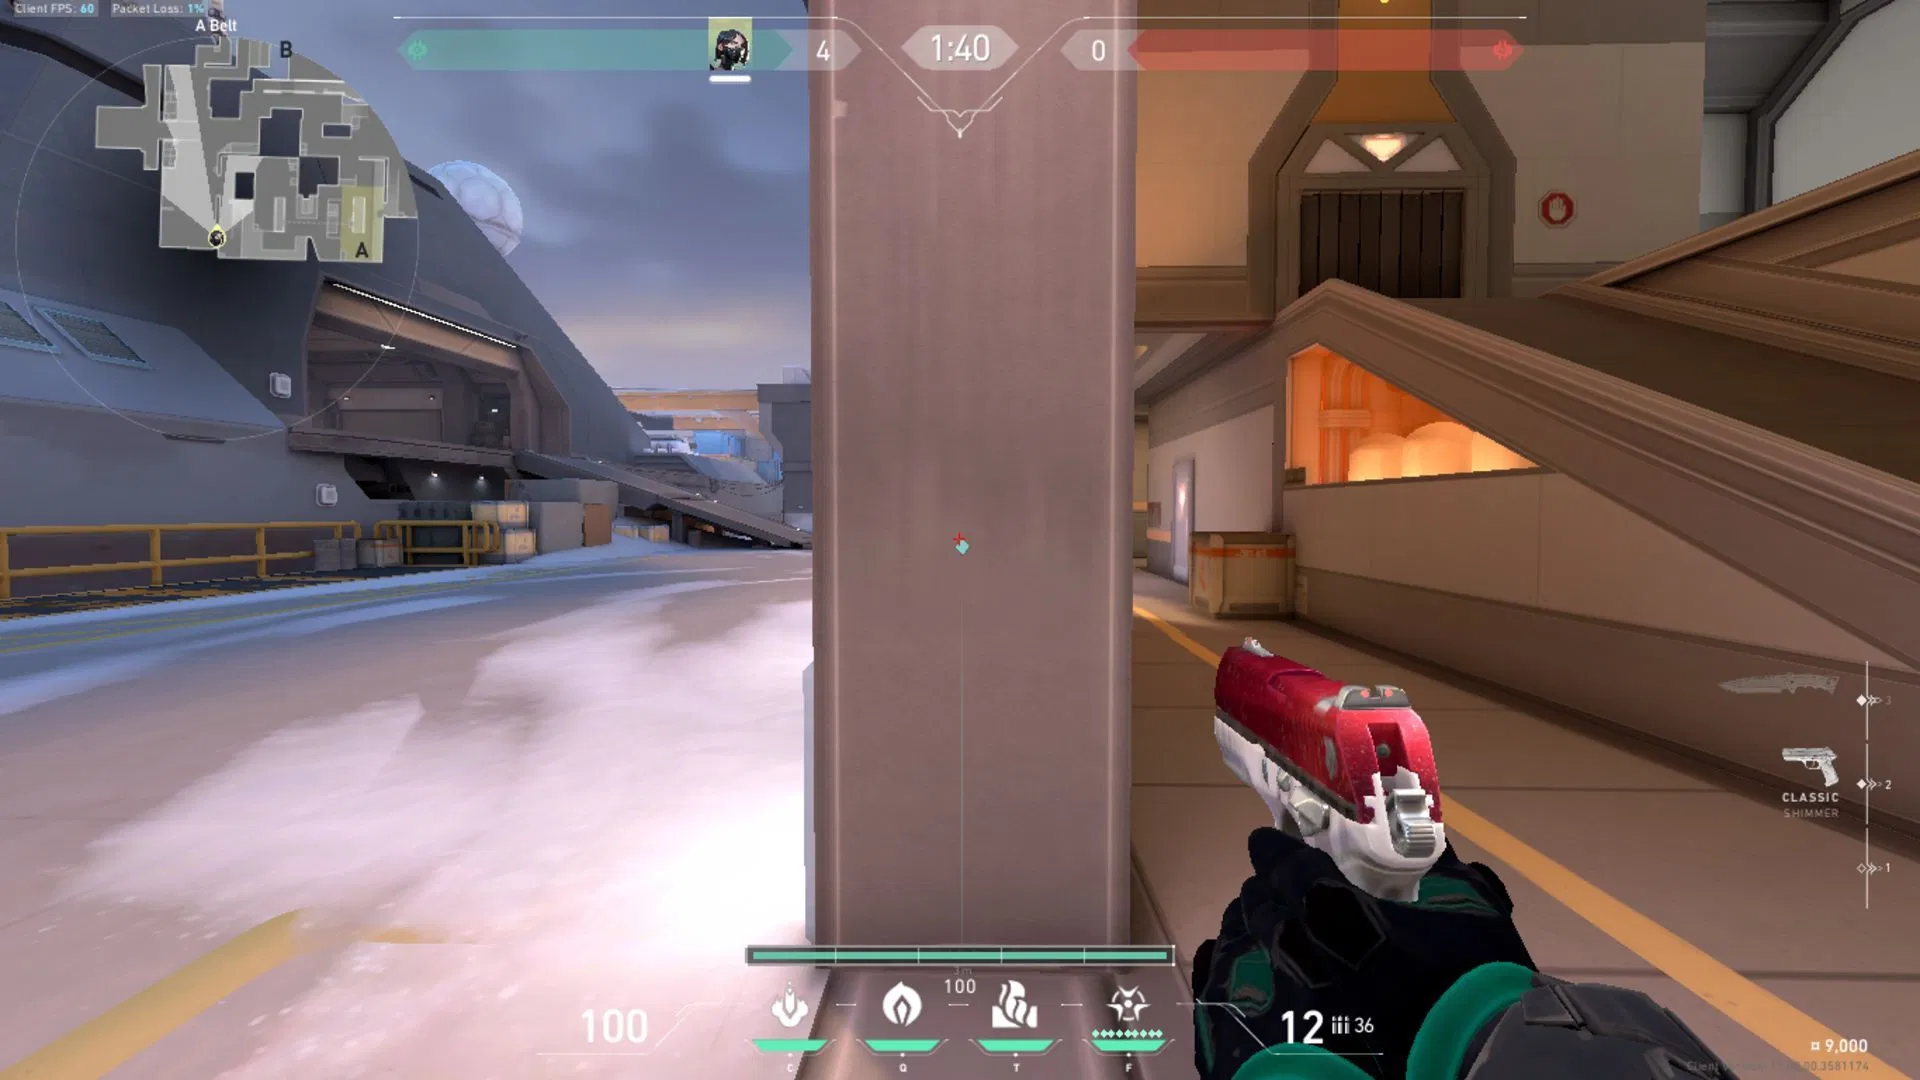
3) A Site attack wall
You can see the straight and simple wall lineup in the image above. This Toxic Screen covers up A Screen, both lower and upper positions, so enemies can't take you by surprise. It blocks off vision from the defending team and keeps control on your side of things.
Also read: Best Valorant team composition for Icebox
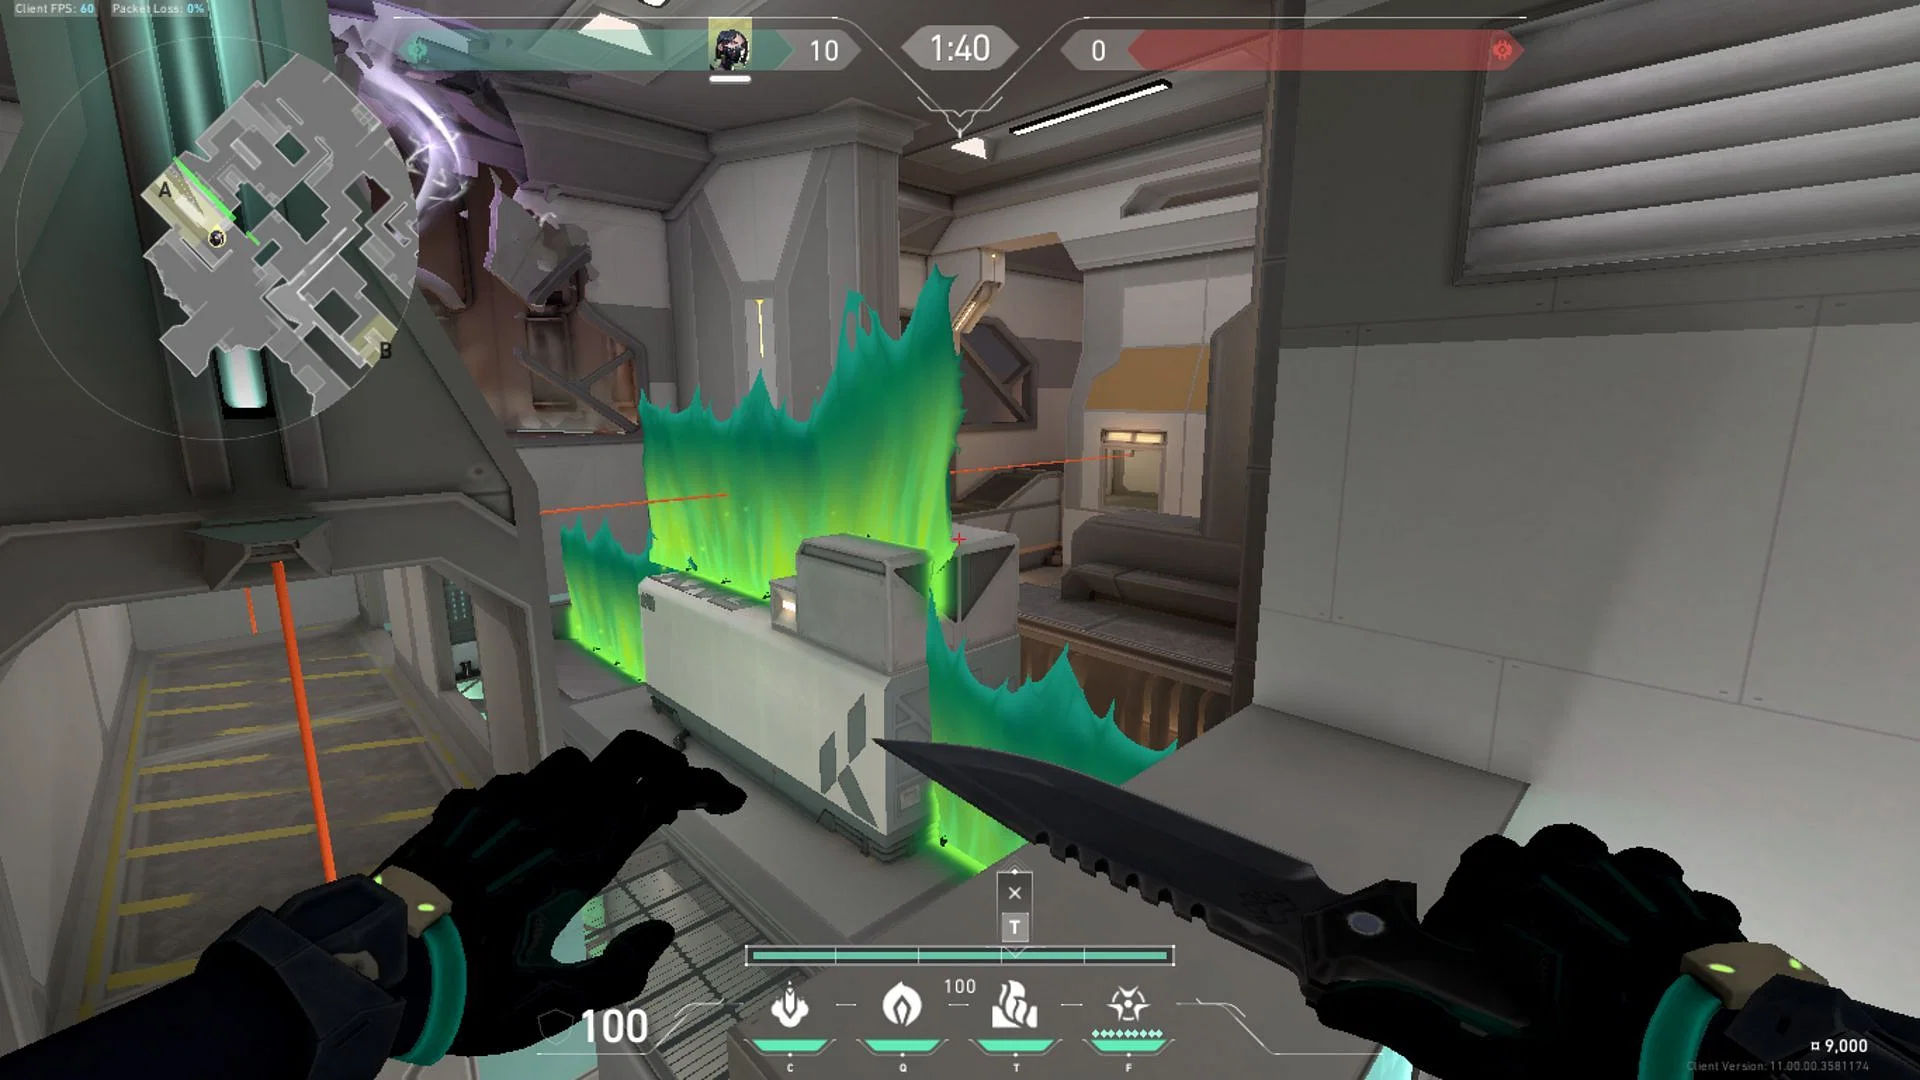
4) B Site attacking wall
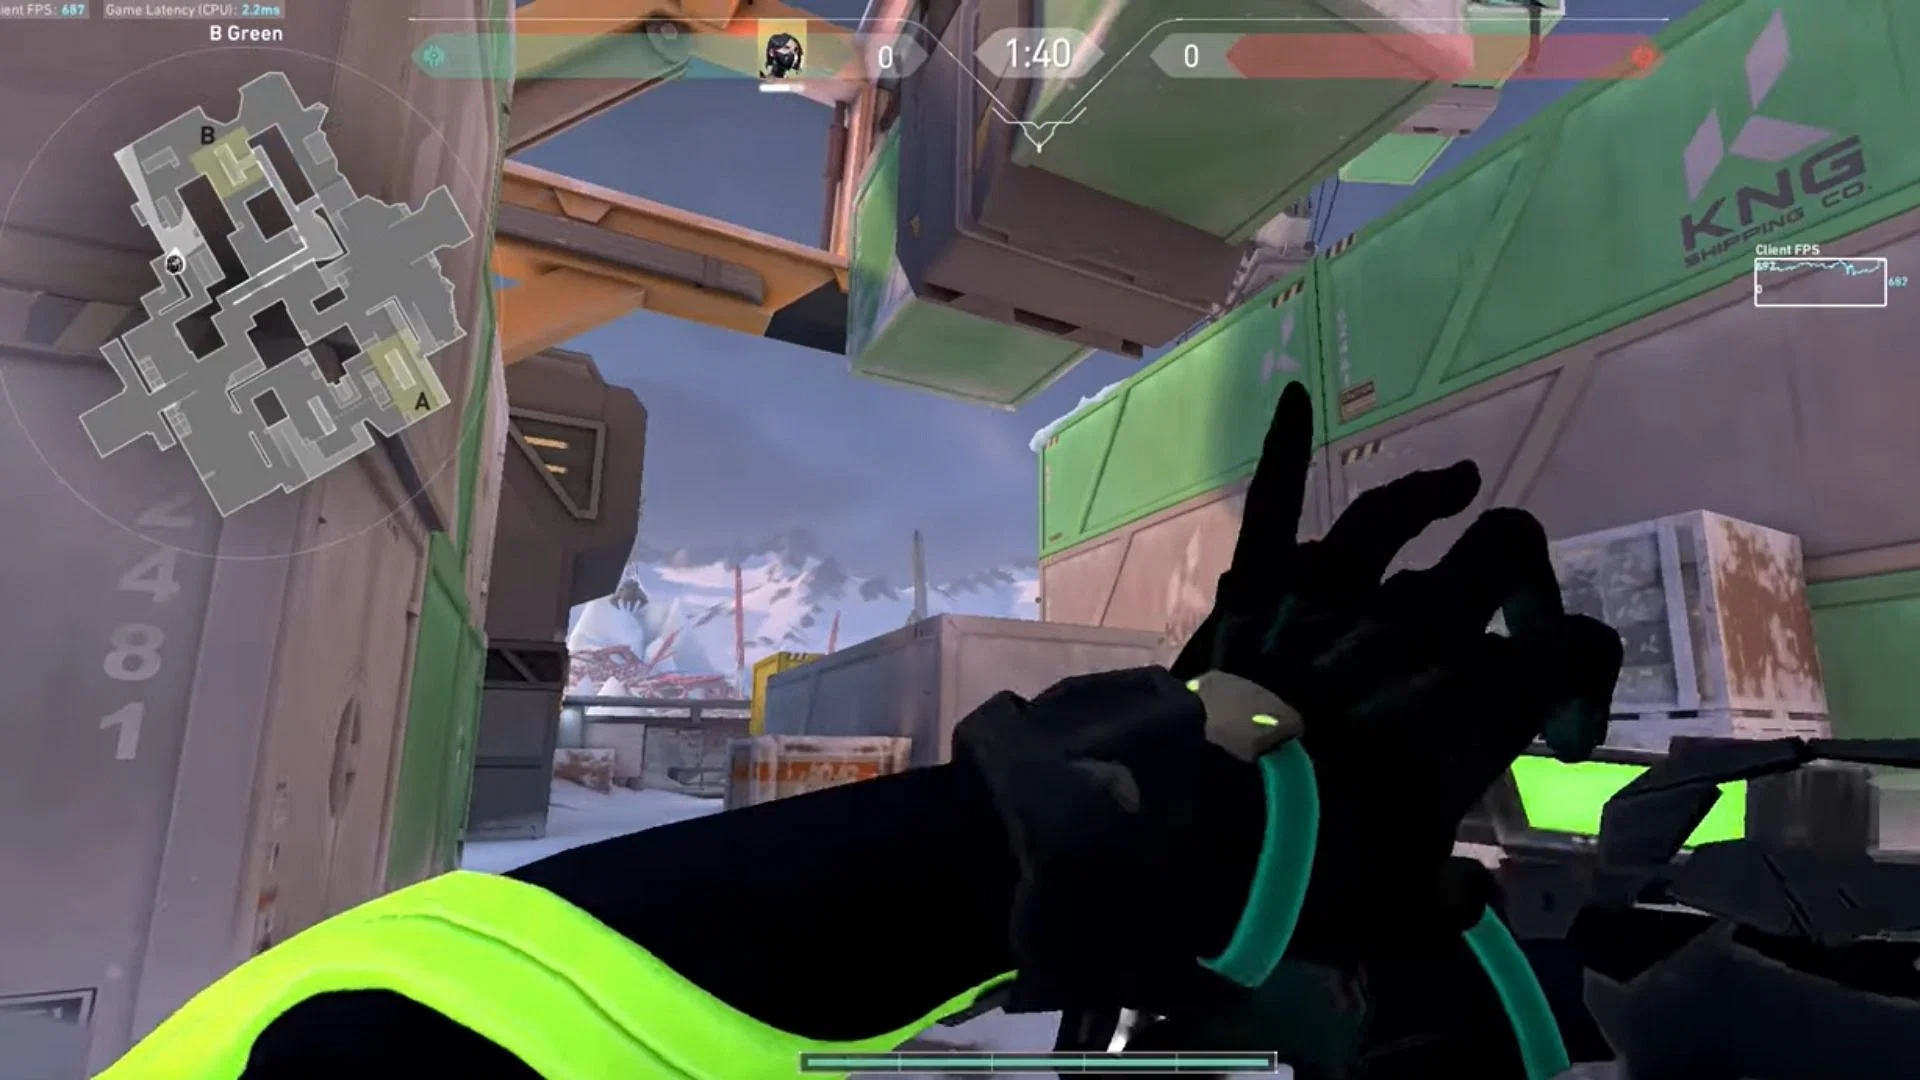
The B Site attacking Toxic Screen wall is a prime example of Viper's superior kit on Valorant's Icebox. It covers up all the angles that the enemy needs perfectly. B Orange and Nest are covered; there is no line of sight from Snowman, and enemies coming from B Halls also do not find much space to work with.
Poison Cloud lineups for attack and defence
1) A Site to A Pipes orb
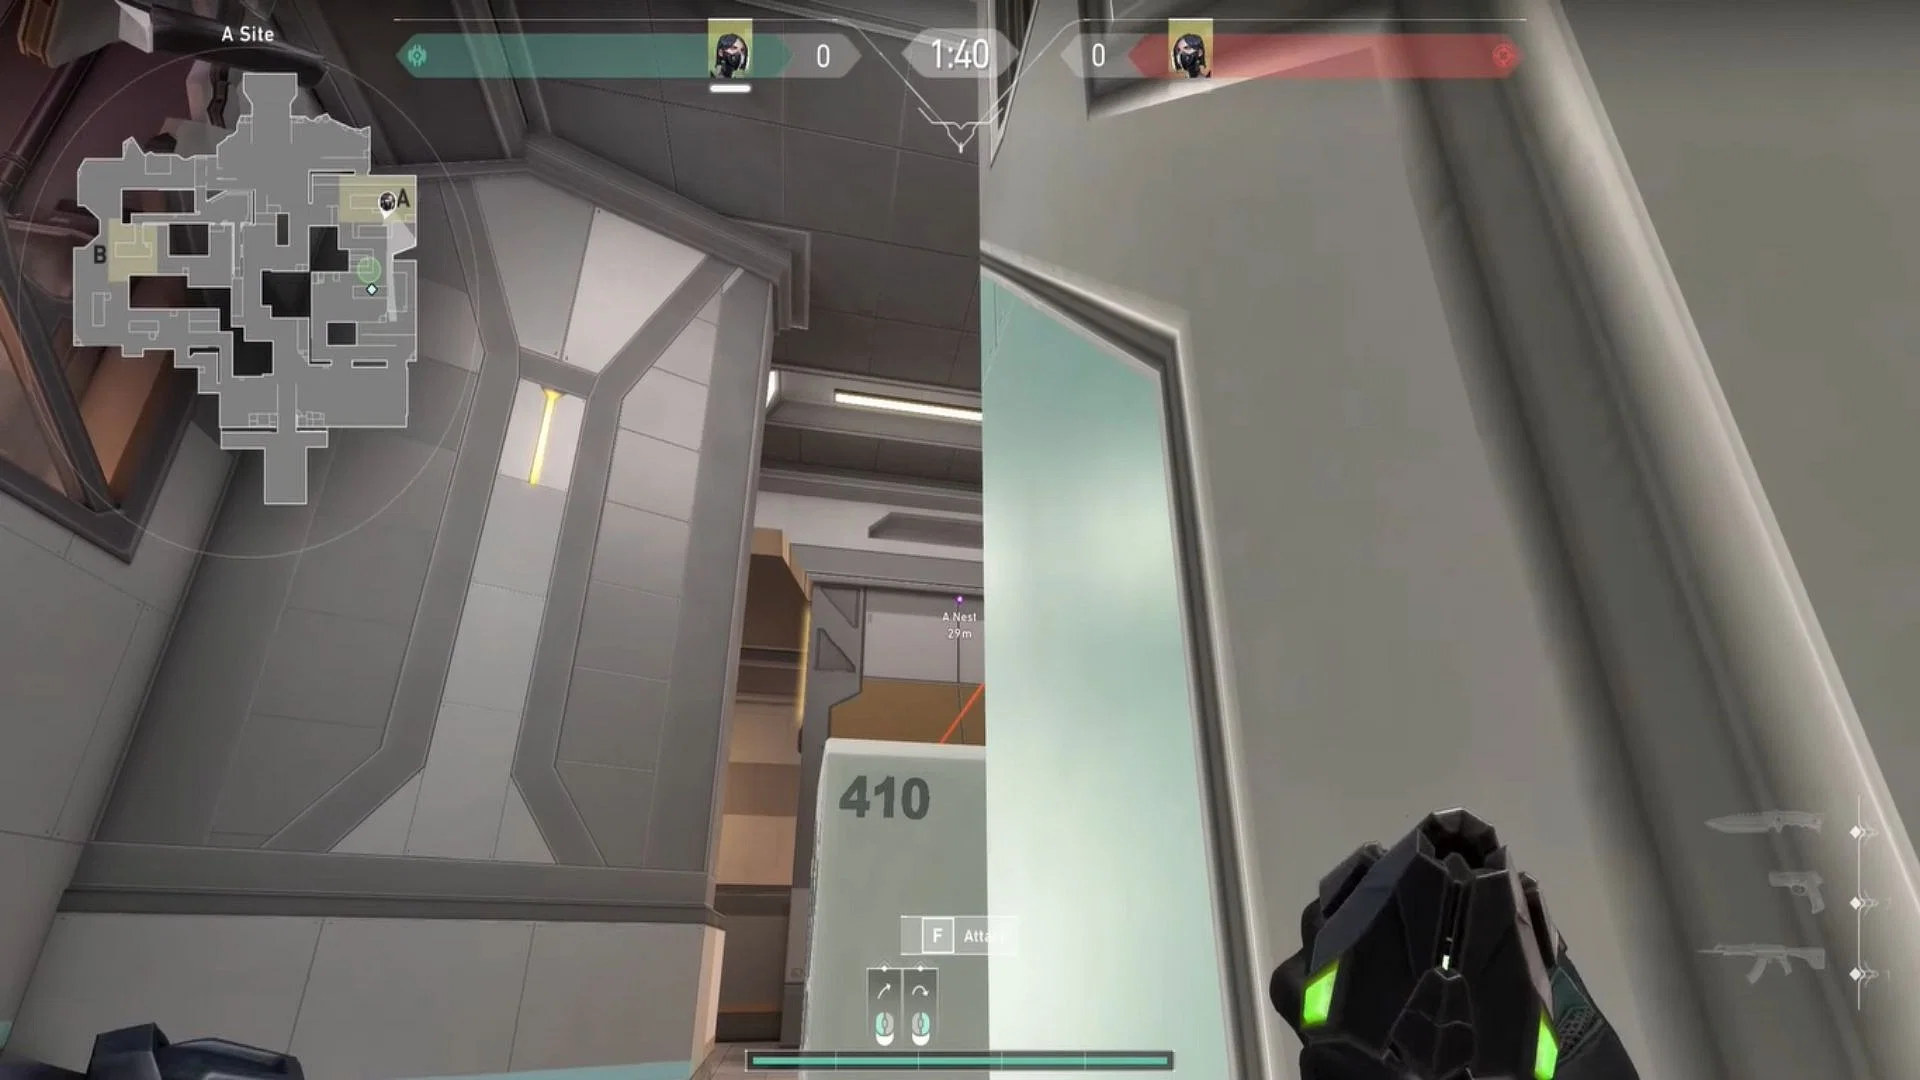
This is an easy-to-execute Poison Cloud lineup on Valorant's Icebox. Simply stand next to the vertical zip as shown by the marker in the image. Get close to the wall and then look towards A Nest.
You must aim exactly at the conjunction of the horizontal and vertical lines on A Nest. This is also marked by a ping. Once you're all set, execute a simple left click throw, and your orb will cover up A Pipes as intended.
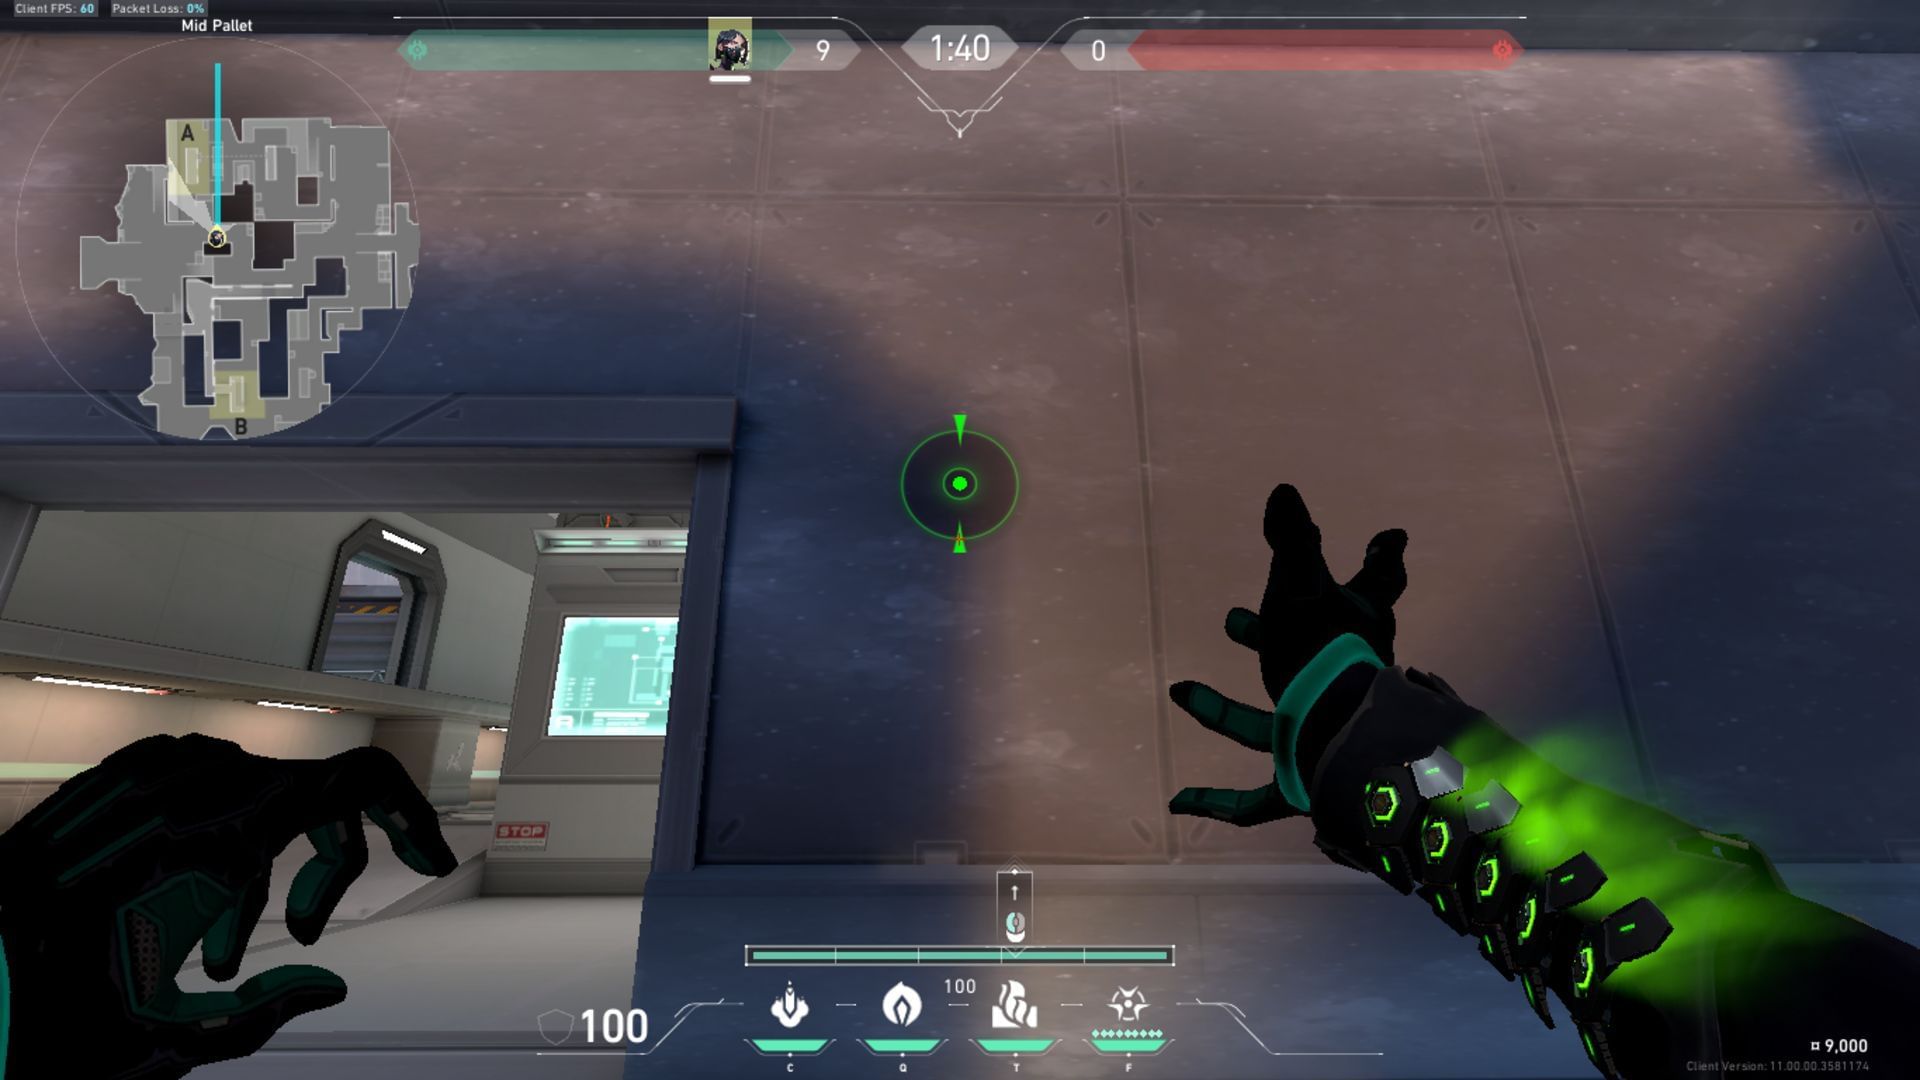
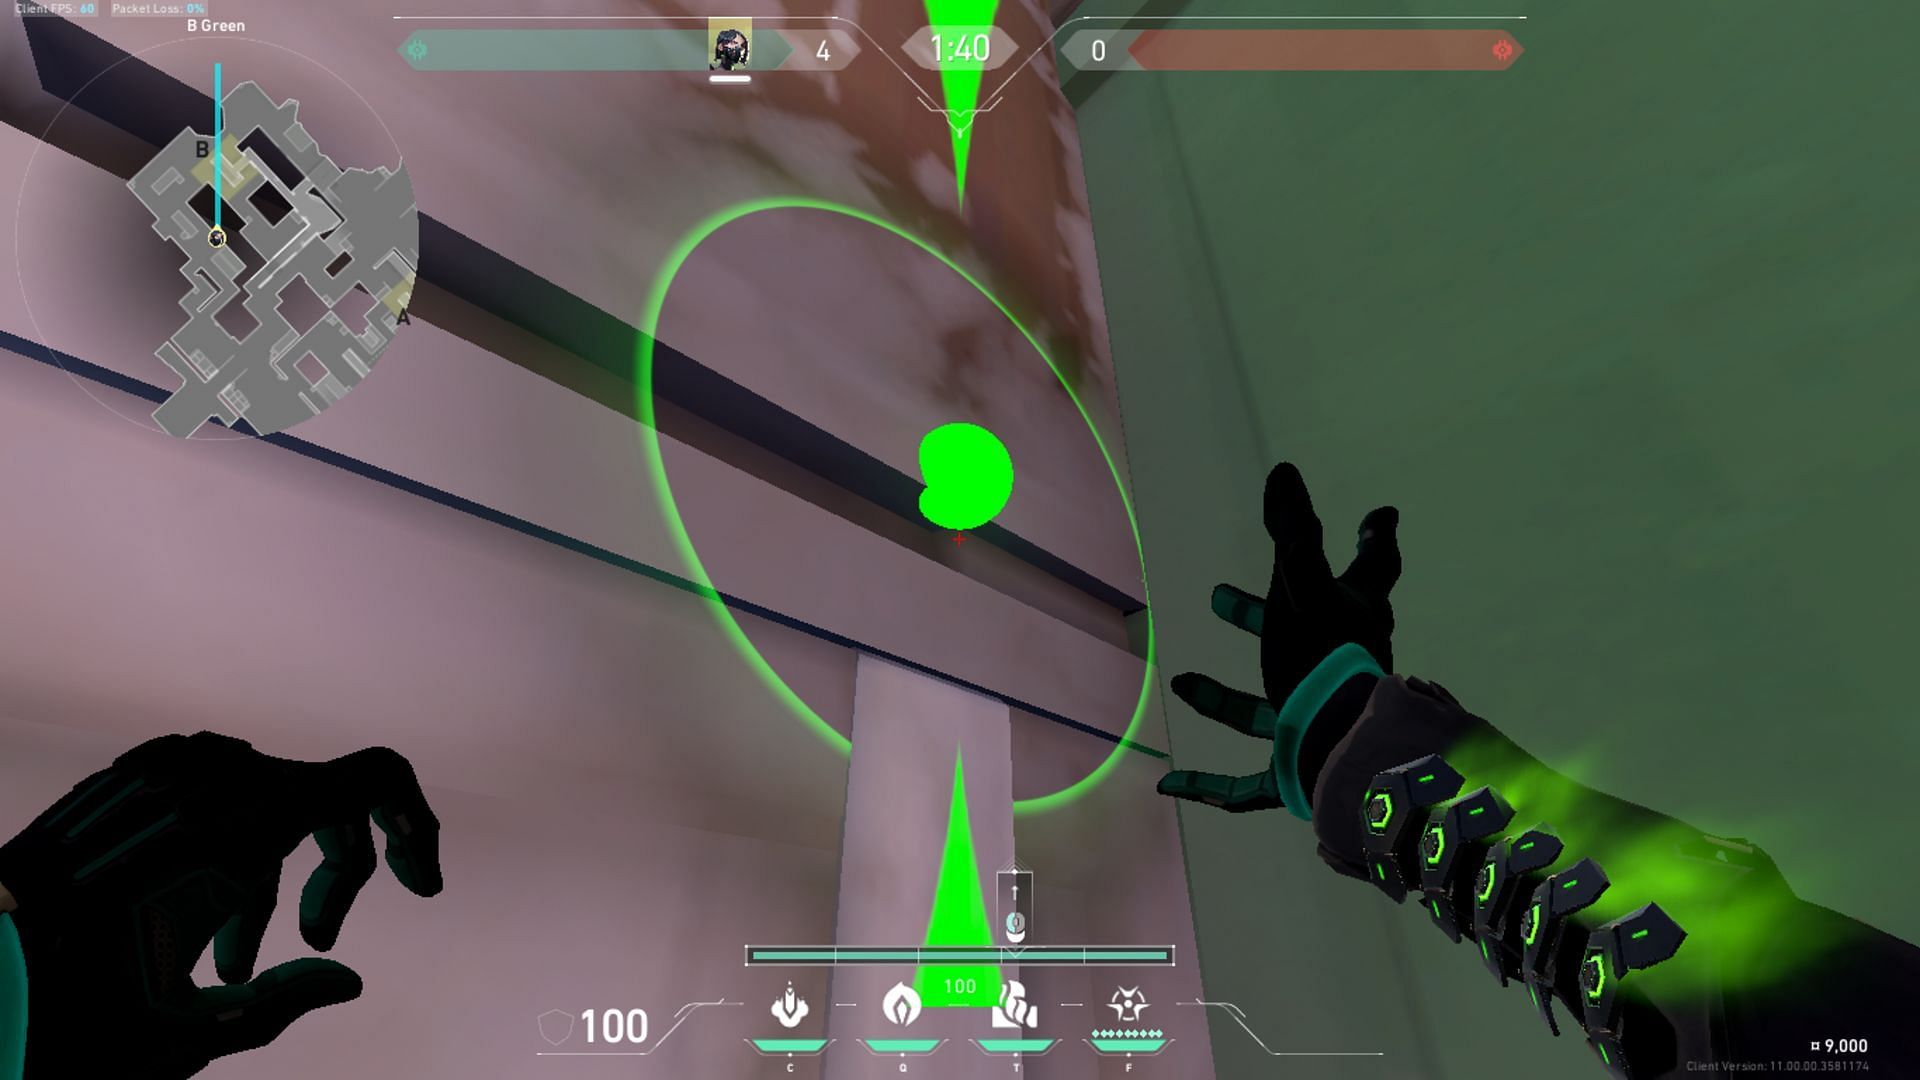
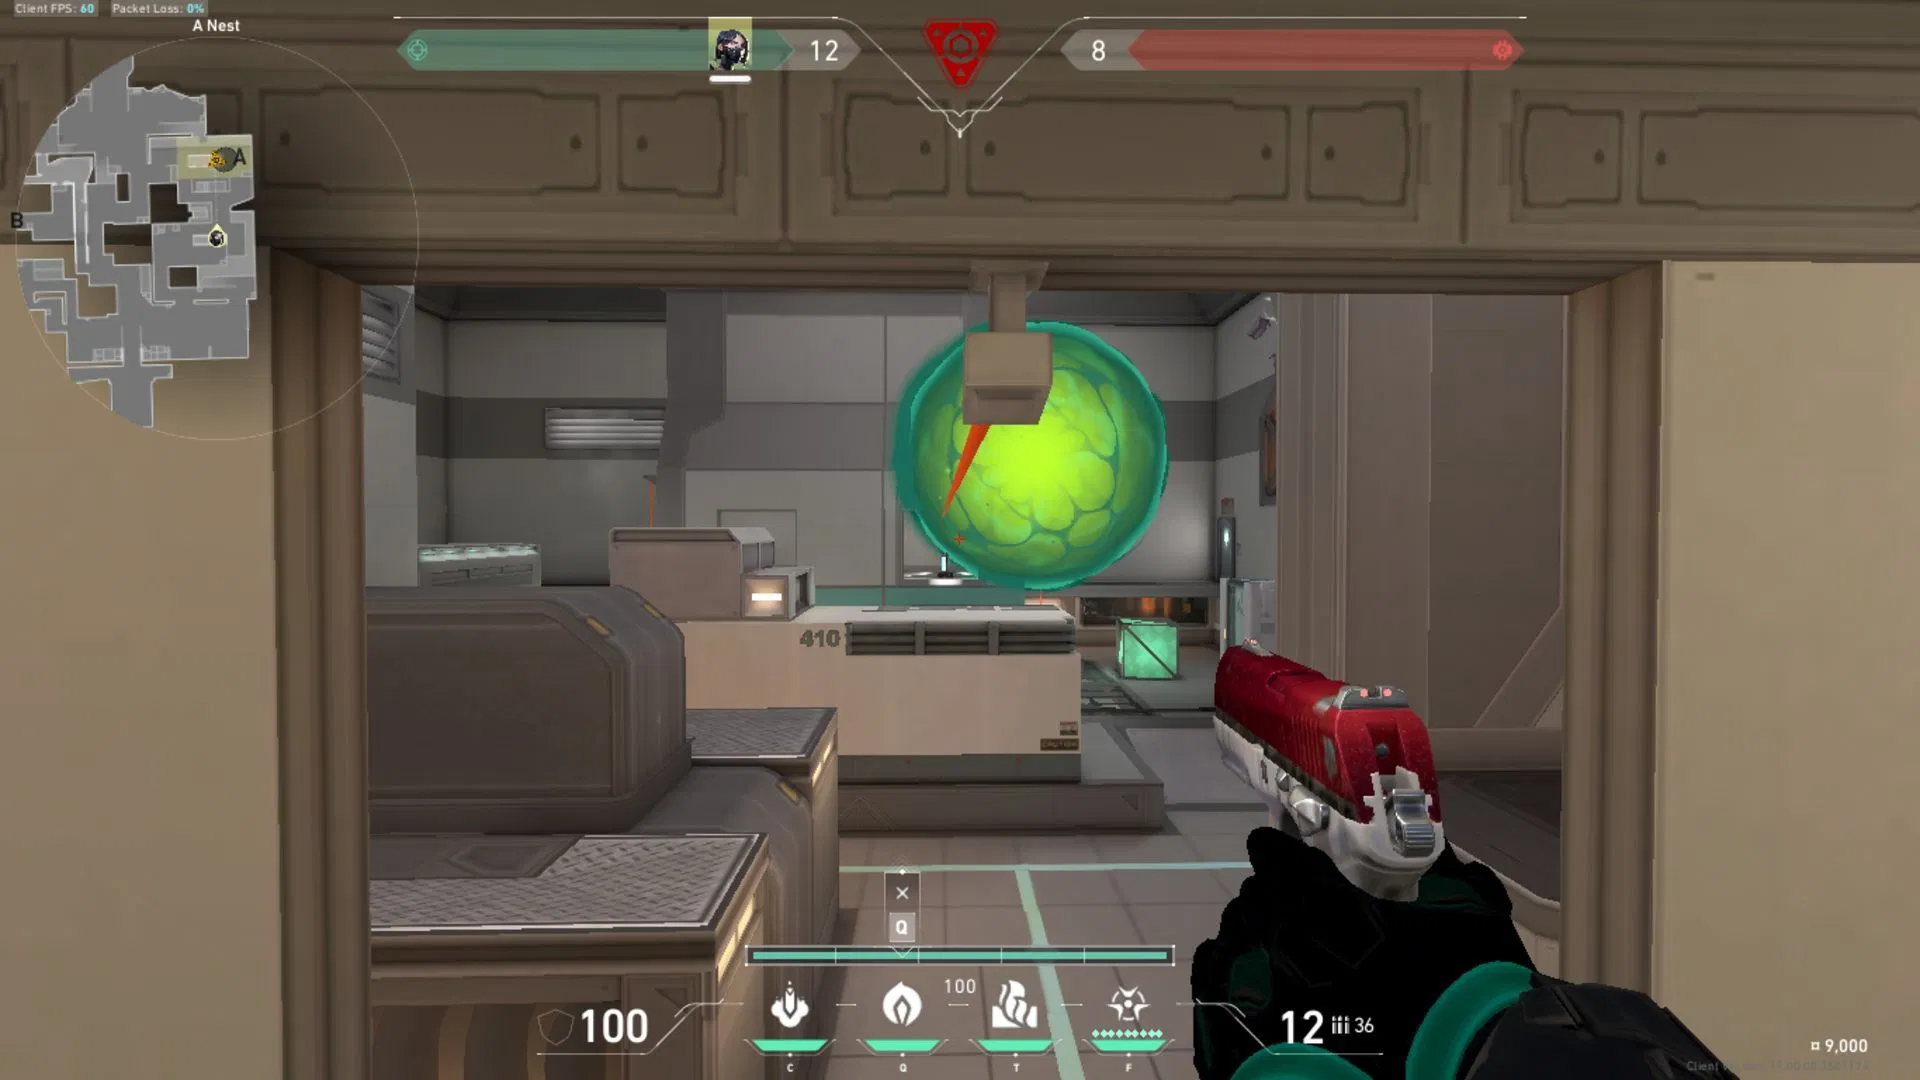
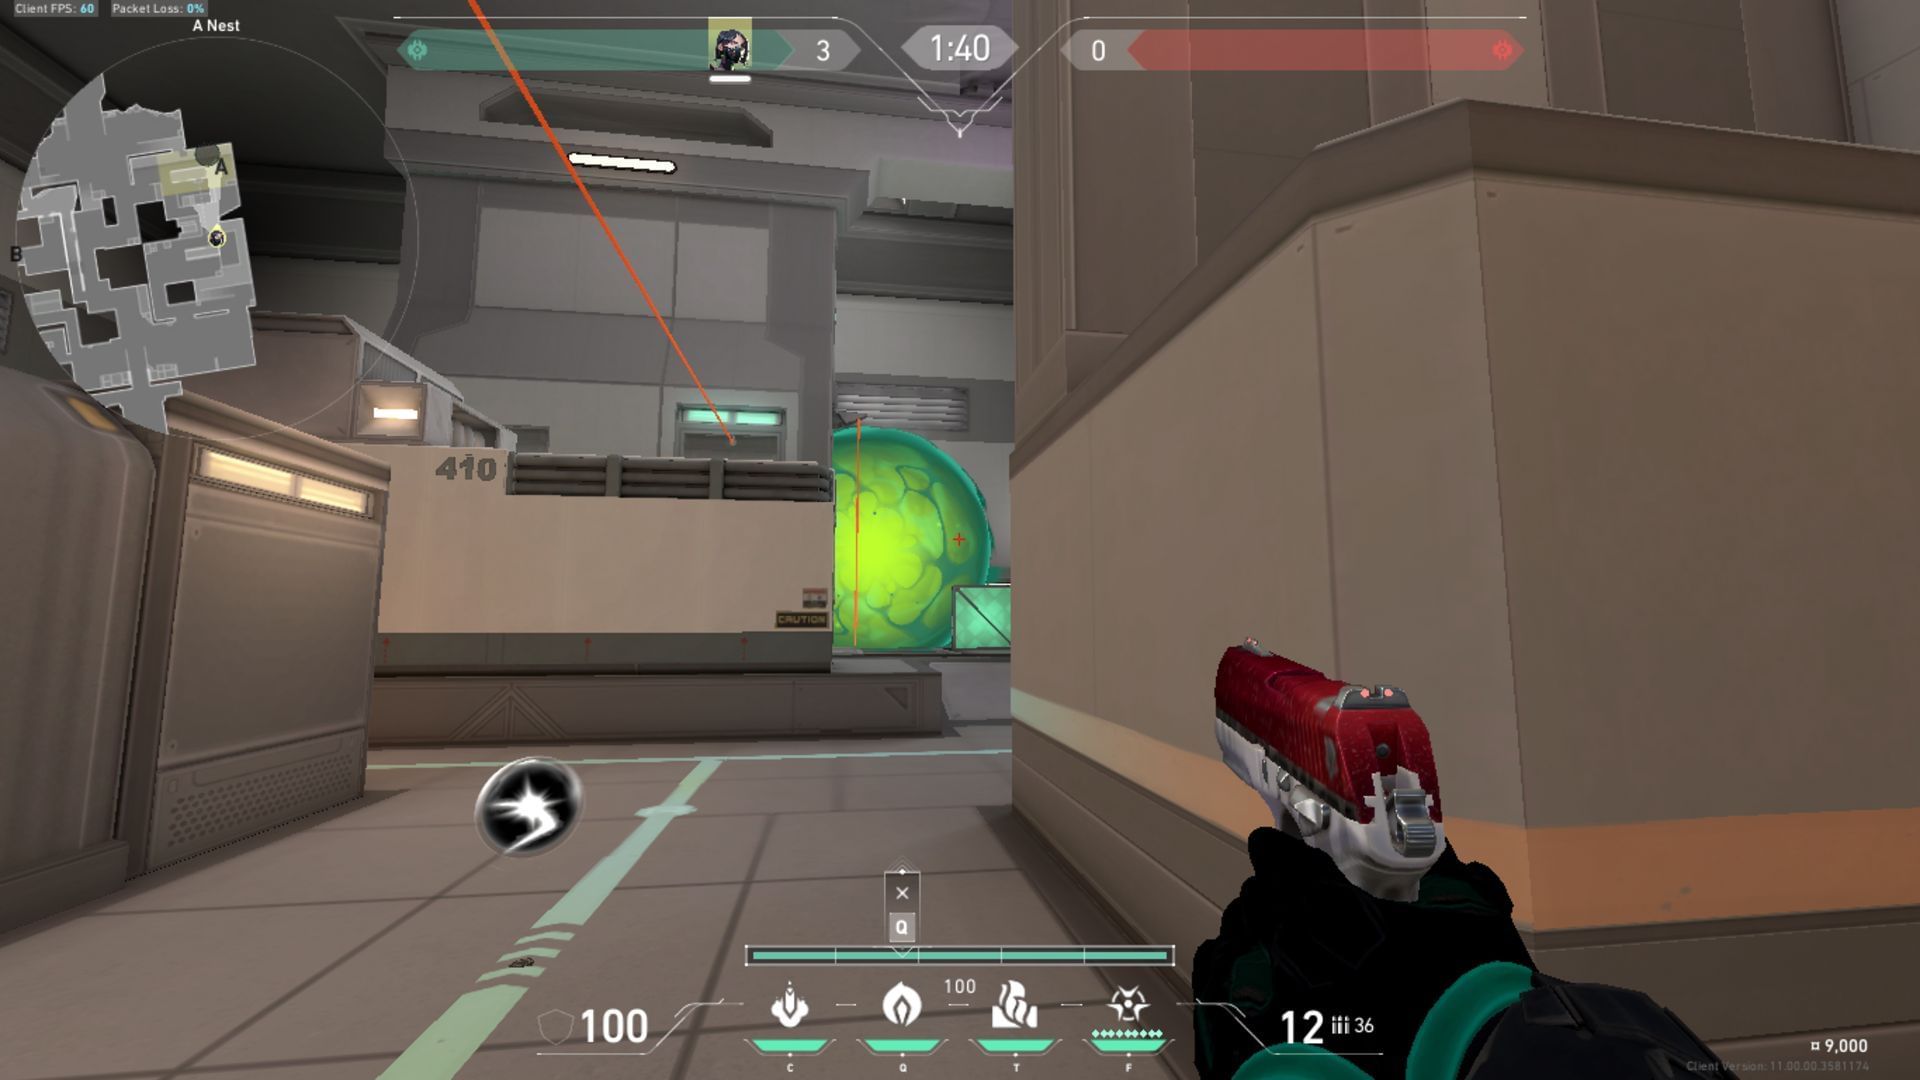
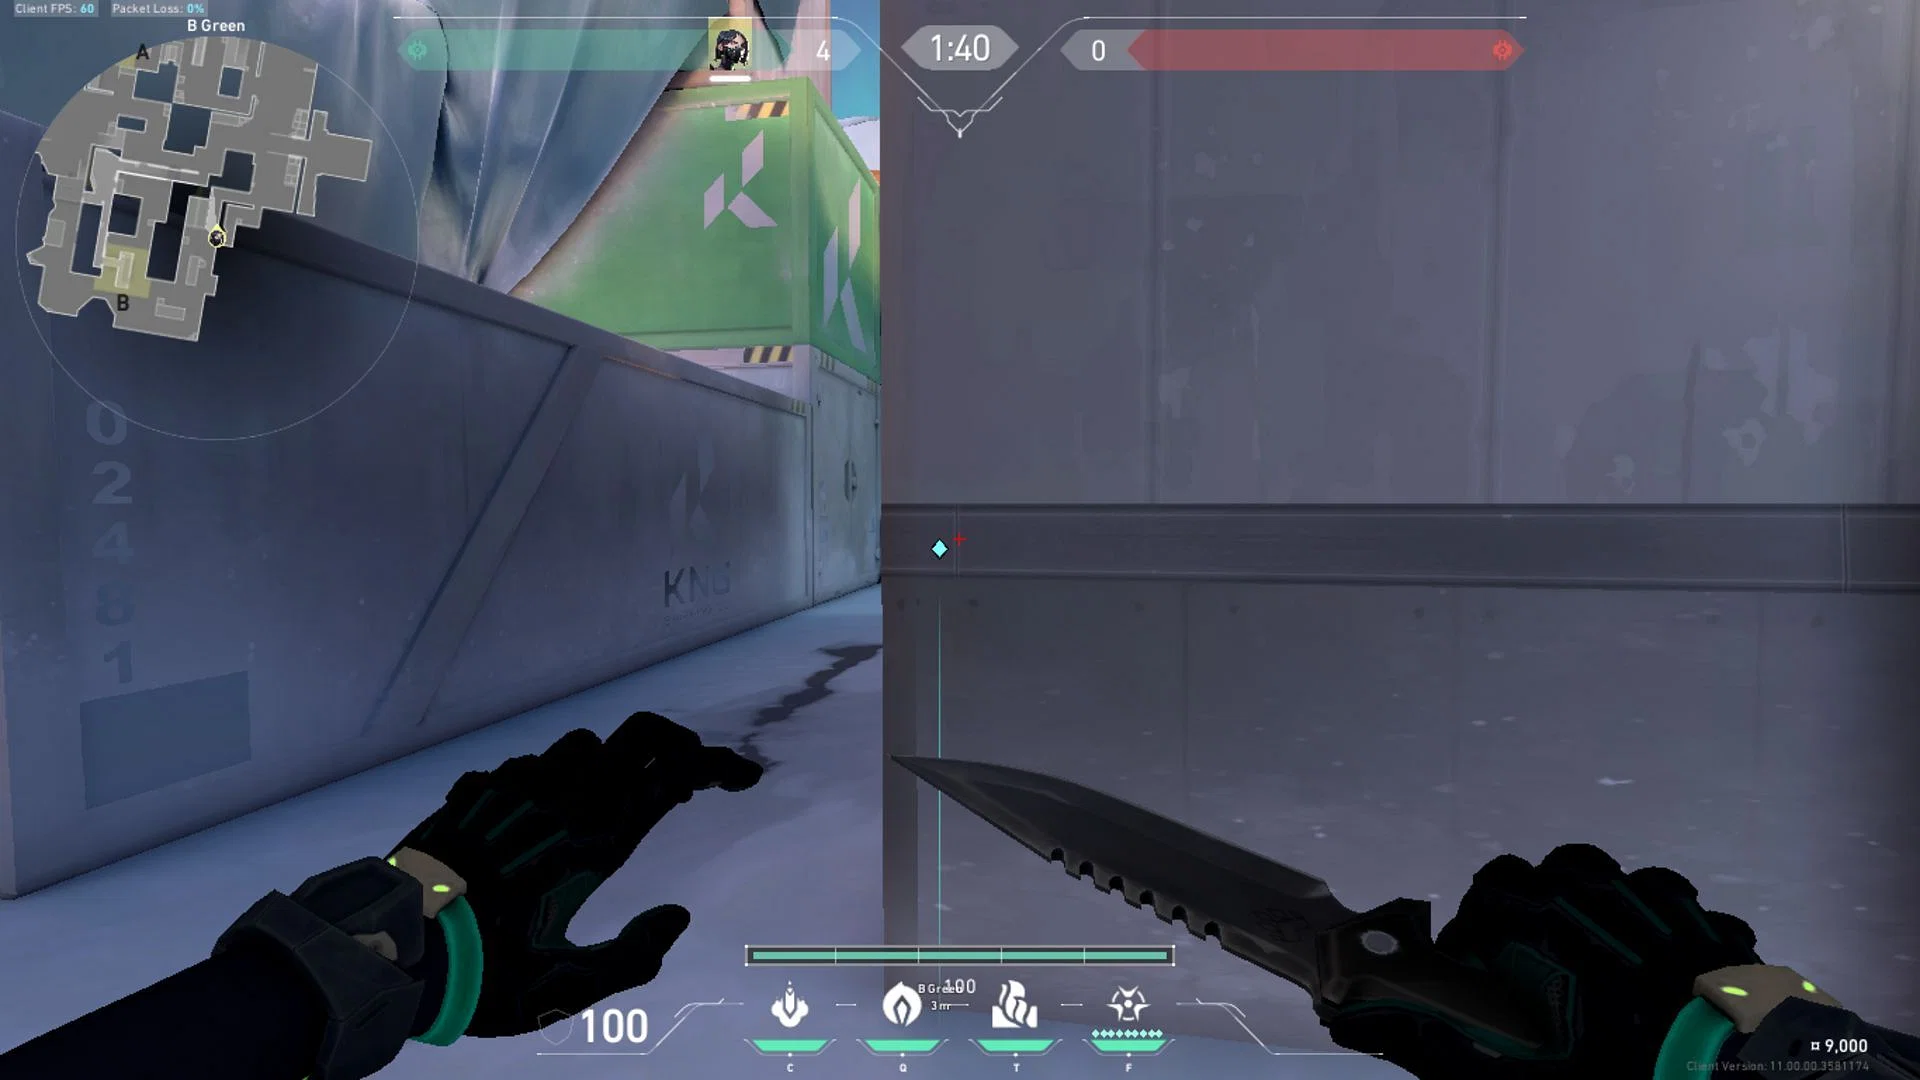
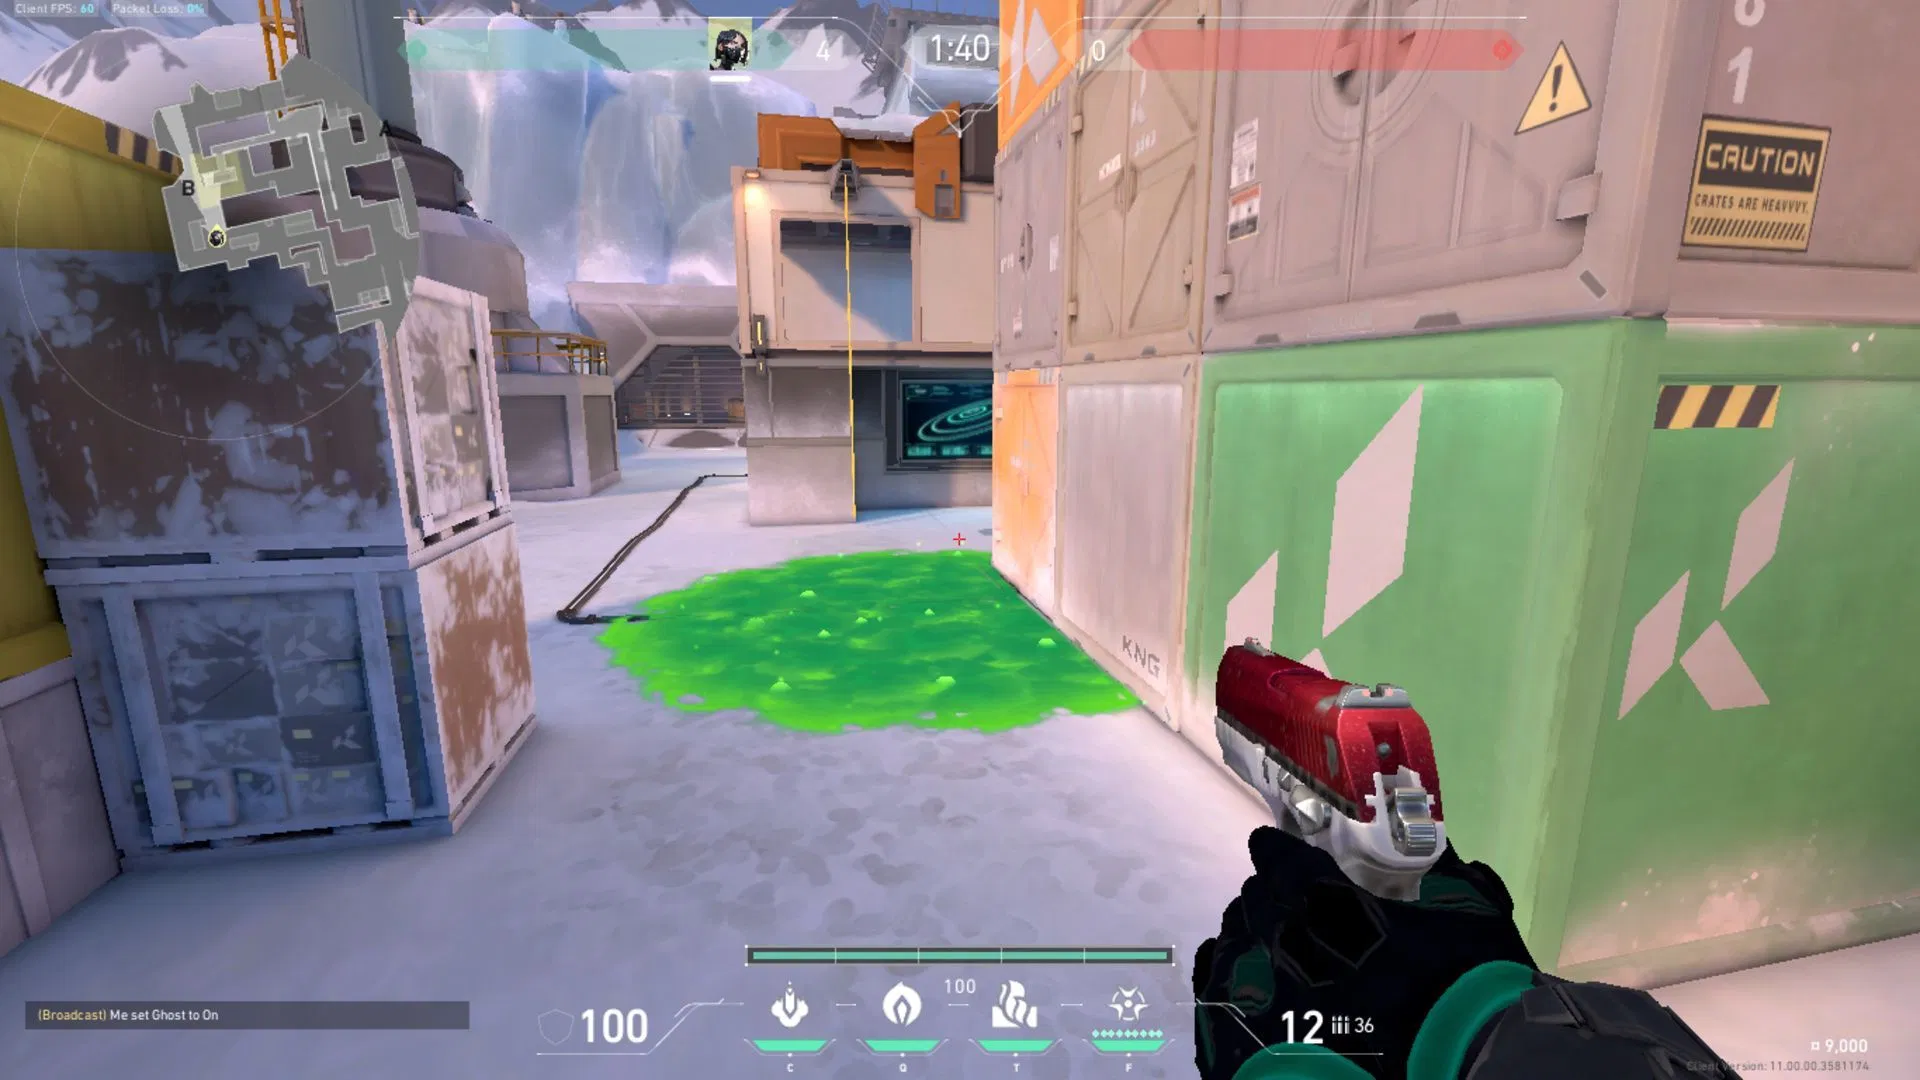
2) B Site defensive orb
This is perhaps the easiest Viper lineup to execute on Valorant's Icebox. Simply stand close to the white container and execute a right click throw coupled with a jump. It does not matter what angle you do it from, you'll get it right nine times out of ten.
Use the Orb's marker on the map as your reference while doing it for better results, and execute it before the barriers go up on B Site to stay on the safe side of things.
Also read: Best dot crosshair codes in Valorant
3) A Site top post plant one way
Stand next to the box on A Site in such a way that you can aim your crosshair exactly in the center of the metal beam in the floor. Next, look upwards to just where the top section of the site ends and at the horizontal line. This is visible in the image above with the red crosshair.
Finally, execute a left-click throw to let the Poison Cloud take its intended position. You can now go to A Main or A Nest in Valorant's Icebox after planting the Spike accordingly to get a clean one-way.
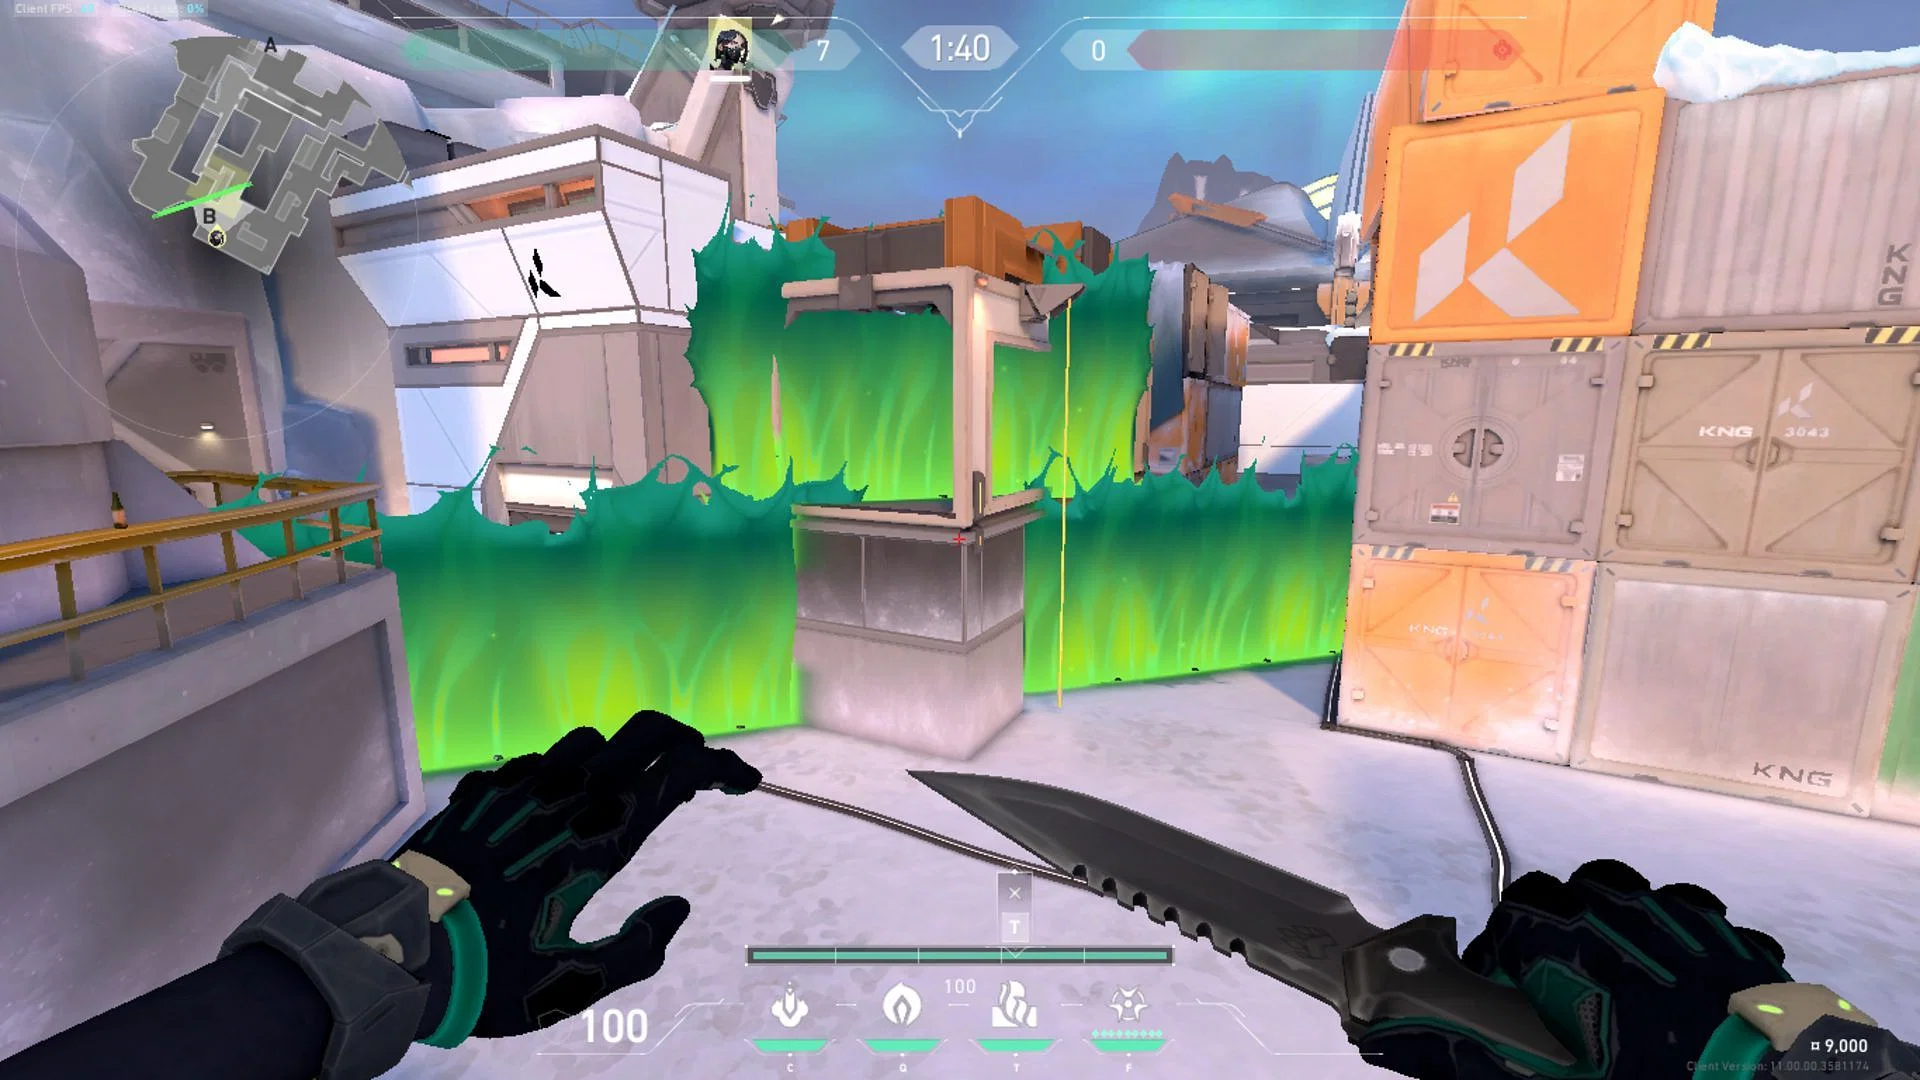
4) A Site rafters
Climb on top of what is popularly known as Jail or Gate under A Belt. It's a narrow metal gate-like structure that you must have noticed on the map before. Align yourself so that you see very little of the A Site and tuck yourself into the A Nest wall.
Look towards the wall above A Rafters and line up your crosshair with the A Site zip, and then move it upwards vertically. Use your mini-map for reference and let the orb go with a right click. This will protect your team from defenders on Icebox's A Site in Valorant.
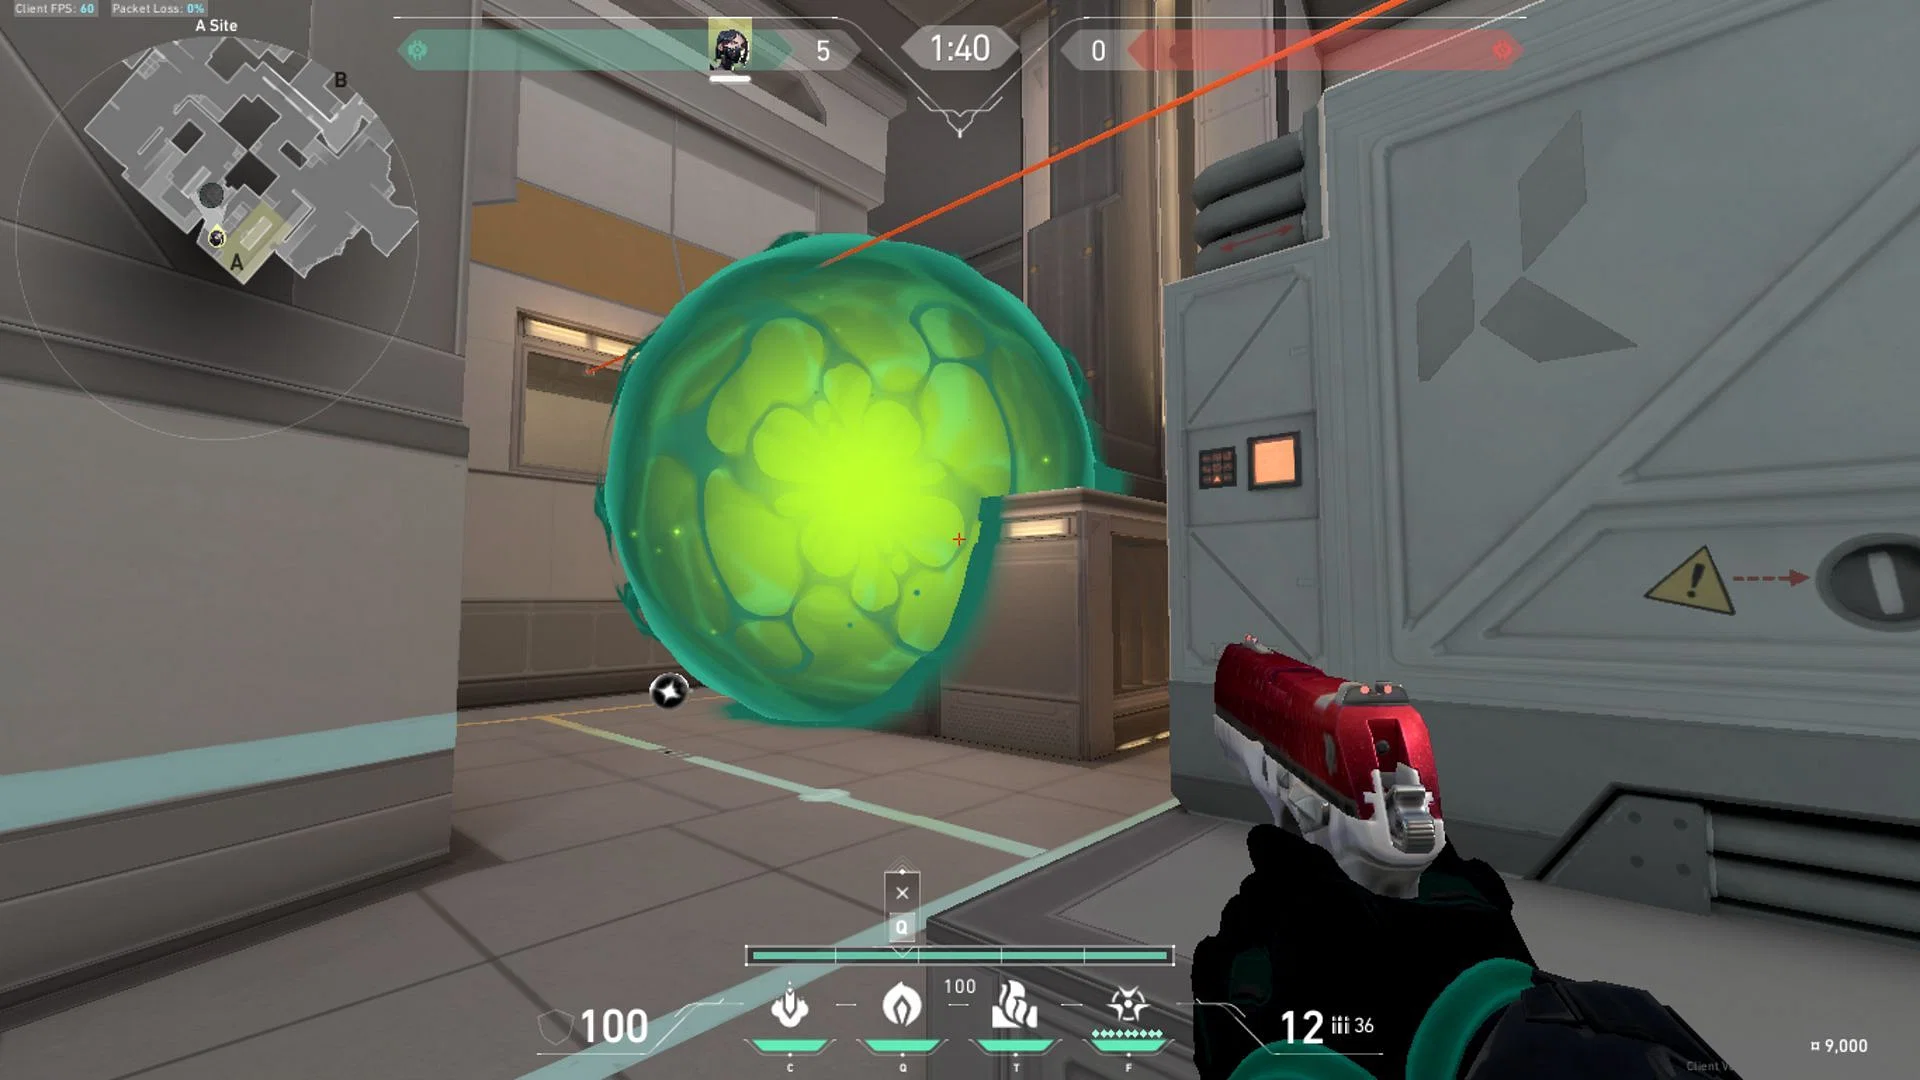
Post-plant Snakebite lineups
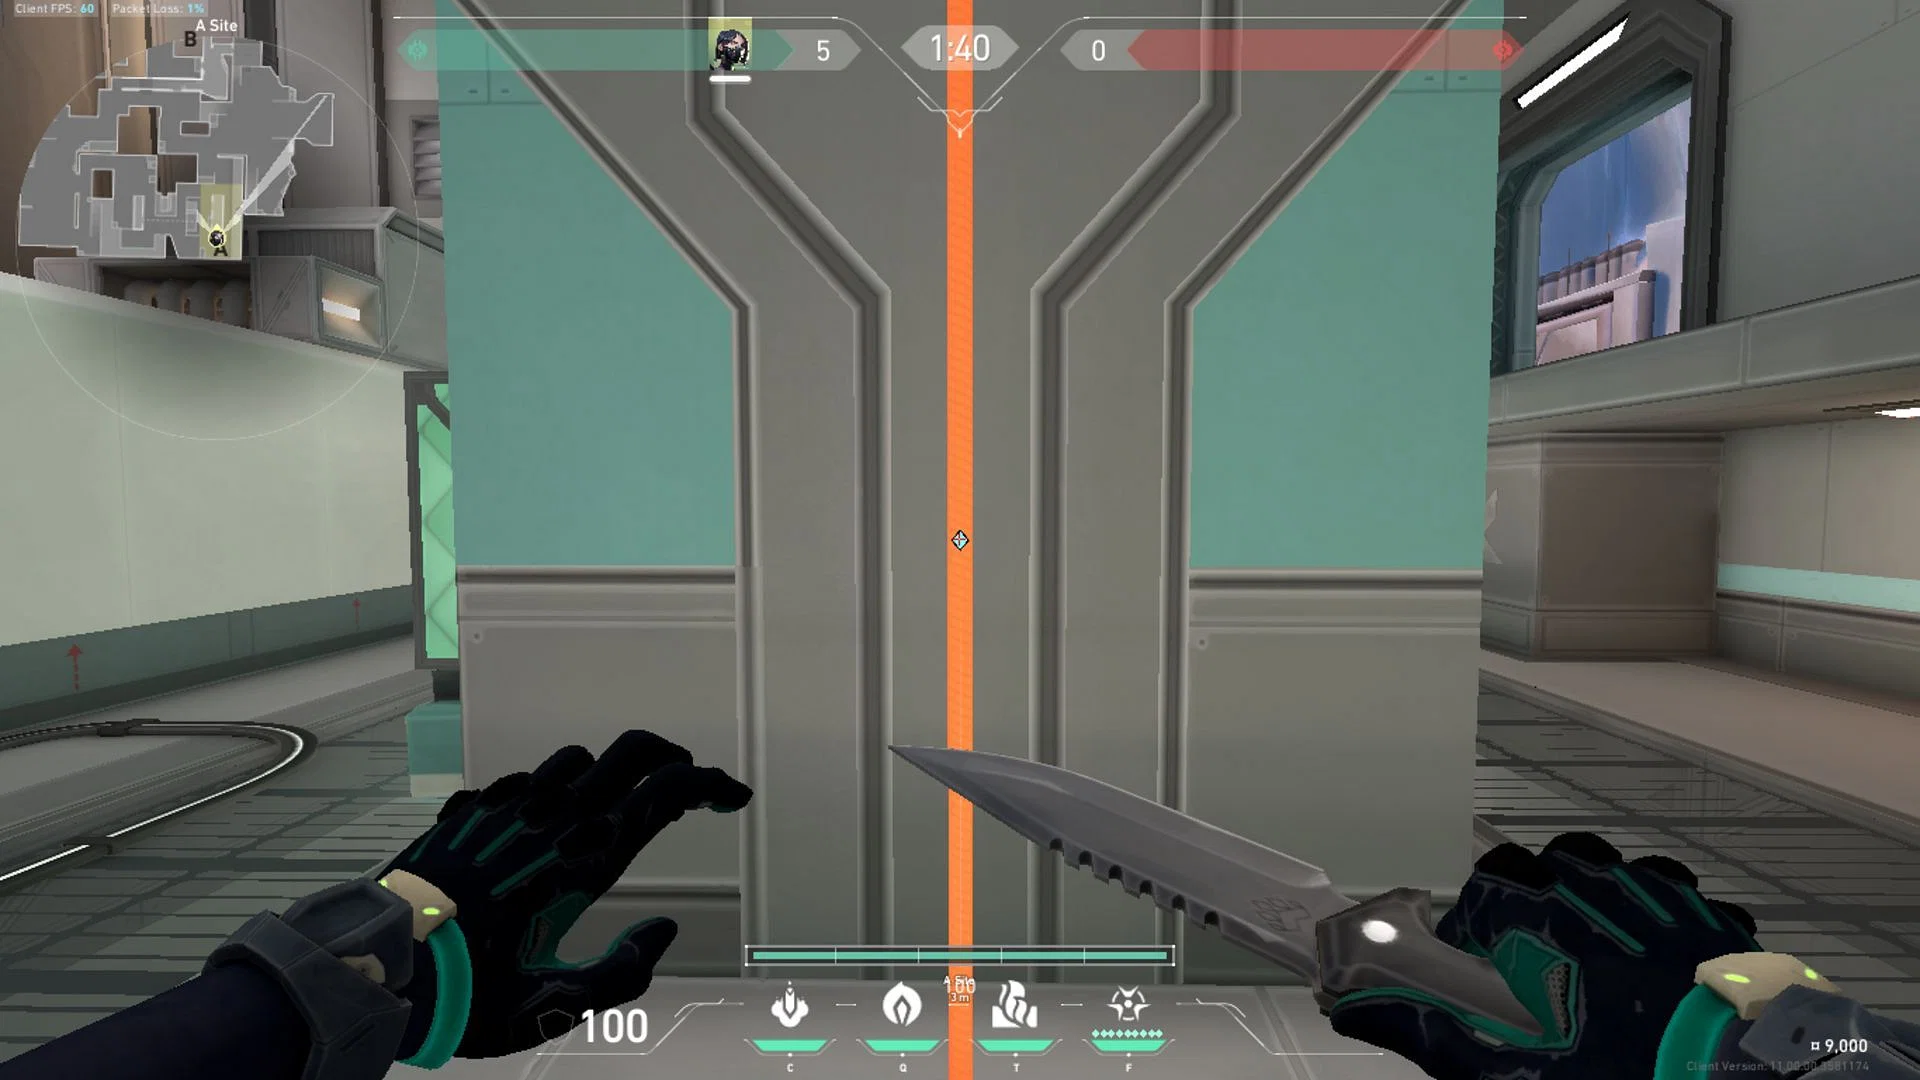
1) A Site default post-plant Snakebite
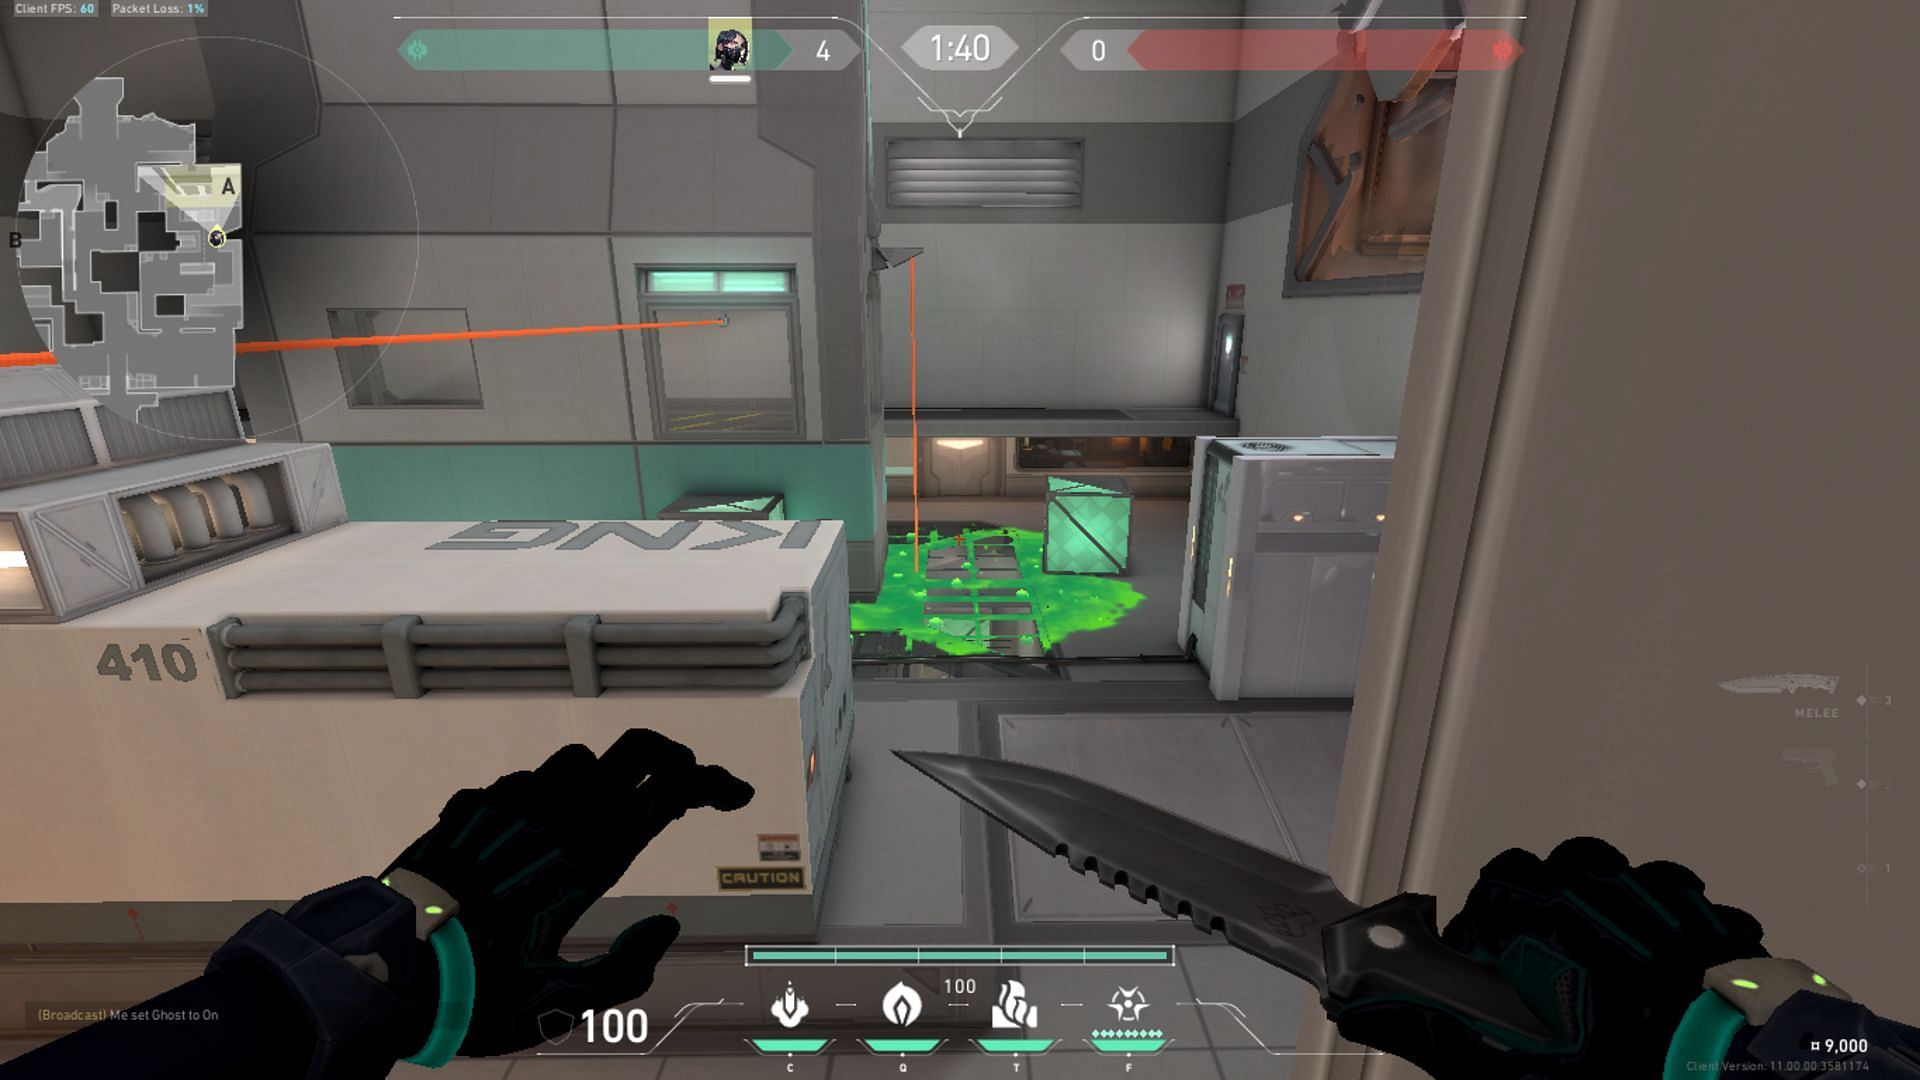
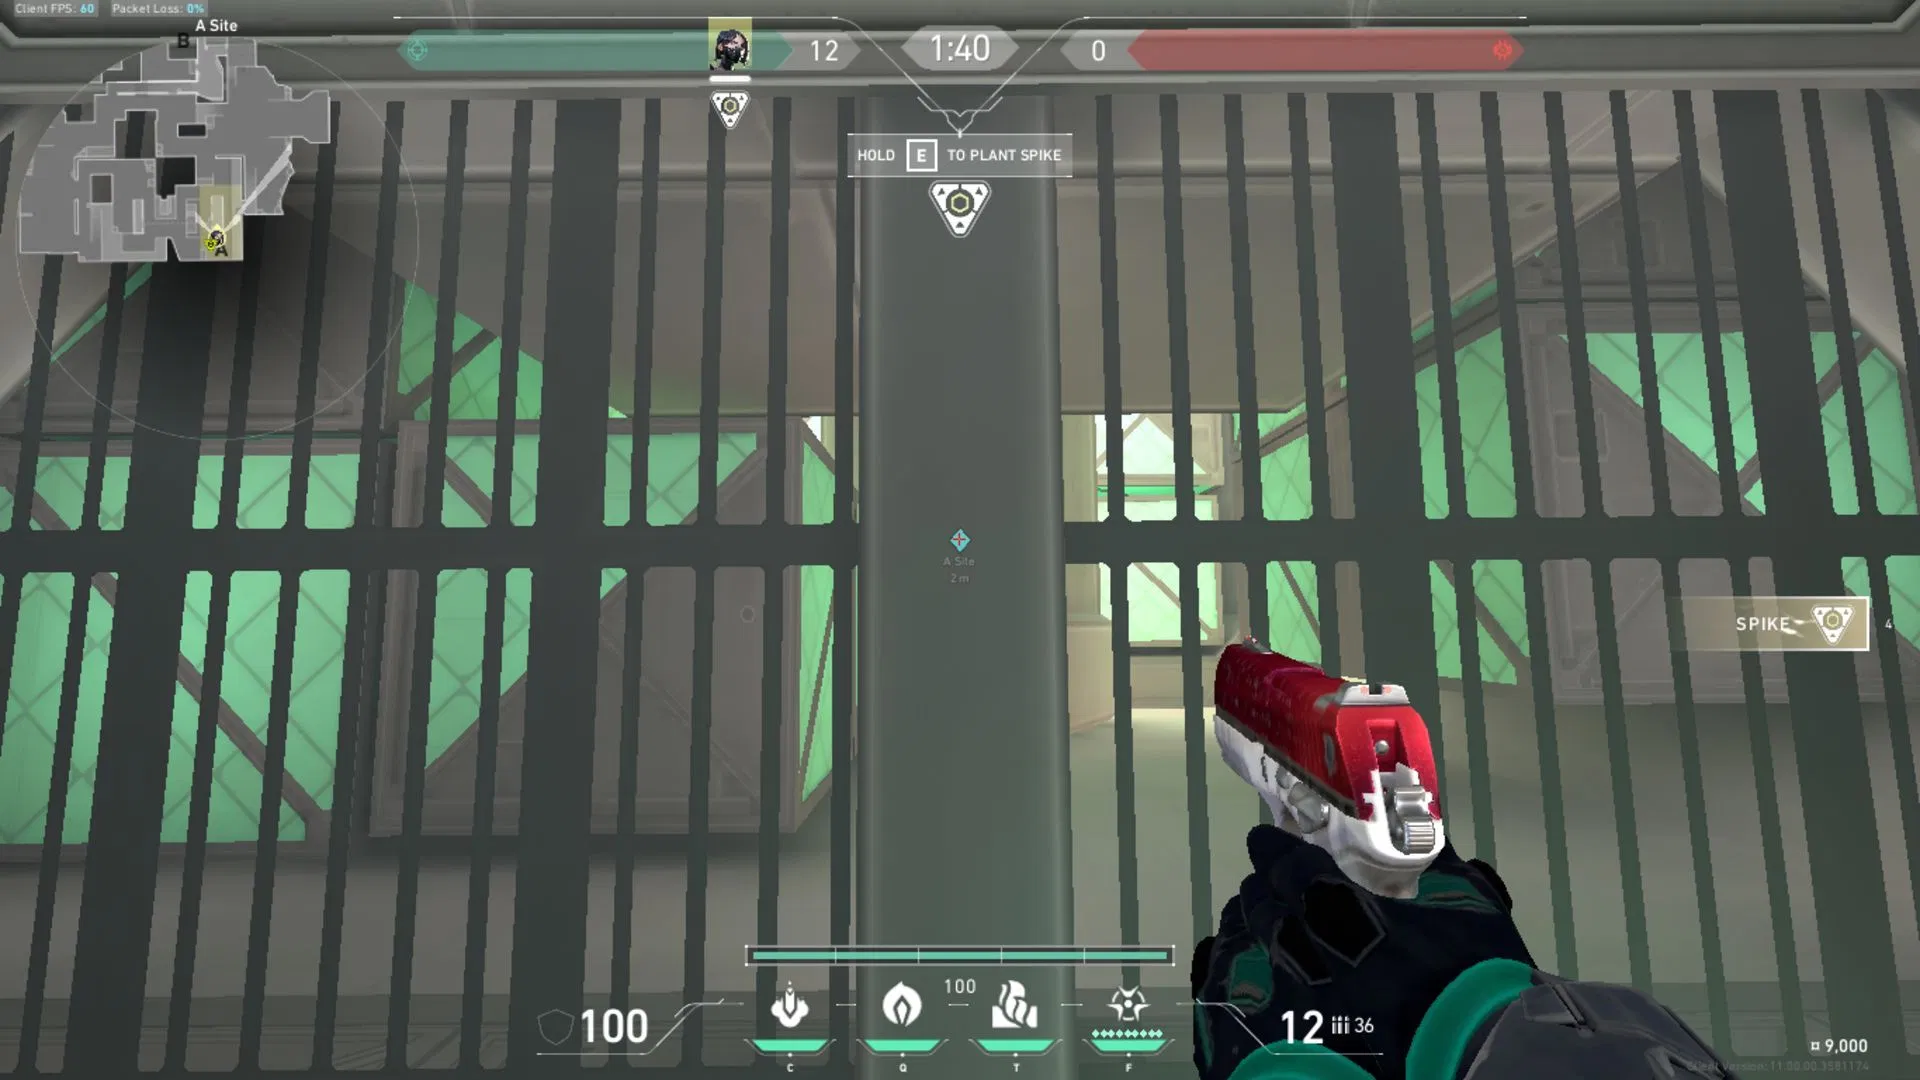
This is one of the oldest Snakebite lineups in the game. Once the Spike has been planted on the A Site in Valorant's Icebox, run back to the doorway before A Belt. Tuck yourself into the wall on your left side and train your aim upwards as shown in the image.
Aim it as shown by the red crosshair and release the Snakebite. It will cover up all of A Site's default plant and prevent enemies from defusing the Spike.
Also read: Valorant: Complete Viper Abyss guide
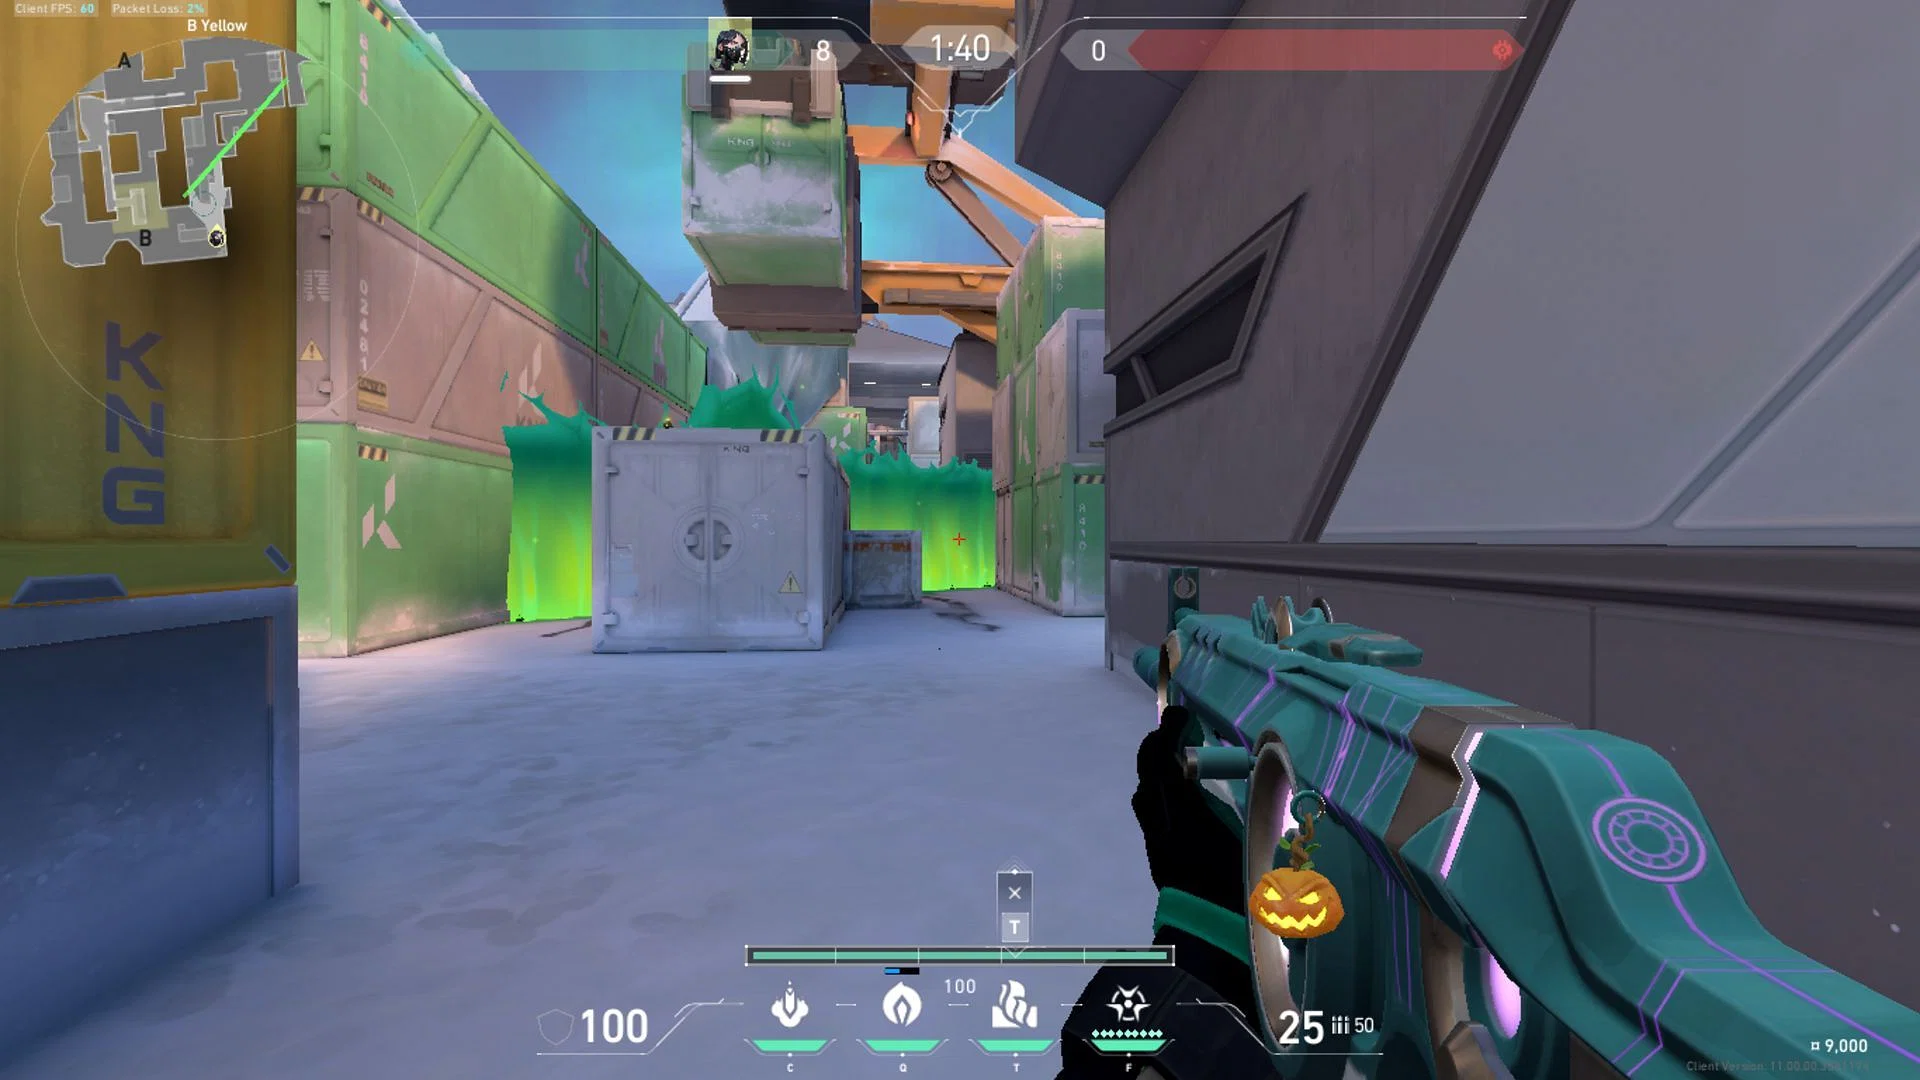
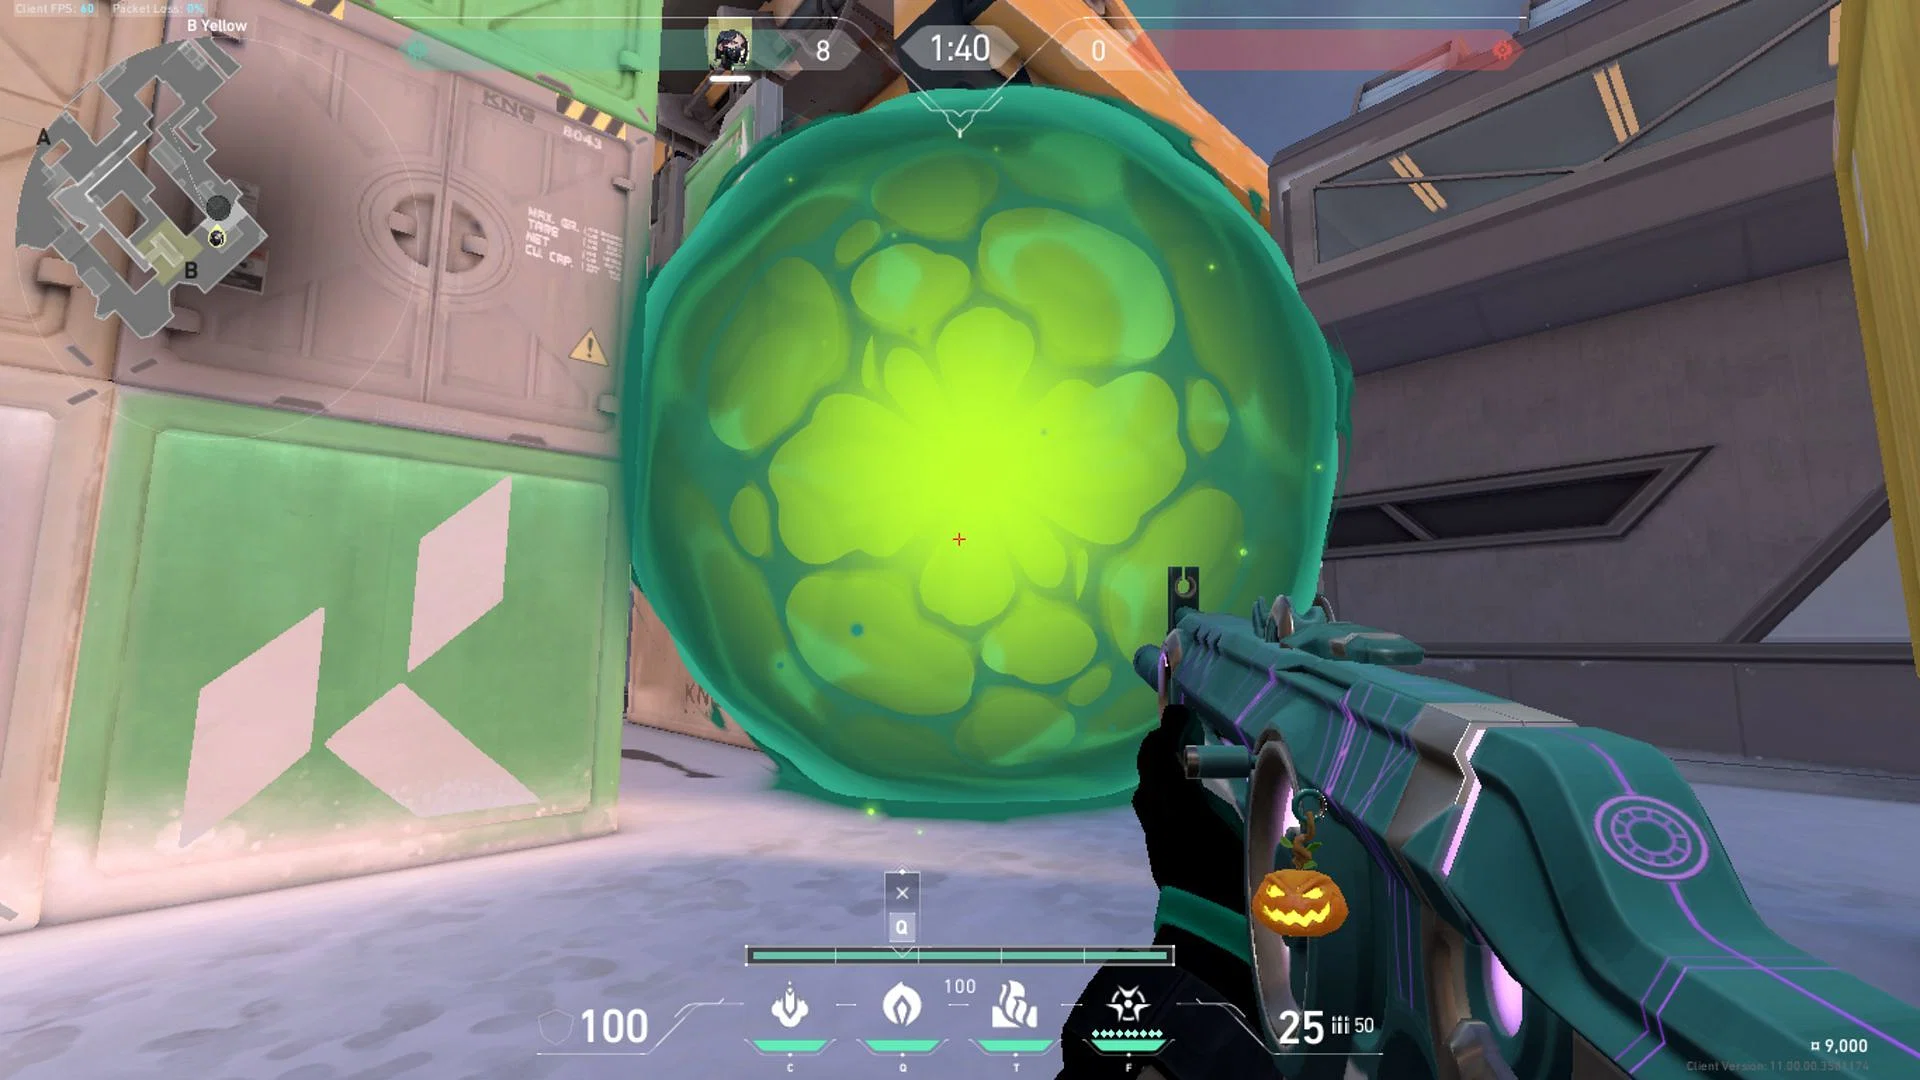
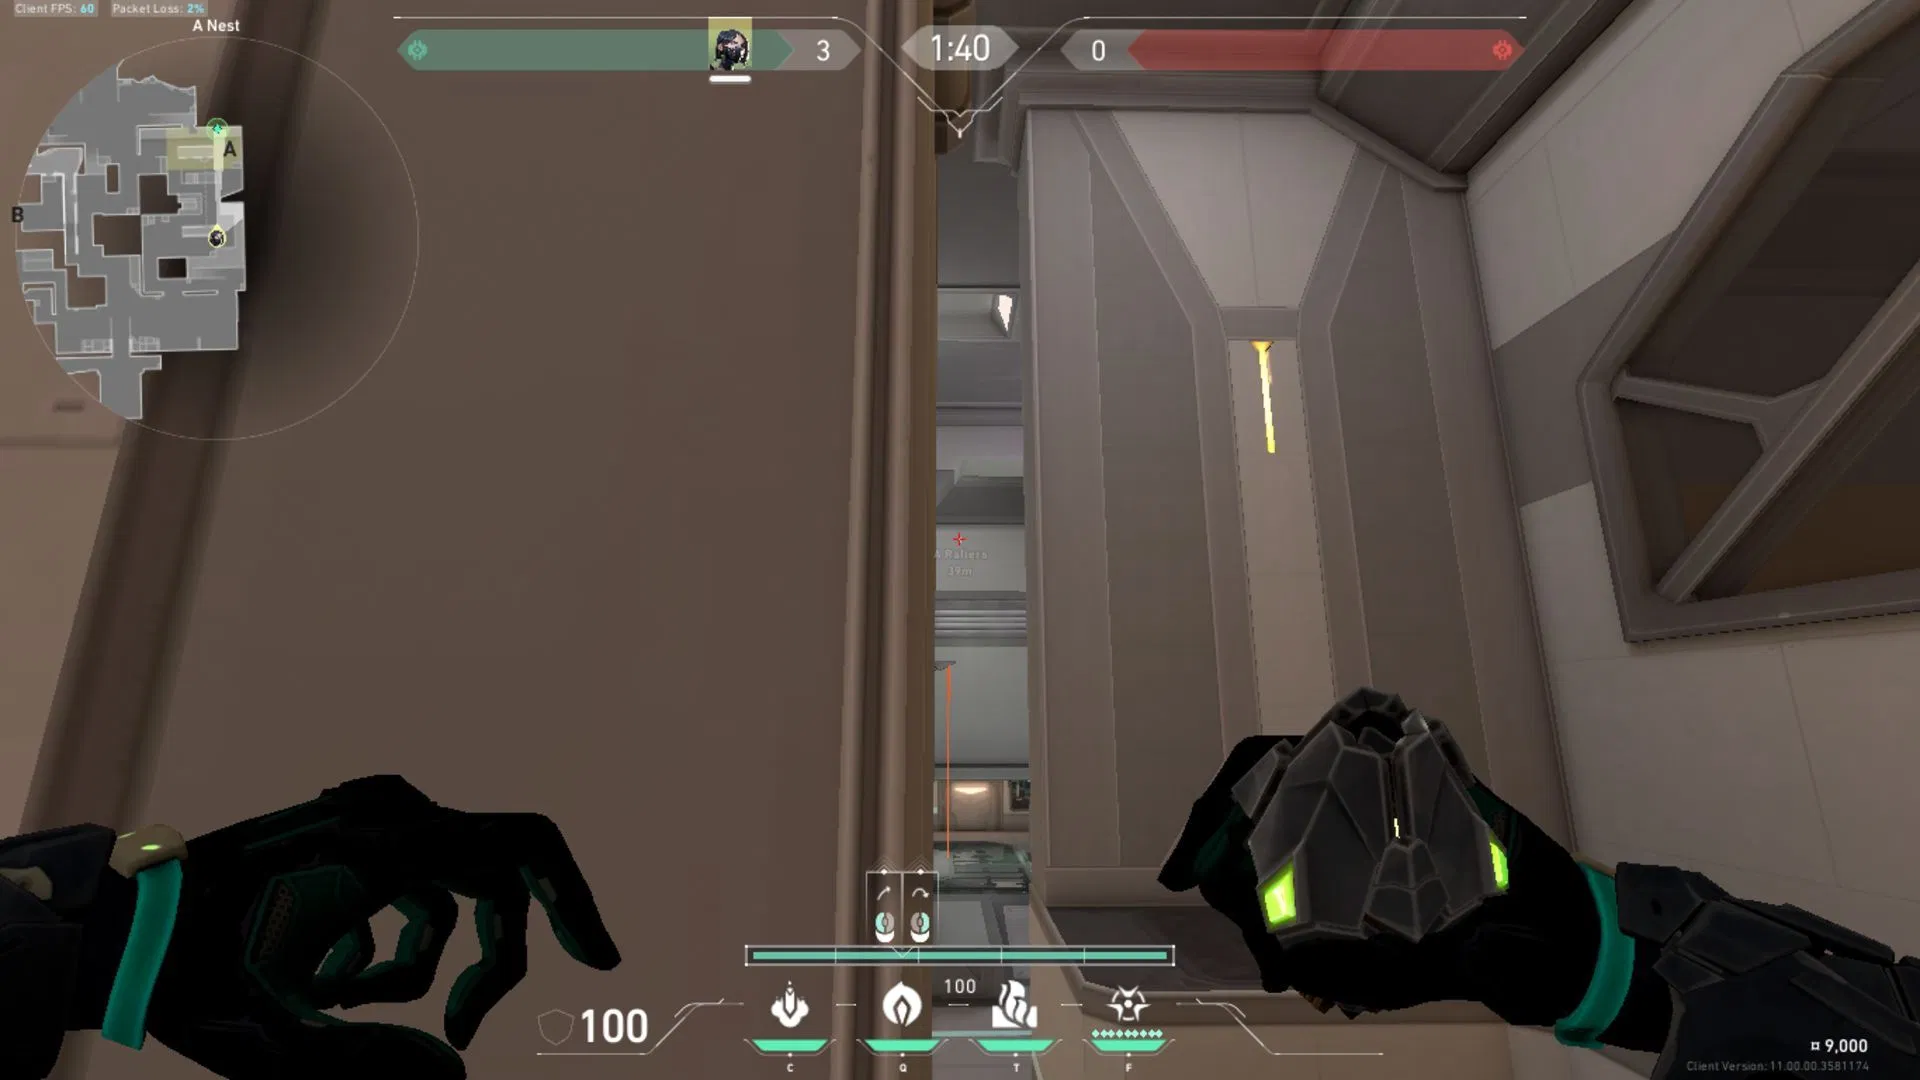
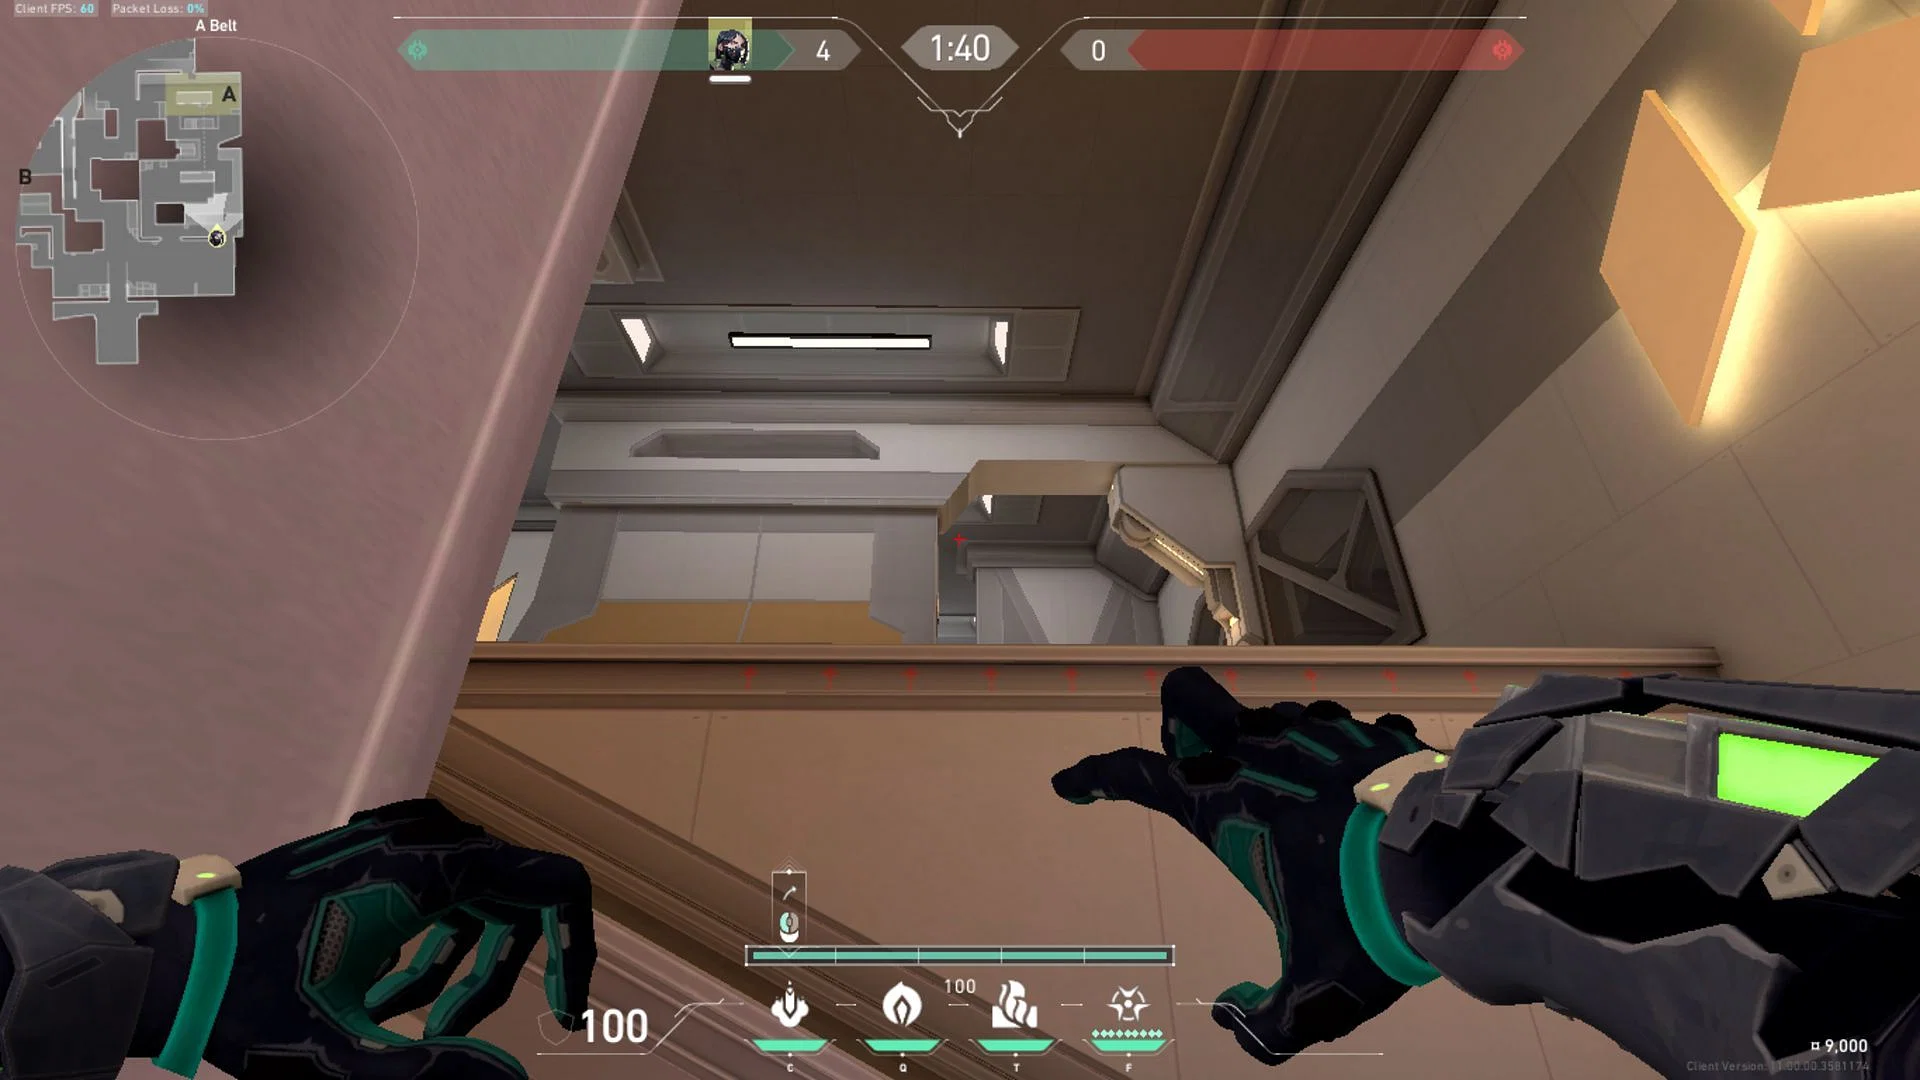
2) B Site default post-plant Snakebite
The idea for this lineup is simply that your projectile on Valorant's Icebox should collide against Yellow on B Site and then bounce onto the default plant position. Combine this with the Poison Cloud for maximum damage.
In B Main, stand close to where the ping in the first image indicates. Then, aim towards the edge of the White Container and then let the Snakebite out. This is a quick lineup and can be used in 1v1 situations well.
Best tips to use Viper’s abilities on the Icebox Map in Valorant
Playing Viper on Valorant's Icebox is a good decision. The Agent is still incredibly well-suited to the map's needs and is probably one of the best Controllers on this highly vertical map. Here are some tips to keep in mind while playing:
- Try to use Viper's abilities one at a time. Her fuel gauge will last you about 12 seconds while using only one ability, while using both may drop it down to 8.5 seconds.
- Practice your lineups in a custom match just to get a hang of them before taking them into your competitive matches.
- Use Viper to lurk, especially in B Long and Mid with an aggressive Poison Cloud or Toxic Screen setup.
Best Gameplay Tips for Viper on Icebox in Valorant
Stall during post-plants
In a post-plant situation, use Viper's orb in conjunction with the Snakebite. Your aim should be to slow the enemy down and not to take them down completely.
This is because the Valorant Agent was nerfed in recent history and now only has one Snakebite to spare. The post-plant meta may be over, but you can still use lineups to get an edge over your opponents.
Cut off rotations
Lurk down Mid as often as possible. Place the orb on Mid Boiler, or just listen to your opponents' movement. Let your team know if they're crossing from one site to another, and don't hesitate before surprising an unwary defender.
As Viper, try to lurk like the professional Valorant player, nAts, and take valuable kills. Focus on impact frags as opposed to a higher kill count.
