'%20x='0'%20y='0'%20height='100%25'%20width='100%25'%20%0A%20%20%20%20%20%20%20%20%20%20xlink%3Ahref='data:image/jpg;base64,/9j/2wBDAAYEBQYFBAYGBQYHBwYIChAKCgkJChQODwwQFxQYGBcUFhYaHSUfGhsjHBYWICwgIyYnKSopGR8tMC0oMCUoKSj/2wBDAQcHBwoIChMKChMoGhYaKCgoKCgoKCgoKCgoKCgoKCgoKCgoKCgoKCgoKCgoKCgoKCgoKCgoKCgoKCgoKCgoKCj/wgARCAAGAAoDASIAAhEBAxEB/8QAFgABAQEAAAAAAAAAAAAAAAAAAAUG/8QAFAEBAAAAAAAAAAAAAAAAAAAABP/aAAwDAQACEAMQAAAAys0aD//EACEQAAEDBAEFAAAAAAAAAAAAAAIBAwQAESEiBRIxMoHh/9oACAEBAAE/AJ/KzGGYDqEBsCp9Qkmy6pm/vtRuyjMiR48rfz+V/8QAFxEAAwEAAAAAAAAAAAAAAAAAAAECIf/aAAgBAgEBPwCJ1n//xAAZEQABBQAAAAAAAAAAAAAAAAADAAECEiH/2gAIAQMBAT8AIadW1f/Z'%3E%3C/image%3E%3C/svg%3E)
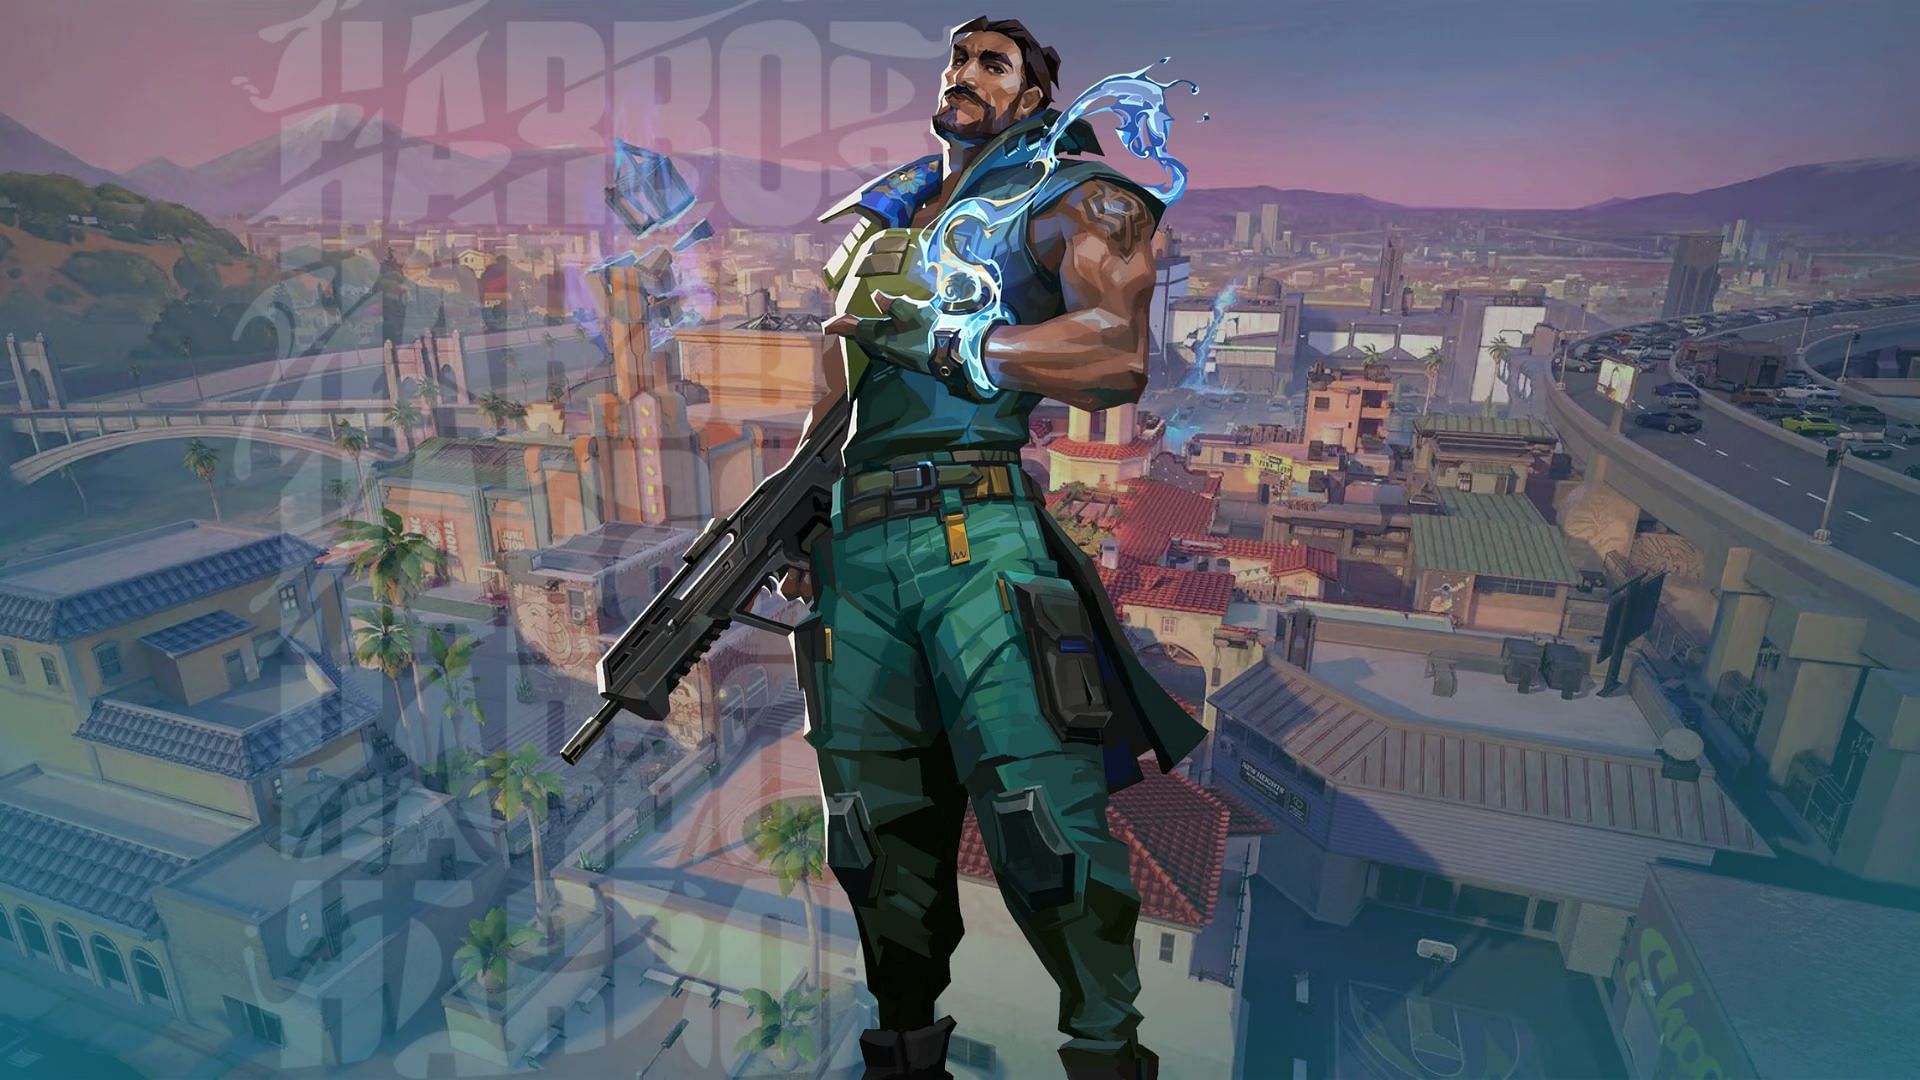
Sunset, Valorant's latest map, offers a unique layout with a straightforward two-site design and no gimmicks. Spawn barriers are close, increasing early engagements, while strategic flanking opportunities from interconnected lanes demand prudent tactics to reach spike sites. The presence of Harbor and his High Tide ability becomes pivotal on this map.
Mastering Harbor's High Tide is crucial for gaining an edge, whether you're looking for early-round aggression or executing strategic site hits. This article delves into the nature of the Harbor's signature ability and the best ways to use it on Sunset.
Best Harbor walls for A site, B site, and more on Sunset in Valorant
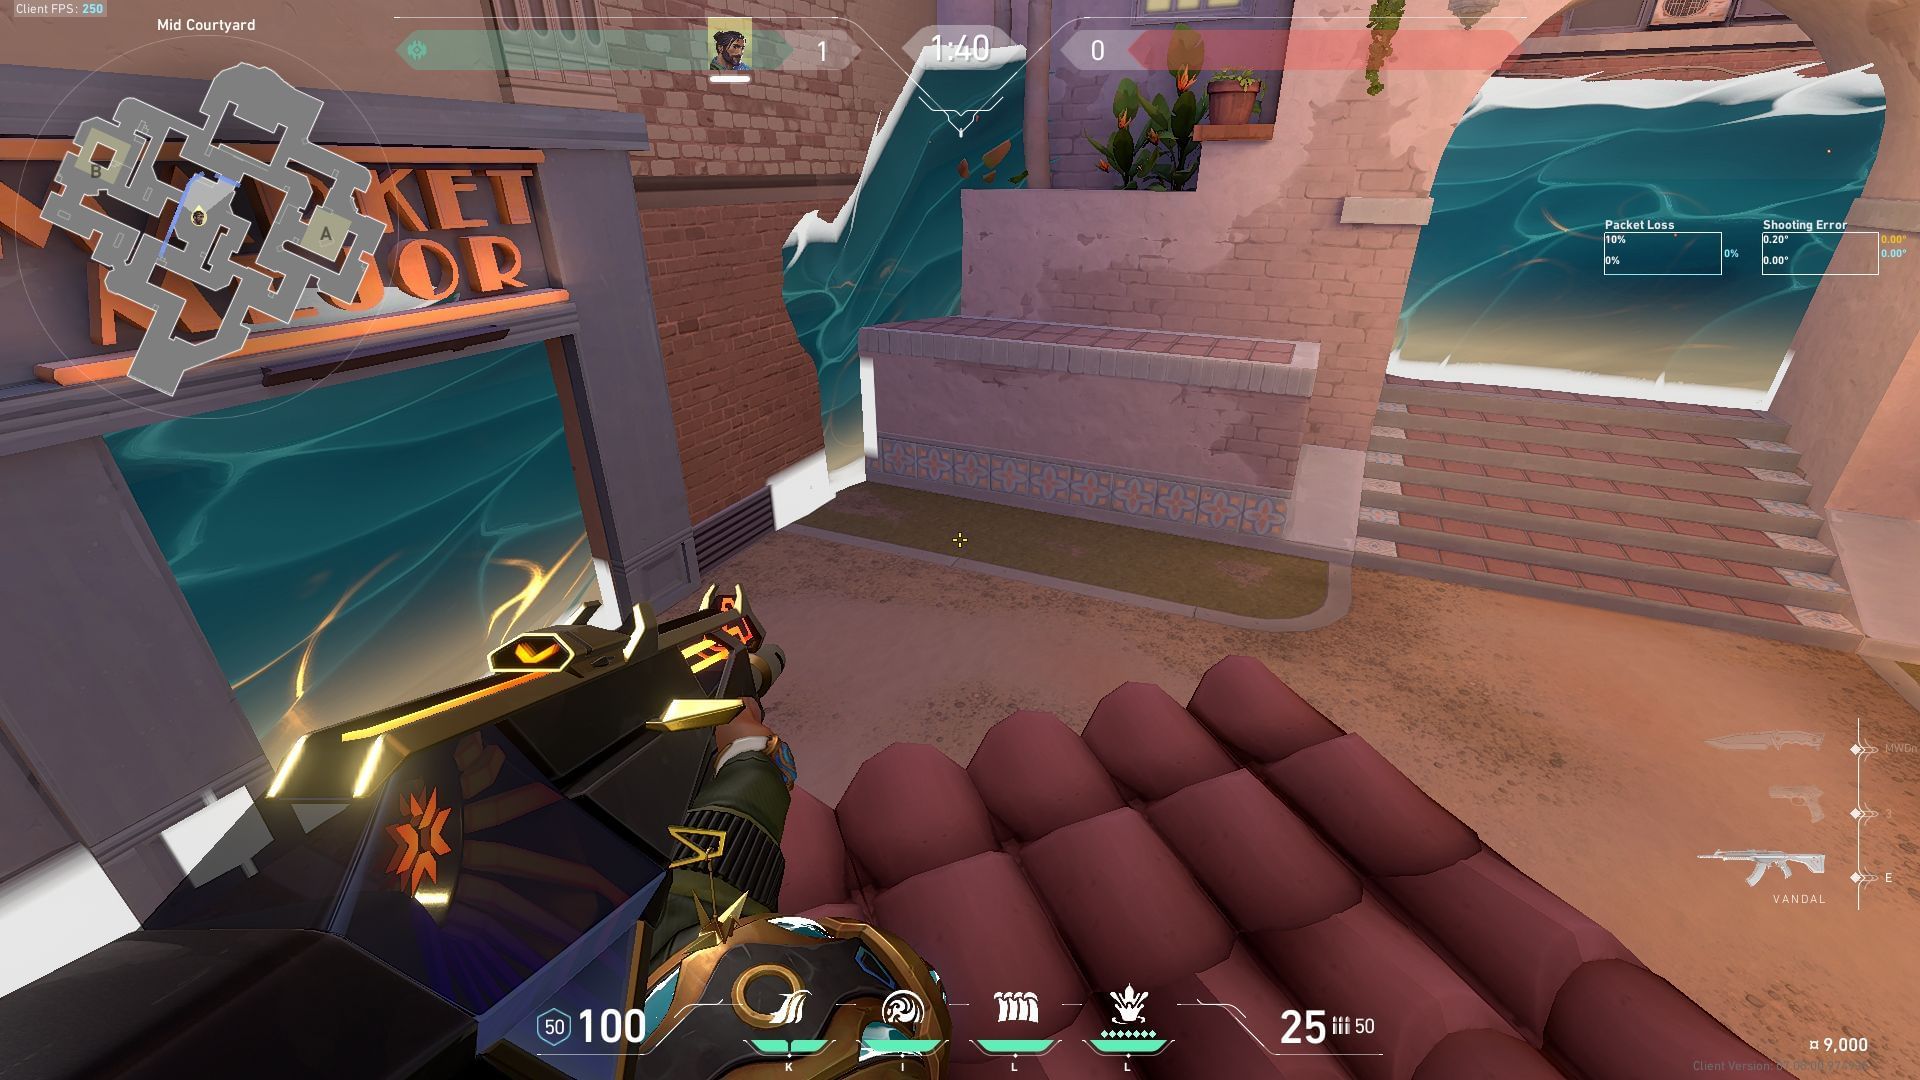
1) Middle Courtyard defense wall
Since A Site poses a greater challenge for attackers, securing control over the Middle Courtyard should be the priority for both teams. The Middle Courtyard on Sunset heavily favors the team that uses their utilities more effectively, making it crucial for defensive Controllers to devise strategies for disrupting the attackers' sightlines using their utilities.
Stand near A Link, in front of the A Main choke point, and hold the left click while dragging your crosshair across the screen. This will cover Mid Tiles and Bottom Mid.
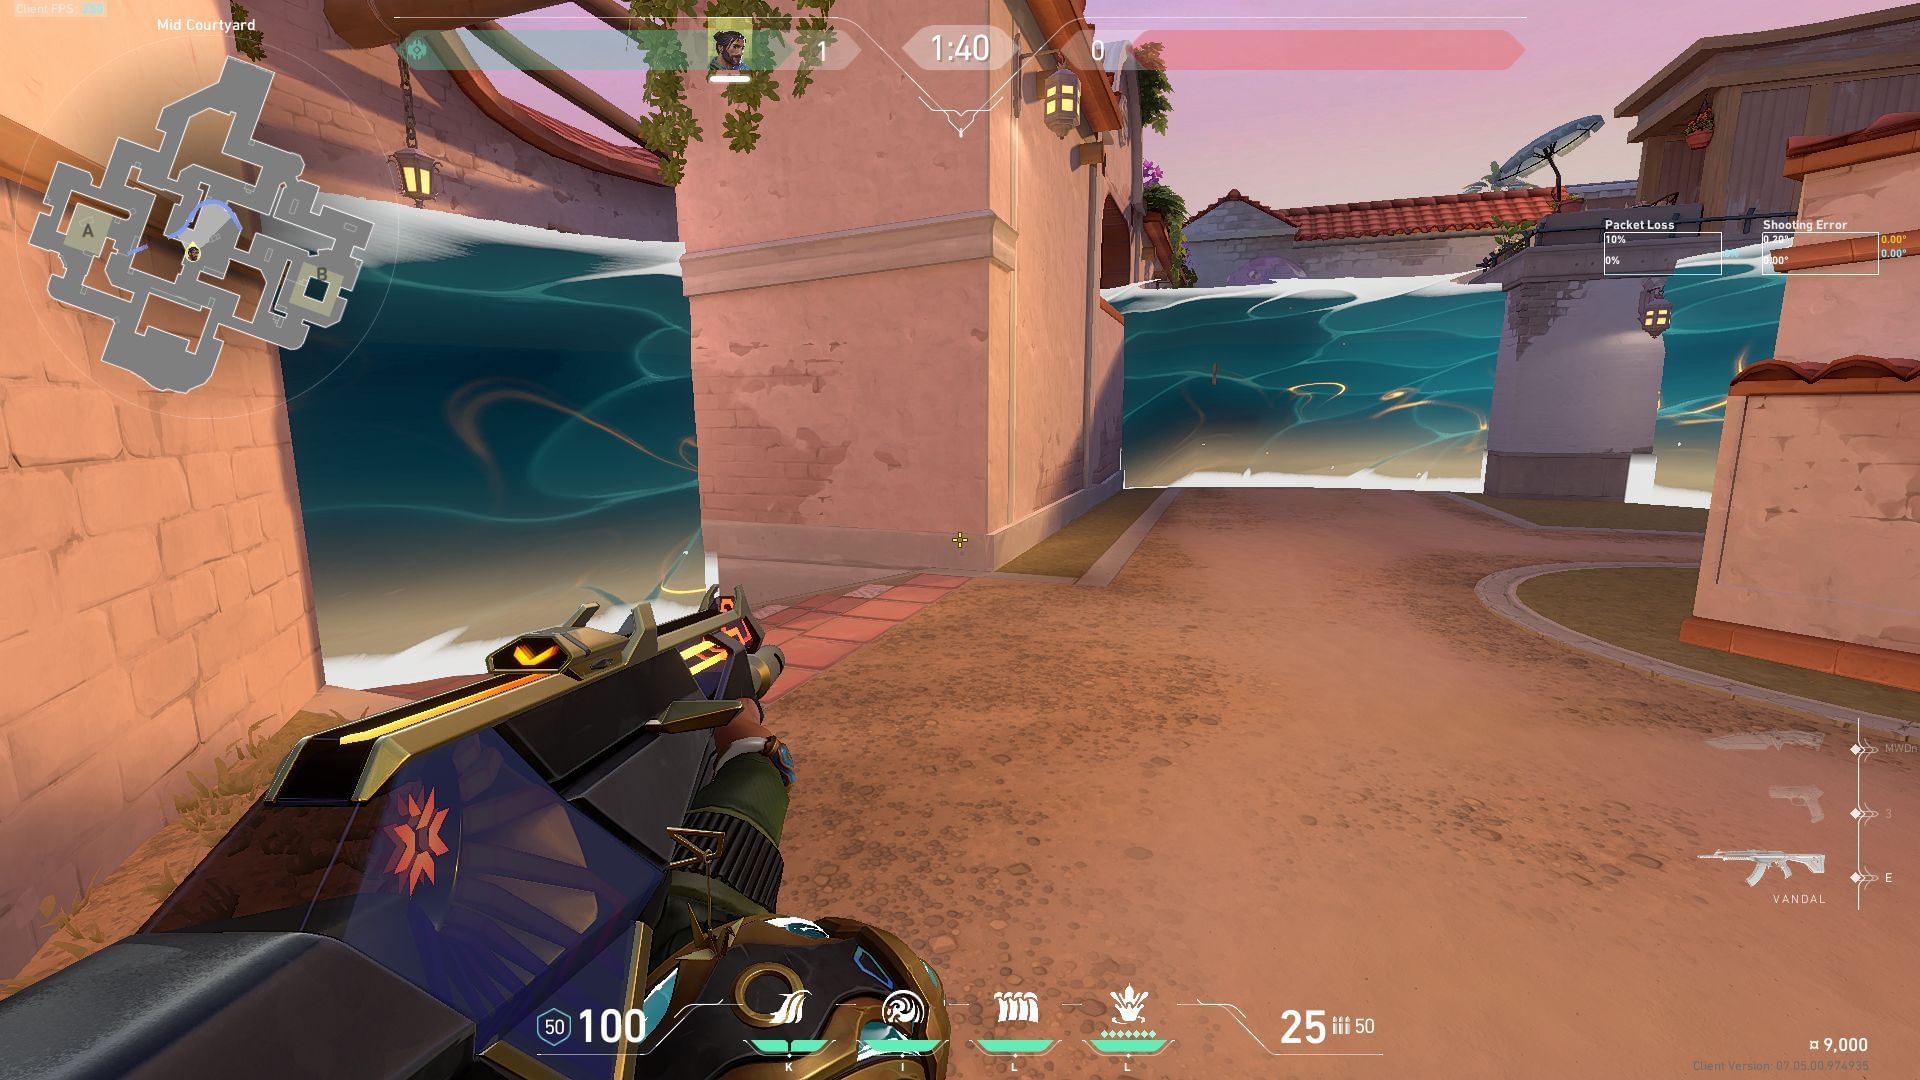
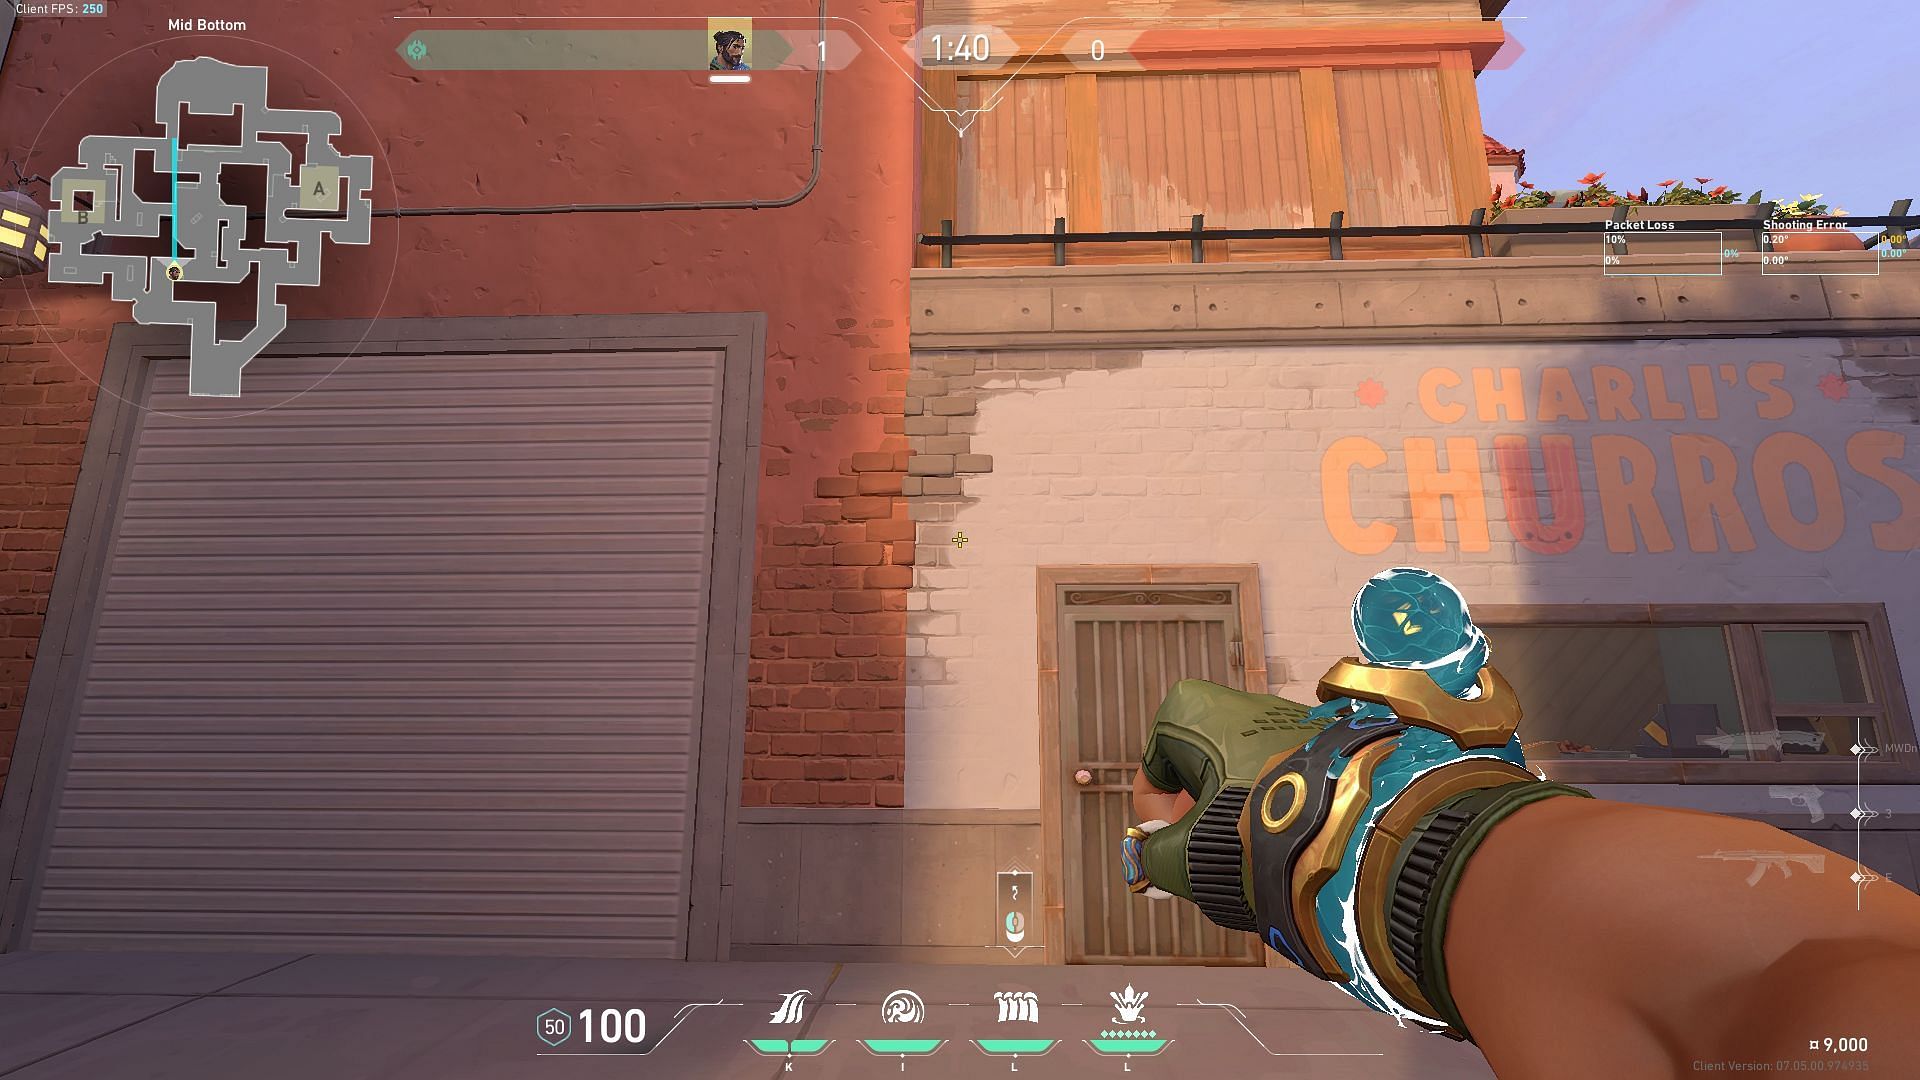
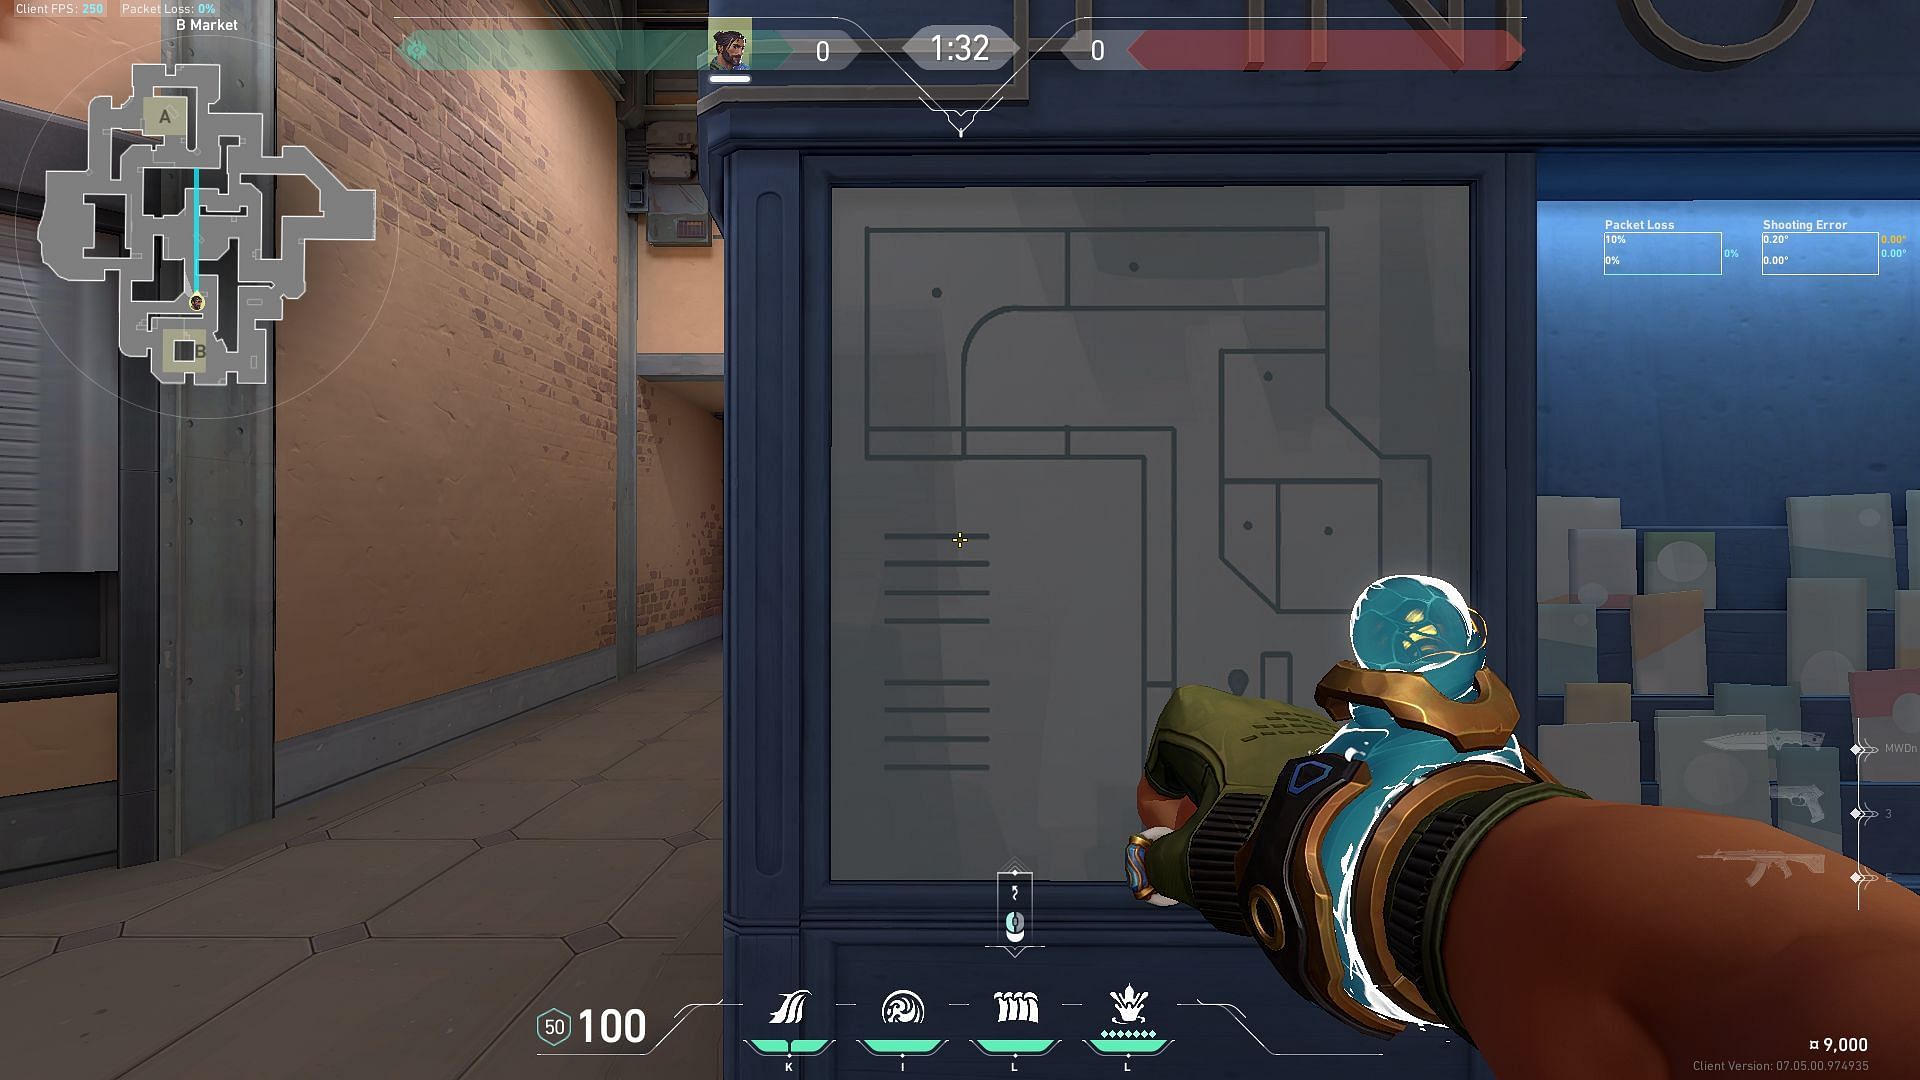
2) B site split attack wall

It is harder for Controllers to deny sightlines on the B site due to the risk of allowing too much space for defenders. It is often advantageous for attackers to execute split-style maneuvers where they pinch defenders on the spike site from both chokepoints.
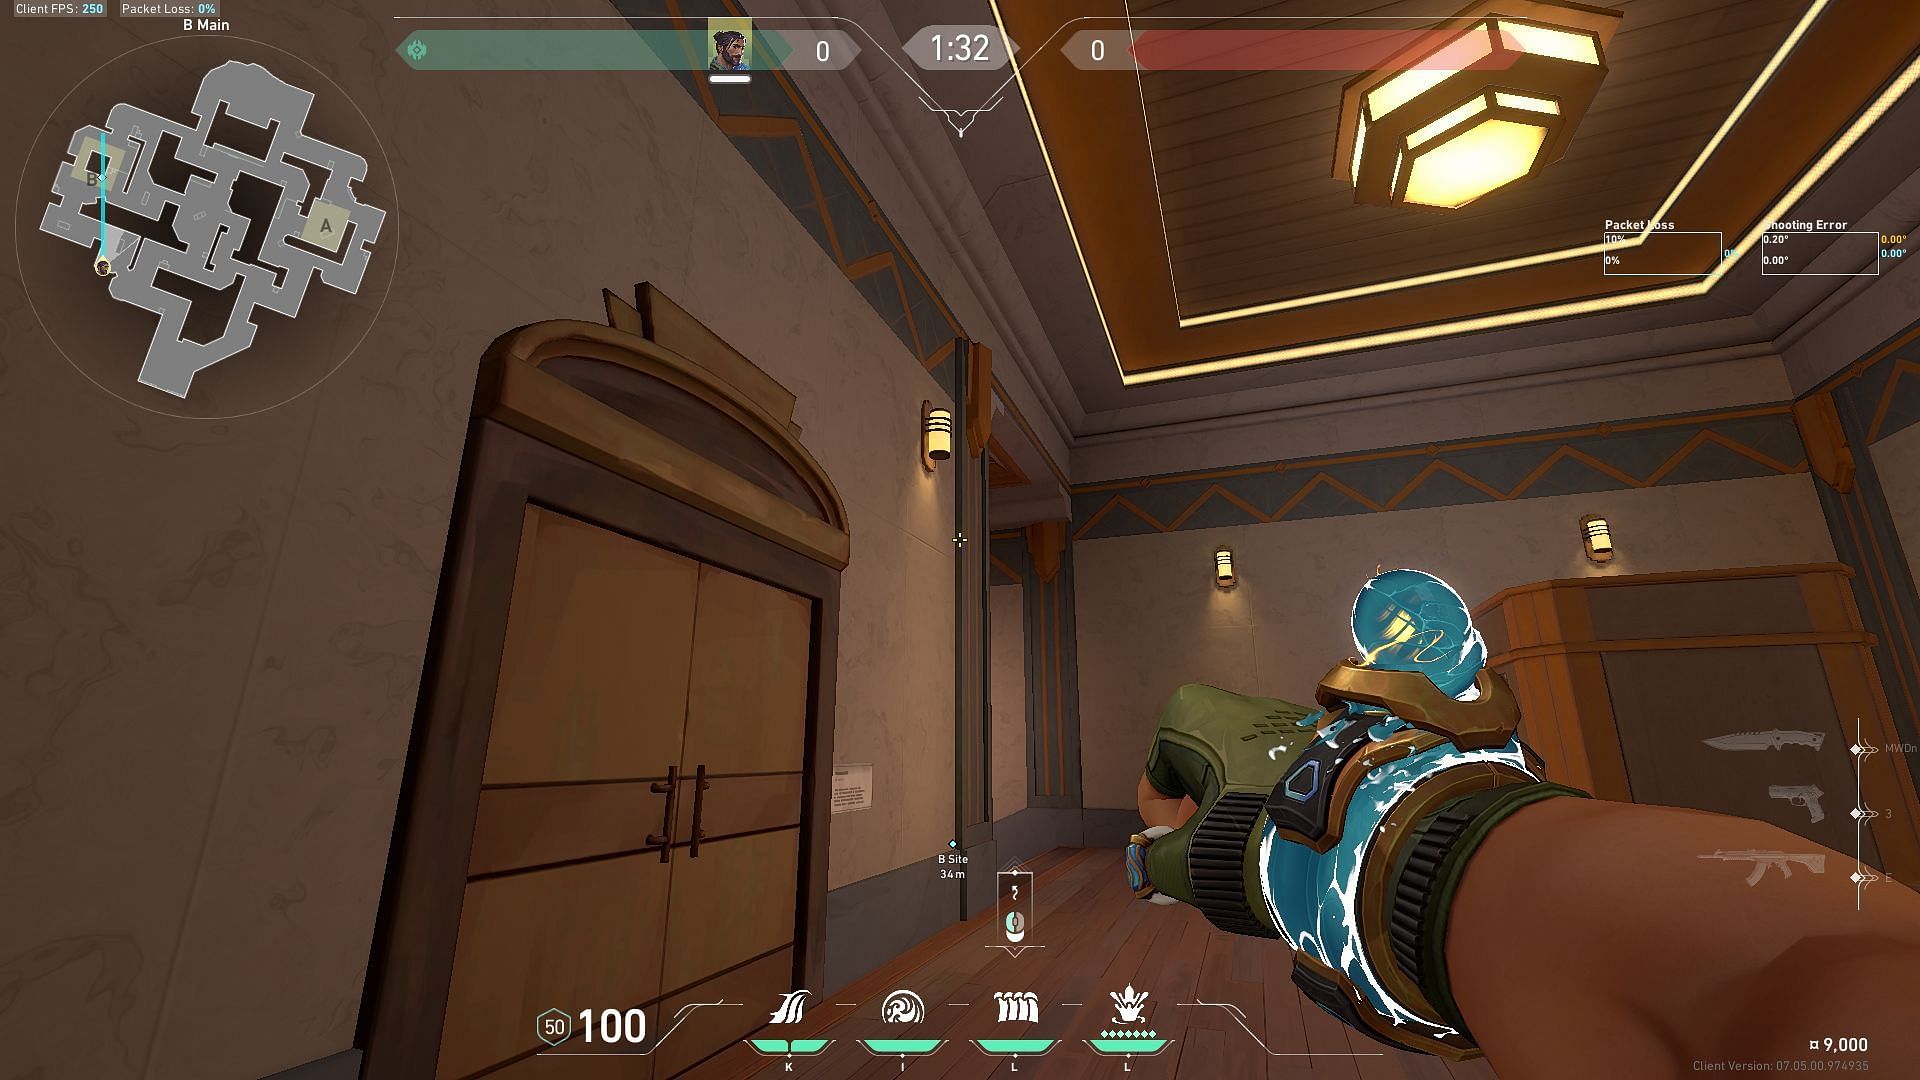
Stand in B Main and hold down left click to bend the Harbor wall in a way that it covers the left side of the B site, the left side of the pillar, and B Boba for assisting your oncoming attackers from B Market.
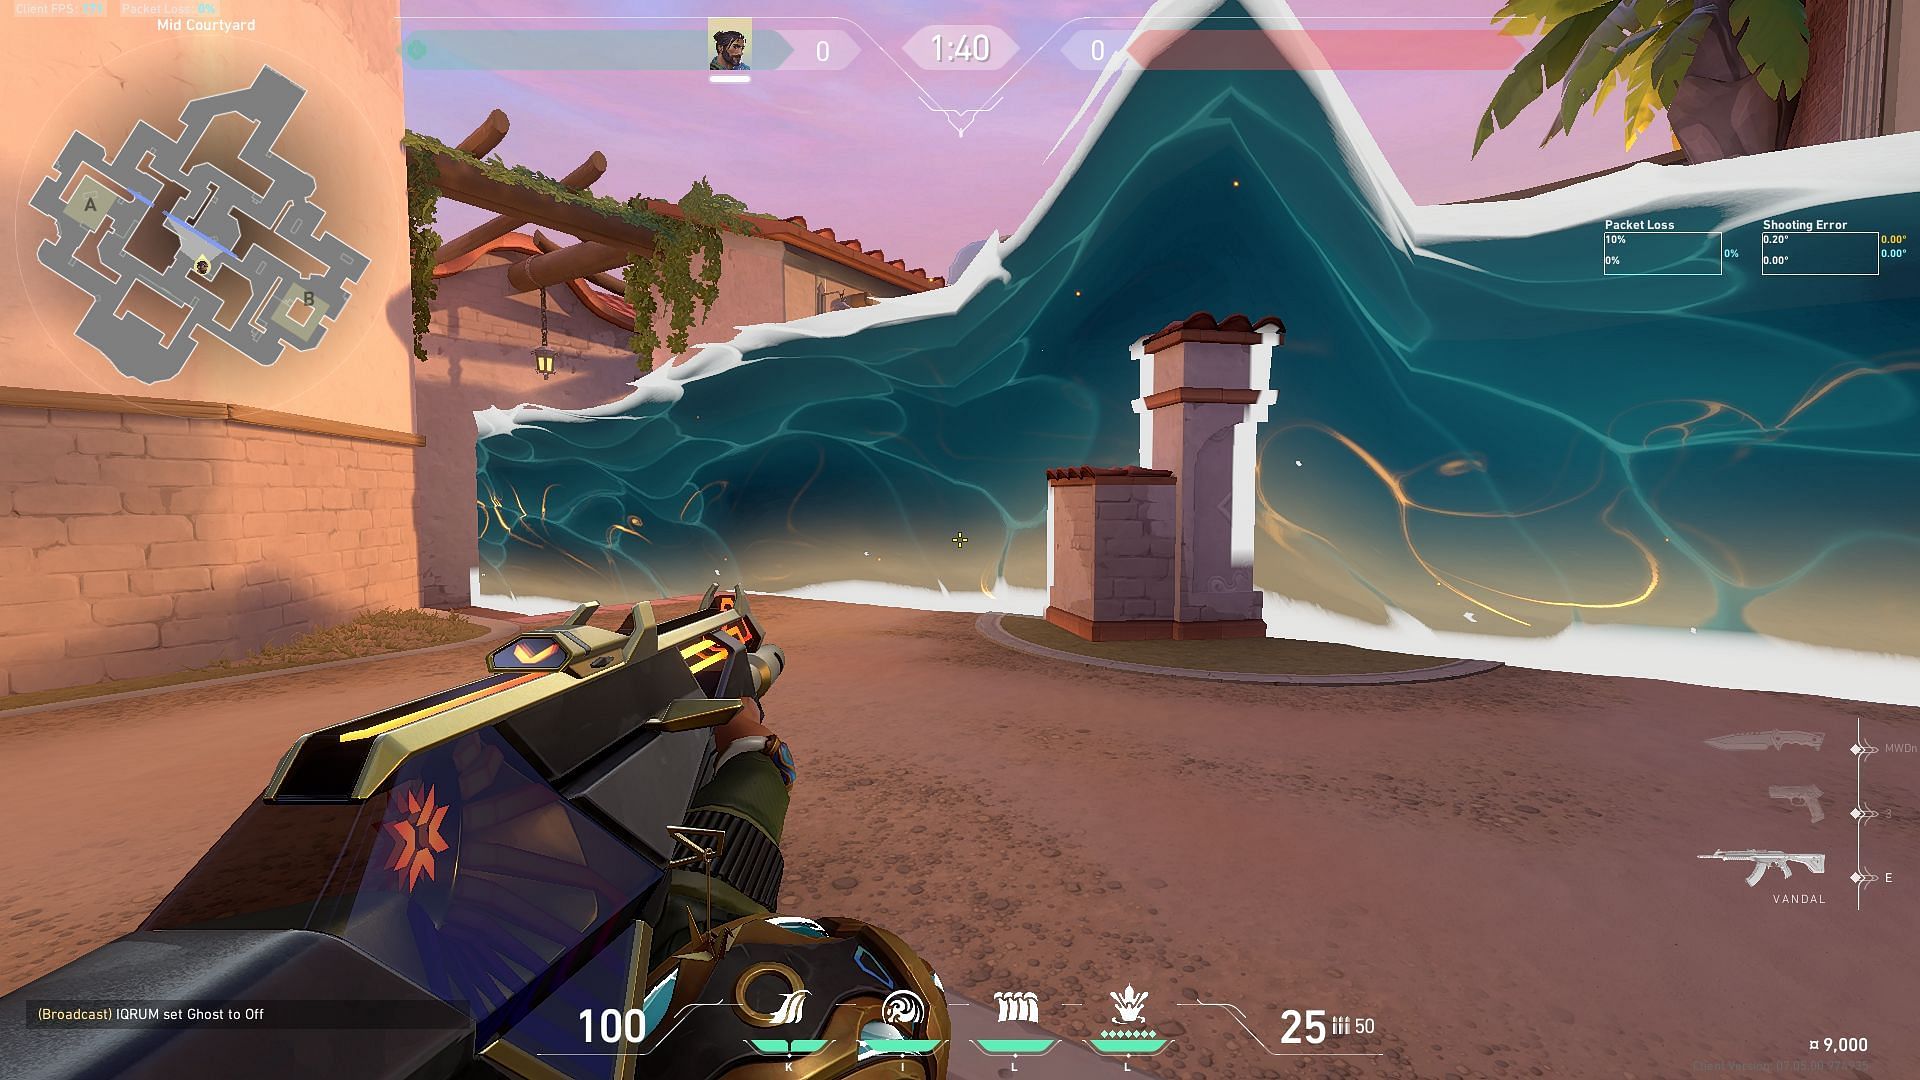
3) Middle Courtyard attack wall
The Middle Courtyard's Mid Tiles area is advantageous for attackers, so it's essential for offensive teams to prioritize securing it. As a controller, Harbor should aim to swiftly block the defense's sightlines in this region using his High Tide wall.
Align yourself in line with the B Market chokepoint in the pre-round. As the barriers descend, press and hold the left click to send a High Tide wall covering B Market and then bend it to cover Mid Top.
4) Middle Courtyard and A Main wall
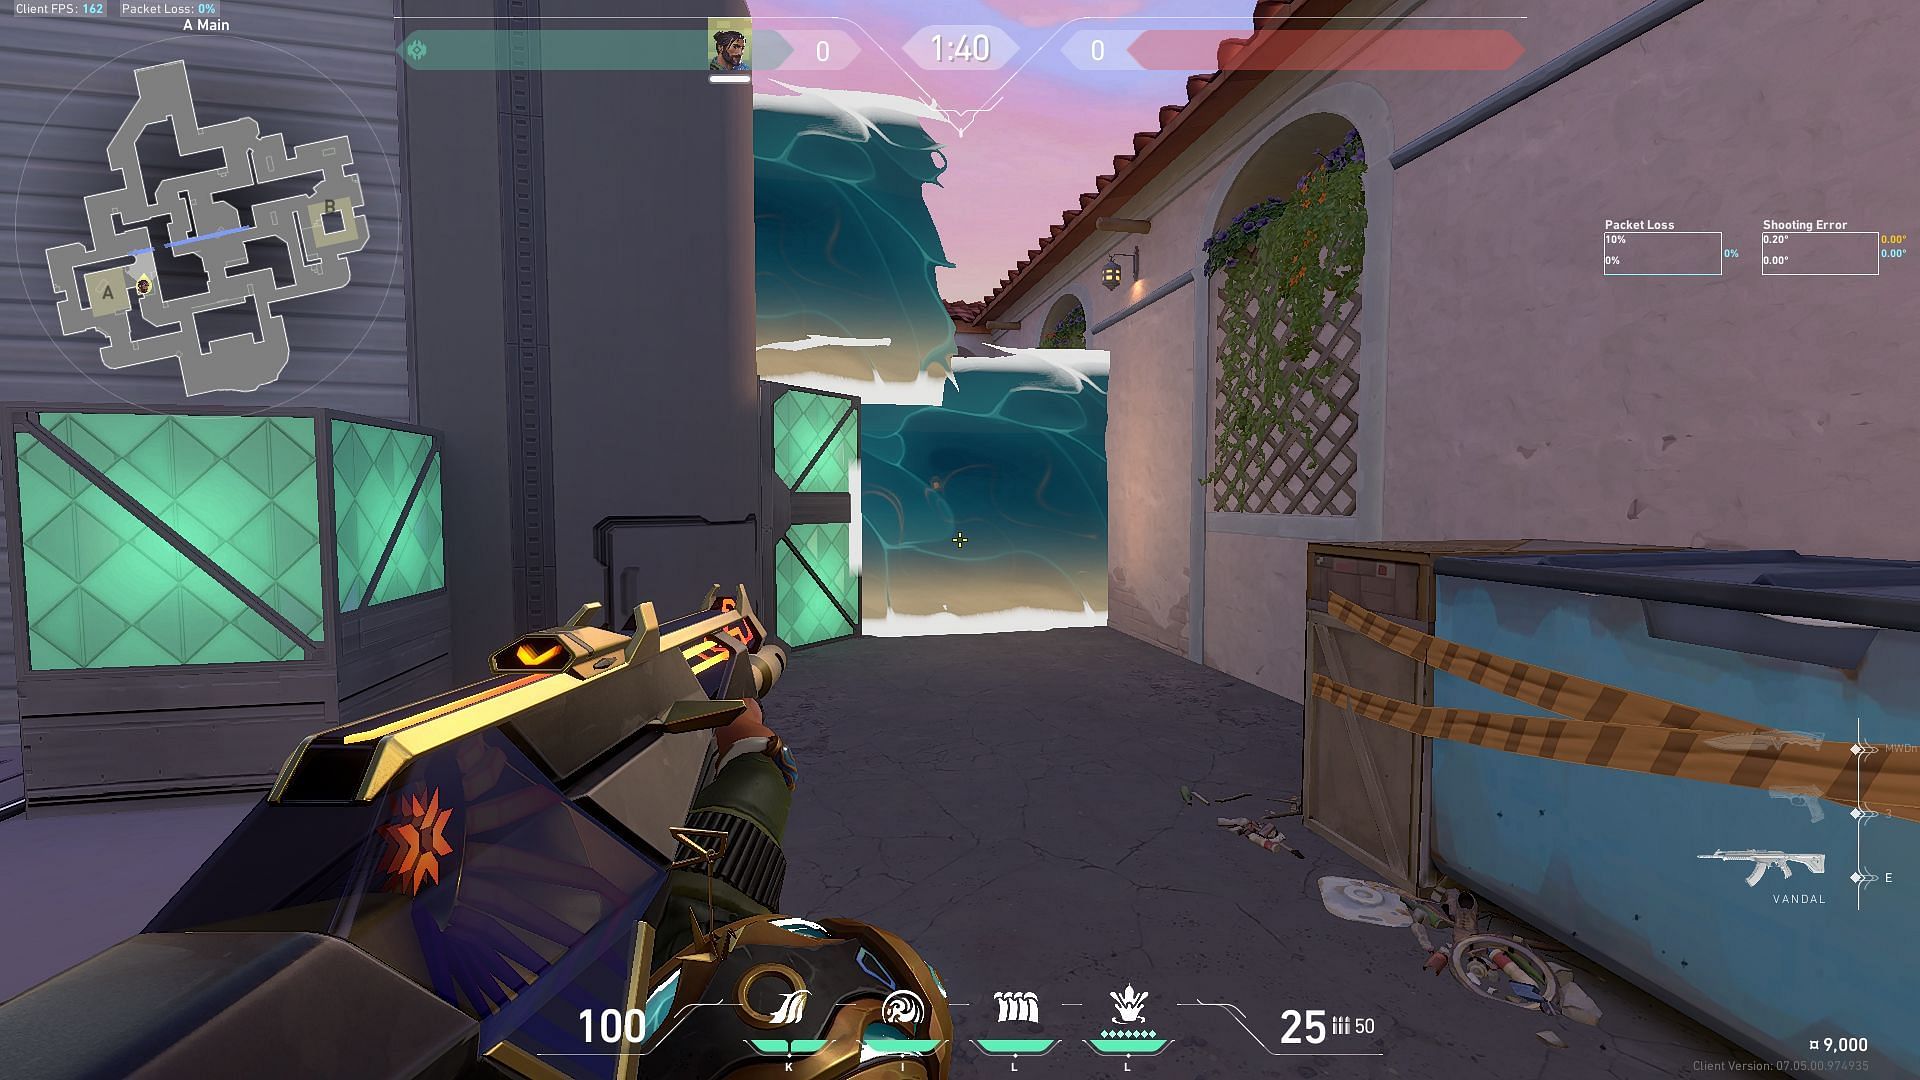
This swift High Tide covers important parts of the map and allows defenders to take early map space.
To gain control over Bottom Mid, Middle Courtyard, Mid Tiles, and A Main, stand behind the Blue 'Info' board situated in the B Market and left-click to send a wall quickly covering these areas.
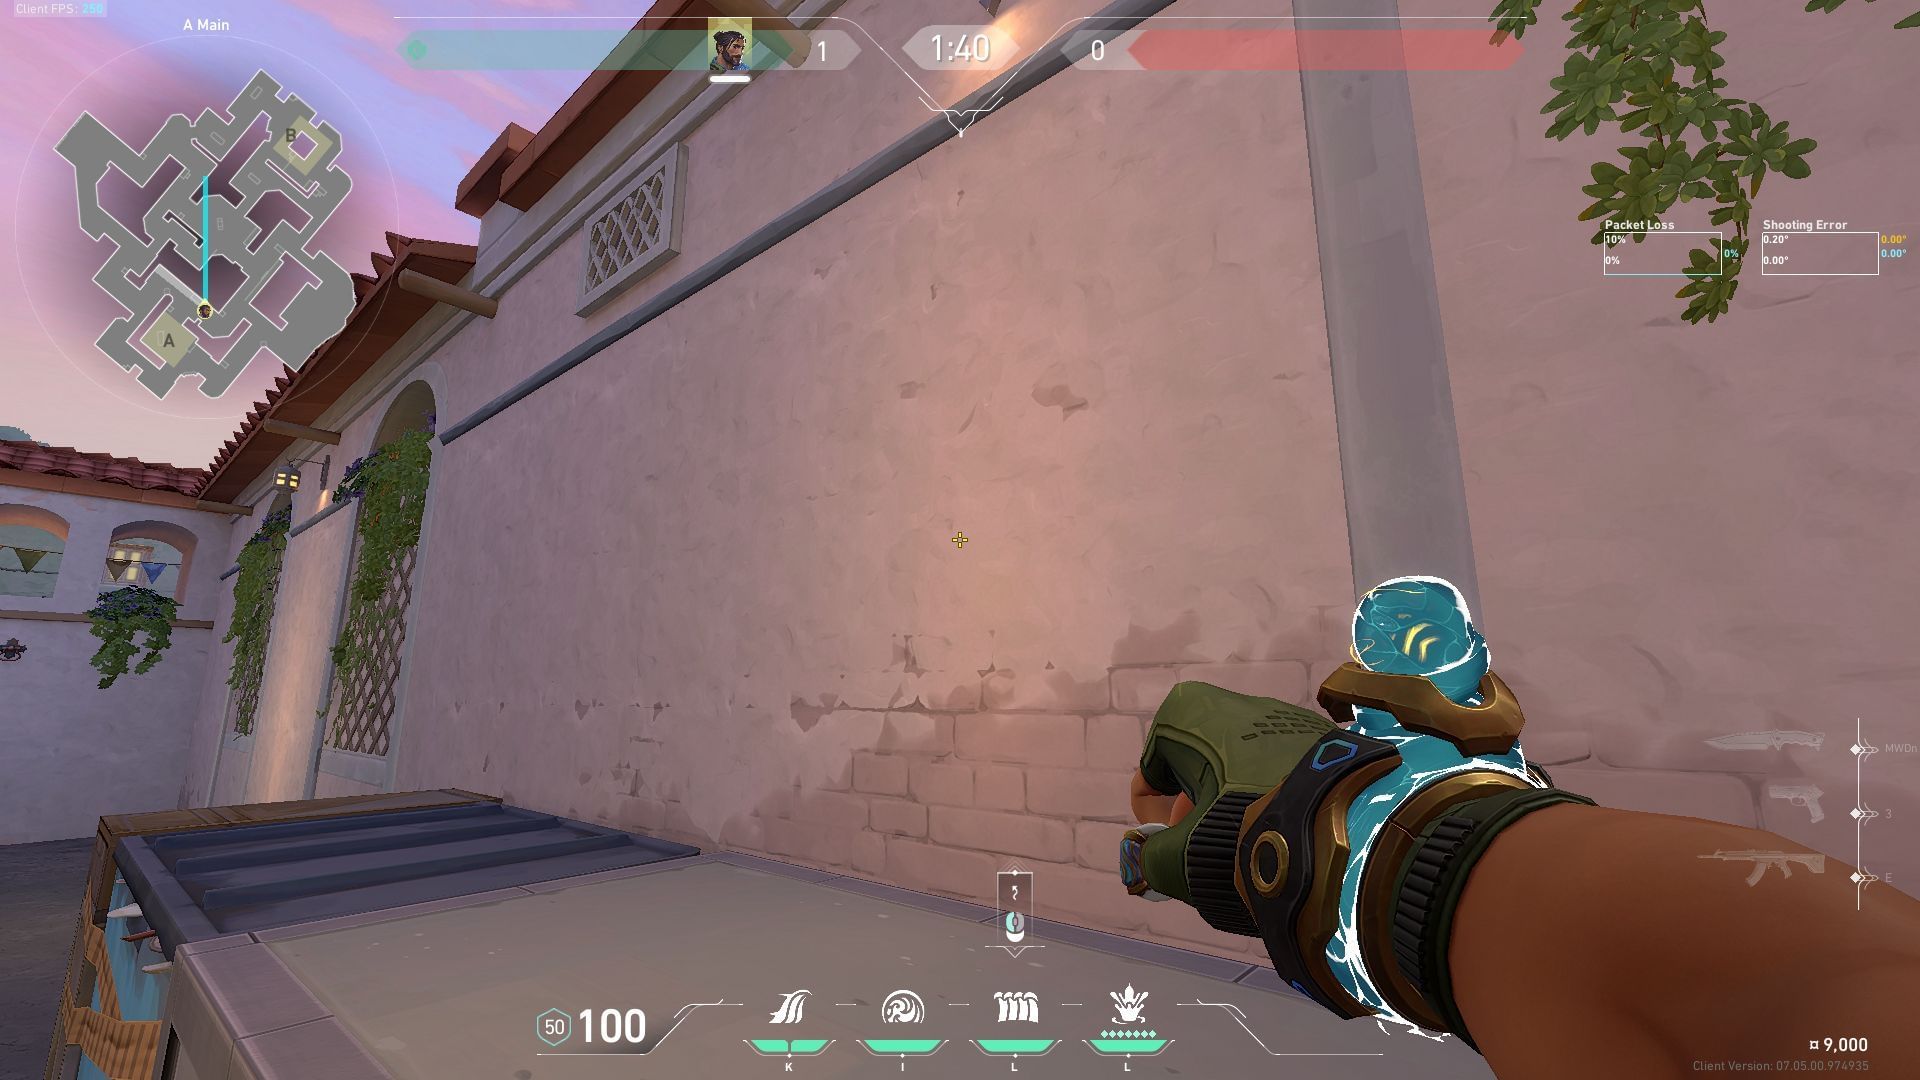
5) A Main Wall
Gaining and maintaining A Main control should be the highest priority for the defenders protecting A site. A controller like Harbor can play an active part in fulfilling this objective by denying early vision towards the A site with this High Tide.
Position yourself in this corner situated behind the black crate on the A site. Left click to send High Tide covering A Elbow, A Main, and A Lobby. This wall can slow down attackers three times before they make contact with the defenders. This high tide allows the latter to set up vicious crossfires and trap play after initiating utility.
This fundamental guide has been developed to polish your skills as a Harbor player. The importance of effectively communicating your tactics to teammates and maintaining keen map awareness cannot be overstated. These elements are the cornerstone of productive teamwork.
Be sure to follow Sportskeeda for more recent updates and guides for Valorant's Sunset map.