
'%20x='0'%20y='0'%20height='100%25'%20width='100%25'%20%0A%20%20%20%20%20%20%20%20%20%20xlink%3Ahref='data:image/jpg;base64,/9j/2wBDAAYEBQYFBAYGBQYHBwYIChAKCgkJChQODwwQFxQYGBcUFhYaHSUfGhsjHBYWICwgIyYnKSopGR8tMC0oMCUoKSj/2wBDAQcHBwoIChMKChMoGhYaKCgoKCgoKCgoKCgoKCgoKCgoKCgoKCgoKCgoKCgoKCgoKCgoKCgoKCgoKCgoKCgoKCj/wgARCAAGAAoDASIAAhEBAxEB/8QAFgABAQEAAAAAAAAAAAAAAAAAAAME/8QAFQEBAQAAAAAAAAAAAAAAAAAABAX/2gAMAwEAAhADEAAAANsQd/8A/8QAIhAAAQMDAwUAAAAAAAAAAAAAAgEDEQAEEwUGIRUjMWGC/9oACAEBAAE/ANU3Lqrl4UuAPTyNHlRE70DKcR781bbtZft2ns96OQEOMIcT9V//xAAYEQACAwAAAAAAAAAAAAAAAAAAAQIRMf/aAAgBAgEBPwByd6f/xAAZEQACAwEAAAAAAAAAAAAAAAABAgASgcH/2gAIAQMBAT8ARRXTyf/Z'%3E%3C/image%3E%3C/svg%3E)
Killjoy, the ingenious German engineer, brings a unique set of skills to the battlefield in Valorant. Since Sunset is the latest addition to the Valorant map pool, understanding its nuances is crucial for success. In this guide, we'll explore the best strategies and lineups to elevate your Killjoy gameplay on this fresh new battleground.
As we delve into this guide, keep in mind that the strategies on this map in Valorant are still evolving. This information represents our current knowledge, but be ready to adapt as the meta continues to develop. Now, let's break down the A-site setup to fortify your defenses and control the battlefield effectively in Valorant.

Best Killjoy lineups on Valorant's Sunset map
A-Site Setup:
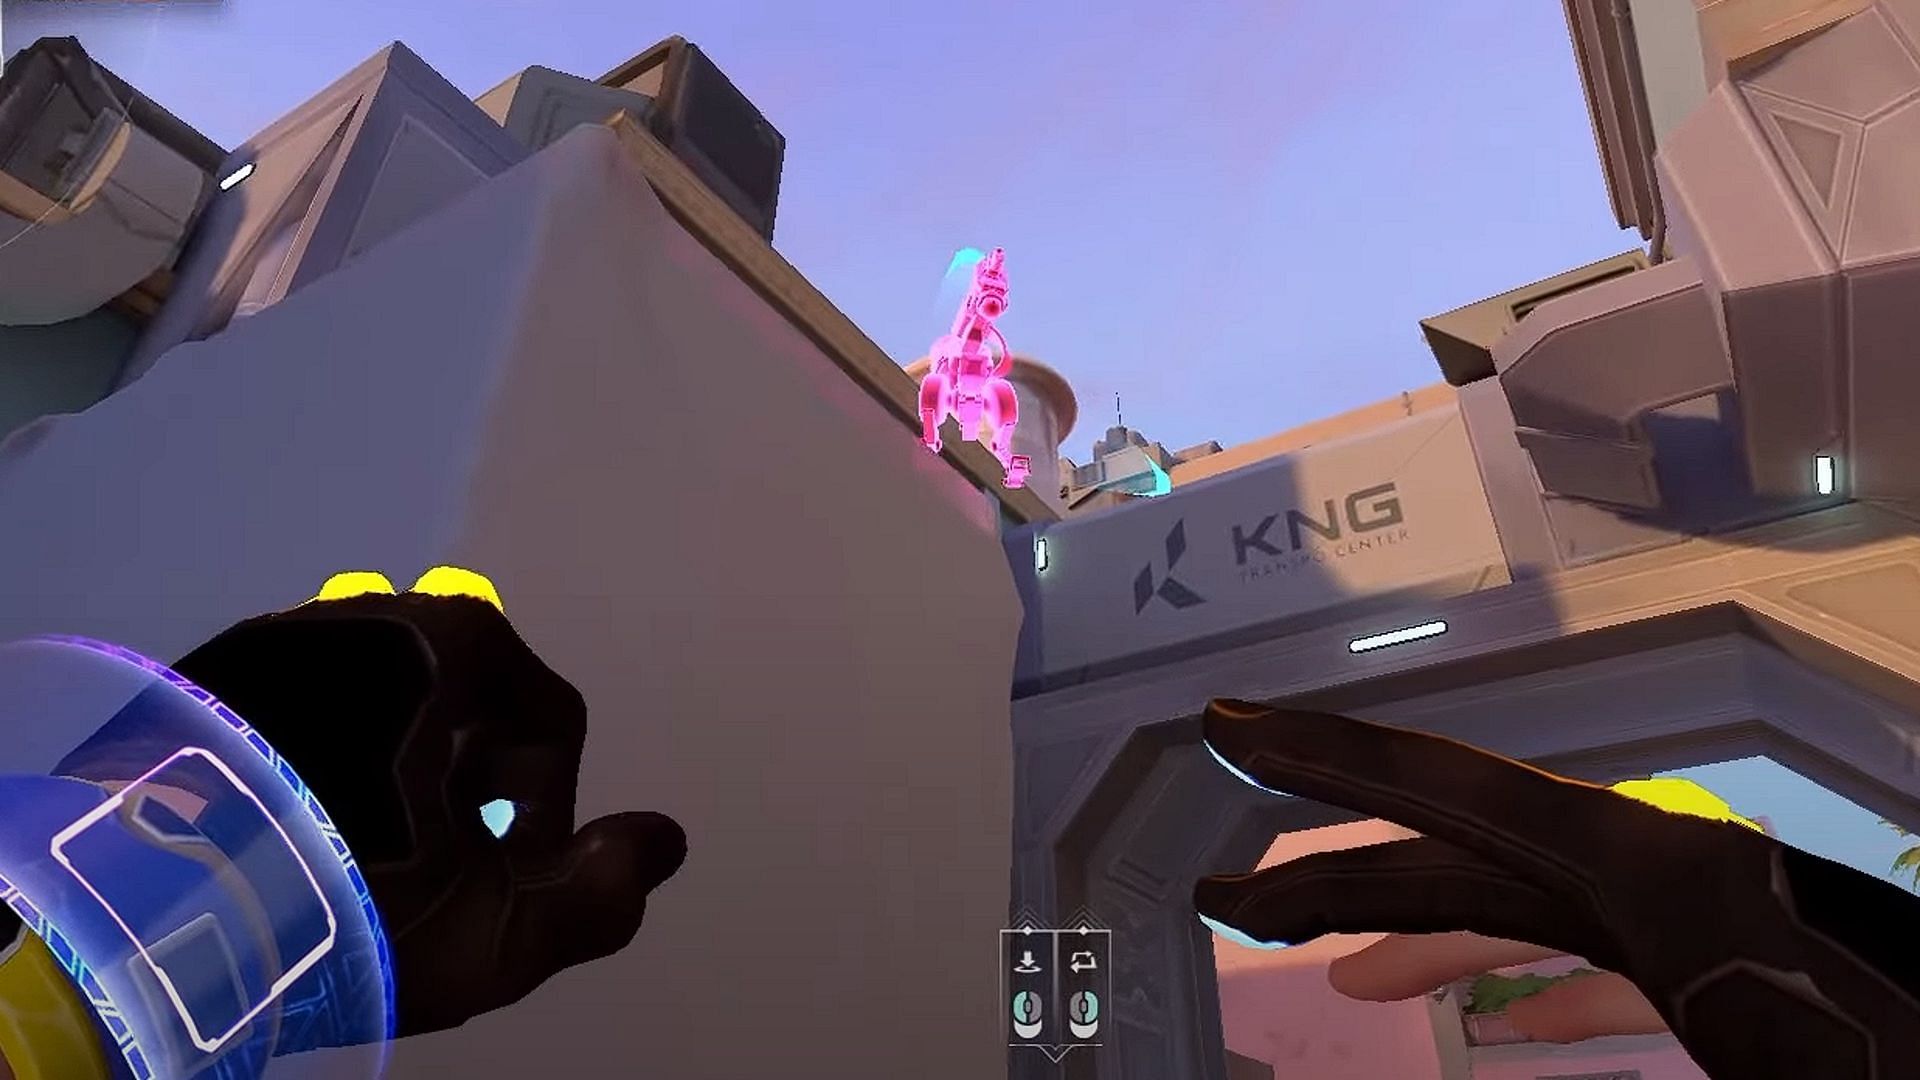
Turret Placement: Begin by placing your turret on top of the generator, positioned to cover both the entrance from the left and the right. This provides early intel on enemy movements.
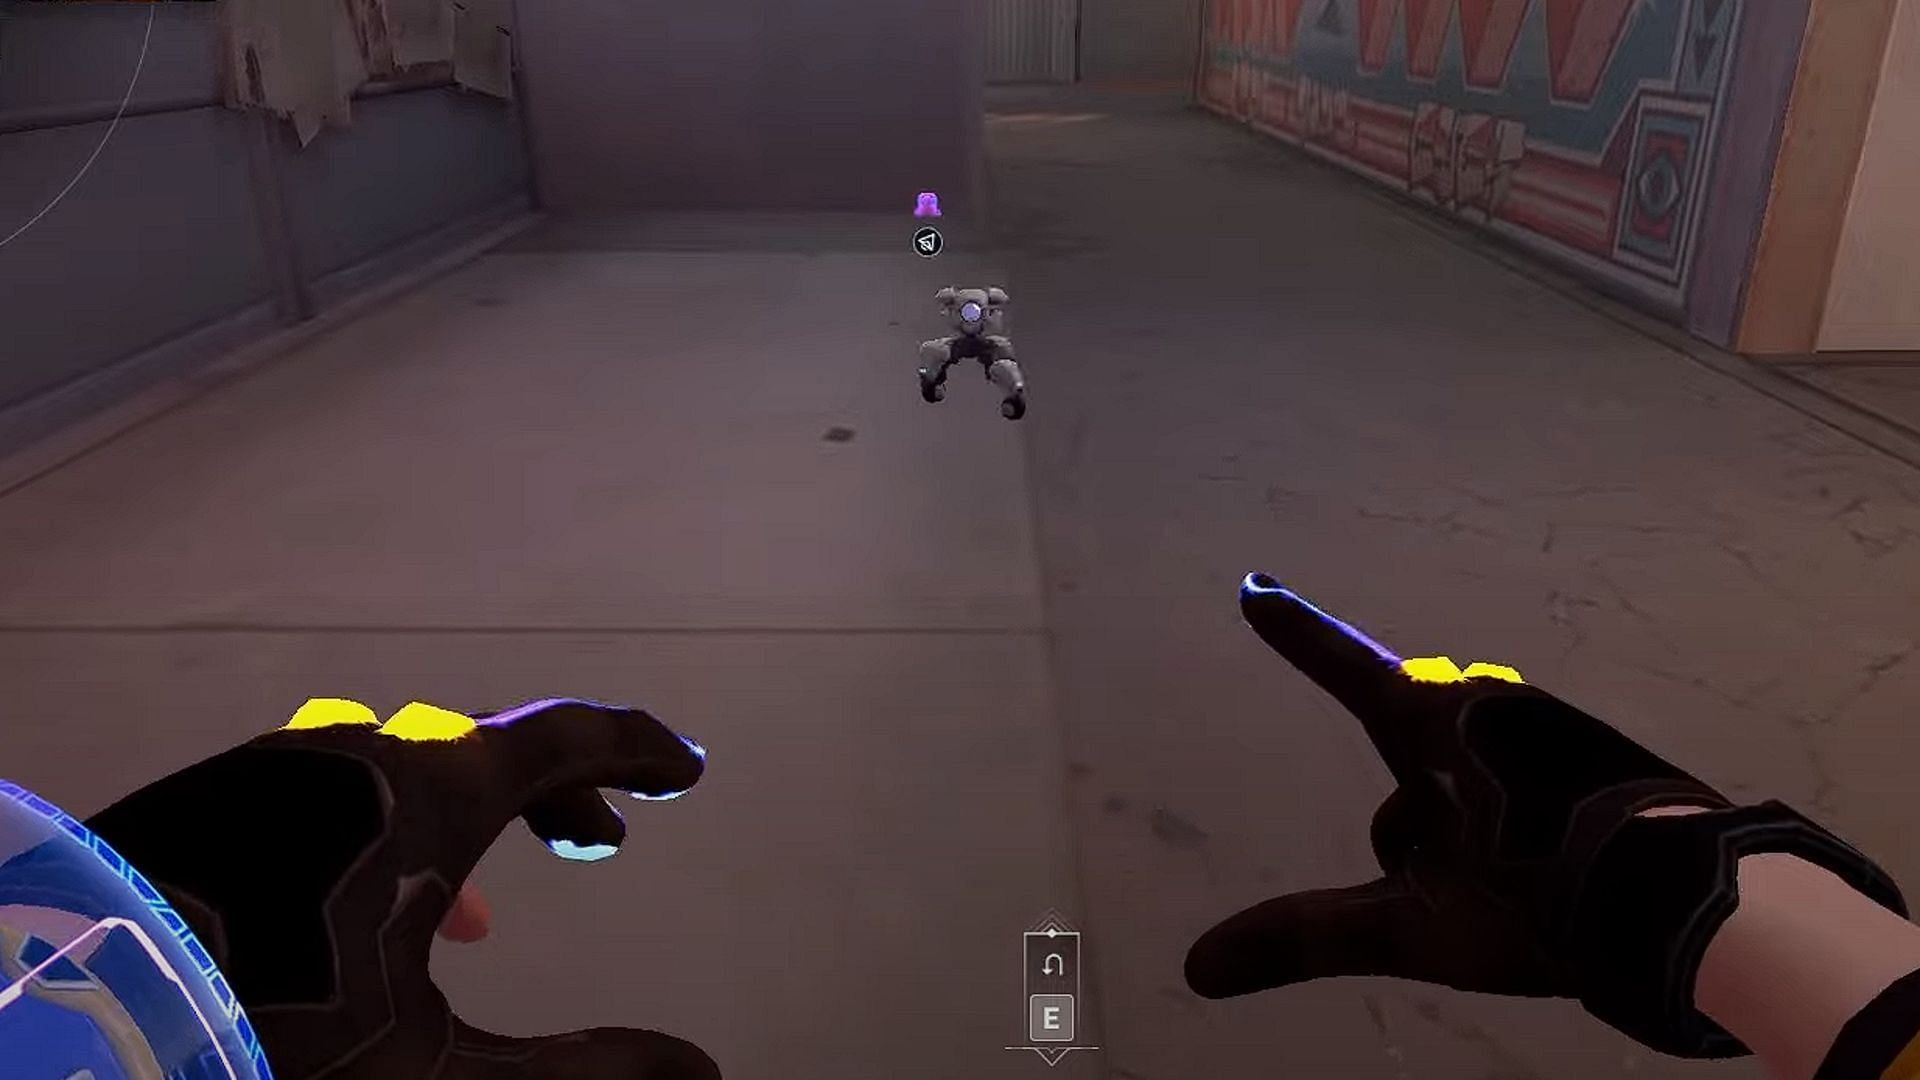
Alarm Bot Placement: Position your Alarm Bot strategically, tucked in a bit deeper inside the site. This ensures that enemies will have committed to entering the place before it activates, making your Nanoswarms more effective.
Nanoswarm positions: For the Nanoswarms, use the first one to cover the right side of the generator's corner and the second one to the left. When the Alarm Bot triggers, these Nanoswarms will force enemies to either retreat or push through your utility.
Moreover, holding from behind the box allows you to contest attackers approaching from both angles or use her Nanoswarms to deter pushes.
Hallway Control (A-Site):
To control the hallway on the A-site effectively, consider this setup:
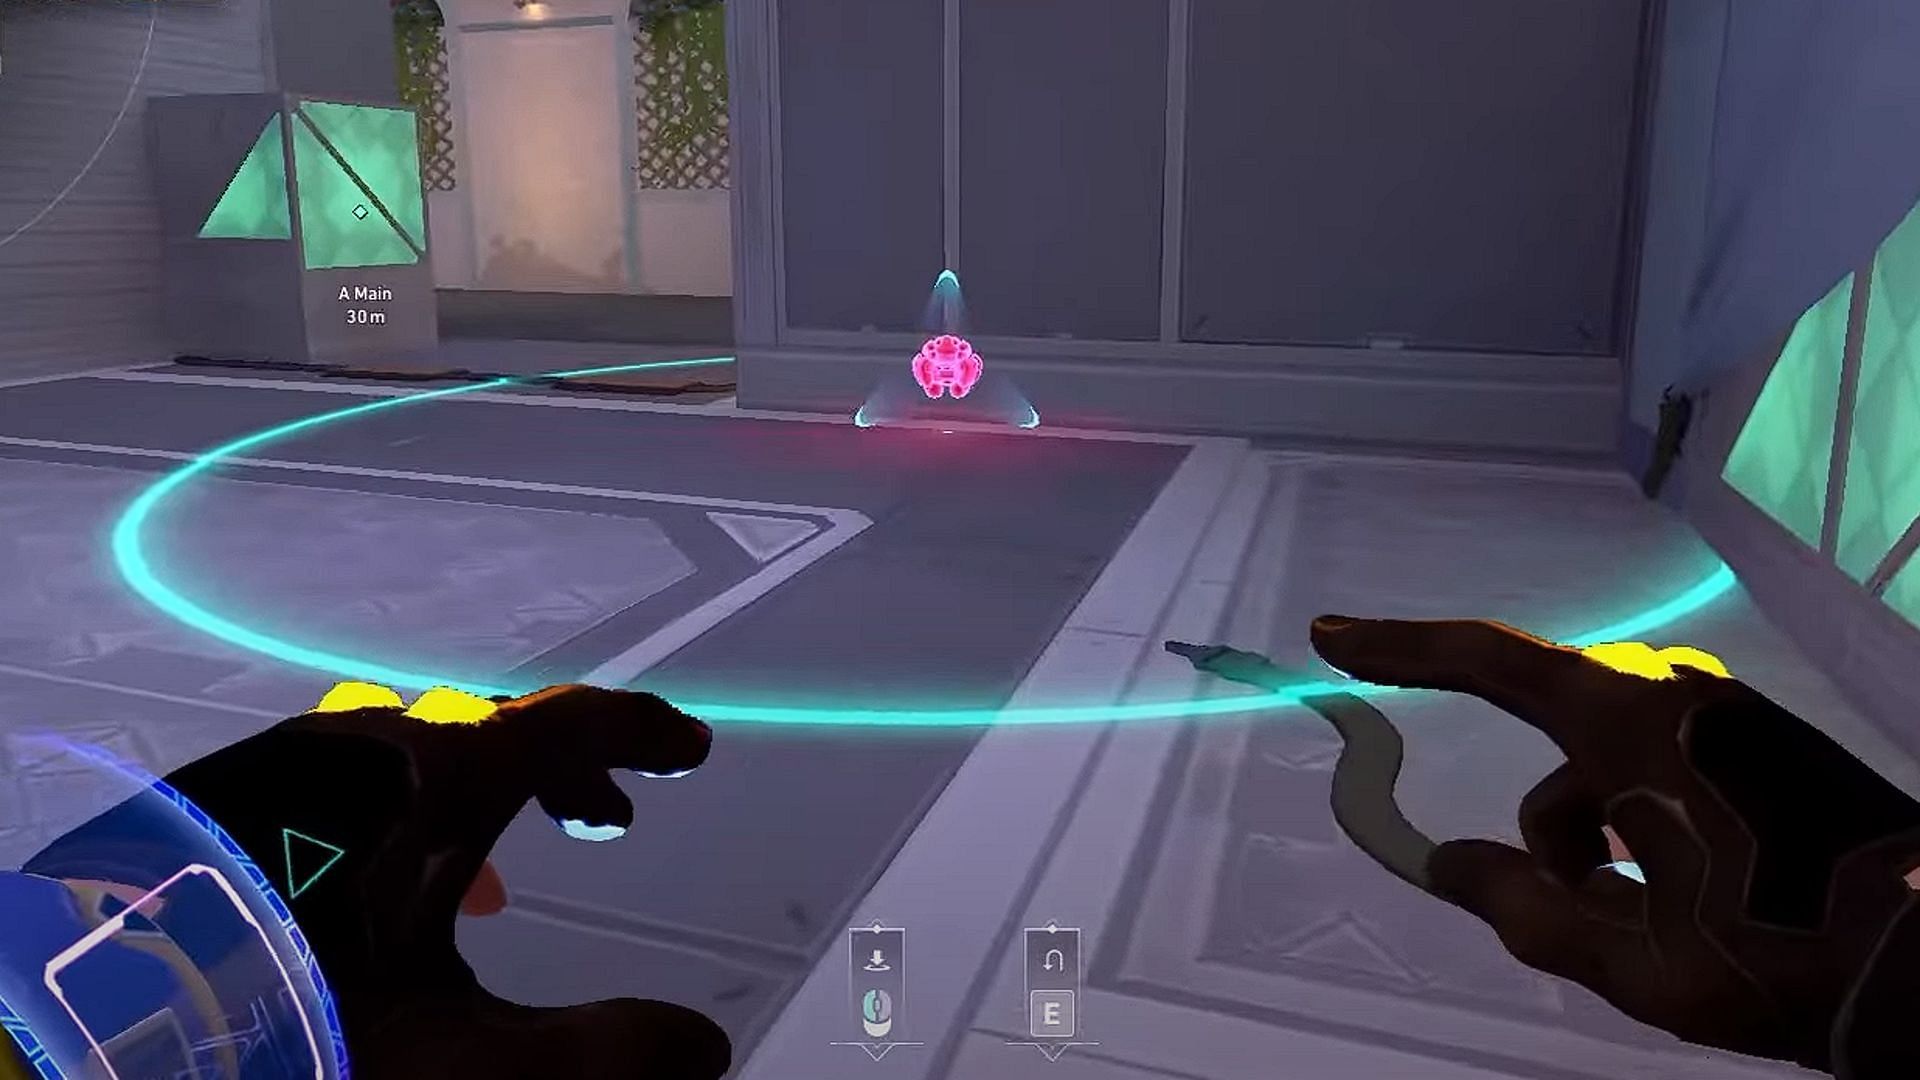
Nanoswarm Placement: Position your Nanoswarm to the left of the corner. This setup punishes opponents attempting to push down the hallway.
Alarm Bot: Place your Alarm Bot to cover the same corner area. As soon as the Alarm Bot triggers, pop your Nanoswarms to halt the enemy advance.
B-Site Setup:
Moving to the B-Site setup, follow these steps to maximize your control:
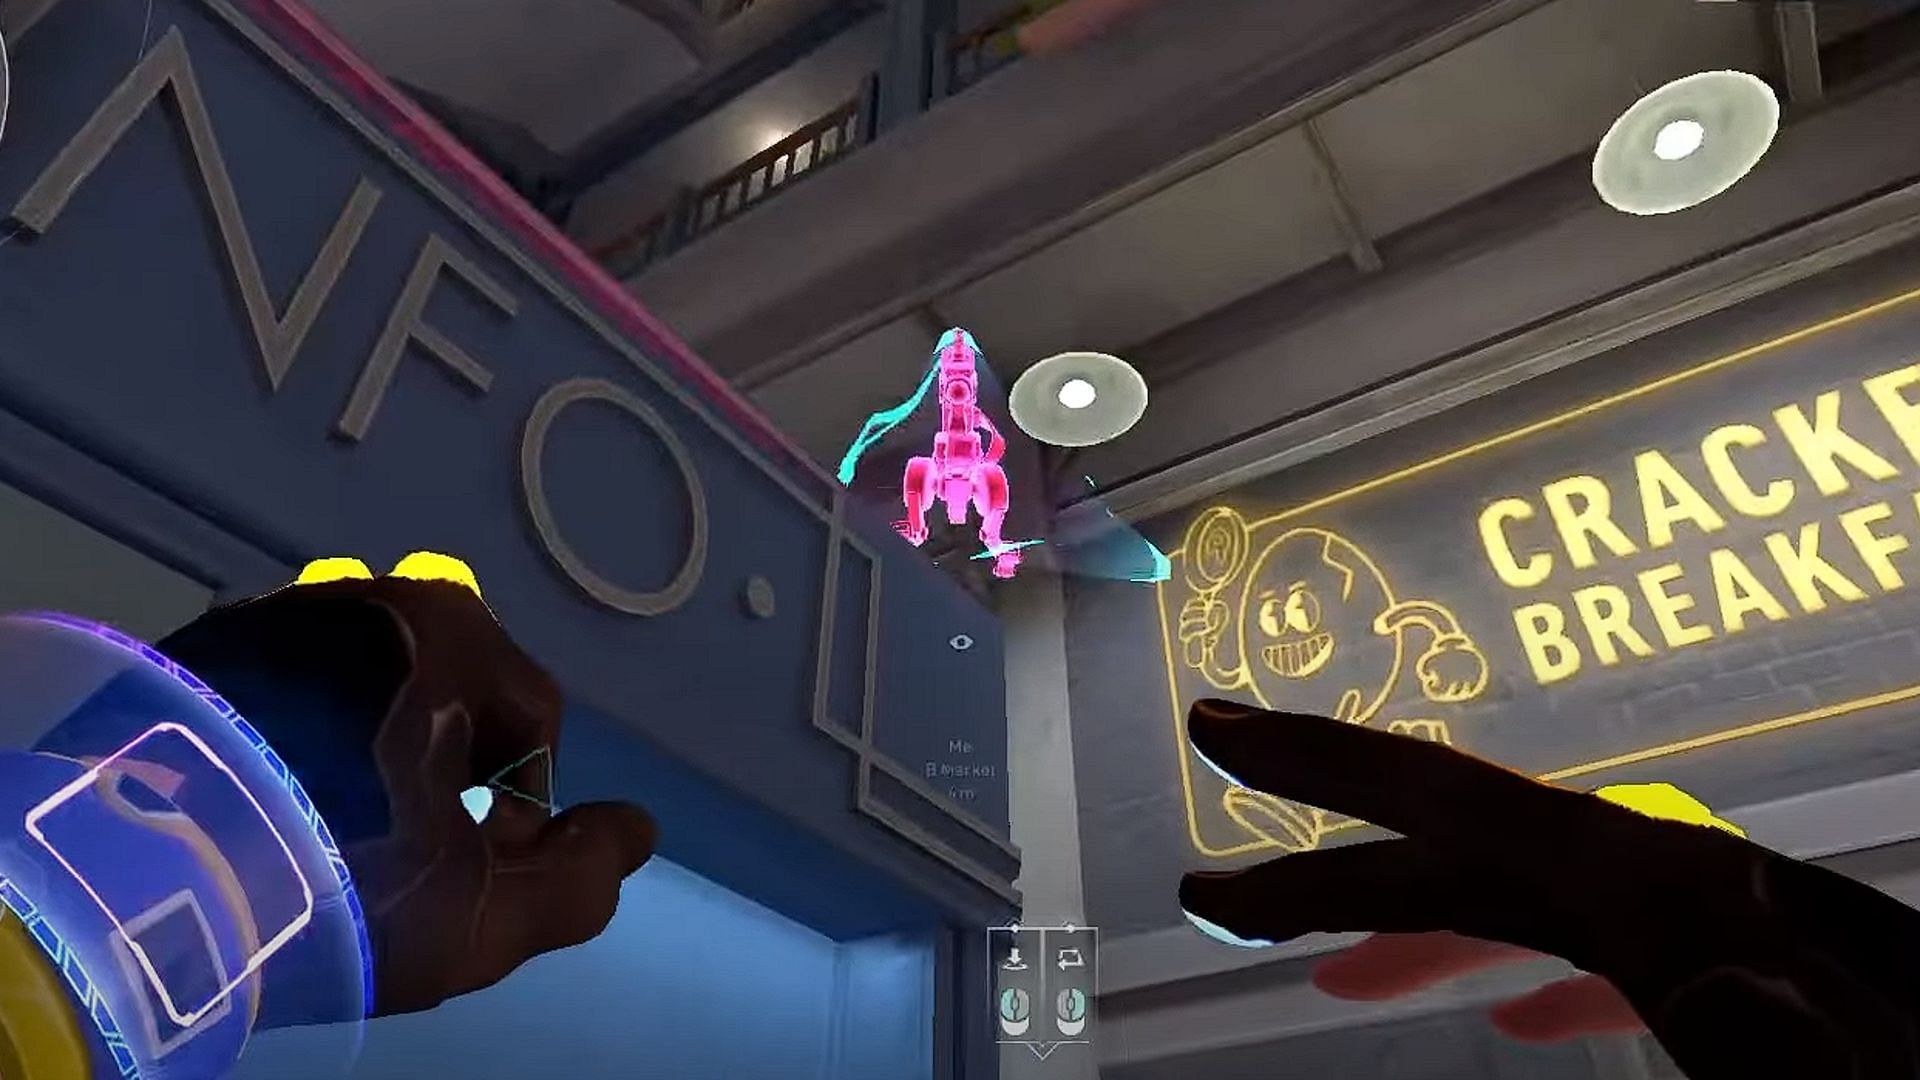
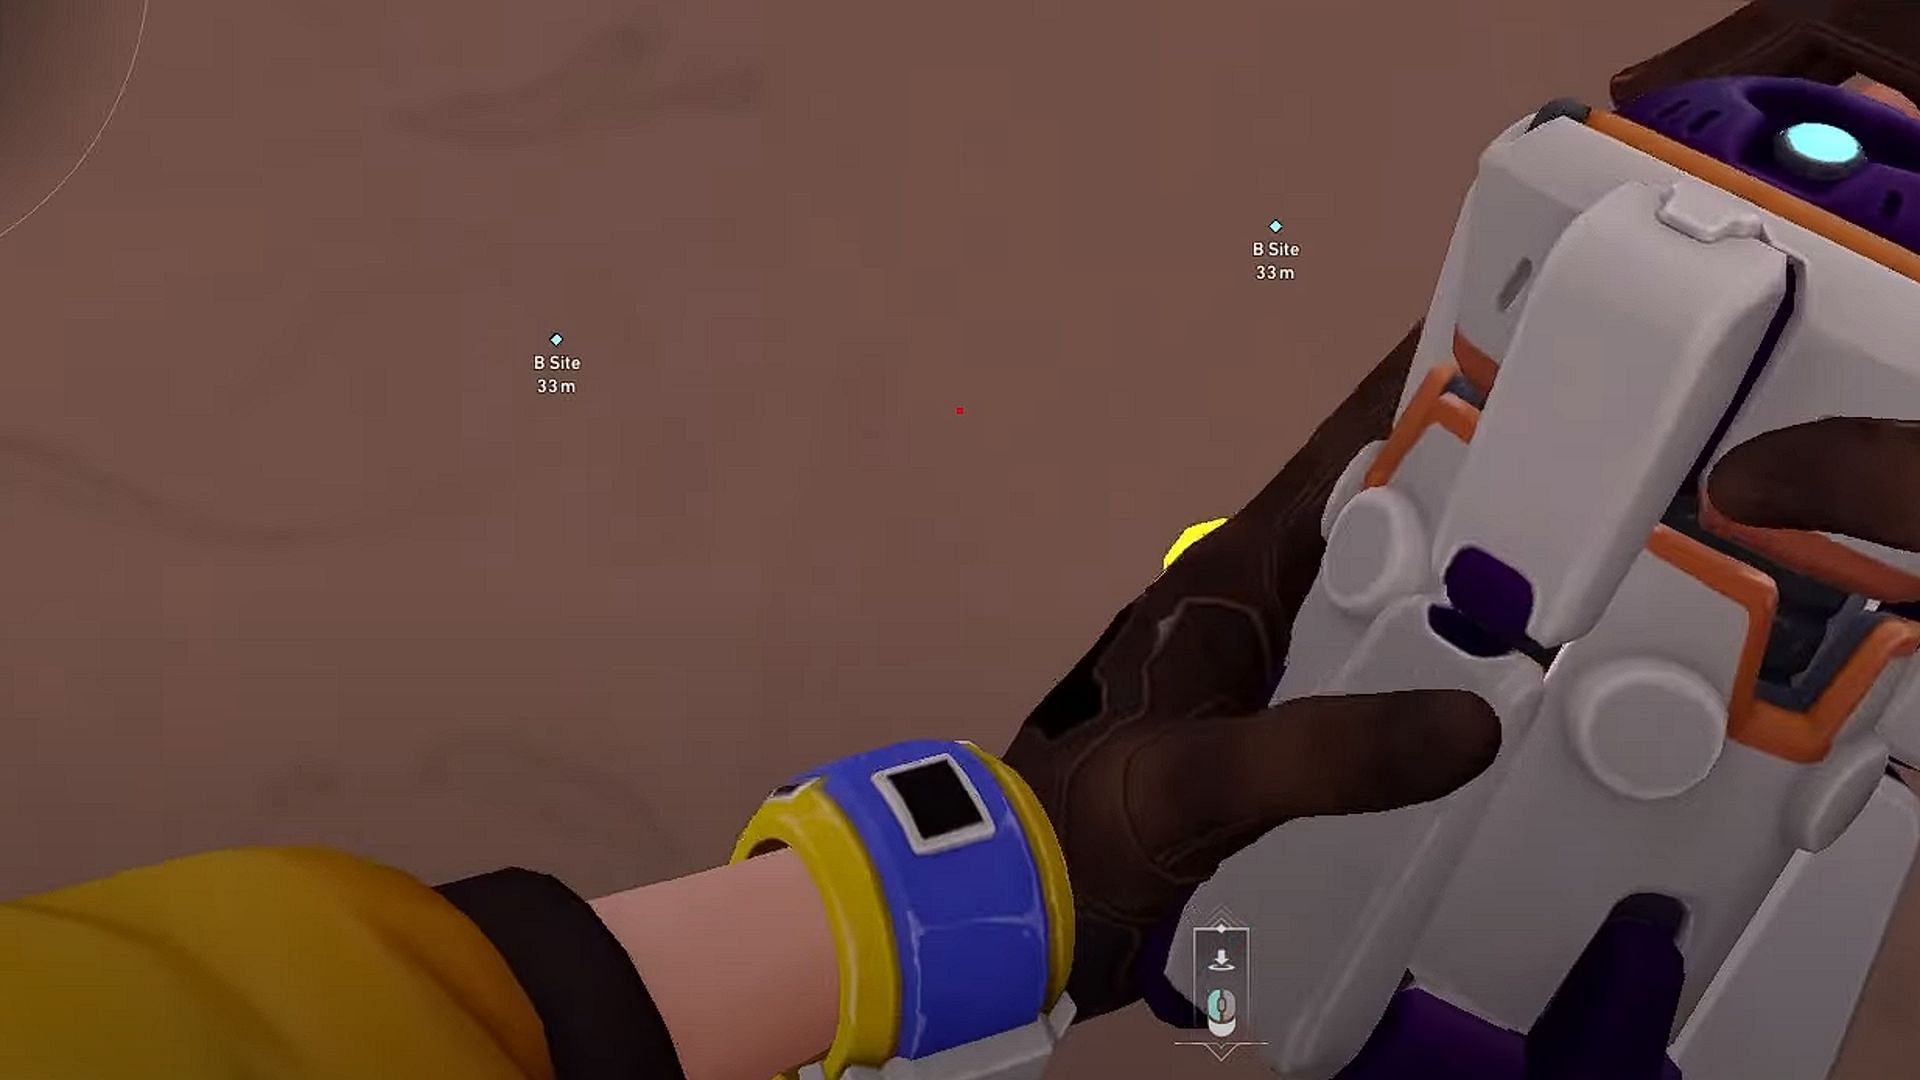
Turret Placement: Position your turret in the middle of the map, facing backward to cover both mid and B-site entrances.
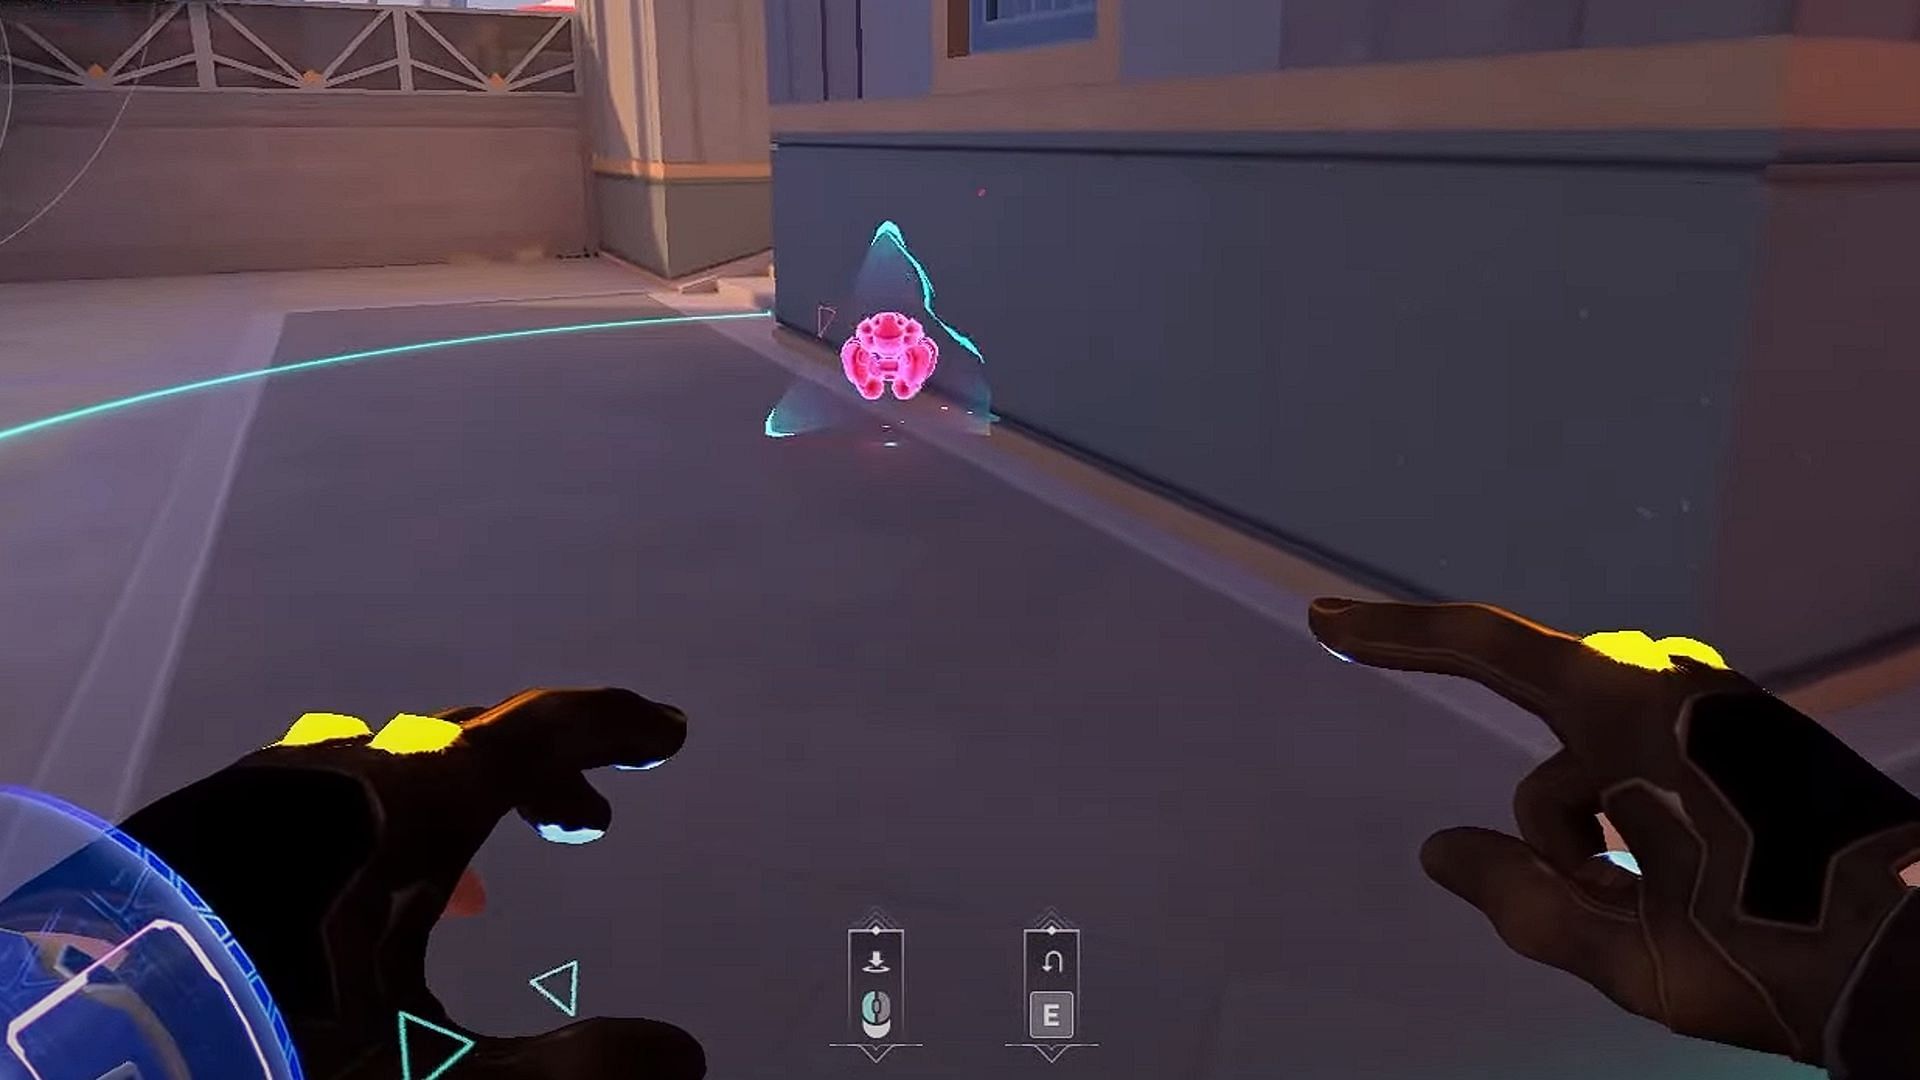
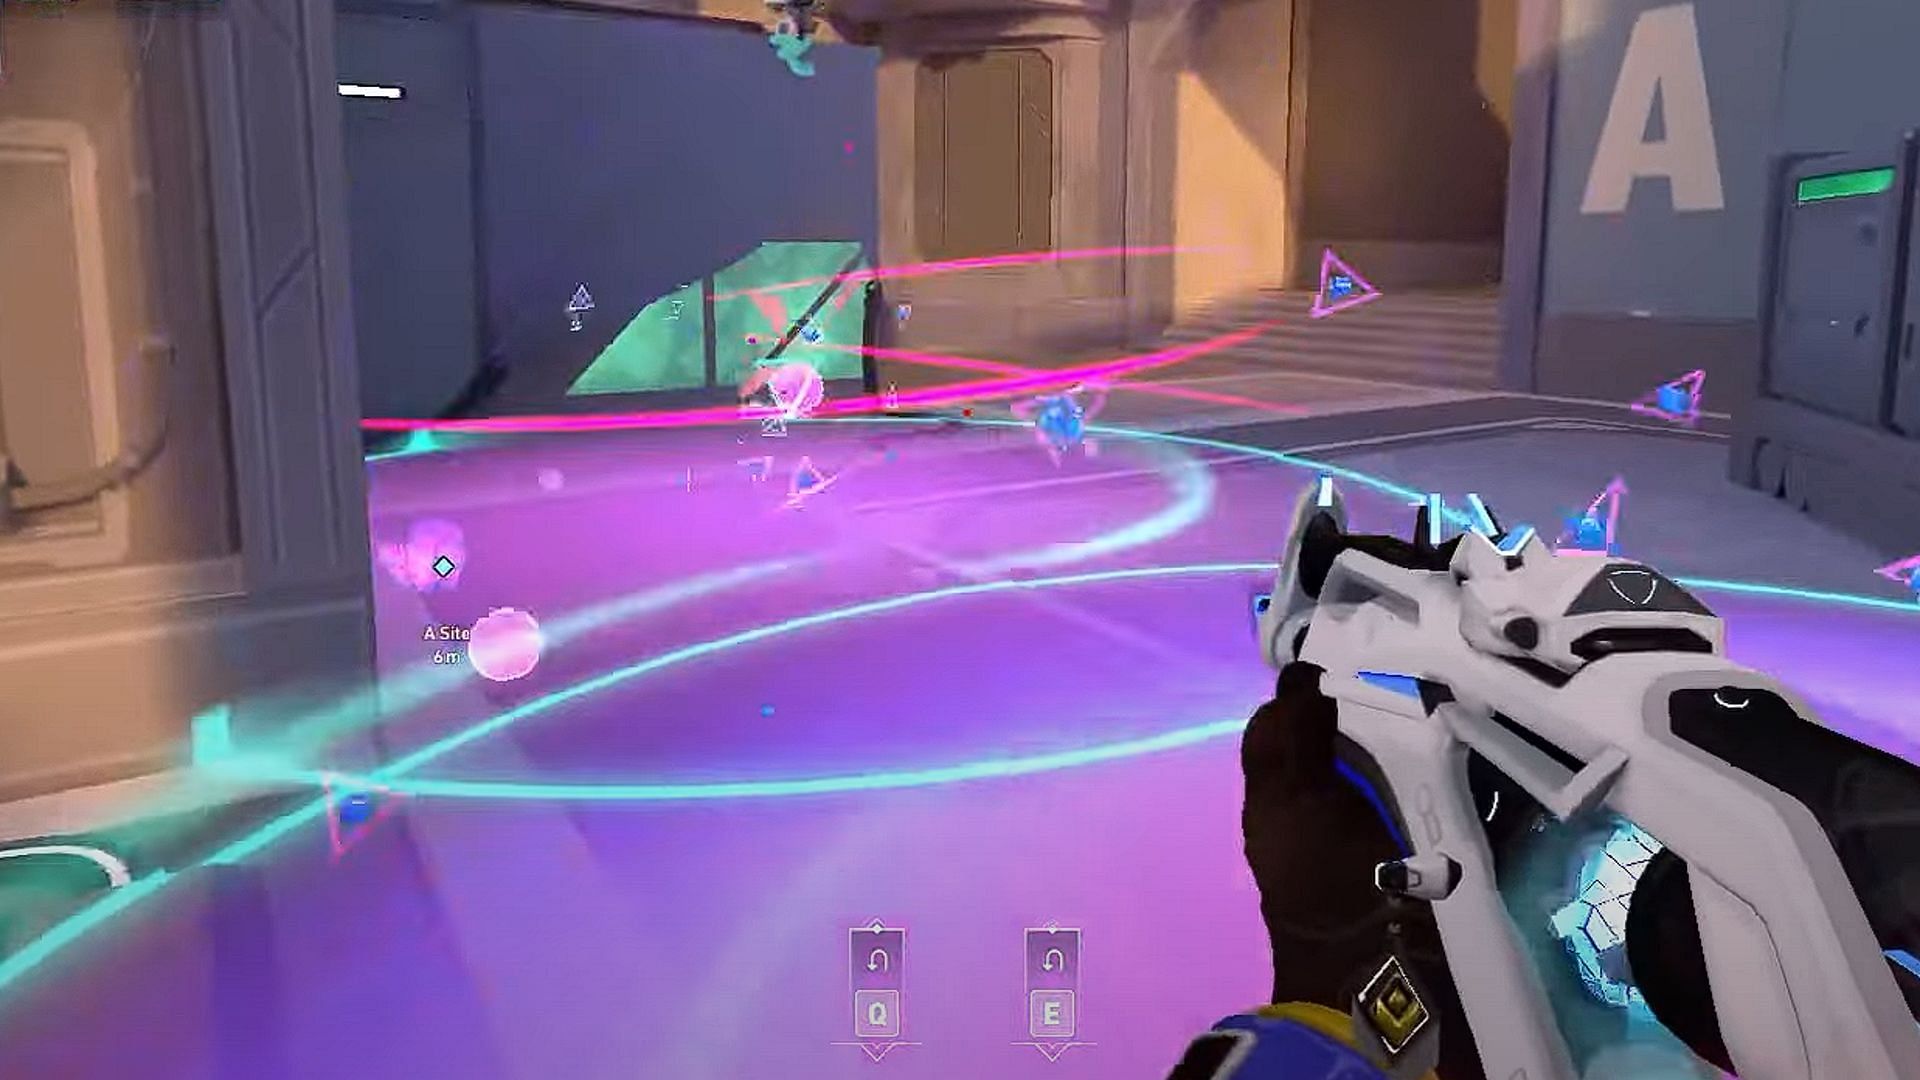
Alarm Bot: Place your Alarm Bot on the default plant spot, as this is where most enemies will attempt to plant the spike. The nanoswarms go in the edges of the wall or near the Alarm Bot.
Basic B-Site Setup: In a pinch, you can place your Alarm Bot in the open, with one Nanoswarm to cover the corner, and another one nearby. This simple setup can disrupt an enemy push.
Post-Plant Lineups:
Now, let's talk about some crucial post-plant lineups to secure victory.
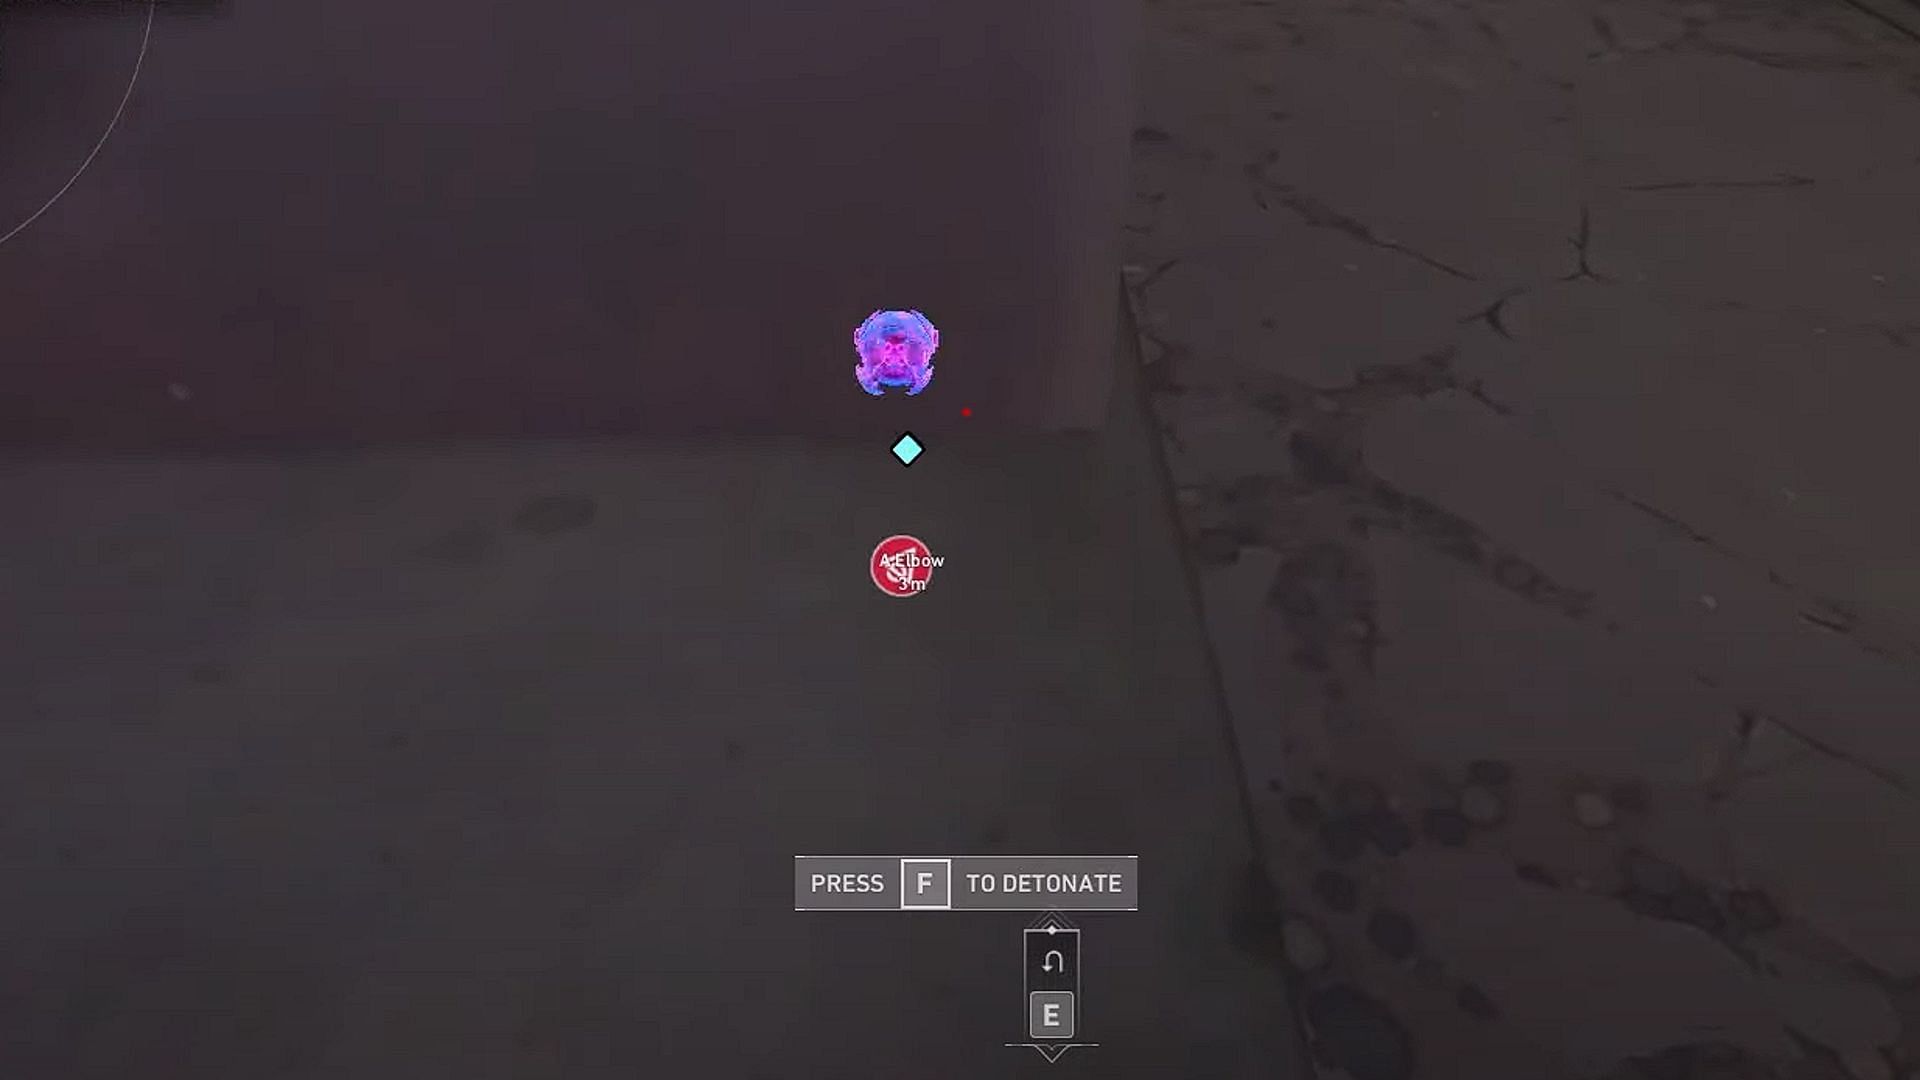
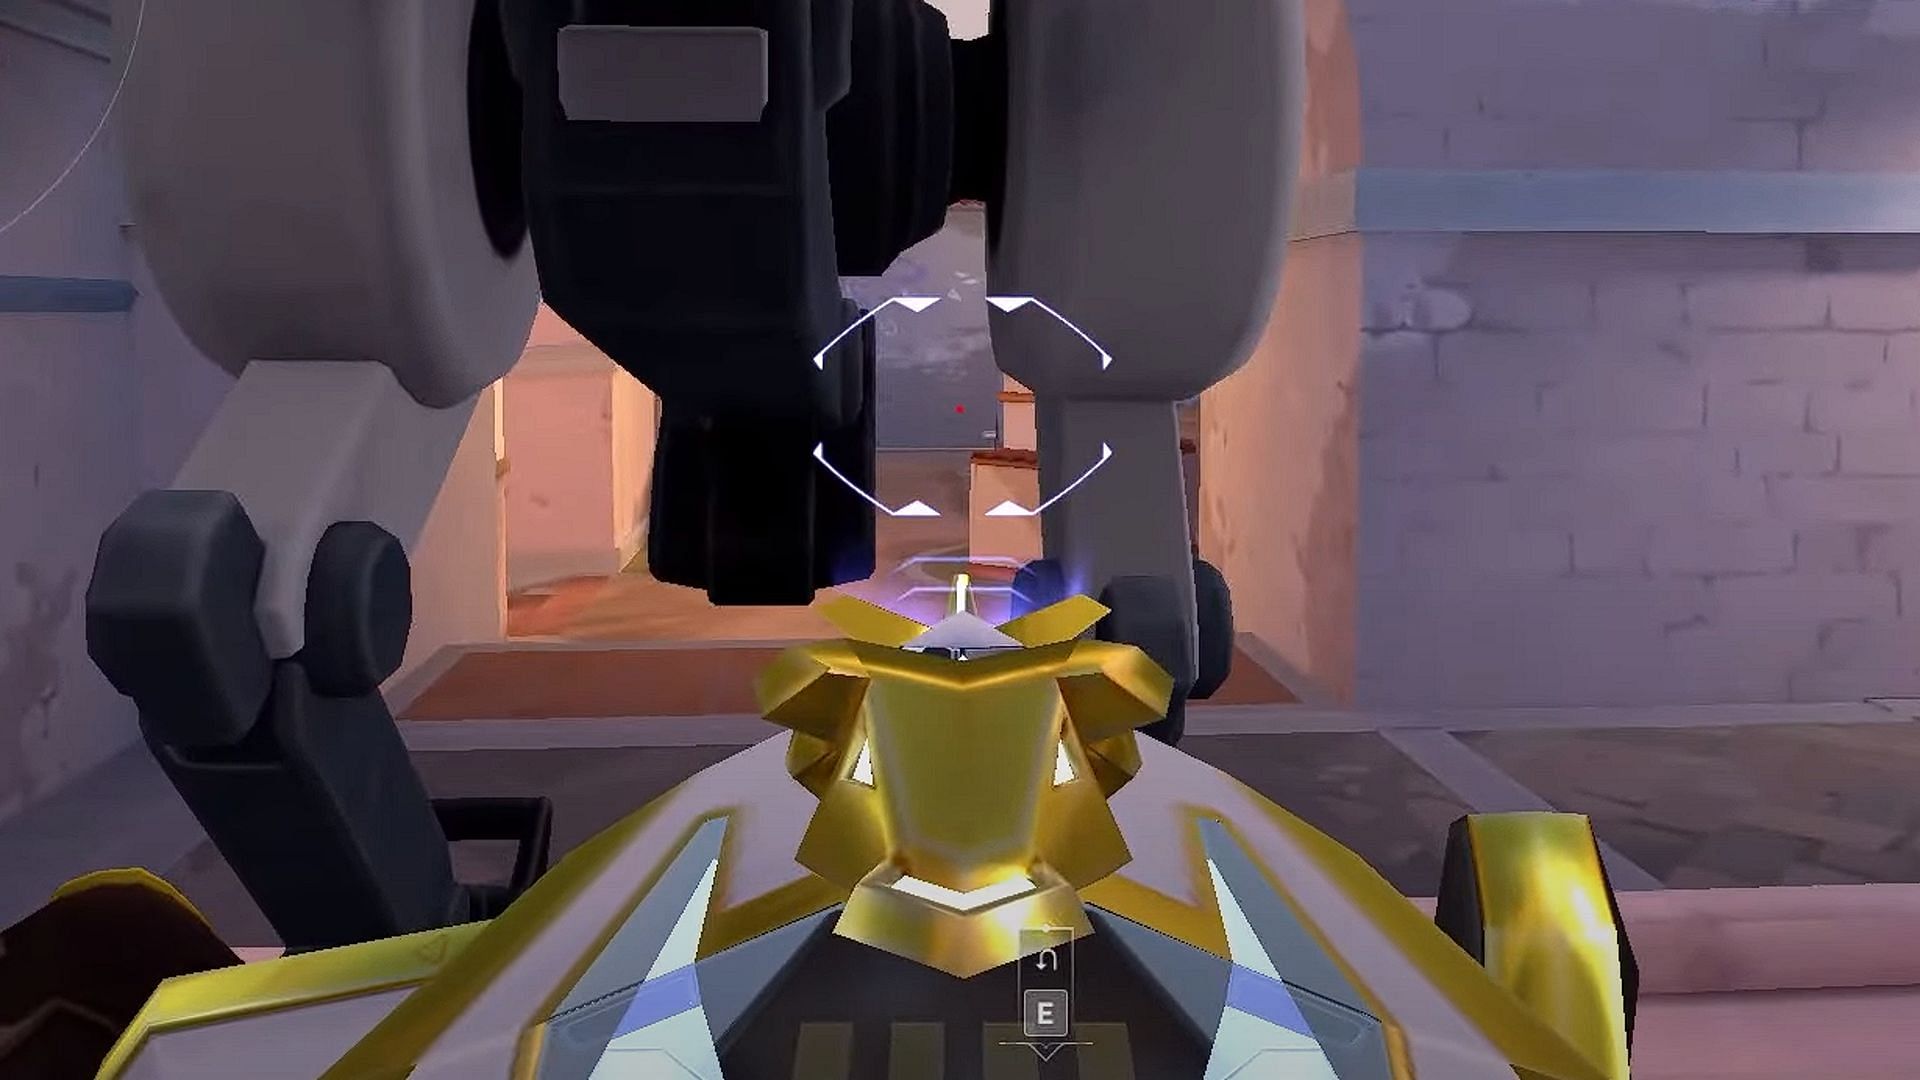
A-Site Default Plant: To defend the default plant on A, use this lineup. Stand by the barrier, align with the pole, and aim between two wooden pieces as shown in the above image. Throw your Nanoswarm by jumping, and activate it to stop or kill anyone trying to defuse the bomb.

A-Site Retake Options: When retaking the A-Site, experiment with different Killjoy ultimate placements. You can use them to force enemies back or block key angles, but be mindful of your safety.
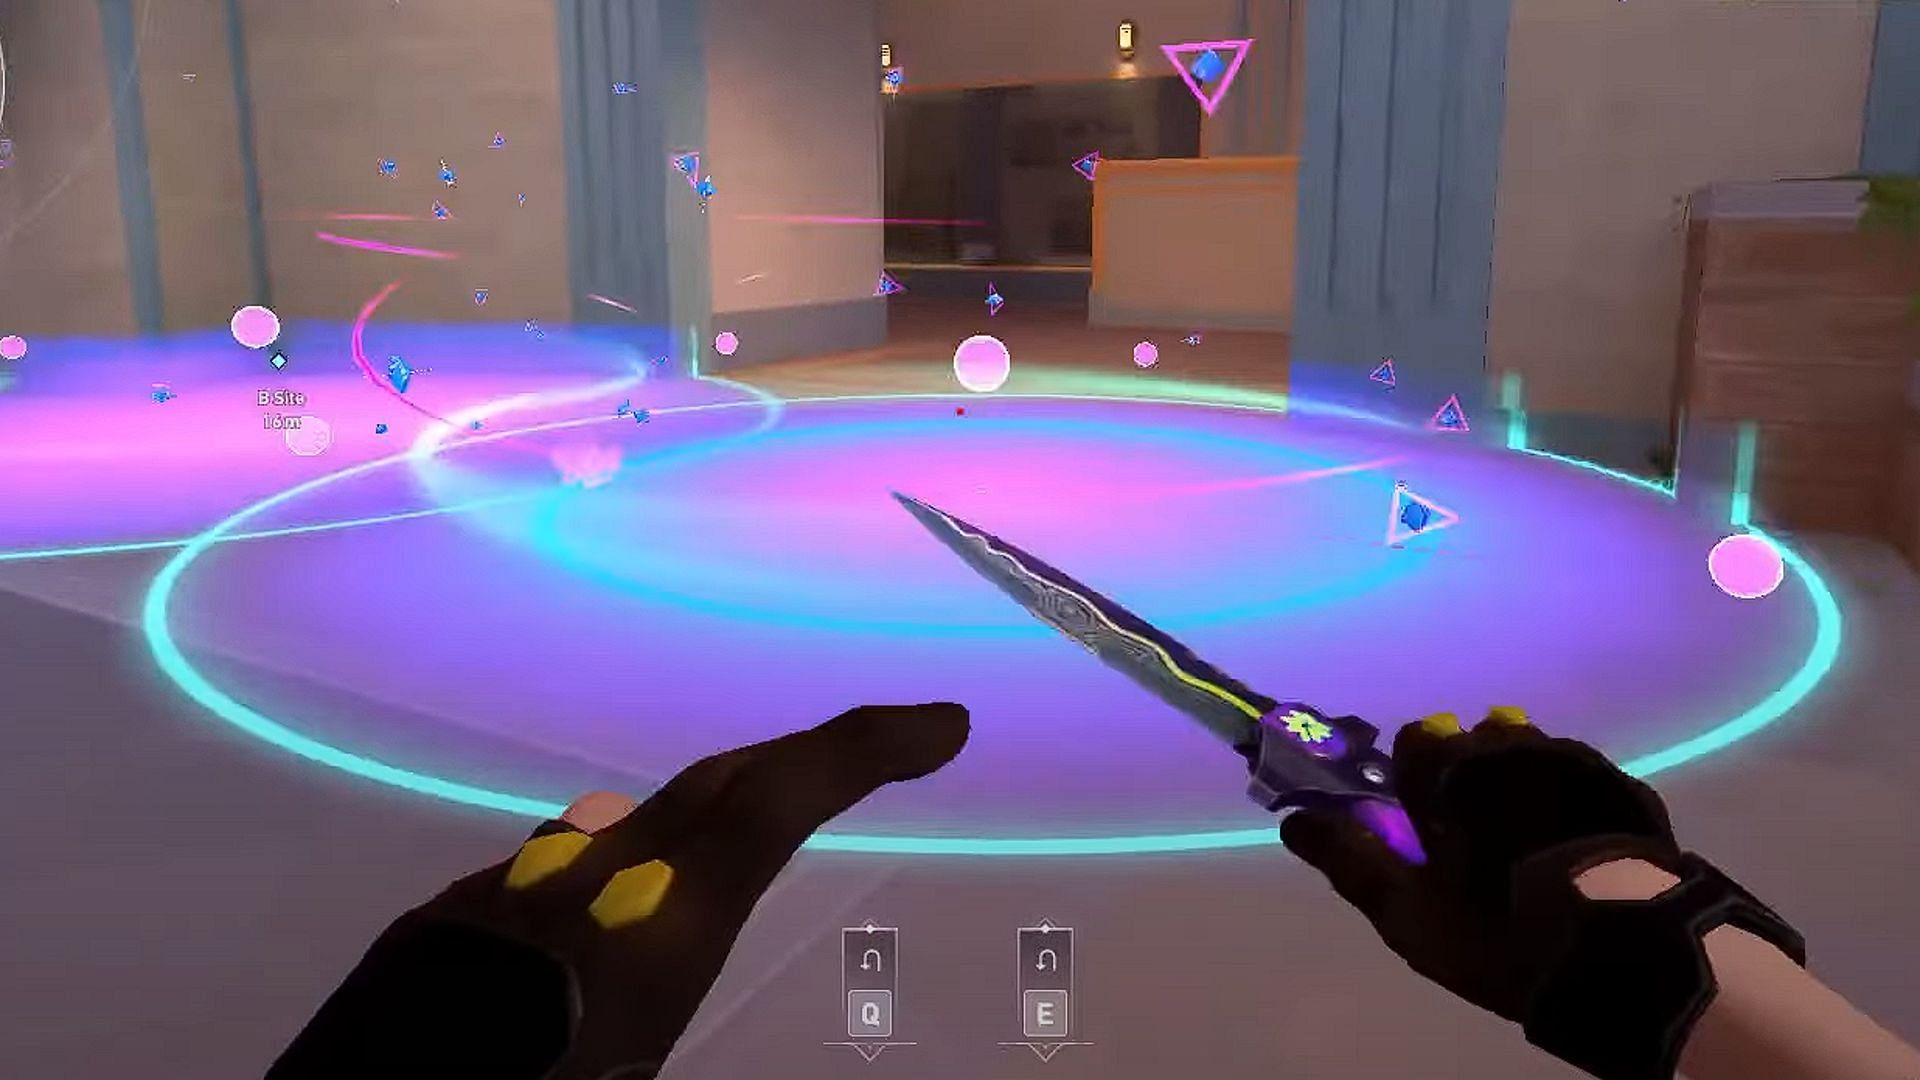
B-Site Post-Plant Ult: To secure the B-Site after the spike is planted, position yourself against the wall at the B-site entrance and deploy your ultimate. This will force enemies back while creating opportunities for your team to retake the site.
Mid Control with Killjoy:
For a unique mid-control strategy, place your turret on top of a box in mid, crouch under it, and use an Odin or Operator to take picks. This setup can catch enemies off guard and lead to early advantages.
As we wrap up this Valorant guide, remember that the journey to becoming a master Killjoy is an ever-evolving adventure. While this guide provides a strong foundation for Killjoy on Sunset, players shouldn't hesitate to adapt and experiment as the meta develops.
So players should keep honing those skills since it is through trial and error that you can figure out the best way to outsmart your opponents on the Sunset map in Valorant.