
'%20x='0'%20y='0'%20height='100%25'%20width='100%25'%20%0A%20%20%20%20%20%20%20%20%20%20xlink%3Ahref='data:image/jpg;base64,/9j/2wBDAAYEBQYFBAYGBQYHBwYIChAKCgkJChQODwwQFxQYGBcUFhYaHSUfGhsjHBYWICwgIyYnKSopGR8tMC0oMCUoKSj/2wBDAQcHBwoIChMKChMoGhYaKCgoKCgoKCgoKCgoKCgoKCgoKCgoKCgoKCgoKCgoKCgoKCgoKCgoKCgoKCgoKCgoKCj/wgARCAAHAAoDASIAAhEBAxEB/8QAFQABAQAAAAAAAAAAAAAAAAAAAwb/2gAIAQEAAAAAjn//xAAUAQEAAAAAAAAAAAAAAAAAAAAC/9oACAECEAAAAF//xAAUAQEAAAAAAAAAAAAAAAAAAAAB/9oACAEDEAAAAD//xAAhEAABAwQBBQAAAAAAAAAAAAABAgMEAAURITIGEhRhof/aAAgBAQABPwB7q2REK2Y0tpUeKprKmWA3tSAkp2DrJI+07c7Cp1ZFyjOZPPxHB3e+Nf/EABYRAQEBAAAAAAAAAAAAAAAAAAEAAv/aAAgBAgEBPwA03//EABYRAAMAAAAAAAAAAAAAAAAAAAABEv/aAAgBAwEBPwCUf//Z'%3E%3C/image%3E%3C/svg%3E)
Chamber belongs to the Sentinel class of Agents in Valorant. Being a Sentinel, Chamber excels on the defensive half of the game. They can prevent enemies from flanking their teammates and hold down sites. Despite being a Sentinel, Chamber even excels in aggressive plays.
His Basic Ability set includes - Trademark and Headhunter, Signature Ability - Rendezvous, and Ultimate Ability - Tour De Force. All of this enables Chamber to be aggressive while playing the role of a Sentinel.
Chamber's Trademark ability alerts his teammates about enemy flanks when enemy players enter a specified radius of the Trademark. Upon detecting enemies, a slow field is created where enemies cannot move at normal speed. His Rendezvous ability allows him to teleport instantly from one place to another.
To truly shine using Chamber in Valorant, players will need to optimally use the Trademark and Rendezvous ability apart from the Headhunter and Tour De Force abilities, which are purely skill-dependent.
A guide to playing Chamber on Valorant's Fracture
Fracture is a unique map in Valorant. The map is split in half, meaning there are no 'mid' sections. In the mid-area, it's just two one-way ropes with nothing but death below it.
This Valorant map is designed in a way that creates four quadrants. This allows the attacking team to approach a site from two directions: front and back. Thus, it can be called an Attacker's sided map. Having so many ways to approach a site, a Chamber is a perfect fit in Fracture to watch out for those flanks.
Here's how to play Chamber on Valorant's Fracture:
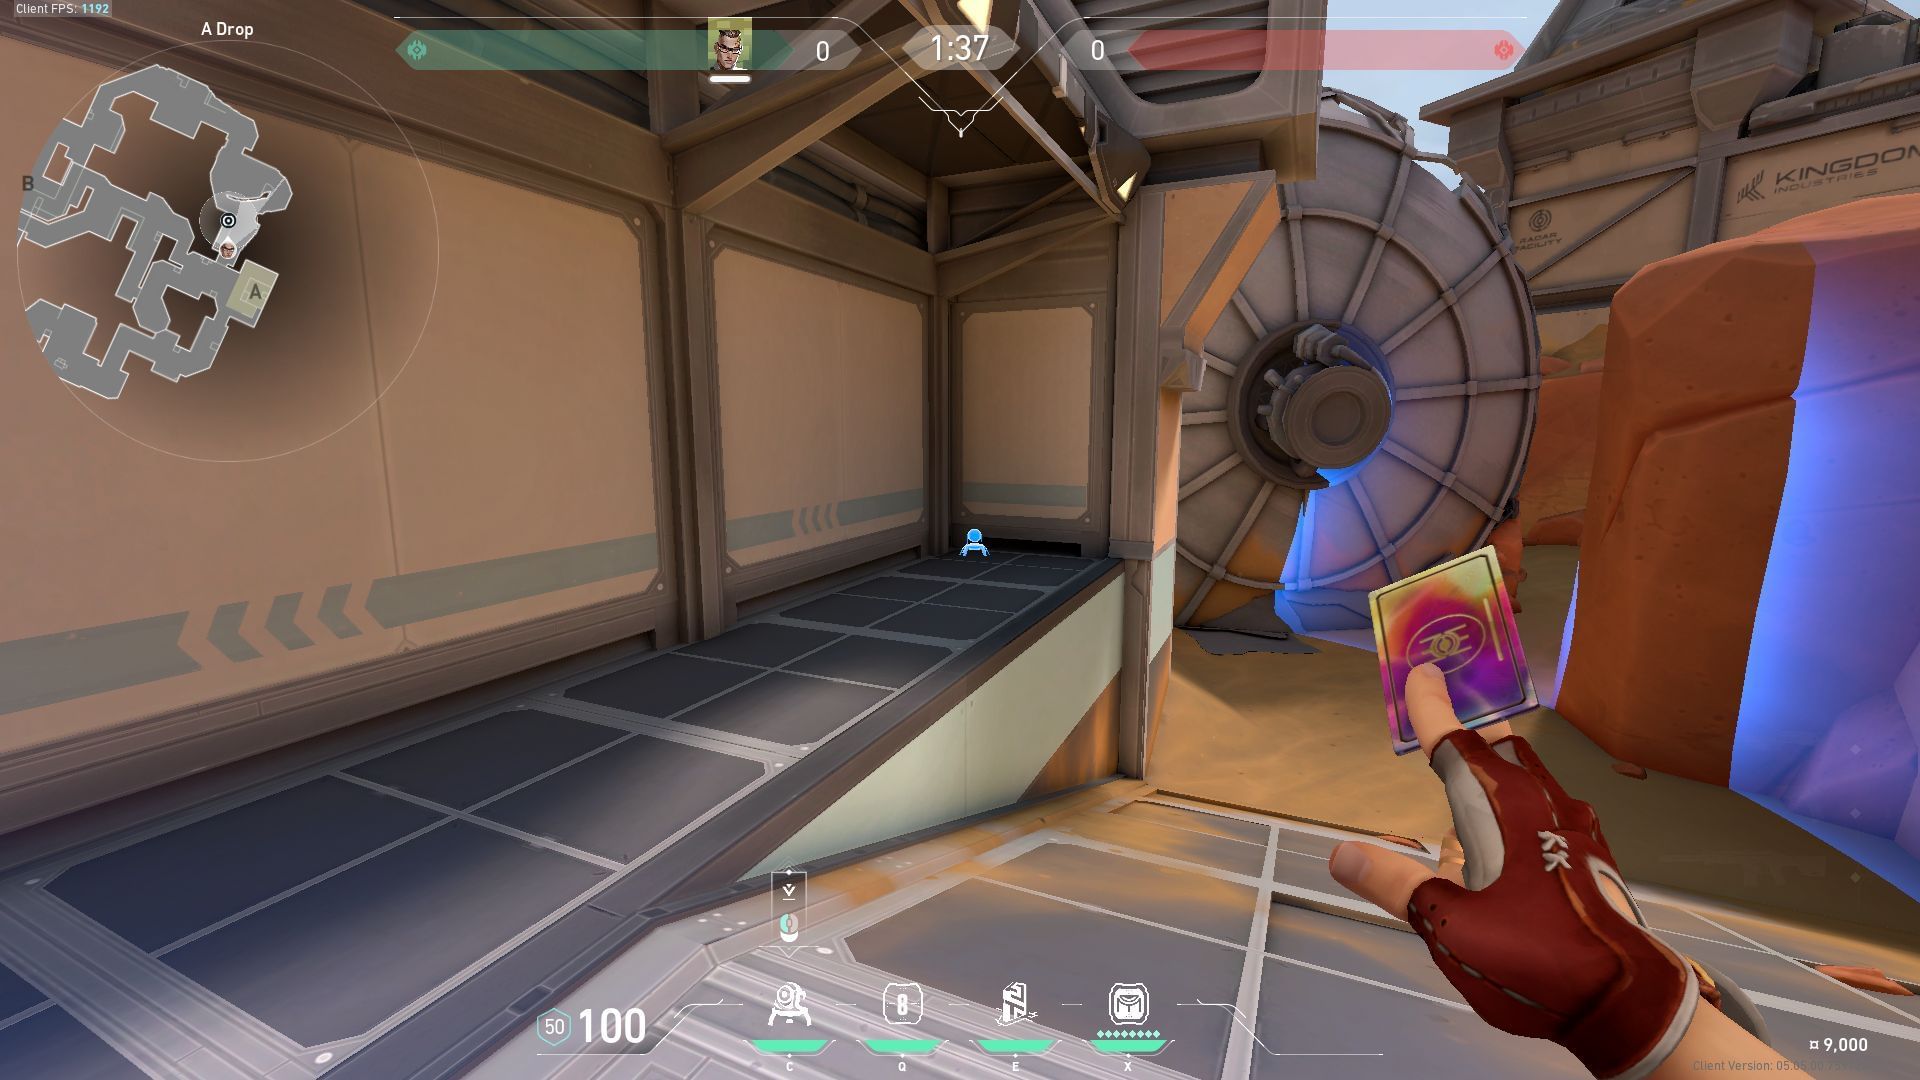
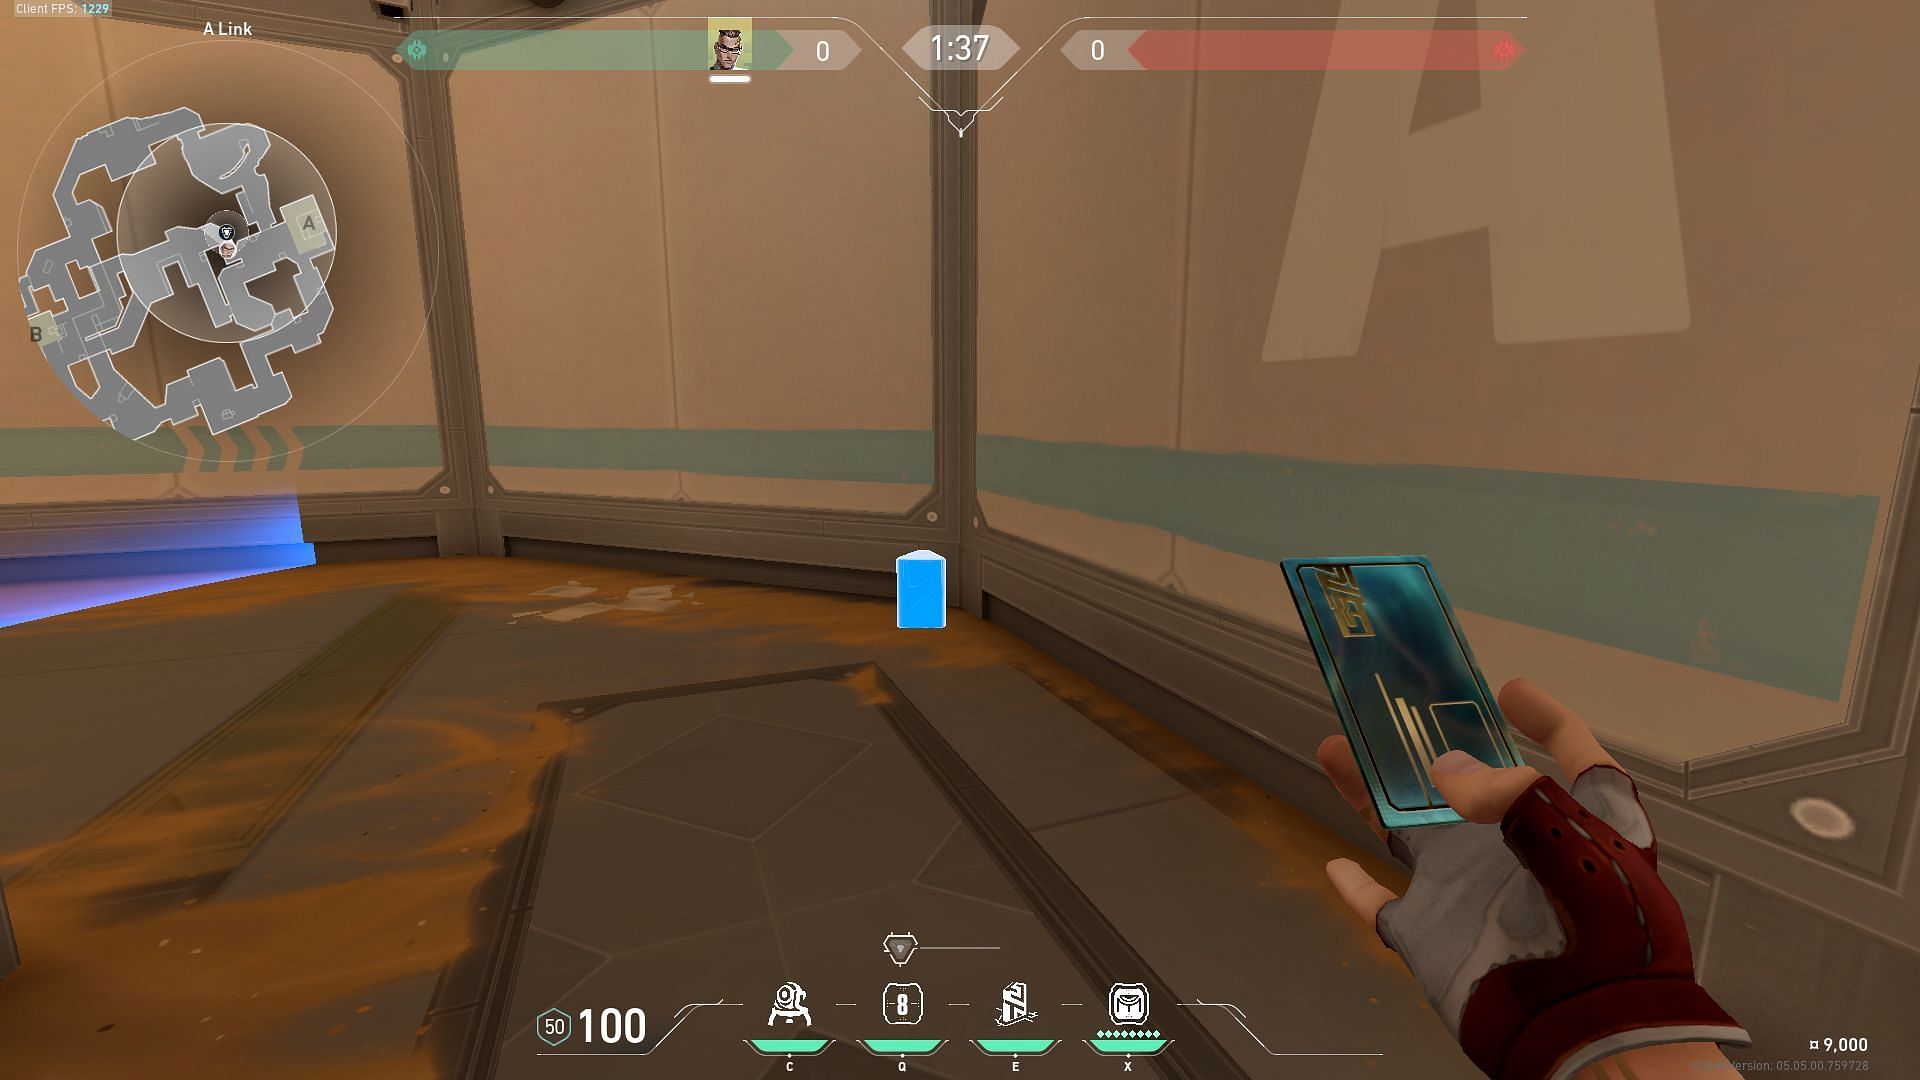
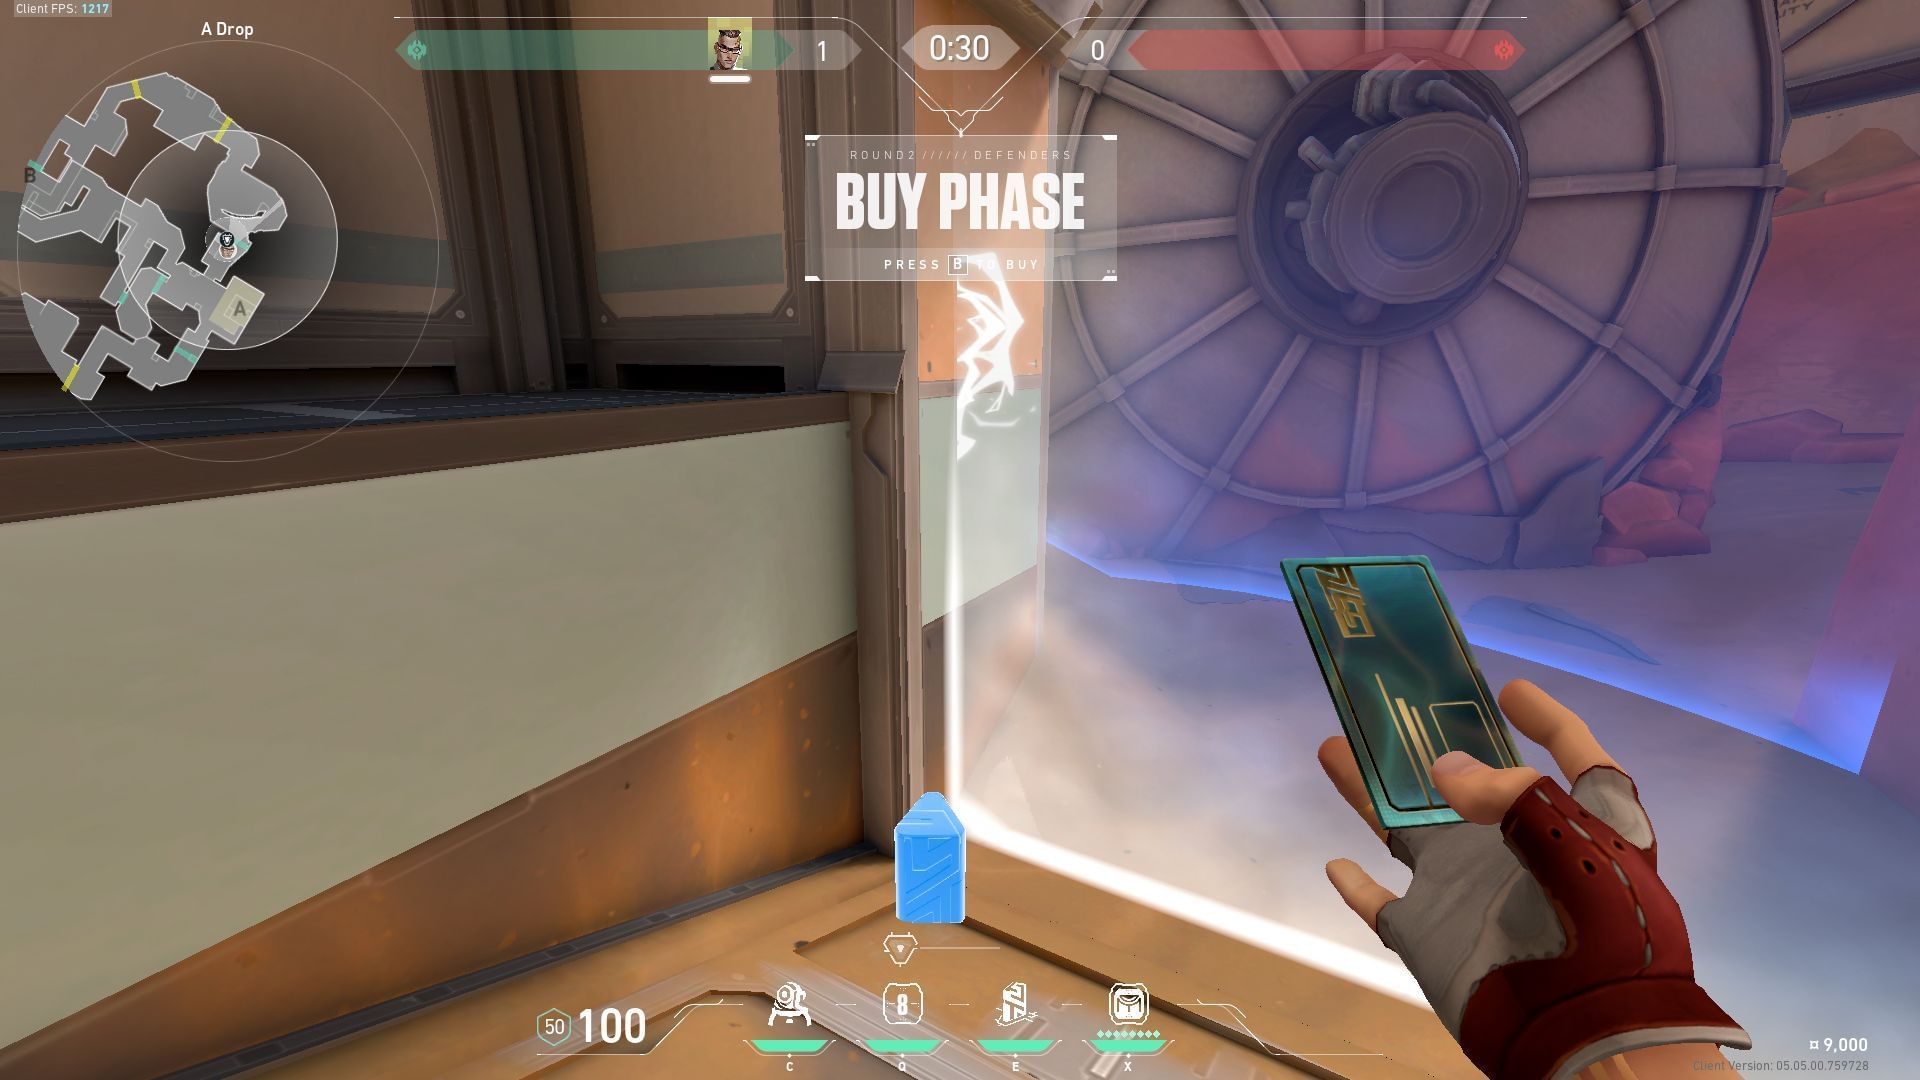
Fracture A site defense
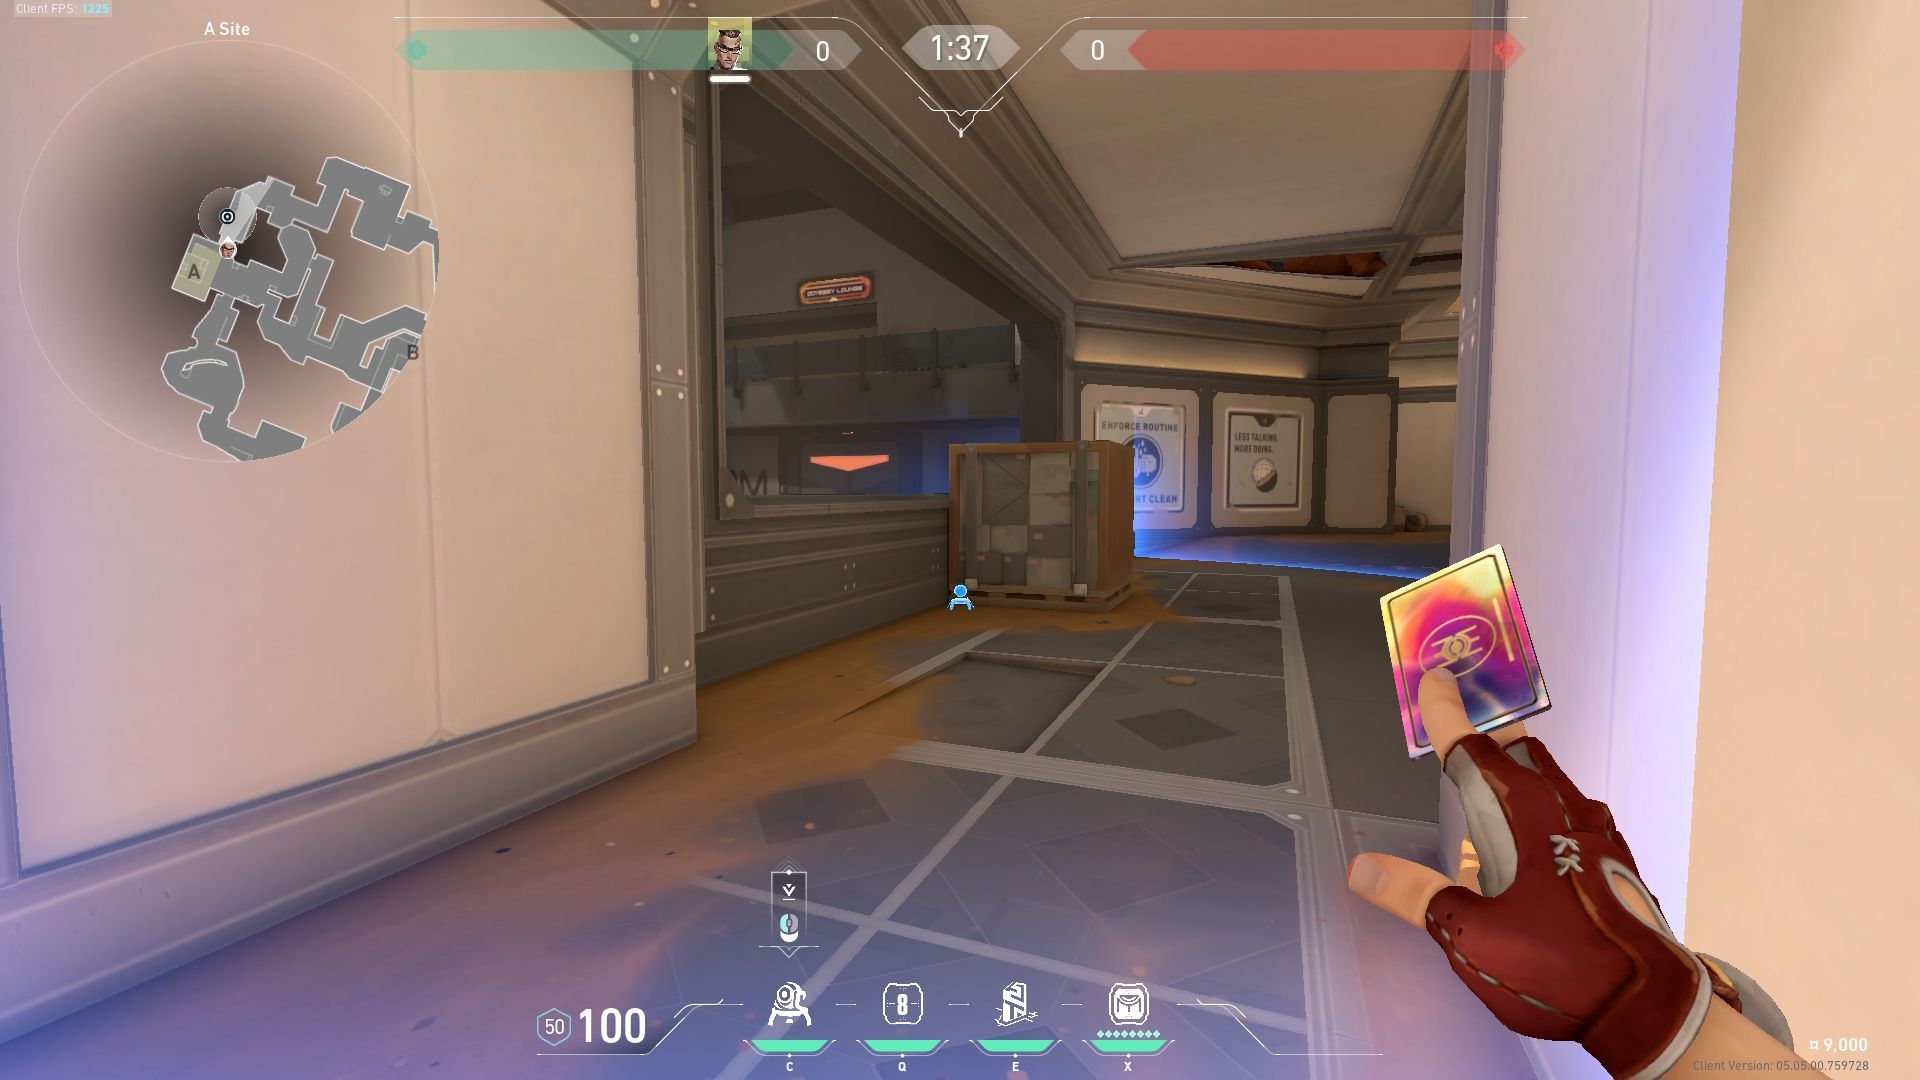
When in A site, place Chamber's Trademark in the connector between A Dish and A drop. This will alert you and your teammates about enemies coming from A Dish trying to enter the site. If enemies go for a stealthy approach, they might avoid that route altogether.
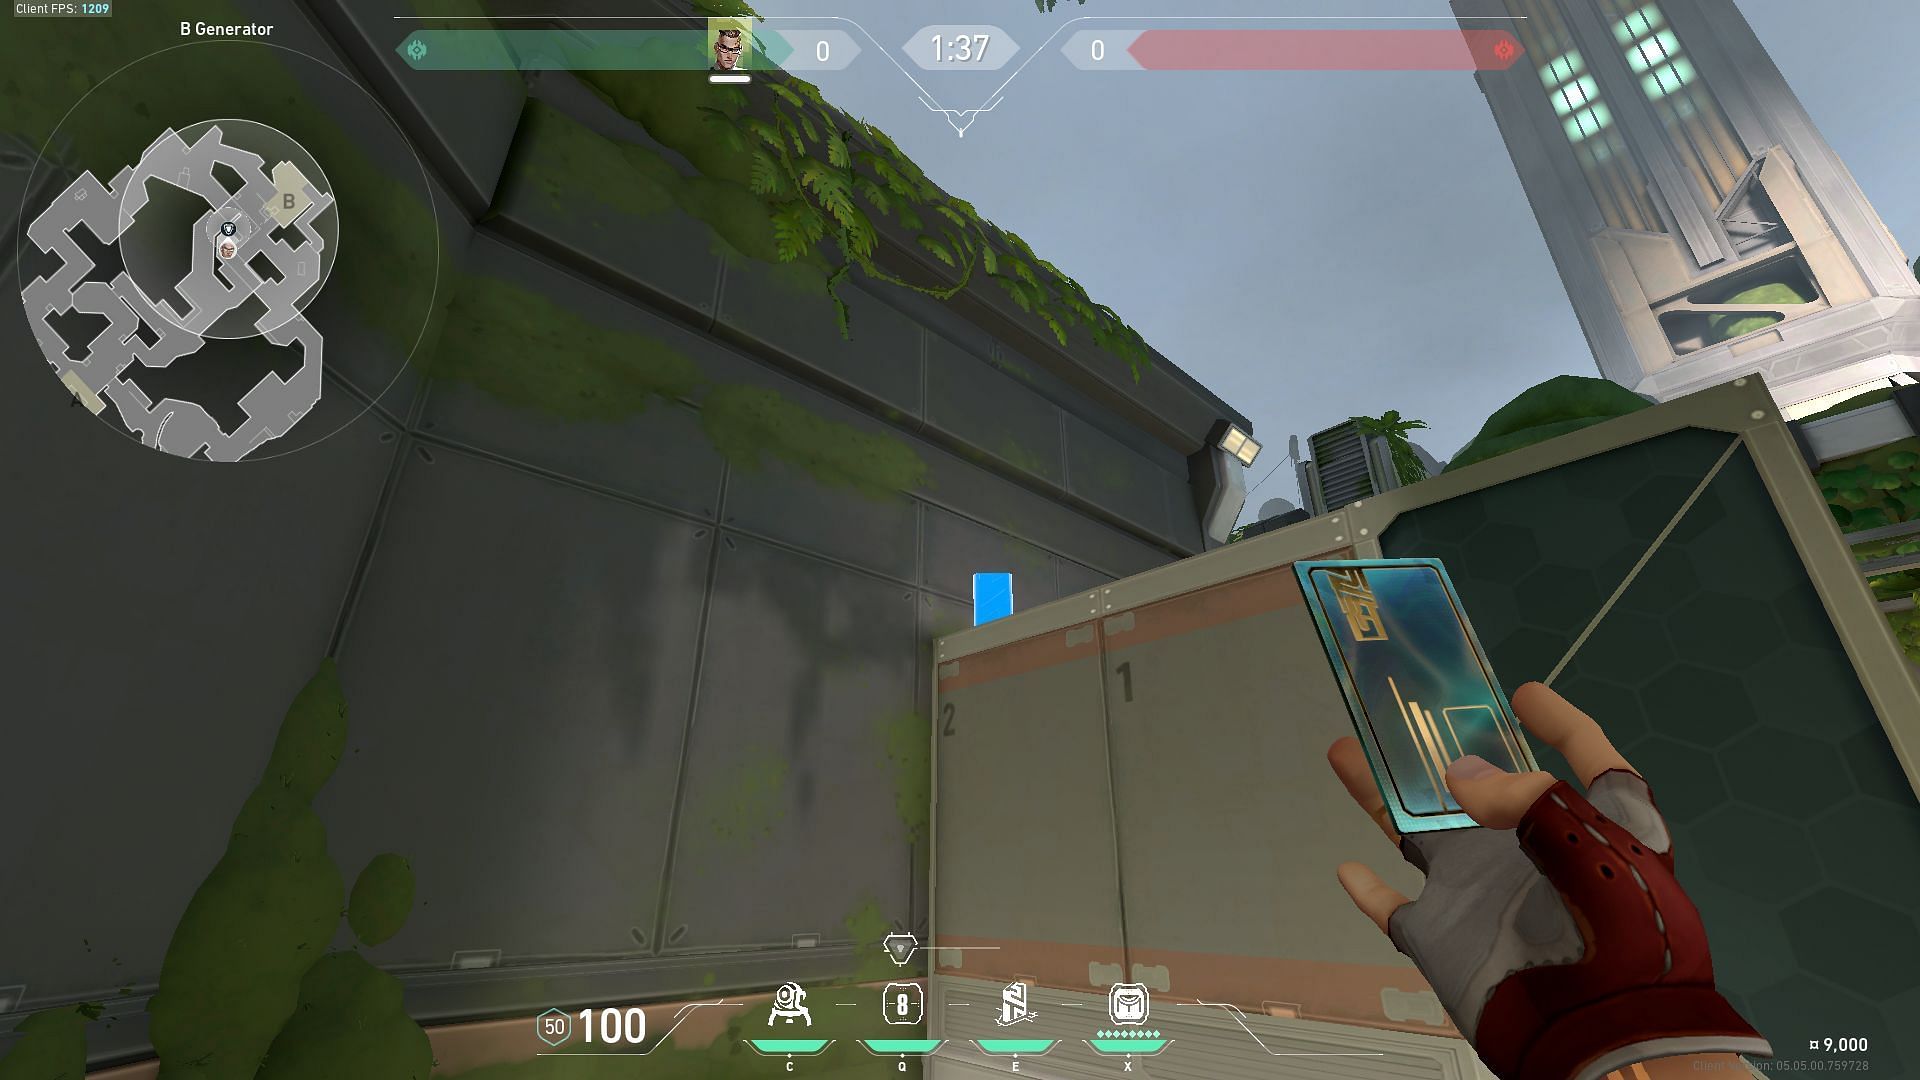
In this case, place the first card on top of the B Generator for the Rendezvous card. Then proceed to A Drop and place the second card there. This will allow you to hold A Drop and A Ropes. This will instantly enable you to rotate to the B site if the situation calls for it.
Similarly, you can place a trap at A Main behind the box if you go aggressive on A Dish.
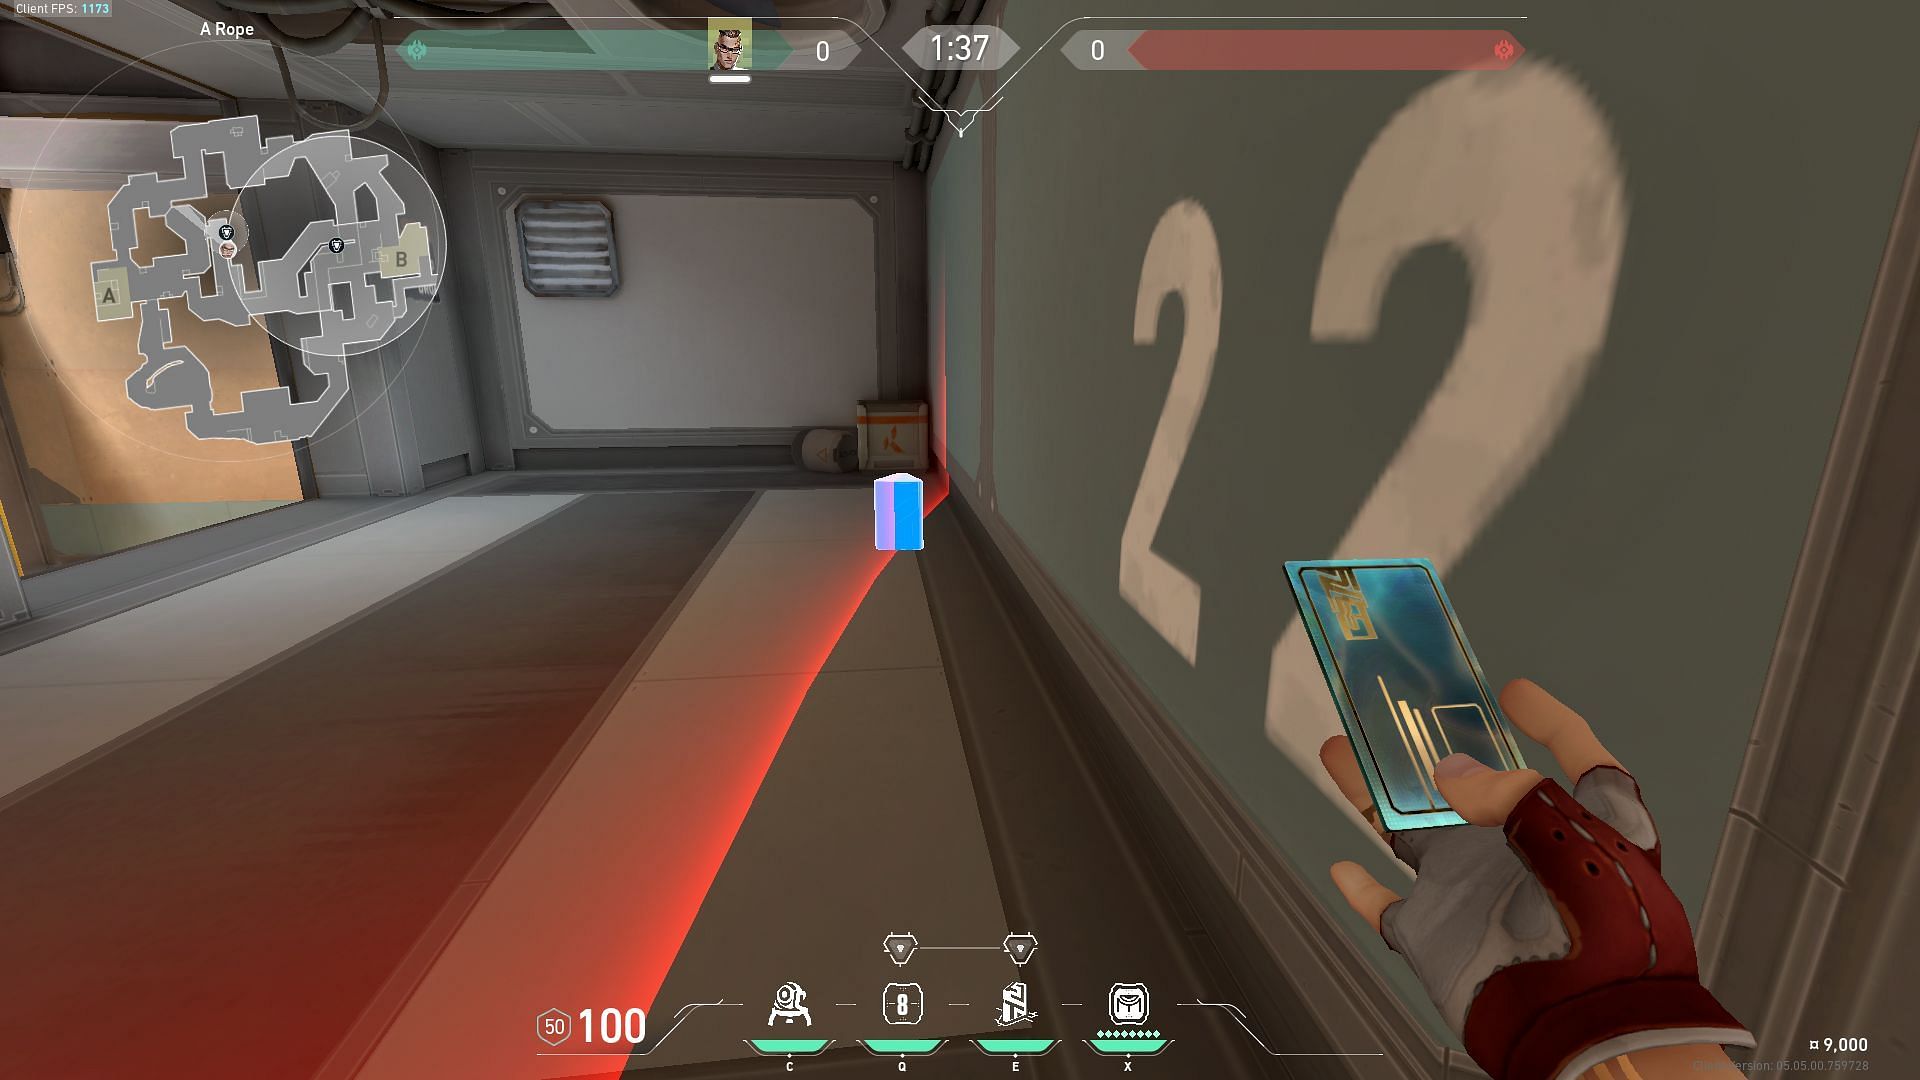
If that is the case, place your first Rendezvous card in A Link. Then place your second card in the A Dish to A Drop connector before the round begins. This will allow you to go a bit aggressive early round and fall back immediately to safety if things go south.
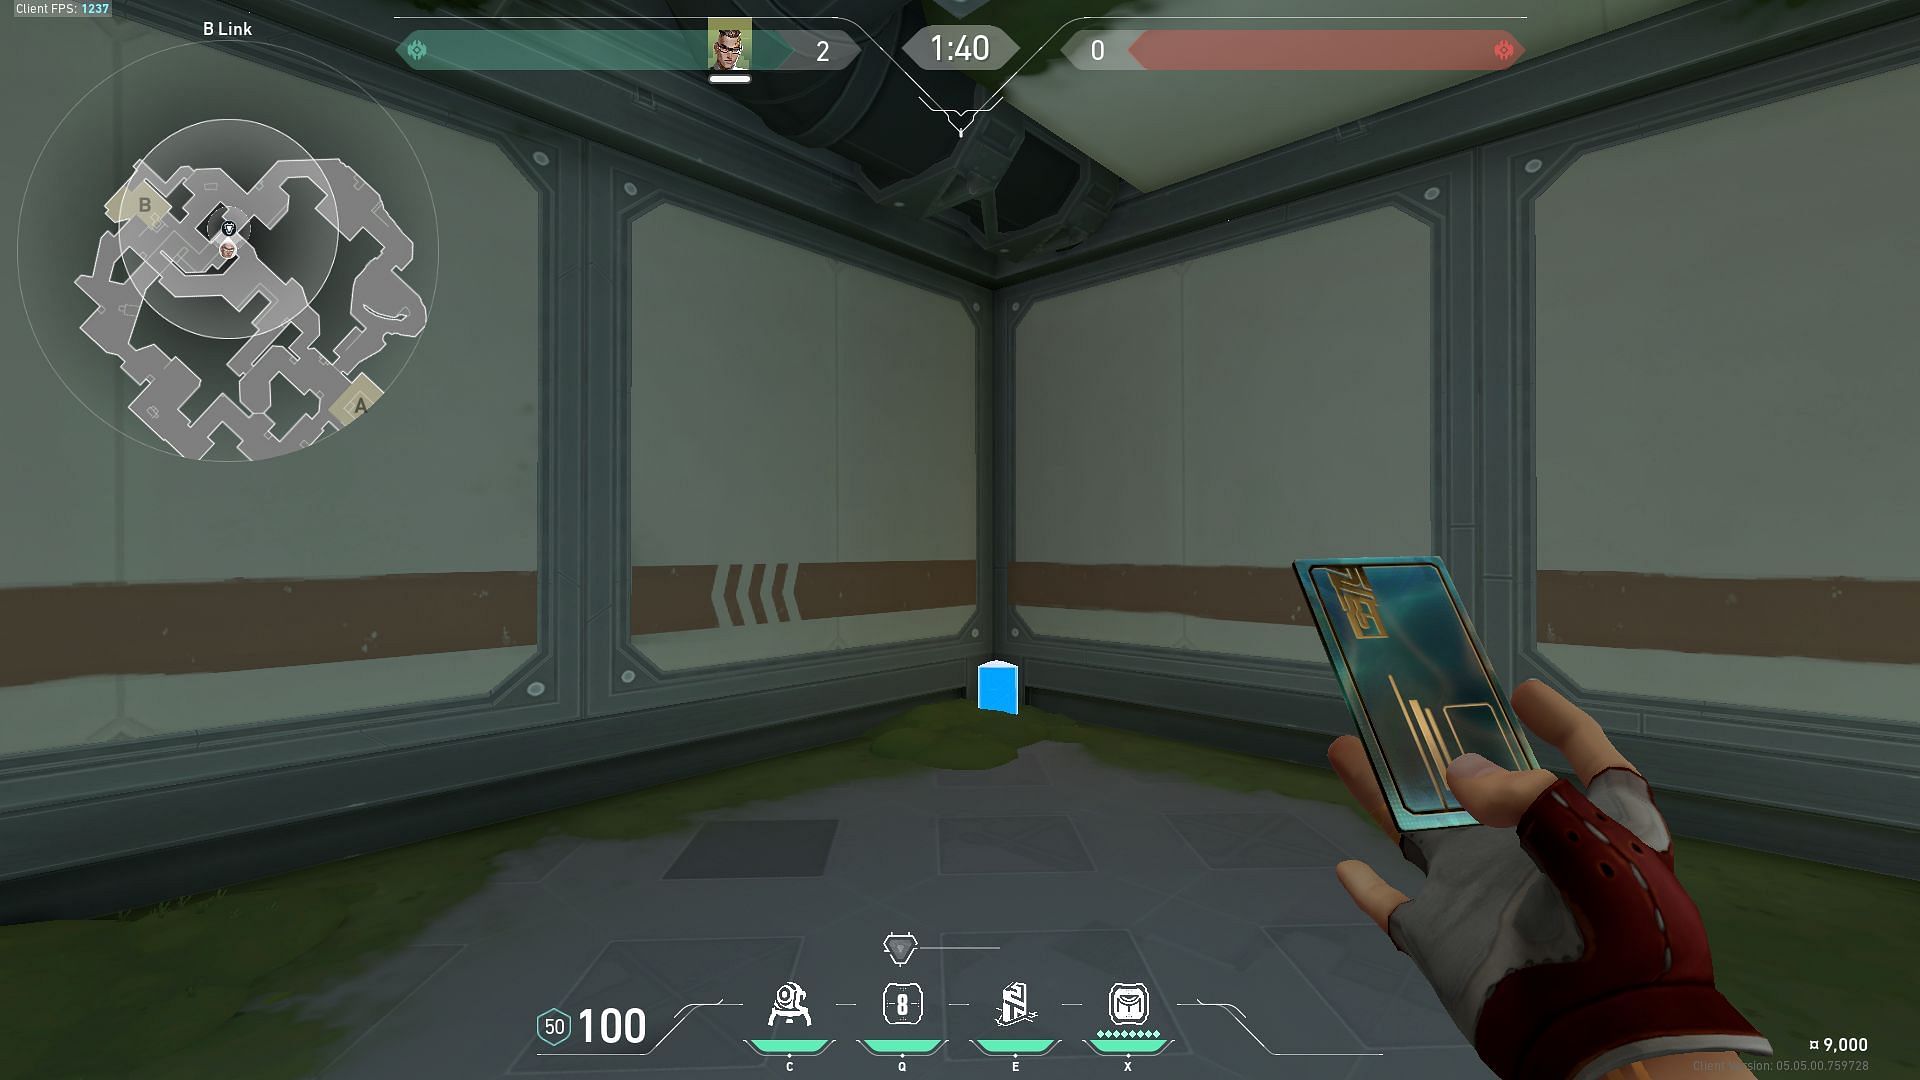
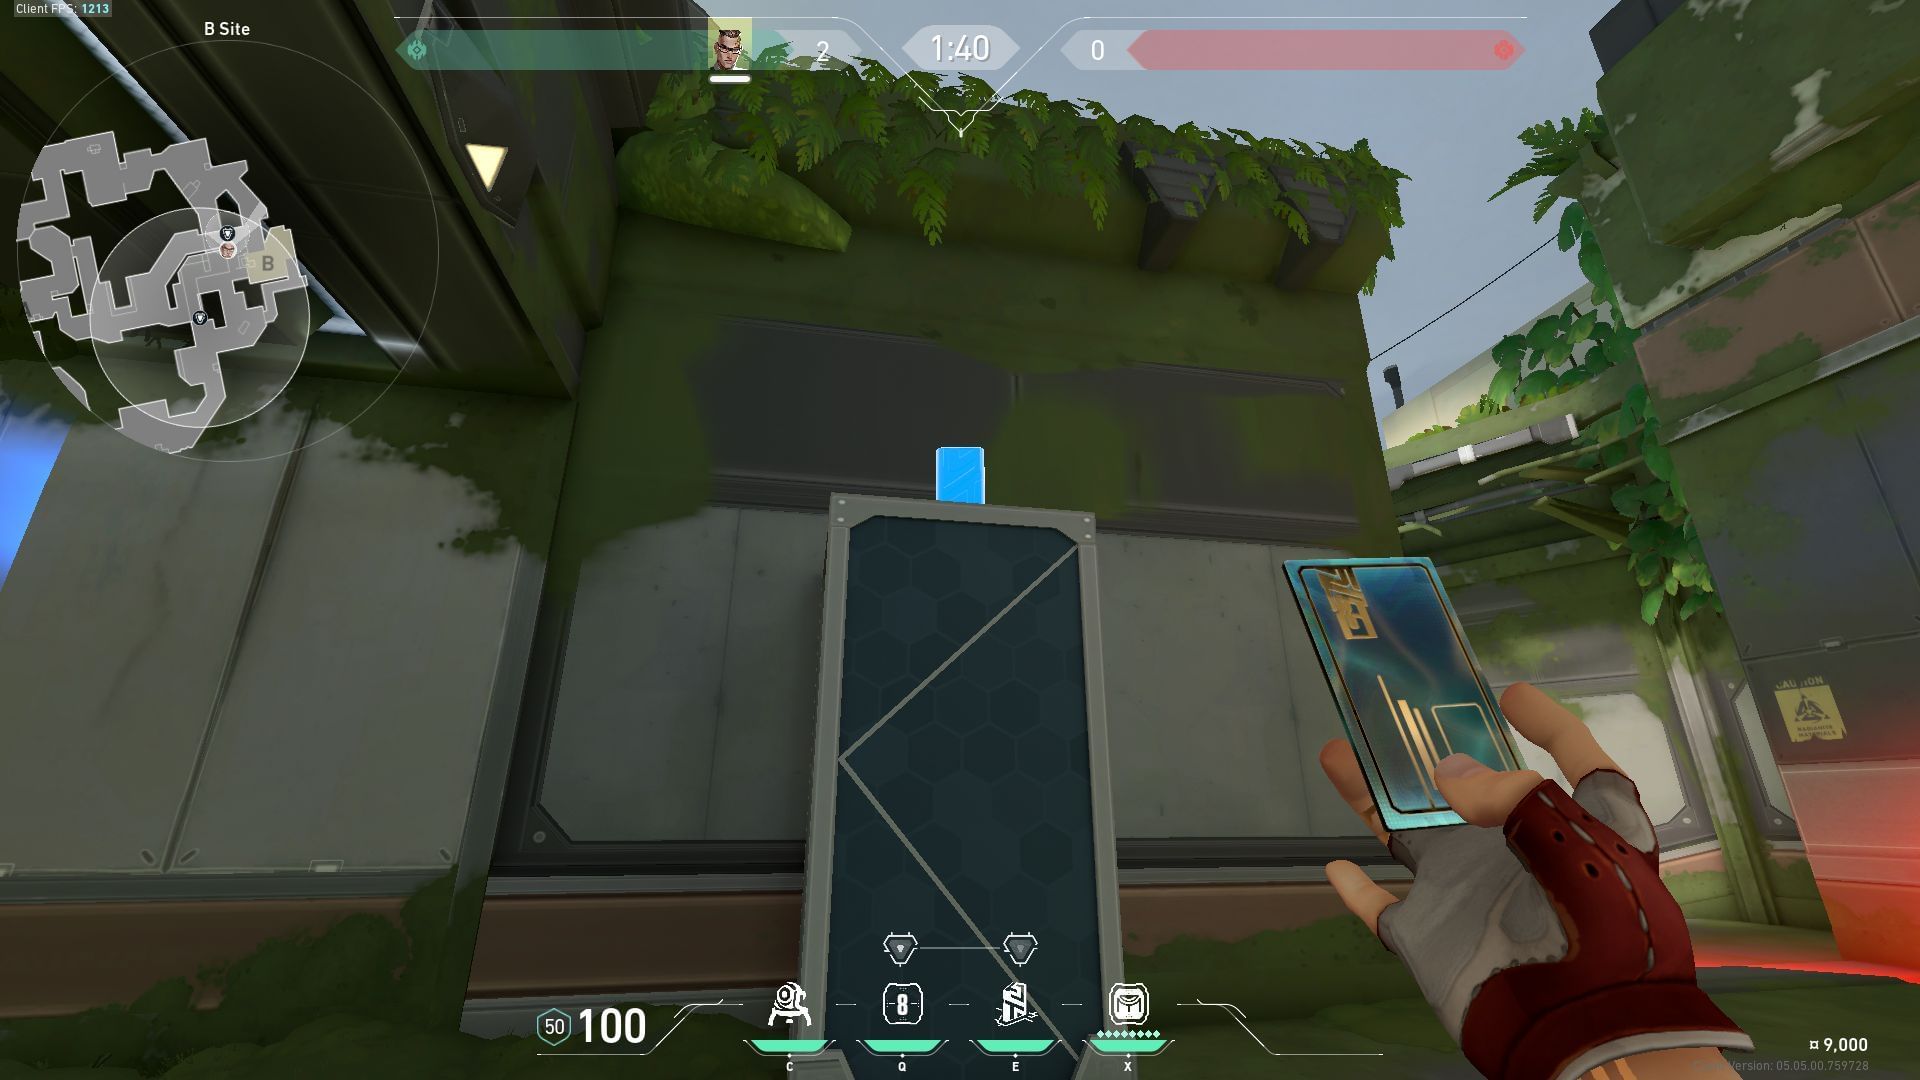
Fracture B site defense
On the B site, place your Trademark in B Arcade. Make sure that the Trap isn't completely exposed. Place it a bit on the inside by hugging the wall. This will make your enemies move inside to break it down. In that case, they will get detected, and you and your teammates will be alerted.
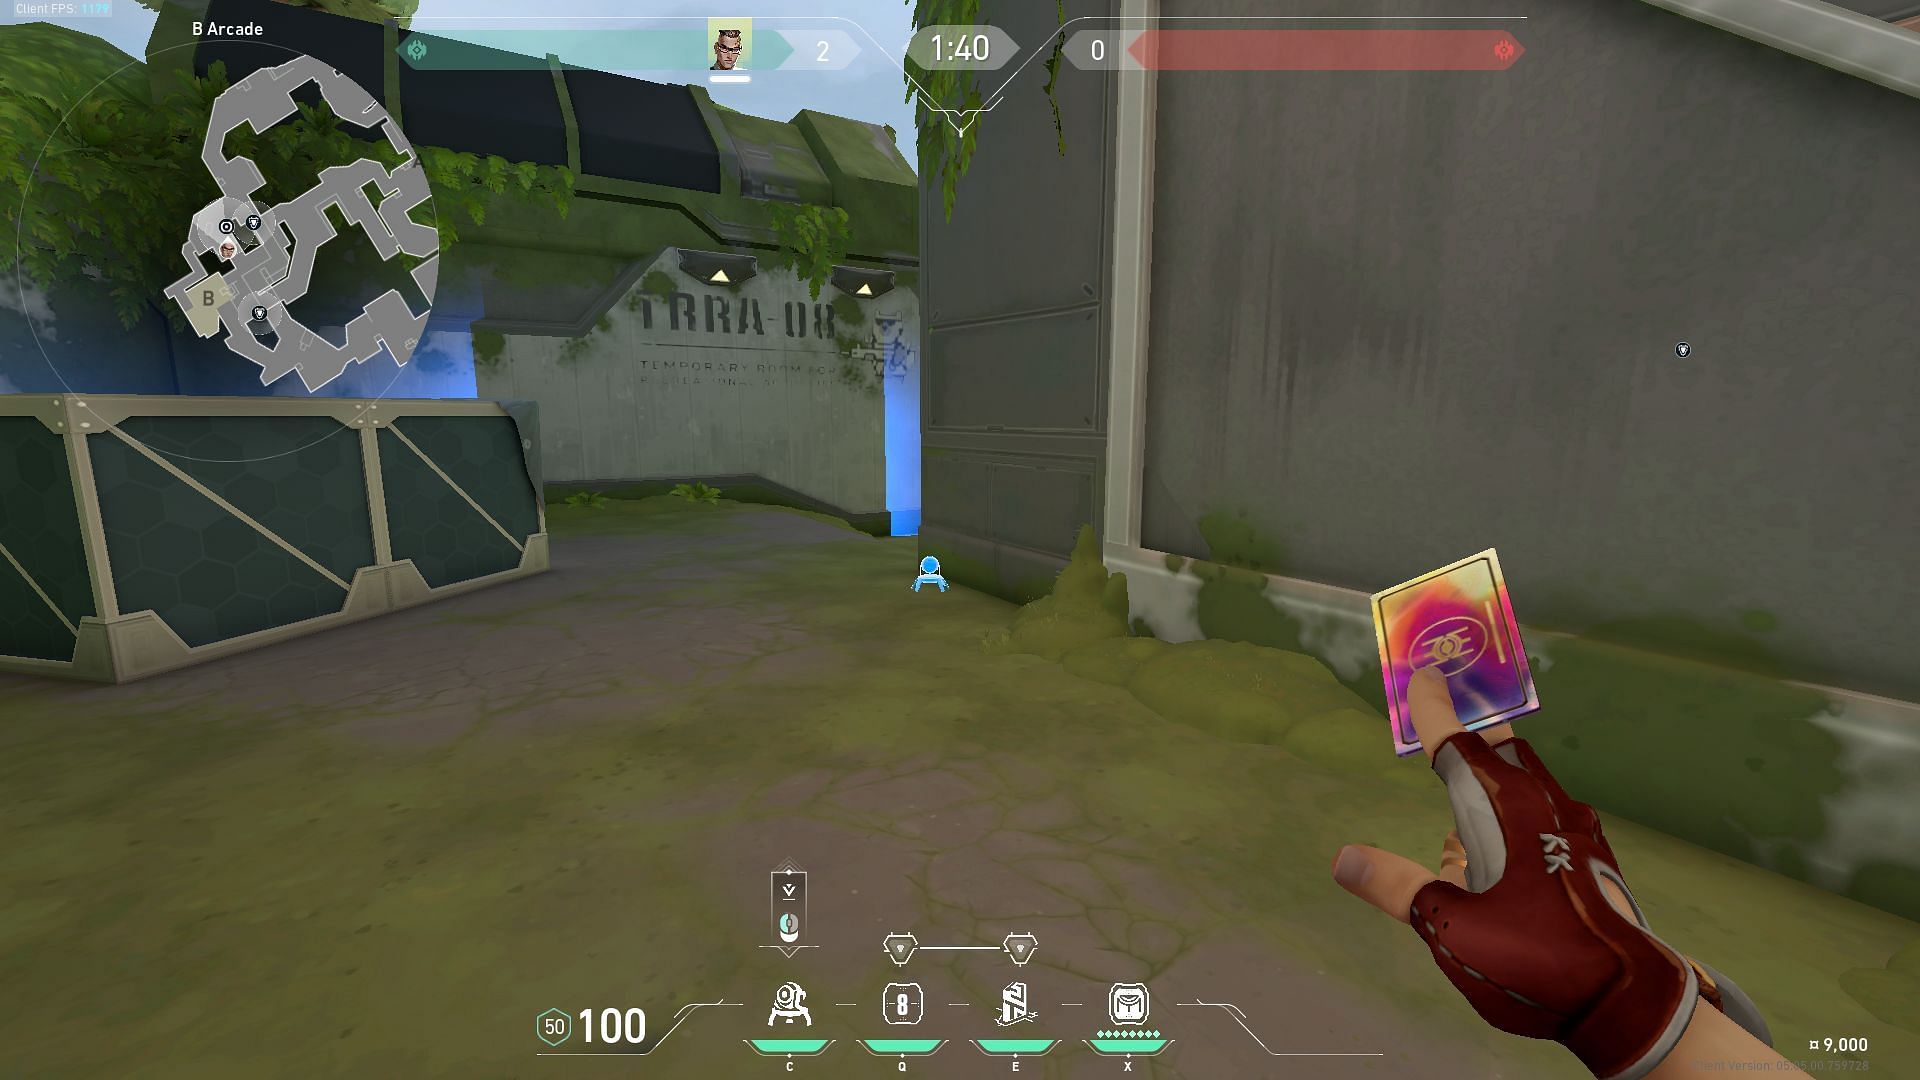
Combined with the correct Rendezvous placement, this can grant you some free kills on the slowed-down enemies. Place your first Rendezvous card in the corner in B Link. Then put the other card on top of B Main boxes. This gives you a sight of the enemies pushing from B Arcade. If a trap is placed there, they will most likely get slowed, granting you a free kill at the very least. Post that, you can instantly teleport out to safety to B Link.
Fracture A or B site attack
If you find yourself on the attacking side, you will play your teammates and ensure that your team is safe from the enemy flank. Place a trap in your spawn, inside the cracks near the boxes. This will alert you of enemies flanking through the ziplines or from A/B.
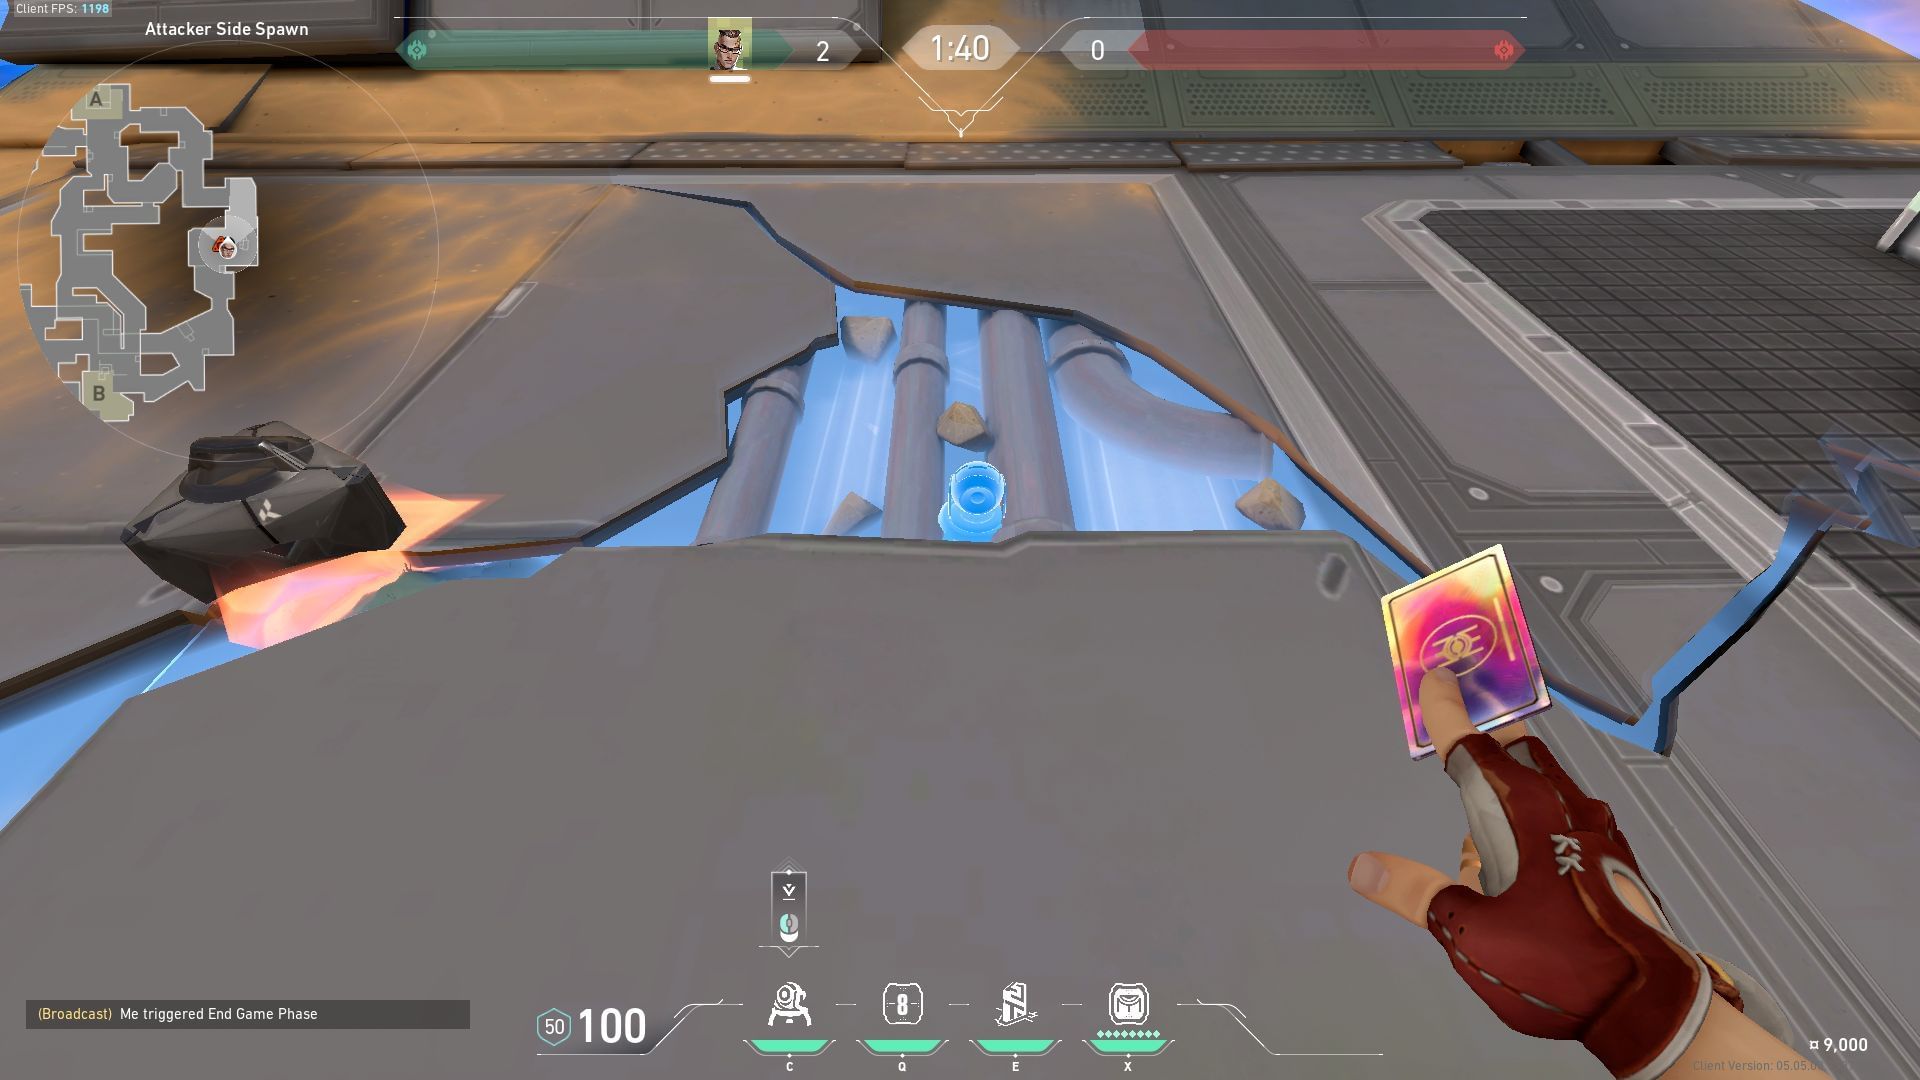
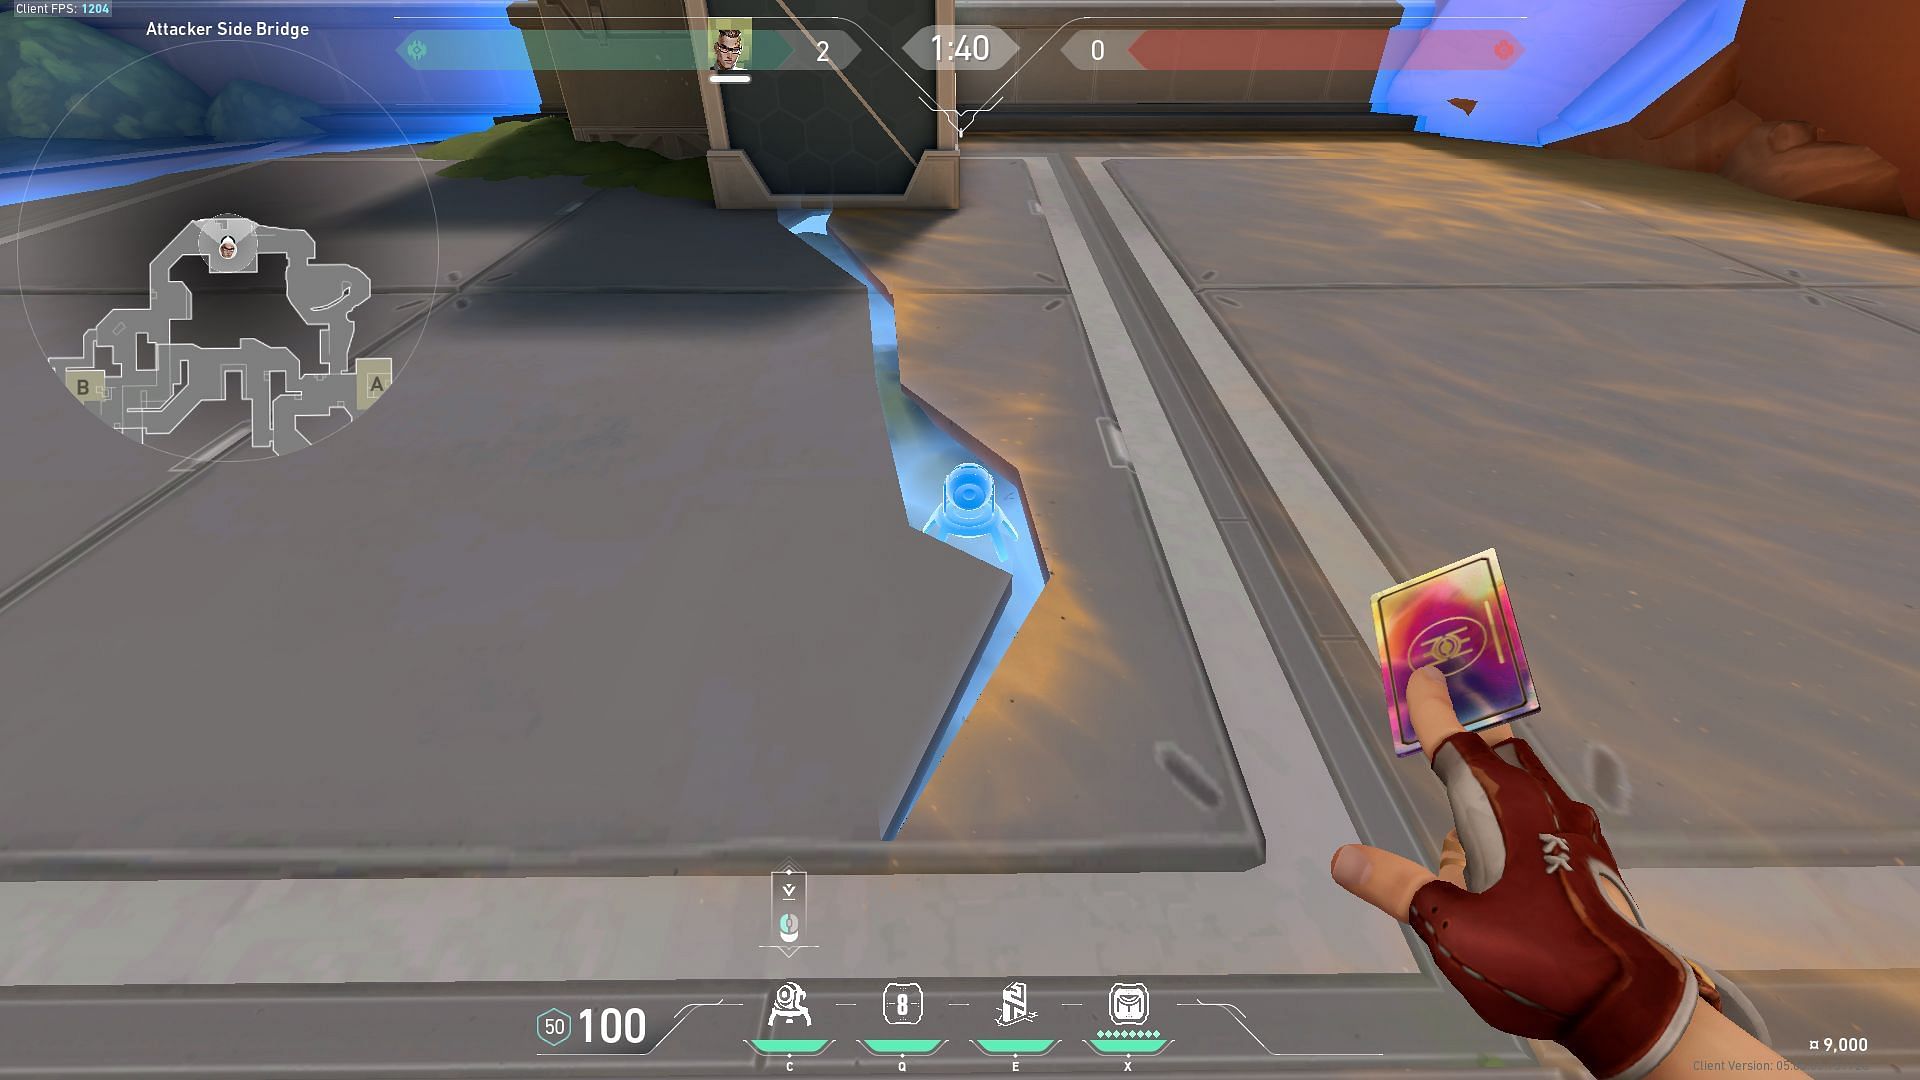
However, if you and your teammates are all attacking from the other side of the map. Place your trap inside the broken floor in Attacker Side Bridge.
This is how Valorant players can be effective Chamber players and contribute to the team. Being the only Sentinel in Valorant whose utility set enables him to go aggressive, these Rendezvous and Trademark placements truly allow him to be devastating to the enemies.