
'%20x='0'%20y='0'%20height='100%25'%20width='100%25'%20%0A%20%20%20%20%20%20%20%20%20%20xlink%3Ahref='data:image/jpg;base64,/9j/2wBDAAYEBQYFBAYGBQYHBwYIChAKCgkJChQODwwQFxQYGBcUFhYaHSUfGhsjHBYWICwgIyYnKSopGR8tMC0oMCUoKSj/2wBDAQcHBwoIChMKChMoGhYaKCgoKCgoKCgoKCgoKCgoKCgoKCgoKCgoKCgoKCgoKCgoKCgoKCgoKCgoKCgoKCgoKCj/wgARCAAGAAoDASIAAhEBAxEB/8QAFgABAQEAAAAAAAAAAAAAAAAAAAYH/8QAFAEBAAAAAAAAAAAAAAAAAAAABP/aAAwDAQACEAMQAAAAktGHk//EACMQAAEDAwIHAAAAAAAAAAAAAAIBBBEAAwUGEwcSFSFBk9H/2gAIAQEAAT8A4fakzeNYWGbpxv4u1KBaQ4MPI8pRMIVdWdr32x9xfK//xAAWEQEBAQAAAAAAAAAAAAAAAAABAAP/2gAIAQIBAT8A2W//xAAYEQACAwAAAAAAAAAAAAAAAAABAgADMf/aAAgBAwEBPwCpFOif/9k='%3E%3C/image%3E%3C/svg%3E)
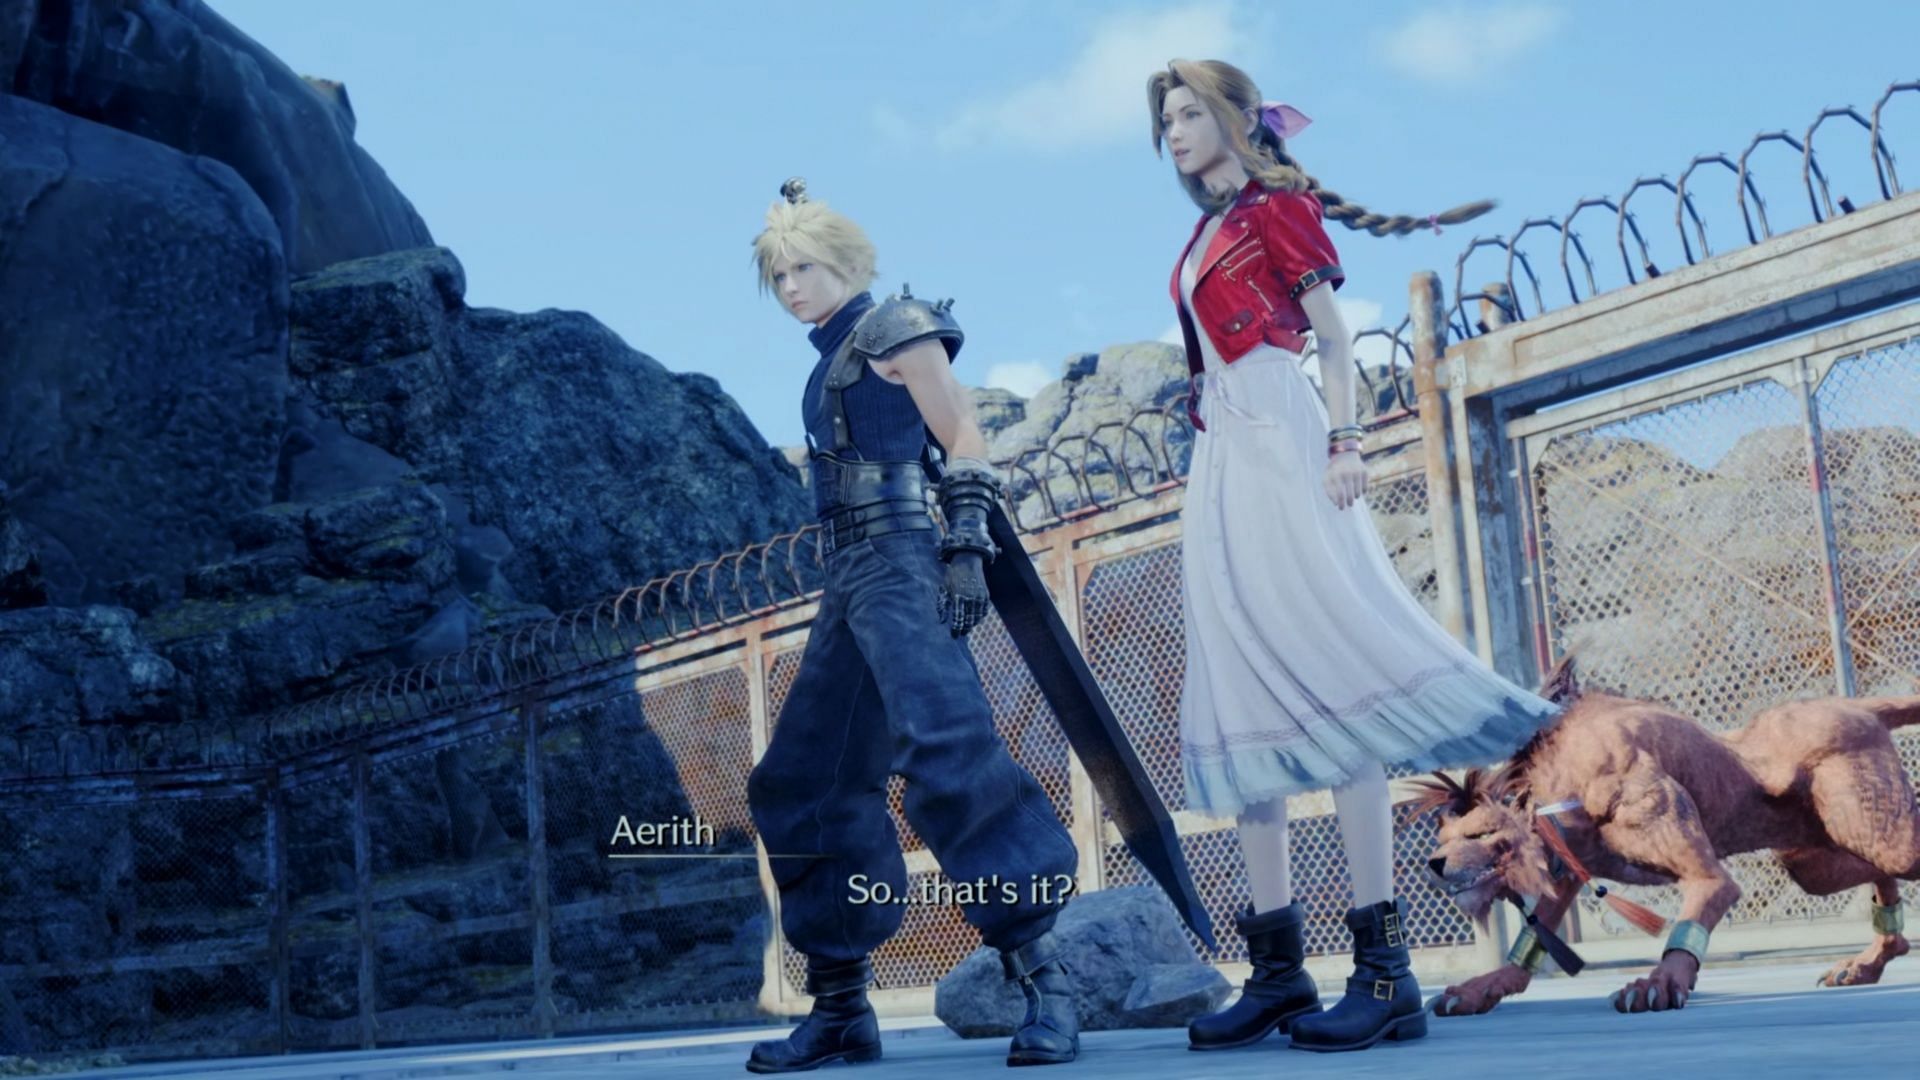
Custom Valkyrie is one of the Final Fantasy 7 Rebirth bosses you encounter on the way to the Corel Reactor. This boss might look familiar, from both Final Fantasy 7 Remake, and perhaps FF7 on the PlayStation 1. It is a ferocious robotic foe and players are locked into a specific party for this fight, so it’s important to prepare on the way up. It’s also a good idea to know how everyone plays, just in case you have to swap party members.
We’ll go over any weaknesses or strengths the Custom Valkyrie in Final Fantasy 7 Rebirth has, how to pressure it, and other worthwhile information. While this is a challenging fight, it’s nothing players can’t handle with a little preparation.
Disclaimer: This guide features spoilers for Chapter 7 of Final Fantasy 7 Rebirth.
Looking for Crossword hints & solutions? Check out latest NYT Mini Crossword Answers, LA Times Crossword Answers, and Atlantic Crossword Answers
Tips to defeating Custom Valkyrie in Final Fantasy 7 Rebirth
1) Phase 1 of Custom Valkyrie fight
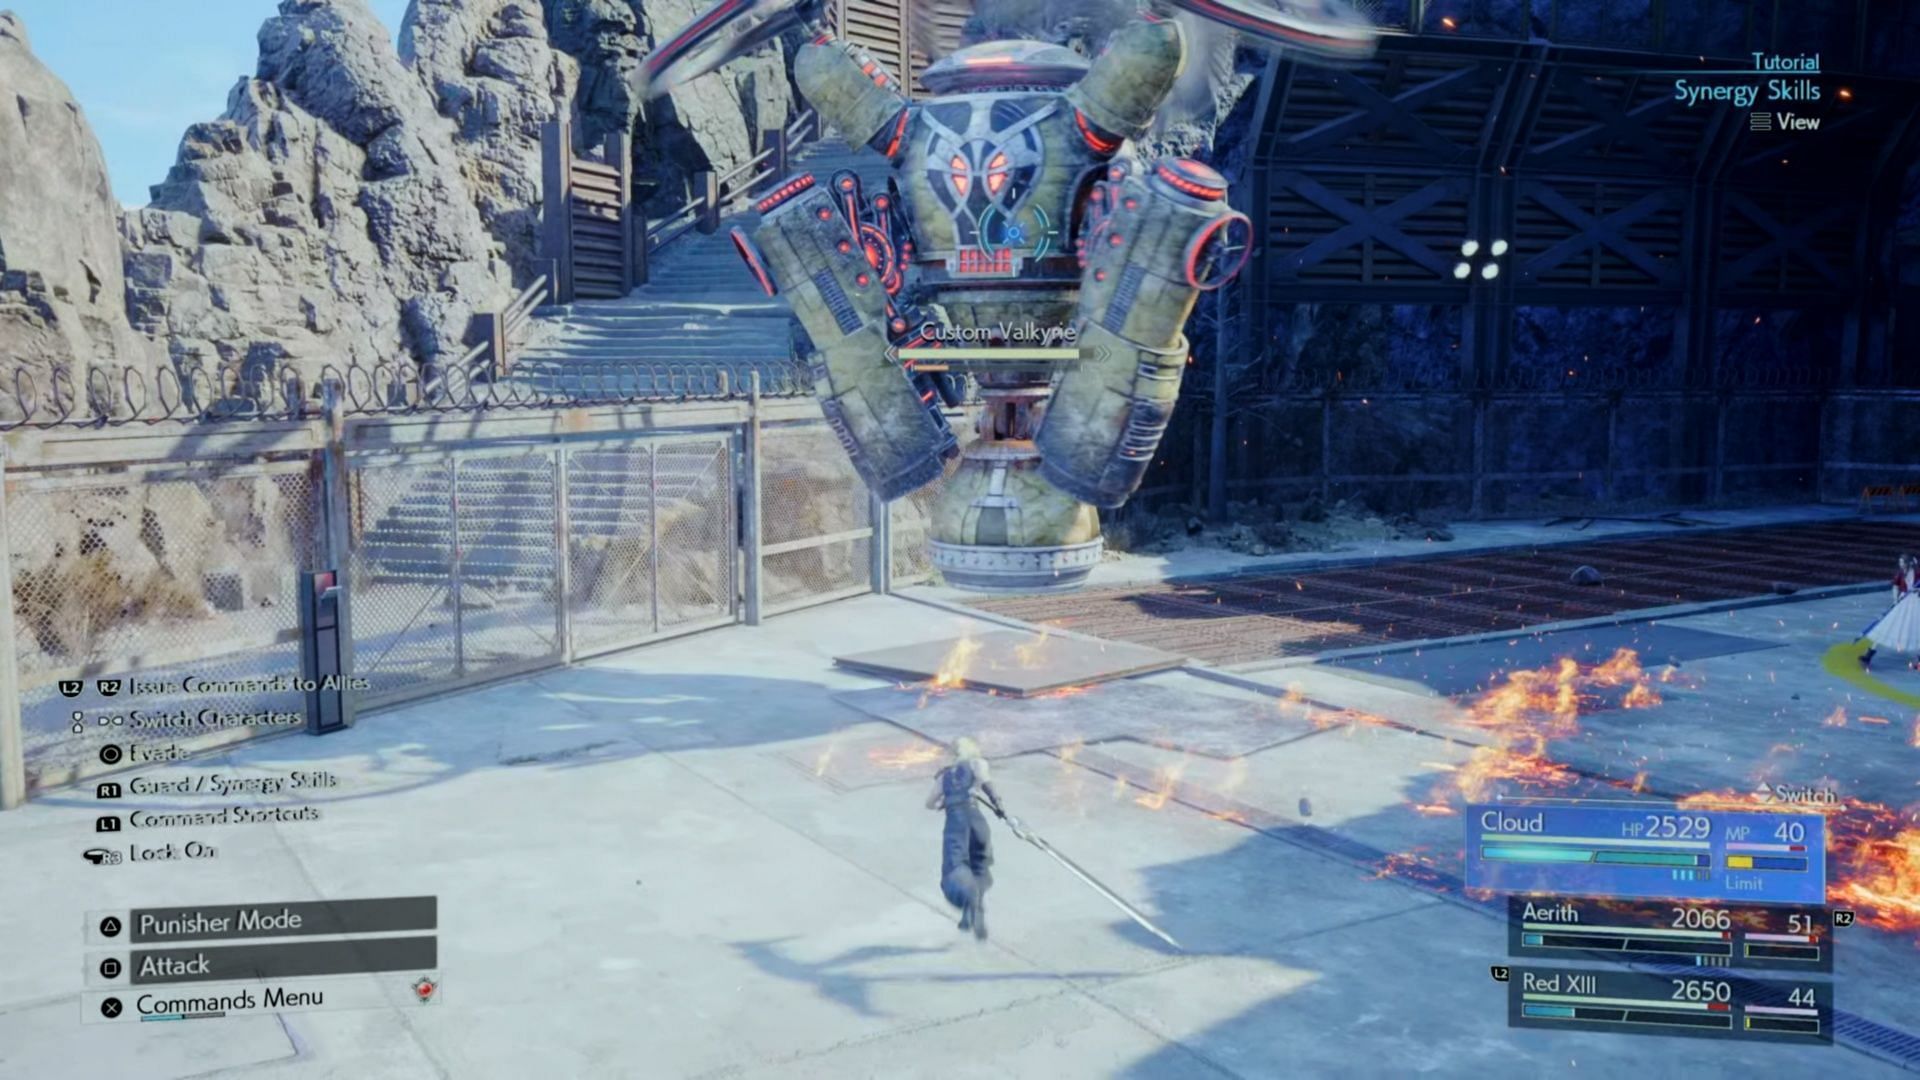
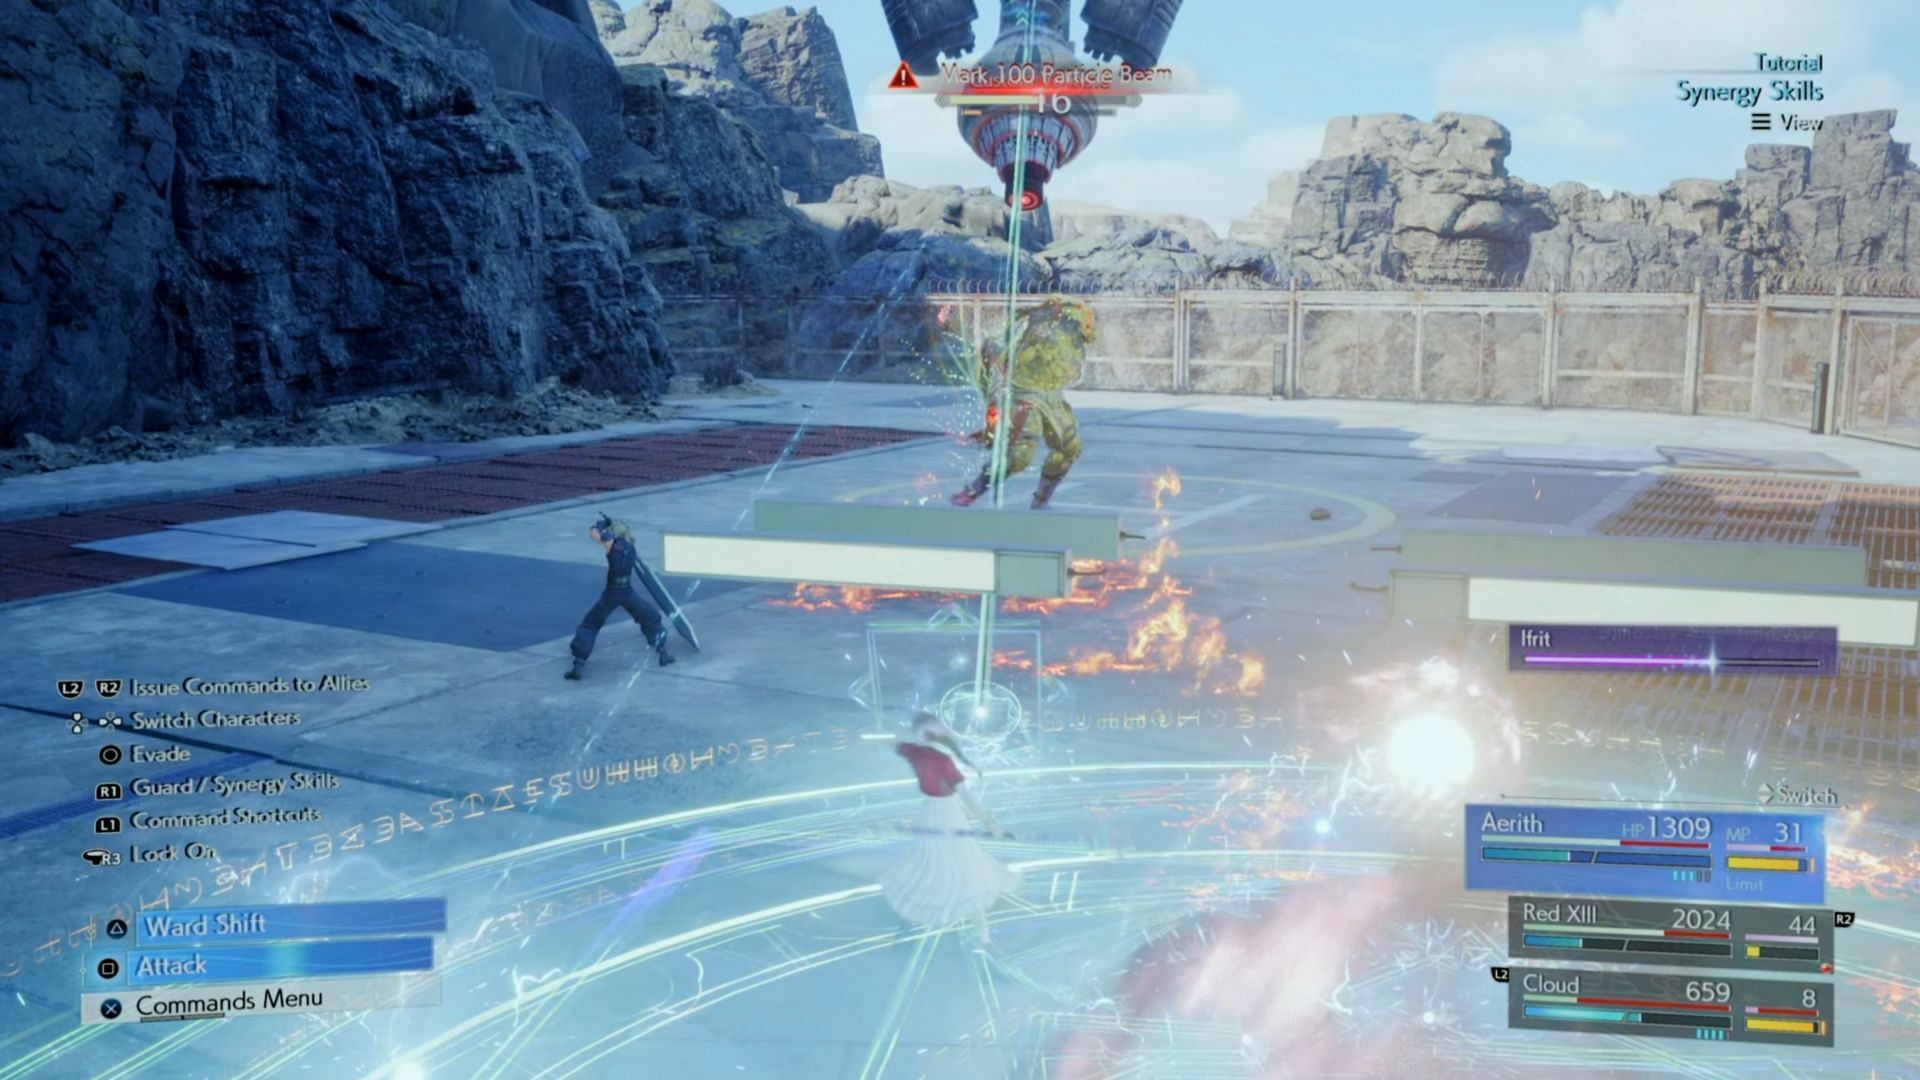
The Custom Valkyrie in Final Fantasy 7 Rebirth stays just out of reach in the earliest moments of the fight. It’s hard for Cloud to hit it, so the game will remind you about Synergy Skills. That way, you can hold R1 and press the right input when attacked to deal a counterhit. The first time you use a Synergy Skill, it increases your relationship with a character as well. You're also locked to a specific party: Cloud, Aerith, Red XIII.
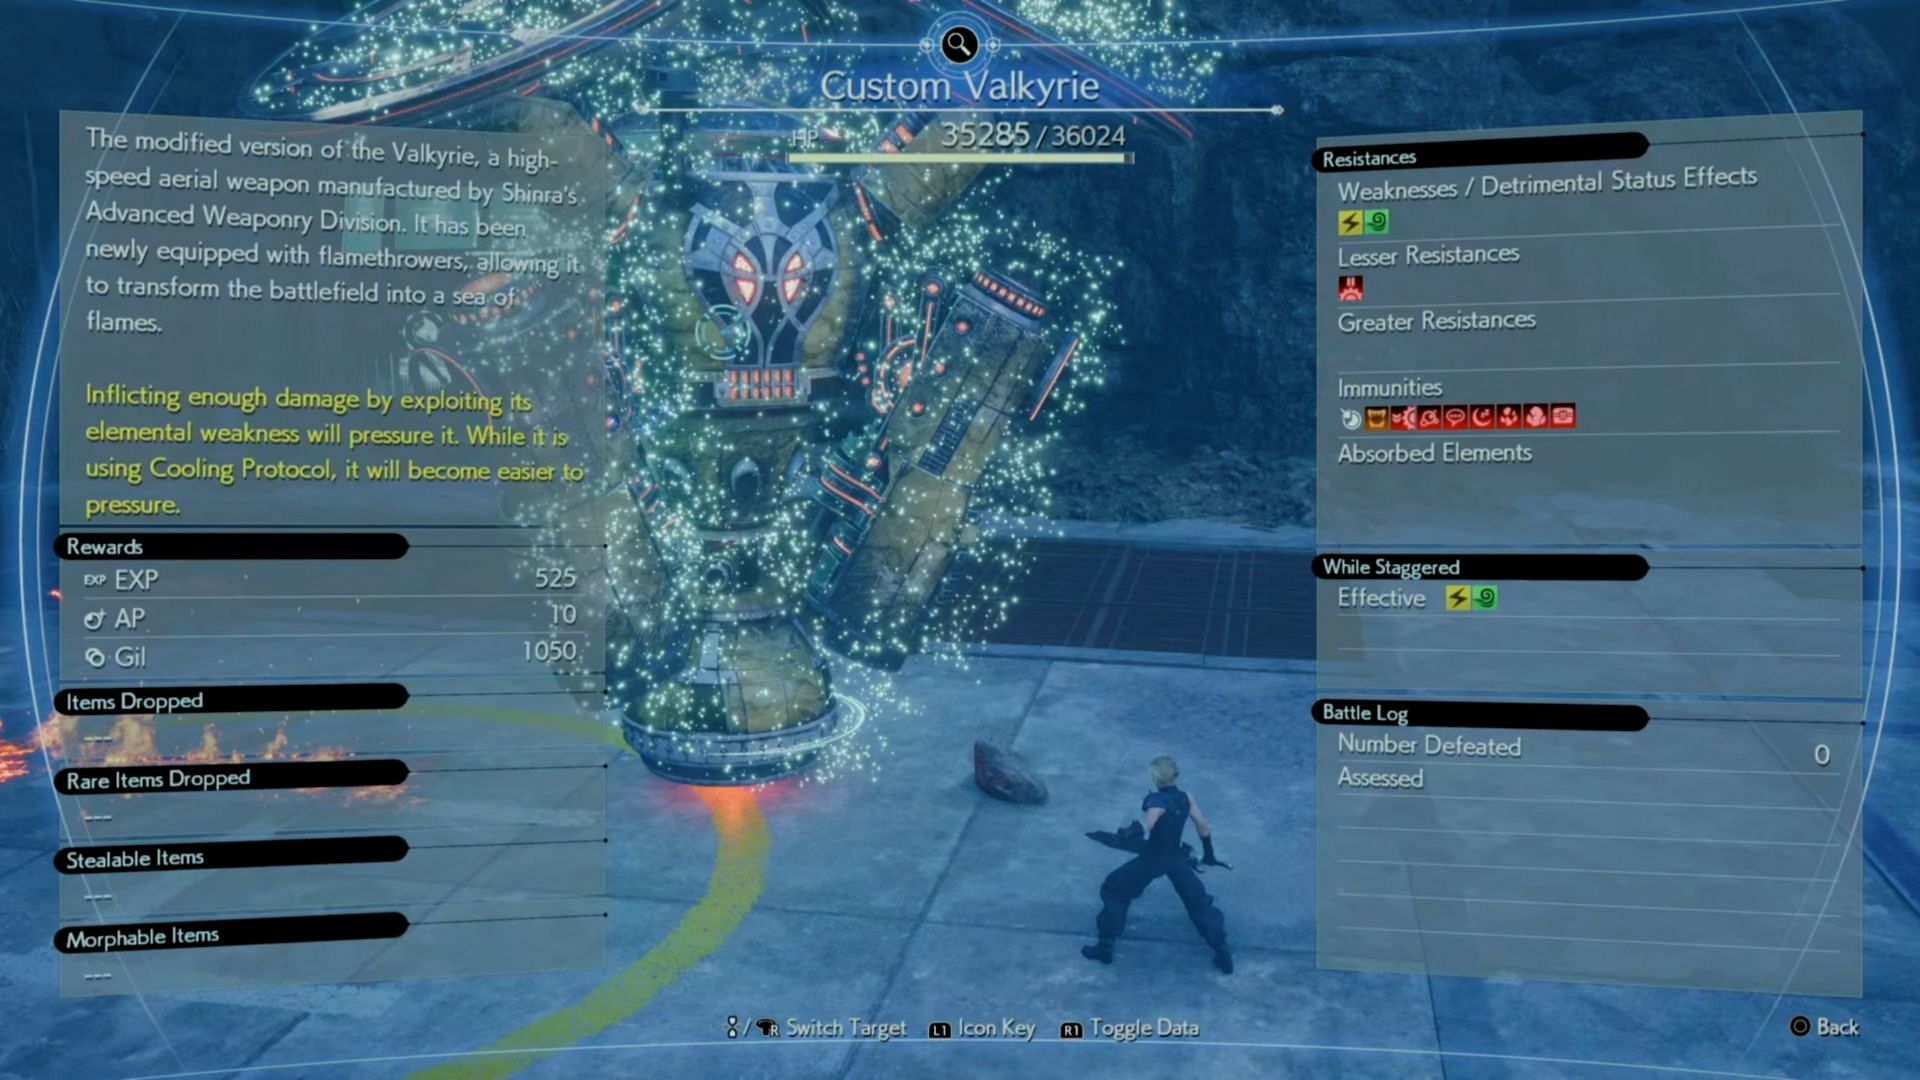
According to the Assess screen of Custom Valkyrie, this Final Fantasy 7 Rebirth boss has two weaknesses: electric and wind elements. It’s immune to most status ailments, such as poison, so there’s no point in bothering.
If you want to pressure it, you need to deal lots of damage with its elemental weaknesses. There’s another chance to pressure and stagger when it uses the Cooling Protocol. After it’s used a bunch of its fire attacks, it will activate this to cool off. Here’s what this robotic foe can do.
Flame Jet just streaks a pair of flaming attacks in front of it, but it’s fairly easy to evade. It uses this attack quite a lot though, so get used to the timing and practice avoiding it. Speaking of fire attacks, it also does a spinning dash across the screen, Aileron Roll. This might feel similar to the Grasptropod from the previous Final Fantasy 7 Rebirth chapter.
There’s also the Modified Mk. 98 Rotary Cannons, which aim down at your character and repeatedly blast them with machine gun fire. It’s a great time to use a counter-hit Synergy Skill, or simply block.
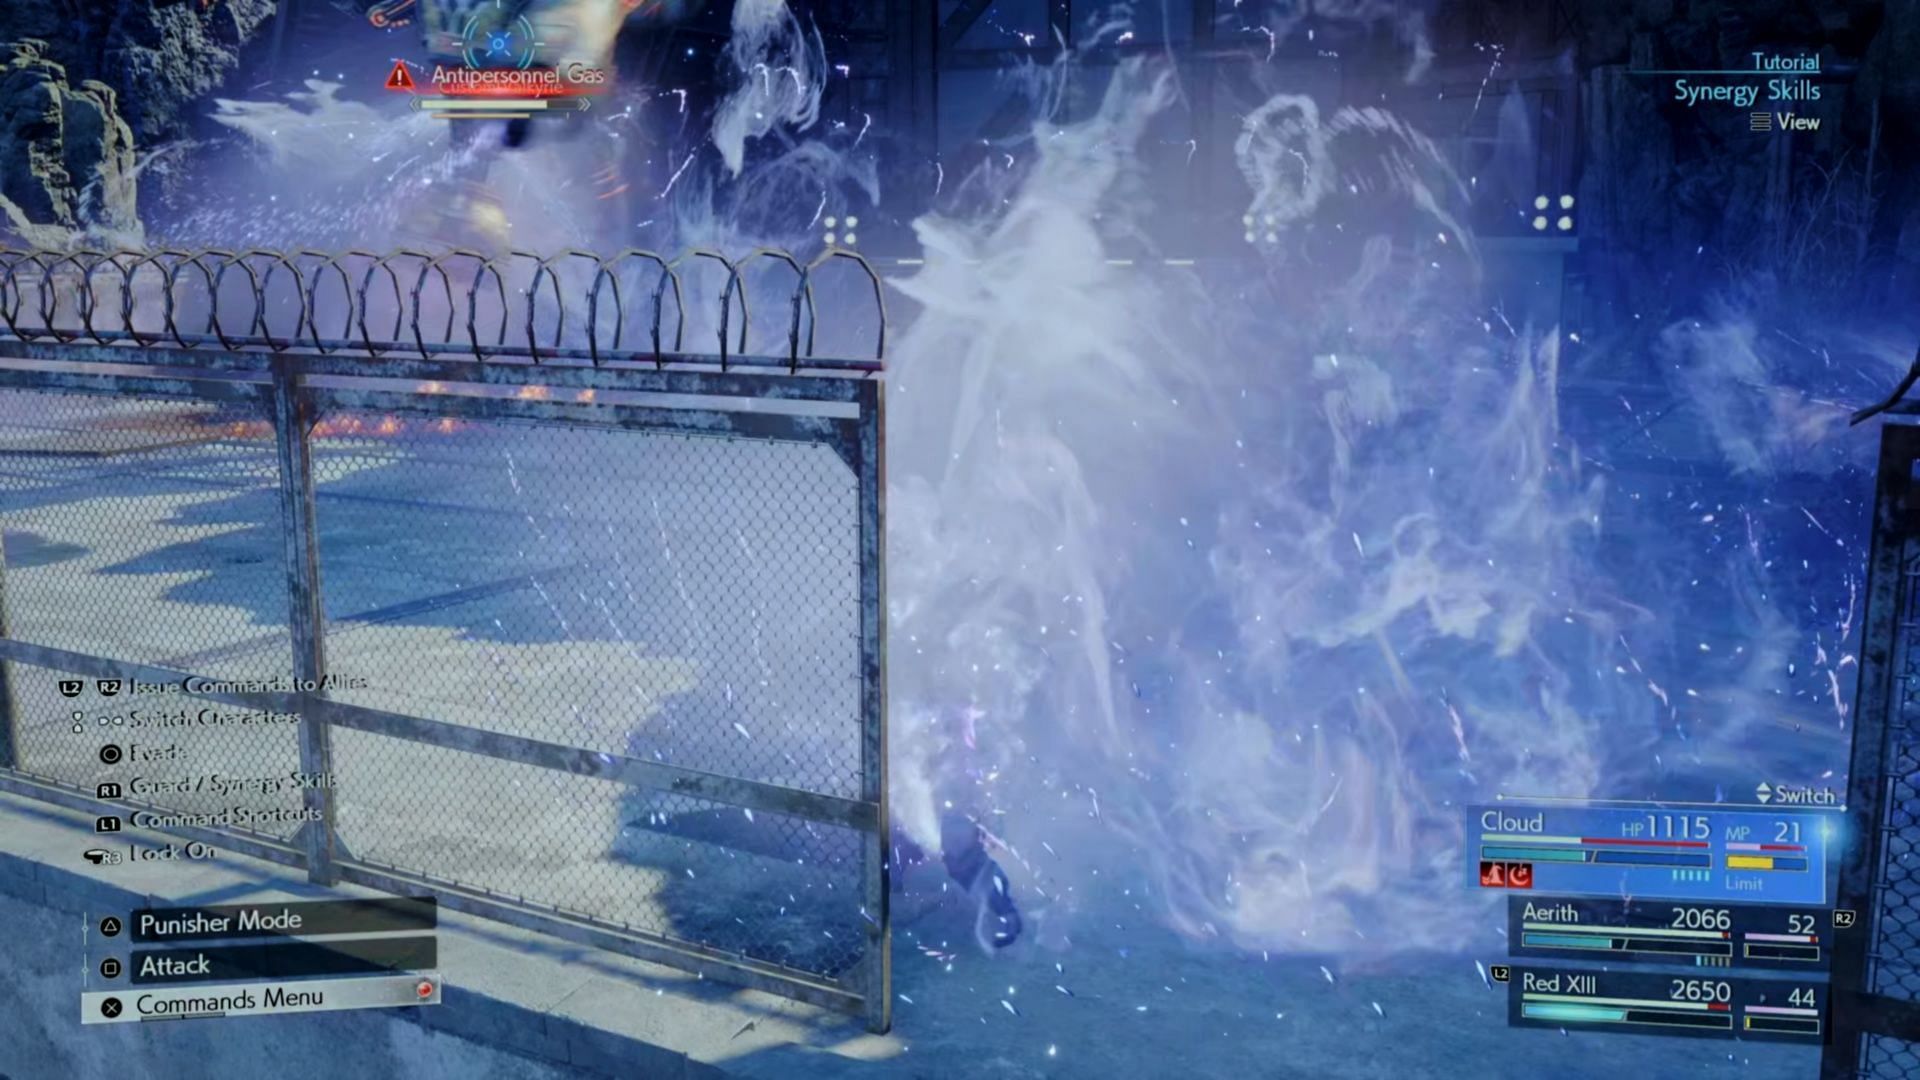
With one or two Thundara spells, I managed to Pressure the boss, which made it time to start spamming Focused Thrust as many times as I could get in. If things get dicey, the boss may use Antipersonnel Gas, which weakens anyone hit and puts them to Sleep. Keep running away from this, because it fills the arena, more or less. When Cloud got put to sleep, I swapped over to Aerith and attacked from a distance instead.
2) Phase 2 of Custom Valkyrie fight
Around 60% or so HP, it began Cooling Protocol, where I then slammed it with a Thunder spell to immediately pressure it. It only took a few hits to Stagger, and spam a few Braver strikes while the boss was down. This got it down to a bit around 50%, which triggered a cutscene after the Stagger.
At this point, the Custom Valkyrie in Final Fantasy 7 Rebirth surrounds the party with fire, and unleashes the Modified Particle Cannon; this aims and tracks a party member - usually whomever you are controlling. You get a few seconds to dodge out of the way before it fires, once it’s locked into position. It will do this a few times in a row, followed by one big, final burst.
It also, in my experience, quickly entered Cooling Protocol afterward, but I didn’t get a chance to take advantage of it. Its attacks are more or less the same in this phase, with the noted addition of the Mark 100 Particle Beam. This is done from a higher altitude and shoots down at a player. It also adds Firewheel, which burns everything in an AOE underneath it.
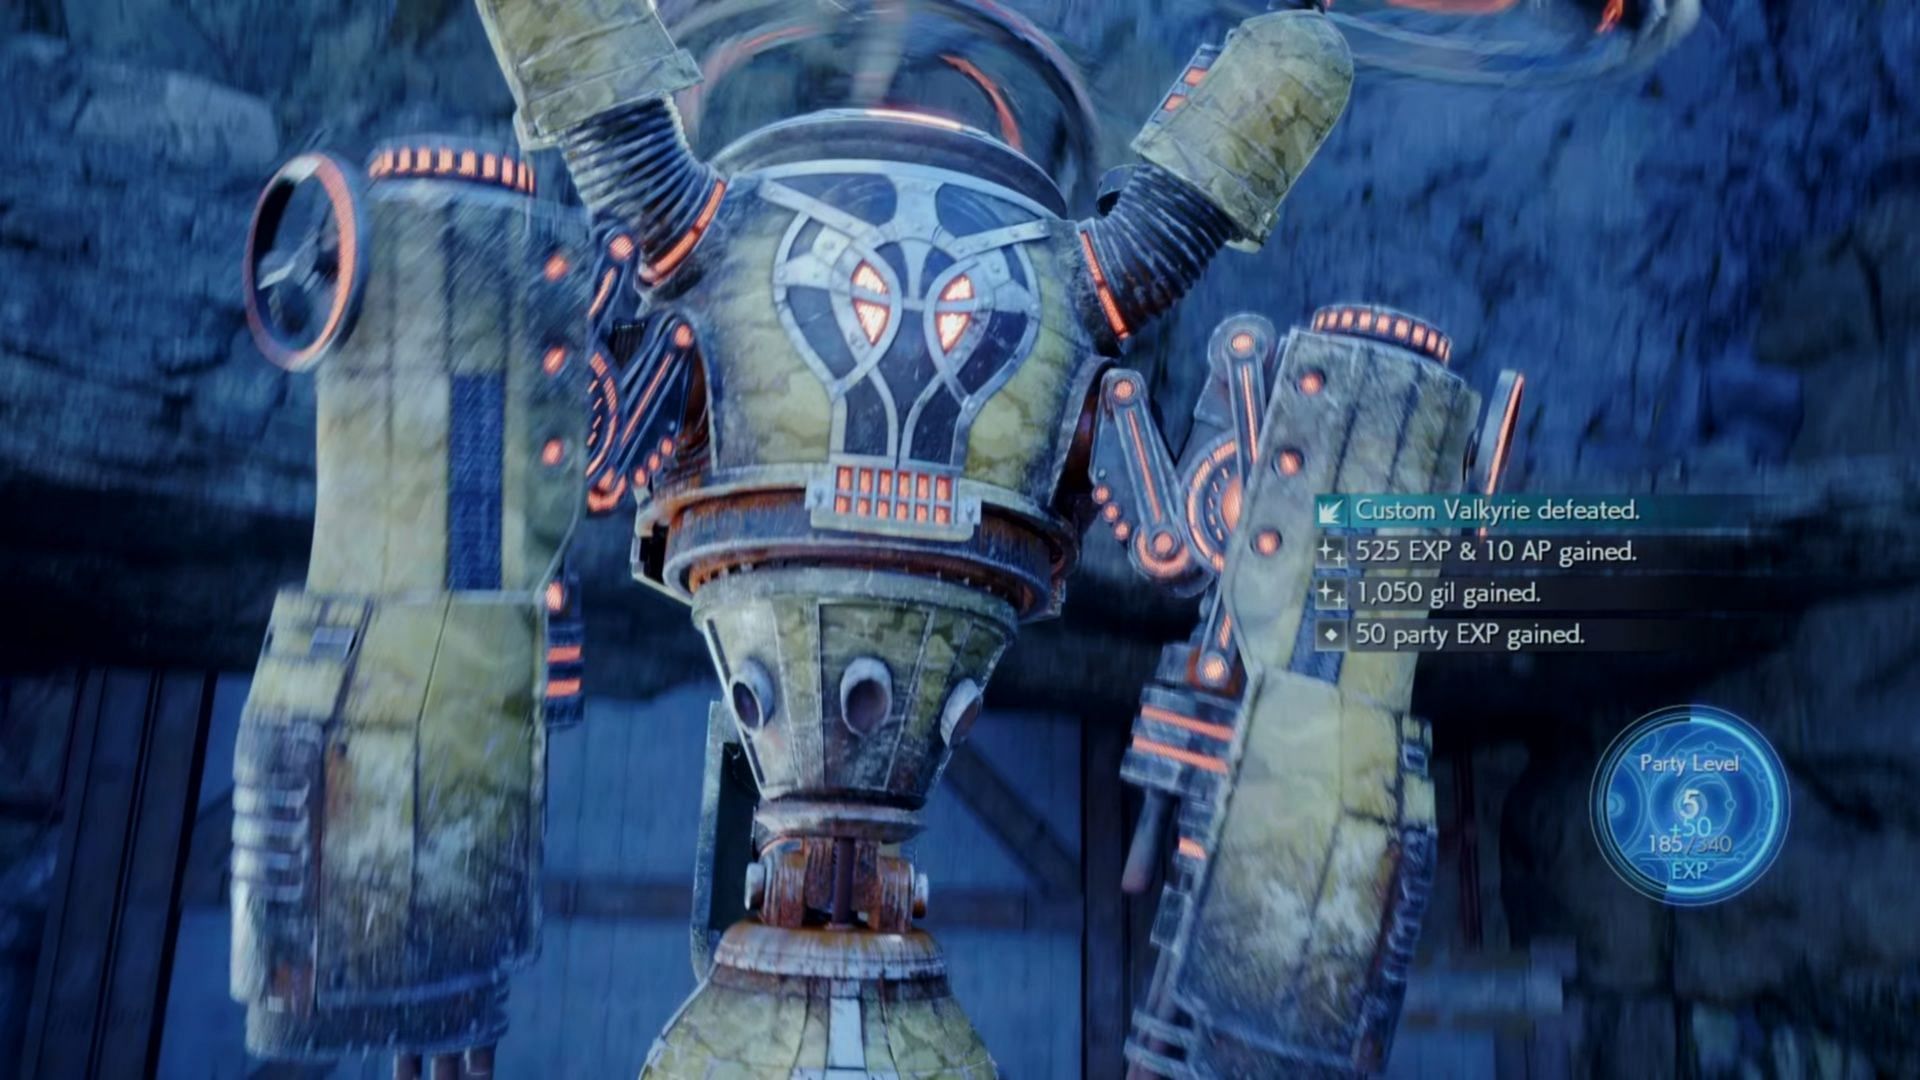
Take advantage of any Cooling Protocol it uses, because it will keep doing it. Zap it once or twice with Thunder/Thundara abilities to get pressure and swiftly Stagger this huge boss. It has a lot of HP, so I also recommend keeping lots of materia around, so everyone has access to Thunder/Thundara. Defeating this boss garners the following rewards in Final Fantasy 7 Rebirth:
- 525 EXP
- 10 AP
- 50 Party EXP
- 1,050 gil
Check out our other Final Fantasy 7 Rebirth guides:
- How to easily beat the final boss of Final Fantasy 7 Rebirth
- How to easily beat Titan in Final Fantasy 7 Rebirth
- How to easily beat Gi Nattak in Final Fantasy 7 Rebirth
- How to easily beat Galian Beast in Final Fantasy 7 Rebirth
- How to obtain the Magic Pot Summoning materia in Final Fantasy 7 Rebirth
- Best early-game summons in Final Fantasy 7 Rebirth
- Games like Final Fantasy 7 Rebirth on Nintendo Switch

Are you stuck on today's Wordle? Our Wordle Solver will help you find the answer.