
'%20x='0'%20y='0'%20height='100%25'%20width='100%25'%20%0A%20%20%20%20%20%20%20%20%20%20xlink%3Ahref='data:image/jpg;base64,/9j/2wBDAAYEBQYFBAYGBQYHBwYIChAKCgkJChQODwwQFxQYGBcUFhYaHSUfGhsjHBYWICwgIyYnKSopGR8tMC0oMCUoKSj/2wBDAQcHBwoIChMKChMoGhYaKCgoKCgoKCgoKCgoKCgoKCgoKCgoKCgoKCgoKCgoKCgoKCgoKCgoKCgoKCgoKCgoKCj/wgARCAAGAAoDASIAAhEBAxEB/8QAFgABAQEAAAAAAAAAAAAAAAAAAAYH/8QAFQEBAQAAAAAAAAAAAAAAAAAAAAX/2gAMAwEAAhADEAAAAMslxF//xAAfEAACAQQCAwAAAAAAAAAAAAABAgMAERMhBBJSYtH/2gAIAQEAAT8AzjnGOXopMUeJwxbfte977p+BGHYZm0fAfa//xAAWEQADAAAAAAAAAAAAAAAAAAAAARL/2gAIAQIBAT8Apn//xAAXEQADAQAAAAAAAAAAAAAAAAAAAiIx/9oACAEDAQE/AEnD/9k='%3E%3C/image%3E%3C/svg%3E)
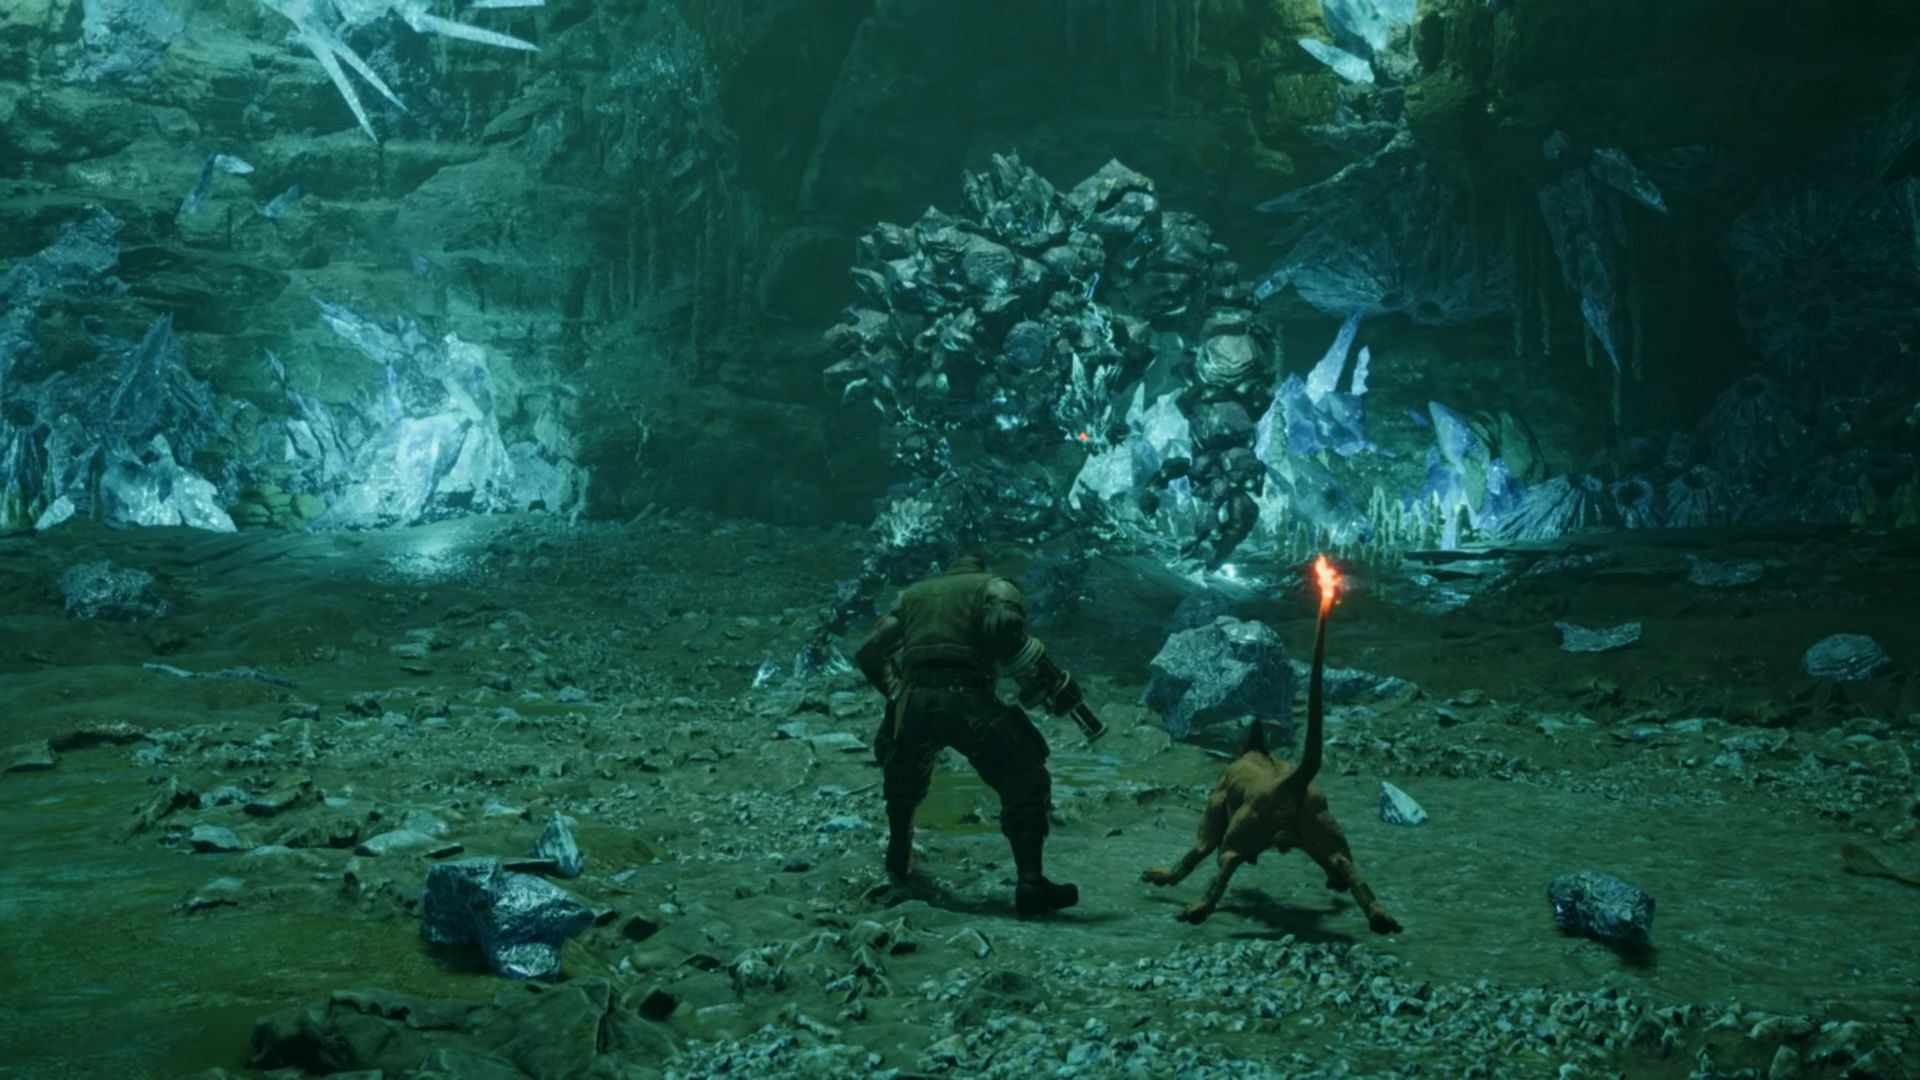
Mythril Golem in Final Fantasy 7 Rebirth is the second boss of Chapter 3. After dealing with the first encounter in the Mythril Mines, the party is split up - at least temporarily. Barret and Red XIII get knocked deeper into the pits of the Mines, and it’s up to them to work together to get out. Unfortunately, just before they can link up with Cloud, Tifa, and Aerith, a massive pile of rocks animates and challenges them.
Thankfully, it’s not a difficult encounter, and you can save, buy items, and update Folios before tackling the Mythril Golem in Final Fantasy 7 Rebirth. Below is a detailed guide covering everything you need to know to tackle this boss.
Beating the Mythril Golem in Final Fantasy 7 Rebirth
1) Phase 1 of Mythril Golem fight
Looking for Crossword hints & solutions? Check out latest NYT Mini Crossword Answers, LA Times Crossword Answers, and Atlantic Crossword Answers
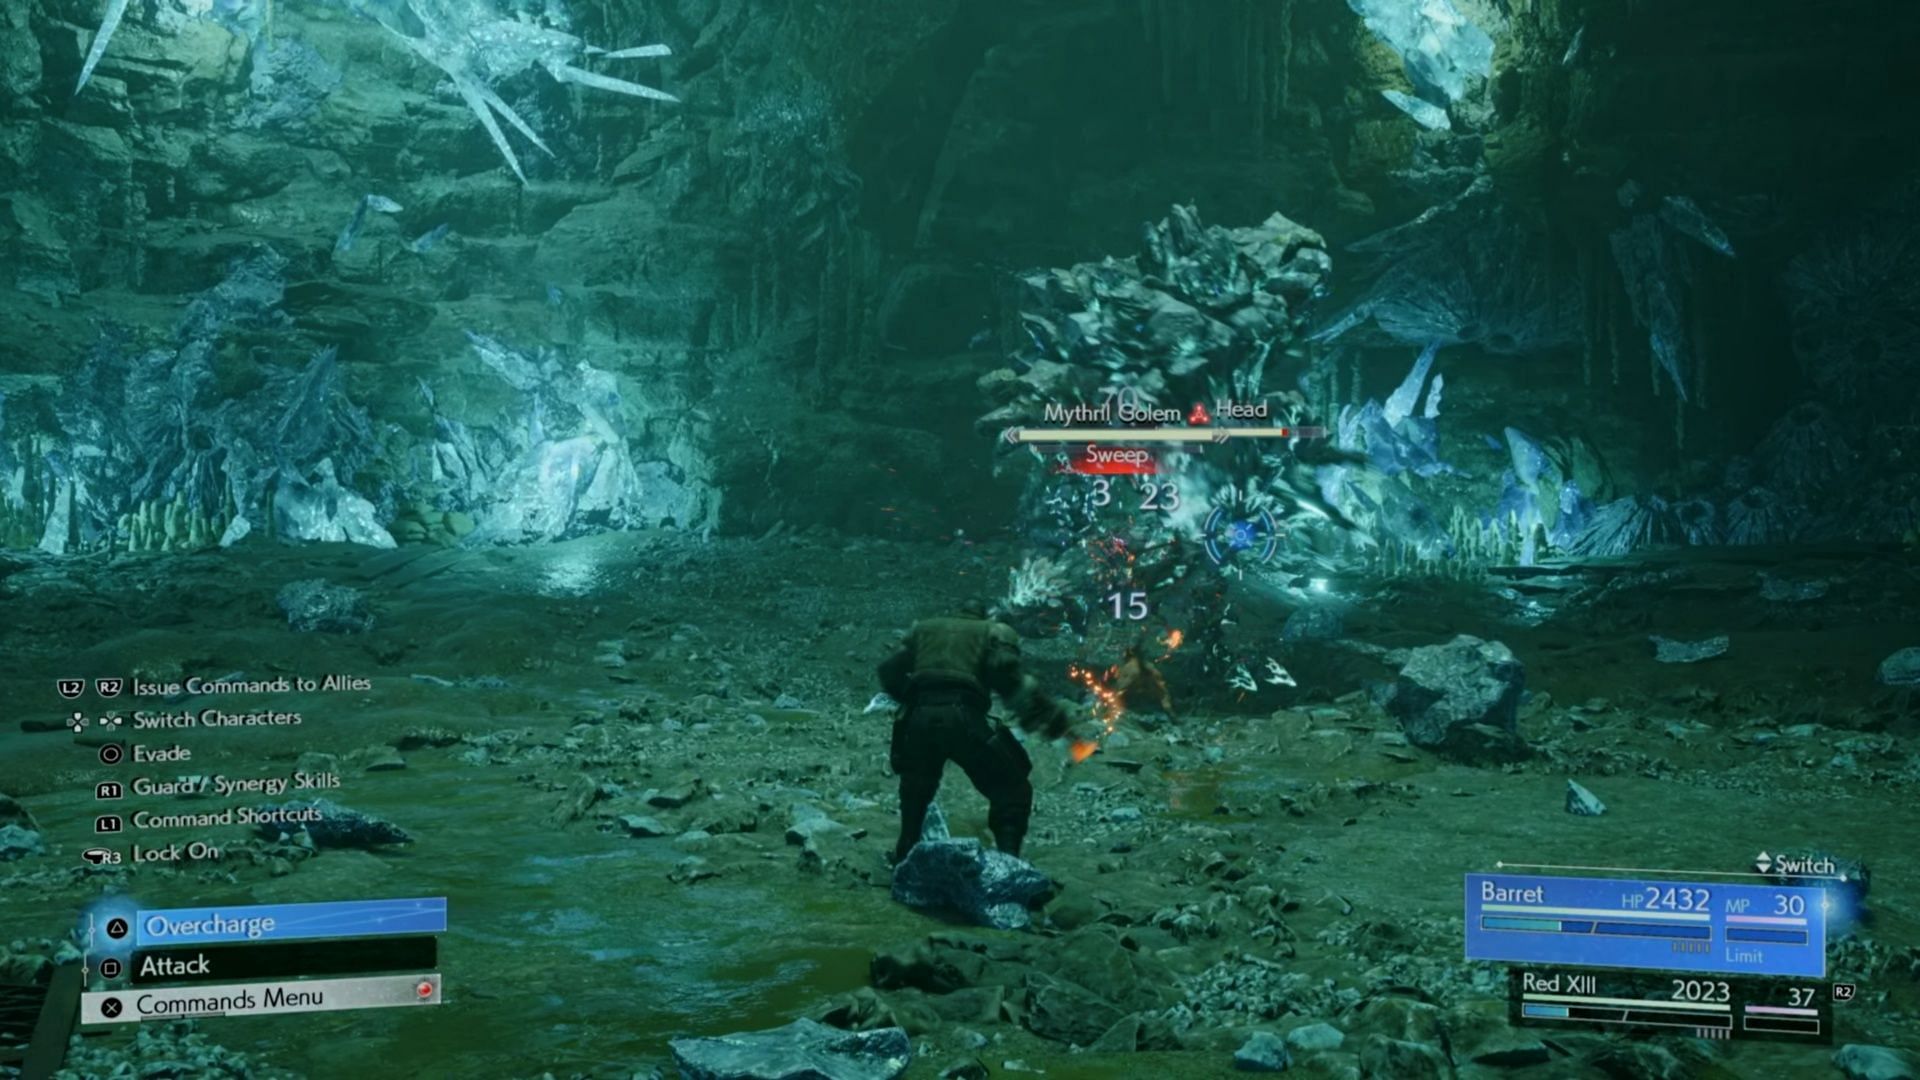
Mythril Golem in Final Fantasy 7 Rebirth appears to be one of the only encounters in the game I didn’t use Assess on in one place or another. Thankfully, this is an incredibly easy boss - just one that reanimates a few times. While the Rude and Elena boss fight was all about dealing with a tandem, this fight requires you to target different body parts.
First, target the head, whether you control Barret or Red XIII. I used Barret most of the time, but this zone really gave me an appreciation for Red XIII’s combat style. Use his abilities to deal extra damage whenever you have a chance. Avoid the Mythril Golem’s Sweep if you can, and focus down the head with Fiery Impulse. When the head breaks, it will be Pressured.
This puts Mythril Golem in Final Fantasy 7 Rebirth into a Fractured state, and it uses new attacks like Stalagmite Skewer to knock everything back in a line in front of it. Dodge them if you can, but keep pressuring him with Crescent Claw and Maximum Fury (or whatever attacks you prefer).
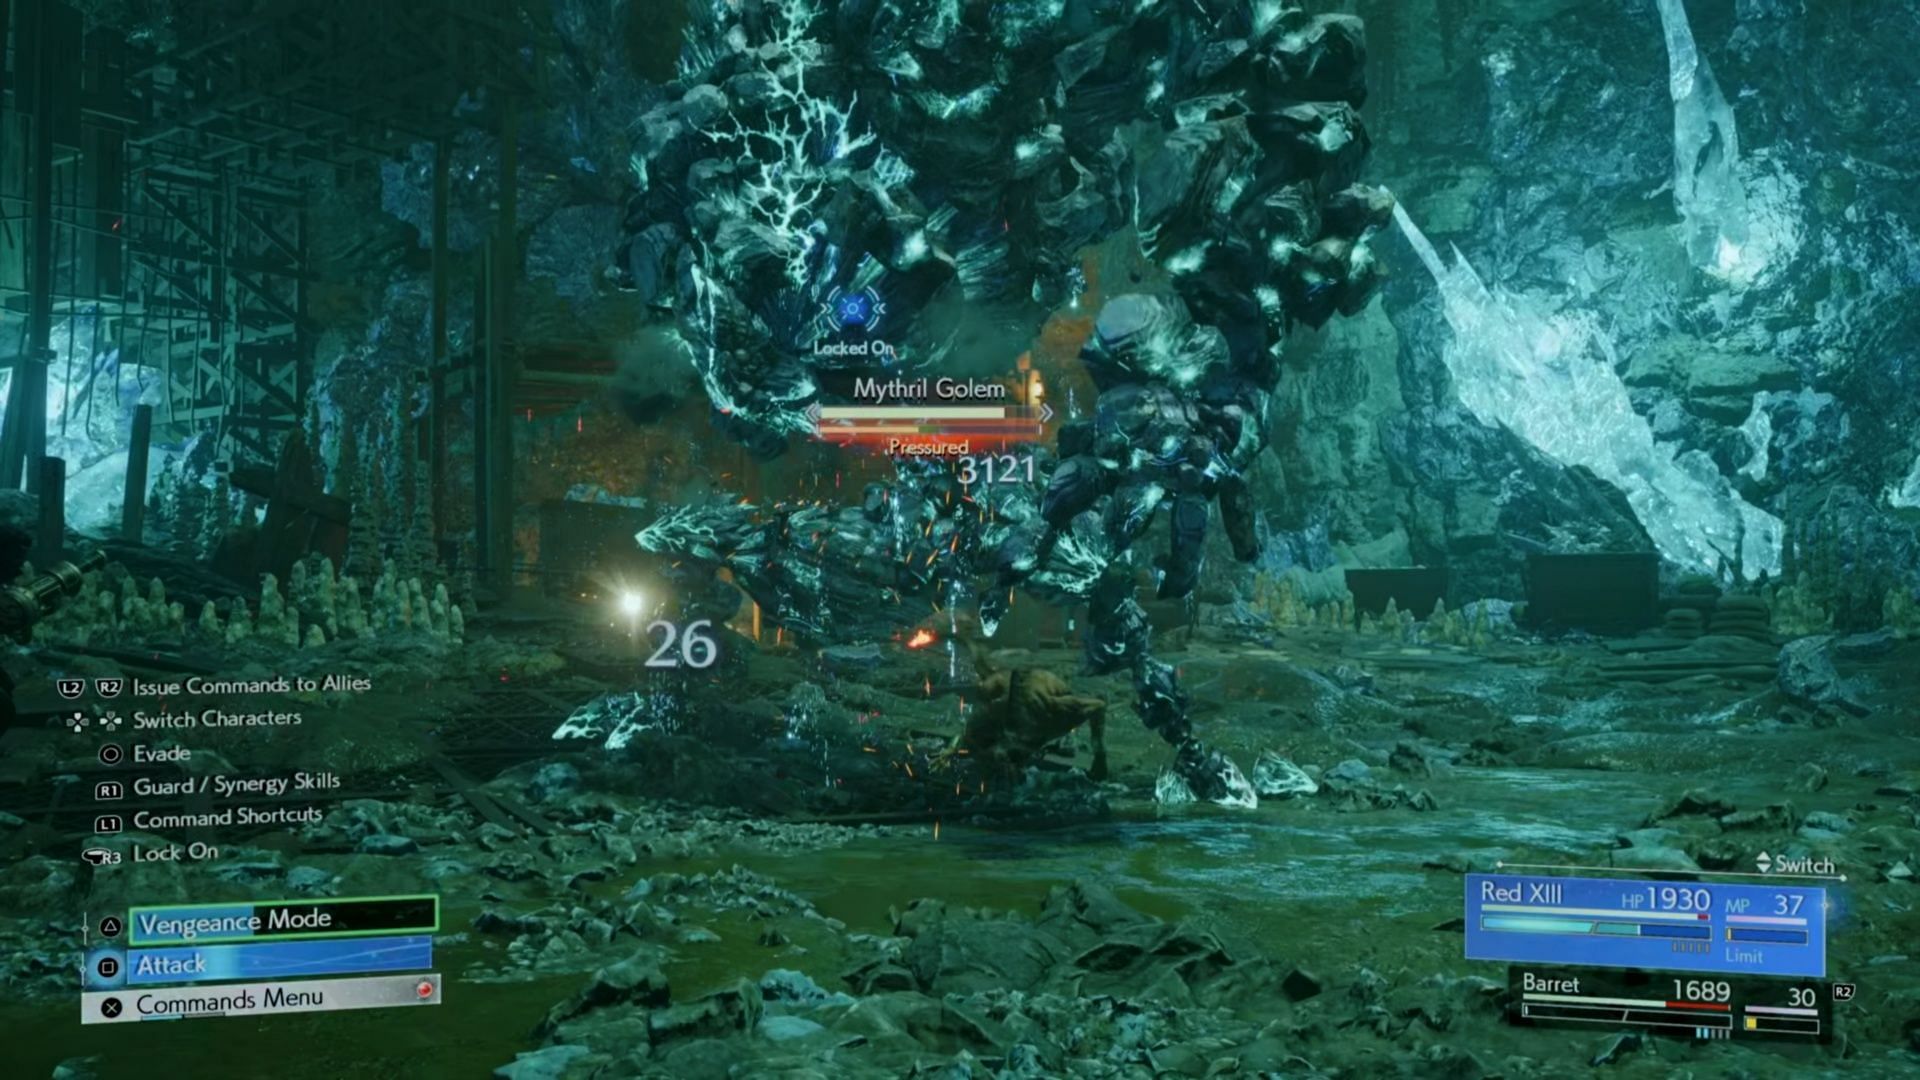
I found that when Mythril Golem in Final Fantasy 7 Rebirth is pressured, switching to Red XIII and using his melee/Crescent Claw attacks very quickly builds up the pressure and makes it easy to stagger this boss.
Around this time, it will also use Mythril Sledge, which takes a few seconds to charge but is an intense knockback. If you’re quick enough, you can stagger him before this takes place. Otherwise, defeat the head when it regenerates and Stagger it with a few strikes to the body. You can also stagger it while the head is up, so keep that in mind.
When it gets back up, it’ll be bigger and stronger than ever before. Now you have a Head, Right Arm, and a Spine to target. I focused on the Arm first to take away dangerous attacks. I used the Overfang Synergy move (thanks to the Folio system) and took out the arm in one shot.
Now, Mythril Golem in Final Fantasy 7 Rebirth has annoying ranged attacks like Laser Barrage, which it can also use in conjunction with Stalagmite Skewer. I recommend taking the head out next, and I used Red XIII and Barret to do that. Red’s quick attacks and multi-hit specials like Crescent Claw made it a breeze alongside Barret’s hail of bullets.
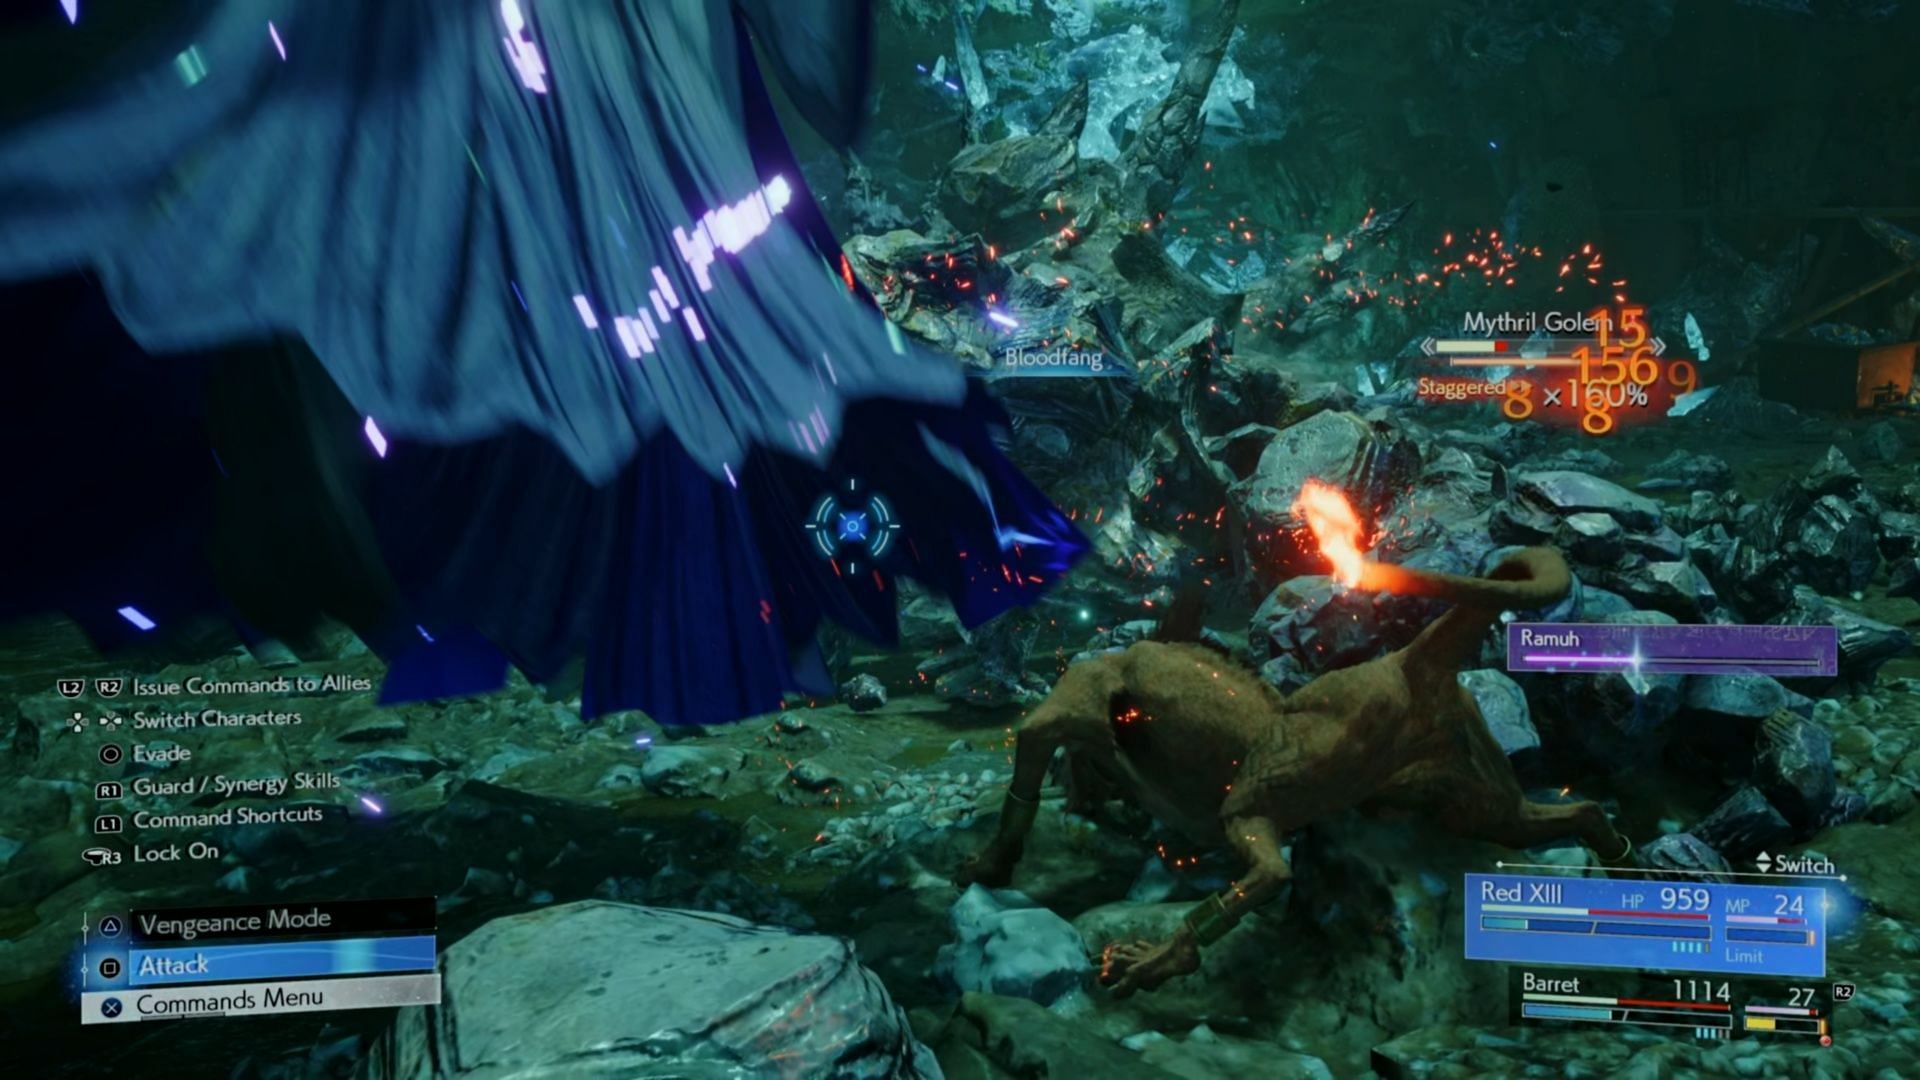
Once I staggered it again, I had access to Red XIII’s Limit Breaks, so I used Bloodfang, and it dealt enough damage to almost crush 25% of the boss’s health. Swap over to Barret and get the finishing blow from a distance. Once you have done so, reap the rewards of victory:
- 50 Party EXP
- 750 Gil
Check out our other Final Fantasy 7 Rebirth guides:
- How to easily beat the final boss of Final Fantasy 7 Rebirth
- How to easily beat Titan in Final Fantasy 7 Rebirth
- How to easily beat Gi Nattak in Final Fantasy 7 Rebirth
- How to easily beat Galian Beast in Final Fantasy 7 Rebirth
- How to obtain the Magic Pot Summoning materia in Final Fantasy 7 Rebirth
- Best early-game summons in Final Fantasy 7 Rebirth
- Games like Final Fantasy 7 Rebirth on Nintendo Switch

Are you stuck on today's Wordle? Our Wordle Solver will help you find the answer.