
'%20x='0'%20y='0'%20height='100%25'%20width='100%25'%20%0A%20%20%20%20%20%20%20%20%20%20xlink%3Ahref='data:image/jpg;base64,/9j/2wBDAAYEBQYFBAYGBQYHBwYIChAKCgkJChQODwwQFxQYGBcUFhYaHSUfGhsjHBYWICwgIyYnKSopGR8tMC0oMCUoKSj/2wBDAQcHBwoIChMKChMoGhYaKCgoKCgoKCgoKCgoKCgoKCgoKCgoKCgoKCgoKCgoKCgoKCgoKCgoKCgoKCgoKCgoKCj/wgARCAAFAAoDASIAAhEBAxEB/8QAFgABAQEAAAAAAAAAAAAAAAAAAAUG/8QAFQEBAQAAAAAAAAAAAAAAAAAAAgT/2gAMAwEAAhADEAAAAMfXJX//xAAfEAACAgIBBQAAAAAAAAAAAAABBAIDBREAEhMxMlH/2gAIAQEAAT8AkszNiy+GZzNZsmbAA367O/nFM02qrSuXcnZ2oCvrk4dy0Nb8c//EABgRAAIDAAAAAAAAAAAAAAAAAAECAAMx/9oACAECAQE/ABa4xjP/xAAXEQEAAwAAAAAAAAAAAAAAAAABAAIx/9oACAEDAQE/AELaT//Z'%3E%3C/image%3E%3C/svg%3E)
Minecraft's archeology system went through a tumultuous development. First announced during Minecraft Live 2020, this system of carefully searching through buried ruins to find ancient loot was not fully added to the game until the 1.20 update in the summer of 2023.
Detailed below is everything you need to know about the game's archeology system and experimenting with it.

Steps to try out archeology in Minecraft
1) Make a brush
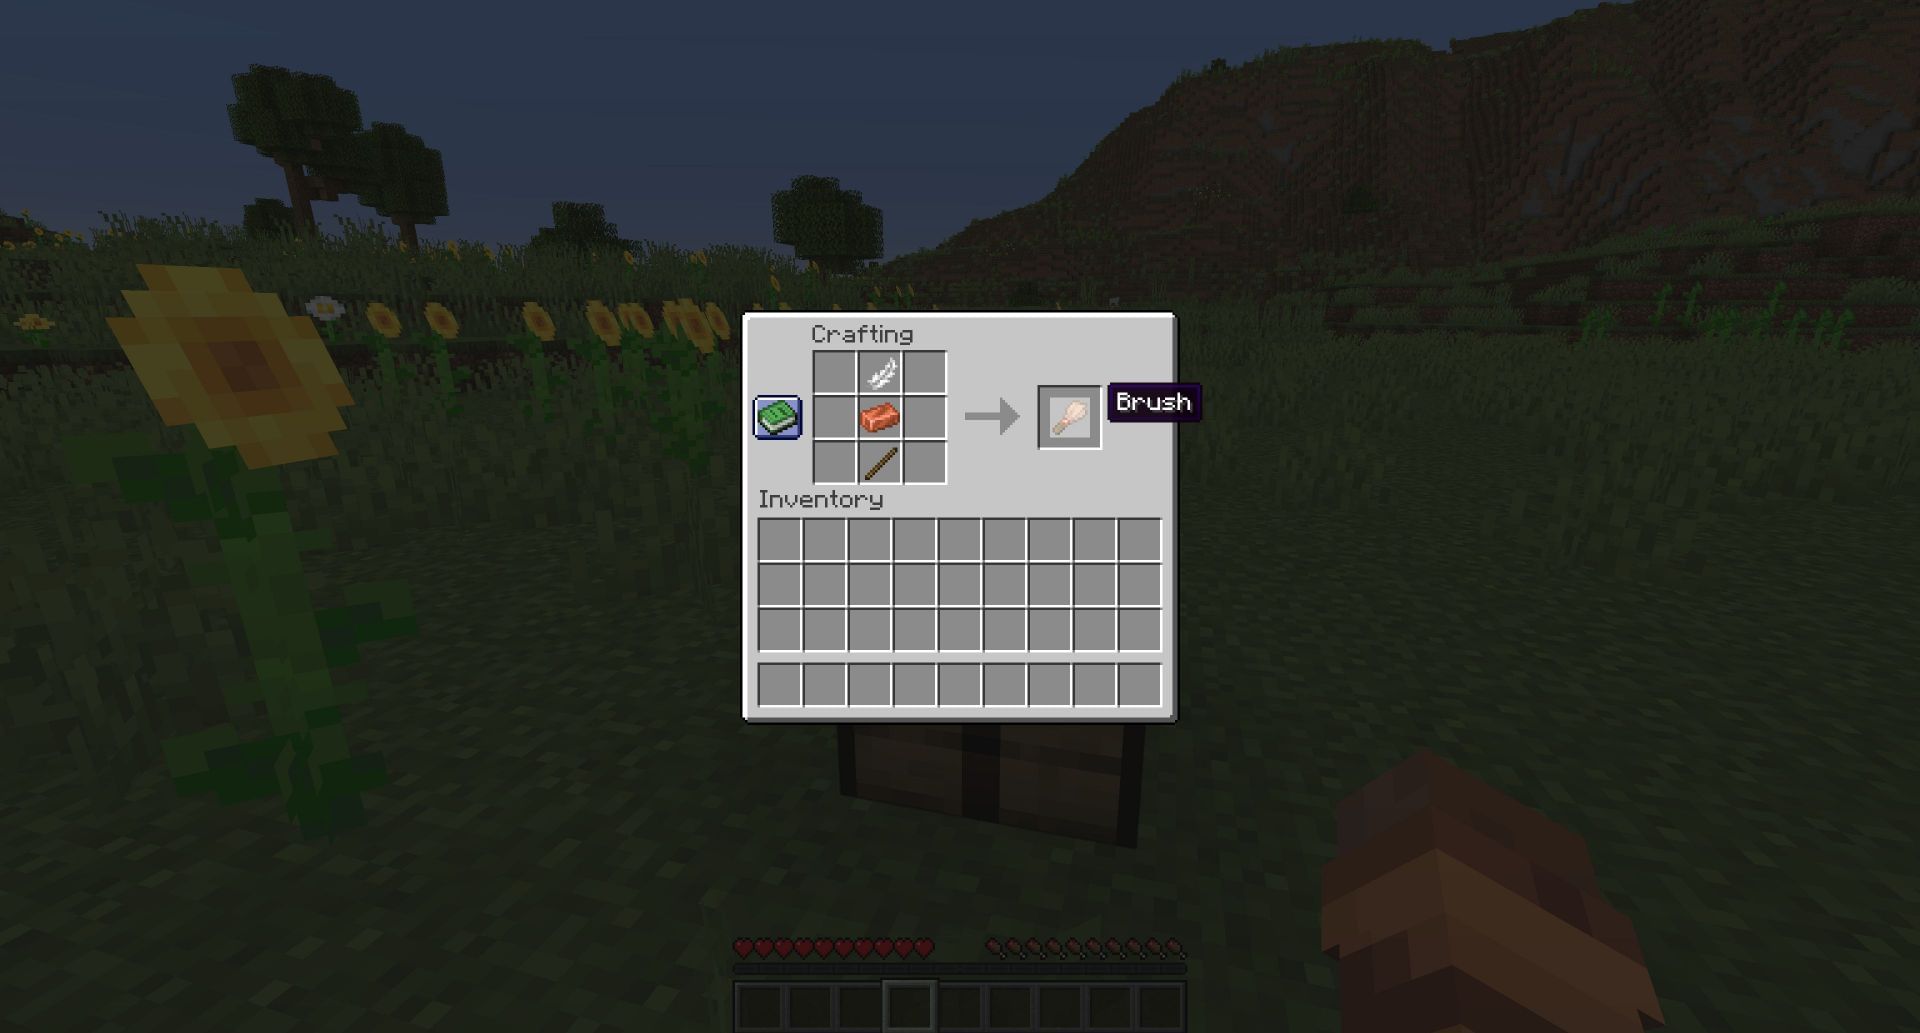
Chart New Territories with the ultimate Minecraft Seed Generator!
To become a virtual archeologist in Minecraft, you first need to craft a brush. Brushes were introduced to the game along with archeology. You will need one to be able to excavate for items in the many ruins scattered throughout any great Minecraft seed.
Thankfully, brushes are very easy to craft. You can make one with a single feather, a copper ingot, and a stick. Place the three items in a horizontal column in the crafting interface, with the feather on top and the stick at the bottom.
Brushes can also be enchanted with Unbreaking and Mending, one of Minecraft's best enchantments, to make them last even longer, should you not want to make more than a single brush.
2) Find a Minecraft ruin
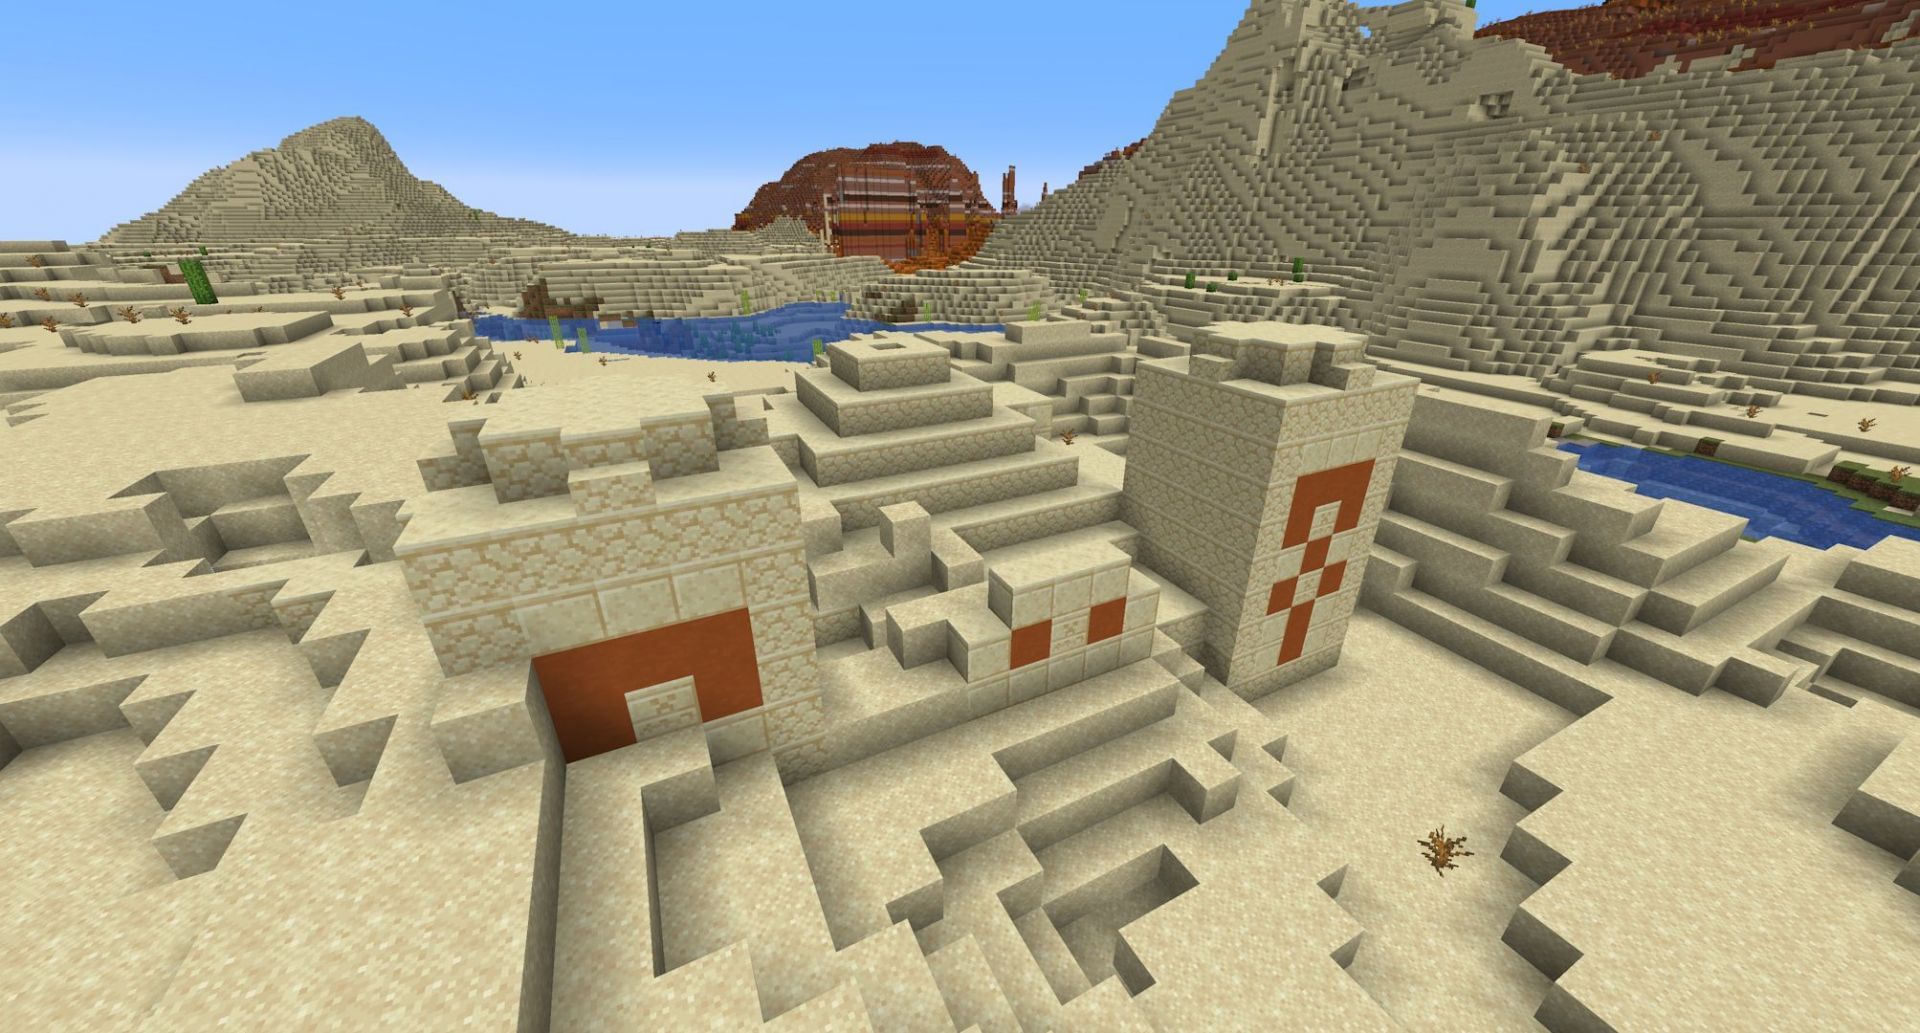
Now that you have the tool you need to hunt for ancient treasures, you will need to find a spot to hunt.
Archeology features were retroactively added to a few of the game's ancient structures, including the loot-filled desert temple, desert wells, and ocean ruins. Additionally, a new structure was added along with archeology called the trail ruin, which also spawns suspicious blocks.
These ruins each have a different loot table. Trail ruins, warm ocean ruins, and desert temples have the best loot, including emeralds, diamonds, sniffer eggs, pottery sherds, TNT, Minecraft armor trims, and music discs.
However, you might be wondering where the loot is. Well, keen-eyed players might have noticed that not all of the sand and gravel blocks found in these structures look normal. These are the suspicious variants of the blocks, and they are the things you need to brush.
3) Brushy Brushy
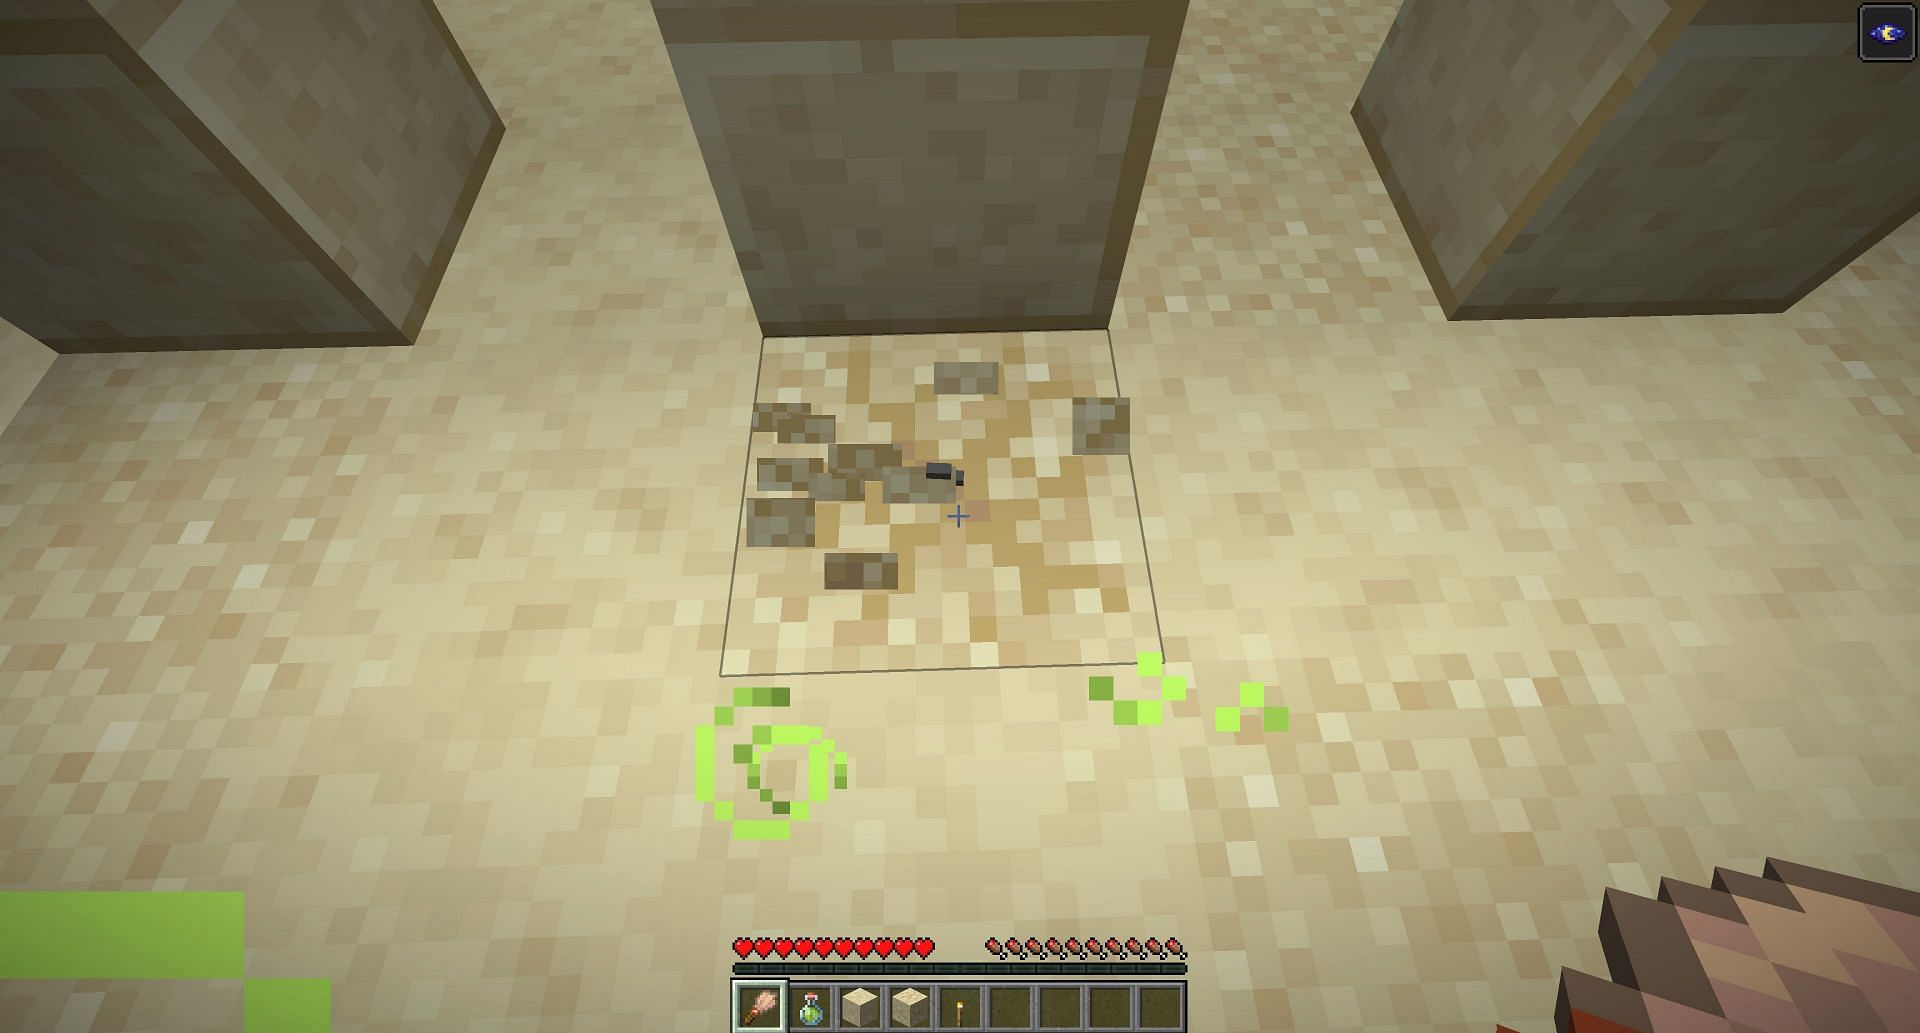
These suspicious blocks contain different items. The items that will drop reference the different loot tables mentioned previously.
Brushing is the main interaction between brushes and suspicious blocks. The animation will slowly remove bits of the block, revealing the item within. After 4.8 seconds, the item will be destroyed and drop to the ground.
What to do with the excavated sherds
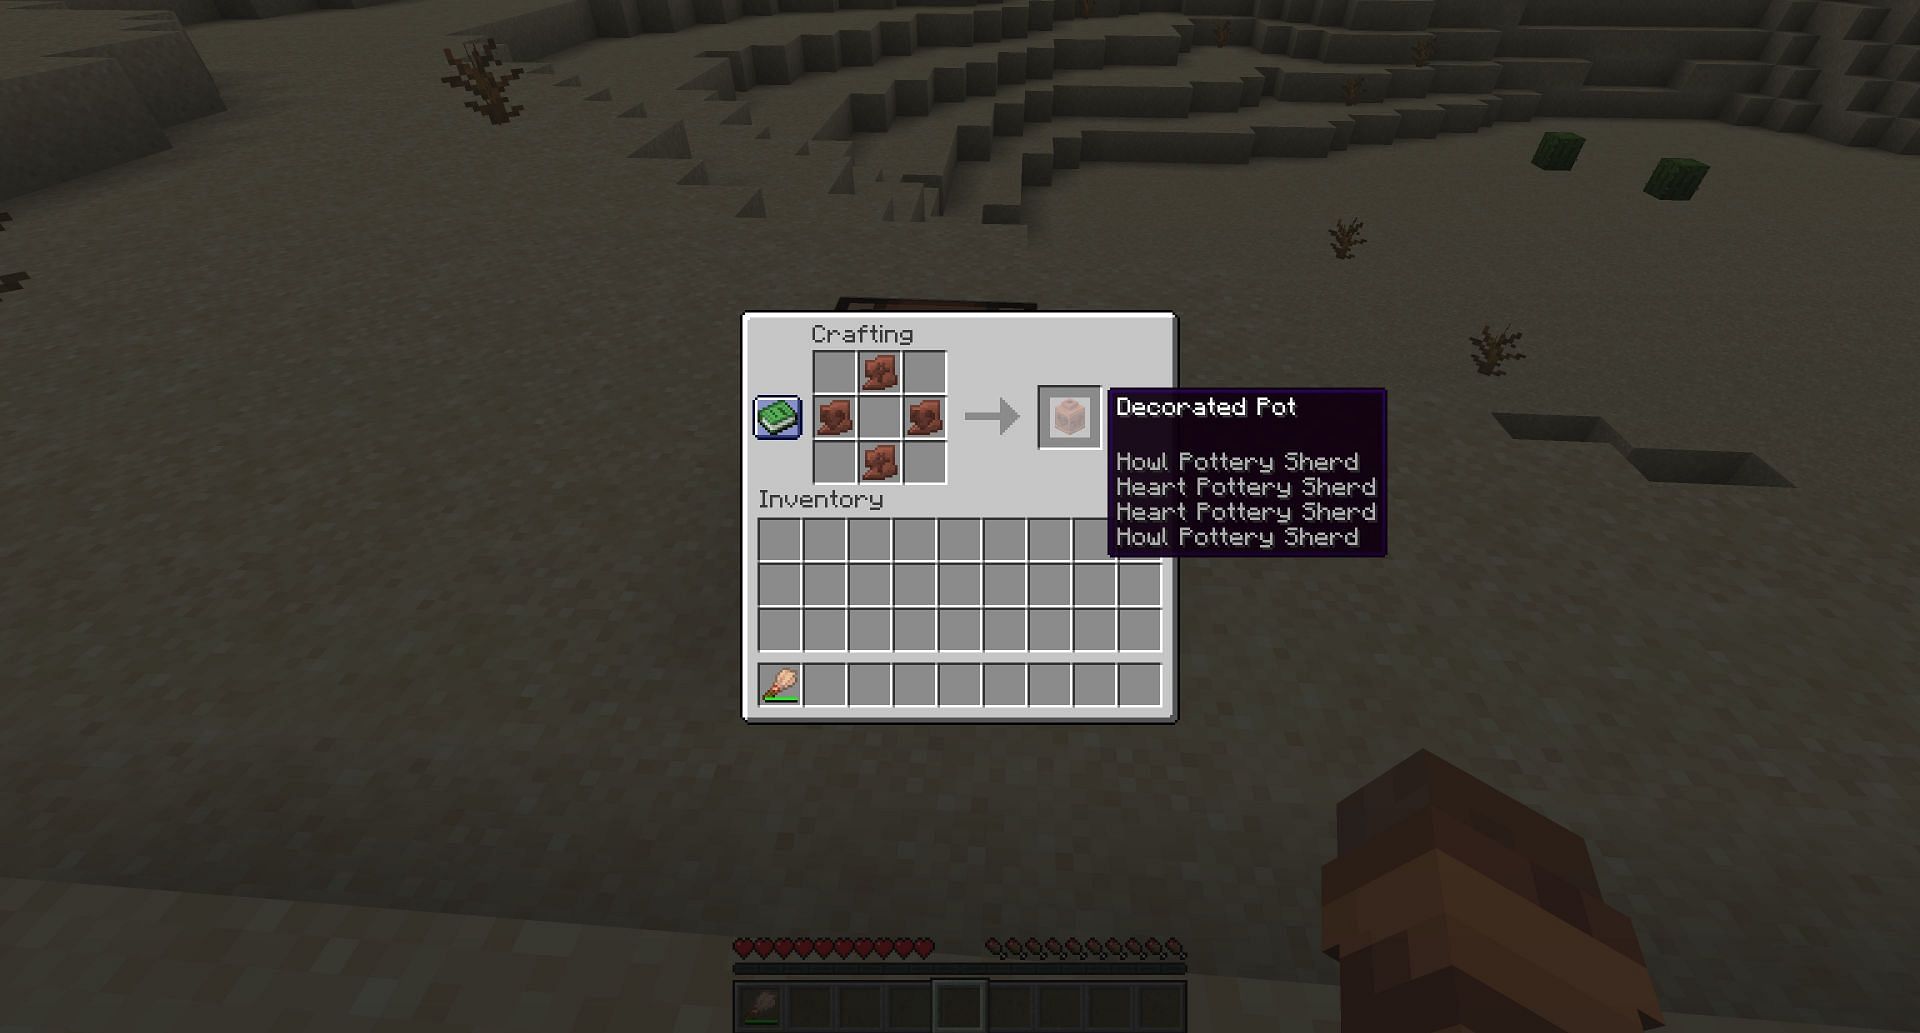
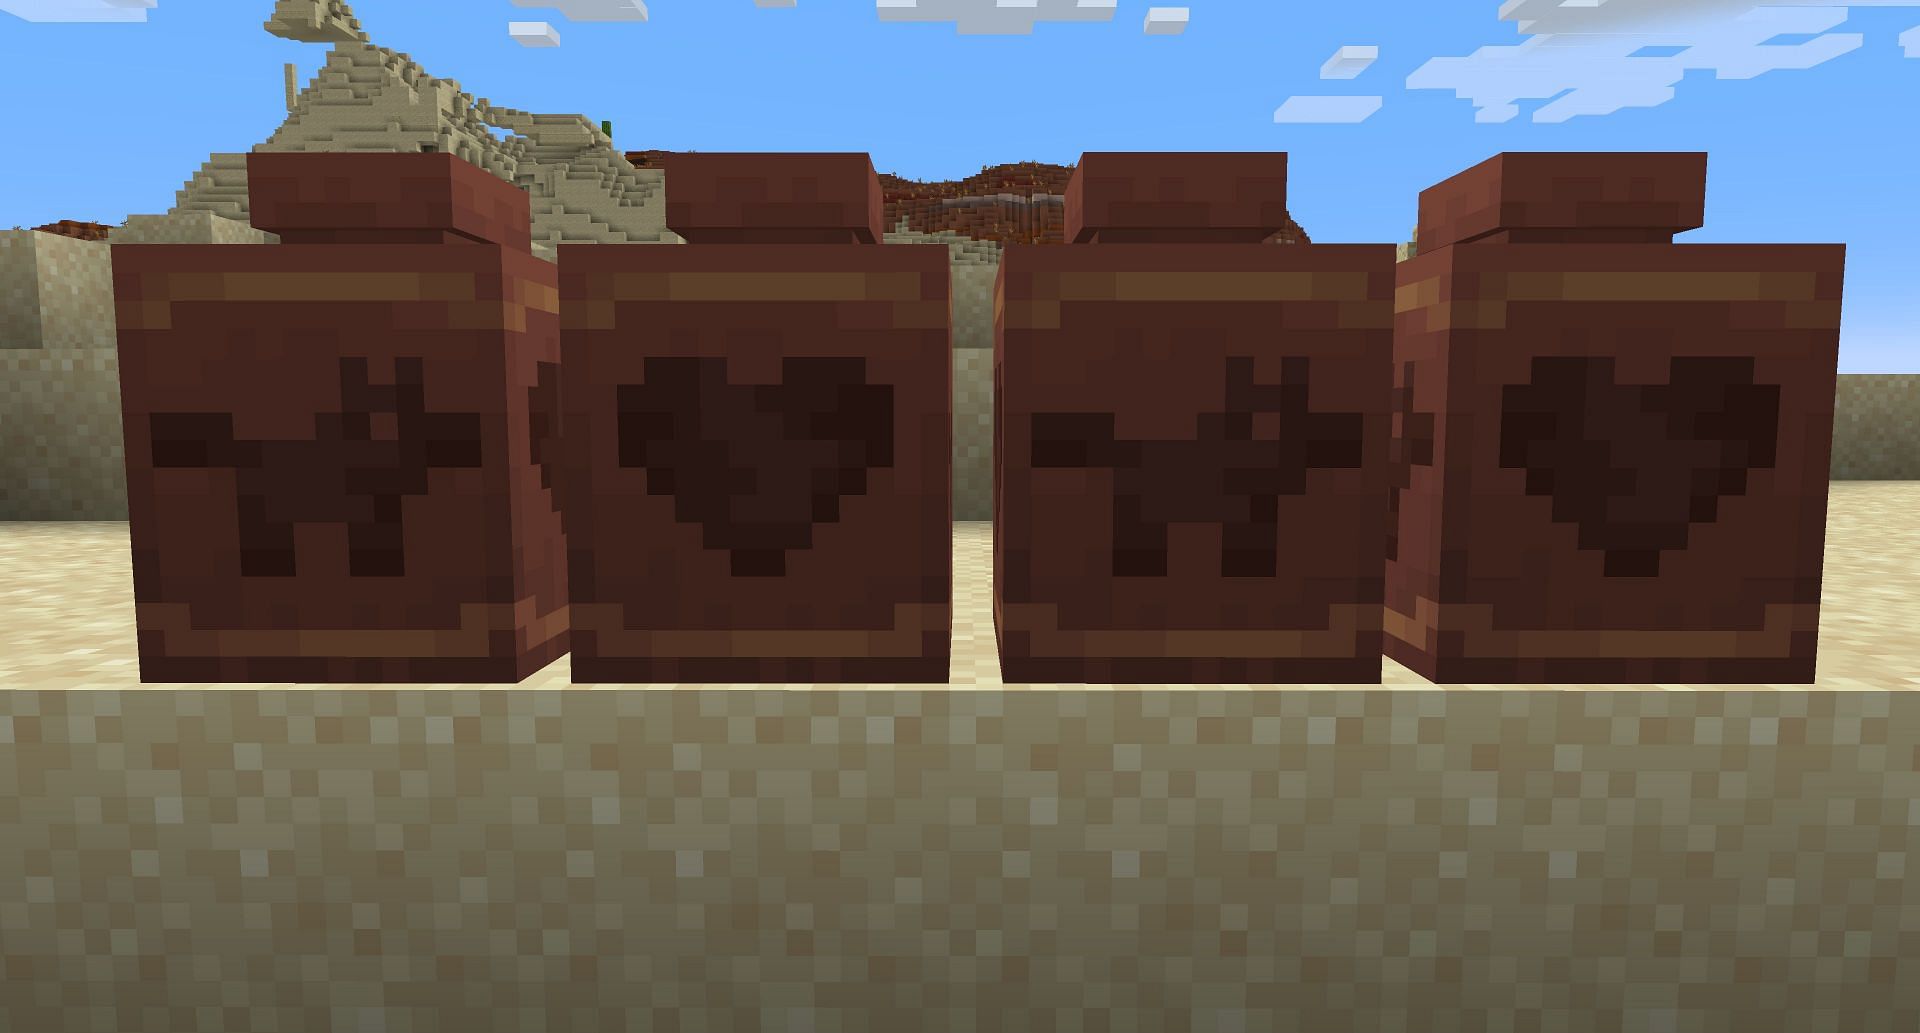
The primary use of the excavated sherds lies in crafting decorated pots. You can combine any four bricks or sherds in a diamond shape in the crafting interface to make a pot. If sherds are used instead of bricks, the pot will be decorated. The decorations on the pot feature the designs found on the sherds used.
You can also mix and match between sherds and bricks, furthering customization. You can even break the pot with any block-breaking tool to return its component pieces.

Uncover new worlds with our Minecraft Seed Generator!