

'%20x='0'%20y='0'%20height='100%25'%20width='100%25'%20%0A%20%20%20%20%20%20%20%20%20%20xlink%3Ahref='data:image/jpg;base64,/9j/2wBDAAYEBQYFBAYGBQYHBwYIChAKCgkJChQODwwQFxQYGBcUFhYaHSUfGhsjHBYWICwgIyYnKSopGR8tMC0oMCUoKSj/2wBDAQcHBwoIChMKChMoGhYaKCgoKCgoKCgoKCgoKCgoKCgoKCgoKCgoKCgoKCgoKCgoKCgoKCgoKCgoKCgoKCgoKCj/wgARCAAHAAoDASIAAhEBAxEB/8QAFQABAQAAAAAAAAAAAAAAAAAABQj/2gAIAQEAAAAAopX/xAAUAQEAAAAAAAAAAAAAAAAAAAAB/9oACAECEAAAAD//xAAUAQEAAAAAAAAAAAAAAAAAAAAB/9oACAEDEAAAAH//xAAgEAACAQMEAwAAAAAAAAAAAAACAwEEElEABREhBhMx/9oACAEBAAE/AKqm8lDcXgk1nQmUuFkvtIJkuLPmO8daQe6rQsGVNCwxGIIvQcXTni7X/8QAFREBAQAAAAAAAAAAAAAAAAAAAQD/2gAIAQIBAT8AC//EABURAQEAAAAAAAAAAAAAAAAAAAAR/9oACAEDAQE/AK//2Q=='%3E%3C/image%3E%3C/svg%3E)
It is well known that the Minecraft world is vast and expansive, making it very easy for players to get lost. However, players can always find their way home by using coordinates in Minecraft.
Coordinates allow players to keep a track of their exact location in the game at any given time and are basically the numerical representations of a player’s position in any dimension. This article will provide Minecraft PE players with a step-by-step guide to enable coordinates in their world.

Understanding the coordinates of Minecraft
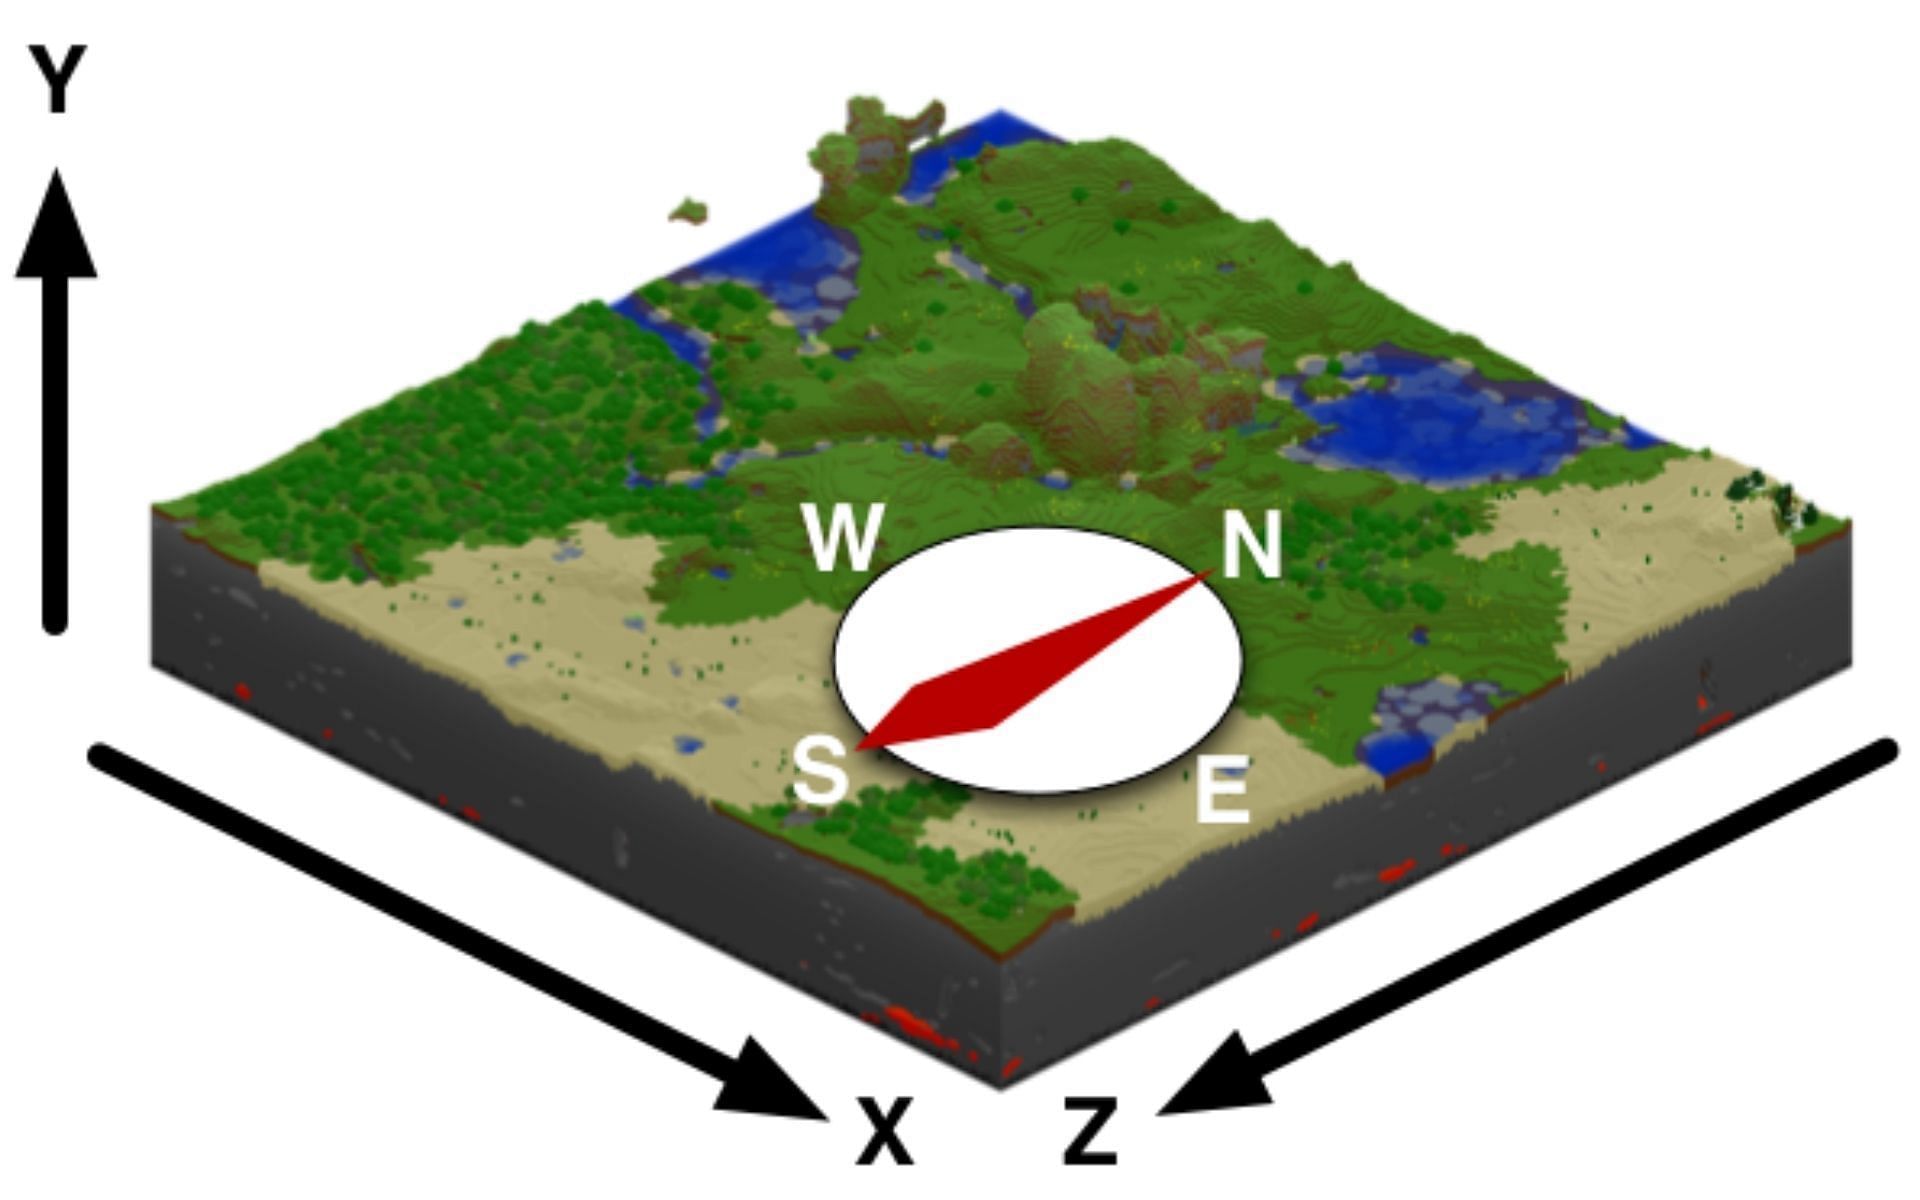
Coordinates in Minecraft are absolute and expressed as XYZ coordinates. Each number represents a value that indicates the current position of the player.
Chart New Territories with the ultimate Minecraft Seed Generator!
What each number represents:
X value: It determines the position of the player with respect to the East and West direction in the map, representing the longitudinal values. An increase in positive value indicates the player moving towards the East and an increase in negative value indicates the player’s movement towards the West.
Y value: Considered to be one of the most useful coordinates, the y value determines the elevation of the player and helps greatly while searching for certain ores such as diamonds.
Z value: This determines the position of the player with respect to the South and North direction in the map, representing the latitude values. An increase in positive value indicates the player moving towards the South while an increase in negative value indicates the player’s movement towards the North.
Guide to enable Coordinates in Minecraft PE, explained step-by-step
Enabling Coordinates while creating a New World
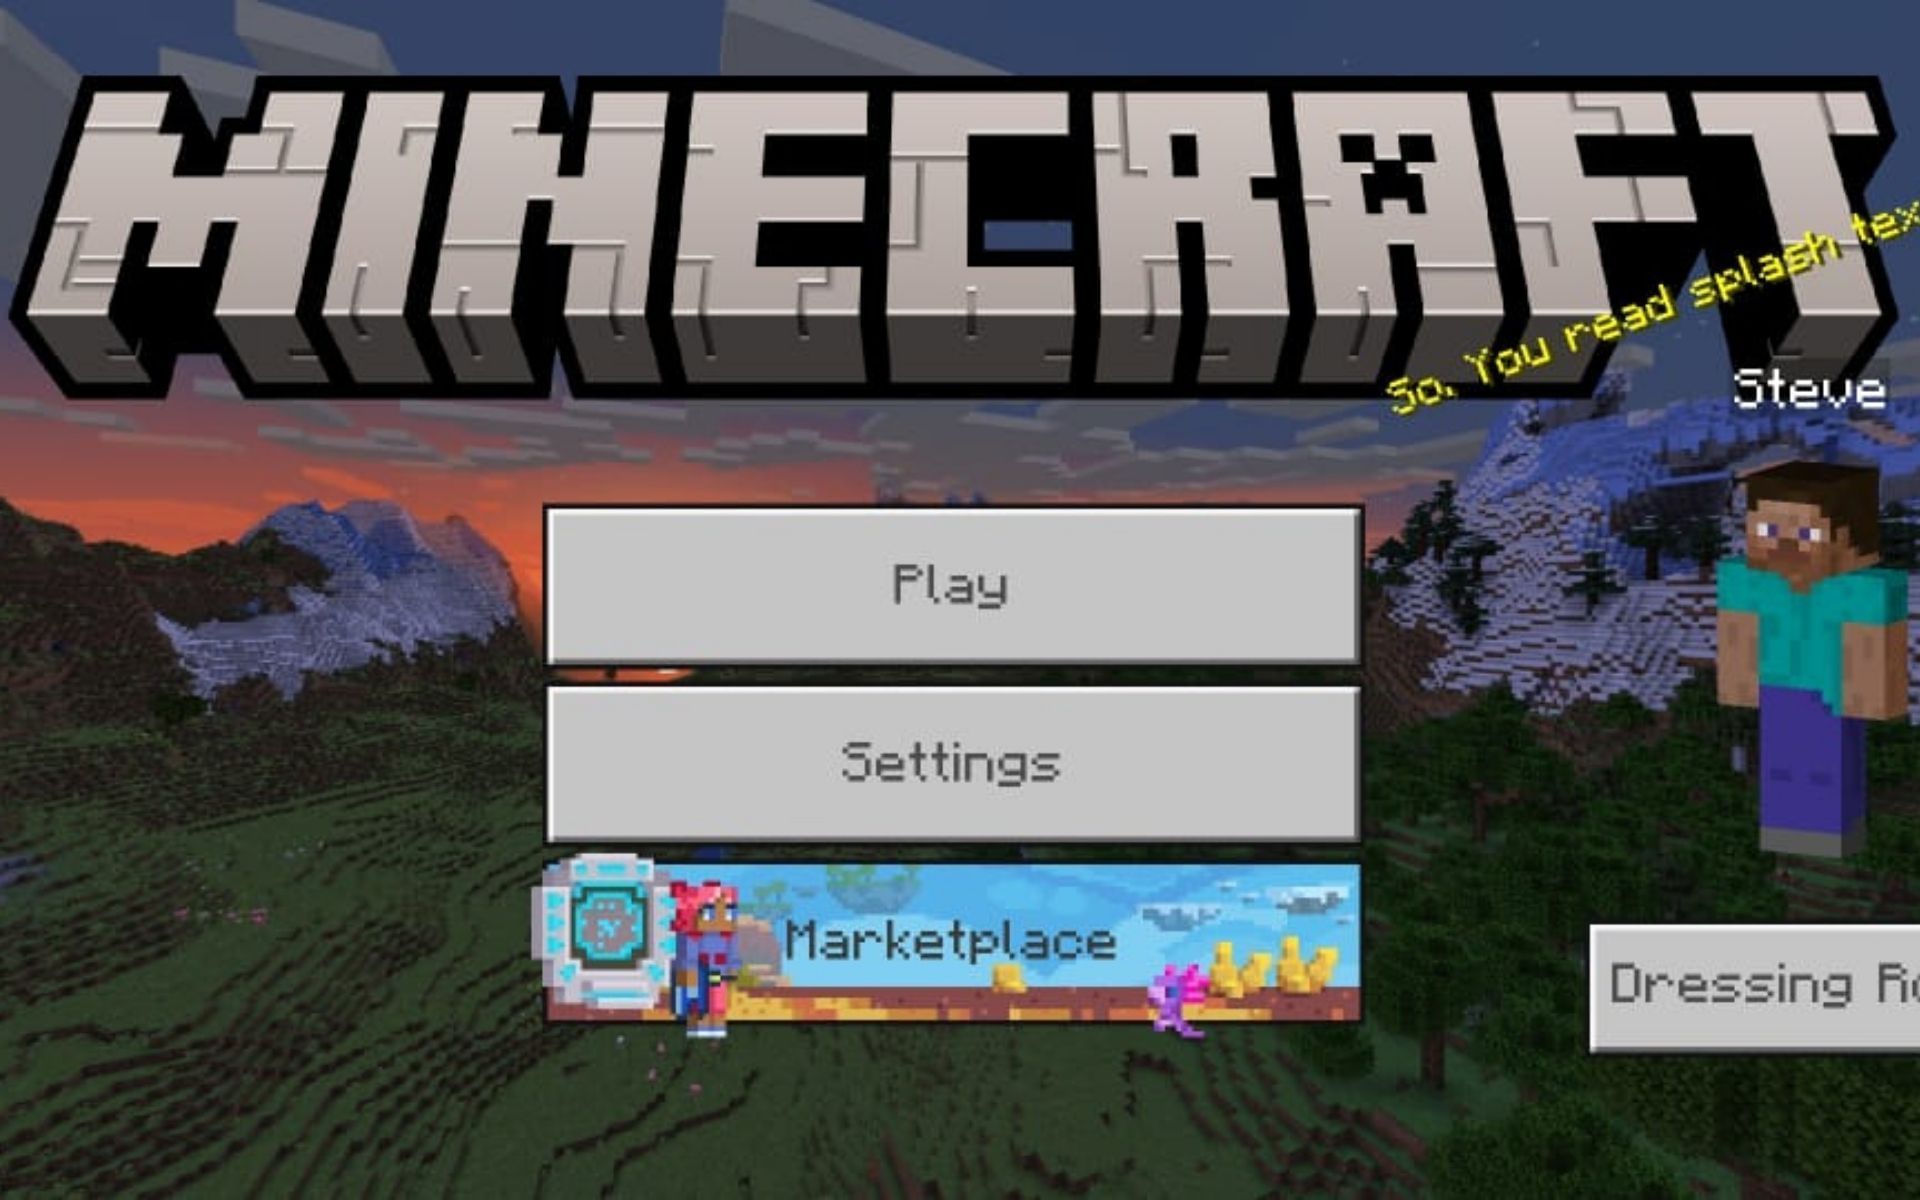
1) Launch the Minecraft app on your phone and tap on 'Play.'
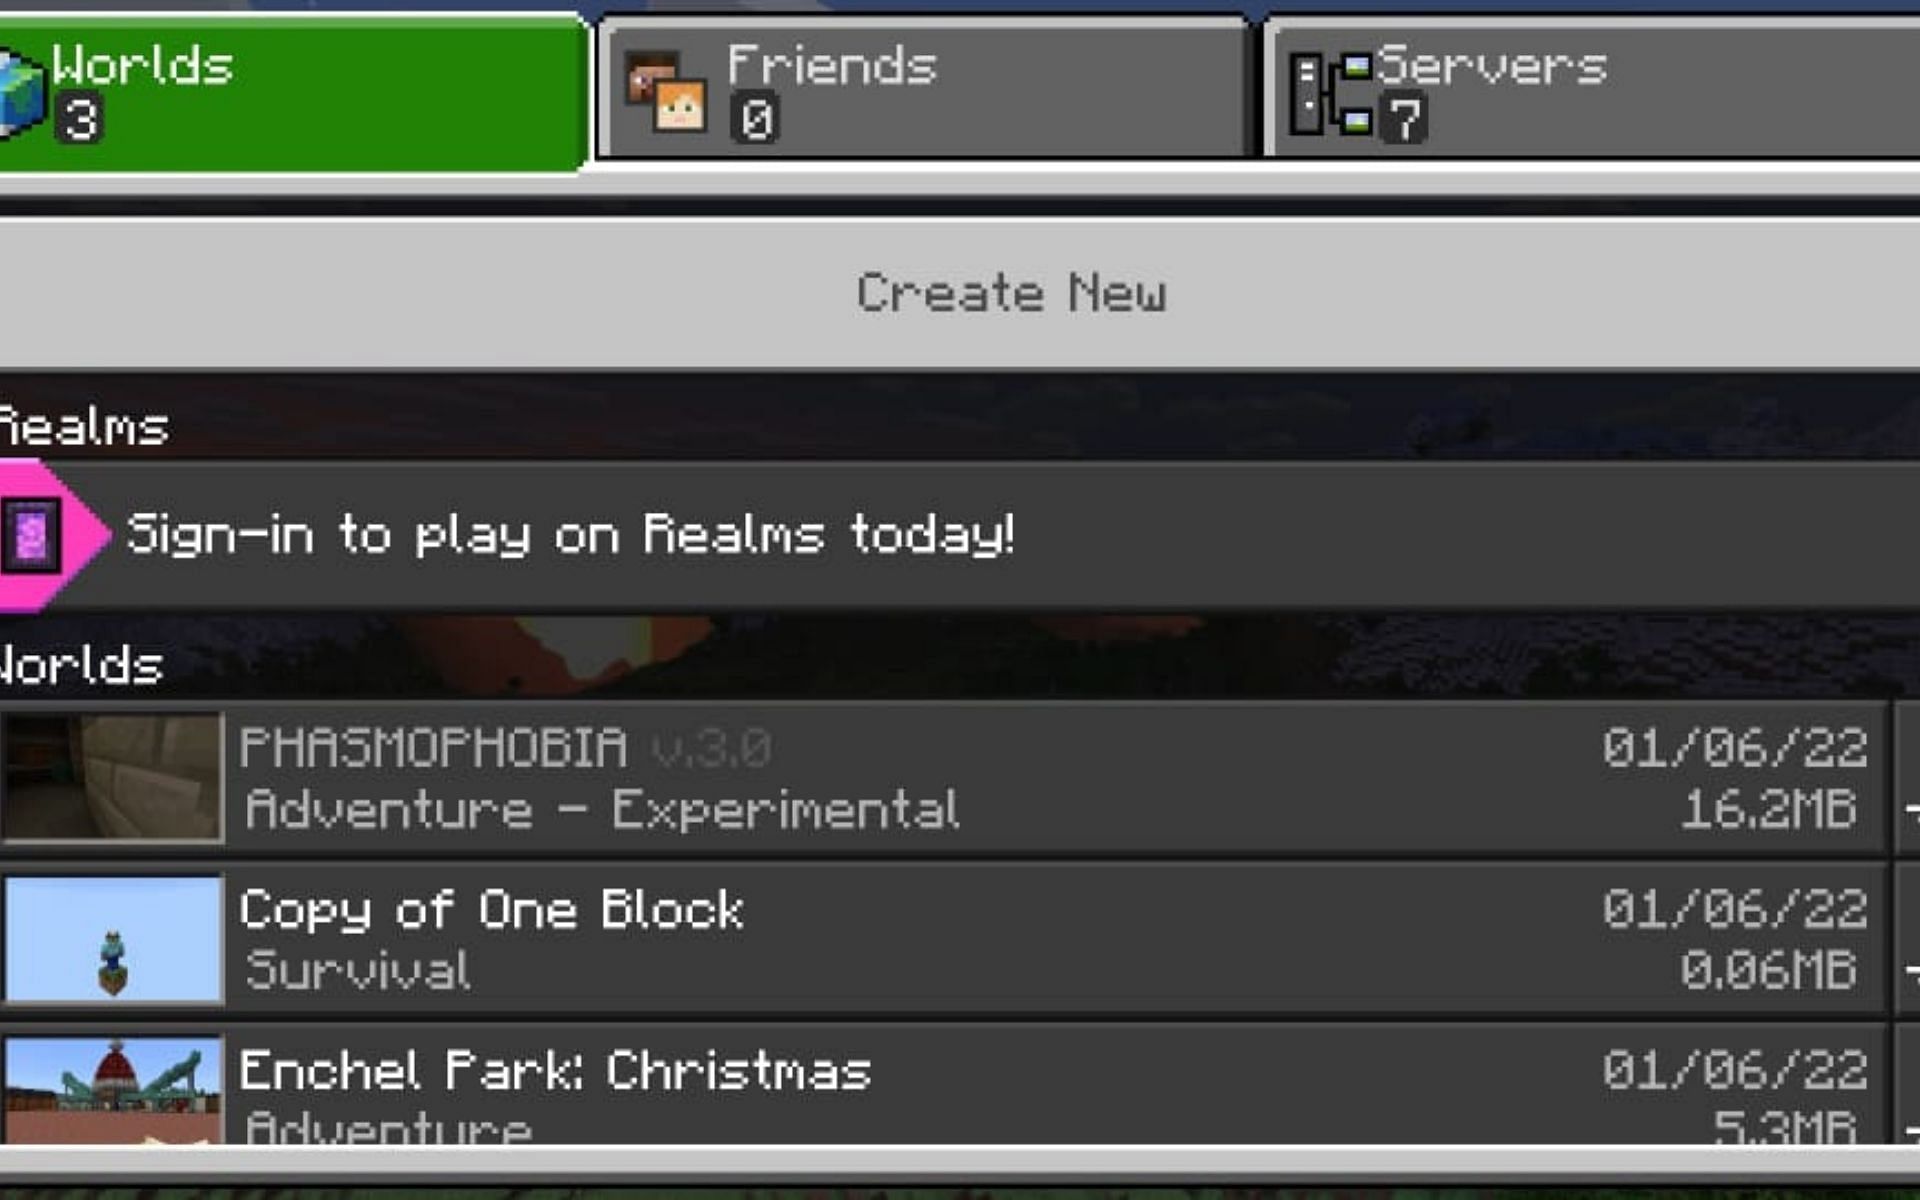
2) Tap on “Create New.”
3) Under the Game tab, enable the 'Show Coordinates' option.

4) Tap on 'Create' on the panel to the left.
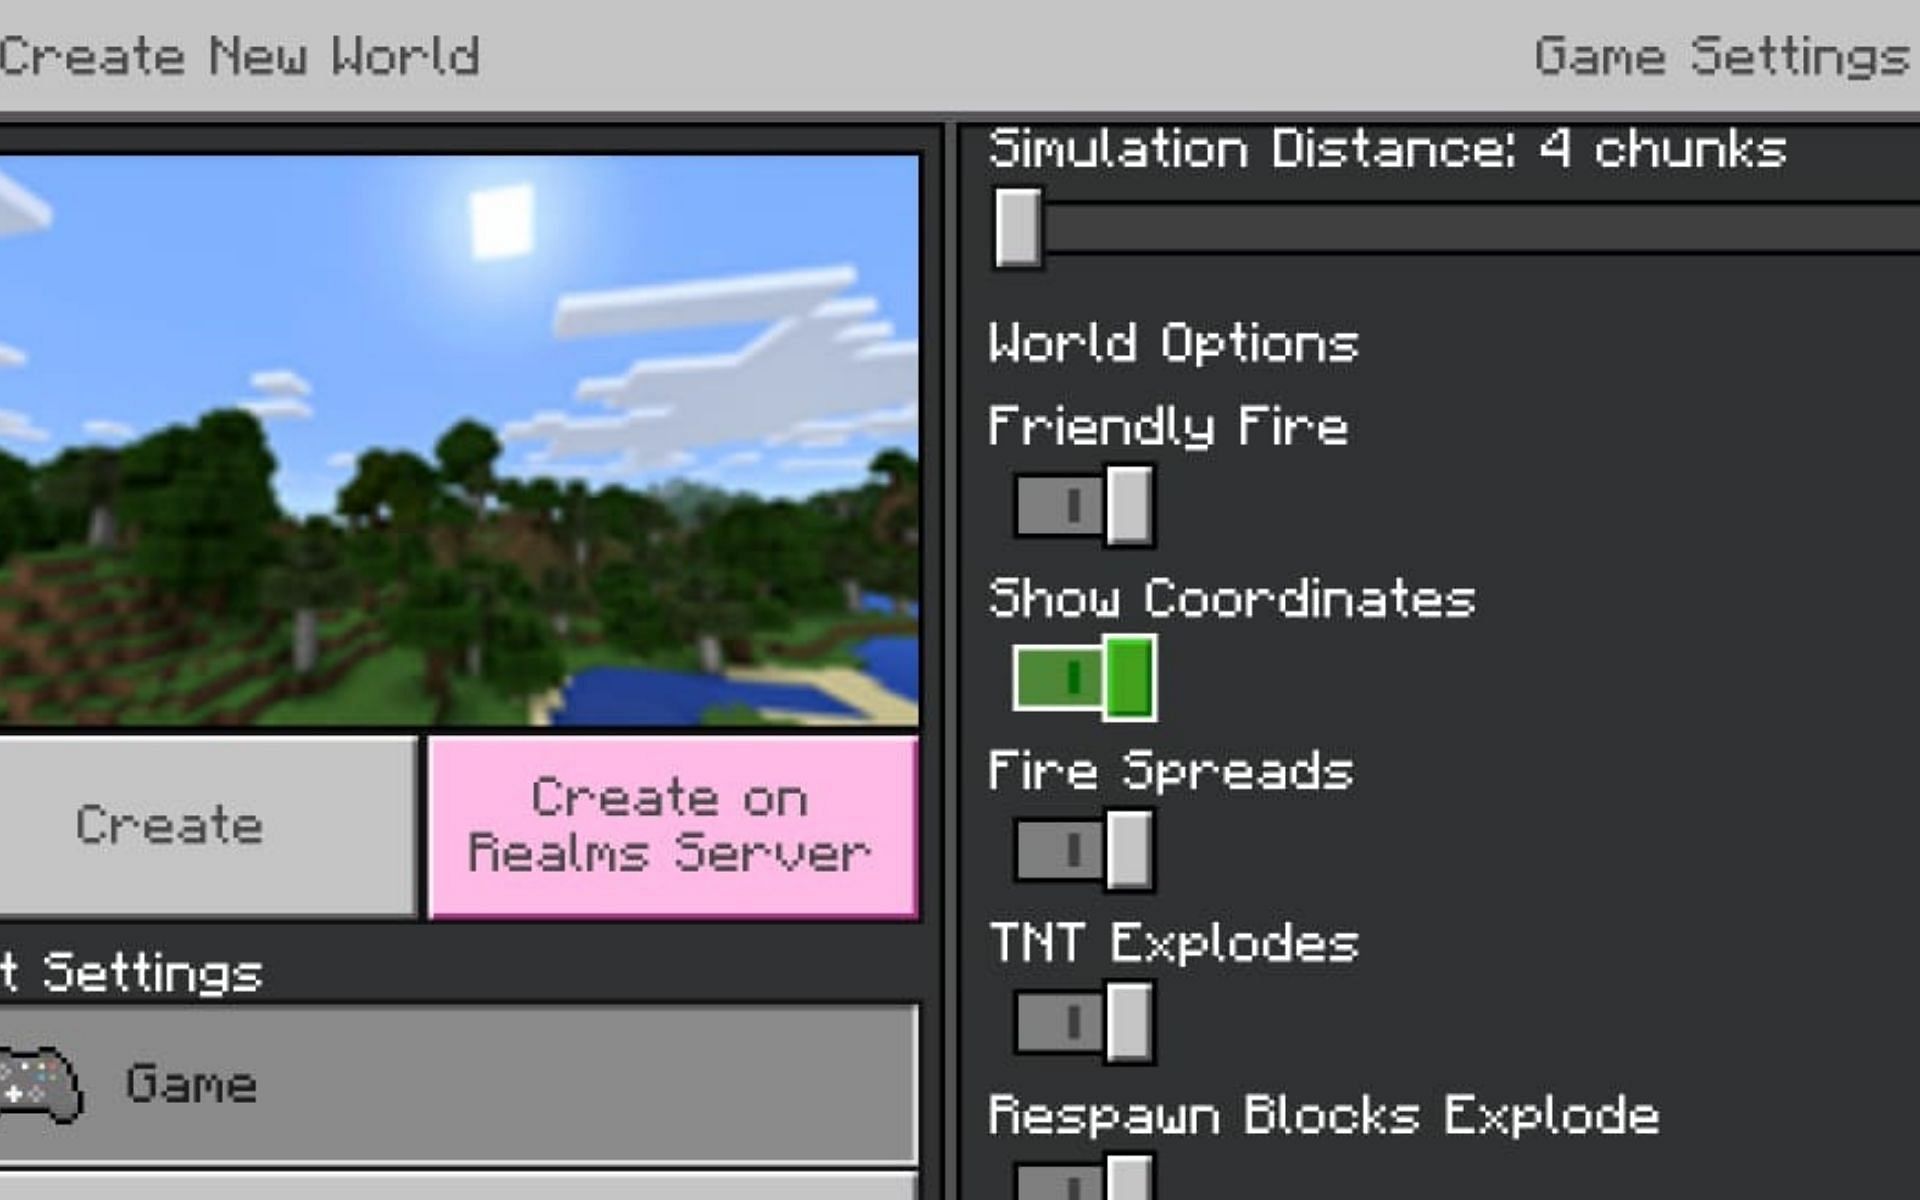
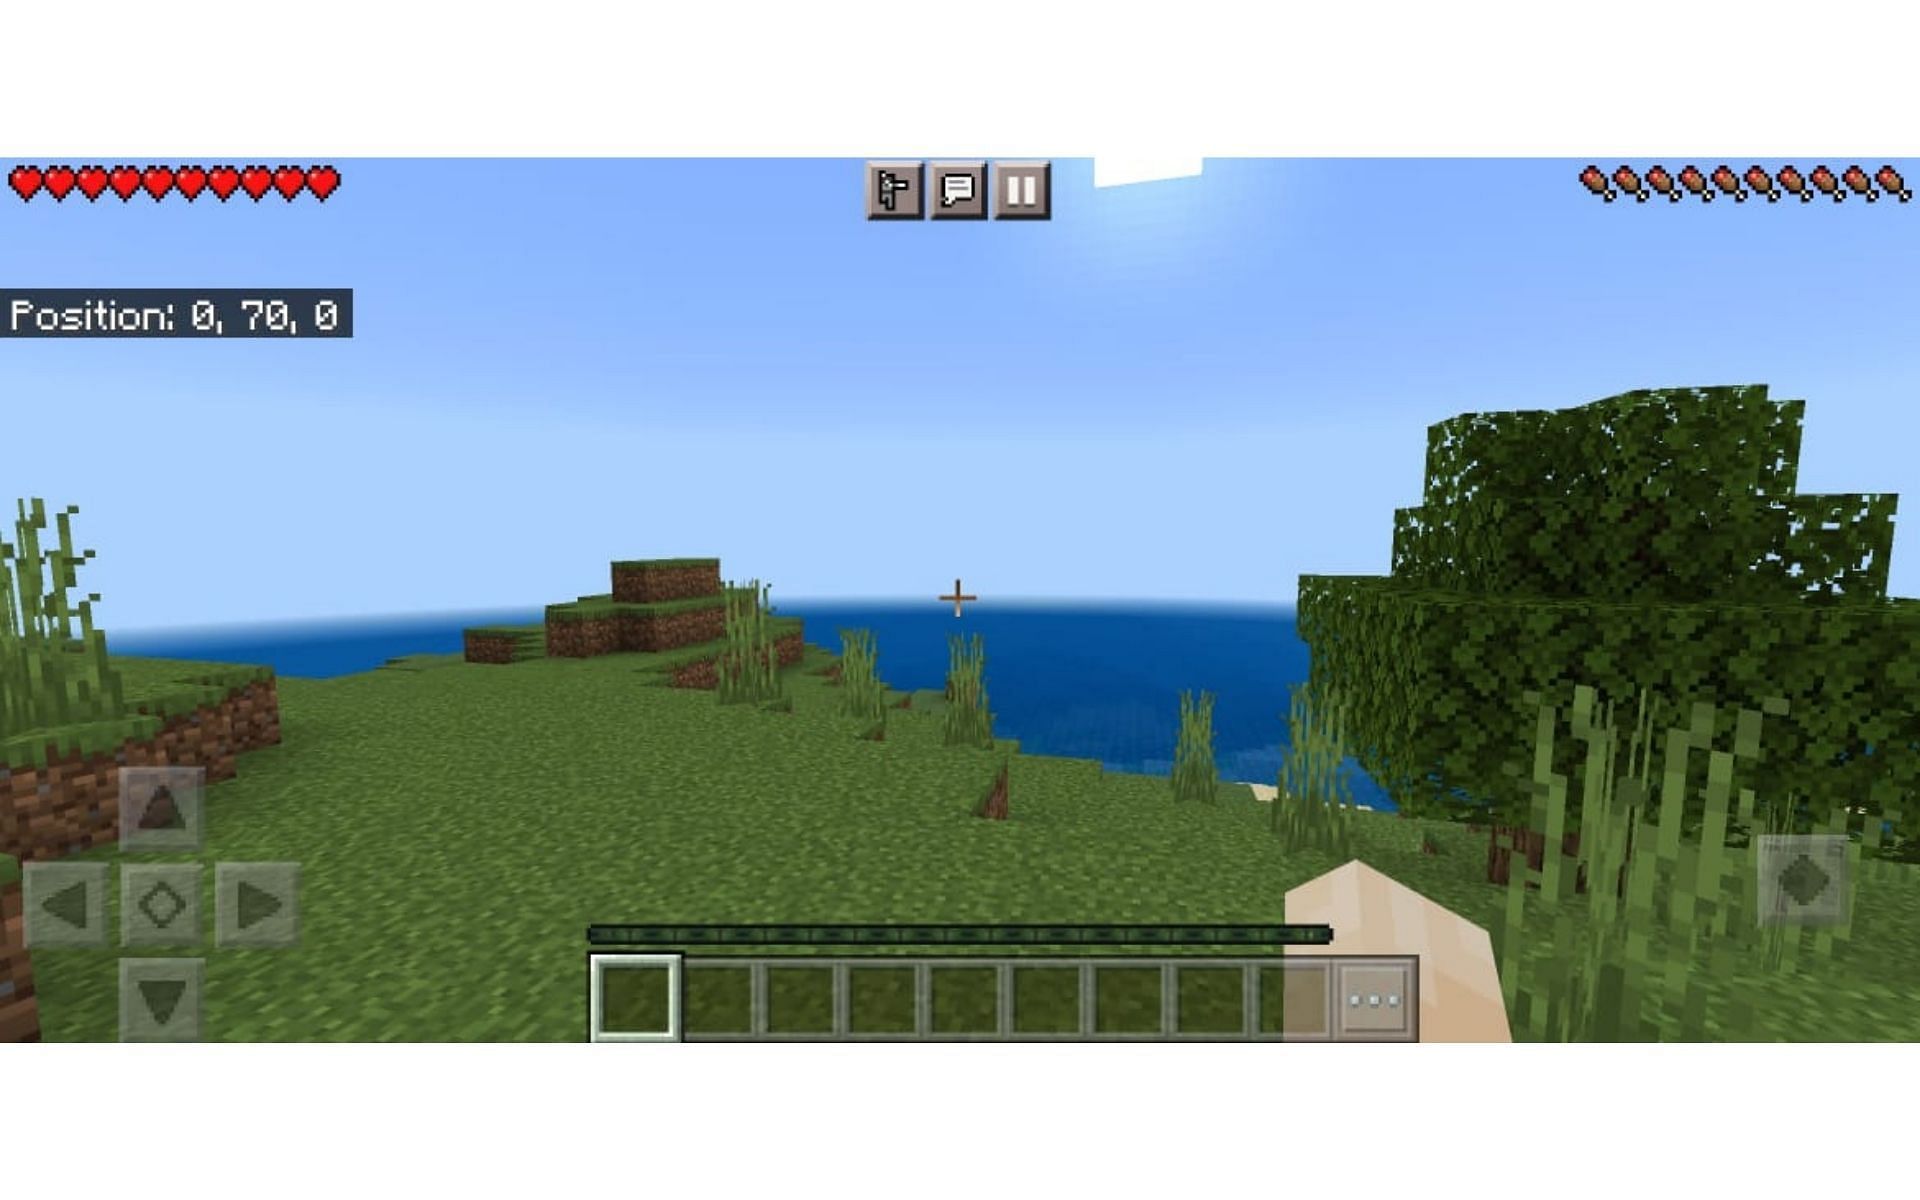
5) Players will then load into the world with the coordinates being displayed in the upper left-hand corner.
Activating Coordinates in an existing world
Fortunately, it is also possible to enable coordinates in a current or already-existing world created by a player.
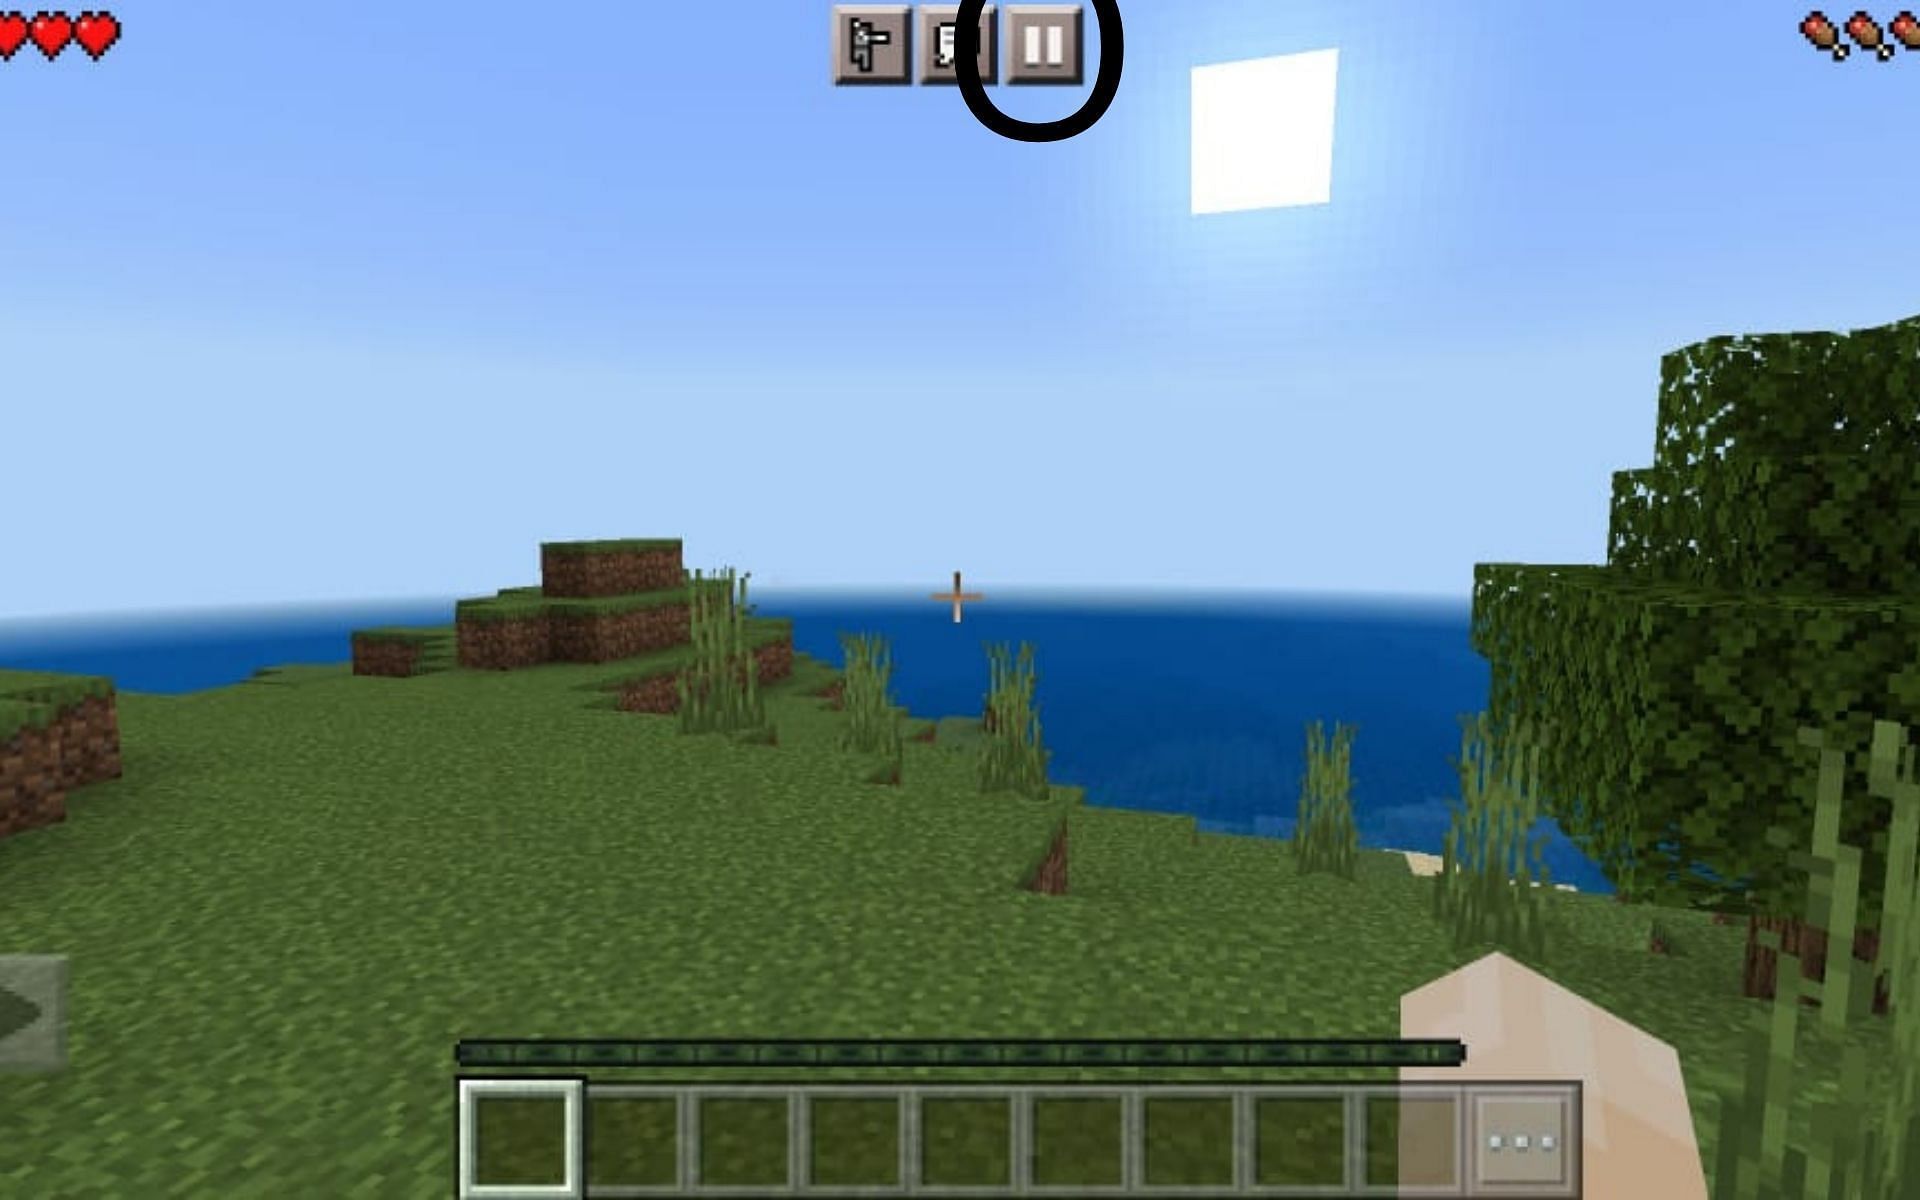
1) Tap on the Pause button present at the top of the screen.
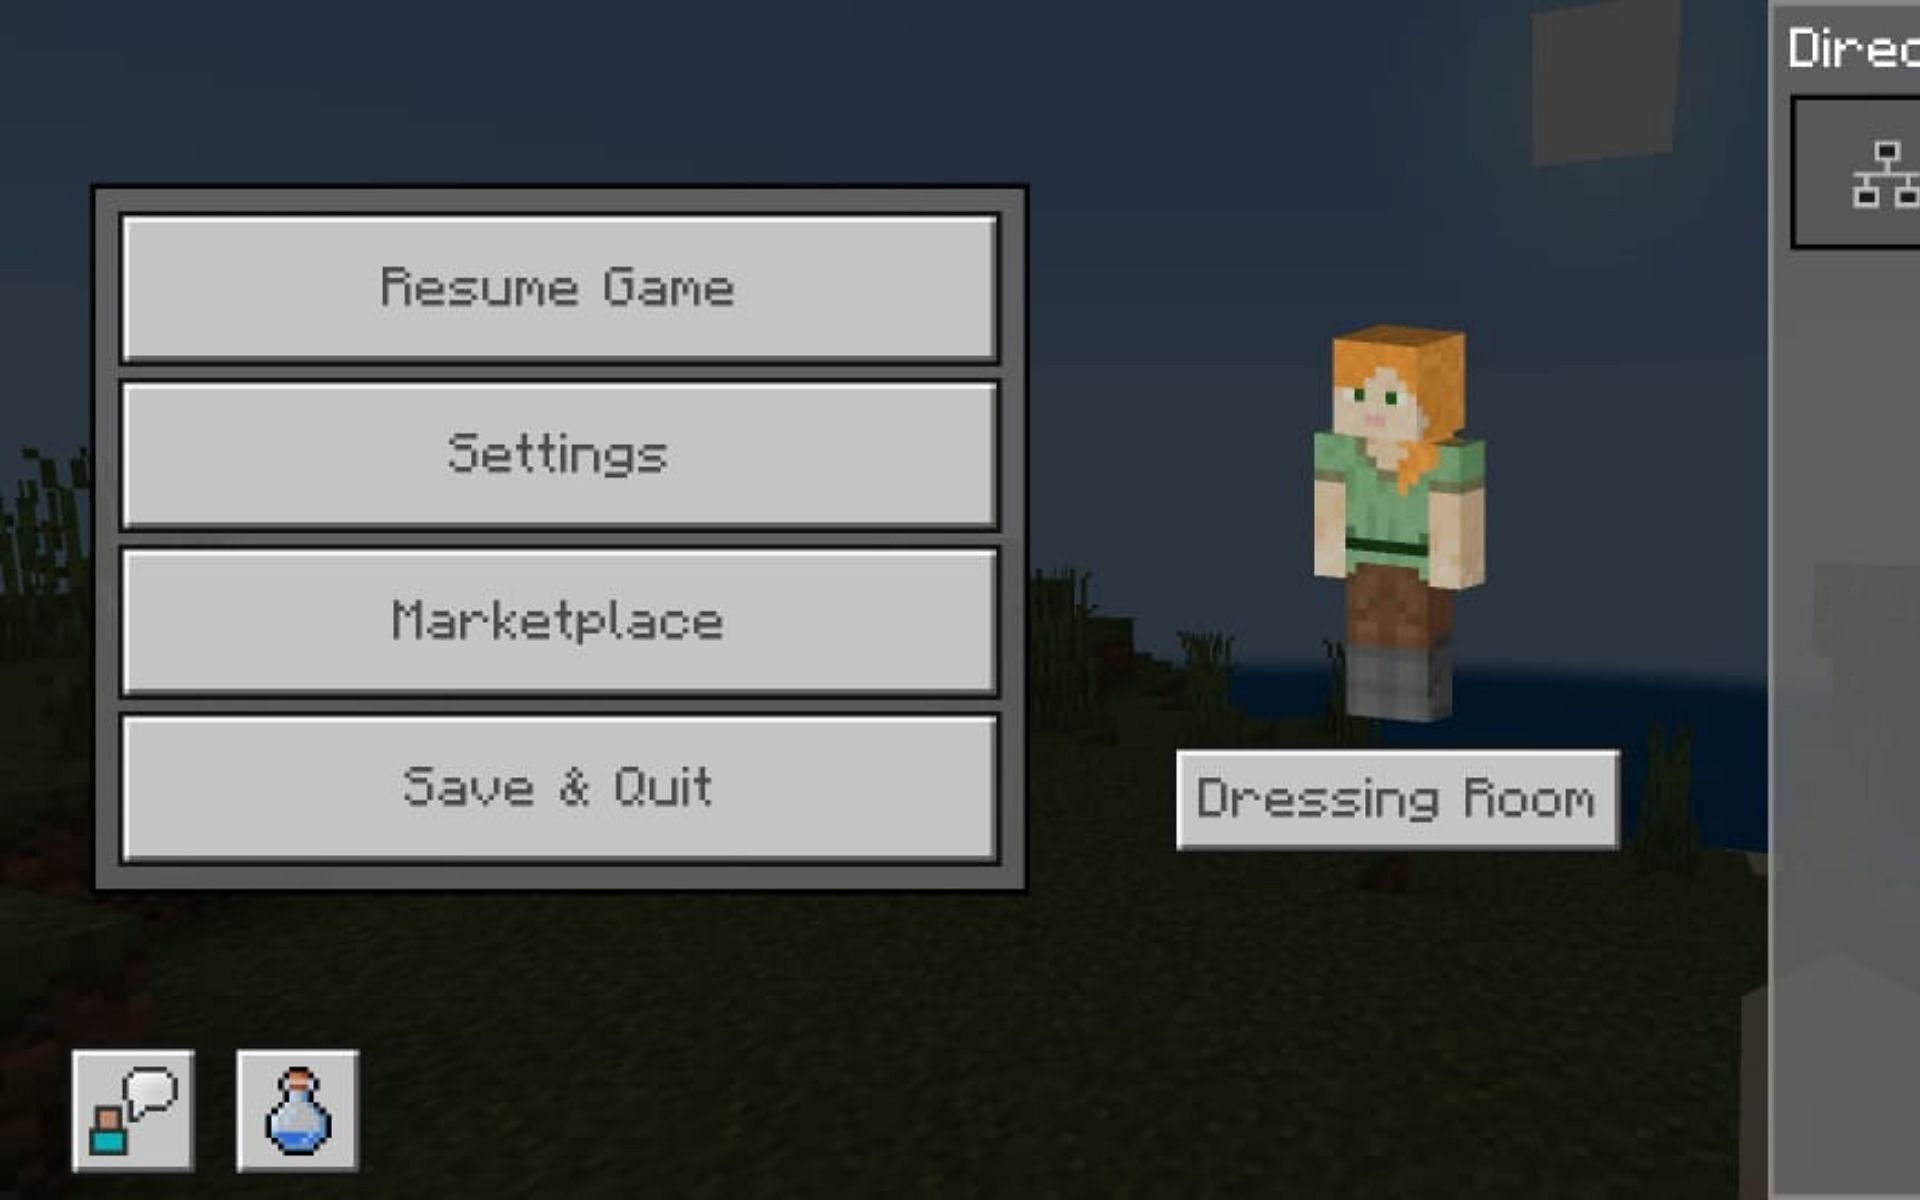
2) Then select 'Settings' from the game's pause menu.
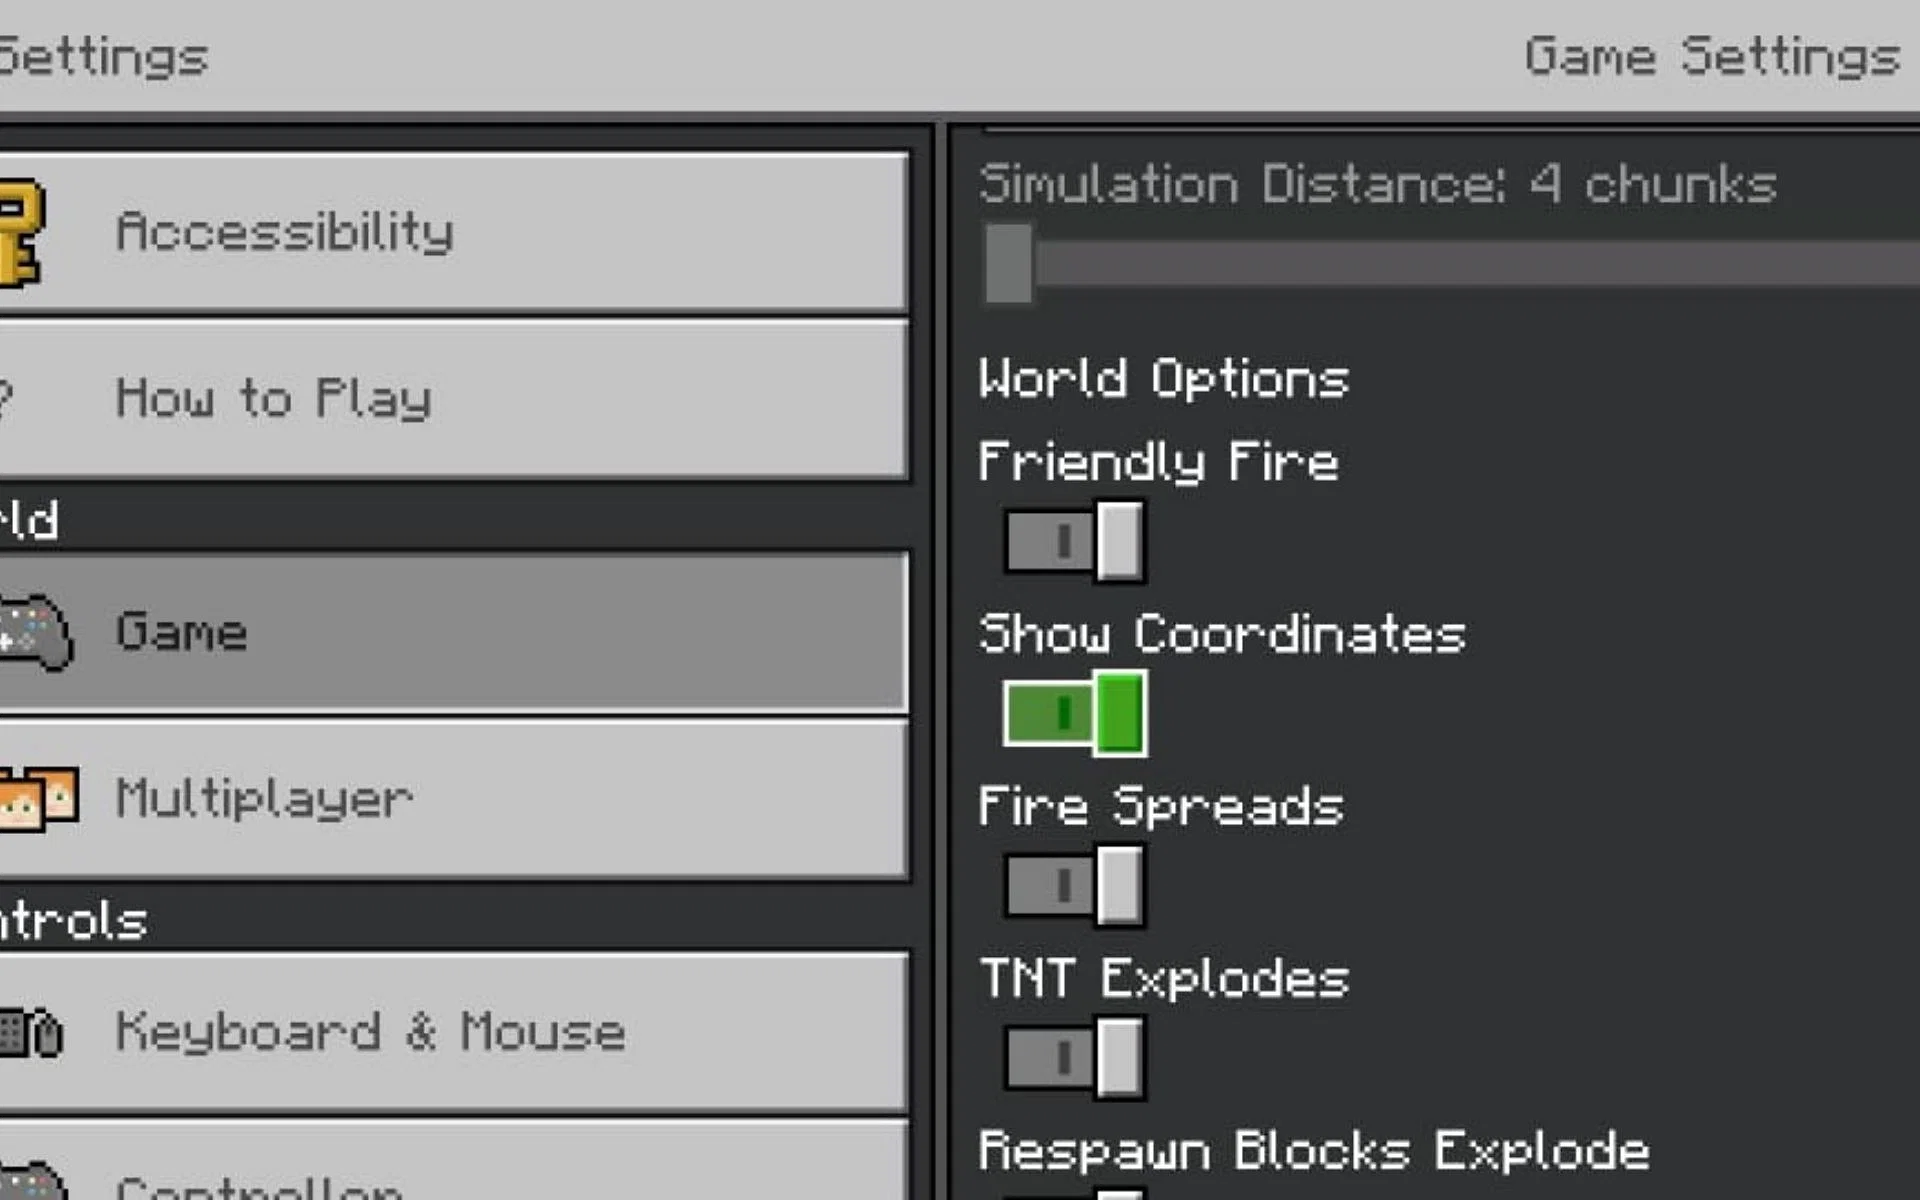
3) Under 'Game Settings', players can scroll down to 'World Options.'
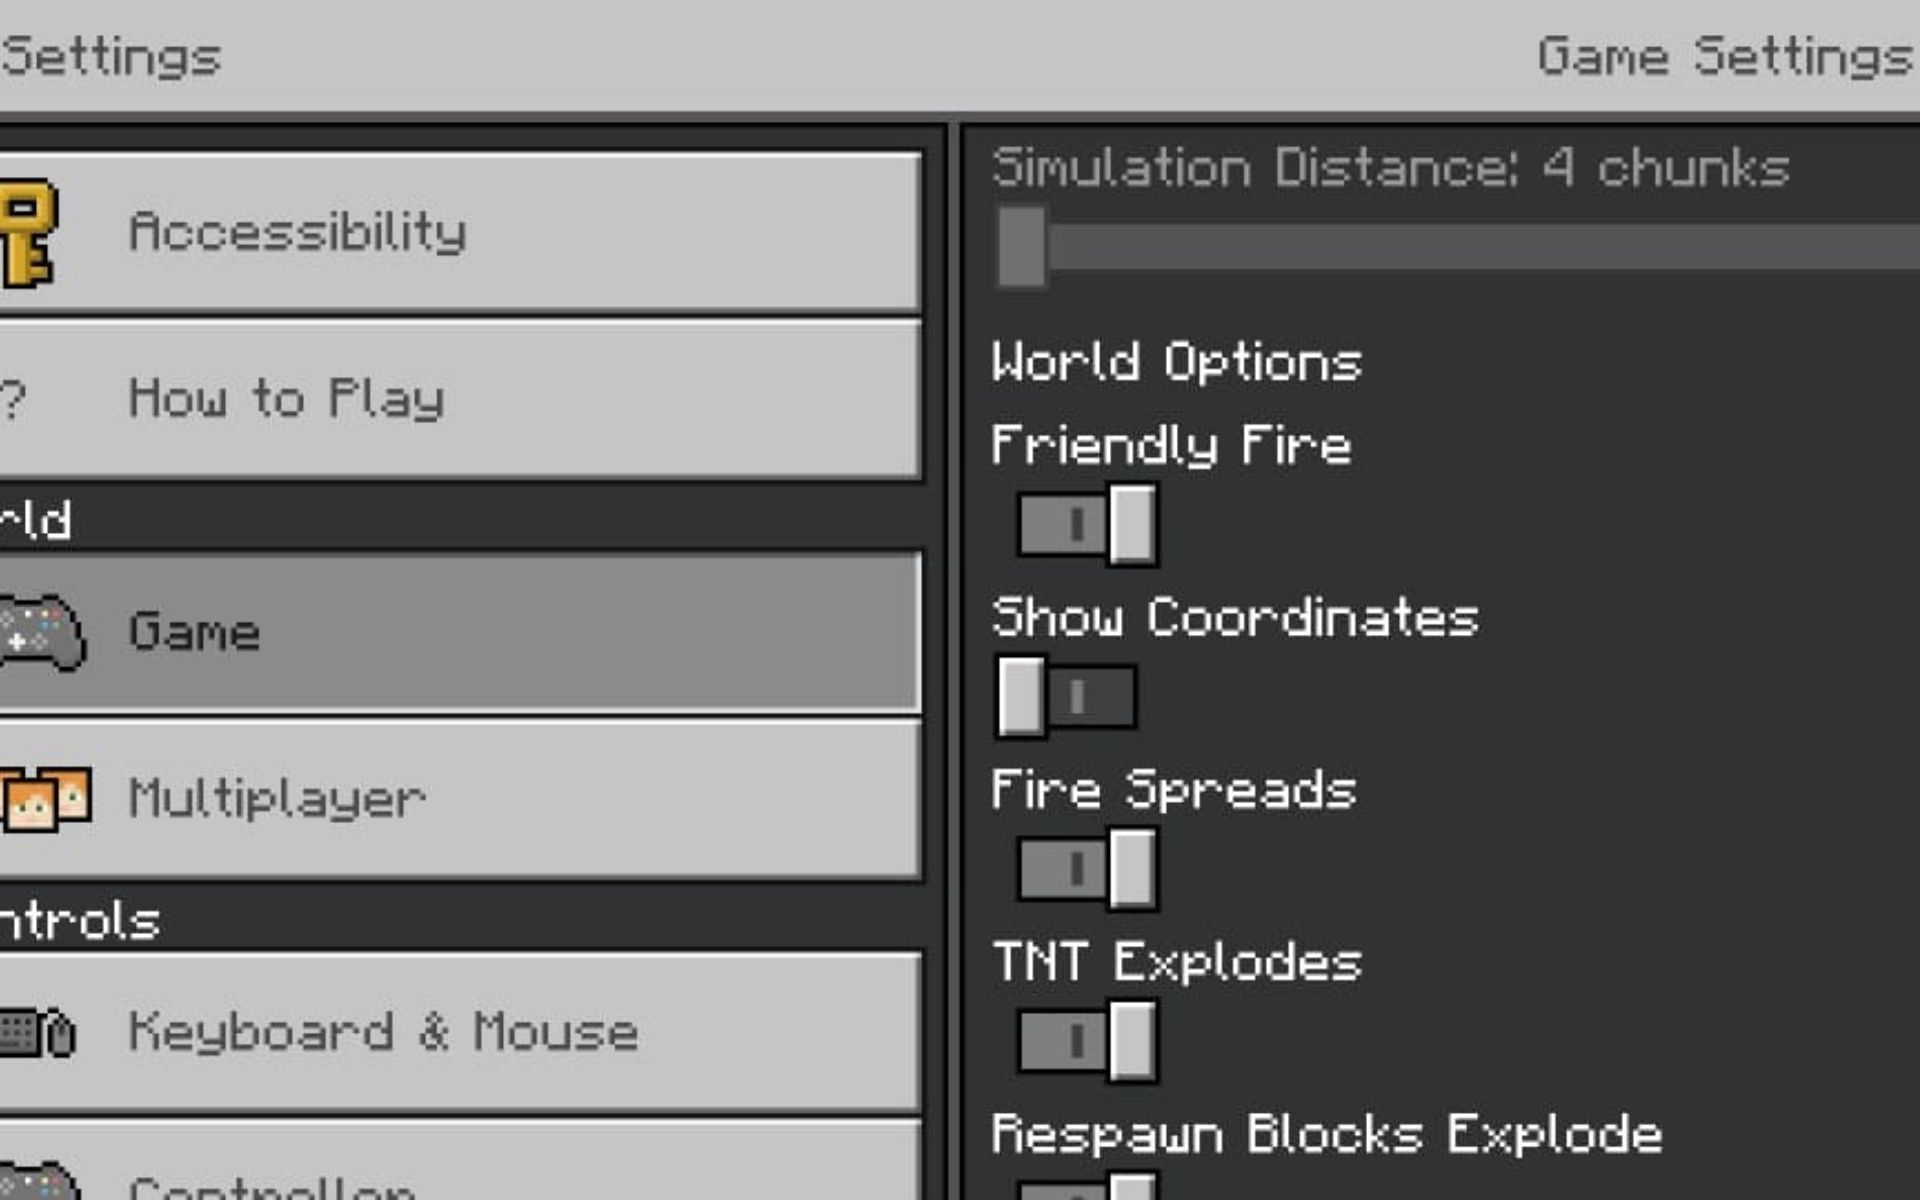
4) Tap on 'Show Coordinates' to enable it.
5) Exit the Settings menu and tap on Resume Game.

Doing so will enable the coordinates in the current world.
This is a rather simple process in Minecraft PE and players can do it while creating a new world or in-game. Players can now travel freely in the Minecraft world knowing that they can always find their way back home.

Uncover new worlds with our Minecraft Seed Generator!