
'%20x='0'%20y='0'%20height='100%25'%20width='100%25'%20%0A%20%20%20%20%20%20%20%20%20%20xlink%3Ahref='data:image/jpg;base64,/9j/2wBDAAYEBQYFBAYGBQYHBwYIChAKCgkJChQODwwQFxQYGBcUFhYaHSUfGhsjHBYWICwgIyYnKSopGR8tMC0oMCUoKSj/2wBDAQcHBwoIChMKChMoGhYaKCgoKCgoKCgoKCgoKCgoKCgoKCgoKCgoKCgoKCgoKCgoKCgoKCgoKCgoKCgoKCgoKCj/wgARCAAGAAoDASIAAhEBAxEB/8QAFgABAQEAAAAAAAAAAAAAAAAAAAEG/8QAFQEBAQAAAAAAAAAAAAAAAAAAAQX/2gAMAwEAAhADEAAAALuwm//EACIQAAIBAwIHAAAAAAAAAAAAAAIDBAABEQUGFBZVYYGU0v/aAAgBAQABPwDY0Zeq6nP4uNaUw1sYAS5BMUp5MDDBDFu9/N8VyfG6Btf1m/df/8QAGBEAAgMAAAAAAAAAAAAAAAAAAAECM3H/2gAIAQIBAT8AjWnp/8QAGREAAgMBAAAAAAAAAAAAAAAAAgMAAQQS/9oACAEDAQE/ANetyirgp//Z'%3E%3C/image%3E%3C/svg%3E)
The Minecraft 1.20 update was recently released by Mojang and contained loads of new features and optimizations. Hence, almost all the major servers on which millions of players flock and play together are gradually upgrading to the latest version of the game as well. However, if you want to create an up-to-date server, there is an easy way.
A private server in the game gives you full control over who joins, its longevity, assigning powers, and more. This method lets you easily play with your friends without any stranger's intrusion.
While there are ways to buy a server for some extra functionalities and power from the server providers, a handful of great websites allow you to create one for free. Despite not being the strongest, it will be enough for a few players to enjoy the game. Here is a simple guide to starting your own free Minecraft 1.20 server.

Chart New Territories with the ultimate Minecraft Seed Generator!
Aternos is essential to creating a Minecraft 1.20 server for free
1) Head over to Aternos website
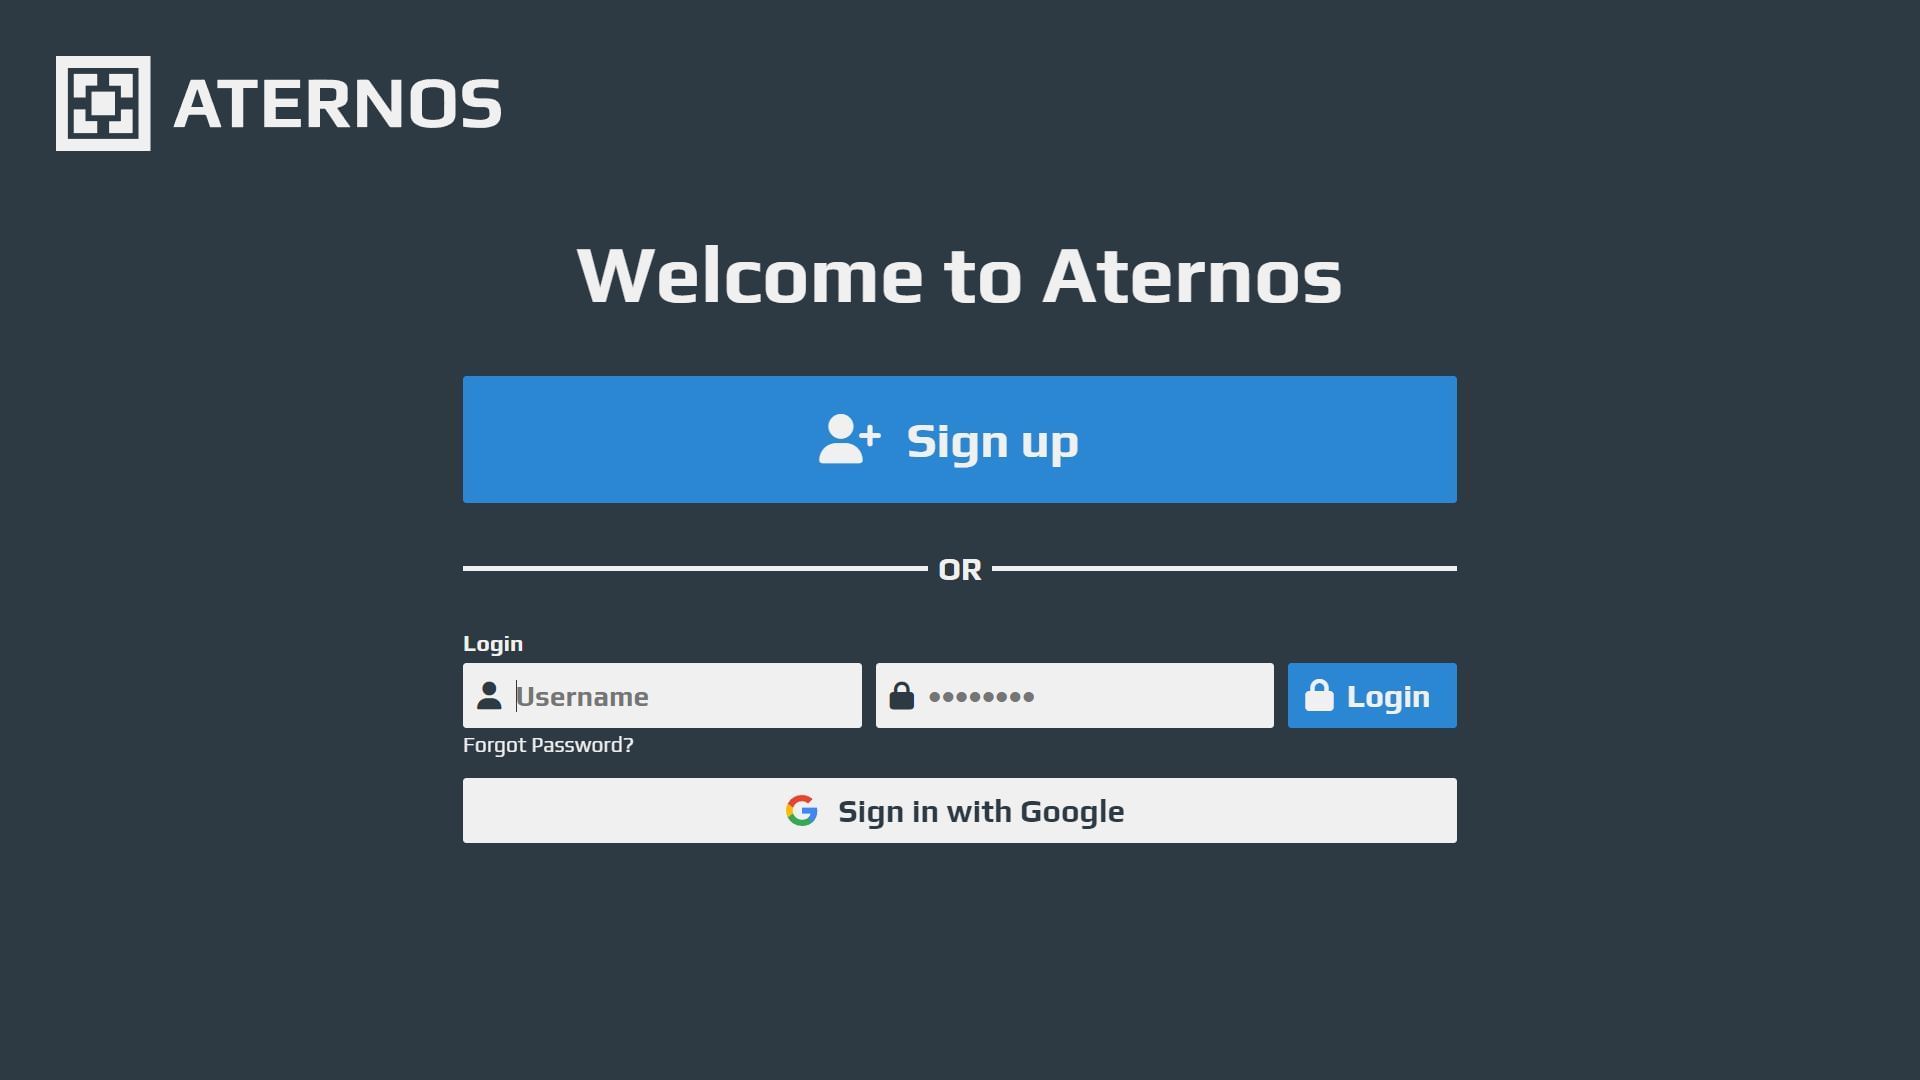
Aternos allows you to create a completely free multiplayer server in the game. This particular website has been up and running for quite some years and hasn't been taken down by Mojang yet. Hence, it is completely safe to create a server.
Once you enter the website, sign in with a username and password or let Google auto-sign you to it. The page will refresh, and a create button will appear, which starts creating your free new server. You can set its logo, name, and description and hit create.
2) Start the server
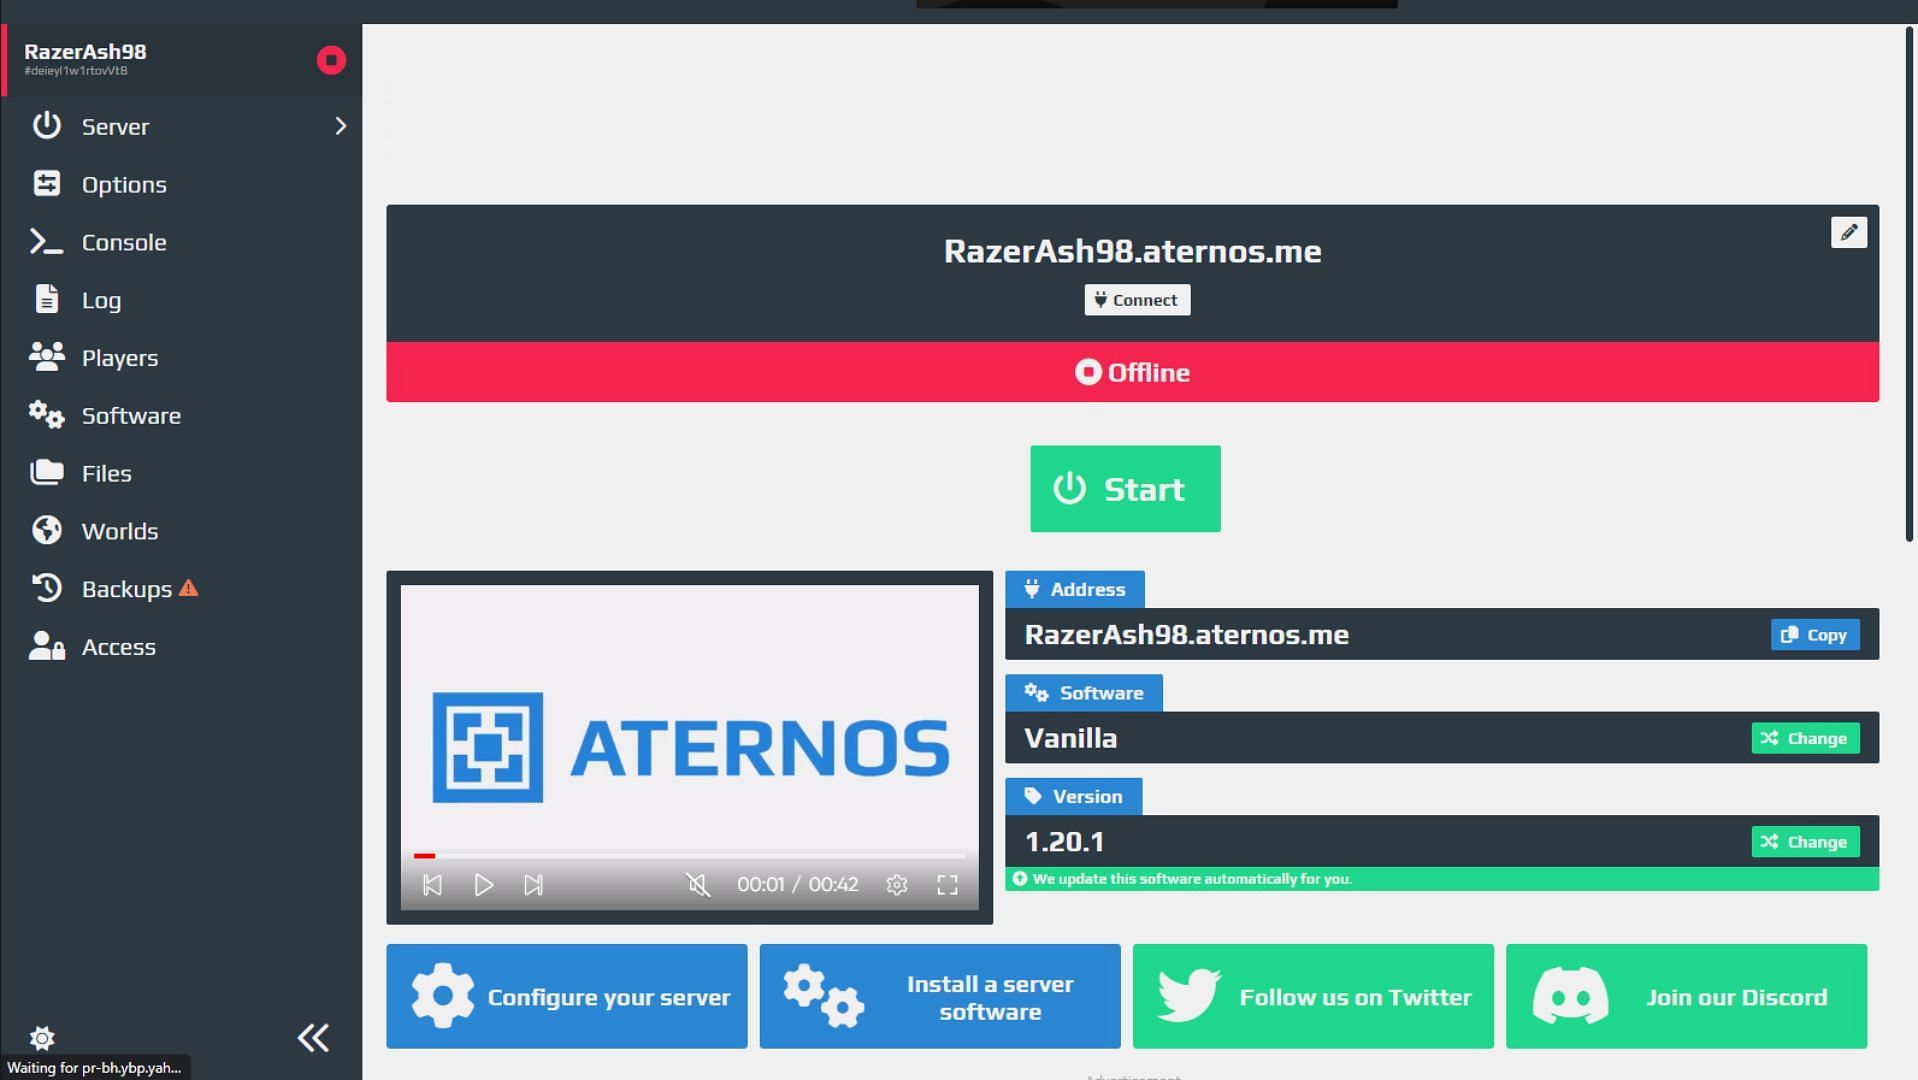
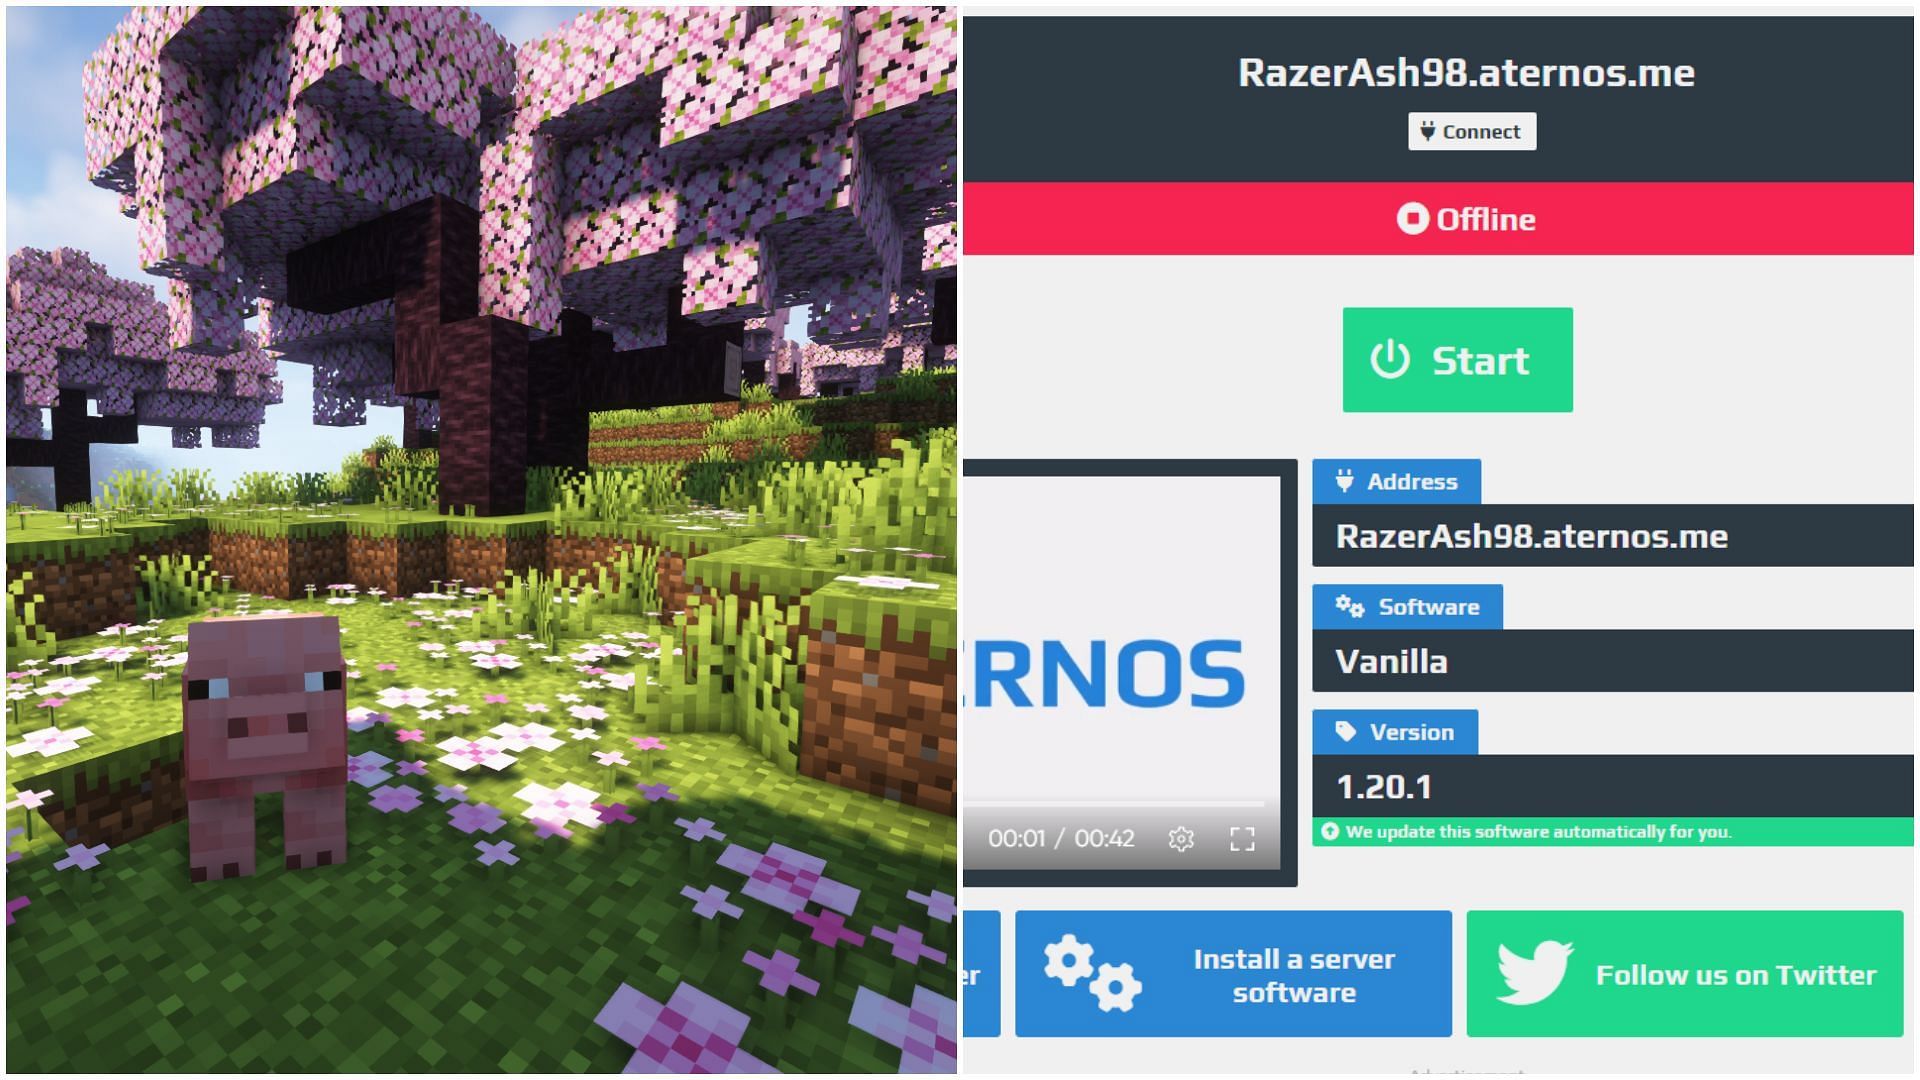
A new page will open, displaying all the details about your new server. Notice the 'version' tab will show the latest 1.20 or 1.20.1 game version released by Mojang.
Before hitting the 'start' button, check the options tab from the left column. This shows all the settings and details about the server. You can change it to allow only whitelisted players (specify whitelisted players' usernames in the 'players' tab), alter the game mode, allow or disallow several rules and regulations, and even add mods to the server.
Once everything is checked, you can simply start the server. Remember, it will take some time for Aternos to start a new server for you.
3) Joining the server
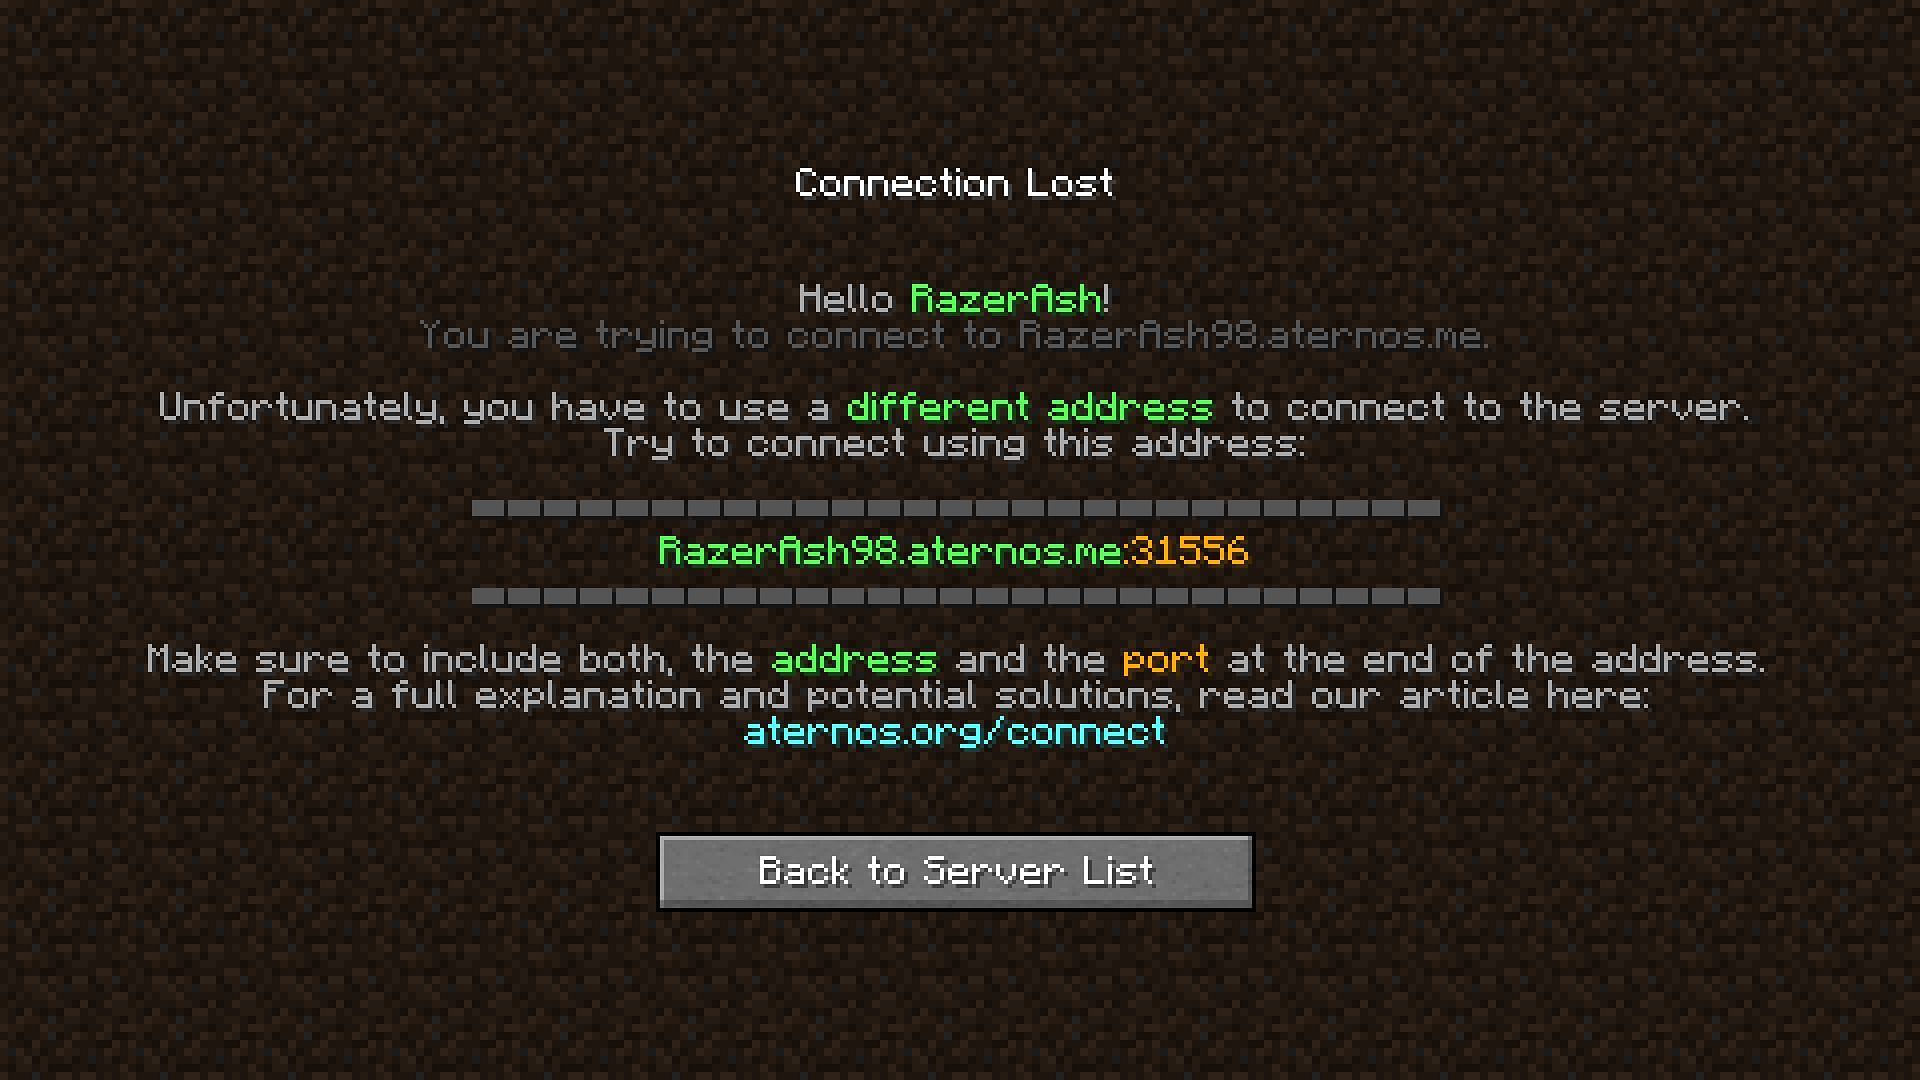
Once you open the game, you can take the IP address provided by the website and create a new server in the multiplayer tab. However, the first screen you will see is the one provided above. This is because there has to be a set of five numbers after the IP address that must be inserted to enter the game properly.
Hence, you must first reach this page, take the number, and add it to the IP address. Once done, you will successfully enter your new server.

Uncover new worlds with our Minecraft Seed Generator!