
'%20x='0'%20y='0'%20height='100%25'%20width='100%25'%20%0A%20%20%20%20%20%20%20%20%20%20xlink%3Ahref='data:image/jpg;base64,/9j/2wBDAAYEBQYFBAYGBQYHBwYIChAKCgkJChQODwwQFxQYGBcUFhYaHSUfGhsjHBYWICwgIyYnKSopGR8tMC0oMCUoKSj/2wBDAQcHBwoIChMKChMoGhYaKCgoKCgoKCgoKCgoKCgoKCgoKCgoKCgoKCgoKCgoKCgoKCgoKCgoKCgoKCgoKCgoKCj/wgARCAAGAAoDASIAAhEBAxEB/8QAFgABAQEAAAAAAAAAAAAAAAAAAAQF/8QAFAEBAAAAAAAAAAAAAAAAAAAABf/aAAwDAQACEAMQAAAAxpQFj//EACAQAAECBgMBAAAAAAAAAAAAAAMBBAACBQYSIREUkdL/2gAIAQEAAT8Asm9nYQka9Vm6IaXRHIUXHyCX2TObKiUpZud6J9R//8QAGBEAAgMAAAAAAAAAAAAAAAAAAQIAAxH/2gAIAQIBAT8AFSM52f/EABcRAQEBAQAAAAAAAAAAAAAAAAECABP/2gAIAQMBAT8A6USI7//Z'%3E%3C/image%3E%3C/svg%3E)
As one of the most searched-for mods, Minecraft shaders are undeniably among the most popular features players can install externally. They serve the purpose of significantly enhancing the graphics of the sandbox game, which has not undergone much visual change in the past decade.
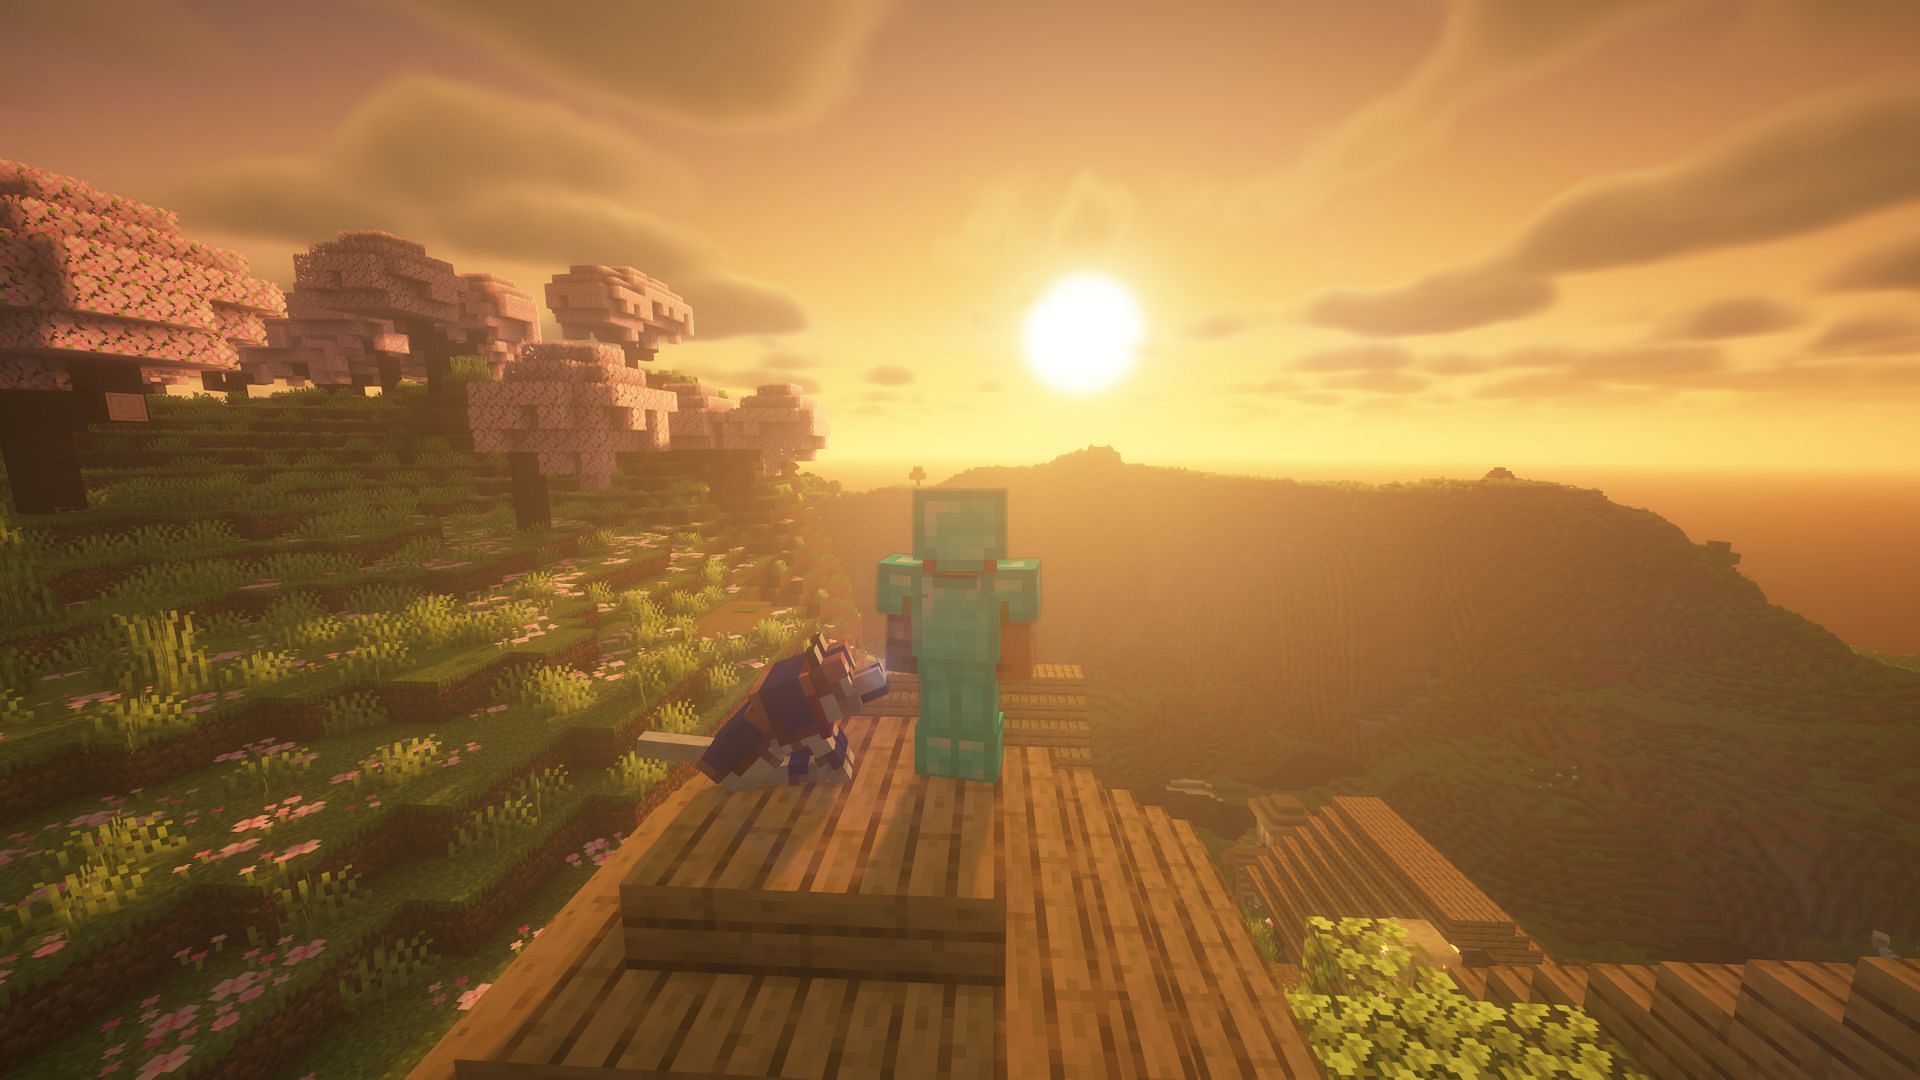
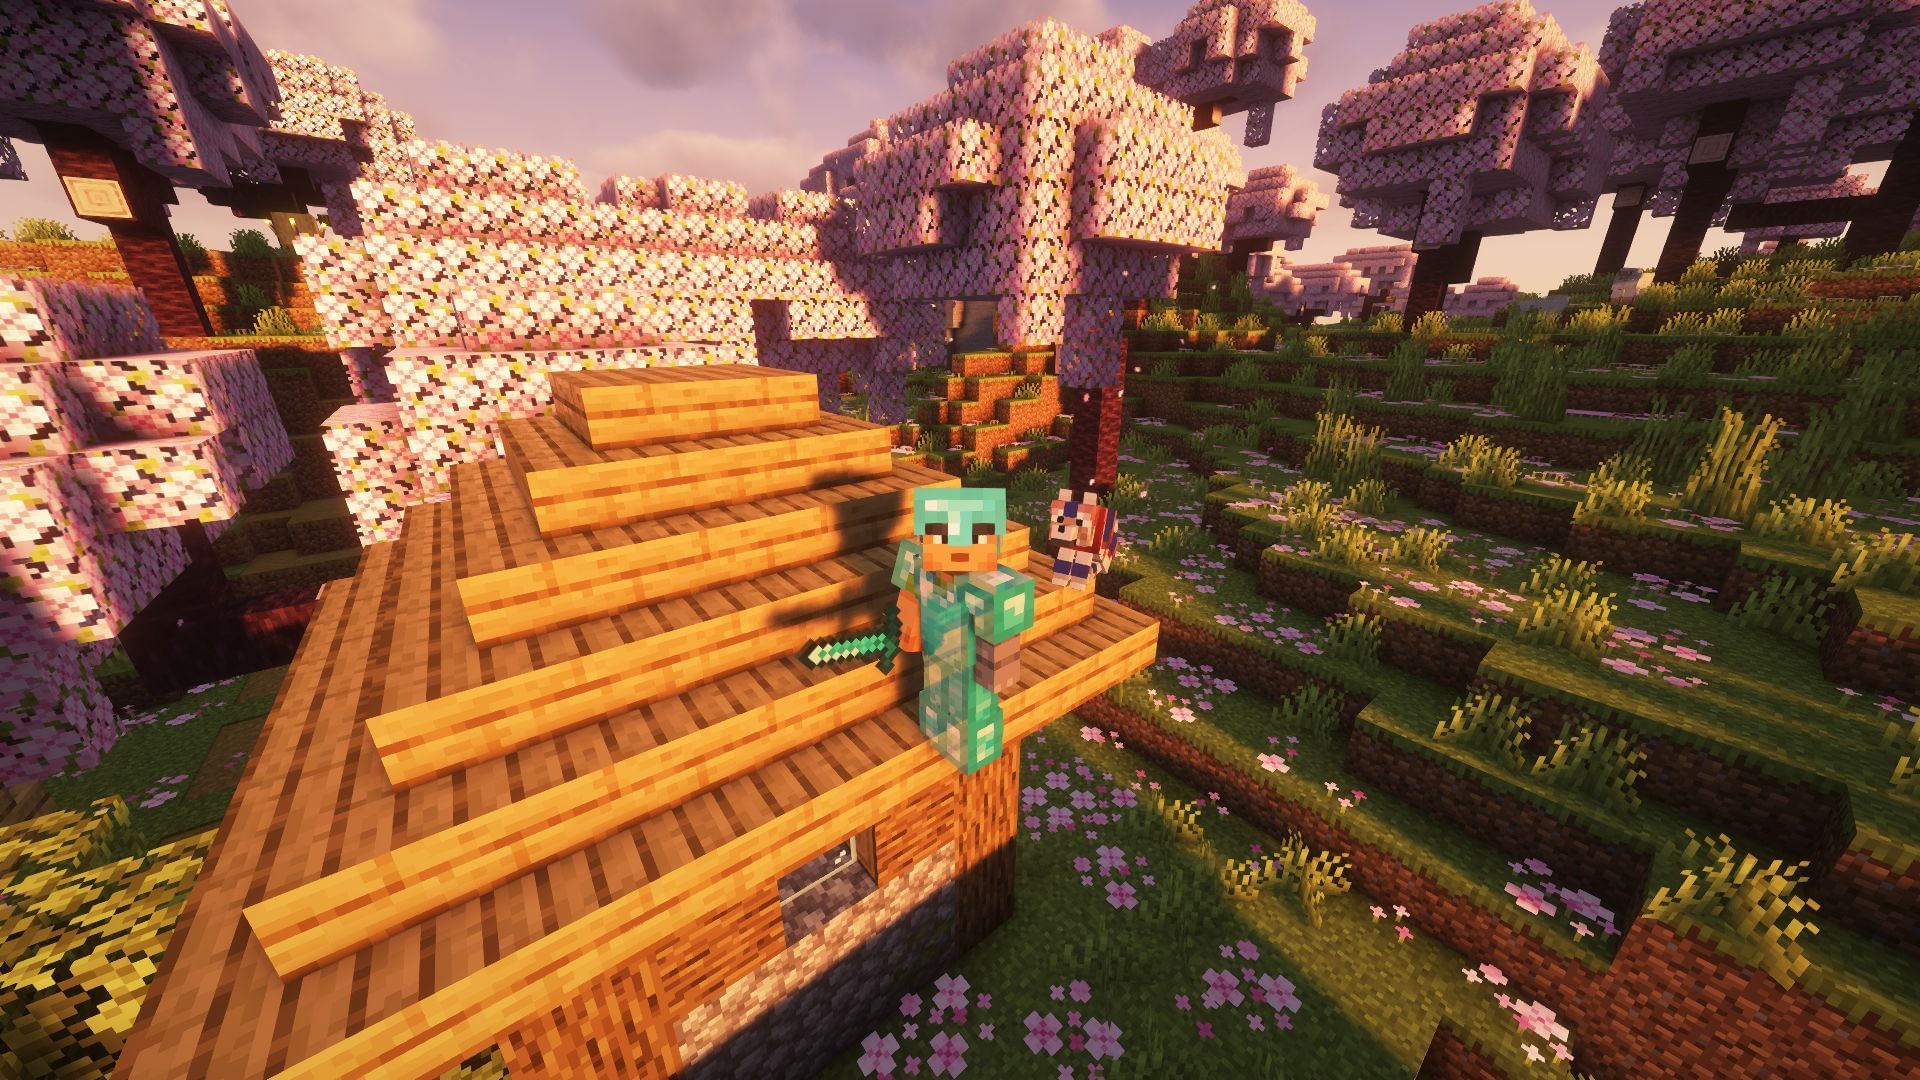
Some features of well-known shaders include realistic sun and water effects, wavy leaves and grass, reflections, and shadows. It's important to note that shaders are not suitable for everyone, as they are a fairly demanding mod that can cause lag and stuttering in low-end systems.
In this article, we'll discuss the step-by-step process of installing shaders in the Minecraft 1.20.5 update.

NOTE: This article is subjective and reflects the writer's opinion.
Chart New Territories with the ultimate Minecraft Seed Generator!
Minecraft 1.20.5 shaders guide
With each update, the game receives more blocks and tools that interact with dynamic lights and reflections in unique ways. As a result, mod developers must update their shader mods to seamlessly integrate with the newly introduced elements.
Shaders are a feature of the popular visual mod called Optifine. However, since Minecraft 1.20.5 is still fairly new, the development of Optifine for it is yet to be completed. In cases where the known and trusted Optifine mod is unavailable for a newer version, players can always try Iris shaders.
Iris shaders receive updates much faster, and some players have even claimed better framerates and overall smoothness when paired with Sodium mod.
Here's a guide to installing Iris shaders for Minecraft 1.20.5:
Step 1: Download the universal Iris shader installer from their official website.
Step 2: Launch the .jar file using Java.
Step 3: Select version 1.20.5 and click on the install button.
After following these easy steps, the installer will begin downloading and moving the necessary files to create a new Fabric installation of version 1.20.5 with Sodium and Iris shaders mod.
This process should only take a few minutes. Once the installation process is completed, players can exit from the installer and play version 1.20.5, equipping their favorite shader to experience the new wolf and armadillo features and additions.
How to apply shaders in Minecraft 1.20.5
Once the Iris shaders mod for version 1.20.5 has been installed on the user's system, they are ready to use their shader of choice in the game. Here's a simple step-by-step guide to implementing it:
Step 1: Launch the Iris Fabric 1.20.5 installation from the official launcher.
Step 2: Once the game loads up, navigate to the options menu and open the video settings.
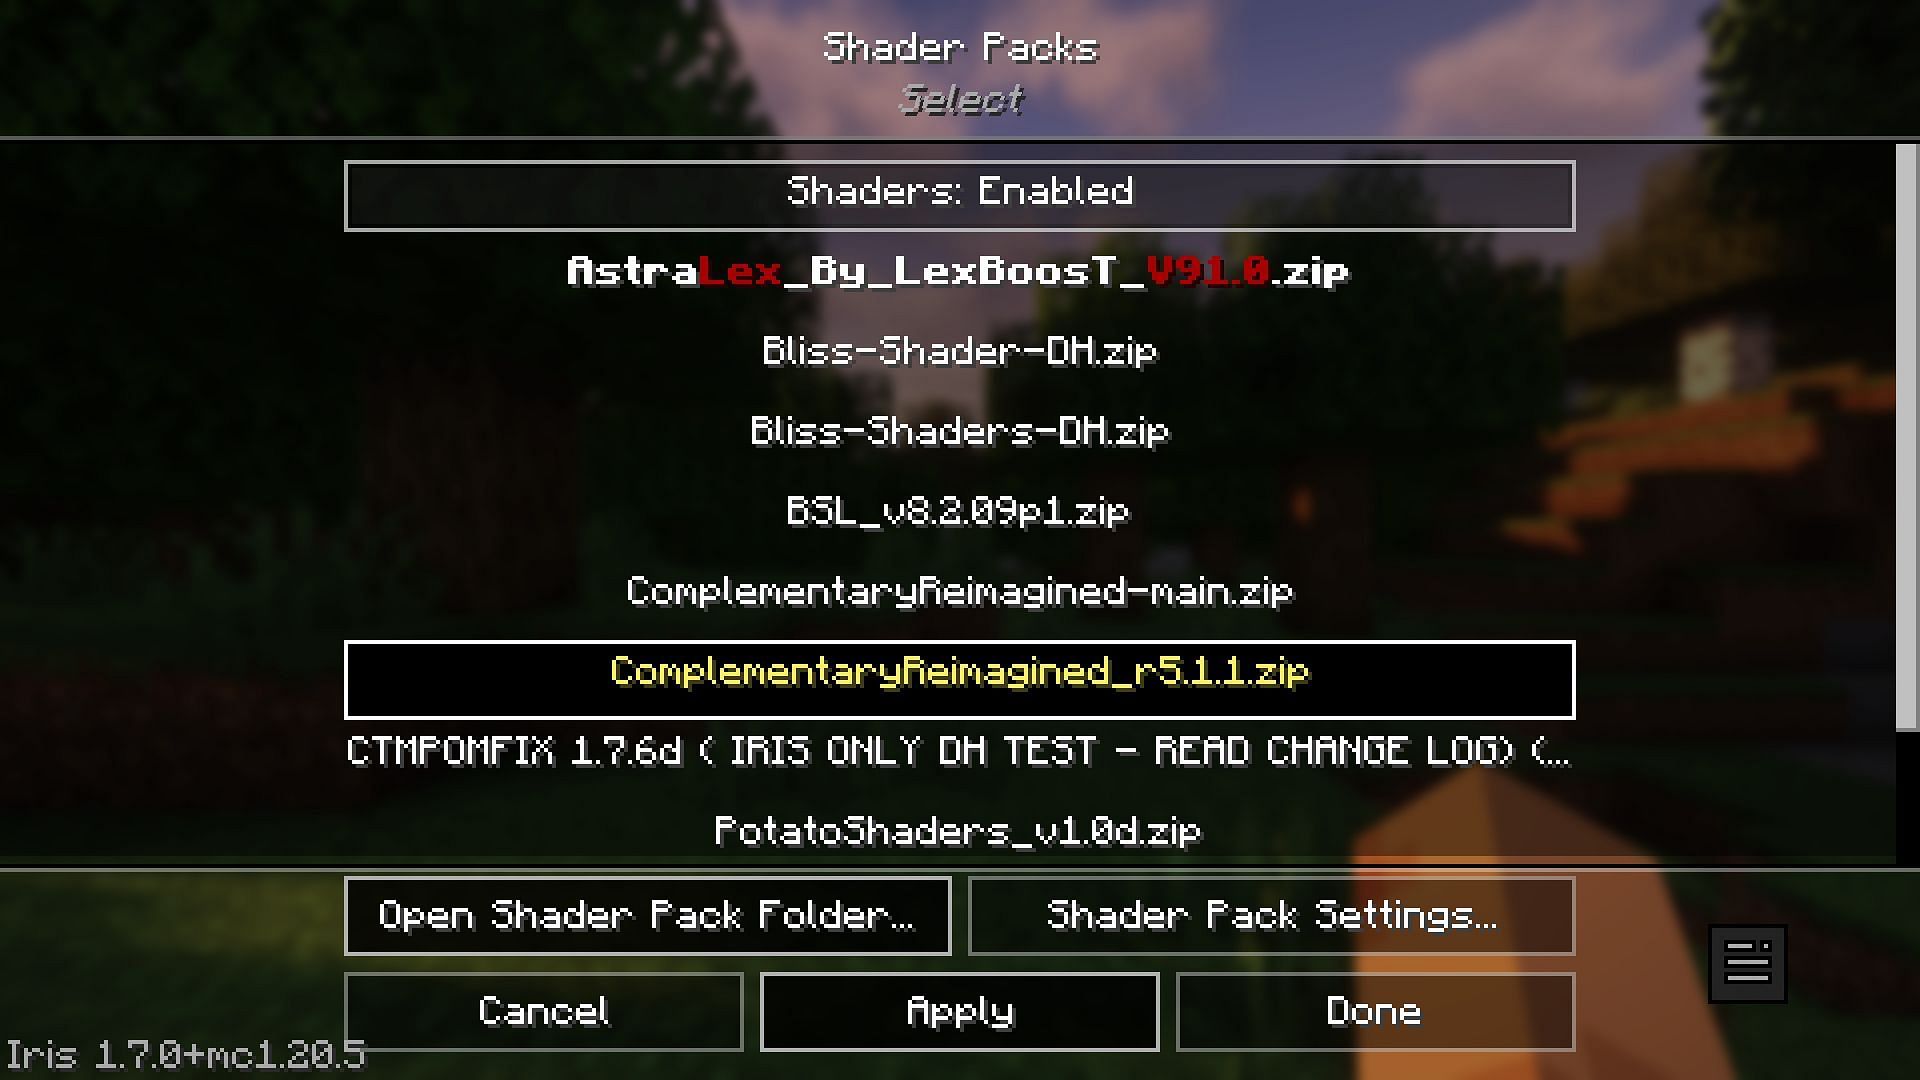
Step 3: Switch to the Shader Packs tab and select a shader. If the user has never used any shaders before, they will need to download and move it to the game's directory. This directory can easily be accessed by clicking "Open Shader Pack Folder" in the Shader Packs tab.
Step 4: Press the apply button.
The chosen shader has now been applied. Players need not worry about using an older shader, as most shaders that worked with previous 1.20 versions will function properly in the latest update.

Uncover new worlds with our Minecraft Seed Generator!