
'%20x='0'%20y='0'%20height='100%25'%20width='100%25'%20%0A%20%20%20%20%20%20%20%20%20%20xlink%3Ahref='data:image/jpg;base64,/9j/2wBDAAYEBQYFBAYGBQYHBwYIChAKCgkJChQODwwQFxQYGBcUFhYaHSUfGhsjHBYWICwgIyYnKSopGR8tMC0oMCUoKSj/2wBDAQcHBwoIChMKChMoGhYaKCgoKCgoKCgoKCgoKCgoKCgoKCgoKCgoKCgoKCgoKCgoKCgoKCgoKCgoKCgoKCgoKCj/wgARCAAFAAoDASIAAhEBAxEB/8QAFQABAQAAAAAAAAAAAAAAAAAAAwf/2gAIAQEAAAAAmZf/xAAUAQEAAAAAAAAAAAAAAAAAAAAF/9oACAECEAAAAGP/xAAUAQEAAAAAAAAAAAAAAAAAAAAF/9oACAEDEAAAACf/xAAdEAACAgEFAAAAAAAAAAAAAAACAwEEABMxMlFx/9oACAEBAAE/ALBLrEoSXDH2wNkN2lYrnjHua/QDn//EABkRAAEFAAAAAAAAAAAAAAAAAAIAAQMScf/aAAgBAgEBPwCMnser/8QAGhEAAAcAAAAAAAAAAAAAAAAAAAECAxEhUf/aAAgBAwEBPwB6iRGD/9k='%3E%3C/image%3E%3C/svg%3E)
Genshin Impact players must complete the "A Particularly Particular Author" quest to access several other Tsurumi Island quests.
This quest is only the first of four World Quests in the "Through the Mists" series. Completing "A Particularly Particular Author" unlocks "Octave of the Maushiro." However, players don't start this quest on Tsurumi Island.
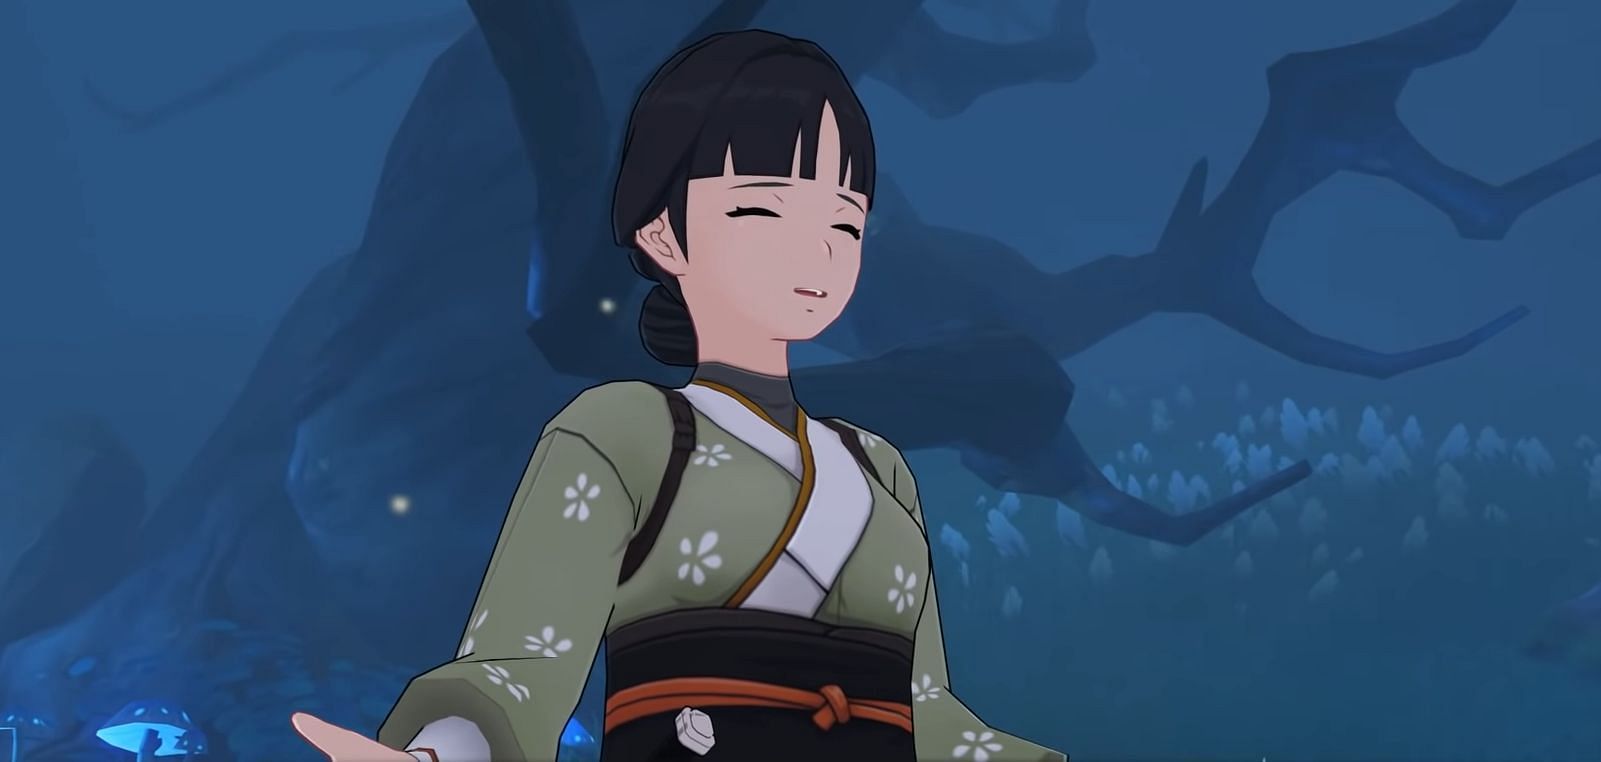
Instead, they must start by talking to Katheryne in Inazuma City. From there, they will be instructed to speak to Sumida. After a lengthy dialogue, they will receive Sumida's letter; to be given to Kama in Ritou to access Tsurumi Island.
Looking for Crossword hints & solutions? Check out latest NYT Mini Crossword Answers, LA Times Crossword Answers, and Atlantic Crossword Answers
Genshin Impact quest guide: A Particularly Particular Author
Genshin Impact players will arrive at Tsurumi Island. It's advisable to activate the Statue of the Seven nearby to get a better glimpse of the locations. The first thing players might notice is the heavy fog.
From there, follow what the quest advises the player to do. It's vital to go through the main gate, as that will dispel a good portion of the fog. They will then meet a kid named Ruu. Afterwards, the player must go to the place marked on the map.
Note: Enemies will prevent the player from talking to people and from collecting feathers later on. Either run further away from them or eliminate them to continue with the "A Particularly Particular Author" quest.
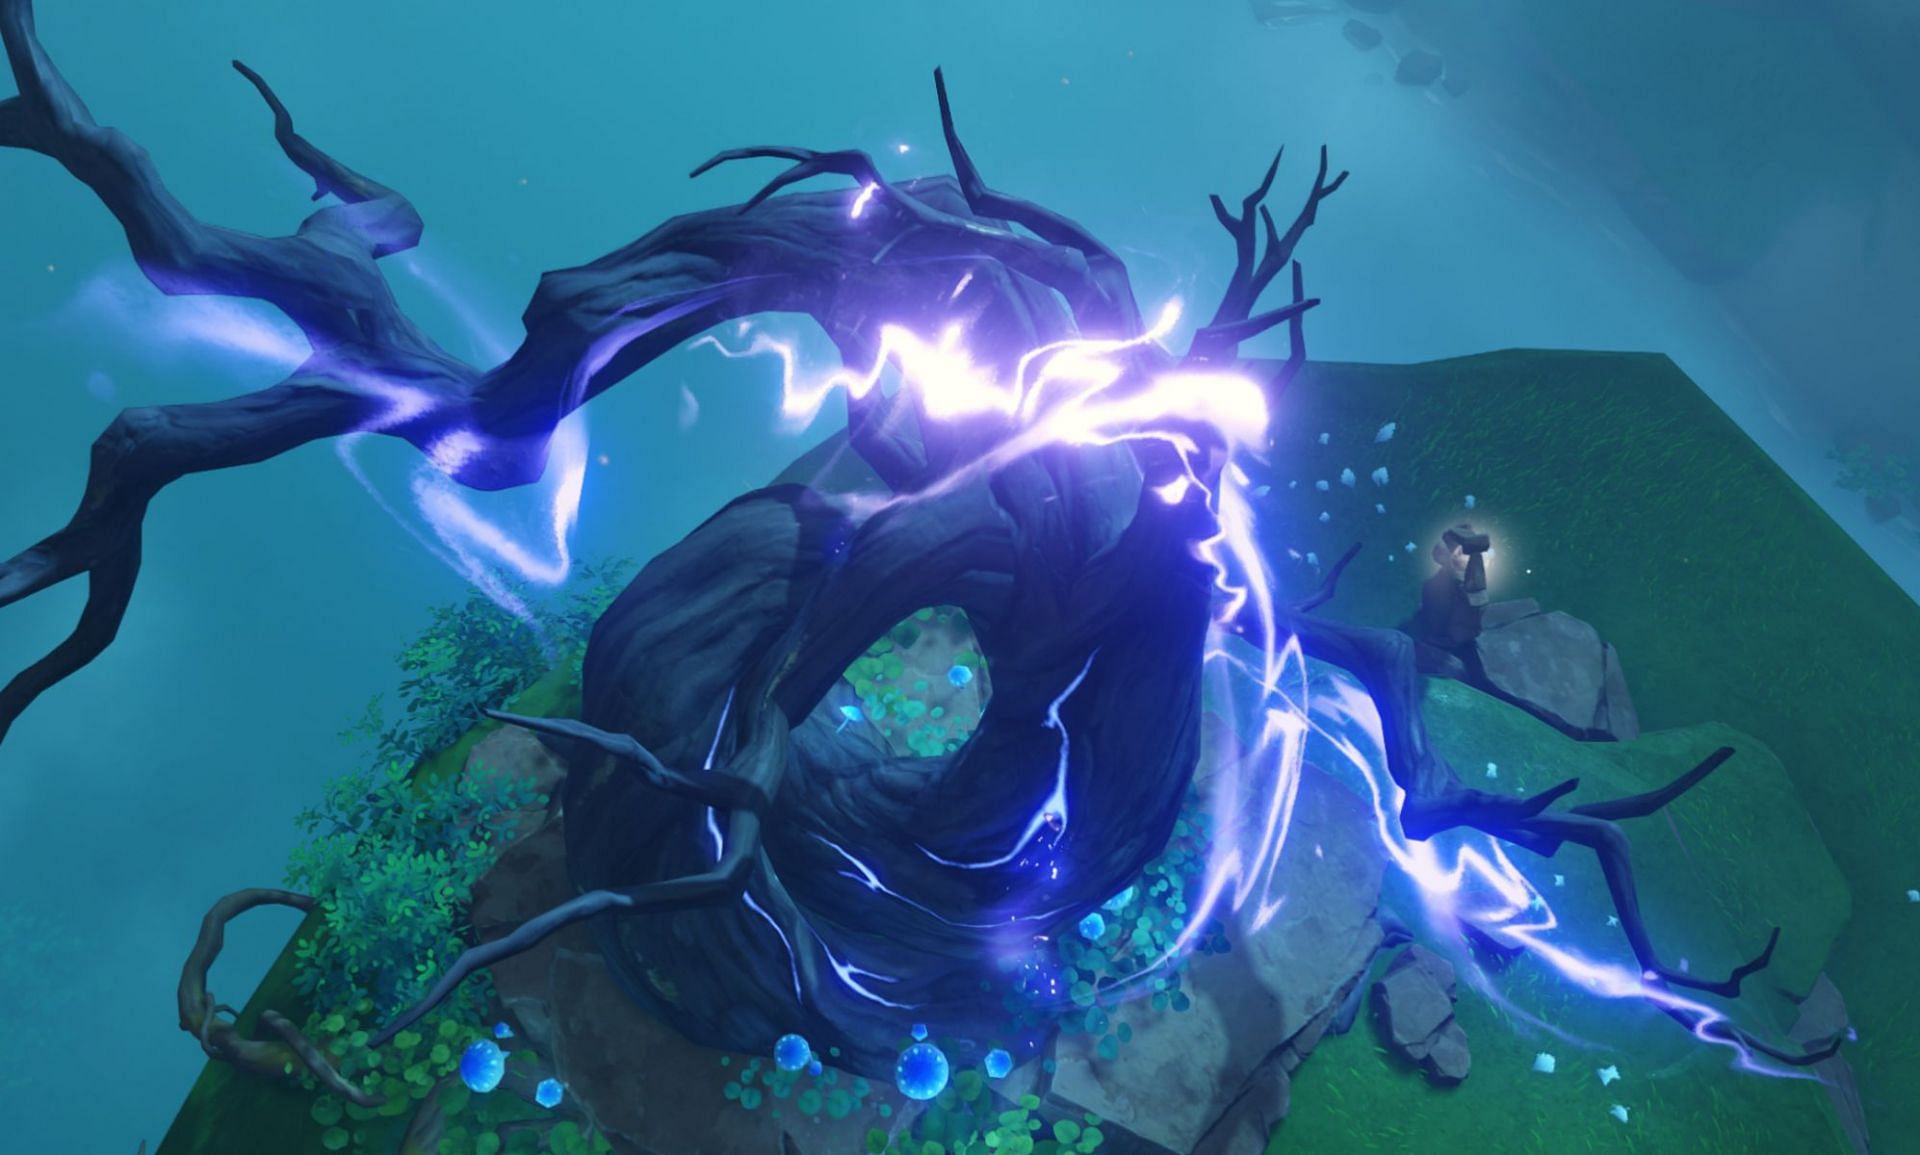
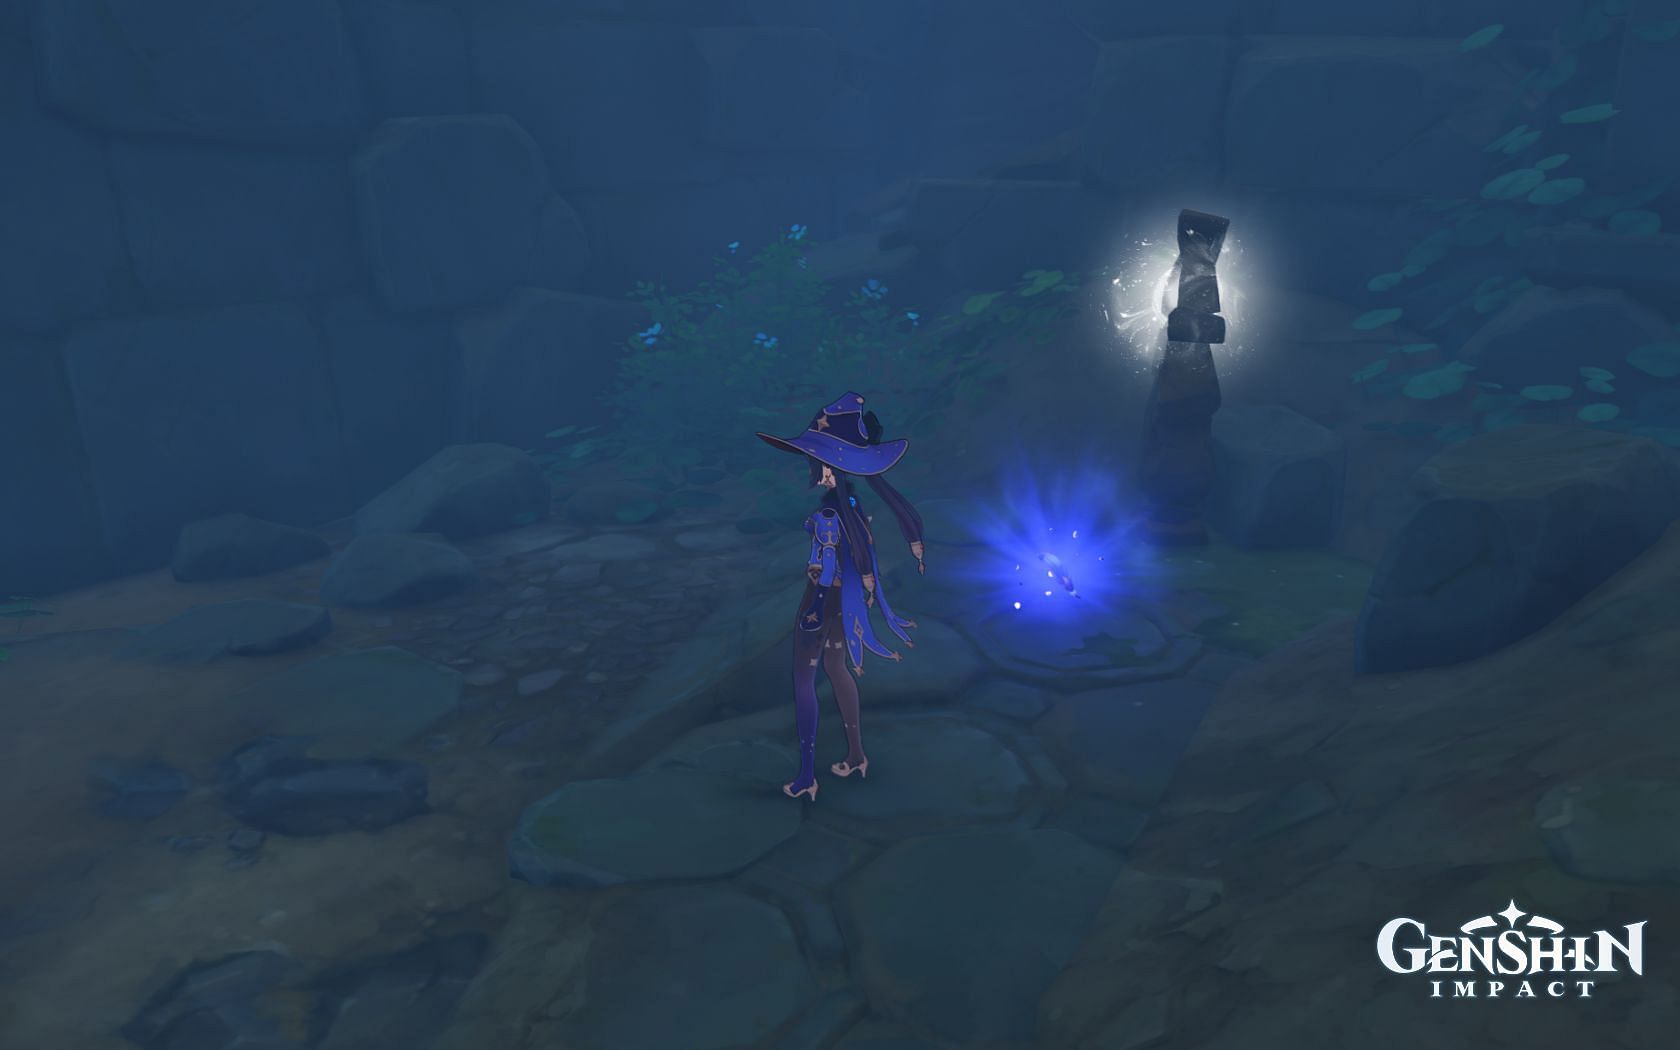
The first offering in A Particularly Particular Author
A cutscene will play, and the player will have to get close enough to the perch (the giant tree). Then the player must find three feathers and return to the perch for a proper offering.
Note: All feathers in this quest will show up on the minimap. The first three are out in the open and include no puzzles to overcome. It's vital to look at the minimap to spot them all (this will be important when the player must make three more offerings later in the quest).
The player will then head to the Moshiri Ceremonial Site to talk to a priest. They will now see three major areas full of fog; these are the following three locations where the player must make an offering to a perch.
Genshin Impact players can approach the next three offerings in any order.
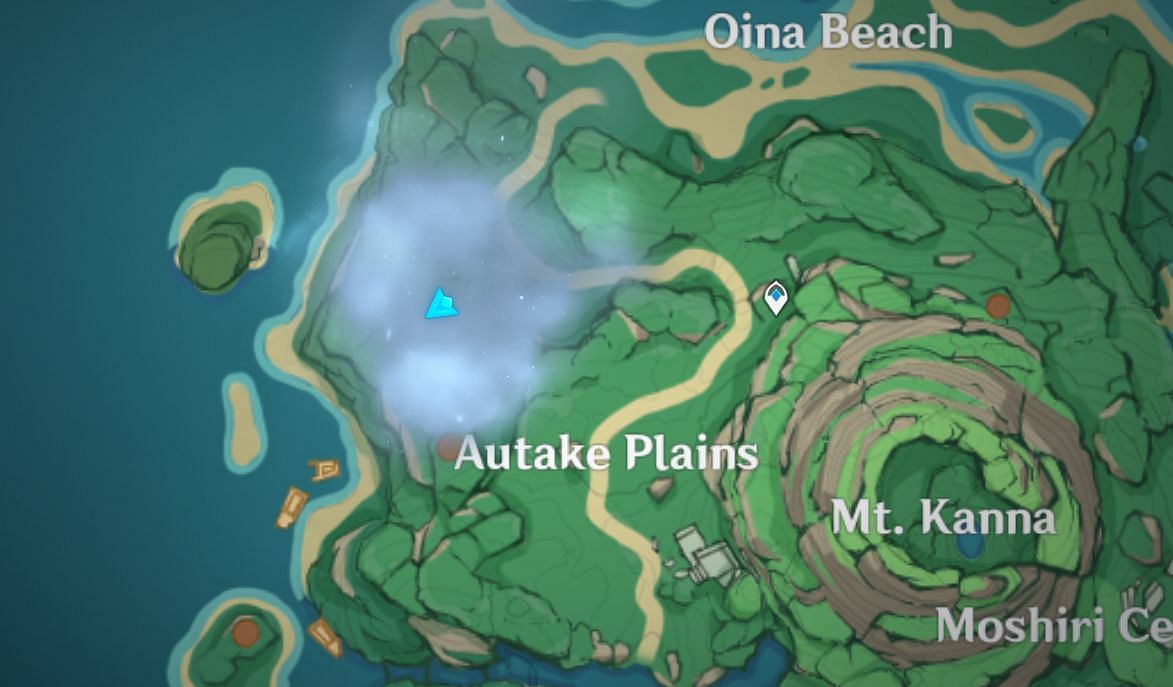
Autake Plains perch
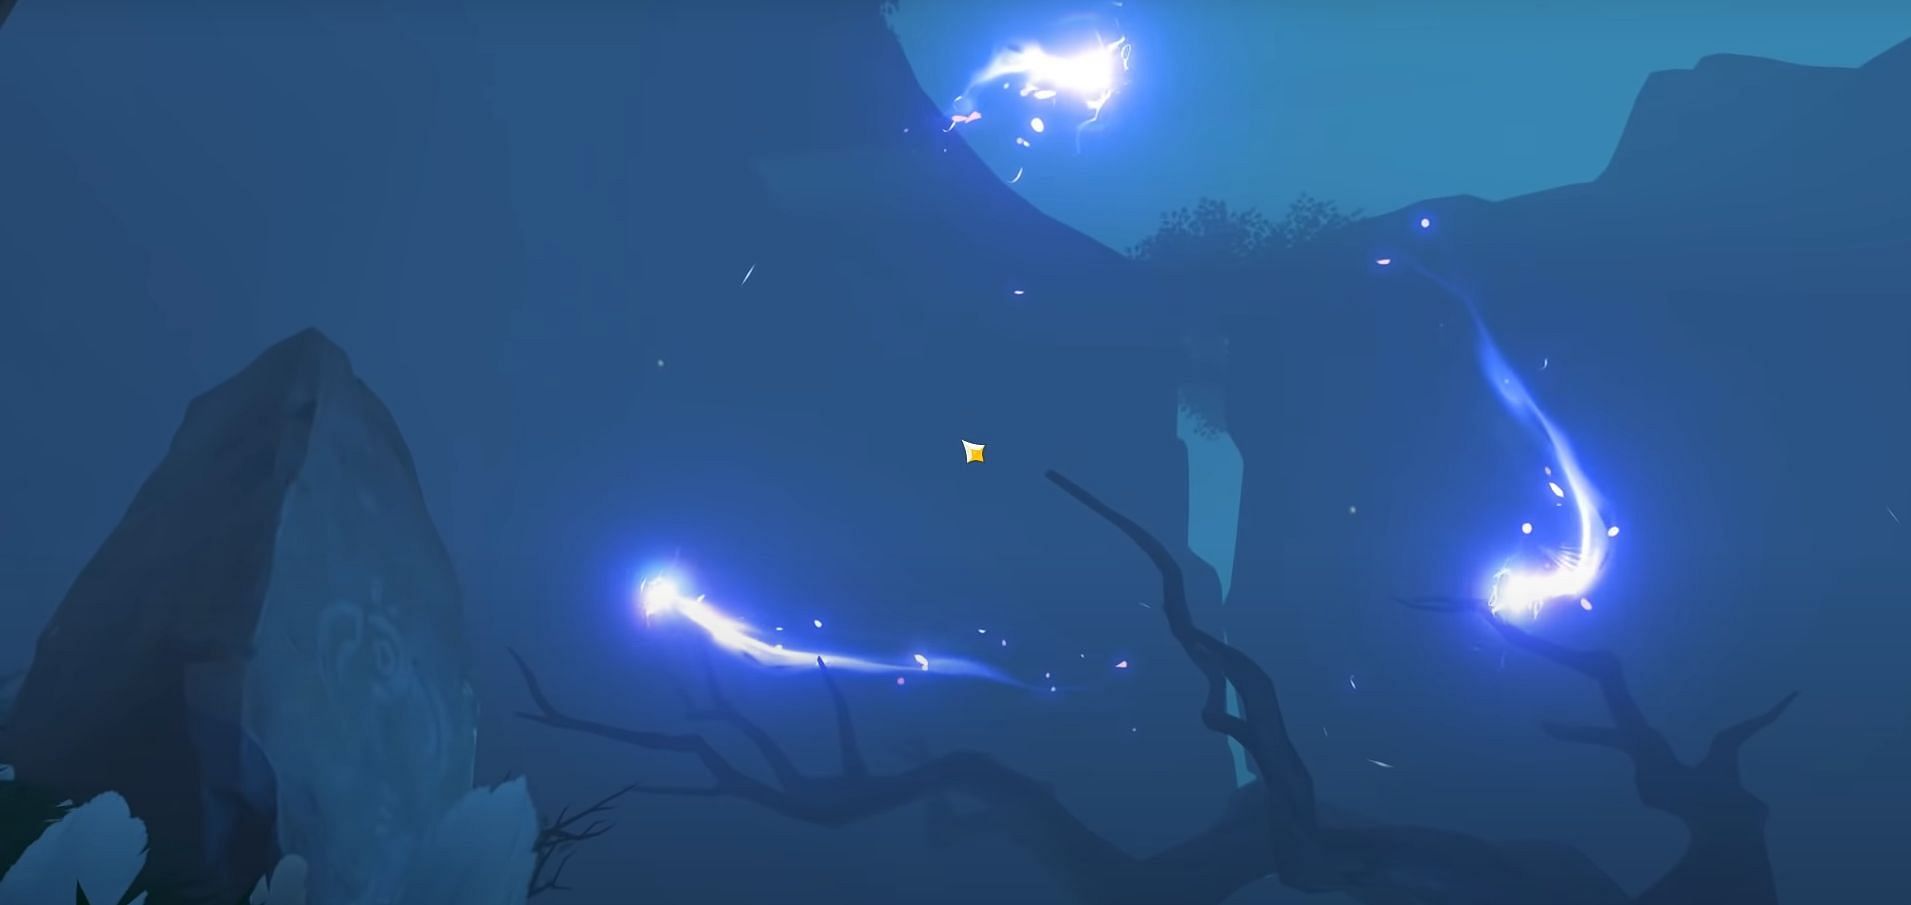
There will be three Thundercraven Rifthound Whelps in this location; dispose of them. Afterward, approach the perch like in the previous section to trigger a cutscene where three feathers scatter over this area.
All feathers should appear on the minimap. The western one has two Rockhound Rifthound Whelps to eliminate. The eastern one involves Electrogranum, as the player must pass through a Thunder Barrier. From there, they must get rid of one Rockhound Rifthound Whelp.
Finally, the third feather is on the roof of a hut. Thundercraven Rifthound Whelp and a regular Thundercraven Rifthound are present here. Collect the final feather and return to the perch to make an offering.
Chirai Shrine perch

The Chirai Shrine perch is similar to the previous one. Players approach the perch and have some dialogue, and then must collect all three feathers. This part of "A Particularly Particular Author" doesn't have any significant puzzles of note.
The first feather is west, and it will move when approached. Follow up and use the Phase Gate. There will be two Electro Whopperflowers, so either avoid them or eliminate them to collect this feather.
The second feather is in a hole south of the perch (pictured below).
The final feather in the Chirai Shrine portion of the "A Particularly Particular Author" quest is southwest of the perch. There are two Thundercraven Rifthound Whelps around this area, so deal with them to collect the feather.
Return to the perch to complete this part of the "A Particularly Particular Author" quest.
Shirikoro Peak perch
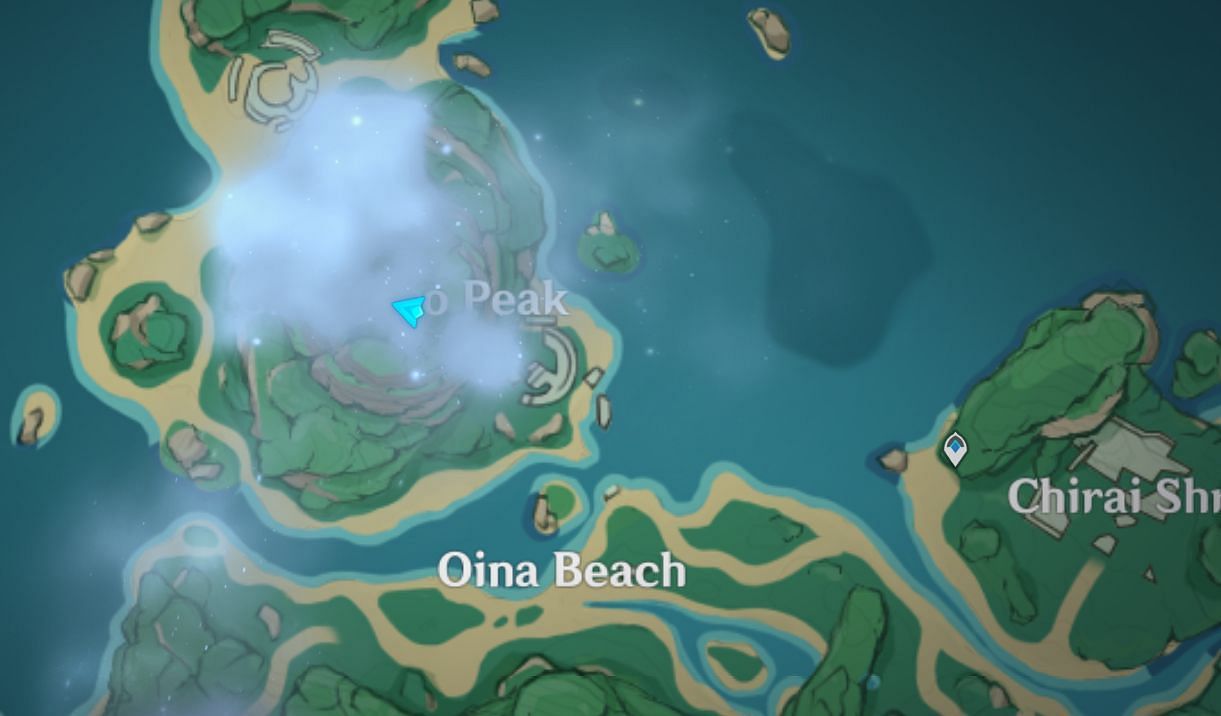
The final perch of "A Particularly Particular Author" involves several puzzles and is longer in length than the previous two perchs. Genshin Impact players can access this perch by climbing the mountain or going through the southeast entrance.
After witnessing the cutscene here, the three feathers will scatter as usual. Genshin Impact players must drain the water to progress with the "A Particularly Particular Author" quest.
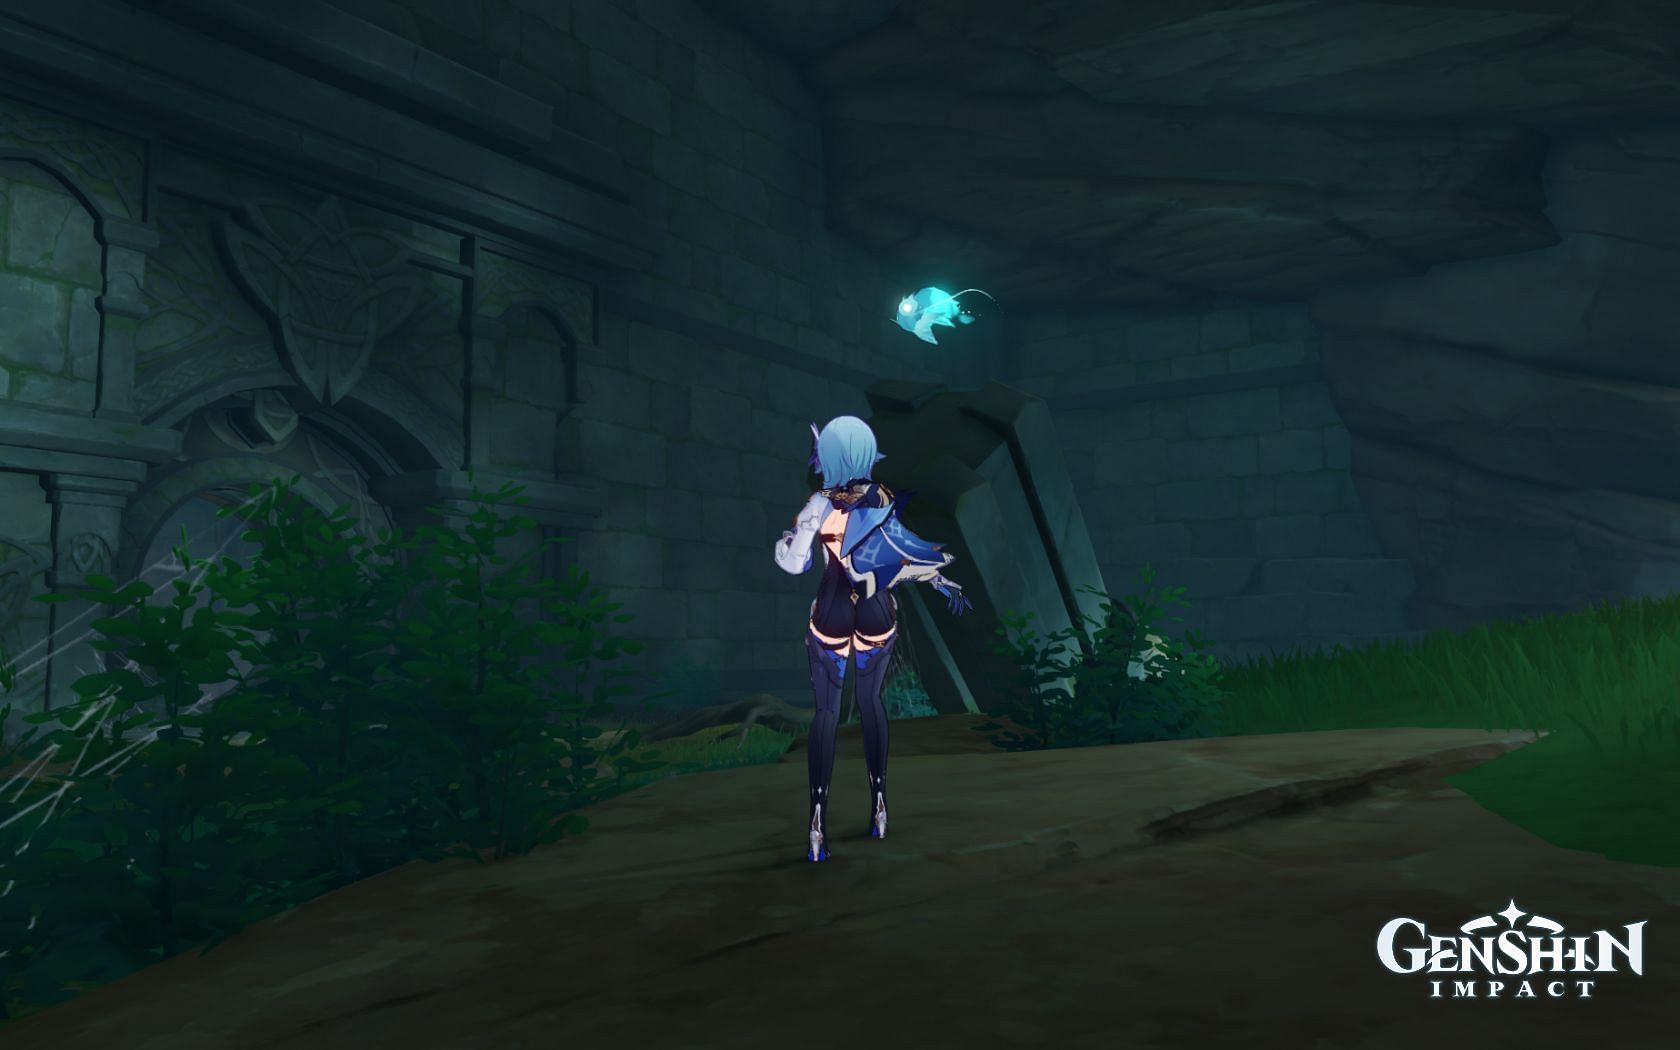
To do so, they must find three Seelies.
Go to this Seelie and lead it back to the statue.

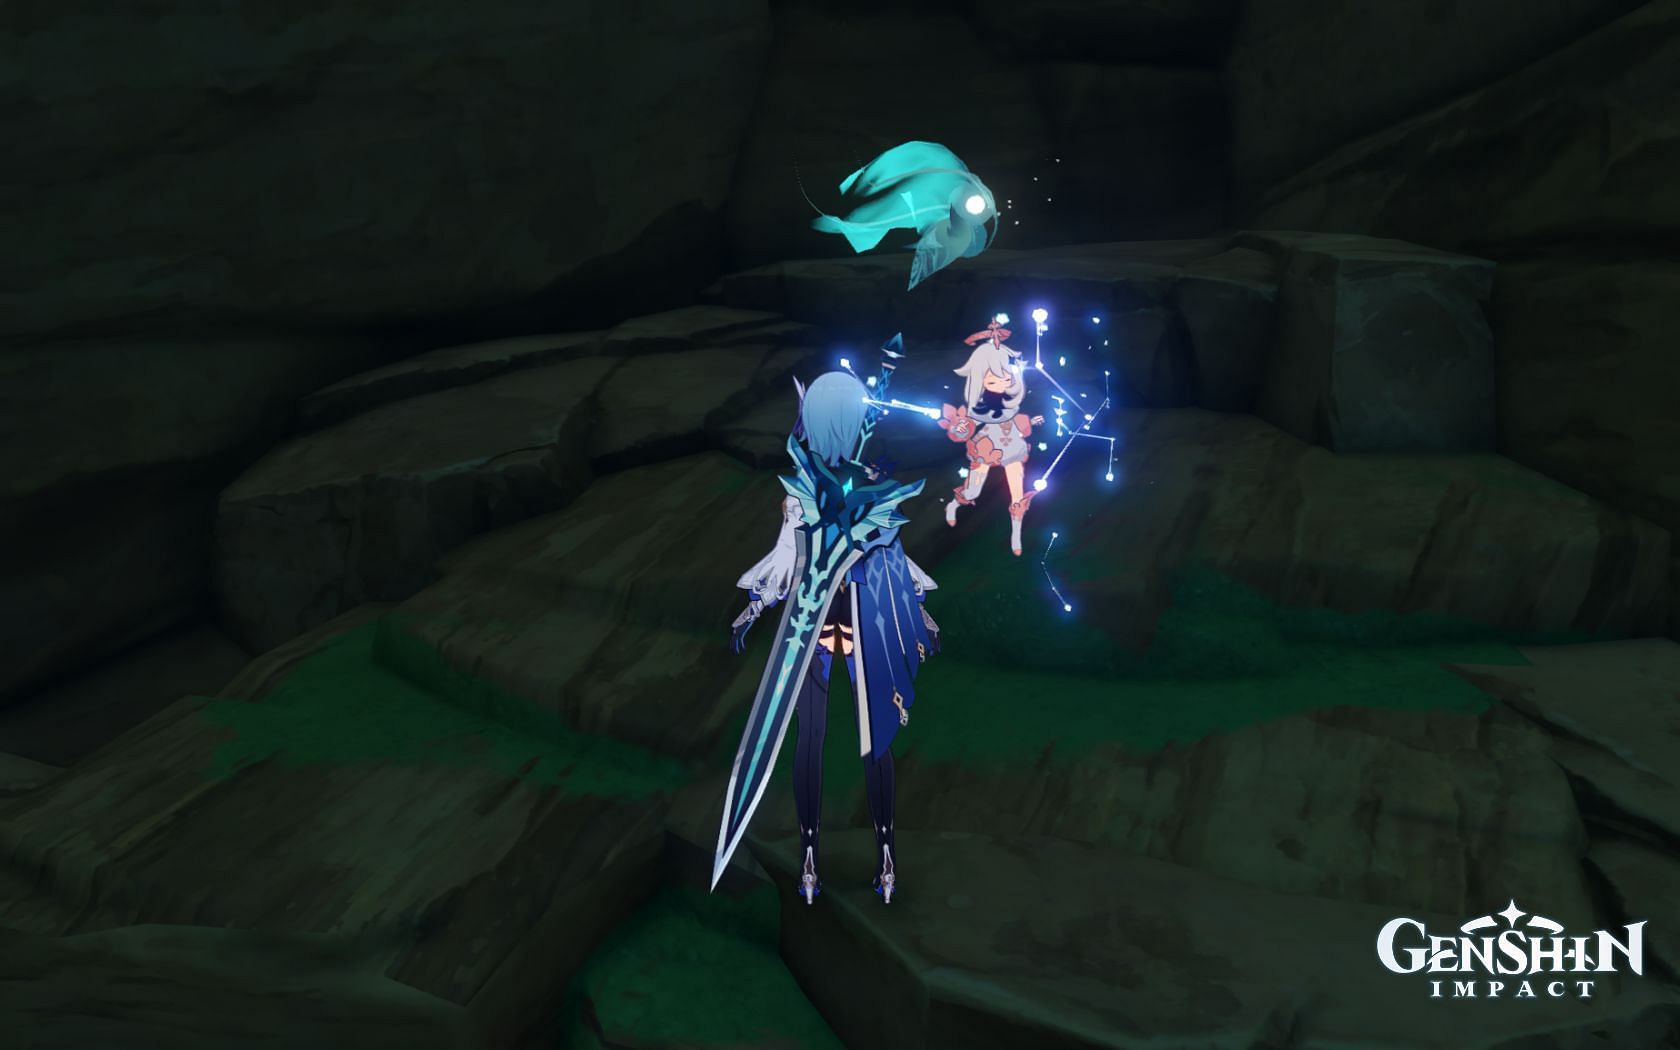
Players should climb the nearby tree to find the second Seelie.
The entrance south of the statues has the final Seelie; return it to the statue to drain the water.
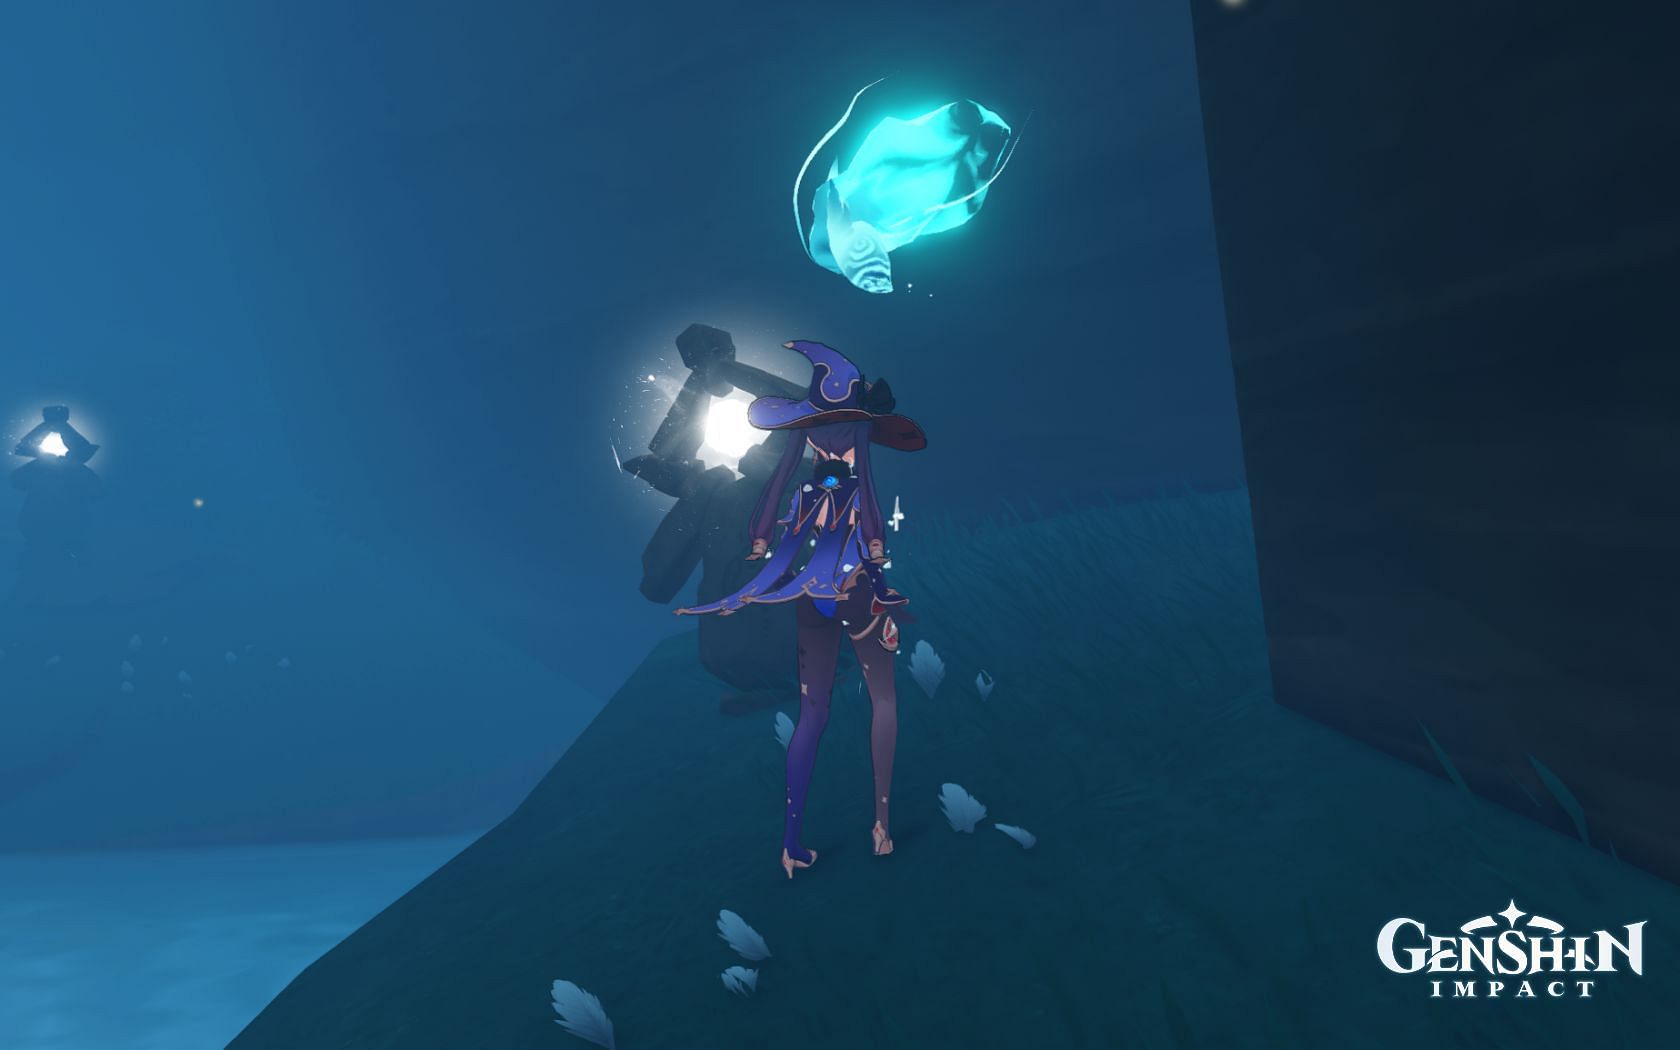
Jump down to notice three feathers clumped together. Two of them will leave the area, allowing the player to collect one feather.
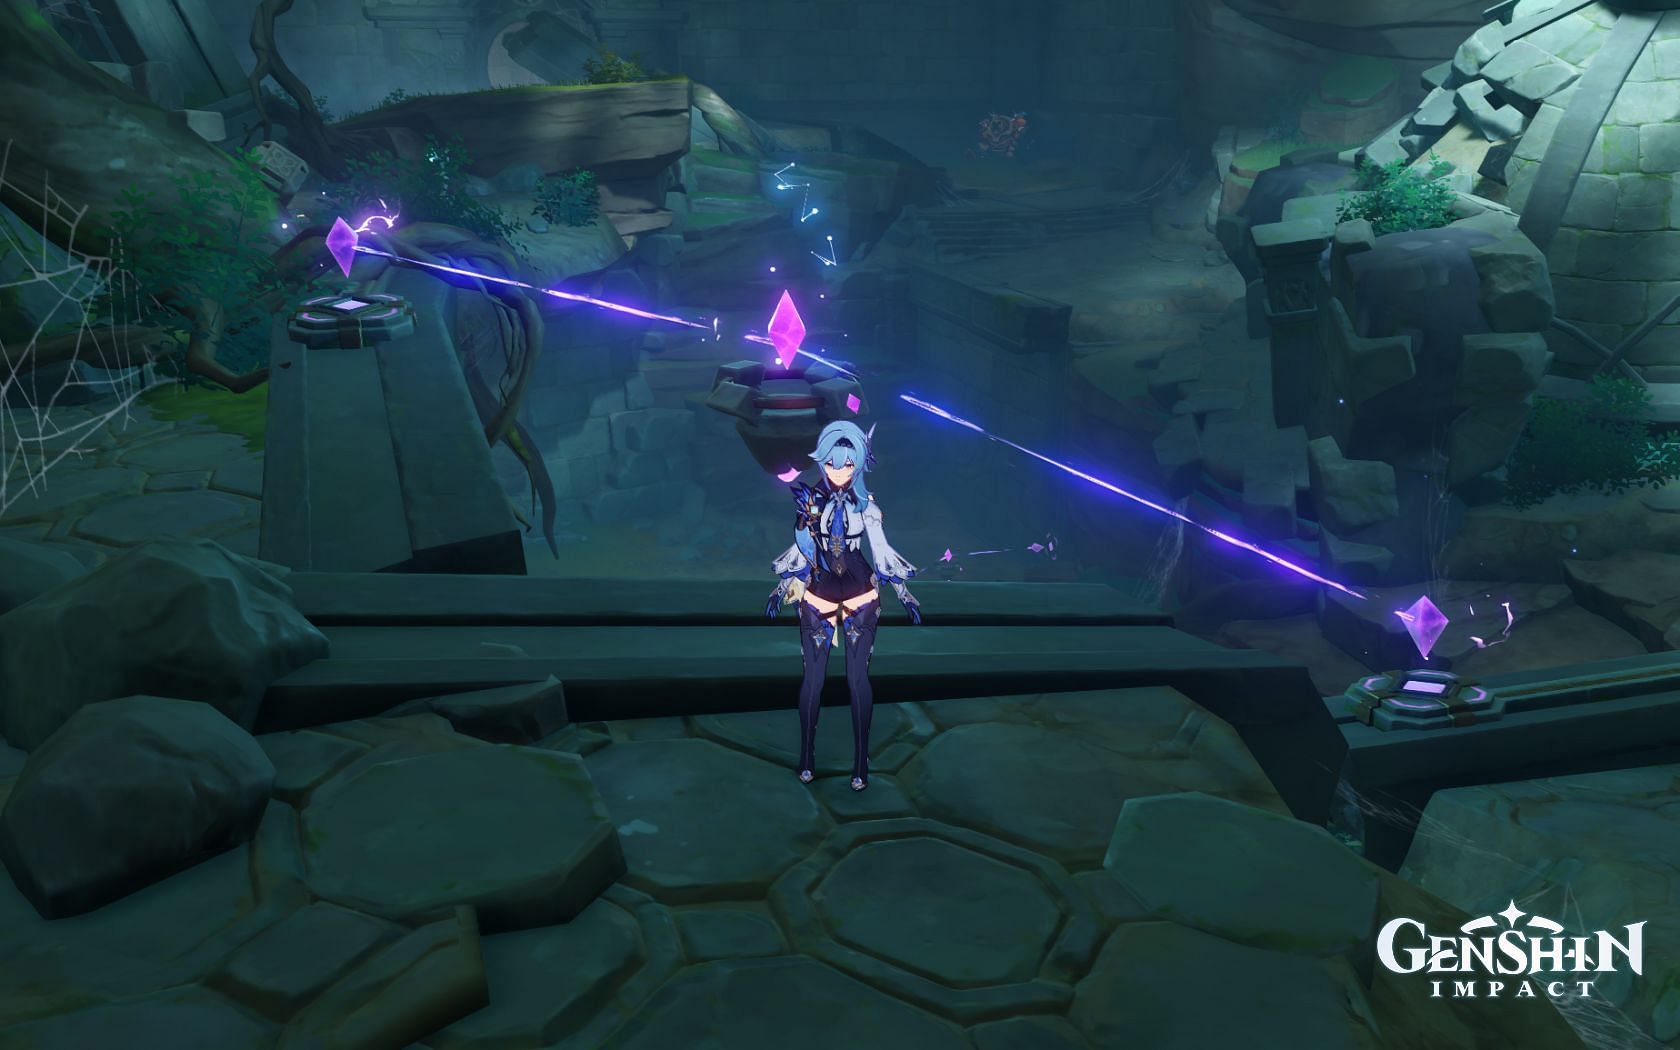
Genshin Impact players must now progress through a big door and solve a Relay Stone puzzle.
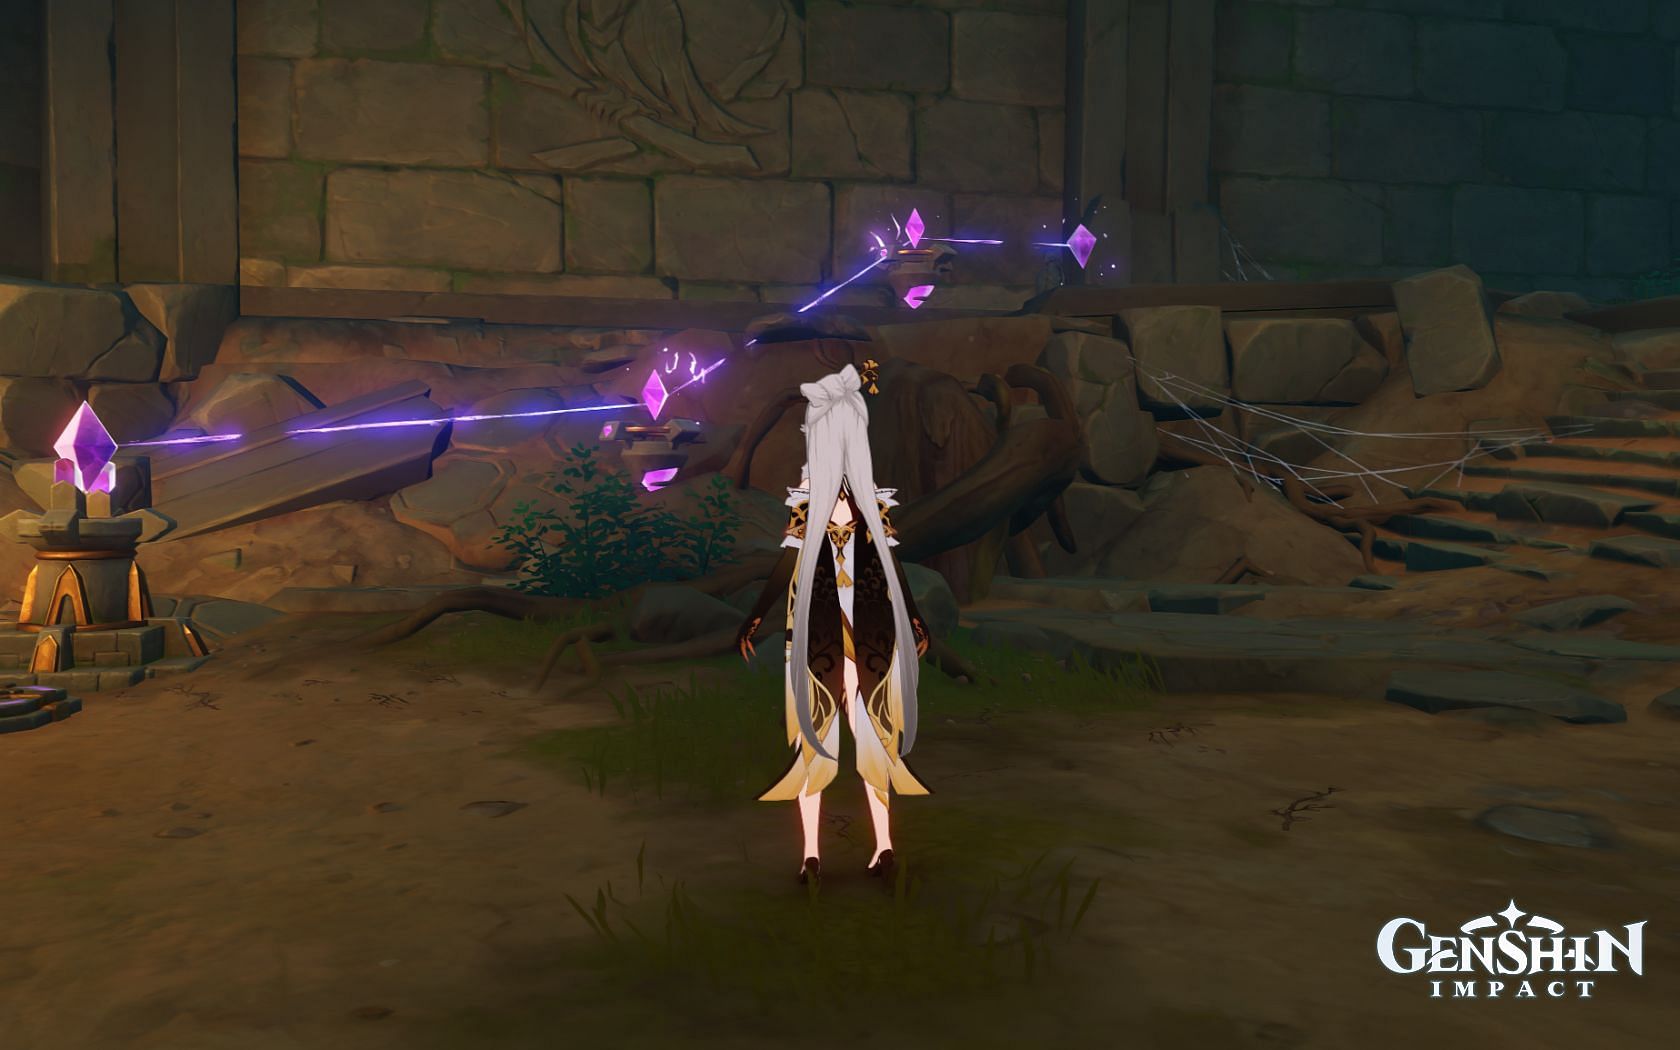
Relay Stone Puzzles involve the player picking up a Relay Stone and putting it in a place that will move the electrical current through all stones. Genshin Impact players only need to solve two of them in this room. The top image is one of them, and the next one is another.
There is a Relay Stone to pick up at the northern end of the room. Move it to the location shown in the above image.
If the Genshin Impact player does it correctly, the cube will now be activated; allowing the player to go through the big door.
The next room will have a Ruin Golem, so deal with it and pick up the second feather near it. Now, Genshin Impact players must drain the water yet again in "A Particularly Particular Author."
Like before, it involves taking three Seelies back to their statues.

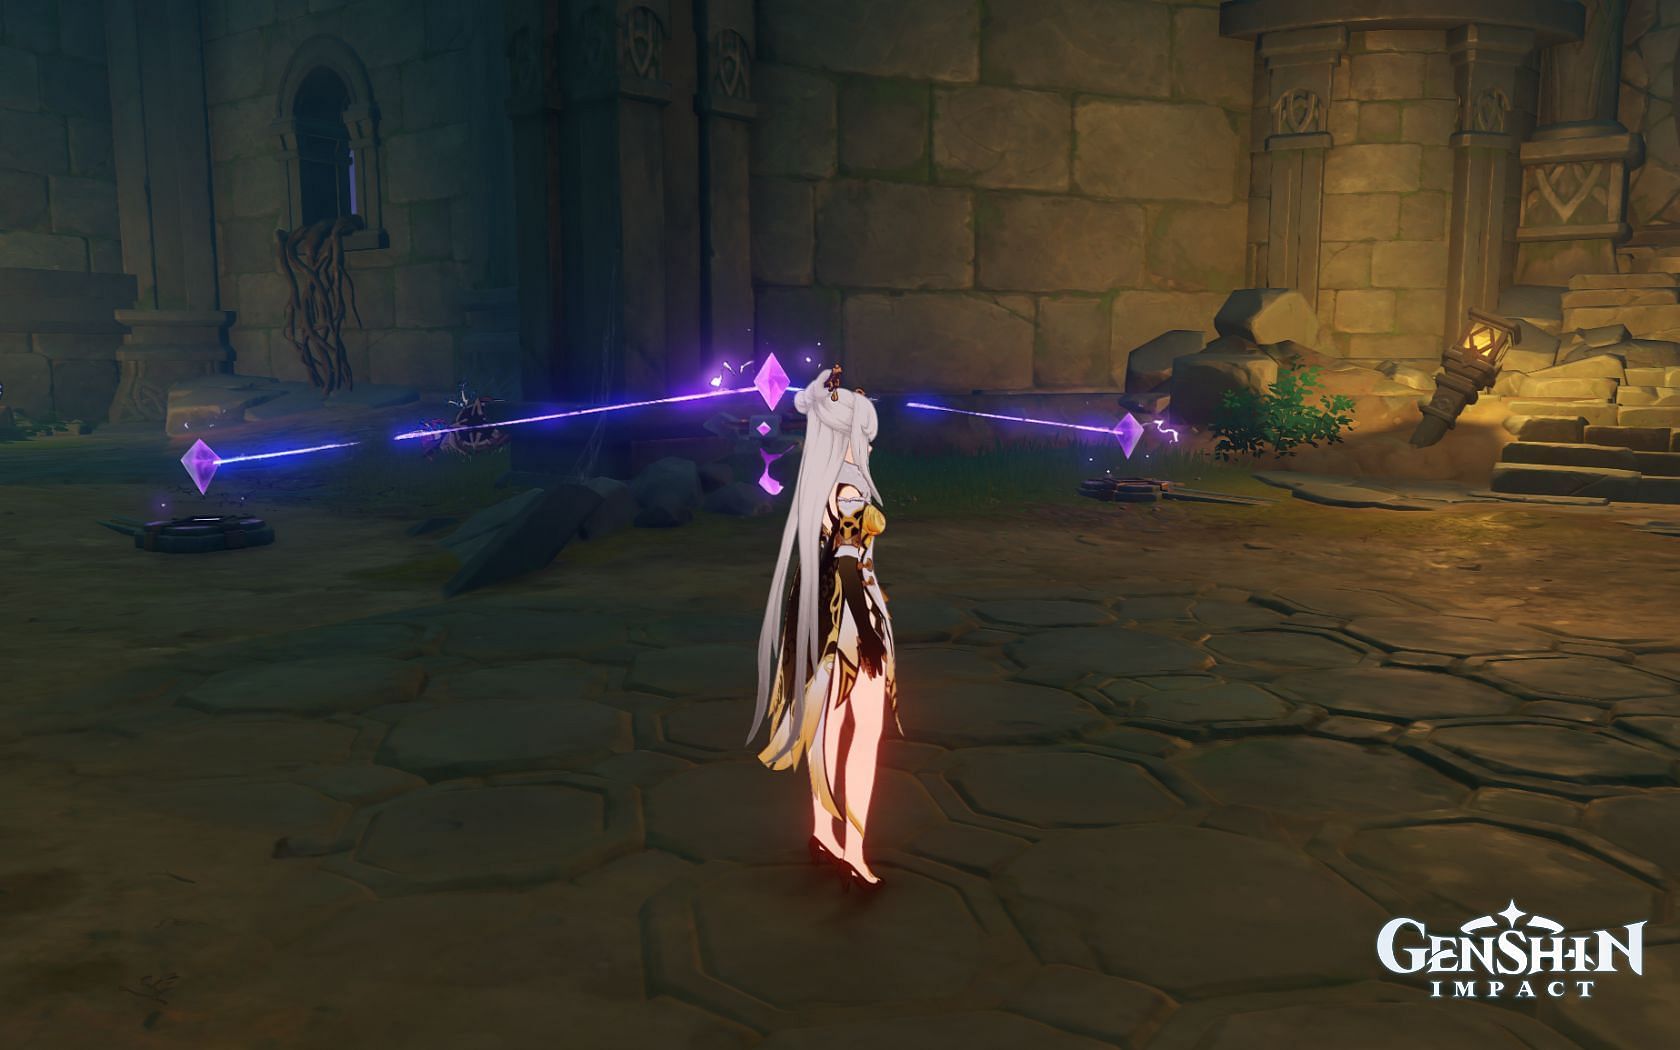
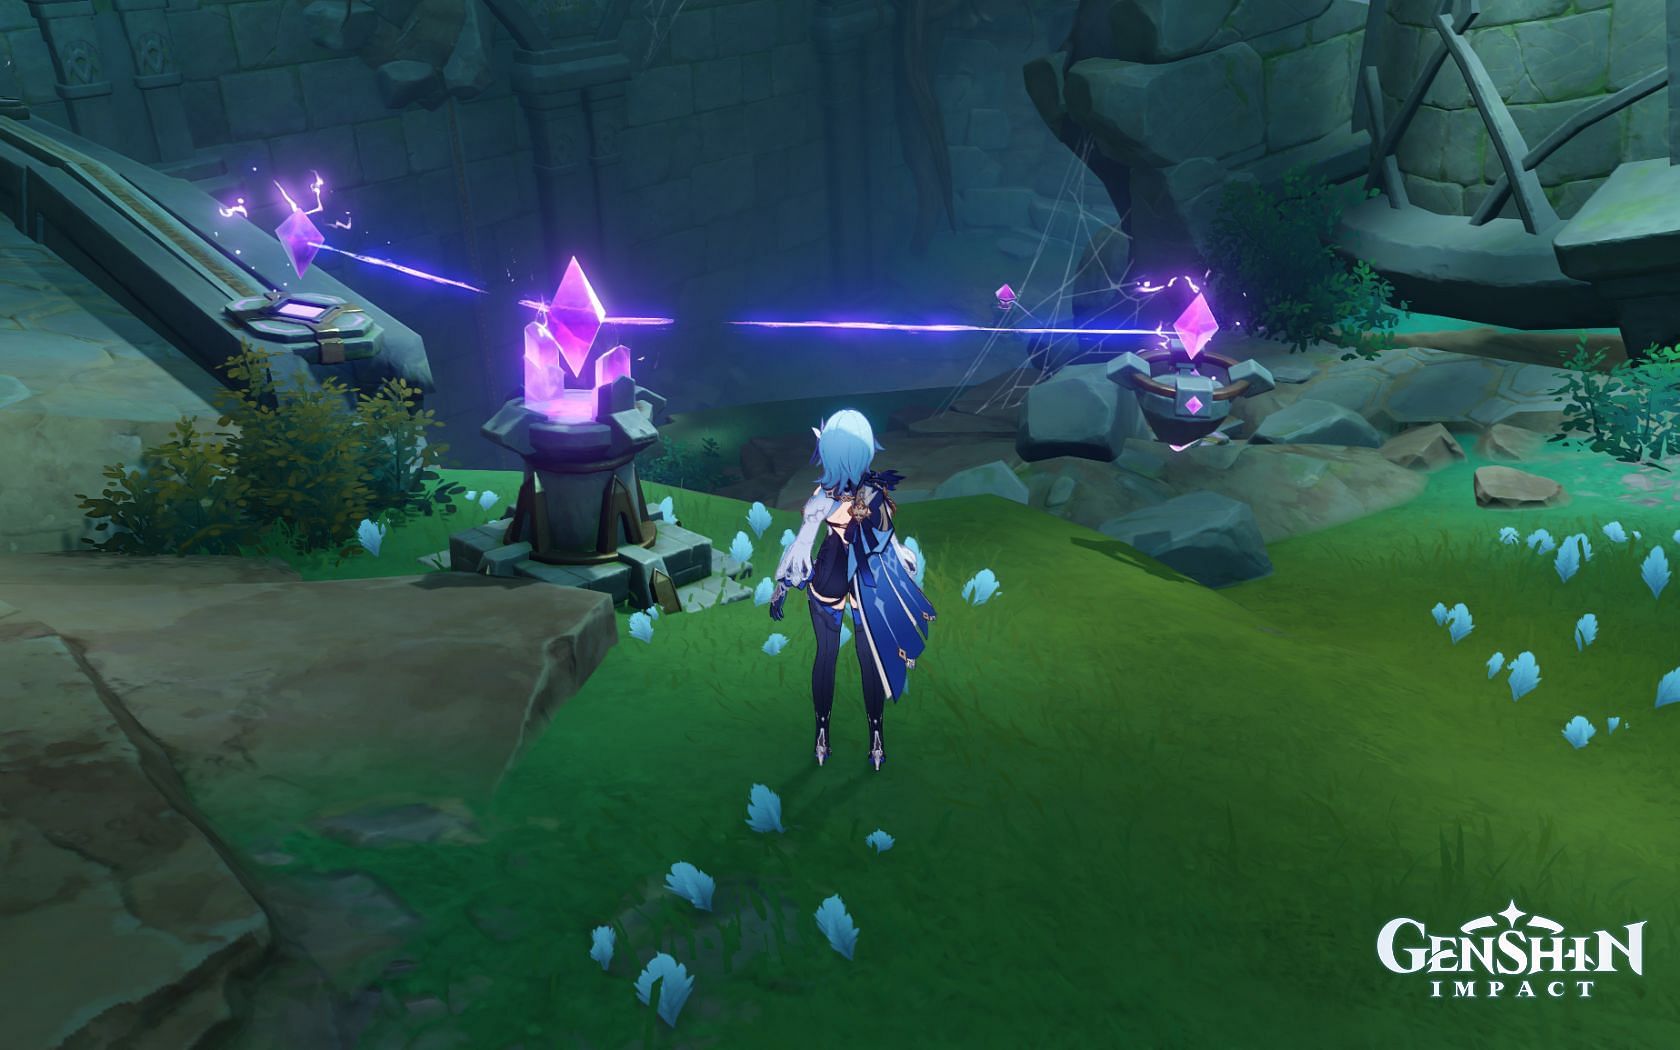
Once all Seelies have been returned to their proper place, players must complete another Relay Stone puzzle in the "A Particularly Particular Author" quest.
Activate the cube to drain the water and pick up the spare Relay Stones down there. Another relay stone is present near the breakable rock where the players found one Seelie.
Relay Stones can levitate in the air.
Some solutions are obvious in this quest.
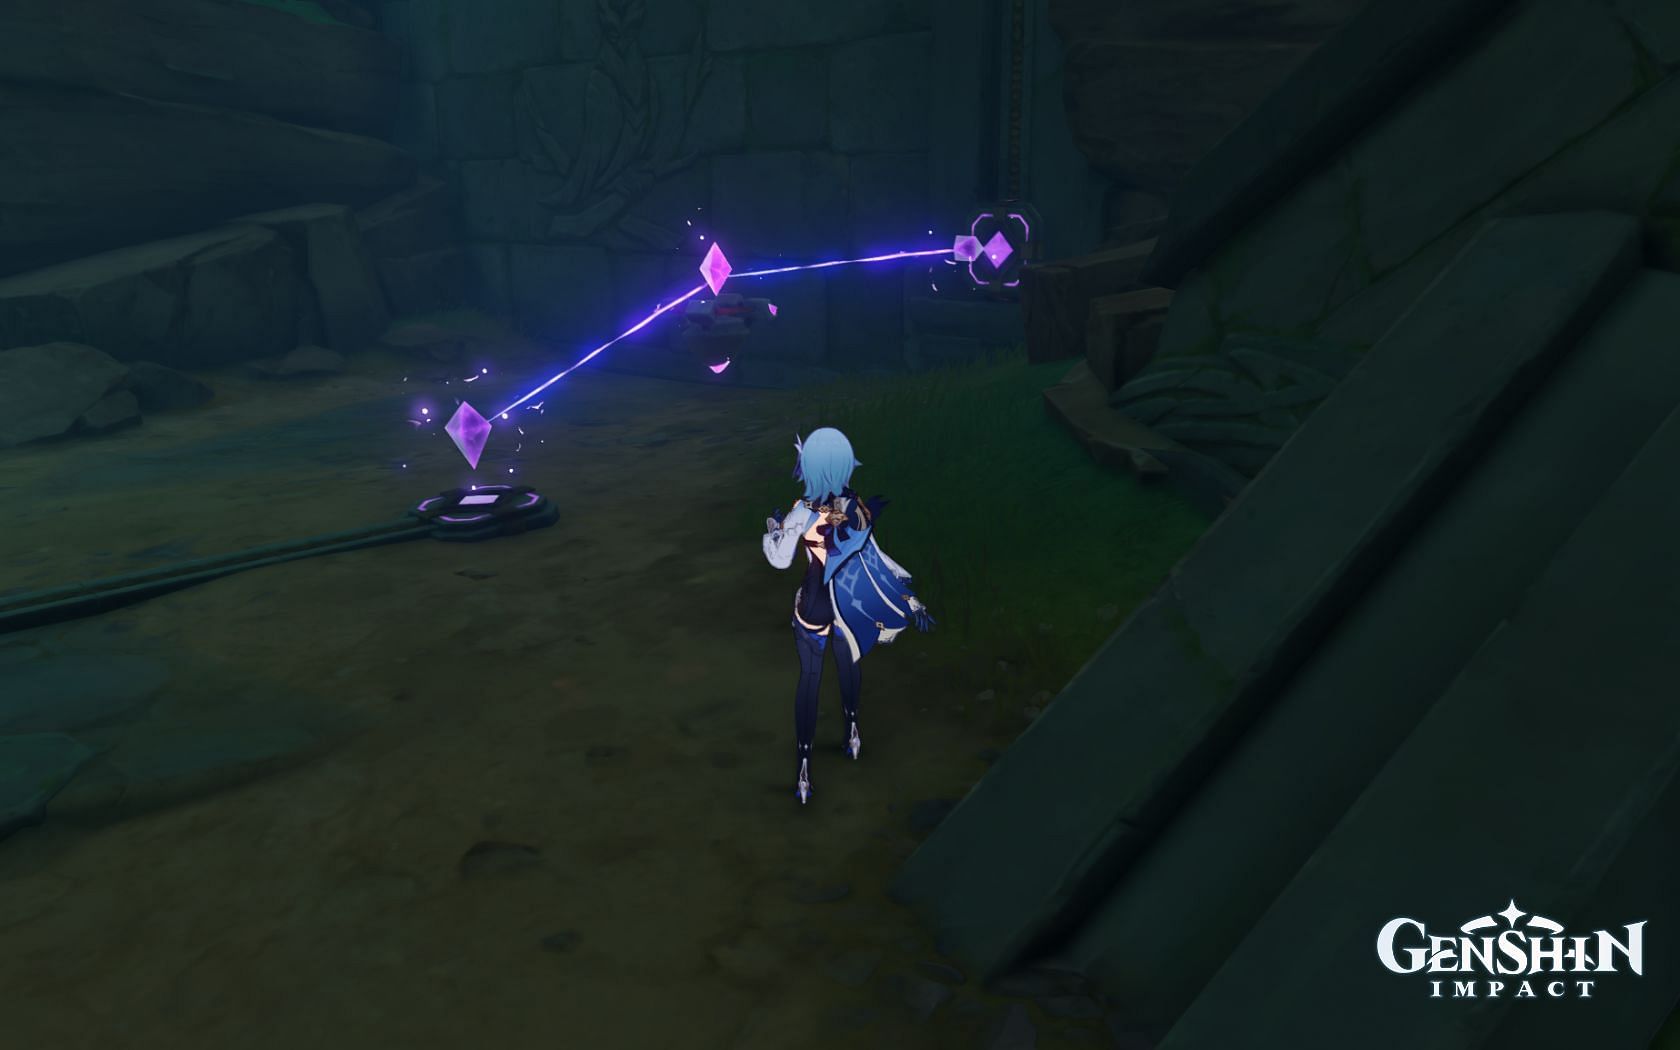
This puzzle is the final one in the quest. Activate the newly unlocked cube to go through another large door. The last feather should be to the right inside the entrance.
Head back to the perch to make the final offering in the "A Particularly Particular Author" quest.
Cleaning up
Head back to the Moshiri Ceremonial Site to see that nobody is there. Collect the Maushiro and talk to Kama to return. Afterwards, speak to Sumida to find out that the player lost the Maushiro.
Nonetheless, the "A Particularly Particular Author" quest is now complete.
Are you stuck on today's Wordle? Our Wordle Solver will help you find the answer.