
'%20x='0'%20y='0'%20height='100%25'%20width='100%25'%20%0A%20%20%20%20%20%20%20%20%20%20xlink%3Ahref='data:image/jpg;base64,/9j/2wBDAAYEBQYFBAYGBQYHBwYIChAKCgkJChQODwwQFxQYGBcUFhYaHSUfGhsjHBYWICwgIyYnKSopGR8tMC0oMCUoKSj/2wBDAQcHBwoIChMKChMoGhYaKCgoKCgoKCgoKCgoKCgoKCgoKCgoKCgoKCgoKCgoKCgoKCgoKCgoKCgoKCgoKCgoKCj/wgARCAAGAAoDASIAAhEBAxEB/8QAFgABAQEAAAAAAAAAAAAAAAAAAAQG/8QAFQEBAQAAAAAAAAAAAAAAAAAAAAP/2gAMAwEAAhADEAAAAMZEJ//EAB4QAAICAQUBAAAAAAAAAAAAAAECAwQAEiMxk7Hh/9oACAEBAAE/AILi2mZIyyQCNeY1LBifMas2o7y9P3P/xAAXEQEAAwAAAAAAAAAAAAAAAAABAAIR/9oACAECAQE/AKrs/8QAFhEBAQEAAAAAAAAAAAAAAAAAAQAC/9oACAEDAQE/AHJf/9k='%3E%3C/image%3E%3C/svg%3E)
Episode 1 in Death Stranding 2 opens on a quiet hilltop. Sam and Lou are just sitting, the world still and distant, with Minus Sixty One by Woodkid playing in the background. You’ll learn what to expect, how to navigate the terrain, and how to deal with threats from BTs, Bandits, and more.
Let's walk through the moment of this opening chapter, starting from the prologue and going right up to the final delivery of Episode 1 in Death Stranding 2.
A guide to complete Episode 1 in Death Stranding 2
Episode 1 in Death Stranding 2: Homecoming with Lou

Looking for Crossword hints & solutions? Check out latest NYT Mini Crossword Answers, LA Times Crossword Answers, and Atlantic Crossword Answers
From the hill, your job is to walk — that’s it. However, nothing’s ever that simple in Death Stranding 2. The terrain is a mix of ridges, slopes, and narrow valleys. You must read the ground properly using your Odradek (press L1 to scan). Lou reacts to sudden jolts, so if you slip or stumble, prepare to calm them down. To do that, hold L1, press down on the D-pad to interact with Lou, then rock your controller gently to soothe her.
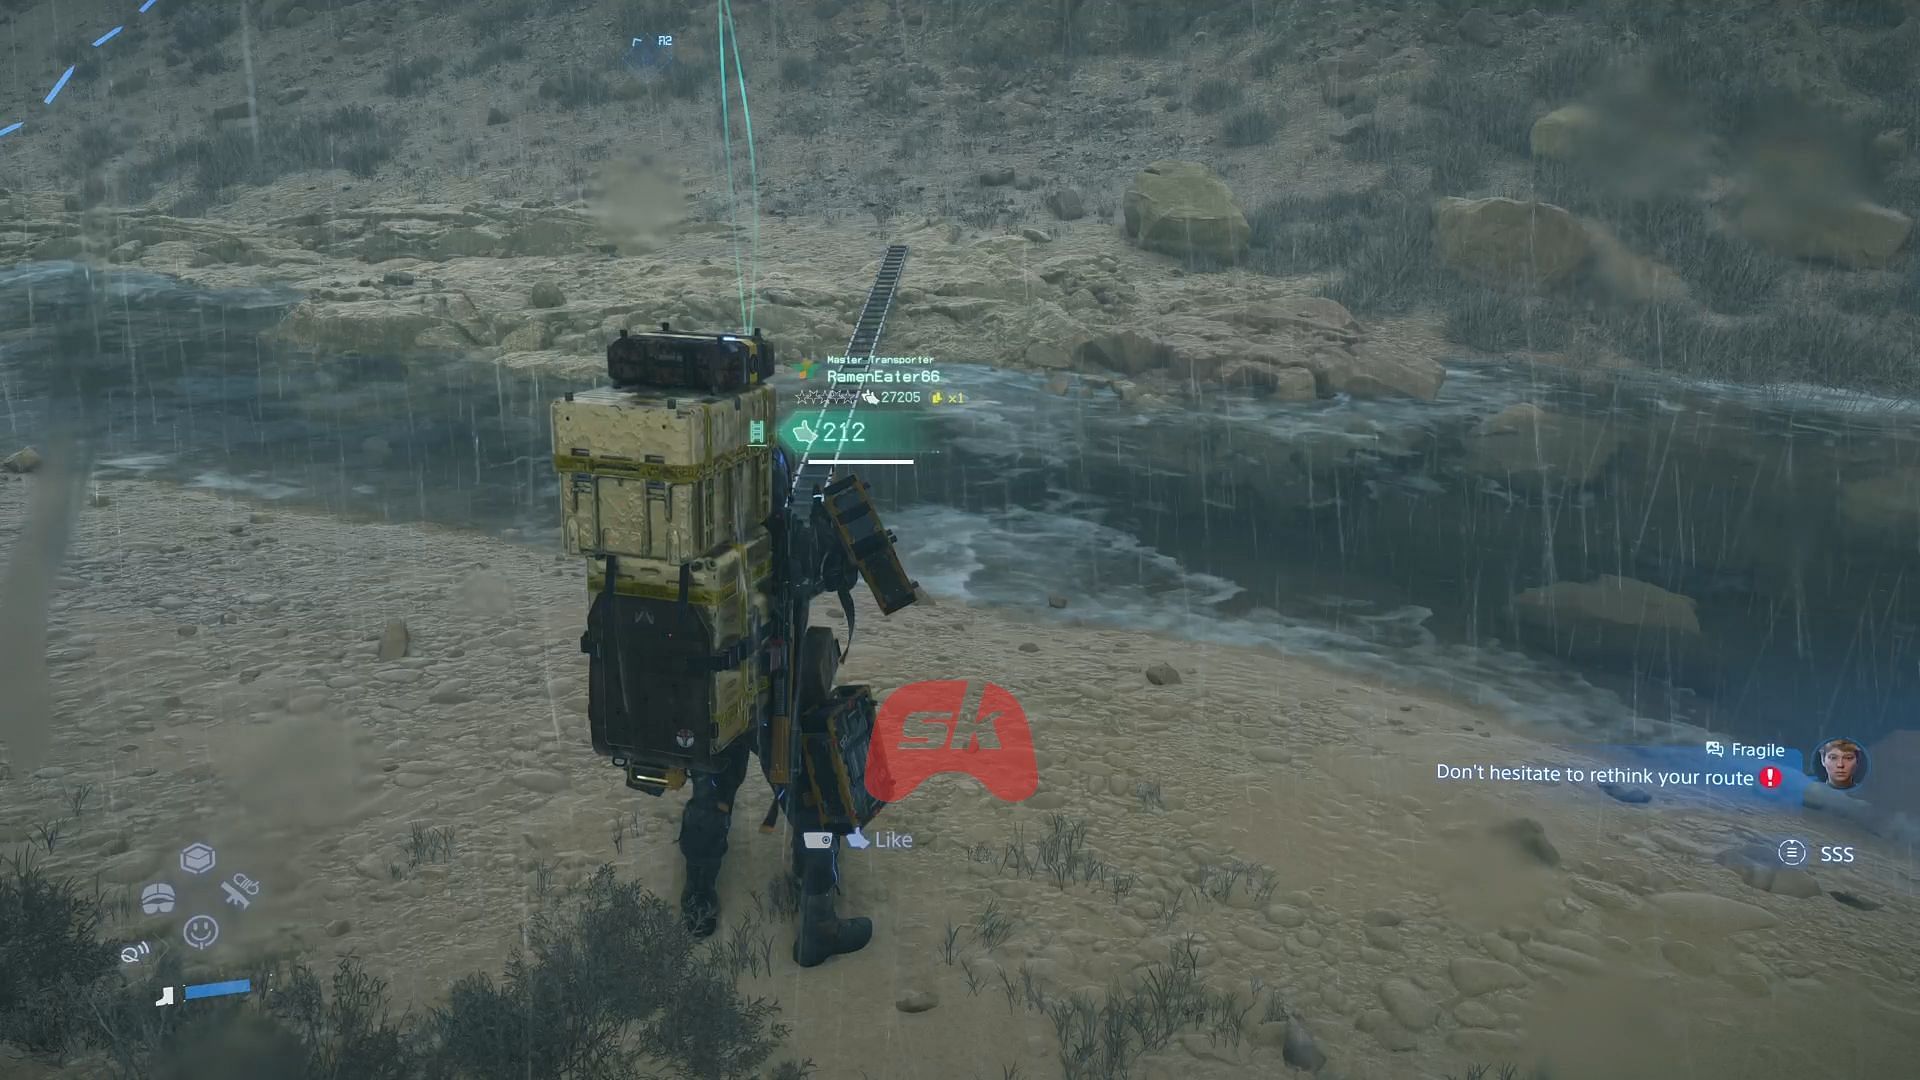
Midway through the hike, Timefall kicks in. Expect the weather to turn. A bit later, you’ll reach a stream. You can use a ladder. To deploy one, hold right on the D-pad, select the Tools slot on the Ring Menu, scroll to the ladder, equip it, and then use L2 to aim and R2 to place. The ladder's the safer bet, especially if you're still getting a feel for balance.
When you finally spot the shelter, things take a turn. You don’t walk into safety — instead, BT-shaped illusions flicker around the entrance. It’s not real danger, just a clever decoy Sam set up. He triggers a switch, and the fake threat drops, revealing the entrance. You head inside, with Lou in tow.
Also read — Death Stranding 2: All available platforms
The Shelter and Fragile’s proposal

Inside, the tone shifts. You’re not just reconnecting cables and crafting ladders anymore — you're seeing who Sam has become during Episode 1. There’s a rhythm to his life now, built around Lou. Then, Fragile shows up, cutting through the illusions like they’re nothing. No threat, no fight. The conversation that follows is your first real info dump — but it’s not dull. She explains how the United Cities of America (UCA) and Drawbridge are working together now.
The mission she presents to Sam? Get back out there. Head south, reconnect all of Mexico to the chiral network, and reach a facility where Deadman is waiting. He has something urgent to share, and they expect a massive BT to appear soon in the region. You’ll need to help deal with it.
You get a dialogue choice here: say “yes” or “no.” But Kojima being Kojima, the “no” option doesn’t go very far. Choosing it leads to a fade-out and the scene resetting — a subtle way of telling you, “You’re doing this whether you like it or not.” After a few replays from altered camera angles, “yes” becomes the only path forward.
Fragile stays behind with Lou. You gear up. Episode 1 in Death Stranding 2 officially begins.
Connecting the dots: The first real delivery

After the few scenes of Episode 1 in Death Stranding 2, Sam receives the Ring Terminal from Fragile — this wrist-mounted interface helps him monitor mission routes, inventory, and deliveries. Your objective now is to deliver a Chiral Network Gateway to C1 – Ciudad Nudo del Norte. This is your first proper order in Episode 1, and it comes with a few helpful tools:
- 1x Assault Rifle [MP] Lv1
- 1x Maser Handgun
- 1x Blood Bag
- 1x Ladder
Hit Triangle on your gamepad to auto-arrange your cargo, so everything is balanced on your back. Your destination sits across a rough stretch of terrain — hills, rivers, and a massive bridge controlled by bandits. You’ll want to steer clear of direct confrontation here. Killing enemies is not just discouraged — it can lead to a catastrophic Voidout if you don’t dispose of corpses properly in Death Stranding 2.
Instead of rushing across the bridge, I’d recommend swinging left. You’ll notice a metal fence lining the riverbank — go for the furthest break in the fence. A sandstorm might kick in as you move, giving you natural cover.
Stick close to the river and head straight to the bridge. Cross it using the broken-down vehicles, then stay left to avoid buildings ahead. From there, it’s a clear path to Ciudad Nudo del Norte. Drop the cargo and sync them into the network using the Q-pid once the handoff is complete.
Delivery 2 – Remote medical units for Villa Libre

From Ciudad Nudo del Norte, grab your next order via the terminal. Villa Libre needs Remote Medical Units delivered. The direct path cuts through a Bandit camp, but there’s a cleaner, safer right-hand route. Use the alternate route marked on the map above for smoother progress.
Timefall is more of a problem here, so bring Container Repair Spray.
- Hold right on the D-pad to open the quick menu.
- Select Tool from the radial menu.
- Choose Container Repair Spray from the list.
- Aim forward to spray items placed in front of you on the ground. Aim backwards to repair containers you're currently carrying.
Once you’re there, drop the delivery, watch the connection complete, and get ready for what comes next.
Note: Ladders and Climbing Anchors are your best friends here to handle rough terrain and another small river.
Recover the stolen Chiral Density Gauges (C1 South Distribution)

Next, you're heading into enemy territory. Two Chiral Density Gauges were stolen from C1 South Distribution Center, and you need to recover them - Episode 1 in Death Stranding 2.
The Bandit camp is deep in a dense forest, split by a river. First, use a PCC to construct a Watchtower just outside the camp. This allows you to tag enemy positions, stolen cargo, and points of interest. Open your tool wheel, pick the PCC, and decide which structure you'd like to build. You’re not just dealing with humans anymore. Inside the forest, spider-like chiral creatures roam. They might seem calm at first, but they turn aggressive quickly. I would recommend running if you spot them.

On your way into the forest, there’s a rugged stone path to your left — use this to climb up and skip a good chunk of danger. As I have mentioned above, Ladders and Anchors make the route quicker. From the hilltop, descend to where the Watchtower was placed and scan the camp.
On this side of the river, the first Chiral Gauge is tucked inside a small outpost. You’ve got two guards nearby — one hanging close to the gear and another pacing a little farther off. Equip your Maser Handgun, hold L2 to aim and R2 to charge up. A quick zap will knock them down cold without leaving a mess. Clean, silent, and no body issues.

Now, use a ladder to cross the river. Trying to swim here isn’t ideal. Once you’re across, move uphill. A big white tent marks the second camp. This one’s a little more defended — you’ve got three enemies scattered near the tents, and the final Gauge is tucked all the way in the back corner tent. Don’t rush. Take your time, deal with the patrols, and get in and out without stirring up the place. If you get spotted, things will get messy fast.
With both now Gauges secured, the last thing you want is to retrace your steps through enemy territory. From the second camp, look for a broken section in the rock wall off to your right. Slip through that, take a left into the clearing, and just keep pushing forward. Stick to the dirt path and avoid any temptations to explore.
Once you reach your destination, drop off the goods, and the episode winds down. You’ll get a moment of peace in the Private Room, where Deadman shows up to share some cryptic details that hint at where this whole journey’s headed.
Blood, grenades, and ruins: Clearing the BT Zone

Your first big task in this episode is reaching the Former Geophysics Research Lab to deliver prototype MP bullets, but getting there means clearing out BTs blocking the way. This section introduces Blood Grenades and the basics of BT combat. To equip it from the weapons menu:
- Open the tool wheel (right on D-pad)
- Navigate to weapons
- Select Blood Grenades (each comes with 5 charges)
To use them, hold L2 to aim and press R2 to throw. A successful hit will remove the BT.
Before entering the ruins, I'd recommend building a Timefall Shelter nearby. These not only protect containers from rain-induced decay but give you a safe zone when things go south. It’s smart to stash your cargo there for now and carry only the essentials — grenades and blood bags — while you’re inside the danger zone.
Sam's DOOMS will help you see their outline. Stay crouched, breathe carefully, and eliminate enough of them to drop the chiral density. Once they’re gone, grab your stuff from the shelter and finish the job at the lab.
Taking down the split-head Giant BT

Final mission of Episode 1 in Death Stranding 2: take down the big one. Once you return to the surface from the research lab’s private room, the mission kicks off. Use the terminal to trigger the encounter, and make sure you're loaded up before stepping outside. This is when the Assault Rifle [MP]. Bring at least two if you’ve got them fabricated, and don’t forget to toss in Blood Grenades and Blood Bags for good measure.
As soon as Sam exits the shelter, a short cutscene drops and introduces the boss: a giant floating head cracked right down the middle, twitching and screeching in the rain.
Let’s get into how to take it down during Episode 1 in Death Stranding 2.
- The Giant BT wastes no time. It opens with long-reaching tentacle attacks, slamming the ground or sweeping wide in arcs. These are designed to catch players who panic and backpedal. You’ll want to stay light on your feet — hold L2 and tap X when you see the tentacles rise. Dodging toward the side is safer than back-dodging here.
- Use your Assault Rifle to lock onto the glowing fault line in the middle of its face. Land enough hits and you’ll chip away at its yellow health bar up top.
- If you’re looking for an edge early, drop a Blood Grenade when it pauses or floats idle — these stick hard and deal solid burst damage.
- Once the boss drops below a certain HP threshold, it vanishes into the tar for a few seconds and then resurfaces in a different part of the area.
- This phase gets wild: the BT starts hurling vehicles at Sam from across the battlefield.
- Also, keep an eye out for long tendrils snaking across the map.
- If you’ve got extra Blood Bags, pop them when you get time to breathe. Don’t stand in one spot for too long.
- Once you burn through the last of its HP, you will get Chiral Crystals.
Now, return to the research lab’s private room once done. Deadman will pick things back up from here.
Delivering Deadman’s present to Lou

Your final mission in Episode 1 in Death Stranding 2 is straightforward at first glance — deliver a present to Lou, which Deadman hands over. This isn’t a long haul like in the old days, though. You now get to ride in style thanks to the tri-cruisers, the new vehicle in Death Stranding 2 that makes this trip a whole lot smoother.
Before setting off, make sure you’re carrying a couple of PCCs — they let you build generators on the fly, just in case your tri-cruiser runs low on juice. While you probably won’t need more than one, it’s better to stay topped off.
Now, head out and follow the route marked on your map. You’ll see a flat patch of land between the hills — that’s your path forward. No need to climb or detour around stuff here. The tri-cruisers can handle the river crossing, too. Once you hit the water, you’ll notice the wheels shift into a more flipper-like mode, letting you move across the river without wrecking your delivery.
After crossing the same large river you dealt with earlier in Episode 1, steer back toward the gap in the fence from before. That route still works — use it again to get through quickly. As you close in on Sam’s shelter to drop off the package, a warning pops up. So yes, the calm stroll is over. The place is under siege, and you’re about to step into the aftermath.
Once inside, you’ll notice right away — it’s empty. No, Lou, no signs of struggle, just… gone. Head back outside and switch on the Odradek. This is where things pick up: the scanner will pick up pink footprints, Fragile’s trail. Hop back onto the tri-cruiser and follow the path.

The ride won’t take long — follow the trail closely, and eventually you’ll find Fragile herself, who gives you the lowdown. She’ll tell you what happened and where Lou ended up.
That moment wraps up Episode 1 in Death Stranding 2, and the mystery starts to snowball now.
Check out more articles on the game here:
- 5 best tips and tricks for Death Stranding 2 beginners
- What is Motherhood Password in Death Stranding 2
- All Death Stranding 2 difficulty levels, explained
- How to check map in Death Stranding 2
- All Death Stranding 2 Controls: Movement, vehicle, and more
- Death Stranding 2 Digital Deluxe Edition: Content, pricing, and is it worth getting?

Are you stuck on today's Wordle? Our Wordle Solver will help you find the answer.