
'%20x='0'%20y='0'%20height='100%25'%20width='100%25'%20%0A%20%20%20%20%20%20%20%20%20%20xlink%3Ahref='data:image/jpg;base64,/9j/2wBDAAYEBQYFBAYGBQYHBwYIChAKCgkJChQODwwQFxQYGBcUFhYaHSUfGhsjHBYWICwgIyYnKSopGR8tMC0oMCUoKSj/2wBDAQcHBwoIChMKChMoGhYaKCgoKCgoKCgoKCgoKCgoKCgoKCgoKCgoKCgoKCgoKCgoKCgoKCgoKCgoKCgoKCgoKCj/wgARCAAGAAoDASIAAhEBAxEB/8QAFgABAQEAAAAAAAAAAAAAAAAAAAUH/8QAFQEBAQAAAAAAAAAAAAAAAAAAAgP/2gAMAwEAAhADEAAAAMzgBj//xAAdEAEAAQMFAAAAAAAAAAAAAAACAQAEBQMREoGR/9oACAEBAAE/ANDAB4w3LcgOZ3IXUUrC1hTHF+1//8QAFhEBAQEAAAAAAAAAAAAAAAAAAQAC/9oACAECAQE/AMrf/8QAFREBAQAAAAAAAAAAAAAAAAAAAAH/2gAIAQMBAT8Ar//Z'%3E%3C/image%3E%3C/svg%3E)
Spellbound is one of two major spellcasting quests in Dragon's Dogma 2. It involves finding a set of five specific books that are used for both the Sorcerer and Mage classes. It’s recommended you have at least 35,000 spare gold before you tackle this sidequest for reasons that will become clear later. The rewards for this quest are fantastic, unlocking a powerful new spell that, while risky, is incredibly useful for support mages.
There’s some trickery that goes into this quest for another side quest in Dragon's Dogma 2, though. It’s important to know who will receive which books to get the most out of Spellbound and the later Sorcerer’s Appraisal mission.
Completing Spellbound in Dragon's Dogma 2
Looking for Crossword hints & solutions? Check out latest NYT Mini Crossword Answers, LA Times Crossword Answers, and Atlantic Crossword Answers
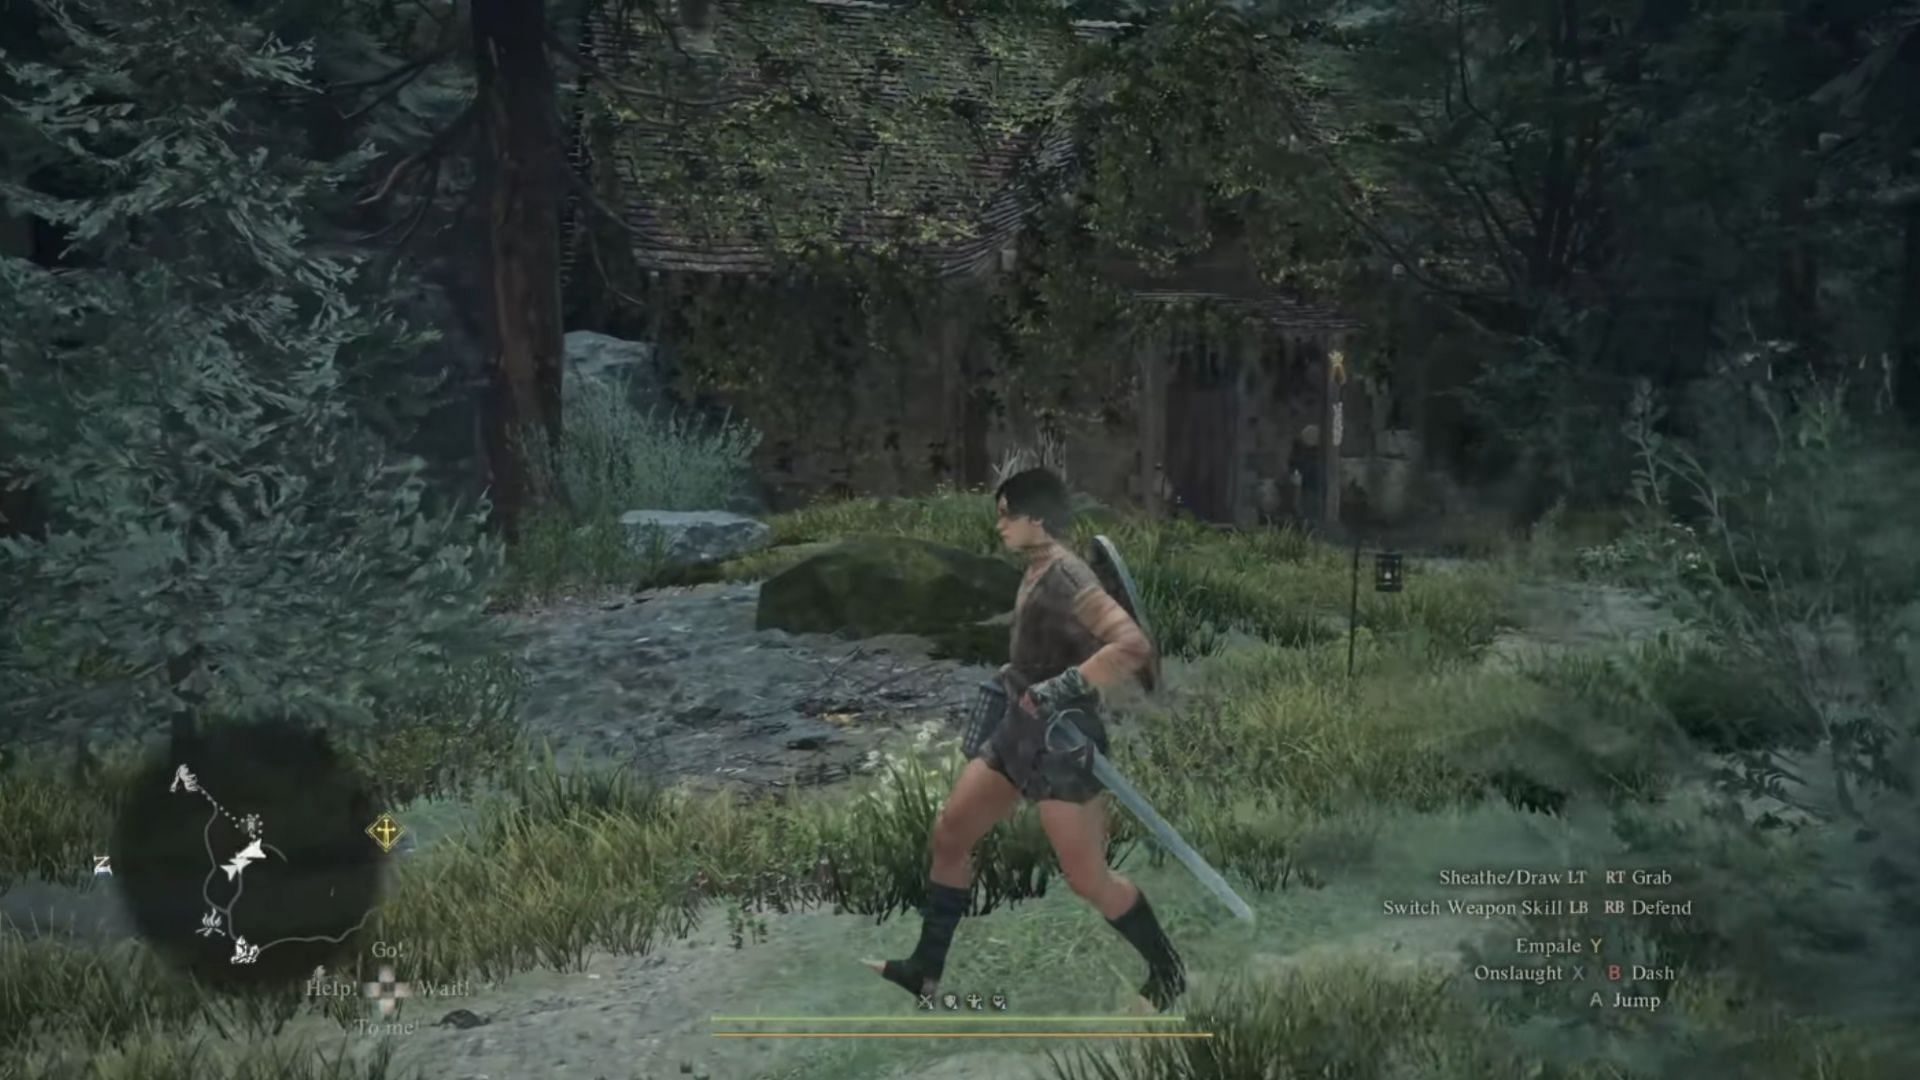
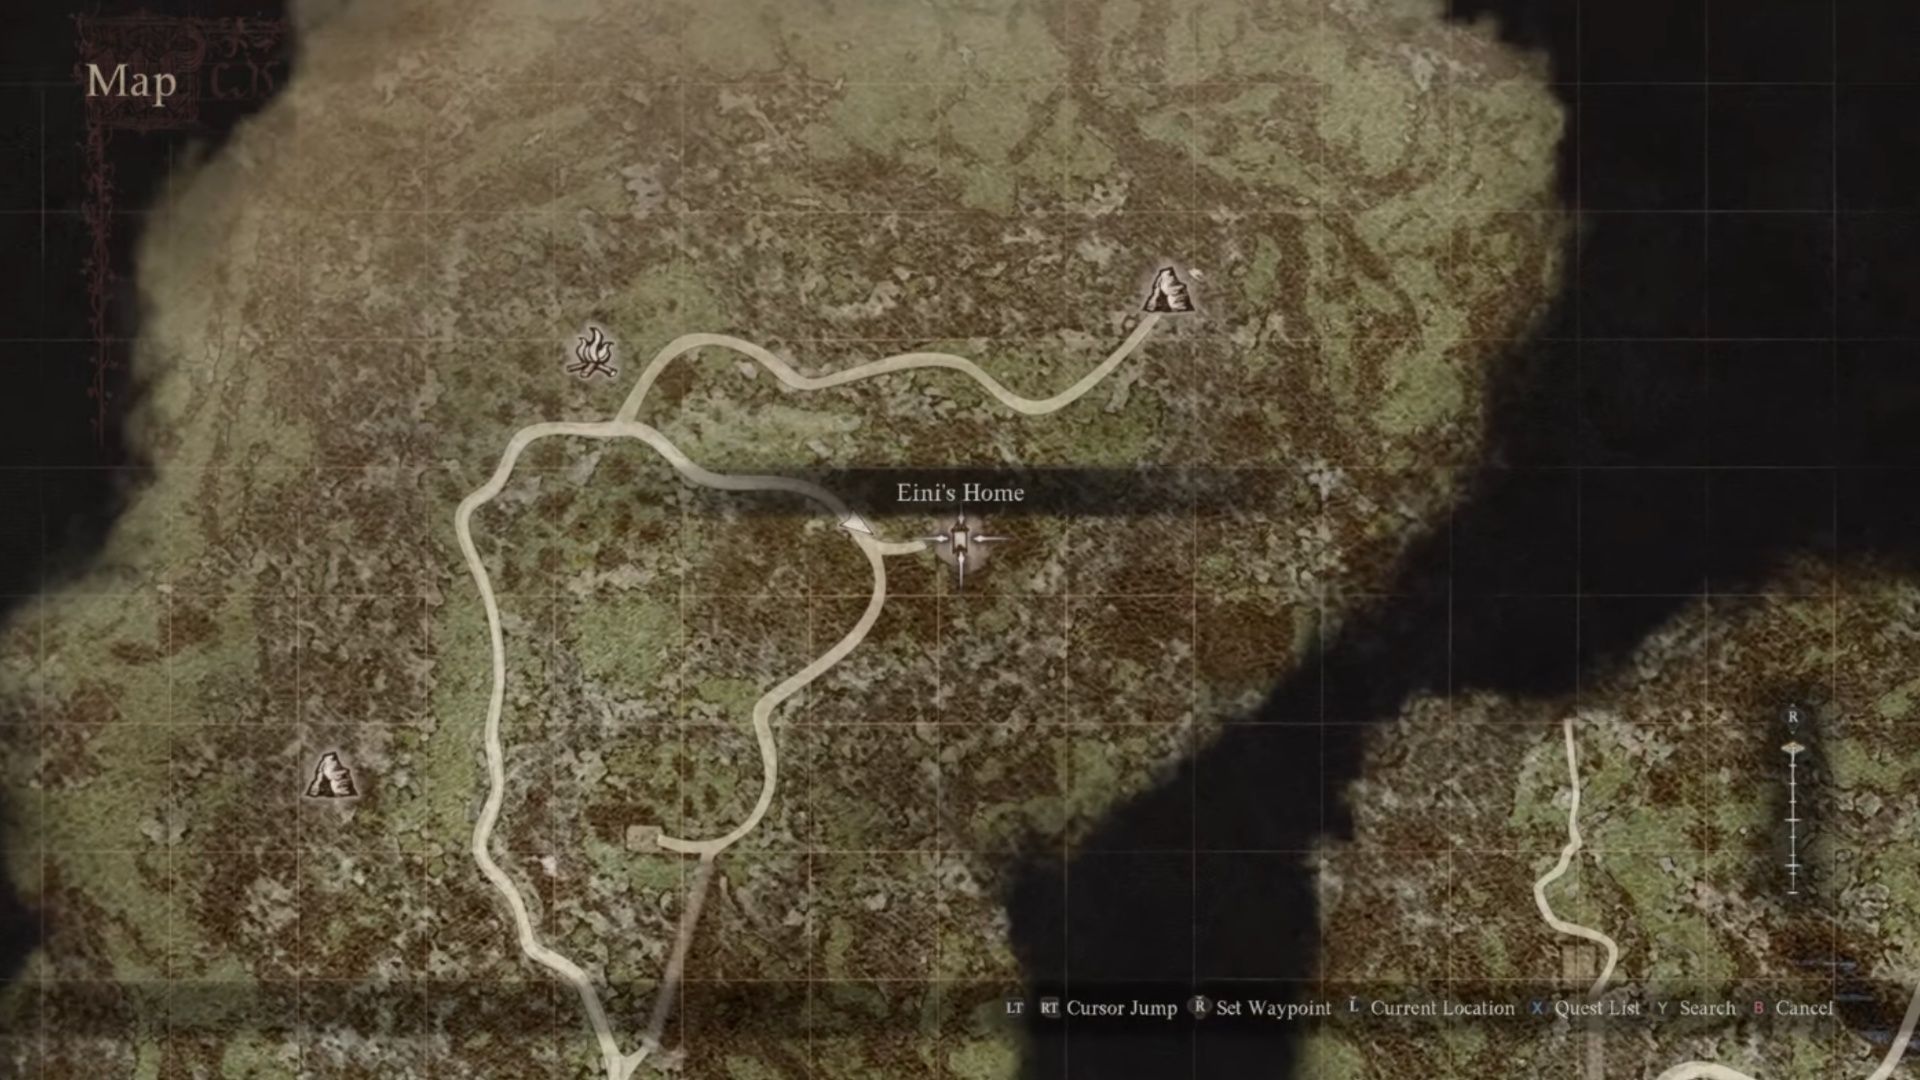
The map above shows where you start Spellbound in Dragon's Dogma 2 - Eini’s home. Show up here, in the northernmost part of the map. Talk to both the girl and her grandmother, and you’ll unlock the Mage-themed sidequest. Eini isn’t keen on Trysha becoming a spellcaster, so you need to wait until she leaves before you move on.
If you don’t want to wait for Eini to leave, pick her up, carry her out of the house, and set her down outside. You could also head to the nearby campsite and rest there. Either way, speak with Trysha when she’s alone. She wants you to find a set of books, and while she doesn’t care what they are, there are specific ones you need.
- Let There Be Light
- Fulminous Shield
- Nation’s Death Knell
- Howling Blizzard
- Towering Earth
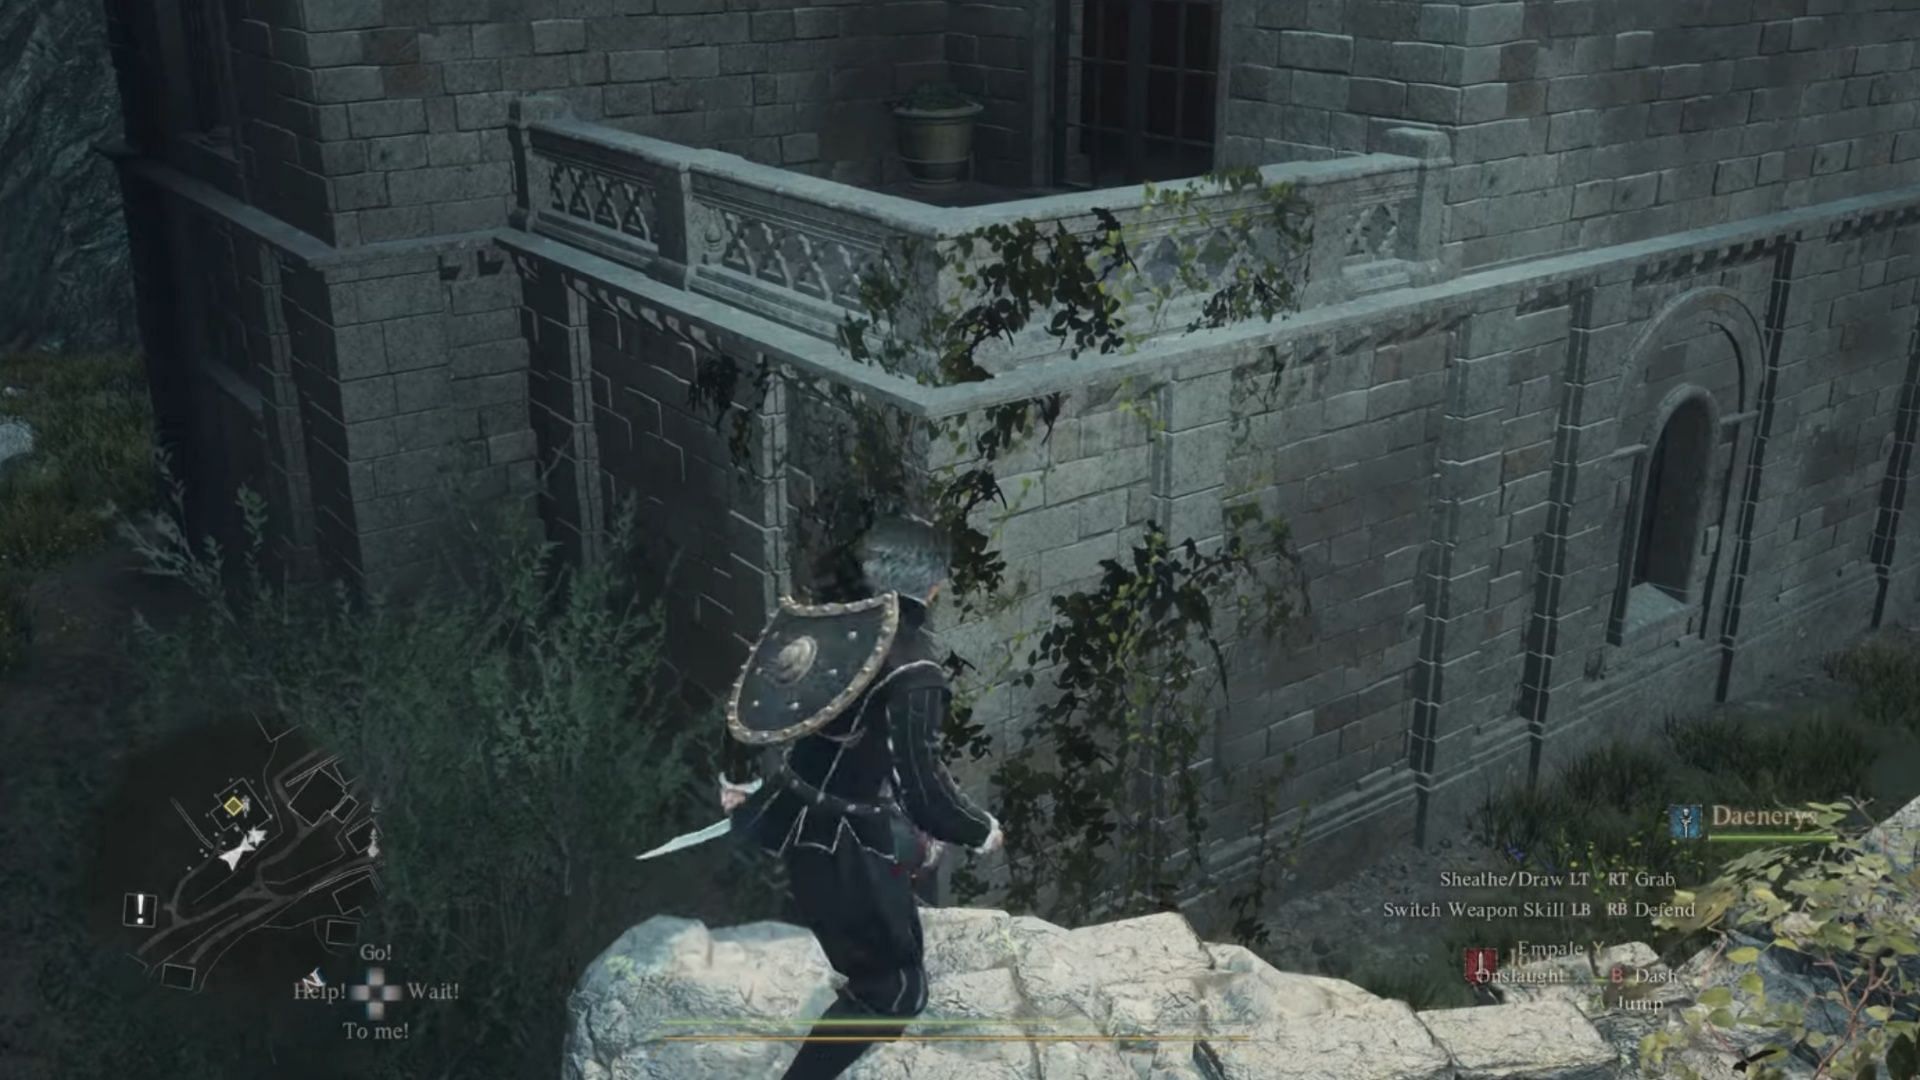
Let There Be Light is in the Checkpoint Rest Town, in Myrrdin’s Manor, at the top of the town. Bring your Courtly garb with you, as that’s the only way inside. Talk to Myrddin, and pick up the Sorcerer’s Appraisal quest while you’re here. Leave the house and climb the wall outside. Jump and use Levitate to cross the gap, get inside, and steal the book. Any other way leads to a fight, and you don’t want that.
Fulminous Shield is sold by a traveling merchant in Melve for 5,000 gold. Speak to Dudley and buy it off of him for this part of Spellbound in Dragon's Dogma 2. Make a pair of copies of this in Checkpoint Rest Town - one will be turned in for Howling Blizzard and the other for this quest.
Now, travel all the way to the Nameless Village, where you completed the quest of the same name in Dragon's Dogma 2. Wendy, one of the women outside in the Nameless Village, will gladly trade you Howling Blizzard if you give her Fulminous Shield.
Make sure to give her a fake - she won’t know the difference. Conversely, you can also head to the Waterfall Cave east of the Borderwatch Outpost and get both Howling Blizzard/Nation's Death Knell at the same time. However, this requires you to fight at least a Chimera and a Wight, so beware. Both books are in a chest on the second floor of this dungeon.
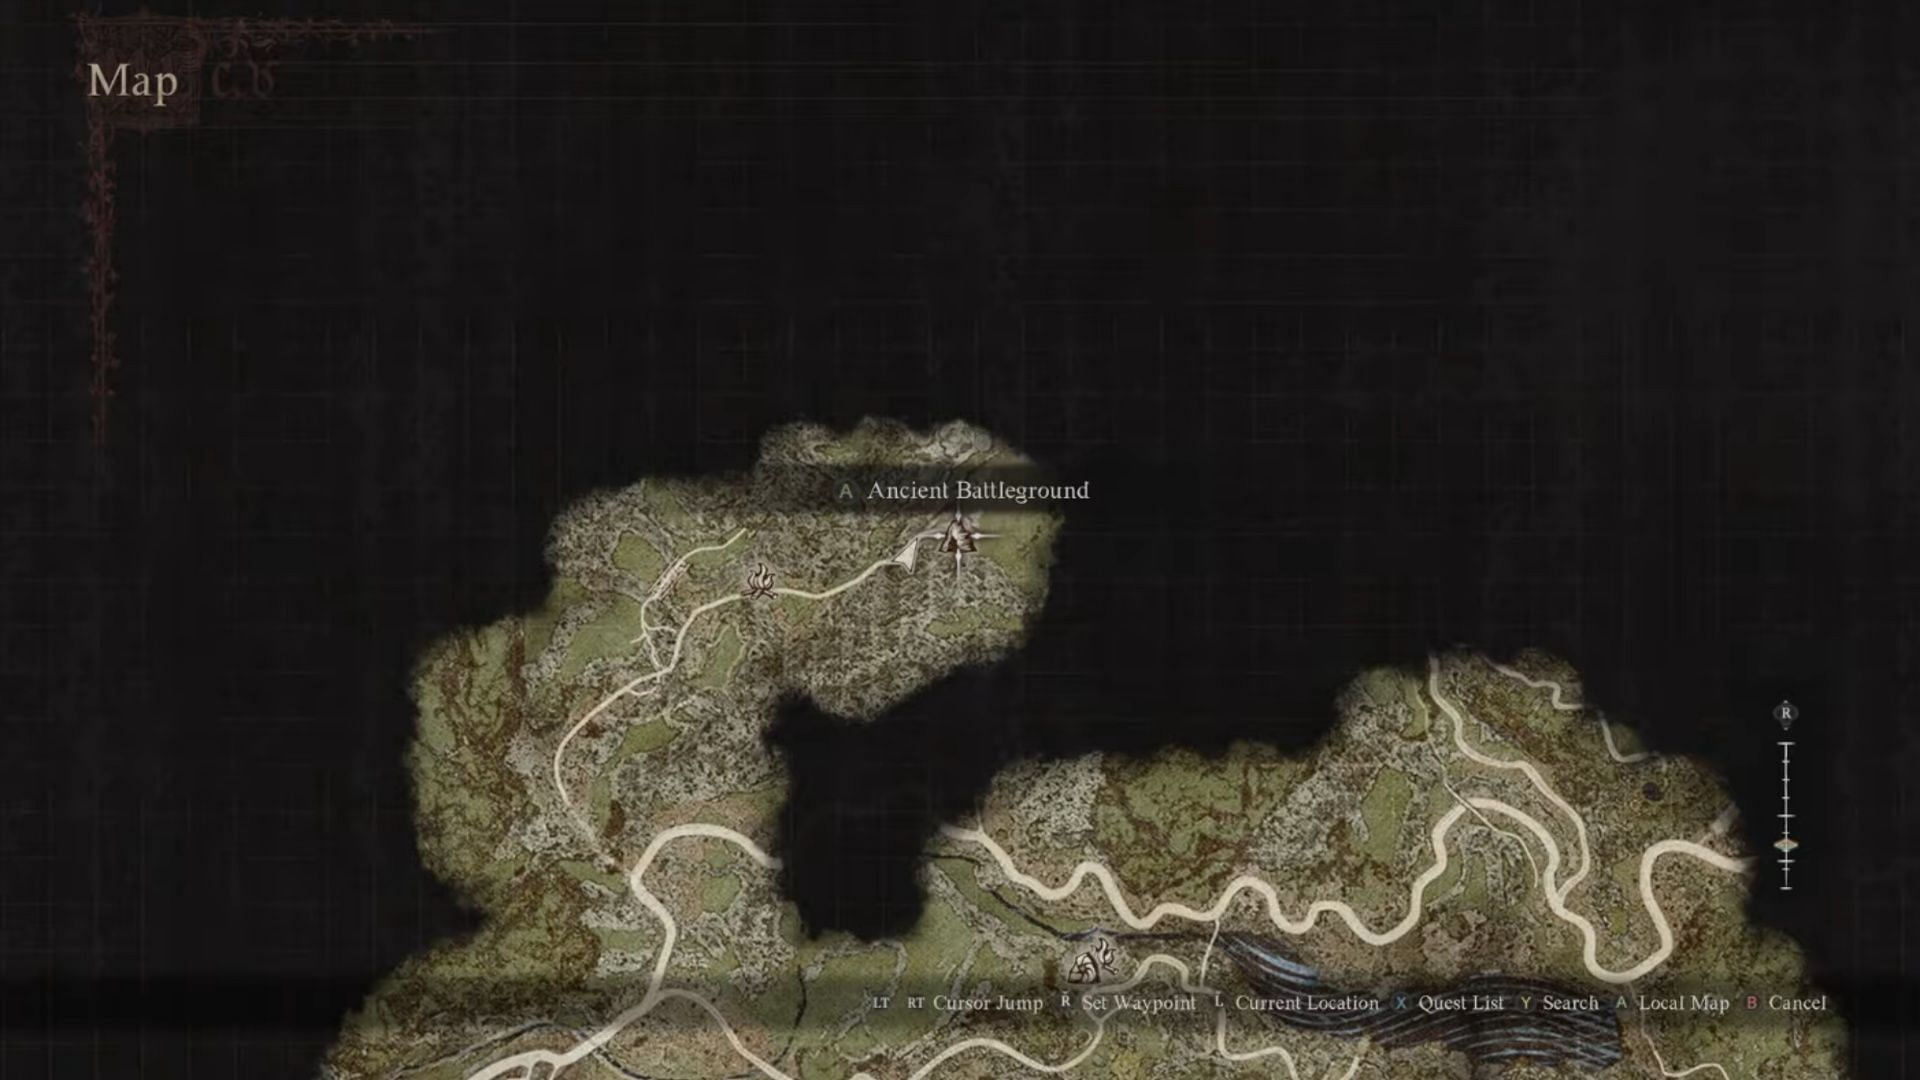
The most challenging book to get is Nation’s Death Knell for the Spellbound quest in Dragon's Dogma 2. Head northwest to the Ancient Battleground, but make sure you don’t get caught up in the Cyclops/Drake battle. Run up the path to get into the ancient battleground area and climb the rocks to go through the huge opening.
Turn left and go past the doorway. Through the next one, head up the curved stairs. At the top, you’ll see a ladder. Climb that, too. Head right through the grassy area, and you’ll see a ballista up ahead. Run past it and climb down the nearby ladder.
Travel through the nearby open doorway and turn left to head up the two sets of stairs. The previous room also had a chest with detoxifying potions. Take the first right you see, and a glowing book sits in a crevice - Nation’s Death Knell.
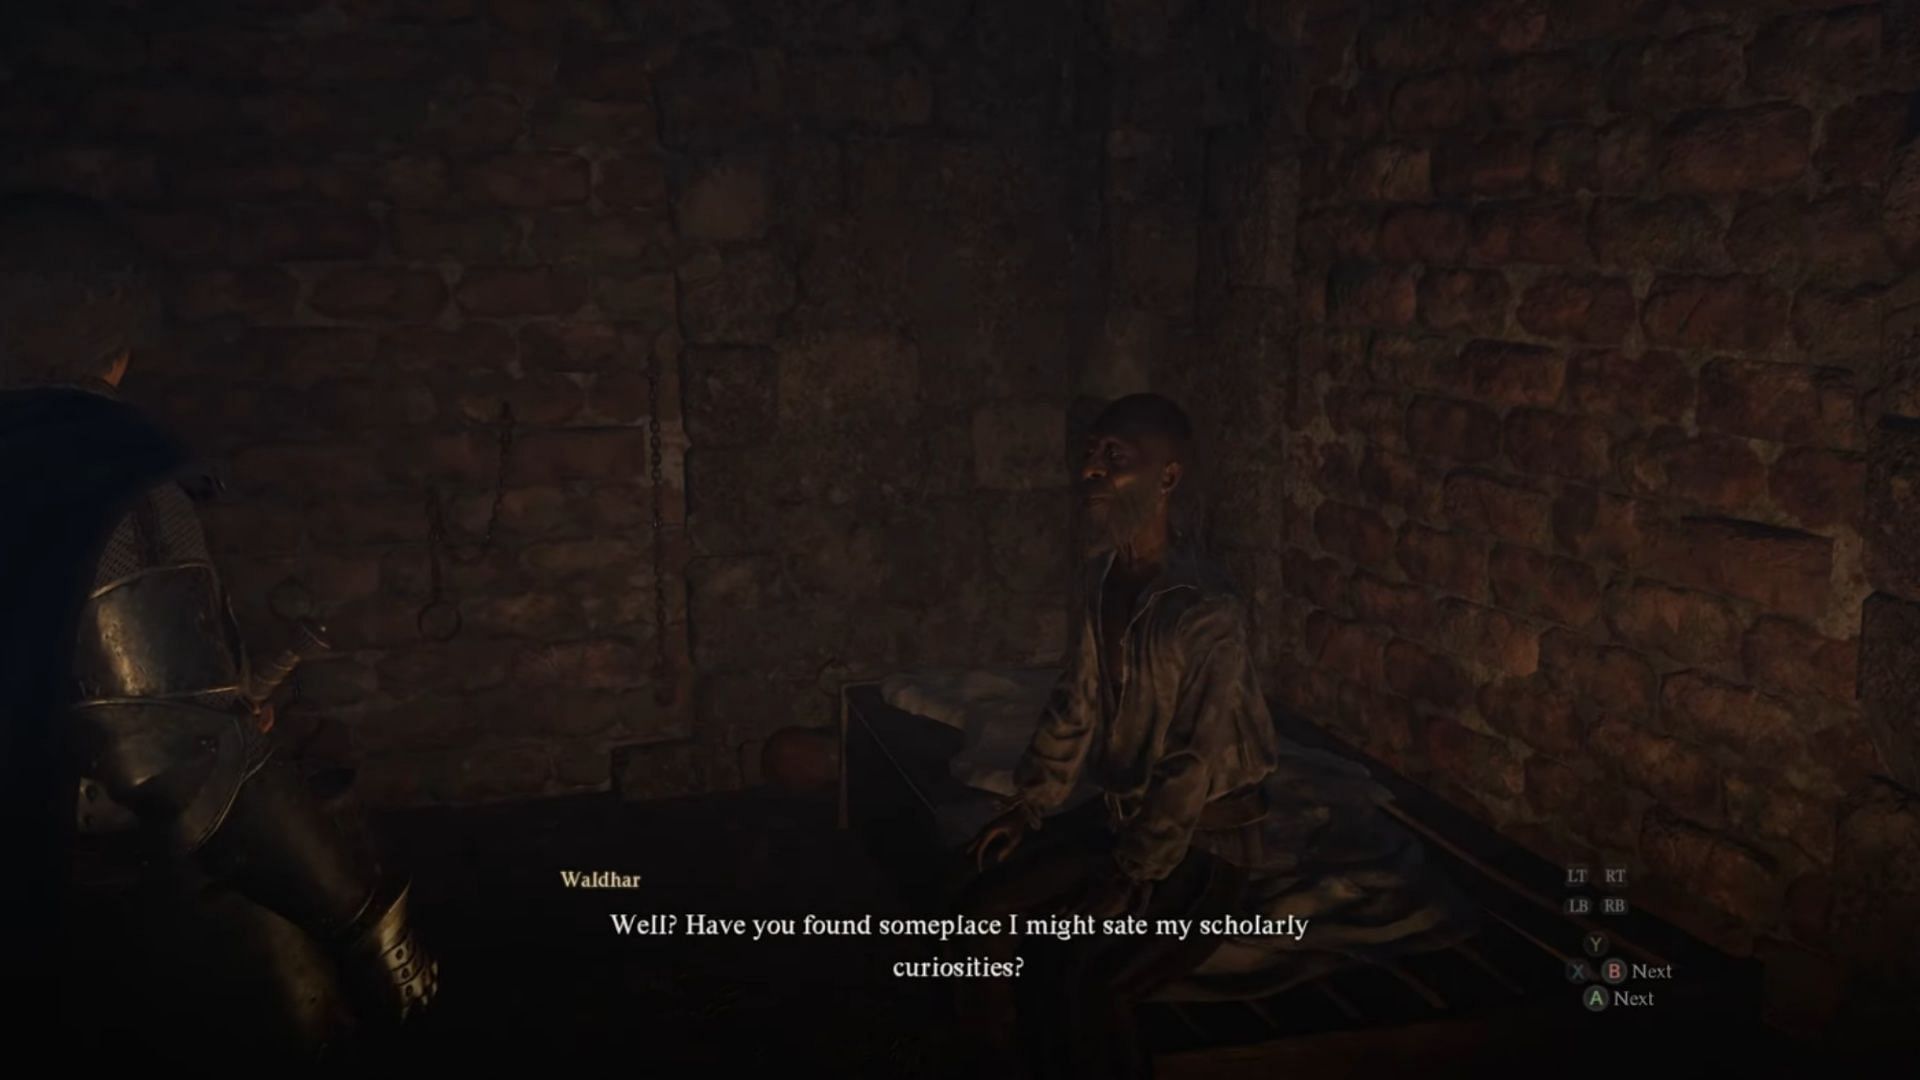
Once you’ve completed the main story quest, The Caged Magistrate, return to speak to Waldhar, and he’ll give you Towering Earth for Spellbound in Dragon's Dogma 2. Depending on what you’ve done, you either need to go to the prison (if you haven’t told him about the vault) or to the vault (if you’ve already helped him escape).
If he didn't give you the book the first time you spoke to him, head to the Vaults and speak with him again. He'll give you a quest to find his Monocle. Do this, wait a few days, and visit again.
Finally, head to the Checkpoint Rest Village and create a fake copy of all five books. Go to the nearby campfire near Eini's and make your Pawns wait here. You don't want them to accidentally kill Trysha.
Return to Trysha, make sure the other women aren’t around, and give her all five of the real books. You’ll gain the Turquoise ring, and then you need to return in a few days. Go to the nearby campfire and wait. Head back up to her home, and a scene will appear of her standing on a stone casting spells.
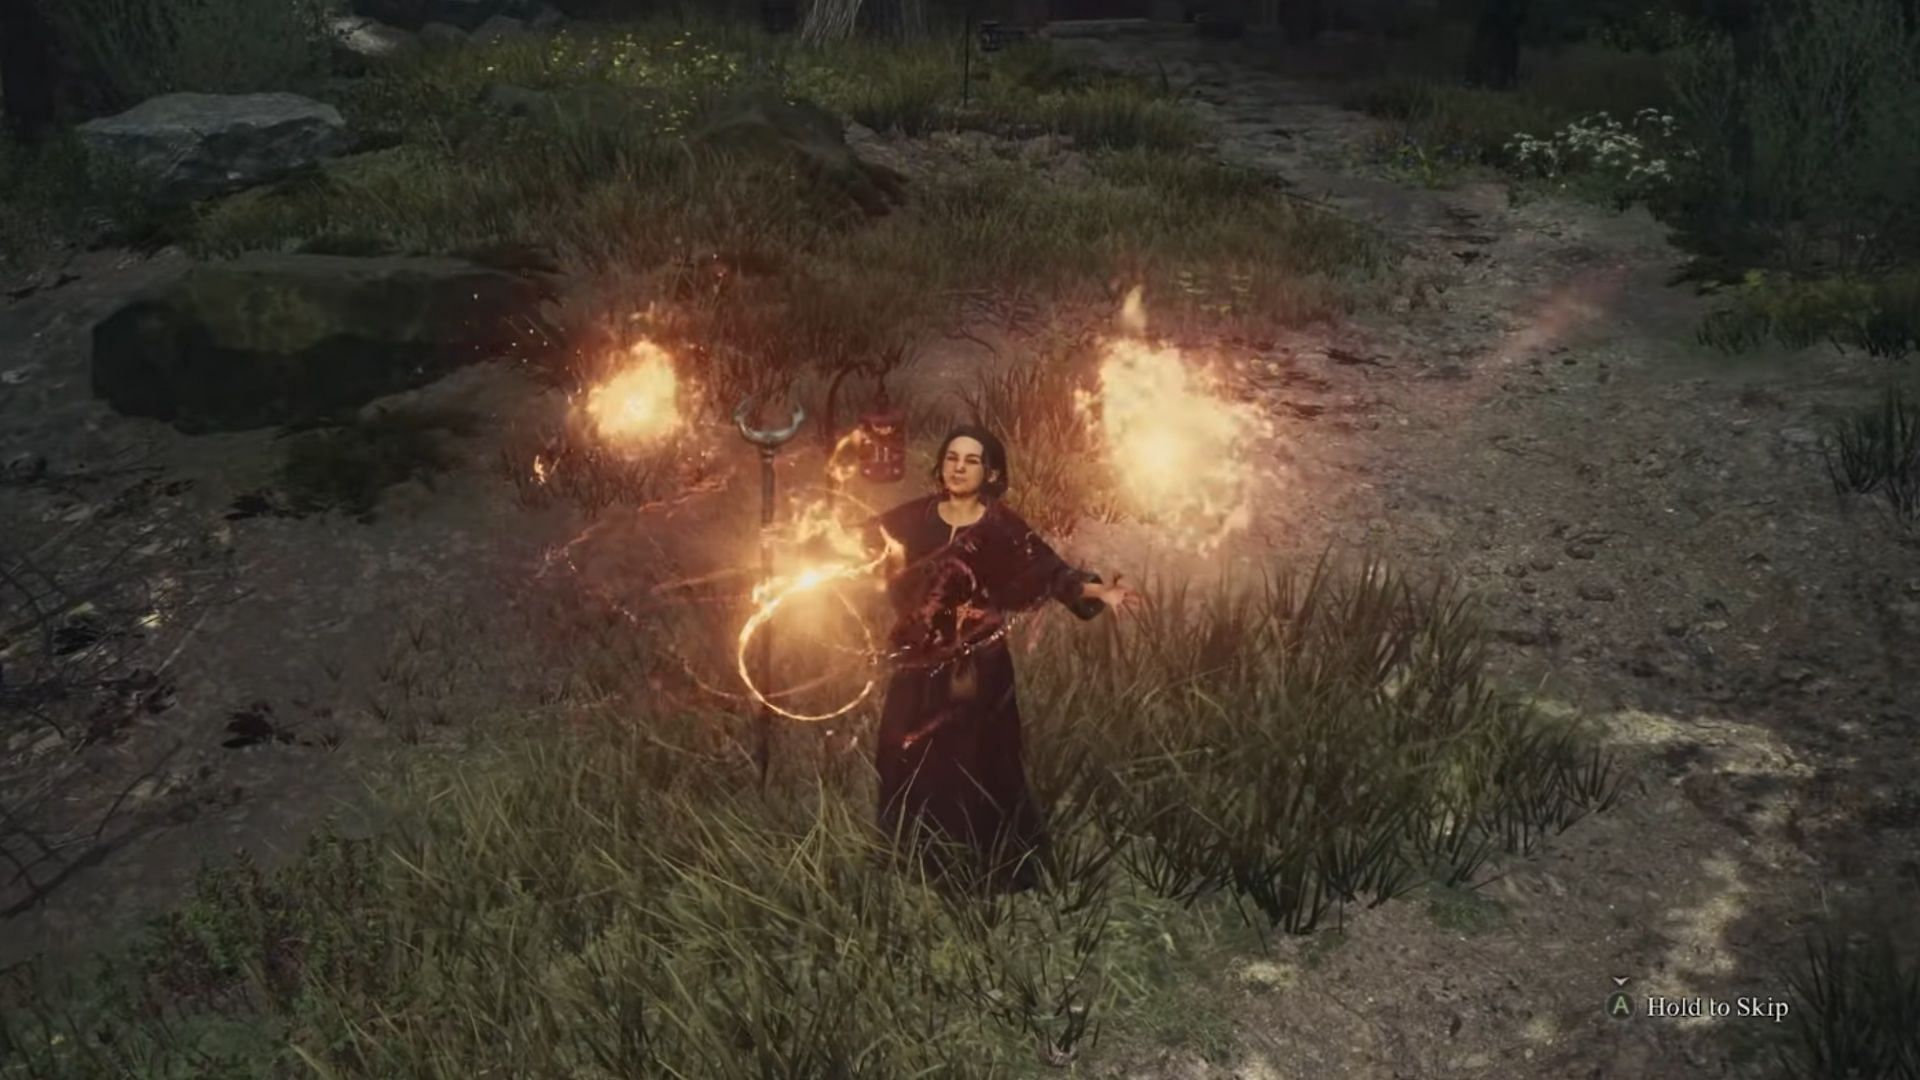
Run at her, avoiding her powerful spells, and she’ll teleport away. Keep doing this until you can get to her, and use the grab button to tackle her. This gives you Conjurer’s Jottings (Meteroron for Sorcerers) from Trysha and Enchanter’s Almanac (Celestial Paean) for Mages from Eini.
If this scene doesn't trigger in Dragon's Dogma 2, Eini probably died in the woods. Go back to Vernworth with a Waystone and revive her in the morgue. Then, return to her house and complete the quest.
Check out our other Dragon's Dogma 2 guides
Dragon’s Dogma 2 review || Unlock Warrior and Sorcerer || Vocation tier list || Unlock Magick Archer || Unlock Trickster || Unlock Mystic Spearhand || Unlock weapon skills

Are you stuck on today's Wordle? Our Wordle Solver will help you find the answer.