
'%20x='0'%20y='0'%20height='100%25'%20width='100%25'%20%0A%20%20%20%20%20%20%20%20%20%20xlink%3Ahref='data:image/jpg;base64,/9j/2wBDAAYEBQYFBAYGBQYHBwYIChAKCgkJChQODwwQFxQYGBcUFhYaHSUfGhsjHBYWICwgIyYnKSopGR8tMC0oMCUoKSj/2wBDAQcHBwoIChMKChMoGhYaKCgoKCgoKCgoKCgoKCgoKCgoKCgoKCgoKCgoKCgoKCgoKCgoKCgoKCgoKCgoKCgoKCj/wgARCAAGAAoDASIAAhEBAxEB/8QAFQABAQAAAAAAAAAAAAAAAAAABAf/2gAIAQEAAAAAjx//xAAUAQEAAAAAAAAAAAAAAAAAAAAF/9oACAECEAAAAEv/xAAUAQEAAAAAAAAAAAAAAAAAAAAD/9oACAEDEAAAAA//xAAiEAABAwMDBQAAAAAAAAAAAAABAgMEABETBRIhBjJBQlH/2gAIAQEAAT8AhOQnOn50t/PkyYWrJSTv23FyeQnjxUXUHTGZN19g9z8r/8QAFxEBAQEBAAAAAAAAAAAAAAAAAQIAE//aAAgBAgEBPwDtbVC7/8QAFxEBAAMAAAAAAAAAAAAAAAAAAQAREv/aAAgBAwEBPwDBRP/Z'%3E%3C/image%3E%3C/svg%3E)
Open Broadcaster Software (OBS) is an open-source software that is used by streamers and players to record their gameplay and stream online. It is the most popular software used by amateurs and some of the biggest streamers on Twitch and YouTube because of its ease of use and advanced options.
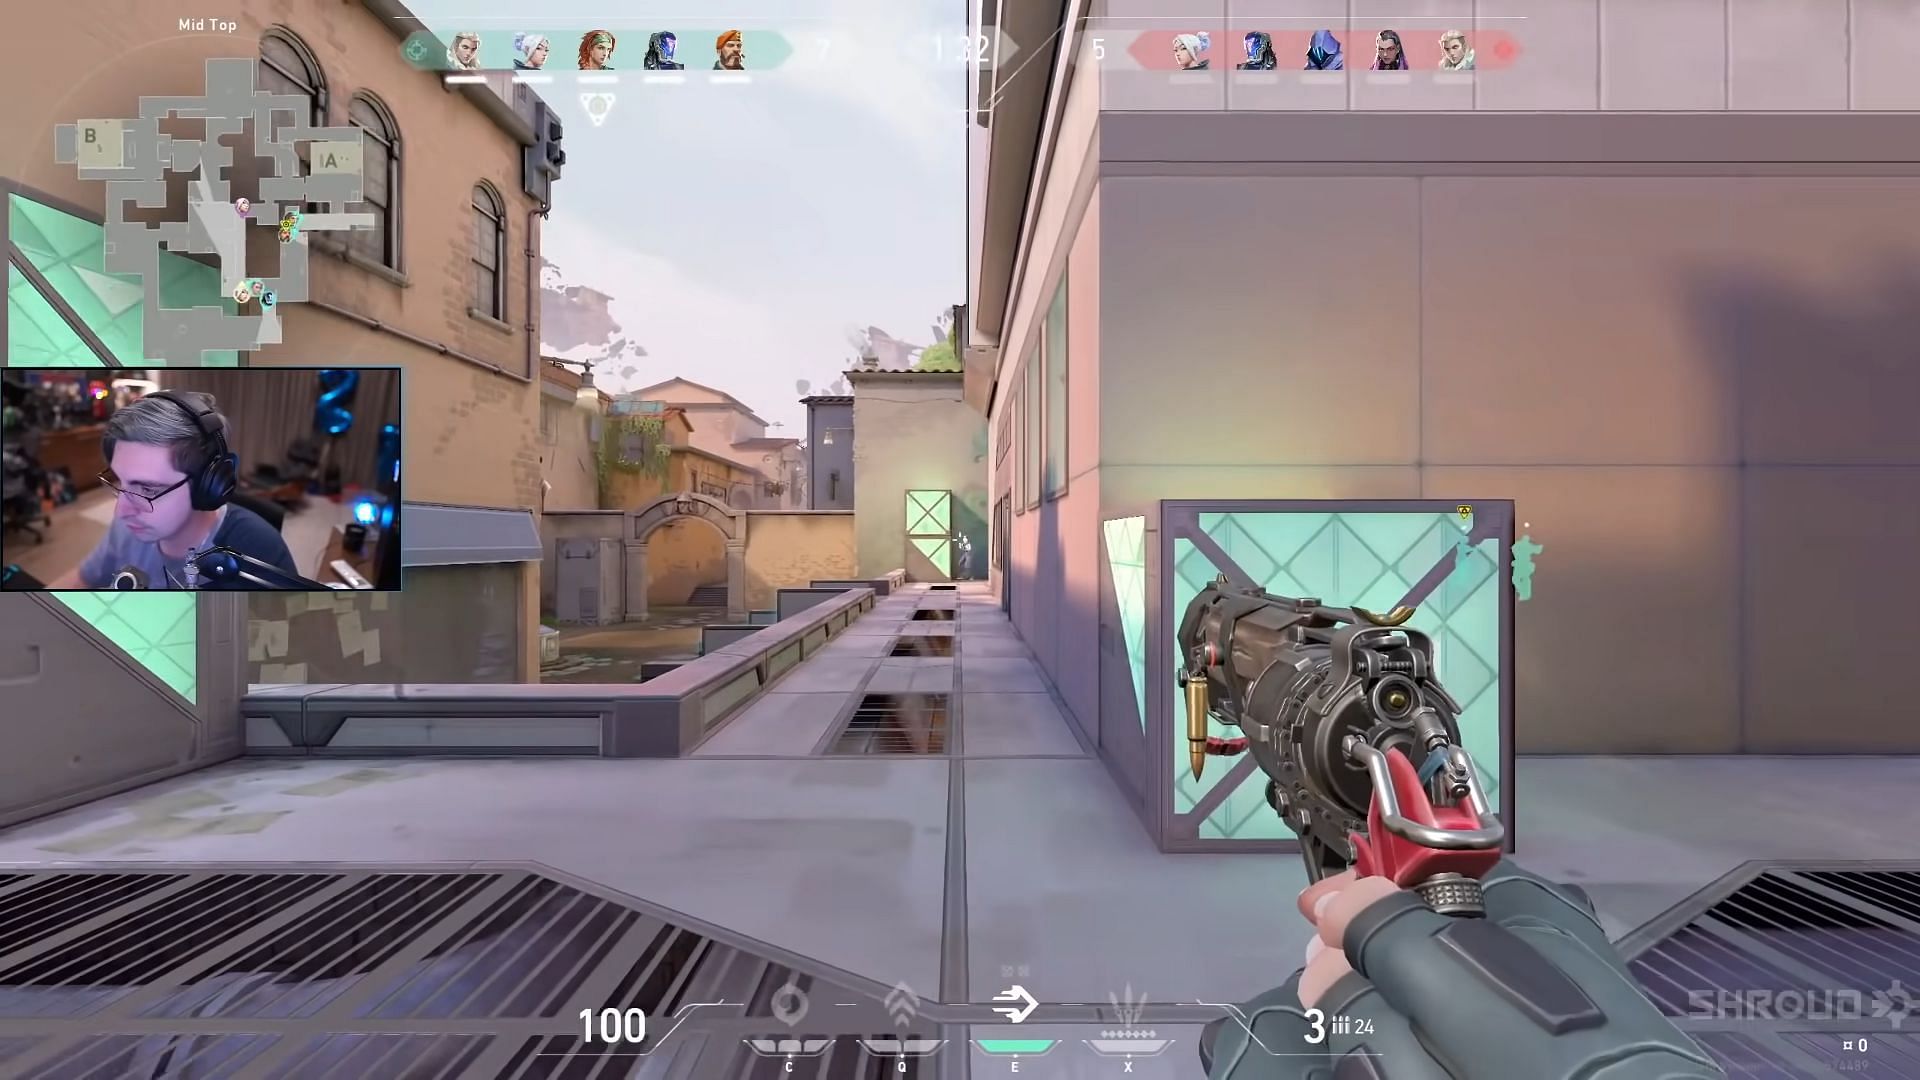
Streaming is arguably an easy hobby to take up, but if you want to become a professional, you will need capable hardware and software to assist you and make the whole process smoother. The hardware might include an internal capture card, stream deck, a top-tier camera, microphone, and a two-PC setup. However, to actually stream a gaming session seamlessly, this hardware setup needs to be accompanied by an equally capable software. Therefore, this article will cover how new streamers can stream using OBS Studio on an average PC.
Stream easily using OBS Studio
1) Install the software
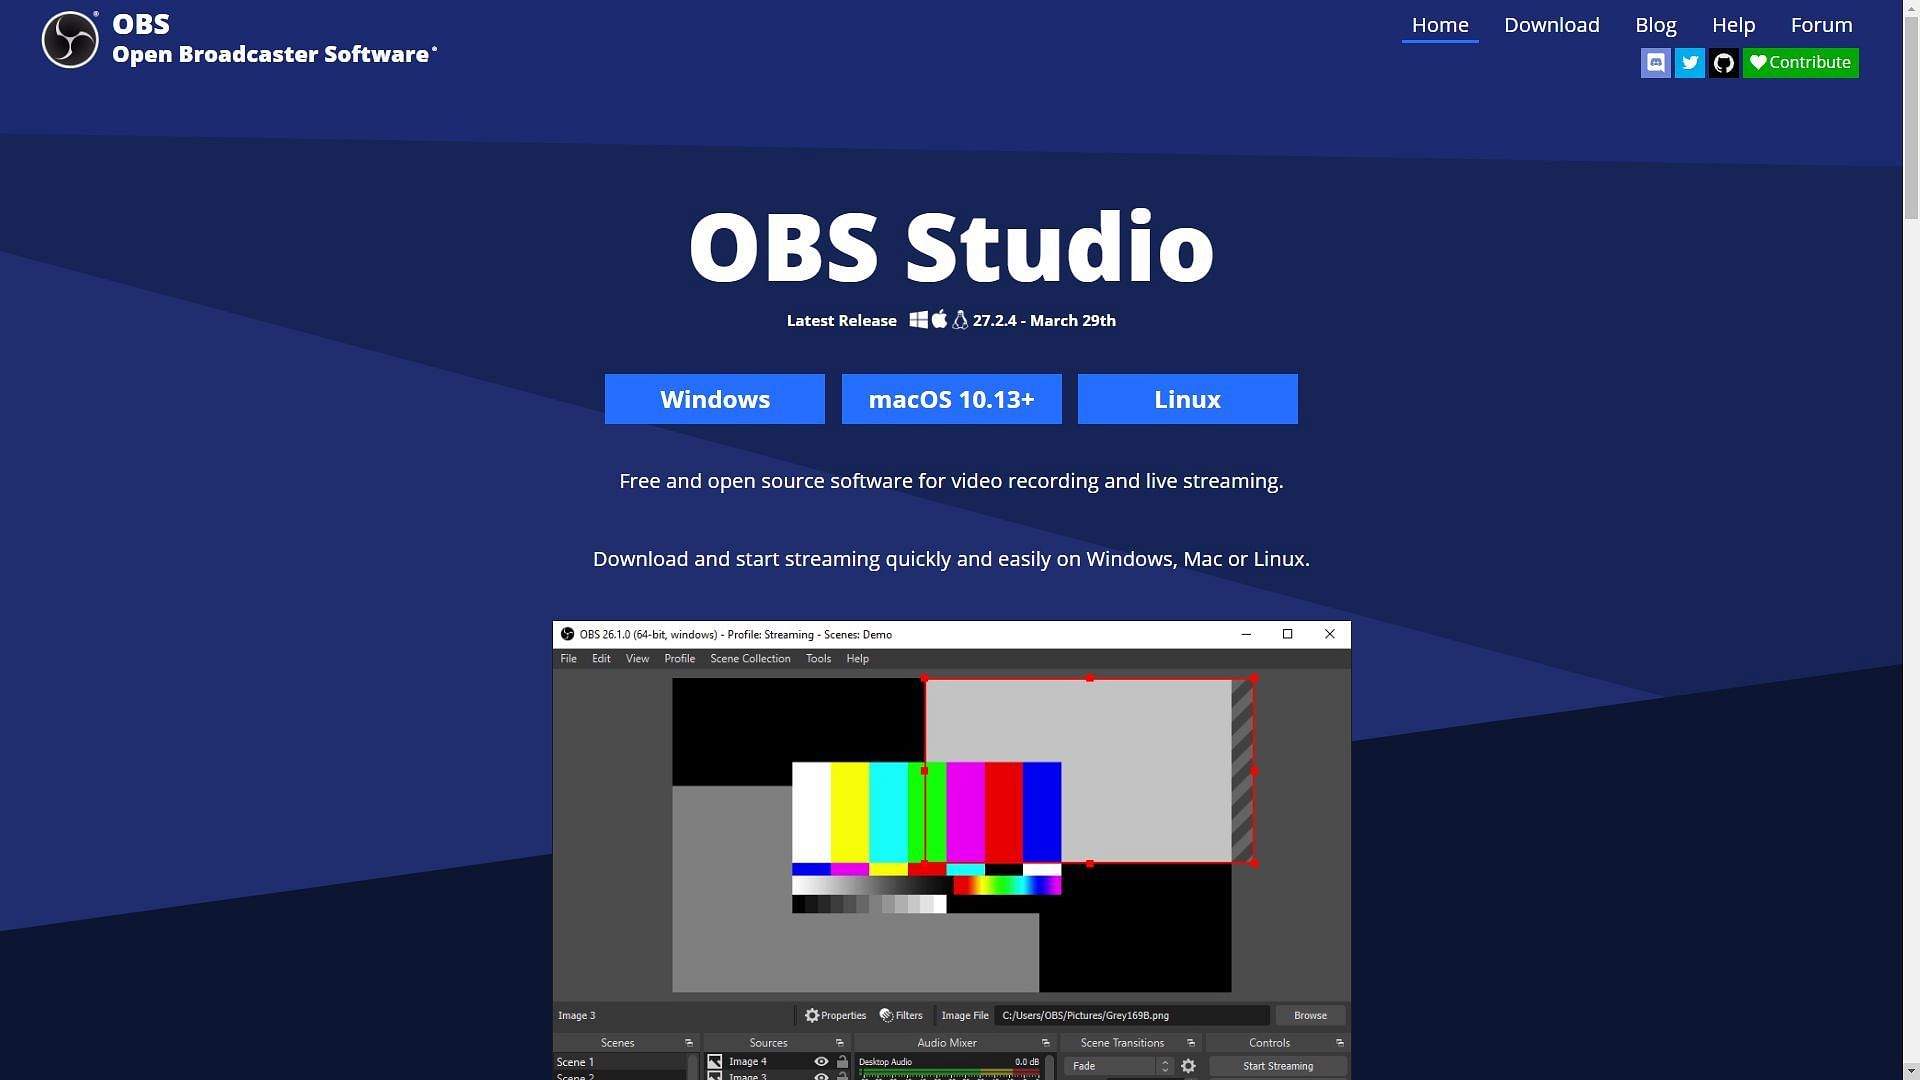
Head over to the official website by searching for 'OBS Studio' and clicking on the first link. The software is available for all major operating systems like Windows, macOS, and Linux. After downloading it, install it by running the downloaded file. It will install the latest version, but users should check for updates regularly.
2) Setting up OBS Studio
When users launch the installed software for the first time, it will run an auto-configuration wizard, which will give you two options. One option is to 'Optimize for streaming' and the other is to 'Optimize for recording.' For streaming, users should choose the first option, which will configure the settings to prioritize streaming over recording.
3) Setting up the main gaming screen
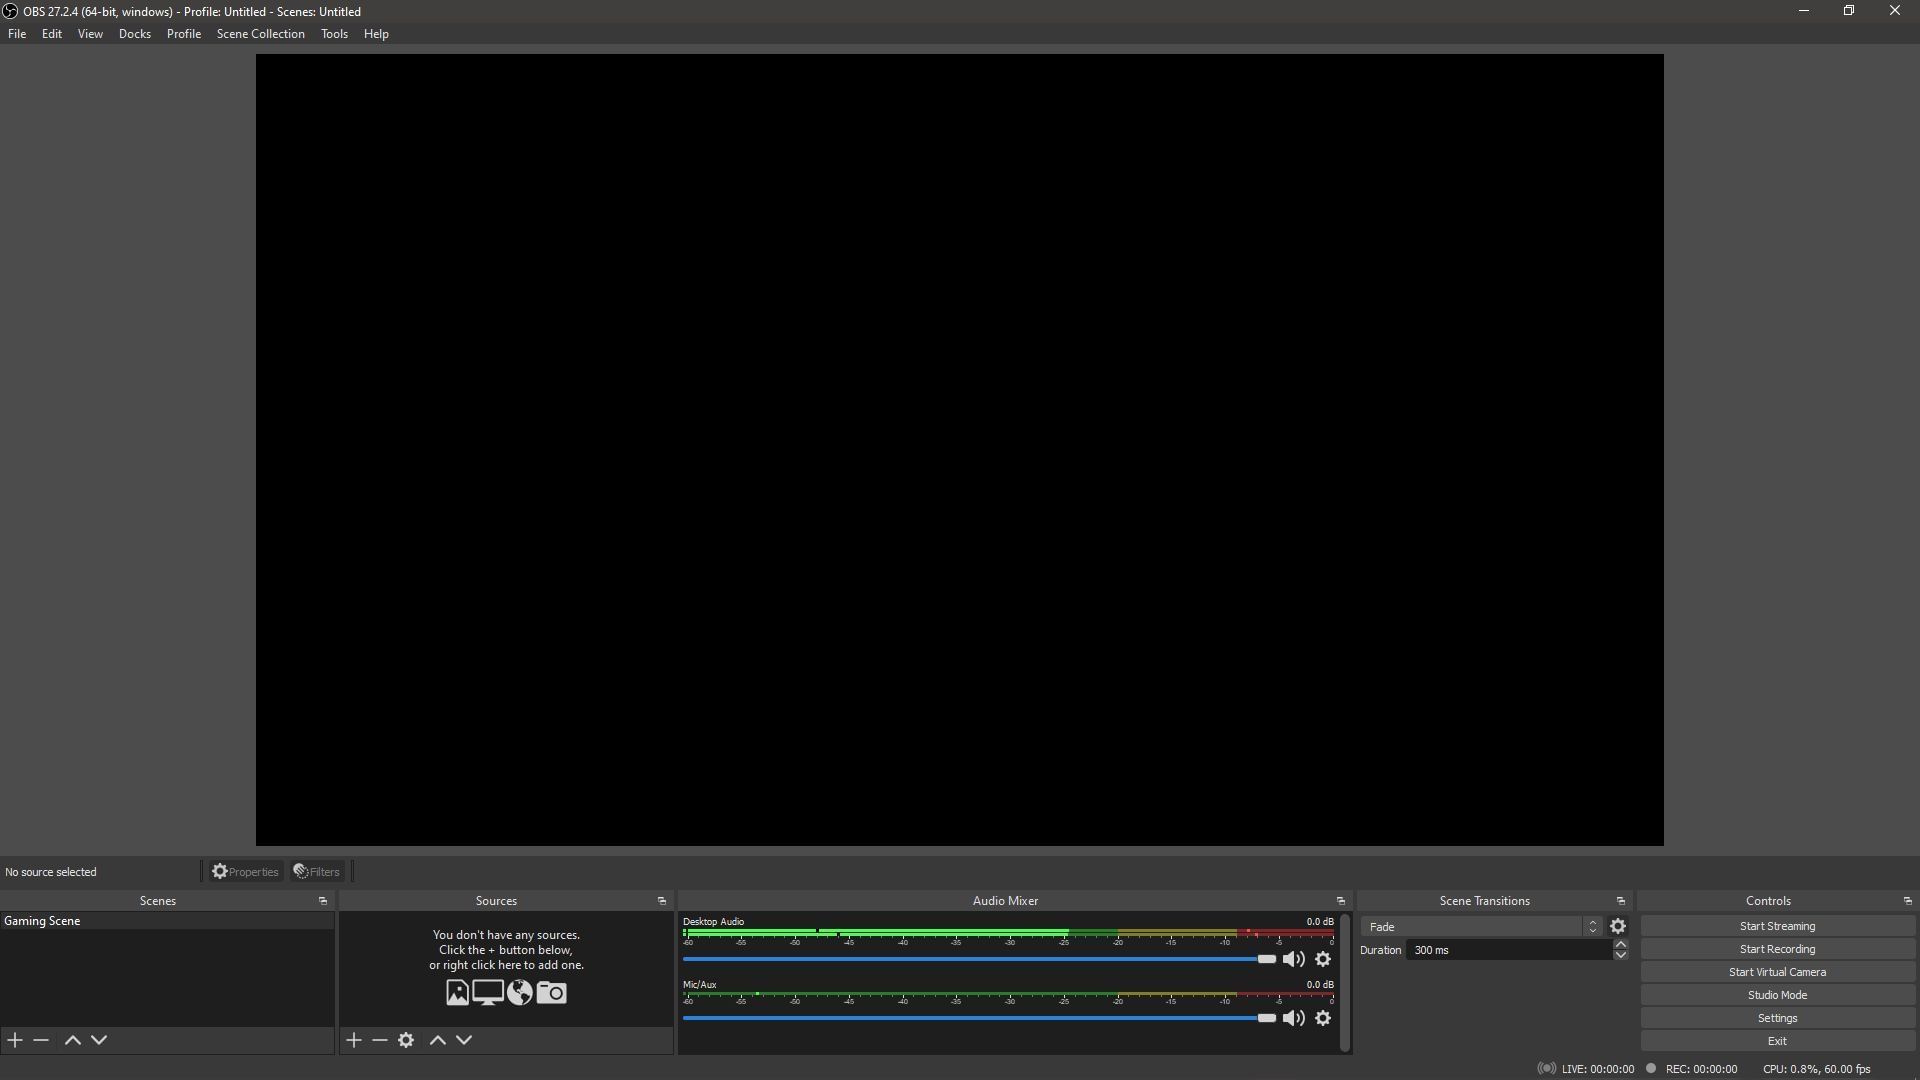
Under the 'Scenes' window, on the bottom right, click on the '+' button and label it 'Gaming Scene.' Afterwards, users will need to add a source to that scene. To do so, click on the '+' button in the 'Sources' window, select 'Display Capture,' select 'Create New,' and click on 'OK,' and you can label it as you wish.
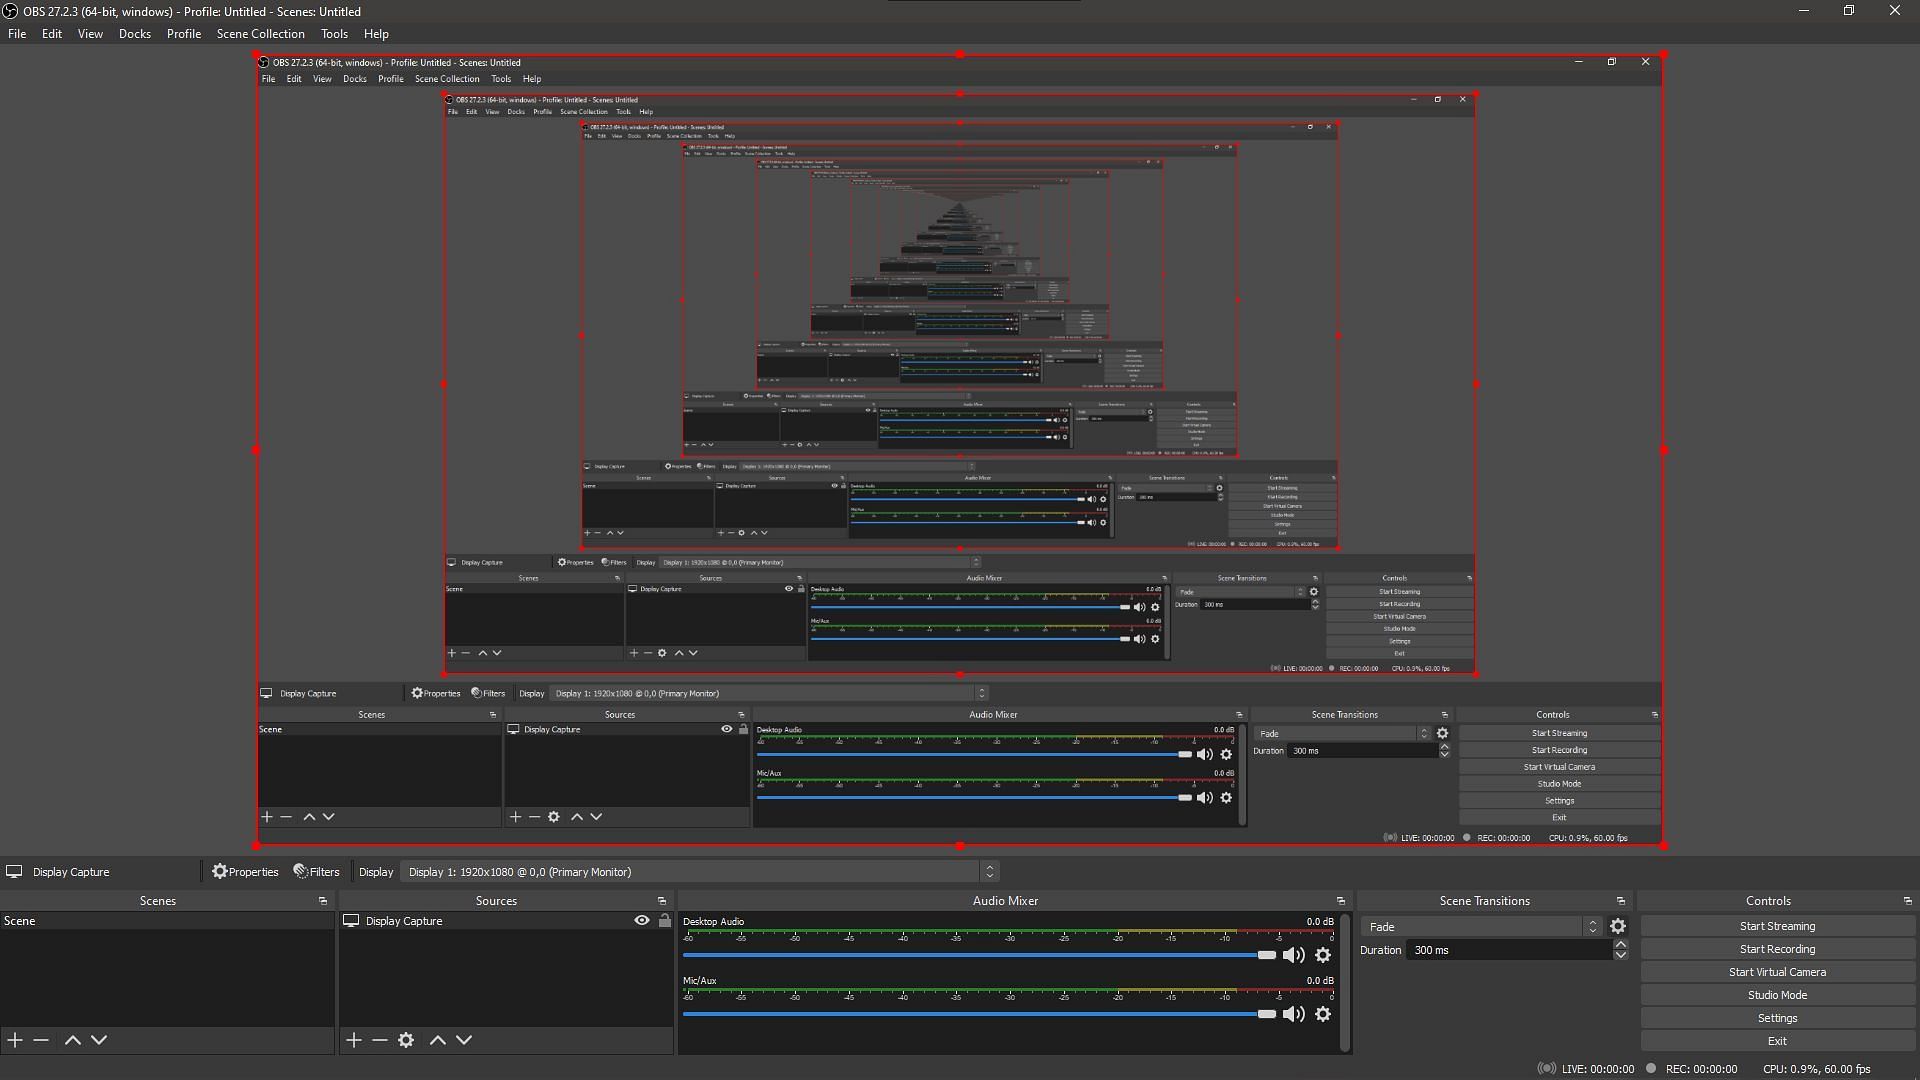
A new 'Properties' window will open up where you need to select the monitor you will be gaming on and click 'OK.' Usually, there is just one option, but if you have a dual-monitor setup, choose the main monitor that will be streamed on the platform.
4) Setting up audio
After the display has been selected in the scene, users will need to select the audio input. To do this, click on the '+' button under the 'Sources' window, select 'Audio Input Capture,' select 'Create New' and click on 'OK.' Users can also label it as per convenience.
After the 'Properties' window opens up, you will need to select the main device you will be using to communicate with your audience. Click 'OK' after selecting it. To confirm that the correct microphone has been selected, you can check if the audio levels rise as you speak into the mic in the 'Audio Mixer' window at the bottom.
You can also adjust the volume of your PC and mic by using the slider in the 'Audio Mixer' window. This will not change your volume, but the volume on stream.
5) Setting up the camera
If you have a webcam plugged into your system, you can add it to your main scene. To do so, click on the '+' button under the 'Sources' window, select 'Video Capture Device,' select your webcam device when the 'Properties' window pops up and click on 'OK.'
You can place the webcam window anywhere on the scene by adjusting the size and moving it to your preferred position on the screen.
6) Optimize the settings
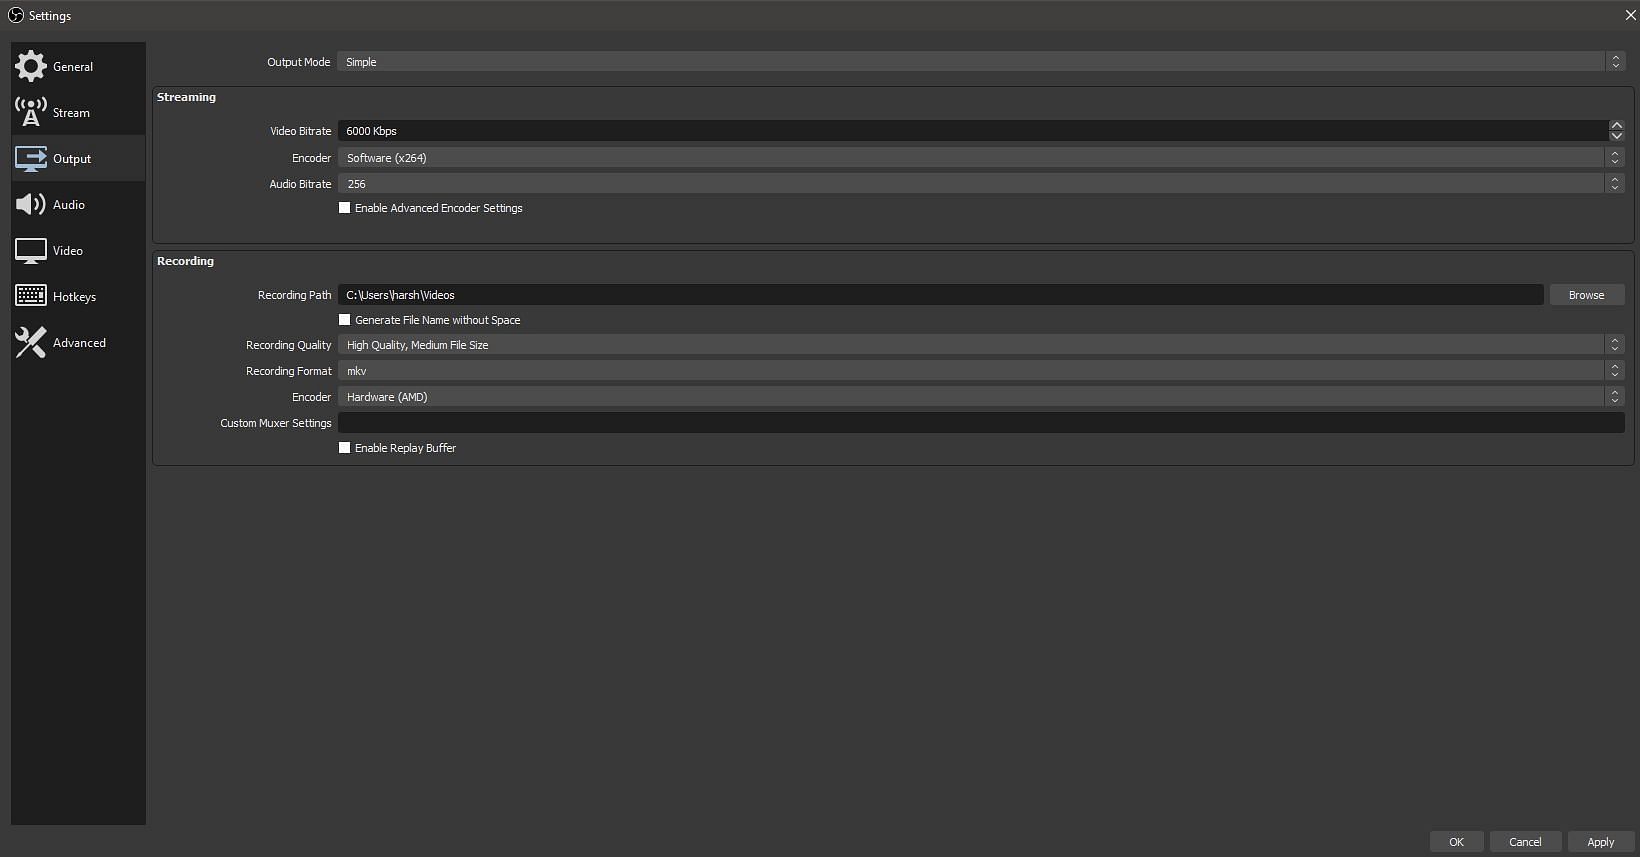
You need to tweak some settings on OBS before starting your stream. Go to the OBS Studio settings on the bottom right, click on 'Output,' next, in 'Video Bitrate,' put in 6000 Kbps, which is ideal for 1080p, select 'Software' next to Encoder, and unselect the 'Enable Advanced Encoder' option and click on 'OK.'
7) Connect to your platform
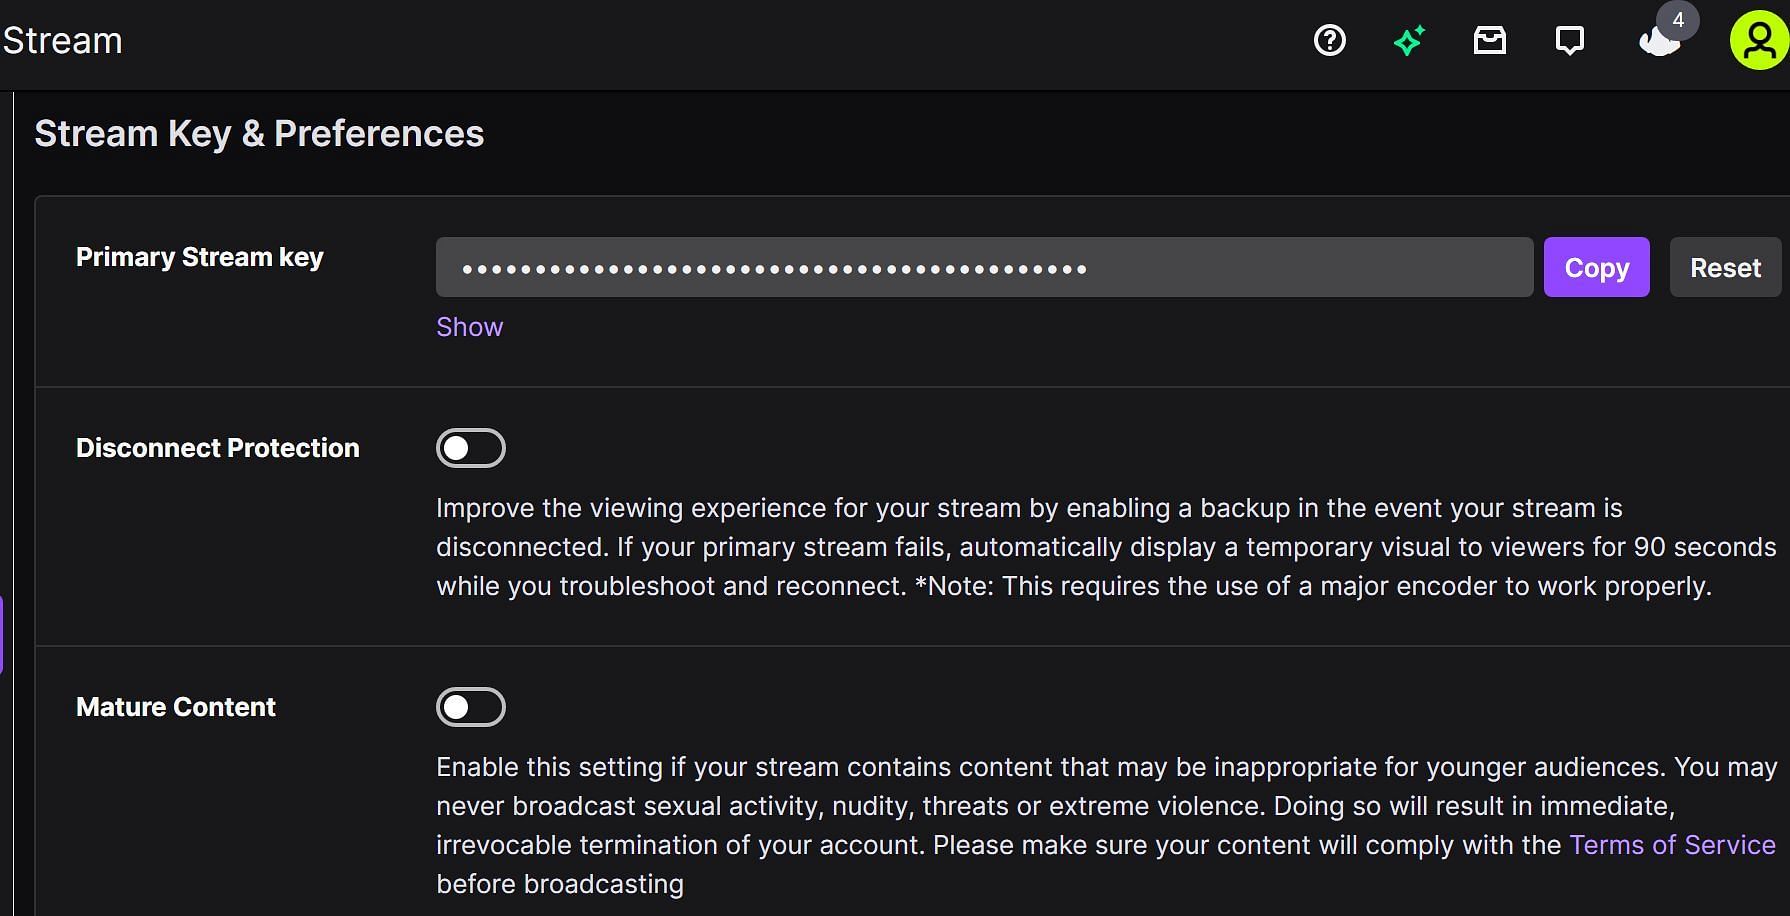
To connect OBS to the platform you will be streaming on, click on 'Settings' under the 'Controls' window on the right, click on 'Stream' on the left, and enter your stream key.
If you are streaming on Twitch, you can get your stream key from the creator dashboard. If you are streaming on YouTube, you can get the stream key by going to the Creator Studio, going to the 'Live Streaming' tab, and scrolling down.
Users should note that the stream key should not be shared with anyone as it is a unique code generated individually for creators.
8) Start streaming
To finally start streaming, simply click on 'Start Streaming' on the bottom right, and you will automatically go live on your channel on the selected platform.
