
'%20x='0'%20y='0'%20height='100%25'%20width='100%25'%20%0A%20%20%20%20%20%20%20%20%20%20xlink%3Ahref='data:image/jpg;base64,/9j/2wBDAAYEBQYFBAYGBQYHBwYIChAKCgkJChQODwwQFxQYGBcUFhYaHSUfGhsjHBYWICwgIyYnKSopGR8tMC0oMCUoKSj/2wBDAQcHBwoIChMKChMoGhYaKCgoKCgoKCgoKCgoKCgoKCgoKCgoKCgoKCgoKCgoKCgoKCgoKCgoKCgoKCgoKCgoKCj/wgARCAAGAAoDASIAAhEBAxEB/8QAFgABAQEAAAAAAAAAAAAAAAAAAAQF/8QAFQEBAQAAAAAAAAAAAAAAAAAAAgX/2gAMAwEAAhADEAAAAId0Uz//xAAiEAACAQMCBwAAAAAAAAAAAAABAwQAAhEFBgcSIjVCktL/2gAIAQEAAT8AVvm9+pLzBiKMSxjStaOi8coz5UOIiSOzxvU/Vf/EABkRAAEFAAAAAAAAAAAAAAAAAAABAxETIf/aAAgBAgEBPwC9yE0//8QAFhEBAQEAAAAAAAAAAAAAAAAAAREA/9oACAEDAQE/AIQ3/9k='%3E%3C/image%3E%3C/svg%3E)
Minecraft is a haven for anyone who loves to focus on building and constructing structures in virtual worlds. The game offers an infinite sandbox environment for players to build whatever they want using a large selection of blocks and items.
From mansions and castles to wizard towers and entire cities, players can get quite creative when it comes to the game’s building mechanics. This article will focus on a structural build as well: a lighthouse.

Chart New Territories with the ultimate Minecraft Seed Generator!
Lighthouses are a popular build idea for players as they are quite easy to construct. Thus, players get more time to apply some of the finer details to their lighthouses.
Many players like to build their lighthouses with a static light source like glowstone or sea lanterns, while others like to automate their lighting using redstone. The design mentioned in this article is the latter and has a light that physically rotates.
Detailed steps to build a lighthouse in Minecraft
Note: The design shown in this article, though recreated by the author, is heavily inspired by a design from YouTuber Farzy. The video tutorial for the build is linked above, and players can follow that if they encounter any problems.
The build will be featured in two parts. The article will first discuss building the lighthouse, and the second will feature the automated light build.
Building the lighthouse
Step 1: Start with a base and walls for the lighthouse
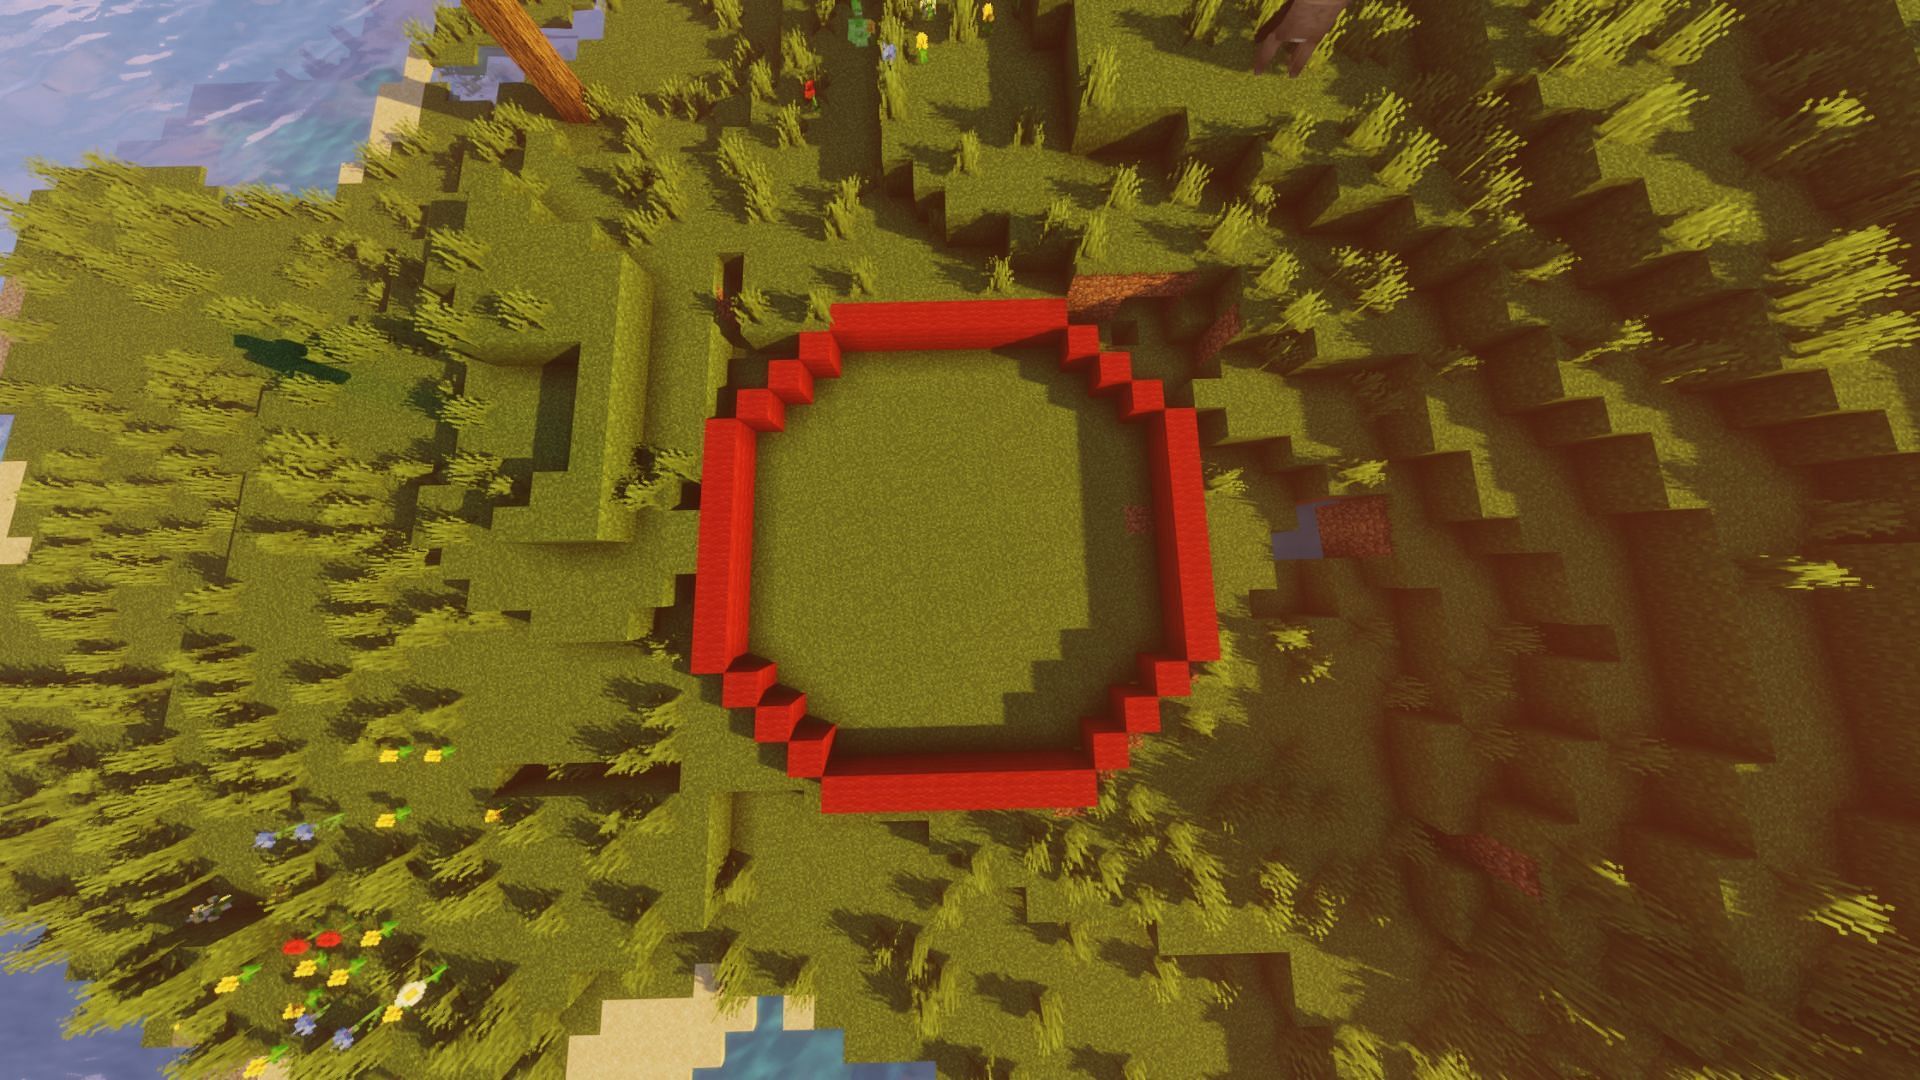
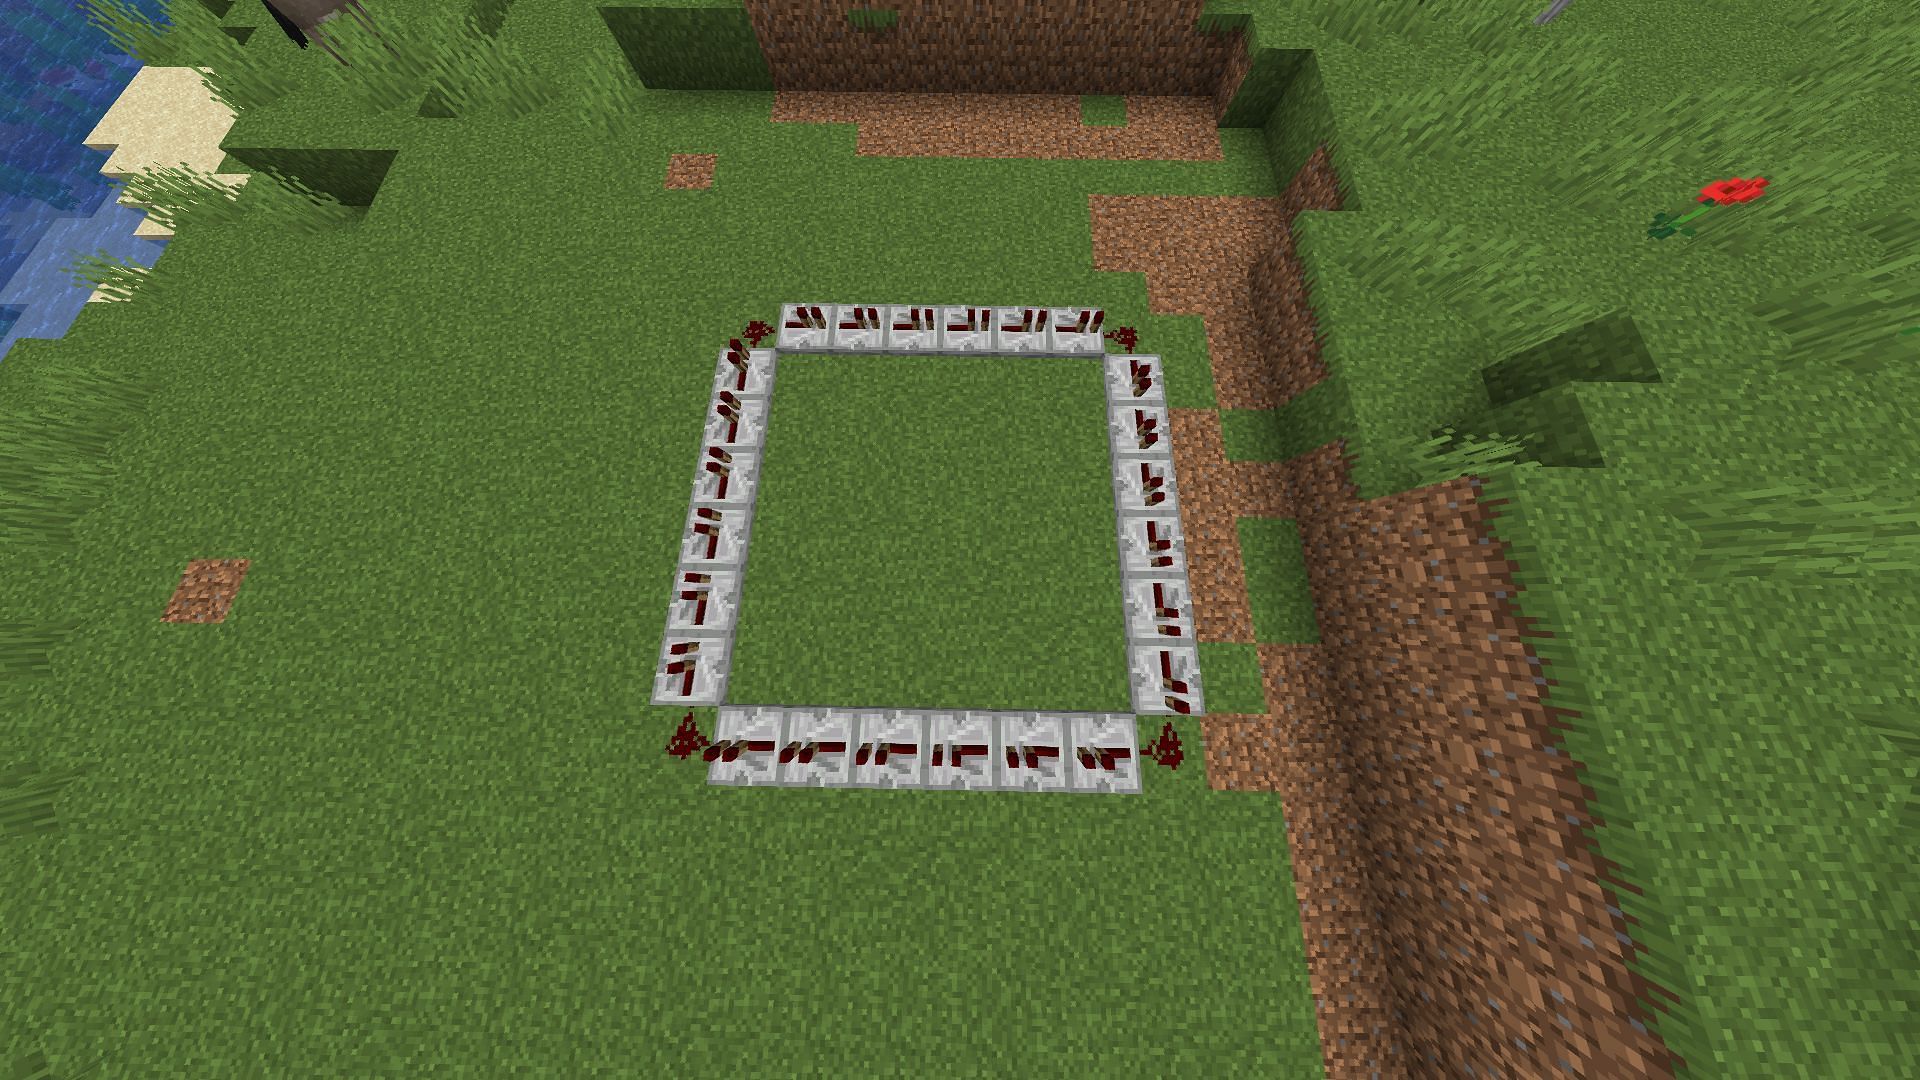
The base outline has four sides with eight blocks, each connected diagonally, with three blocks used as mediators, as shown in the image below.
The size of the lighthouse build can vary as per the player, depending on how wide they want it to be. The tutorial also shows the usage of two types of wool blocks for the structure. However, players can use any block they may want to use.
Step 2: Extend the walls of the structure from the base
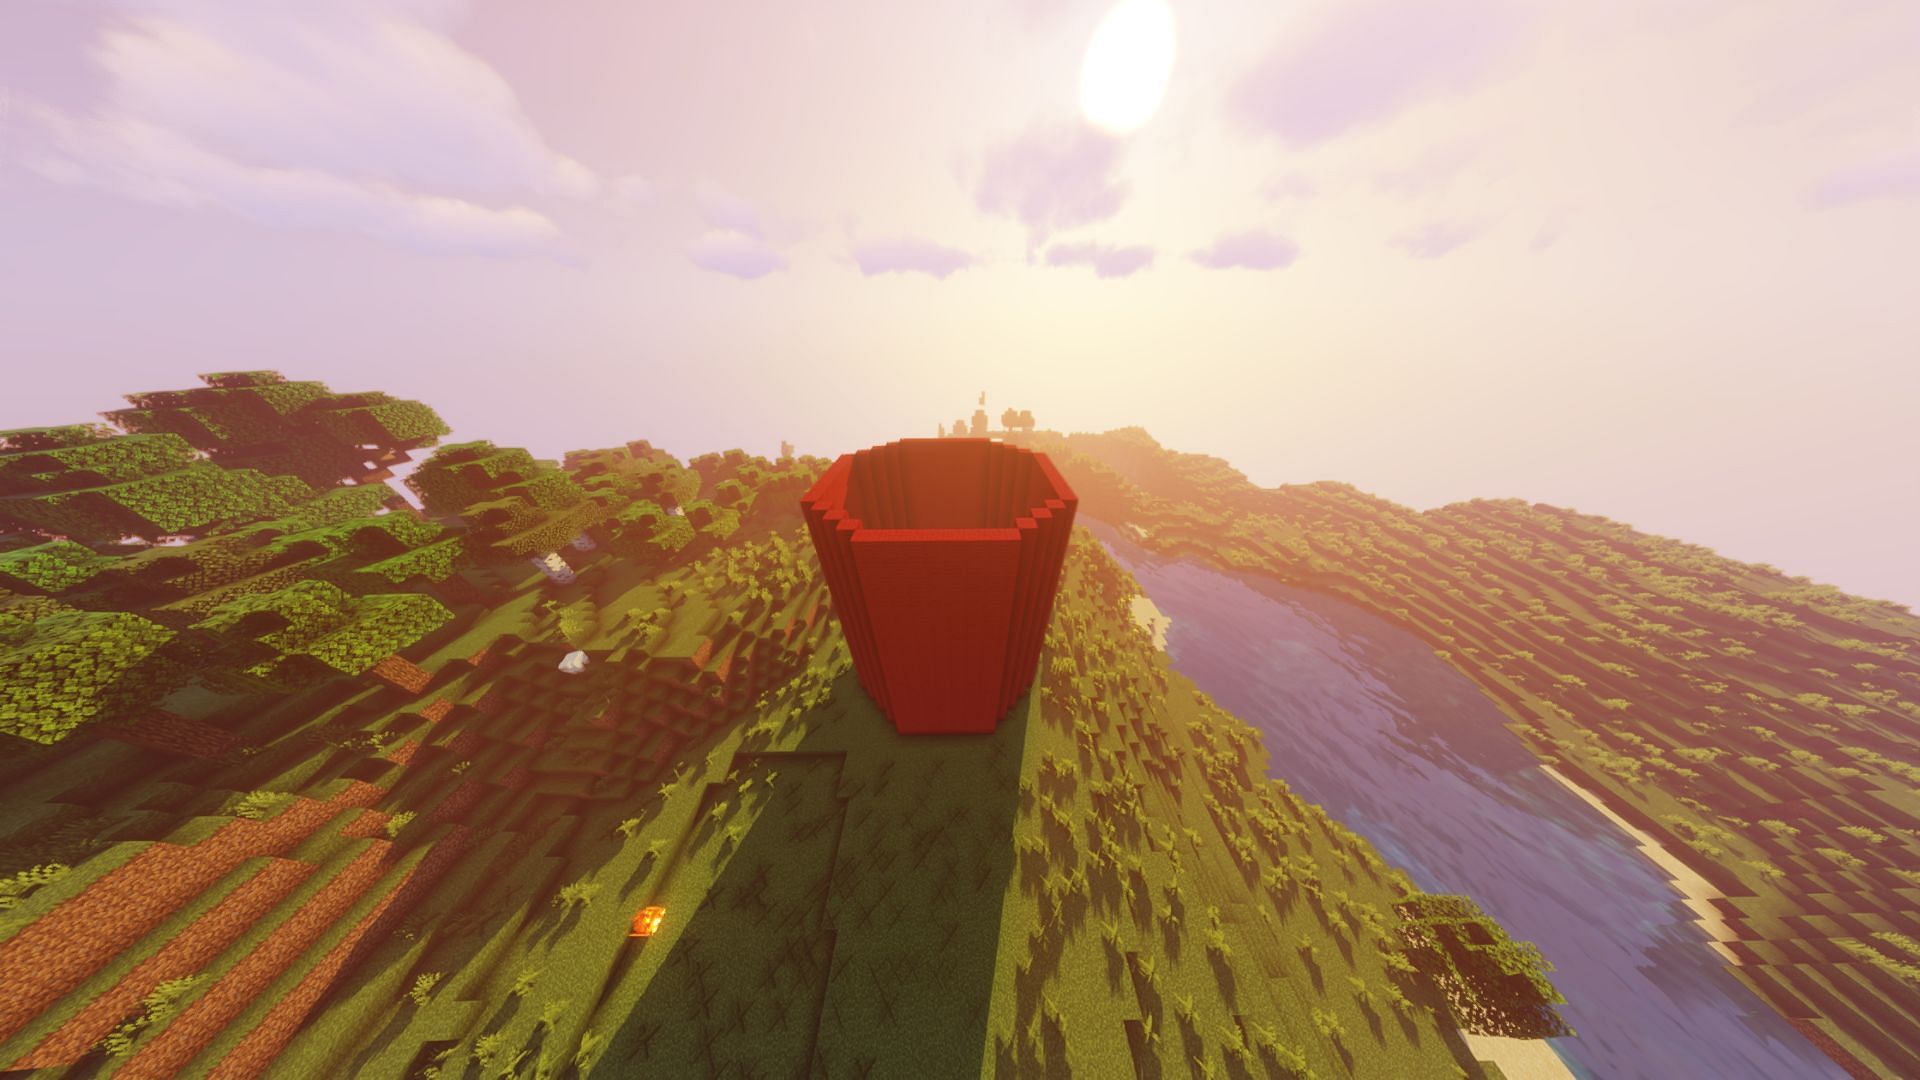
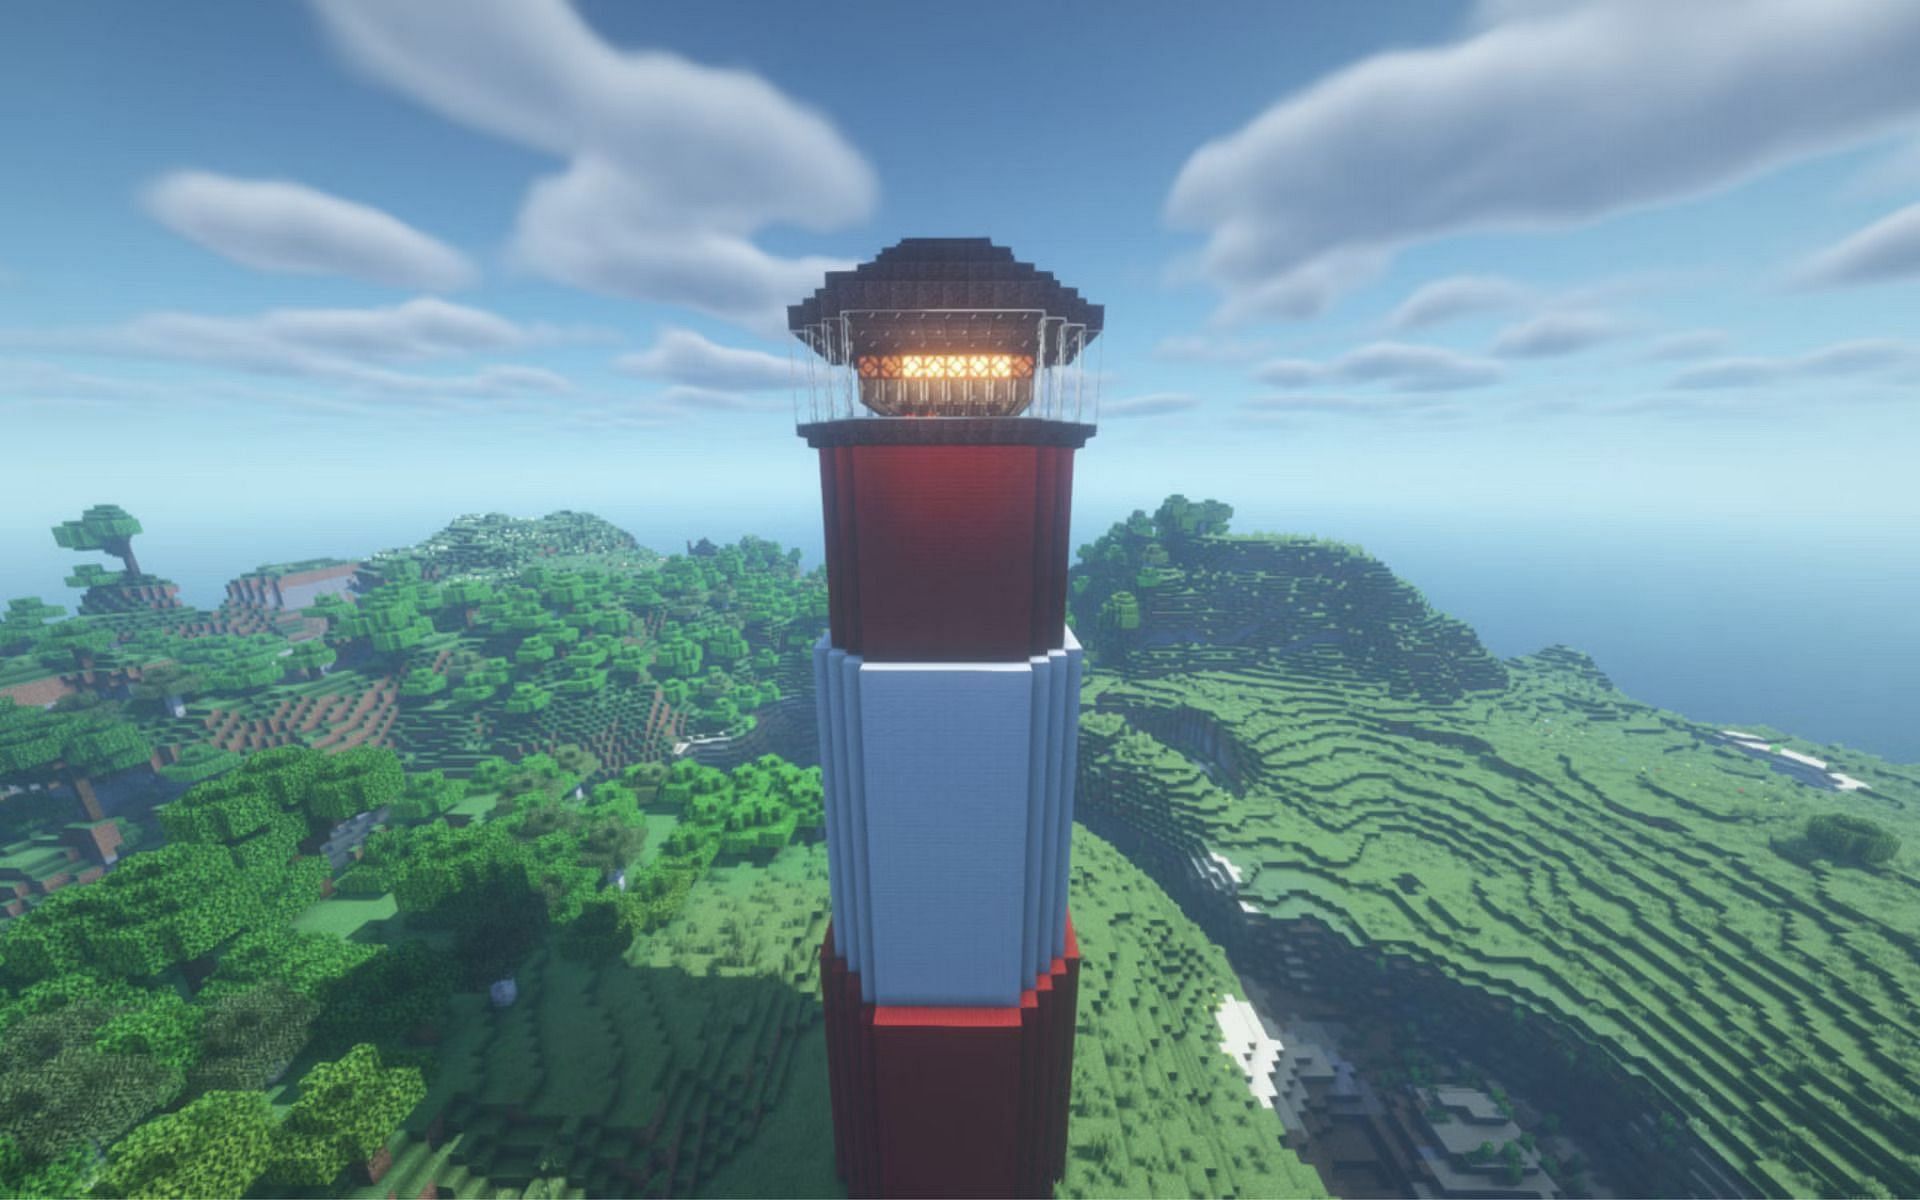
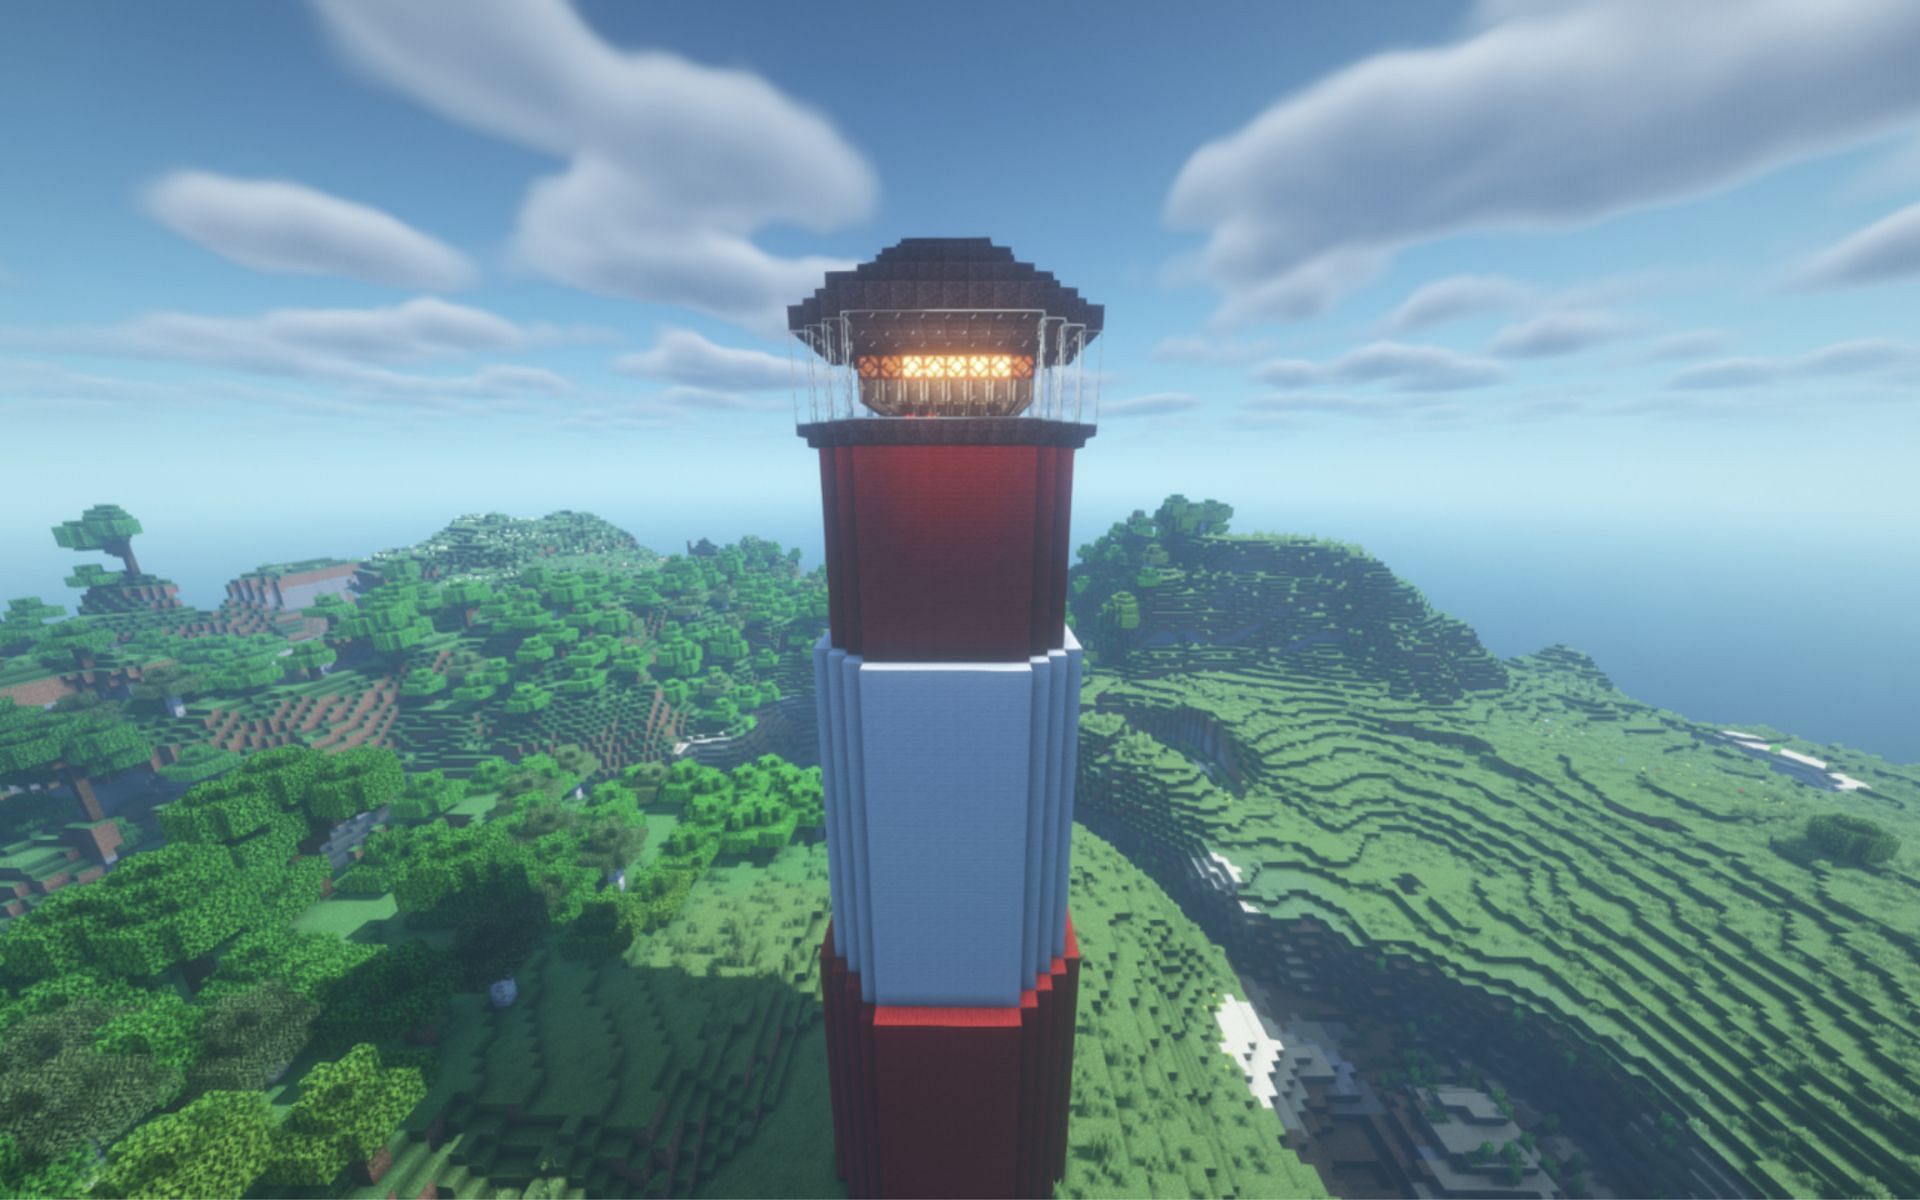
The height of each walled section depends on the player’s preference. In this case, the first two sections (red and white) have a height of 20 blocks each, while the third section (red) has a height of 10 blocks. All sections keep up with the previously mentioned length of eight blocks.
Step 3: Continue building
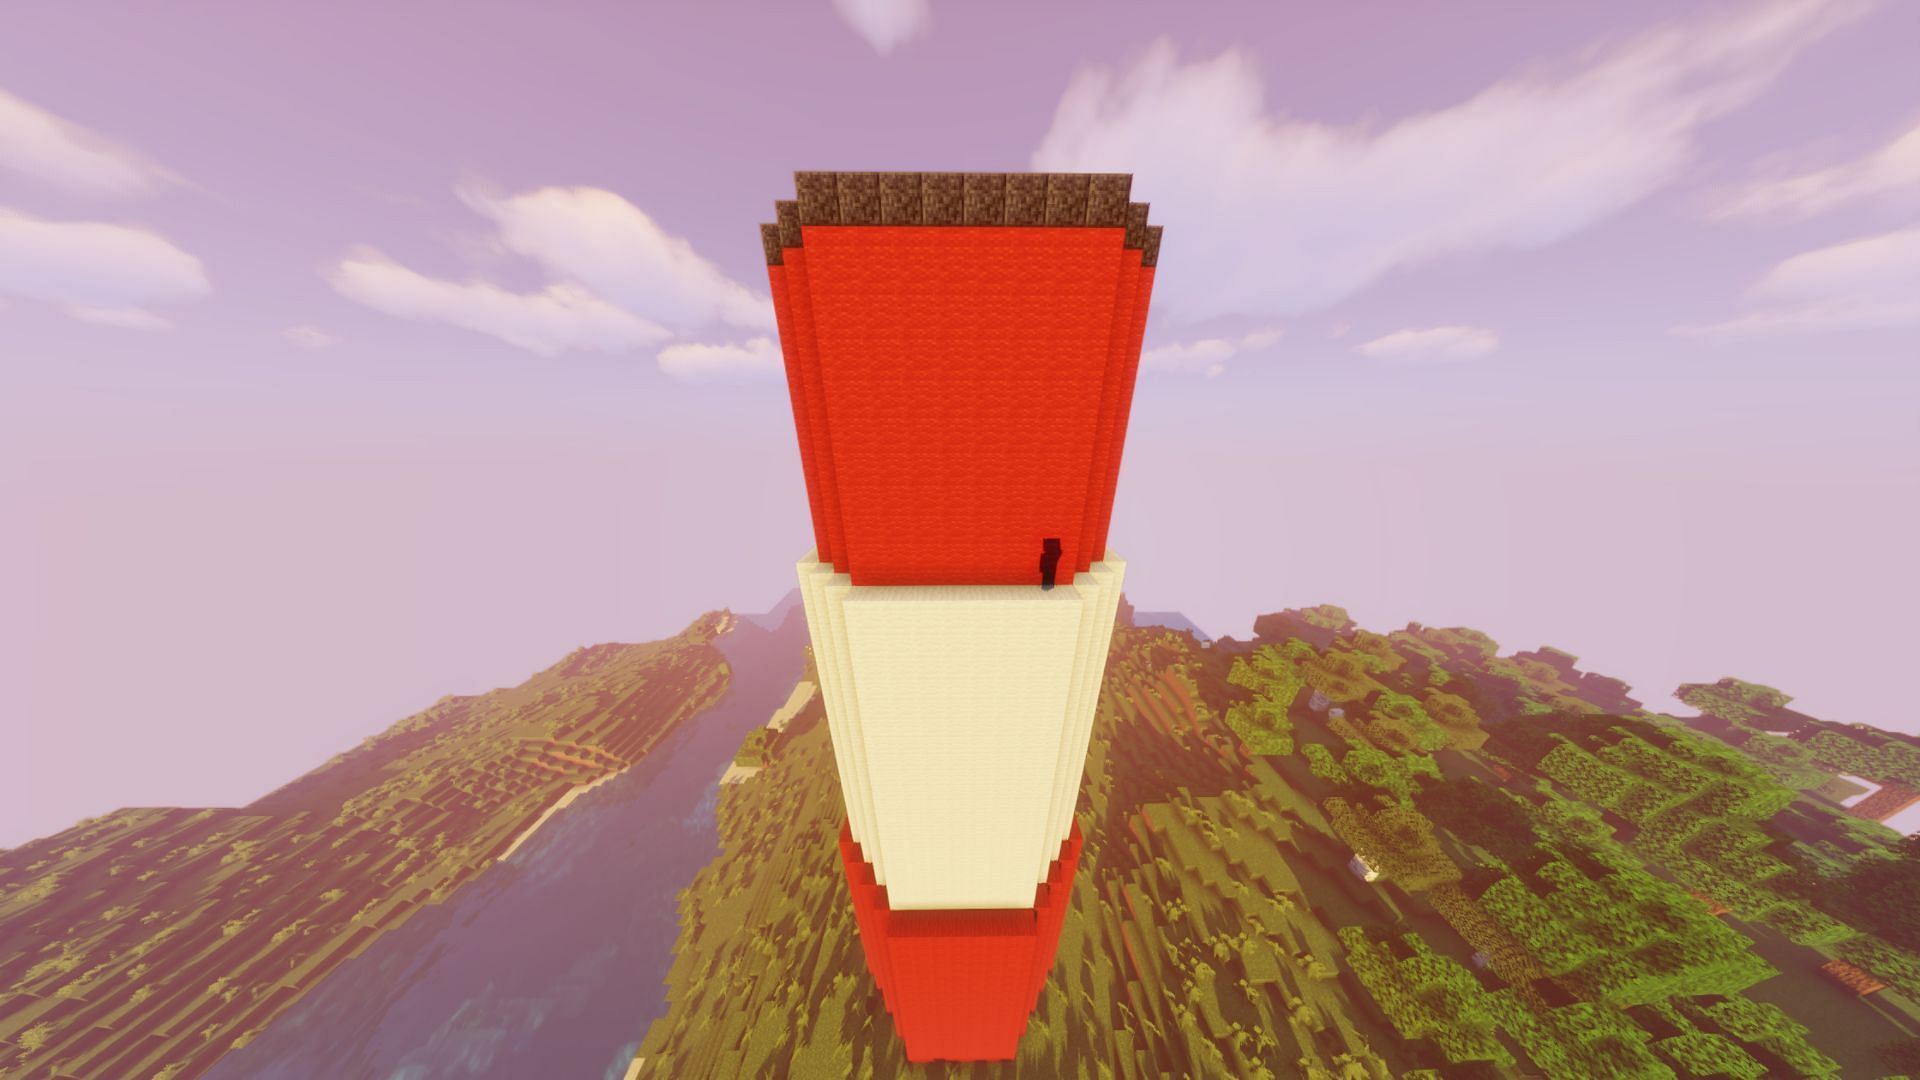
Build one or more sections of walls while moving one block towards the inside with each section. This will give the lighhouse its characteristic tapering shape.
Step 4: Build a new layer on top of the final wall layer
A different block should be used for this layer. The new layer should be one block in height and should extend over the lighthouse’s edge by at least one or two blocks.
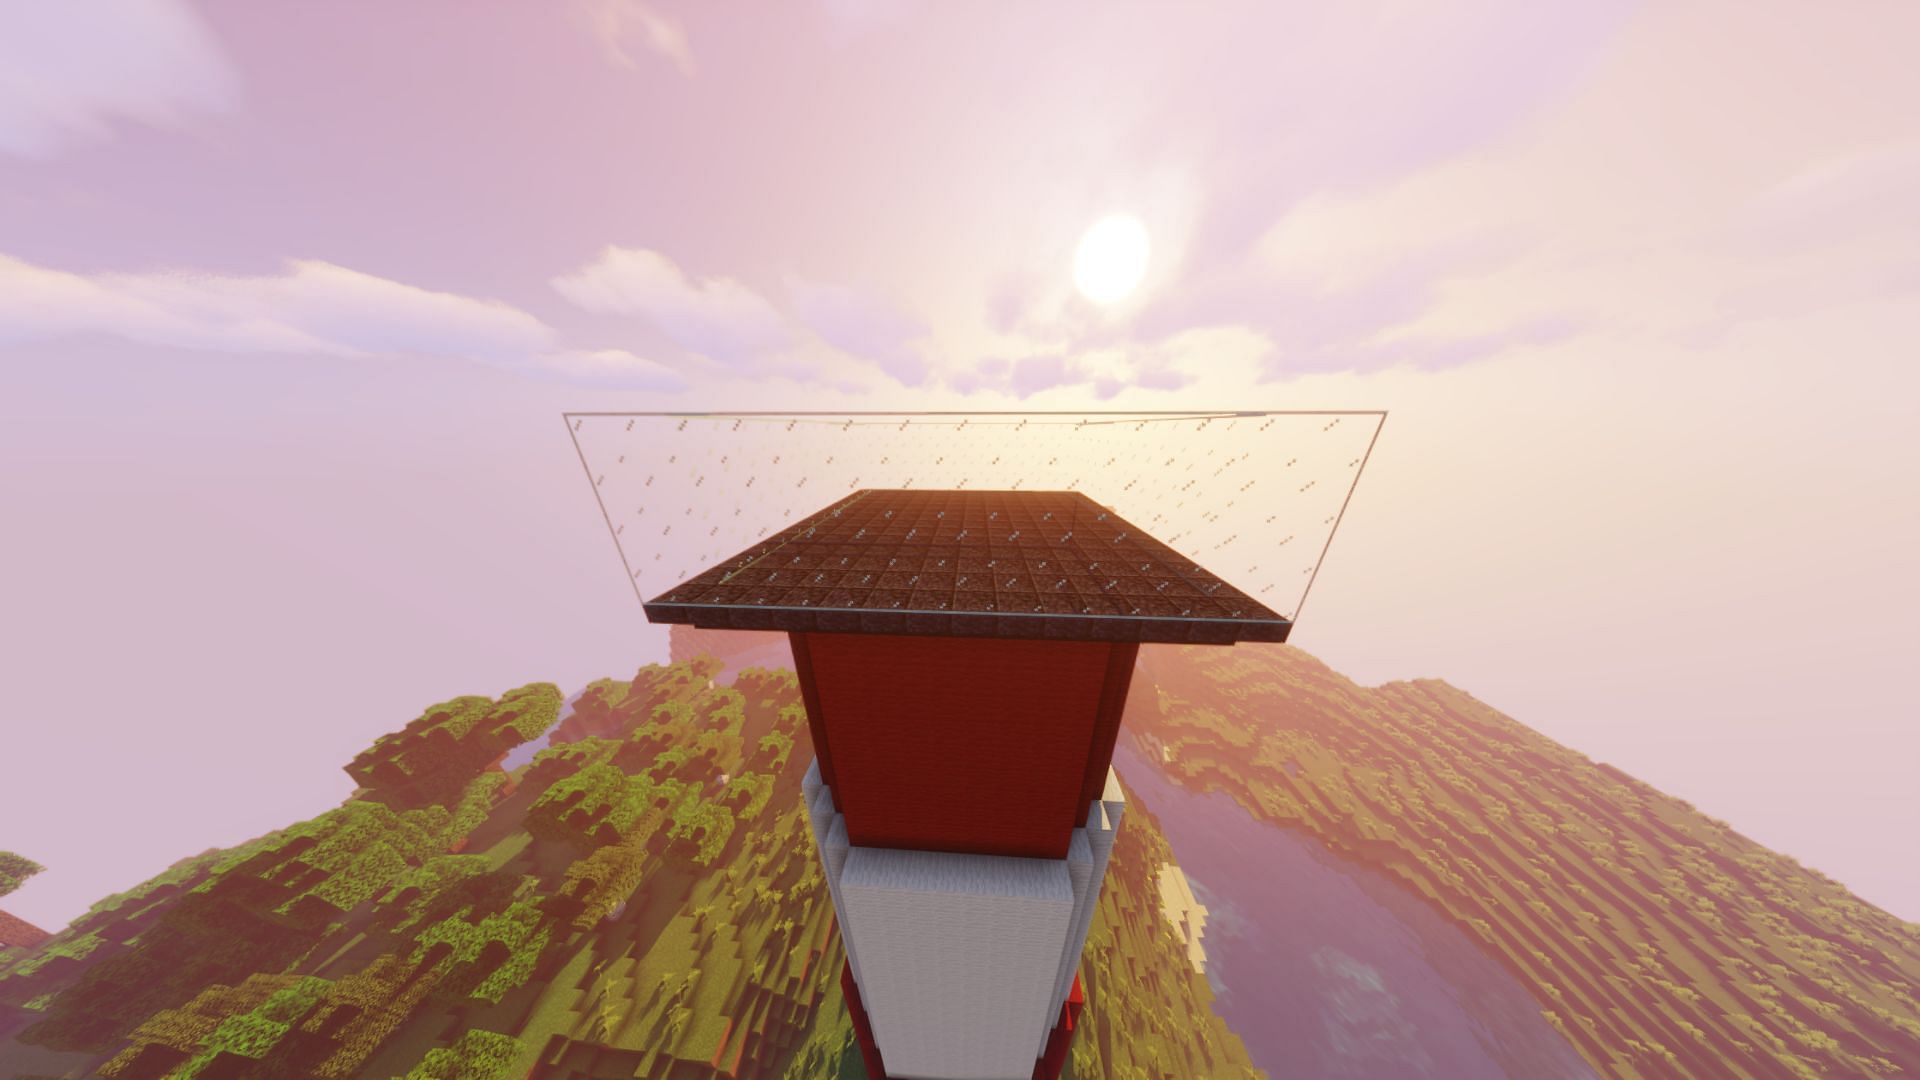
Step 5: Build a glass enclosure
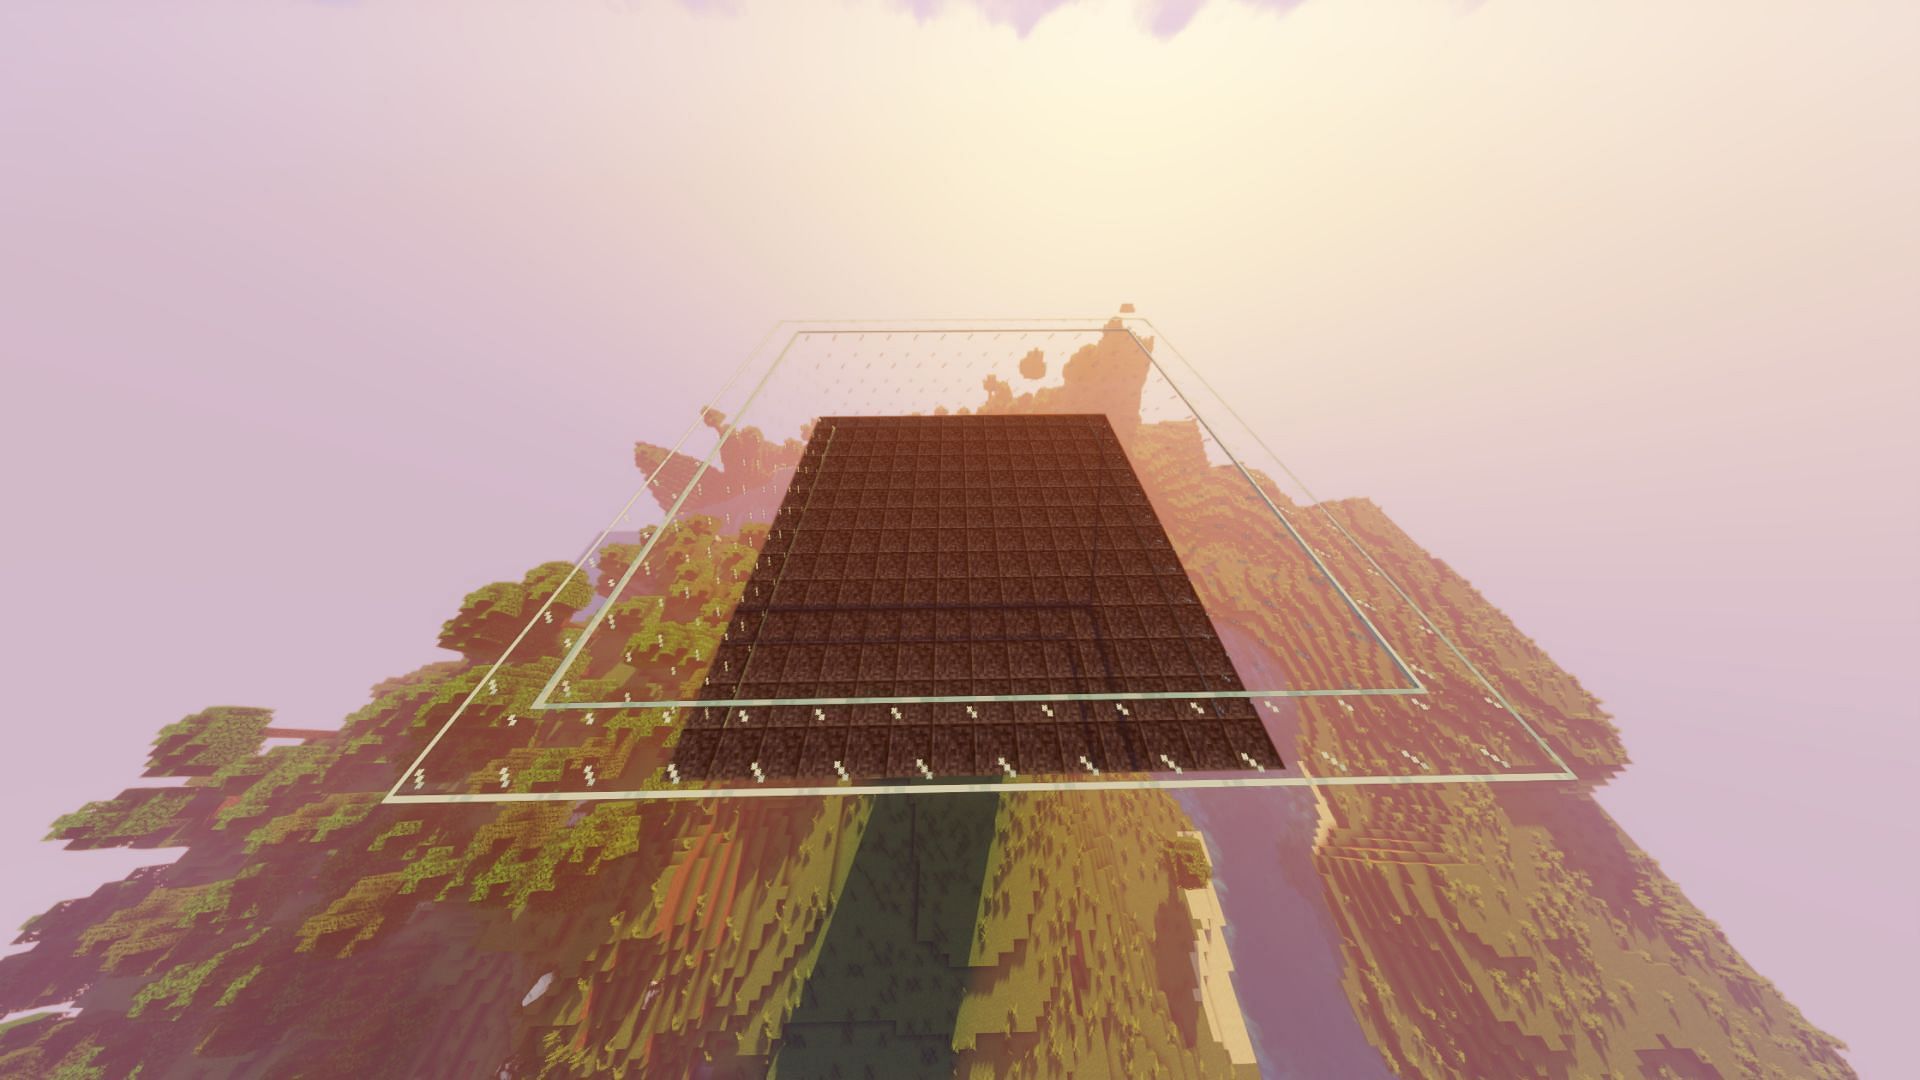
Players should then proceed to building the structure’s light system. Housing it in a glass enclosure will increase the aesthetic appeal by a wide margin as well.
Step 6: Build the roof of the structure
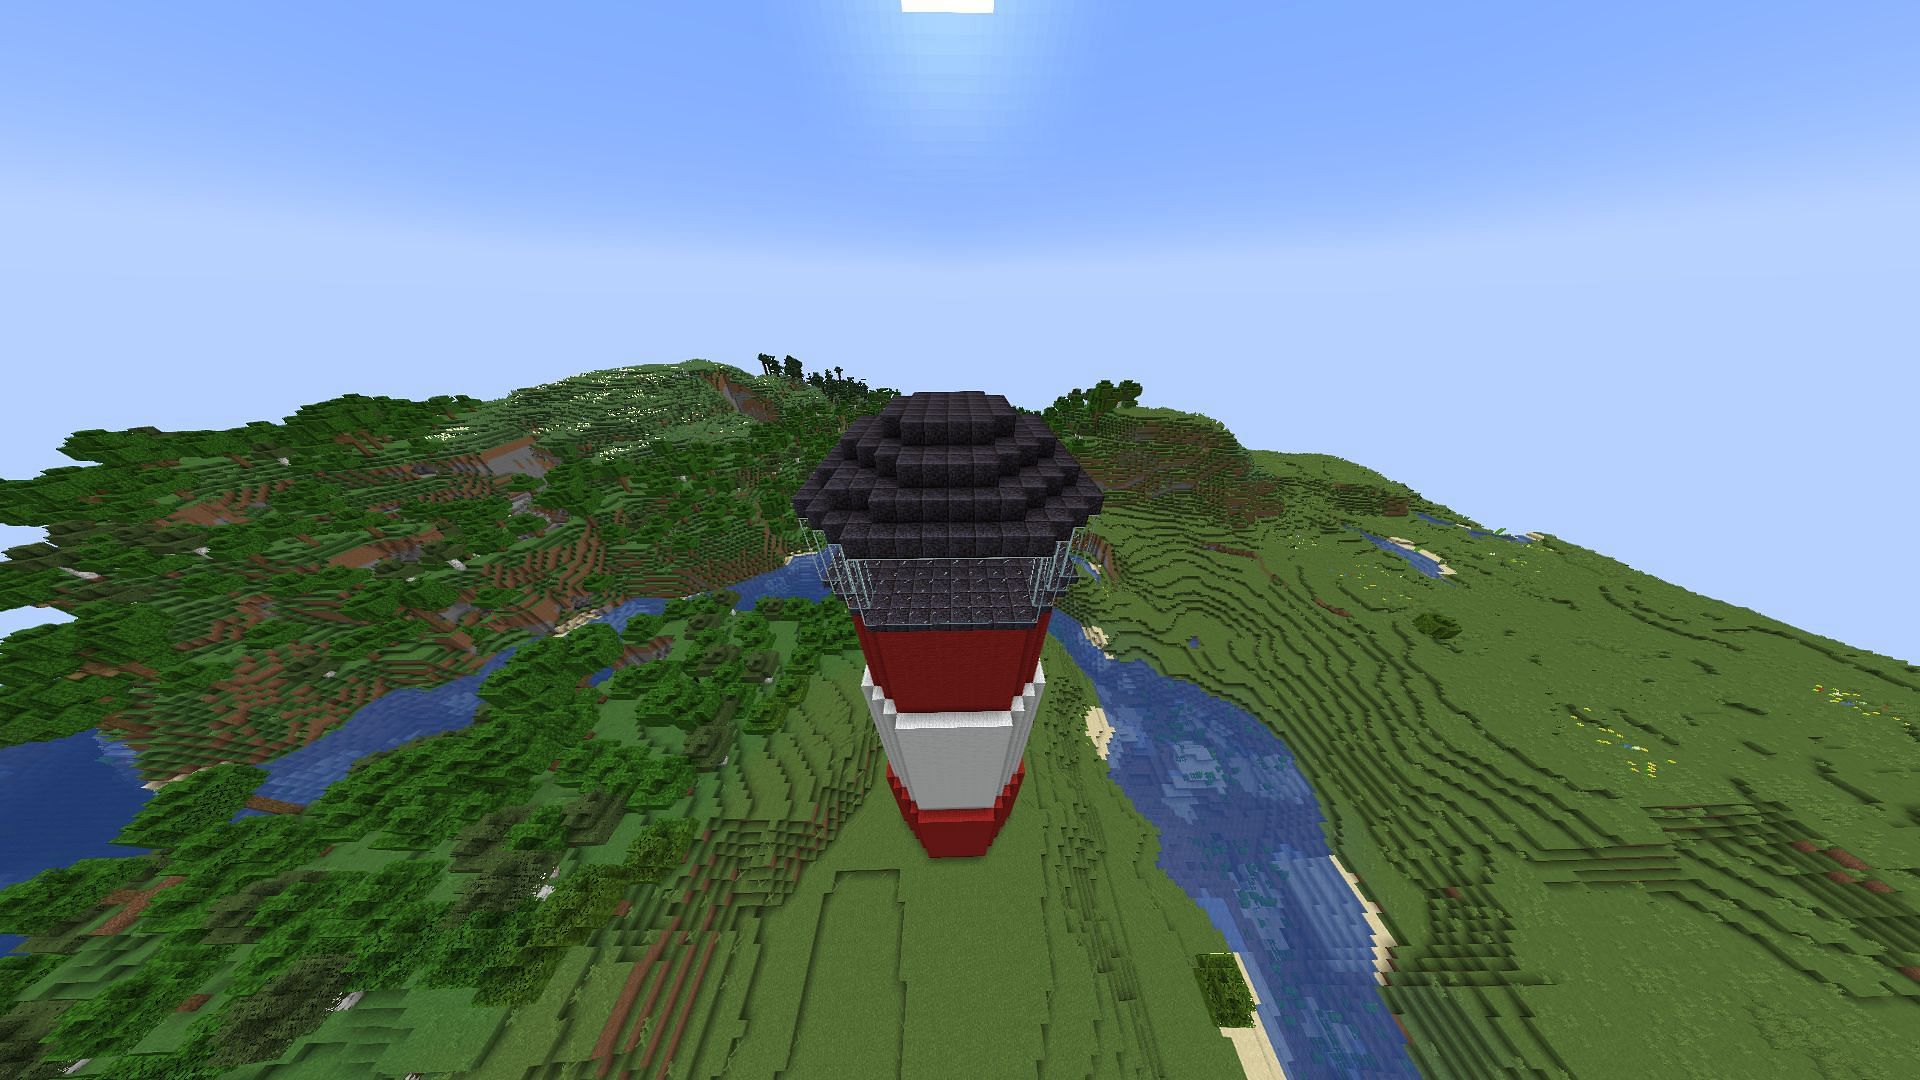
Players can create multiple layers on top of the glass section. The topmost section's layers should gradually reduce their radius and should be made from the same block that was used to make the one-block-high layer below the glass layer.
Building the automated searchlight
Players are advised to build the light after they’re finished with building the lighthouse. If built in survival, players will have to remember to leave some space open for them to walk into the glass containment area and make the circuit there.
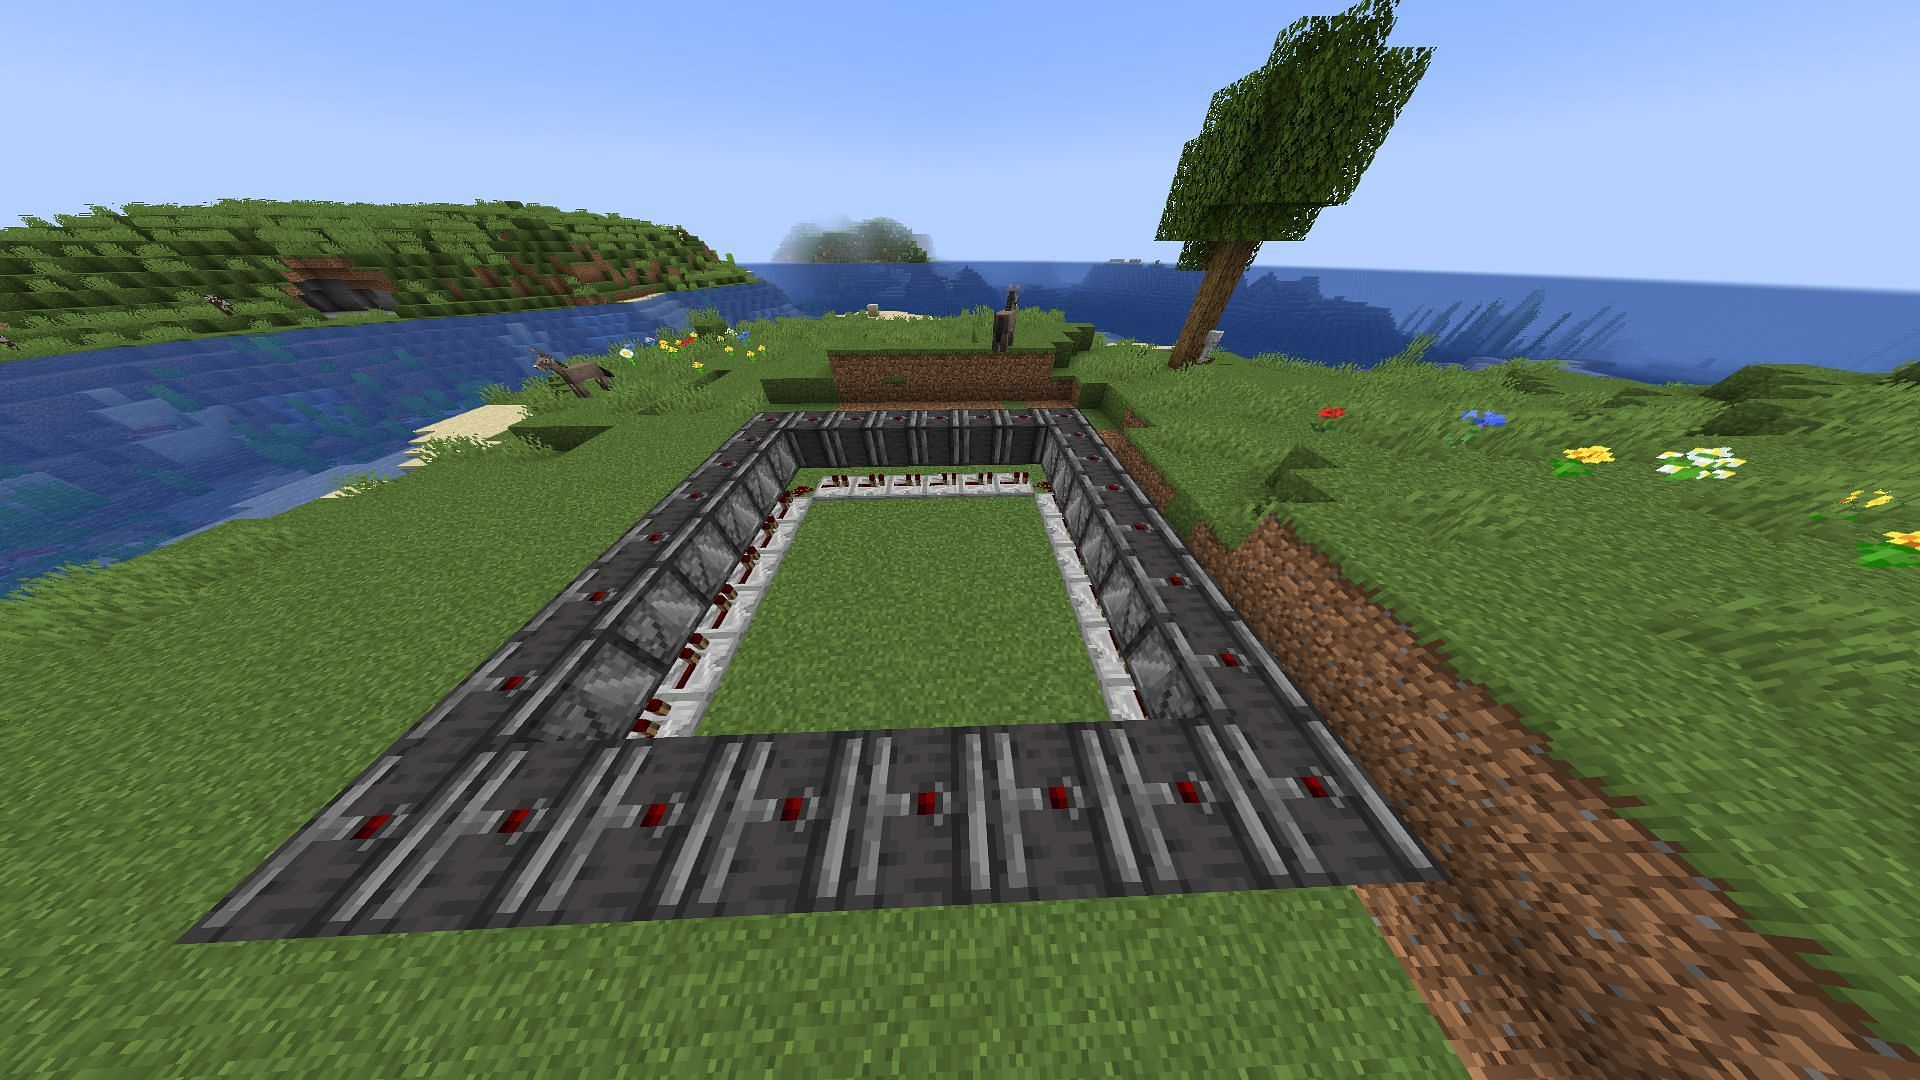
Step 1: Build a redstone circuit using the configuration in the image below
In this case, the build uses a 6x6 layout for the configuration. Players will need redstone repeaters, redstone dust, redstone lamps, redstone torches, and observers.
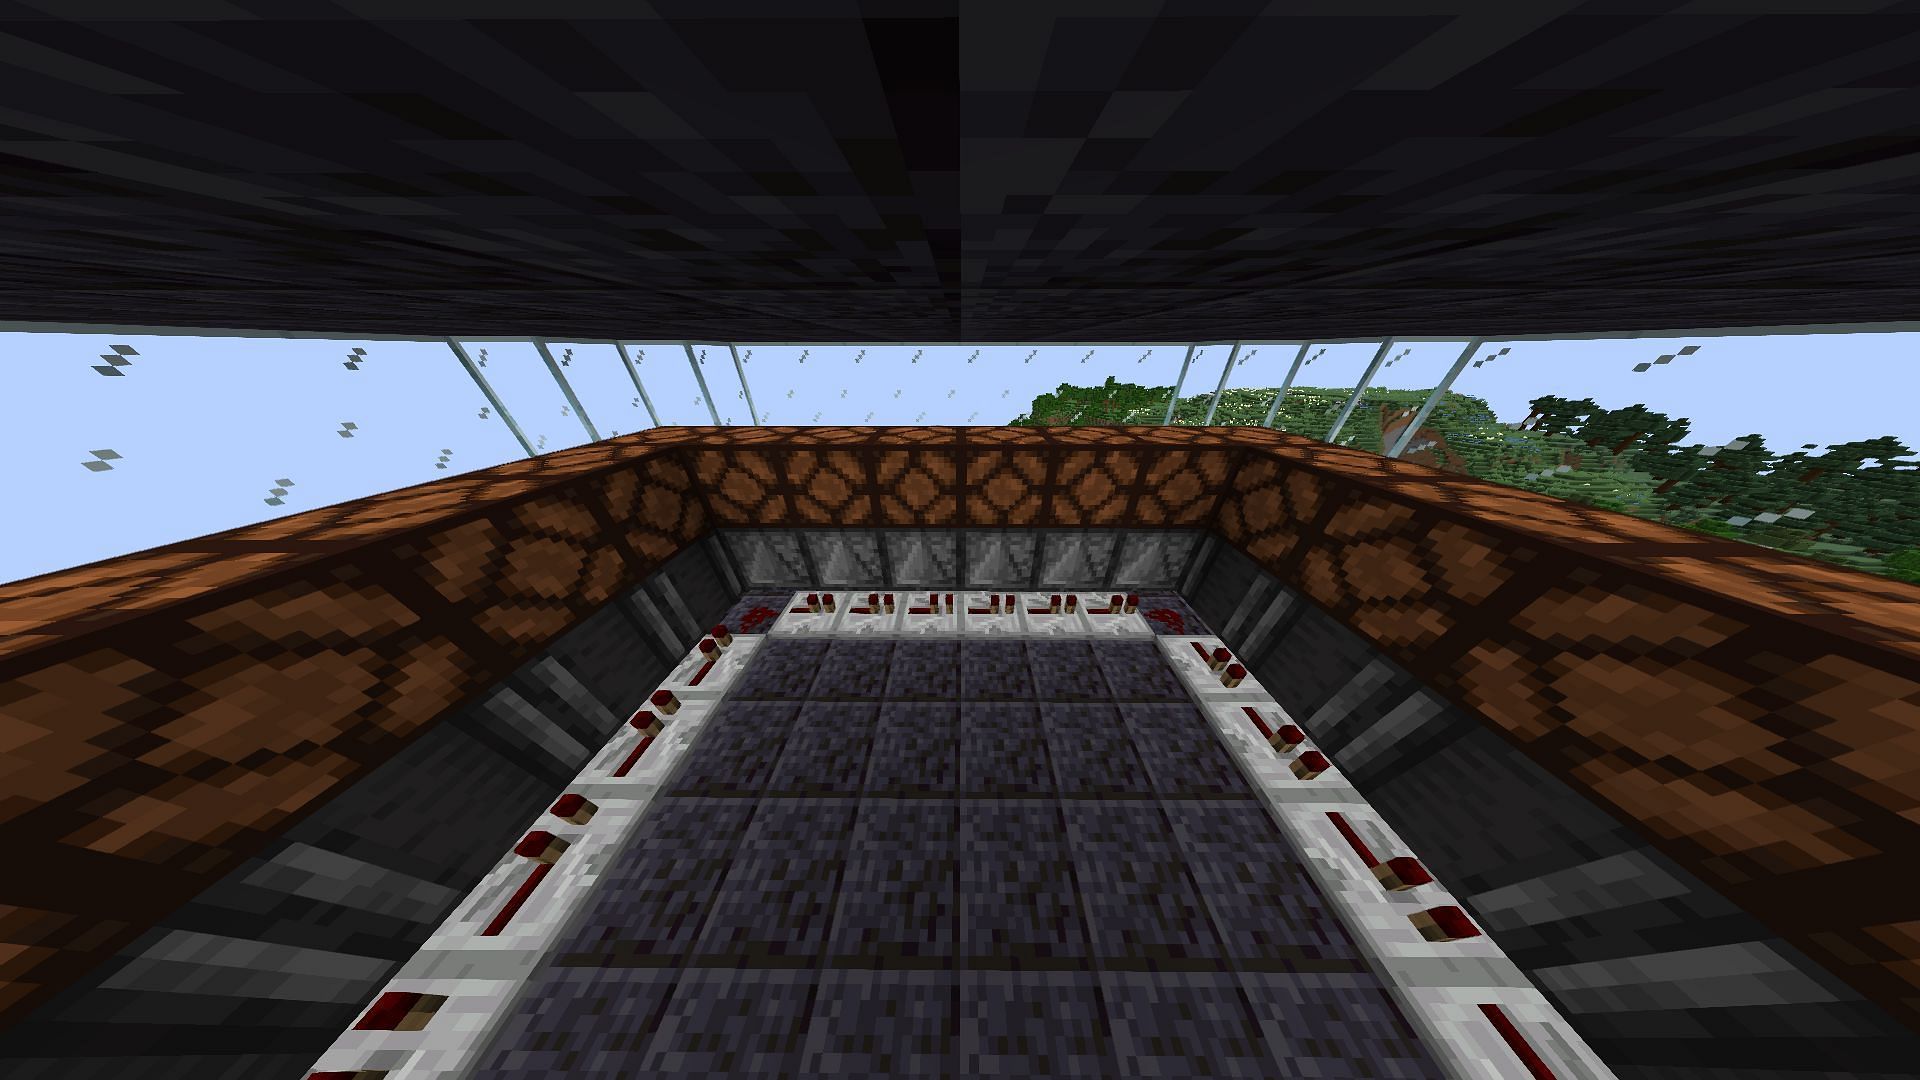
Step 2: Place observer blocks over each repeater and the four redstone dust spots
Step 3: Place redstone lamps over each observer block
Step 4: Activating the circuit
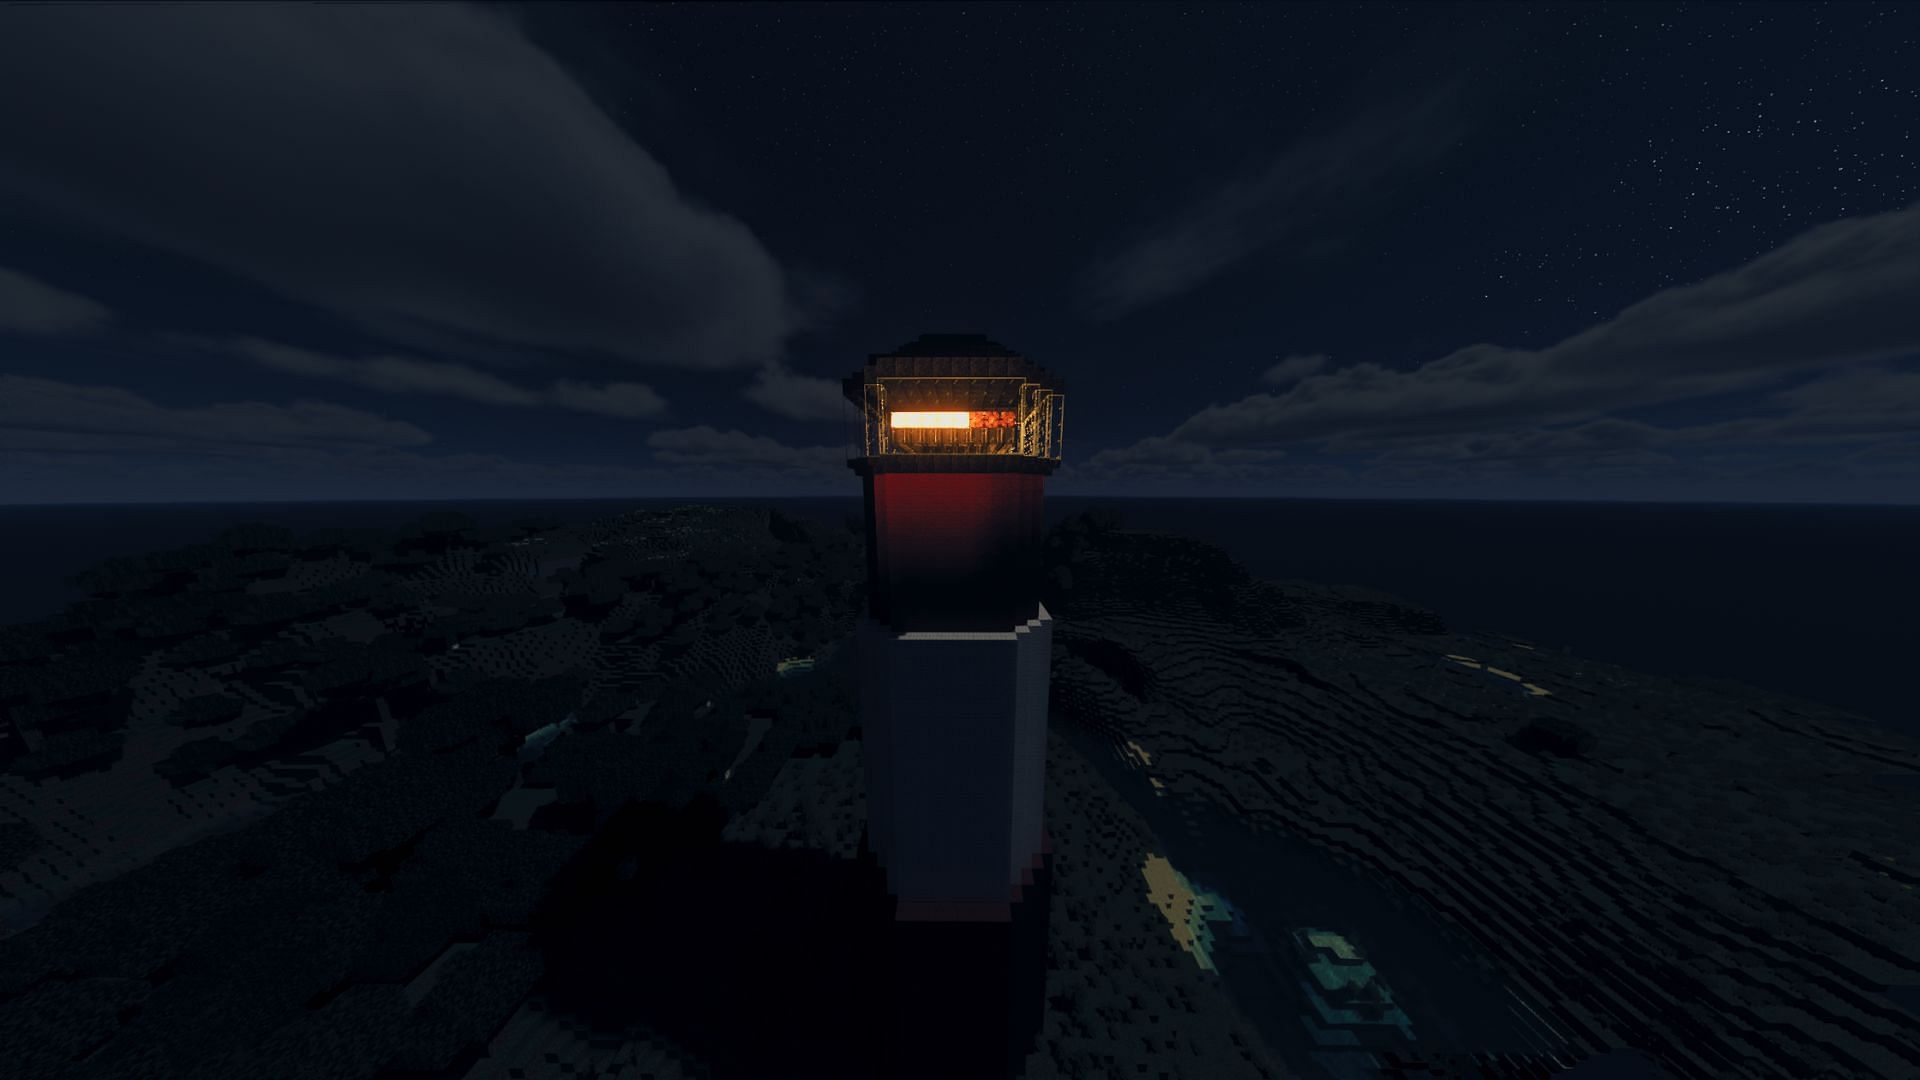
Place a redstone torch near the redstone dust, immediately remove it, and activate the circuit to enjoy a fully functional lighthouse with a rotating searchlight.
The redstone torch only needs to be placed for a second to activate the circuit. Players can change the speed of the light by interacting with the repeaters, thus adjusting the tick rate for the circuit.

Uncover new worlds with our Minecraft Seed Generator!