
'%20x='0'%20y='0'%20height='100%25'%20width='100%25'%20%0A%20%20%20%20%20%20%20%20%20%20xlink%3Ahref='data:image/jpg;base64,/9j/2wBDAAYEBQYFBAYGBQYHBwYIChAKCgkJChQODwwQFxQYGBcUFhYaHSUfGhsjHBYWICwgIyYnKSopGR8tMC0oMCUoKSj/2wBDAQcHBwoIChMKChMoGhYaKCgoKCgoKCgoKCgoKCgoKCgoKCgoKCgoKCgoKCgoKCgoKCgoKCgoKCgoKCgoKCgoKCj/wgARCAAGAAoDASIAAhEBAxEB/8QAFQABAQAAAAAAAAAAAAAAAAAAAAb/xAAUAQEAAAAAAAAAAAAAAAAAAAAE/9oADAMBAAIQAxAAAAC7hwxf/8QAIxAAAAYBAgcAAAAAAAAAAAAAAQIDBAUGEQAHEhMVIzFSYv/aAAgBAQABPwC1SNwrzCSeOJBm8TWkCEaJqhkEku8PqHxpTca3cZsdJKGfHKNr/8QAGBEBAAMBAAAAAAAAAAAAAAAAAgABAxL/2gAIAQIBAT8AW2gvkqf/xAAXEQADAQAAAAAAAAAAAAAAAAAAAQID/9oACAEDAQE/AMJTk//Z'%3E%3C/image%3E%3C/svg%3E)
The world of Minecraft has some of the most unique terrain generations. From soaring mountains to gaping caves, these amplified terrains might inspire you to create your own custom-generated world. This is where the WorldPainter tool can help.
Worldpainter for Minecraft is a software that acts as a 3D painter application, but for any and all worlds of the sandbox game. It uses specialized tools to completely change the terrain of a world. Though it has a fairly steep learning curve, you can create some basic terrain generation with this tool and test it inside the game.

Steps to download and use WorldPainter tool for Minecraft
1) Search for WorldPainter
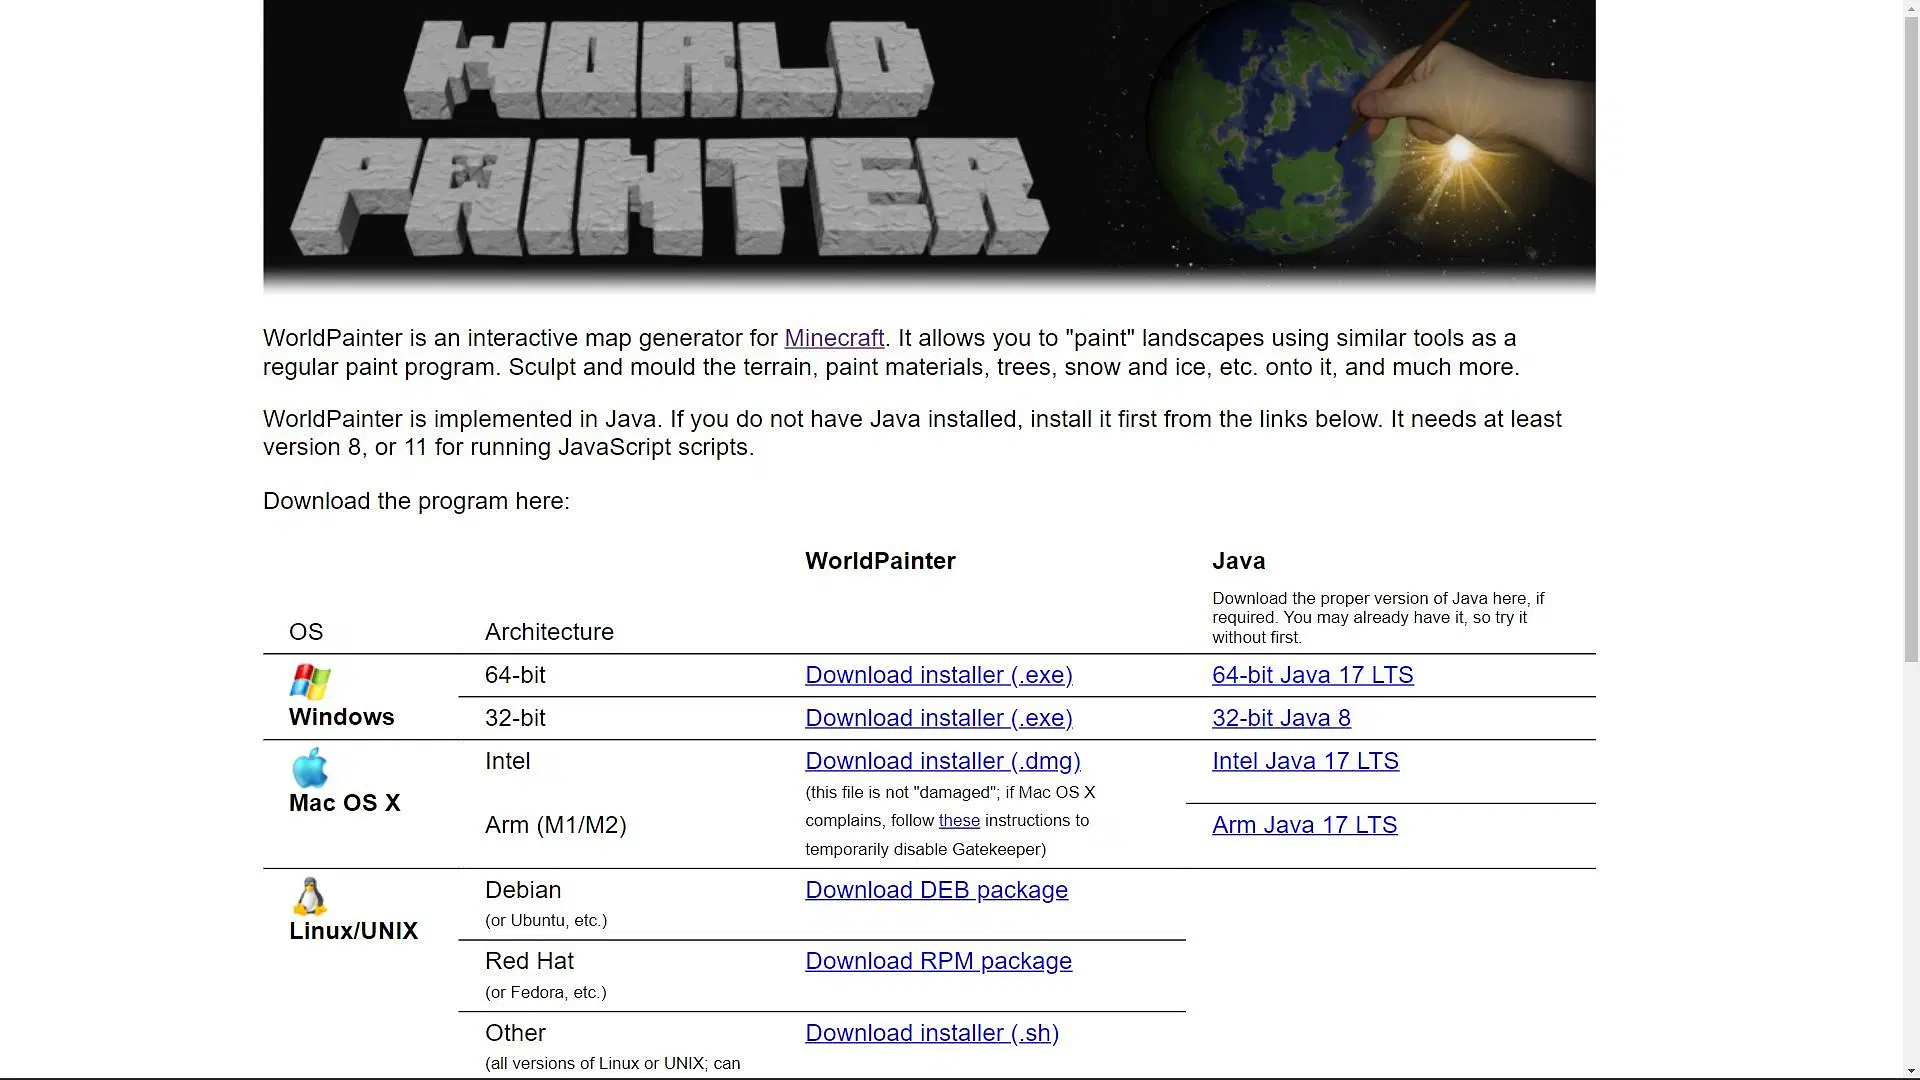
Chart New Territories with the ultimate Minecraft Seed Generator!
First, you need to download the software that will work separately from the game. Search "WorldPainter for Minecraft" and click on the first official website where you can find all the download links for different operating systems.
Since this is only available for Java Edition, it can be used on Windows, MacOS, and Linux.
2) Installing the software
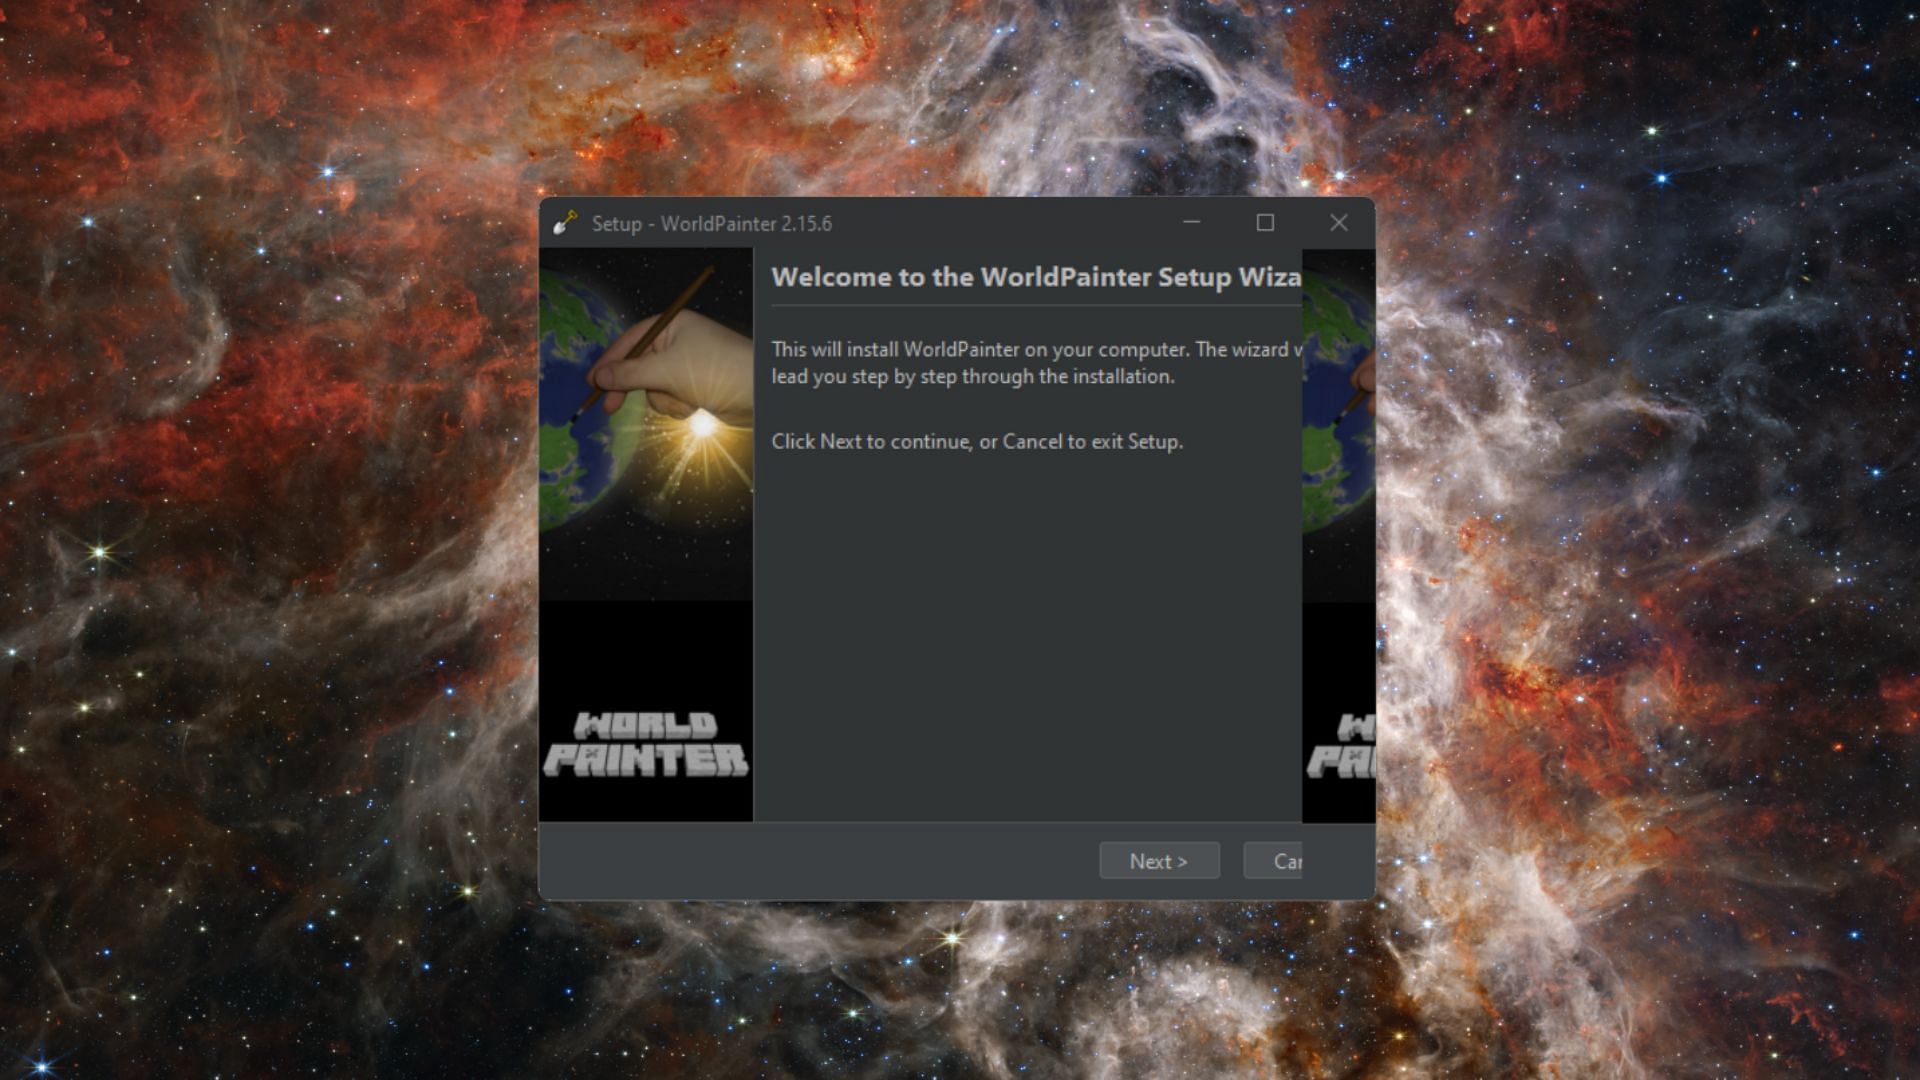
Go through all the details and install the software like any other application. Remember, this is a completely separate application that won't be directly connected to the game.
Once the installation is complete, the installer will automatically prompt you to open the application.
3) Opening and using the basics of WorldPainter
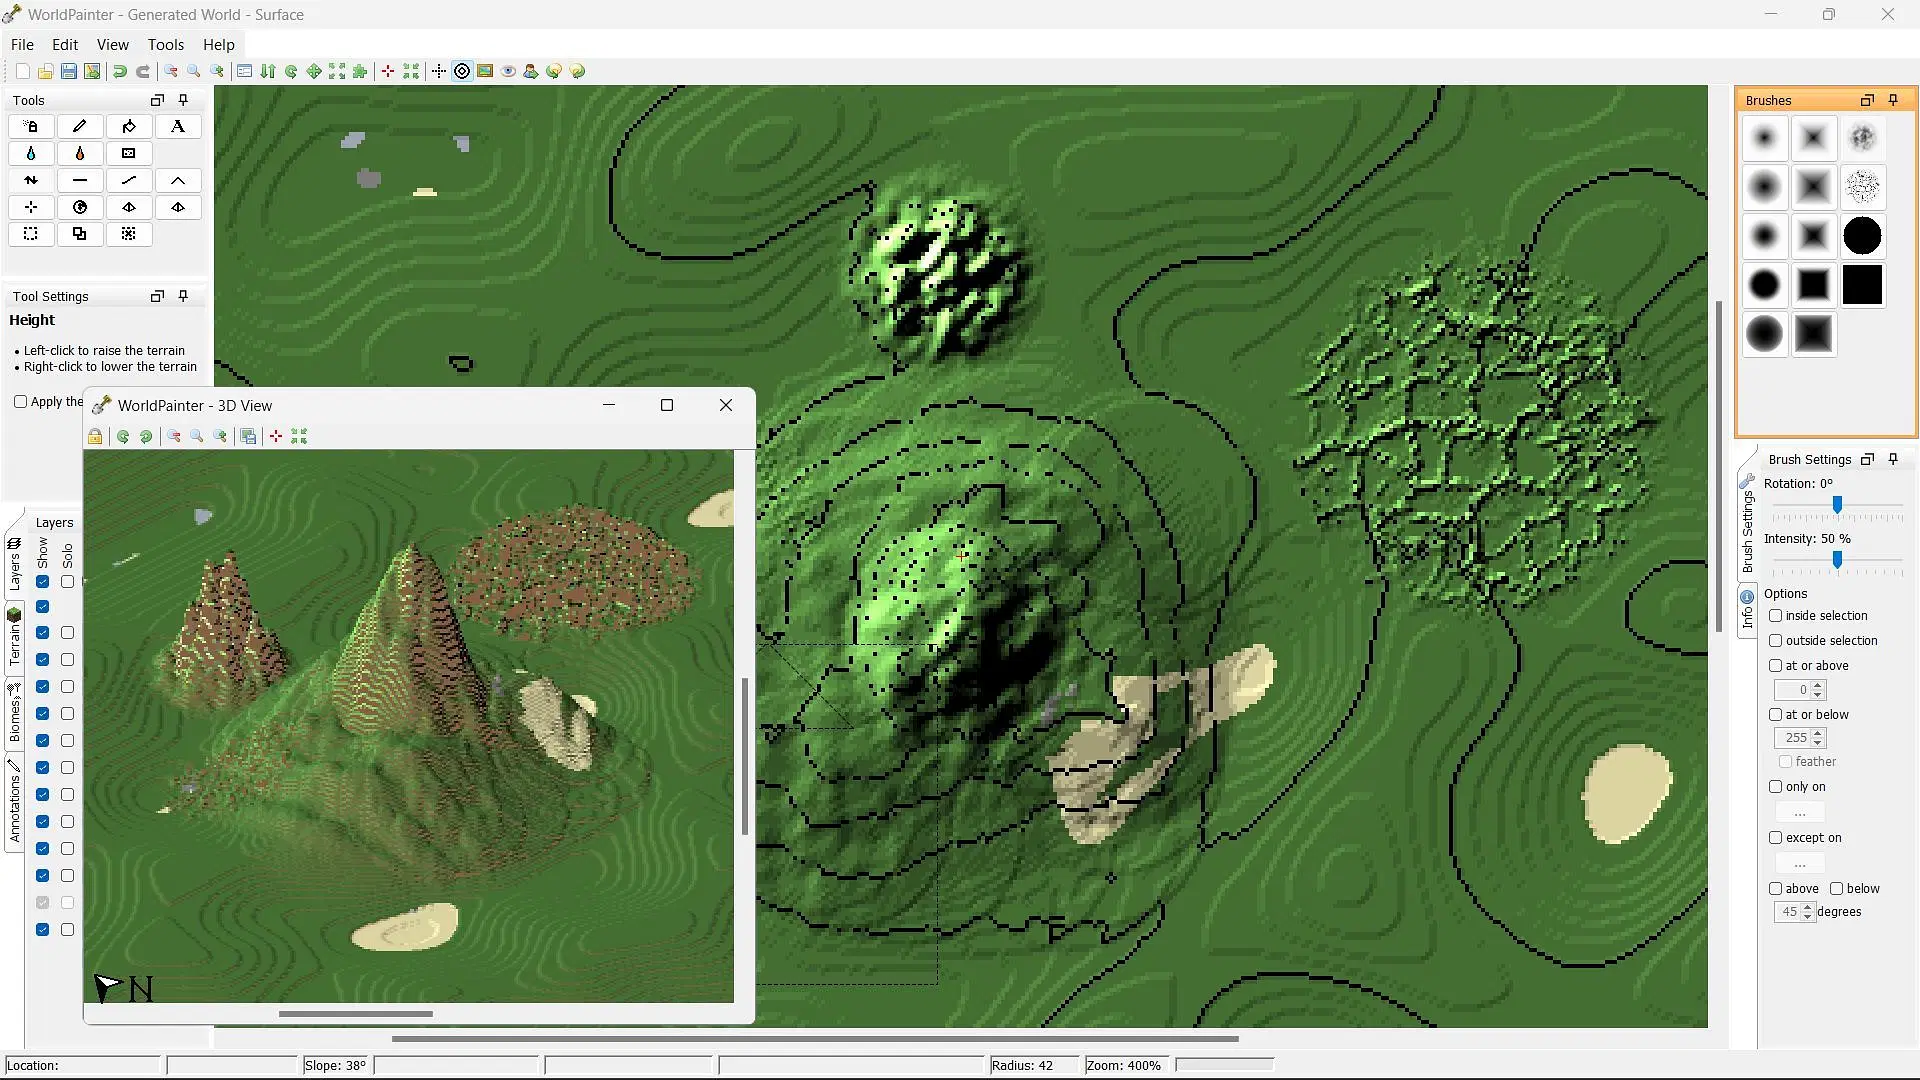
The WorldPainter app will look quite similar to a regular 3D paint application on Windows. However, all the edits and tweaks will be done in an actual Minecraft world. First, create a new world and select the latest version it can support. This will ensure that the exported world will work properly with the 1.19 version.
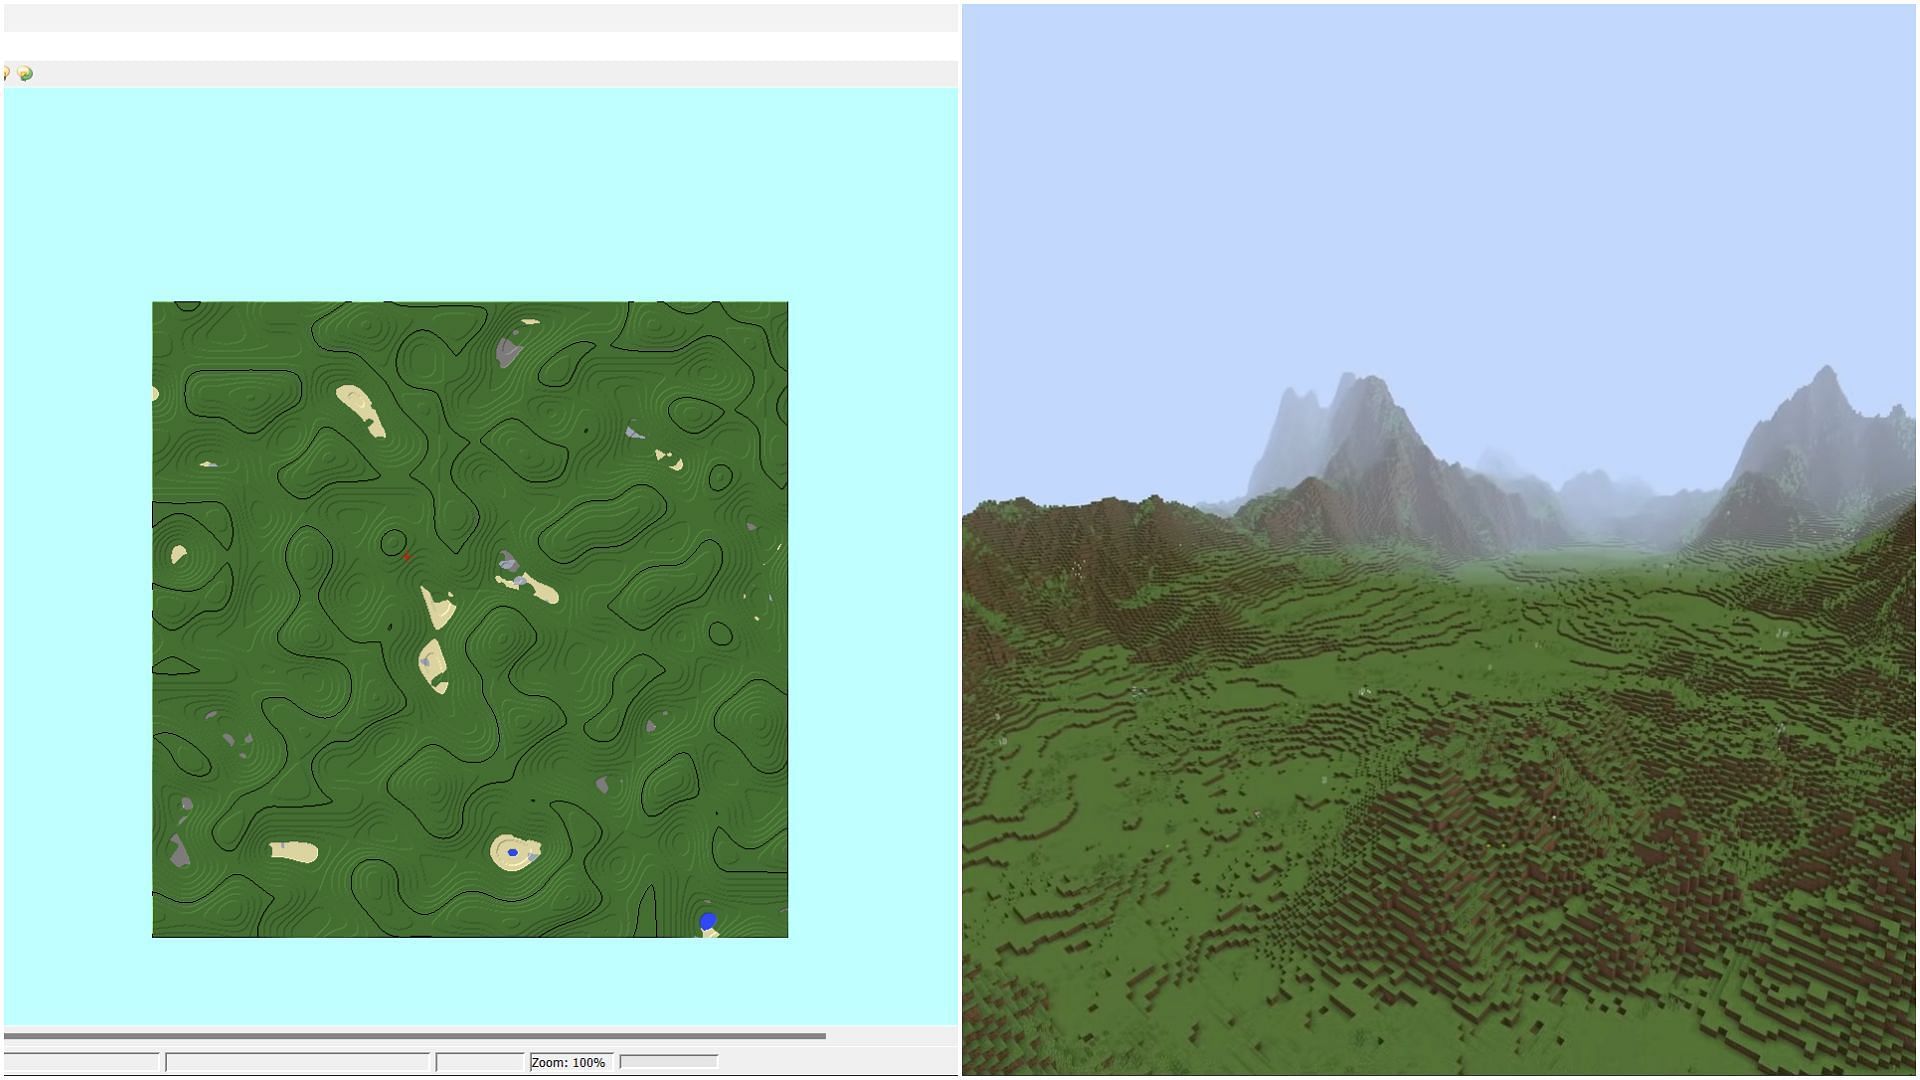
You can choose the type of tool, brush, and blocks that you want to interact with to get started. The best way to play around with this application is by selecting the 'Height' tool and clicking on the terrain to create crests and troughs.
Once done, open the 'View' tab and select 'Show 3D view' to open another window showing how a 3D image of what is being created.
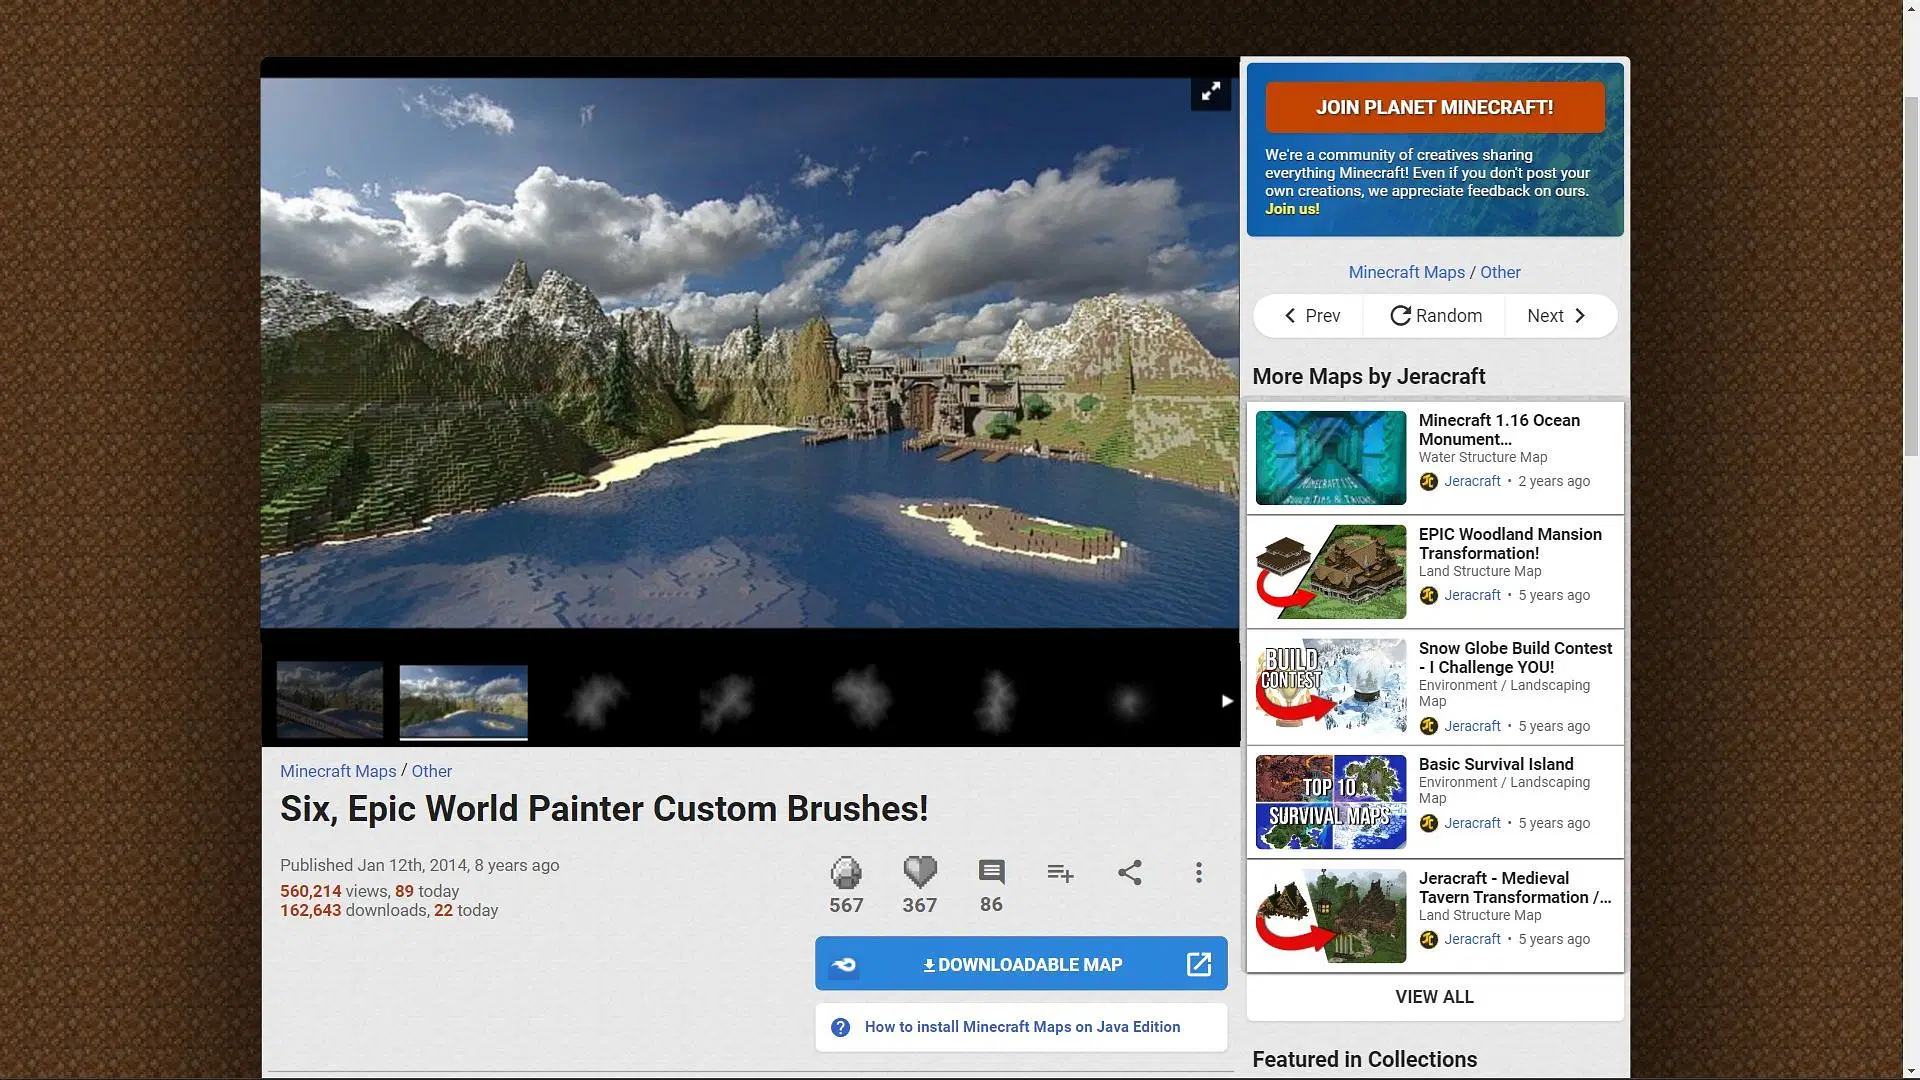
You can also download different brushes for this tool from various websites. This allows you to create distinct kinds of terrain that look similar to the vanilla version.
Creating attractive custom generation can be tricky in this application since it requires finesse and practice.
Once you've created some terrain, export the world by going into the 'File' tab. The app will automatically save the world in the correct game folder. Simply open the game, select a new world and immerse yourself in your own custom generated world.

Uncover new worlds with our Minecraft Seed Generator!