
'%20x='0'%20y='0'%20height='100%25'%20width='100%25'%20%0A%20%20%20%20%20%20%20%20%20%20xlink%3Ahref='data:image/jpg;base64,/9j/2wBDAAYEBQYFBAYGBQYHBwYIChAKCgkJChQODwwQFxQYGBcUFhYaHSUfGhsjHBYWICwgIyYnKSopGR8tMC0oMCUoKSj/2wBDAQcHBwoIChMKChMoGhYaKCgoKCgoKCgoKCgoKCgoKCgoKCgoKCgoKCgoKCgoKCgoKCgoKCgoKCgoKCgoKCgoKCj/wgARCAAGAAoDASIAAhEBAxEB/8QAFgABAQEAAAAAAAAAAAAAAAAAAAQG/8QAFAEBAAAAAAAAAAAAAAAAAAAABf/aAAwDAQACEAMQAAAAszwif//EACAQAAEDBAIDAAAAAAAAAAAAAAIBBAUAAxESBhUXIZP/2gAIAQEAAT8AdupblPdxjudfAxQxBLOgYUVRC1LGNq8aWi9rIn8q/8QAGBEBAAMBAAAAAAAAAAAAAAAAAQACAxH/2gAIAQIBAT8AMaJ1J//EABYRAQEBAAAAAAAAAAAAAAAAAAECAP/aAAgBAwEBPwCqR3//2Q=='%3E%3C/image%3E%3C/svg%3E)
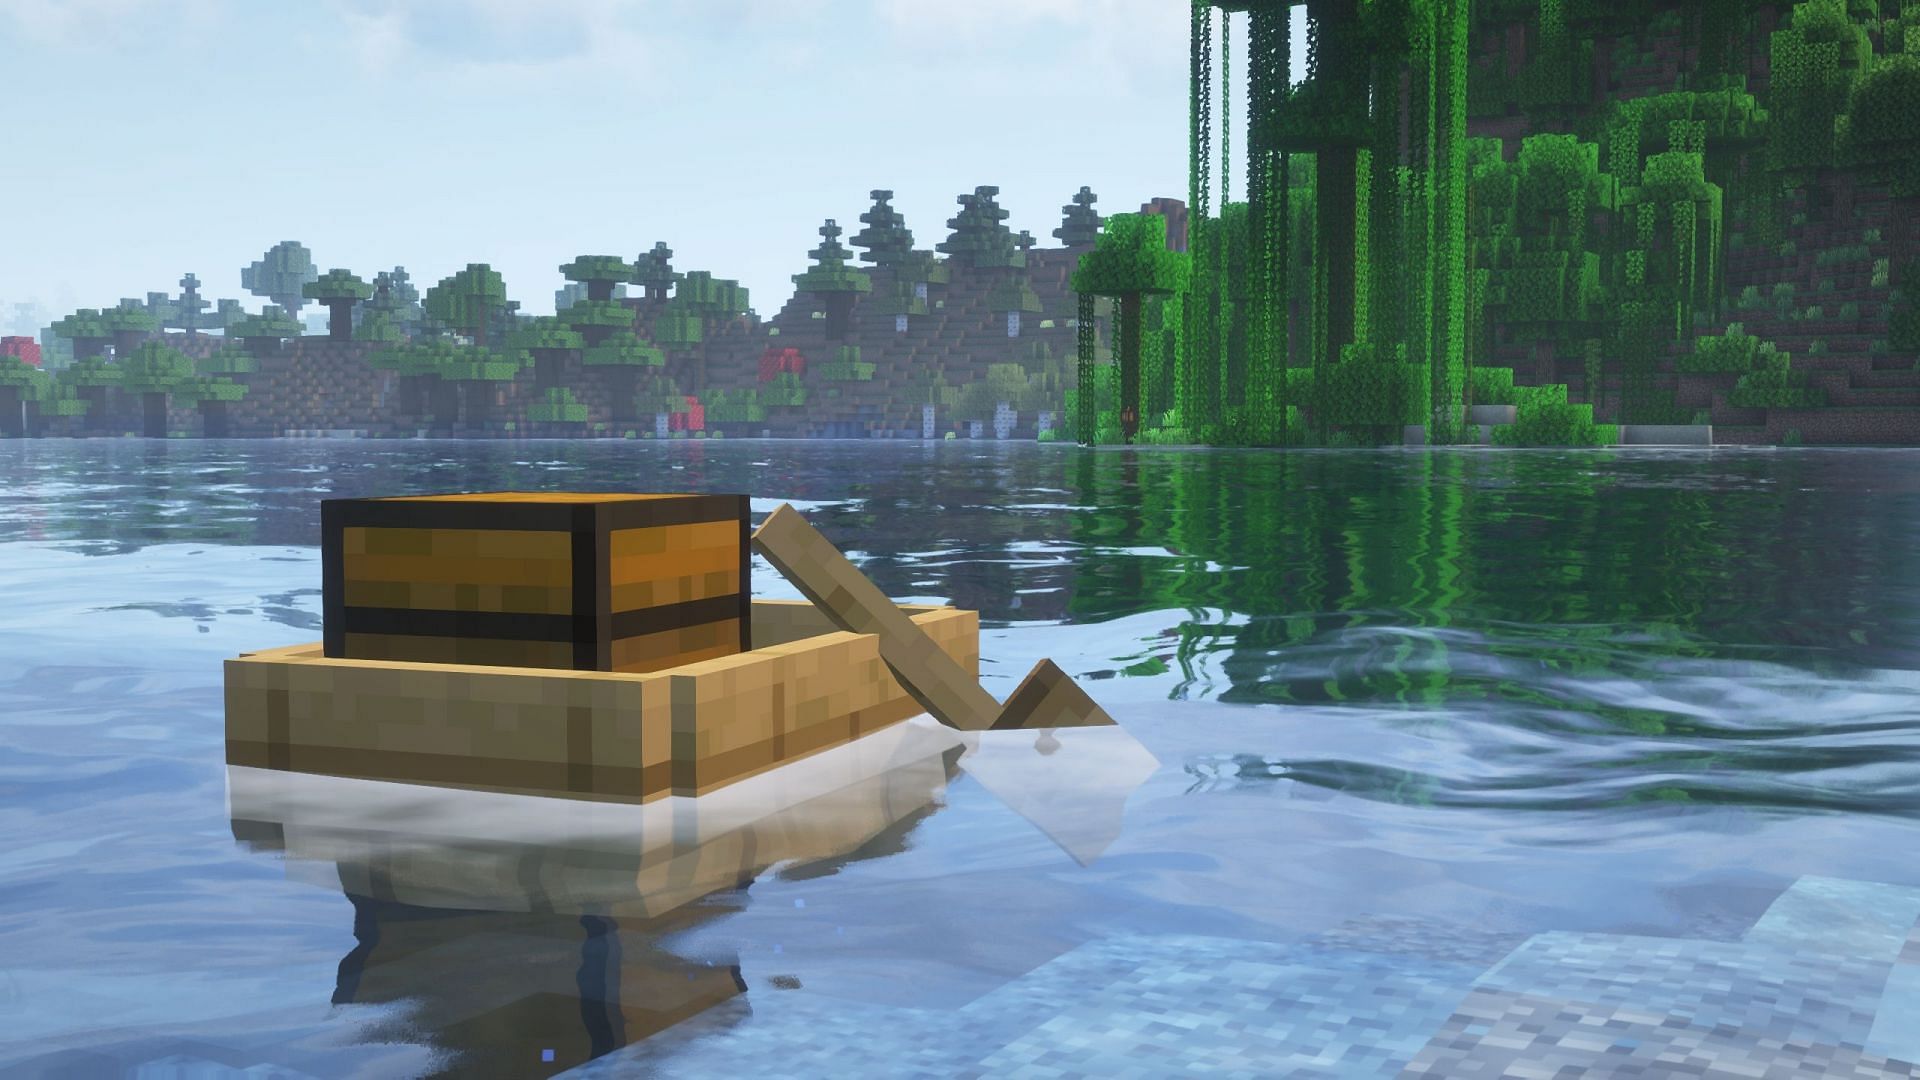
Almost half of the Overworld realm in Minecraft is filled with water bodies. The dimension generates oceans, rivers, lakes, ponds, and even aquifers underneath the surface. However, when you play the vanilla version of the game, even the water looks blocky and pixelated. Although it has flowing physics, it also has sharp edges, which is extremely unrealistic.
Thankfully, there is a way to get realistic-looking water and even have realistic physics using mods and shaders. Here is a guide to getting realistic water in Minecraft.

Steps to make Minecraft water realistic
1) Download and install Iris shaders

Chart New Territories with the ultimate Minecraft Seed Generator!
First, you need to download and install Iris Shaders. This shader mod comes along with another performance mod called Sodium, which will improve your game's performance when you run a graphics-intensive shader pack.
Download the Iris shader installer from its official website and run the installer. The application will automatically detect Minecraft's root directory and select the latest game version, which is 1.21.6 as of now. Once done, select the "Iris only" option and hit install.
The installer will install both the Iris and Sodium mods to run the shader pack smoothly.
2) Download the Complementary Shader pack

Once Iris is installed, download Complementary Shaders from Modrinth. This is a popular shader pack that offers a realistic water effect.
This shader pack will be downloaded as a zip file, which you do not need to extract since the game detects shader packs as zip files.
3) Open the game and place the shader pack in the correct folder

Once you download the Complementary shader pack, you need to open Minecraft's official game launcher, select Java Edition, and search for "Iris & Sodium" game version from the drop-down menu. The icon of this version will be Iris shaders. When you find it, run the game.
After it opens, head to video settings, where you will find a Shaders Pack option. Select it and press "Open Shader Pack Folder." This will open a file explorer page where you will see an empty folder called shaderspack.
You simply need to copy-paste the Complementary shader pack's zip file into this folder and close the file explorer window. When you return to the game and reopen the Shader Pack page, you will see the Complementary shader pack appear in the list of shaders.
4) Configure the Complementary shader pack to get a realistic water effect
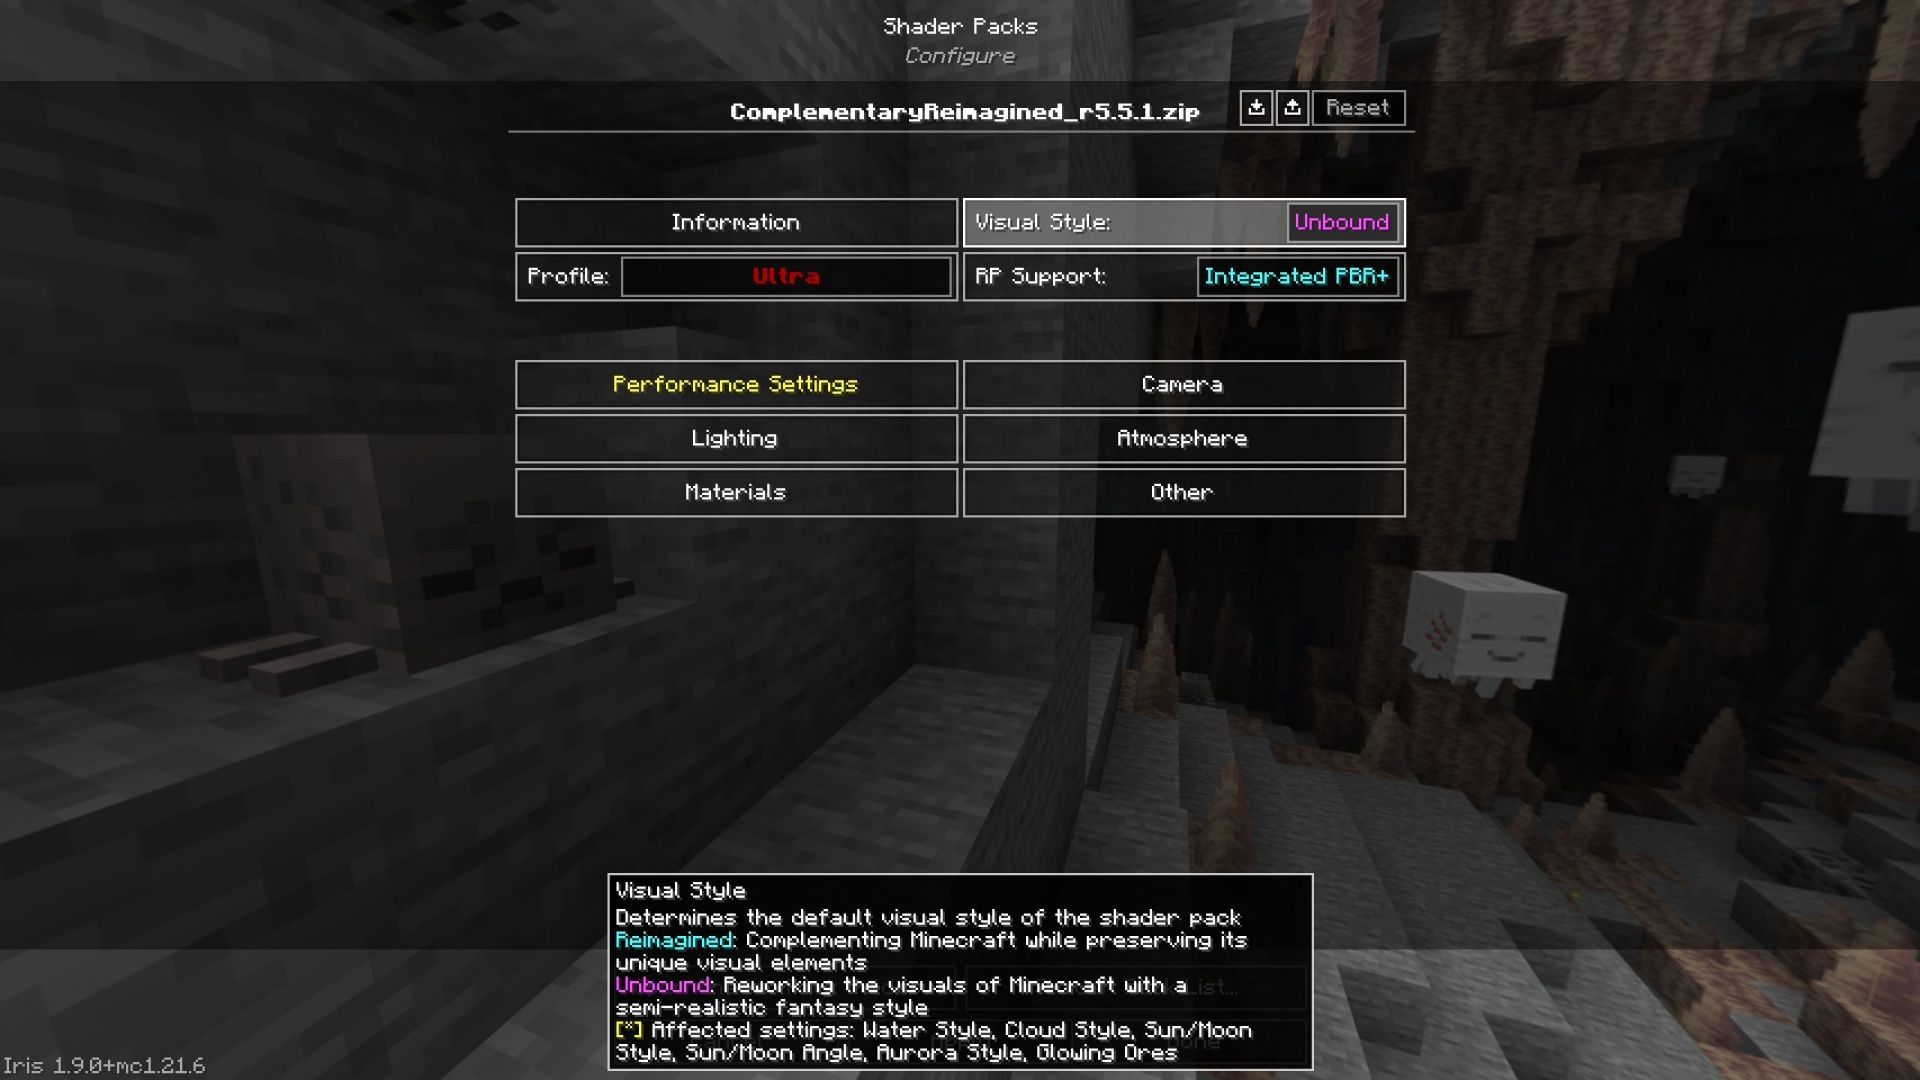
Once the Complementary shader pack appears, select it and press the shader pack settings. This opens up various kinds of shader video settings you can change. To get a realistic water effect, you only need to change the visual style setting from Reimagined to Unbound.
After it is set to Unbound, save the settings, enable the shader pack, and enter a world to see realistic water in Minecraft.
5) Install Physics mod to get realistic water physics (Optional — for high-end devices)
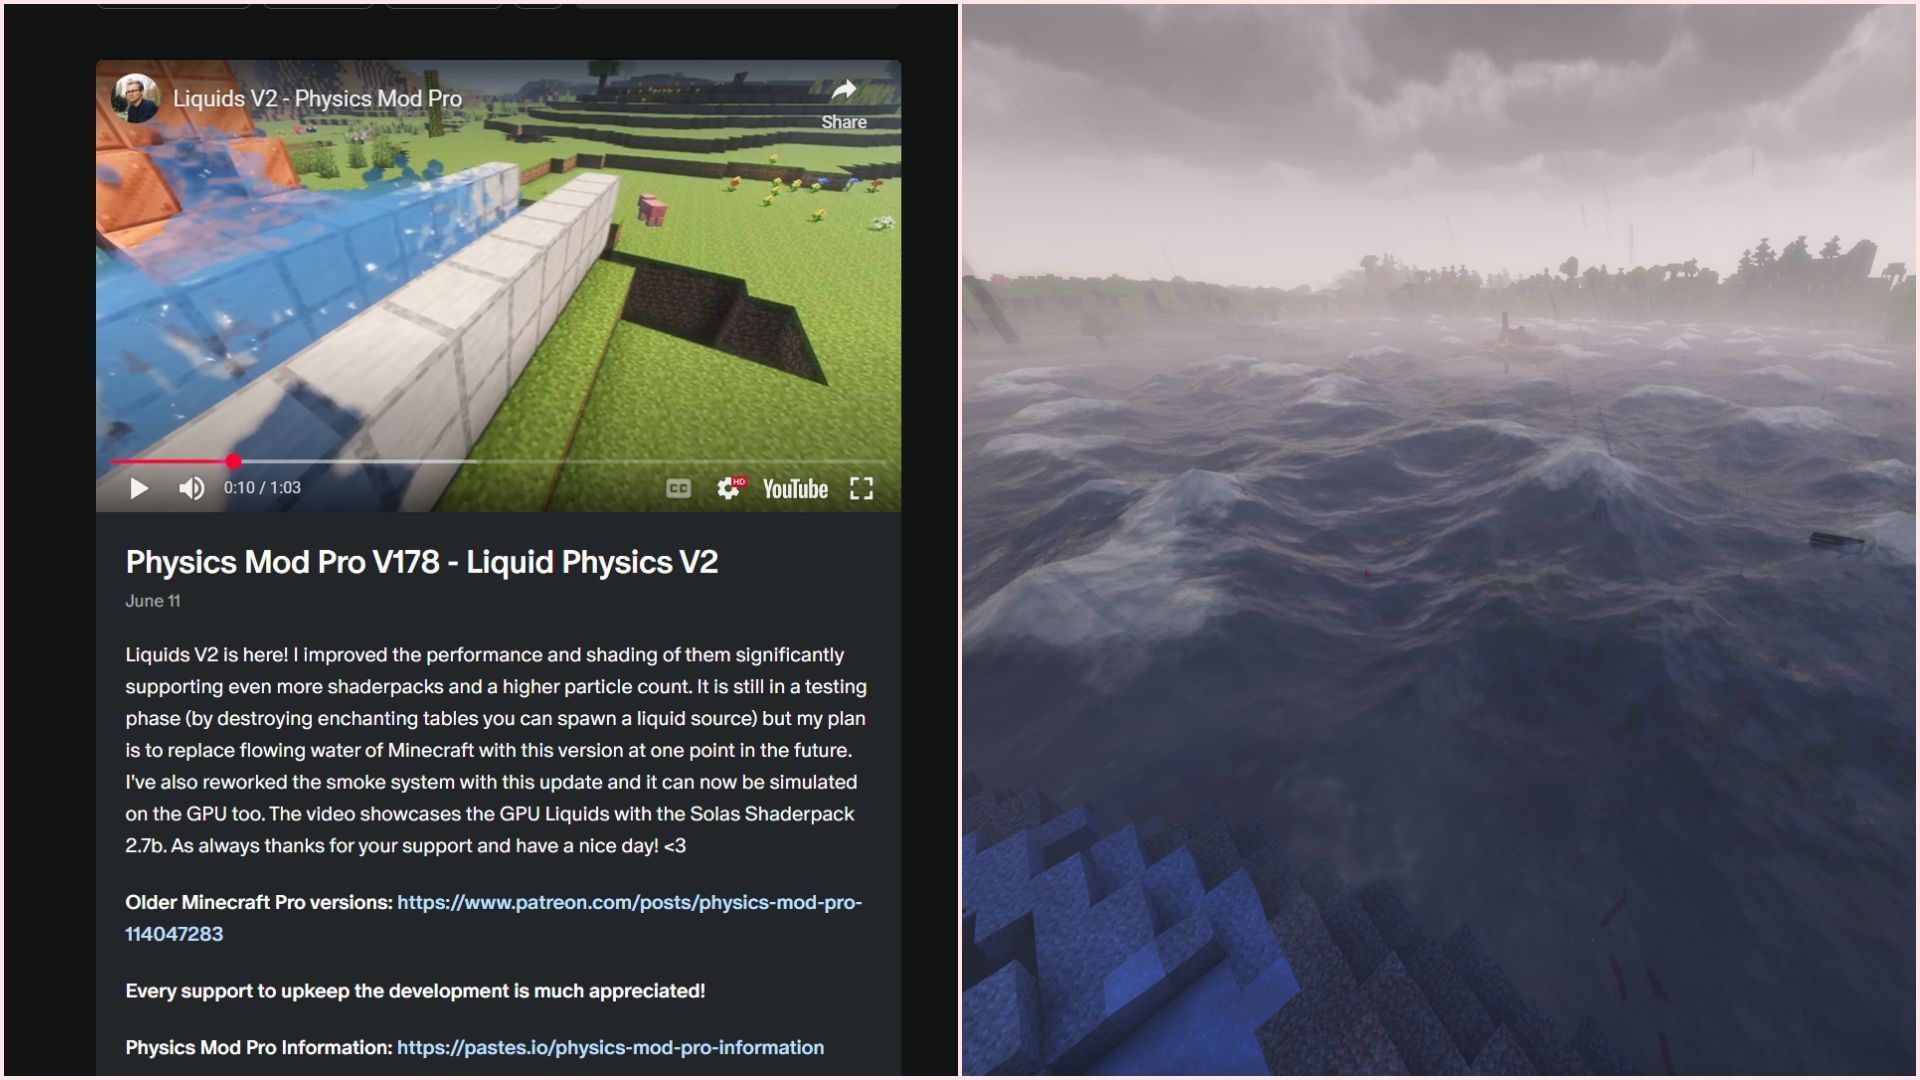
If you only want visually realistic water, you can simply turn on Complementary shaders. However, if you also want realistic water physics, you can install the pro version of the Physics mod. It is worth noting that this mod is extremely demanding and can tank the FPS if running in full effect.
This mod is made by Haubna. Its basic version can be found on the Modrinth website, and the pro version — also free — can be downloaded from Haubna's Patreon page.
Once the physics mod is installed, it will have a separate settings tab where you can set the ocean and liquid settings to your liking and get realistic water physics.
Check out our latest articles on Minecraft:
- Minecraft Java is getting a quick post–Chase the Skies update
- Minecraft fan recreates Imperial II-class Star Destroyer from Star Wars in 1:1 scale
- 4 small details you might have missed in the Chase the Skies update

Uncover new worlds with our Minecraft Seed Generator!