
'%20x='0'%20y='0'%20height='100%25'%20width='100%25'%20%0A%20%20%20%20%20%20%20%20%20%20xlink%3Ahref='data:image/jpg;base64,/9j/2wBDAAYEBQYFBAYGBQYHBwYIChAKCgkJChQODwwQFxQYGBcUFhYaHSUfGhsjHBYWICwgIyYnKSopGR8tMC0oMCUoKSj/2wBDAQcHBwoIChMKChMoGhYaKCgoKCgoKCgoKCgoKCgoKCgoKCgoKCgoKCgoKCgoKCgoKCgoKCgoKCgoKCgoKCgoKCj/wgARCAAGAAoDASIAAhEBAxEB/8QAFgABAQEAAAAAAAAAAAAAAAAAAAUH/8QAFQEBAQAAAAAAAAAAAAAAAAAAAwT/2gAMAwEAAhADEAAAAMpmkhf/xAAfEAACAAUFAAAAAAAAAAAAAAABAgADBBEhEhMiIzH/2gAIAQEAAT8AotcmpMxMX625nIaHVg7DcY2Psf/EABURAQEAAAAAAAAAAAAAAAAAAABB/9oACAECAQE/AI//xAAVEQEBAAAAAAAAAAAAAAAAAAABAP/aAAgBAwEBPwBb/9k='%3E%3C/image%3E%3C/svg%3E)
Honey is a pretty valuable item in Minecraft. It was first introduced in the 1.15 update. It can come mainly in two forms: honeycombs and honey bottles. These versions of the same general item have different uses, but are both very useful.
Honeycombs can be used to craft candles, beehives and for waxing copper blocks. Honey bottles are edible Minecraft items that can remove poison and craft a honey block or sugar.
Getting honey is not an easy feat, though. There are a few steps involved with either item and there's an important one to avoid being harmed by angry bees. Here's how to do it.

Chart New Territories with the ultimate Minecraft Seed Generator!
Minecraft: Collecting honey automatically
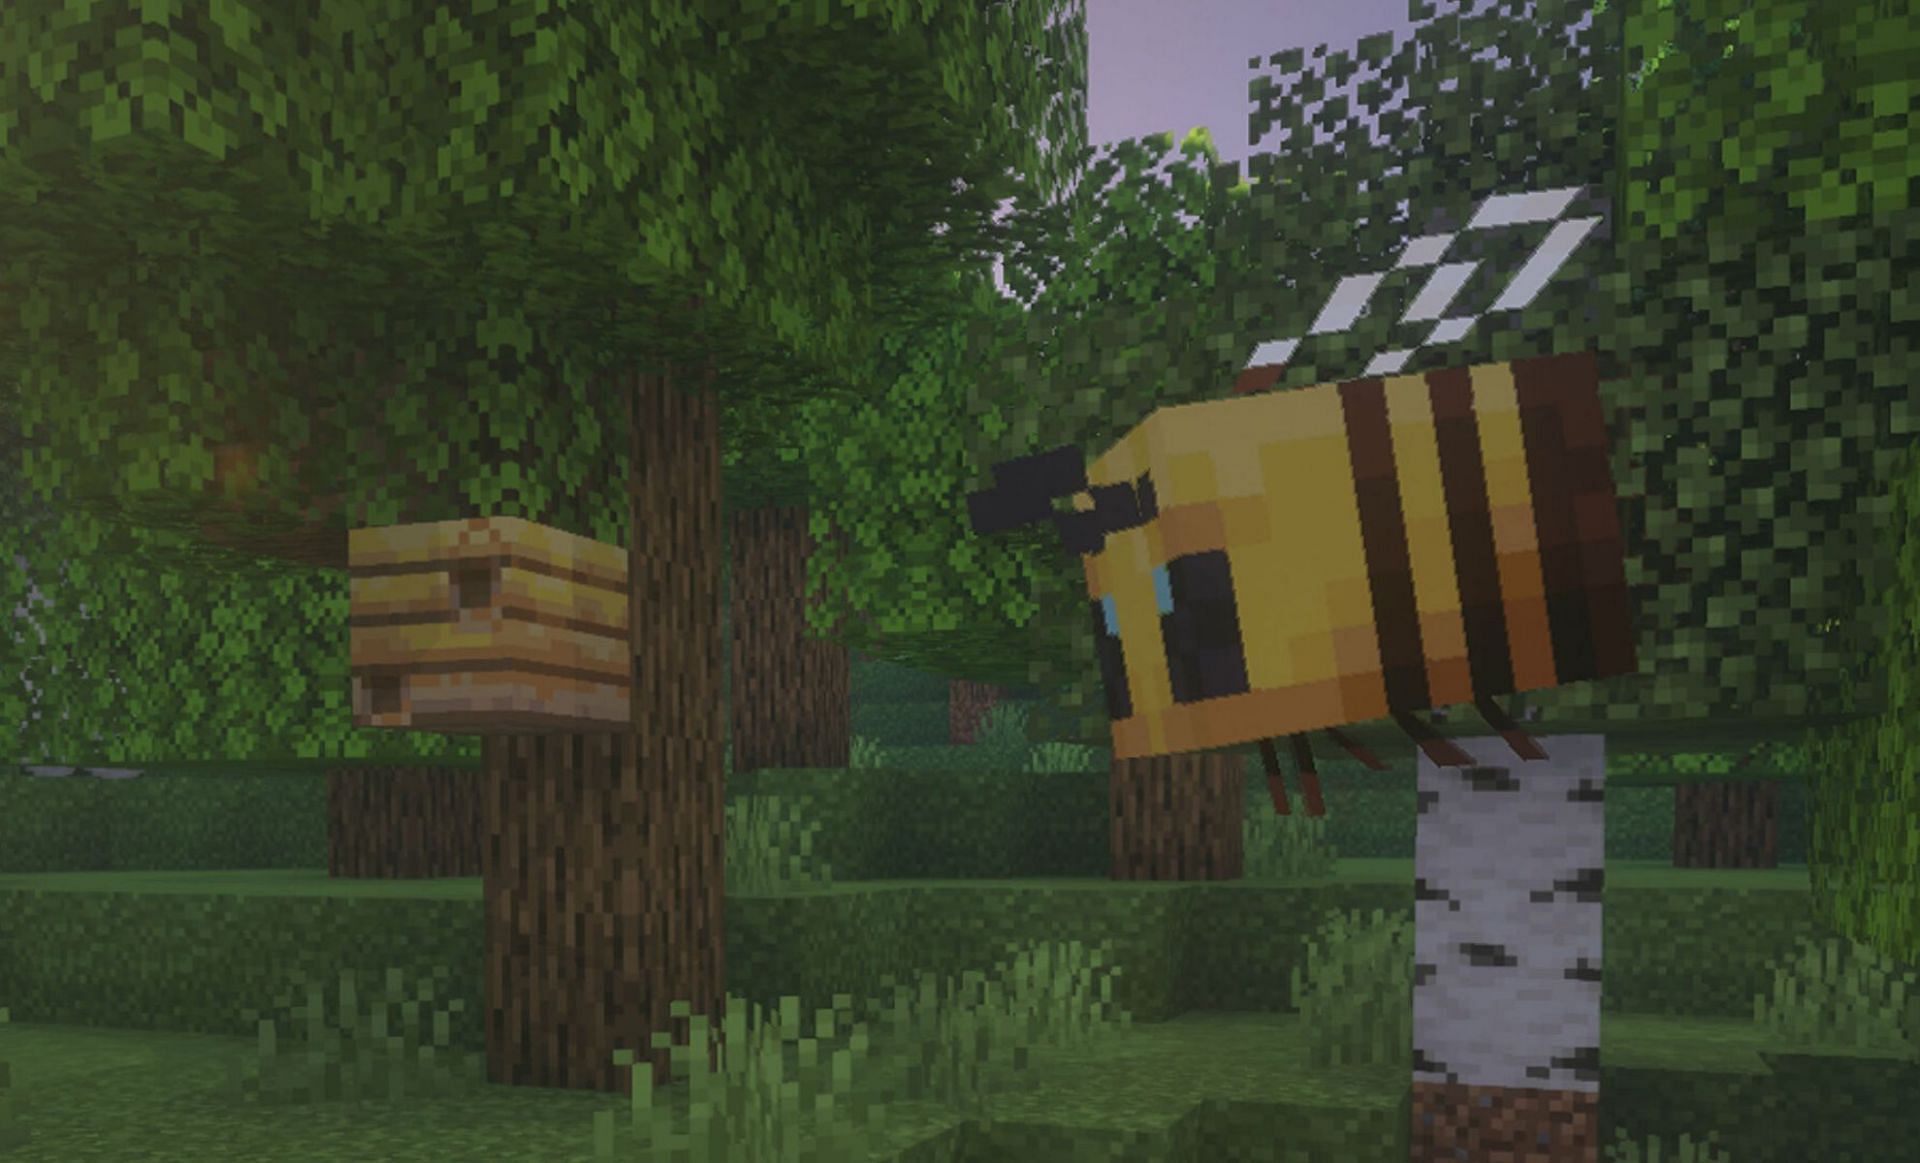
Step 1: Find a beehive
Beehives are paramount to this. It's also important to find one that has Minecraft bees living in it. If there's one near your base, that is excellent. If not, you may relocate or move the hive itself.
This can be done with a Silk Touch I ax, which is difficult to come by. Hopefully, that won't be necessary.
Step 2: Place a campfire

This is perhaps the most important step. If you don't do this, whatever you do to the beehive (collect honey bottles or honeycombs) will enrage the bees. Those living in it will come out and attack you in droves.
A campfire is crafted with a stick, one piece of either coal or charcoal and any one piece of wood (log, plank, etc). Place this directly underneath the beehive. Ensure it's not far below, either. A block or so below the actual beehive will suffice.
Step 3: Place an observer
Above the beehive, place an observer. Ensure that it's looking at the beehive so that it can be triggered when the hive is full. This is true for either the honeycomb farm or the honey bottle farm.
Step 4: Place a dispenser
Right beside the beehive, place a Minecraft dispenser. It needs to be connected to the observer, so you may need to place redstone dust and filler blocks to make sure it works properly.
This is where you can fill the dispenser with one of the two items. For the honey bottle farm, fill it with empty glass bottles. For the honeycomb farm, fill it with Minecraft shears.
Step 5: Place hoppers and chests
Place hoppers around the campfire so that they can collect all the loose items. Below them, place chests. Alternatively, you can connect the hoppers to each other and have one chest connected to collect all of the items.
Optional Step 6: Reinforcements
This is not required, but it may be helpful. This is especially true for honey bottle farms.
Place a hopper on the dispenser and add a chest to it. In the chest, fill it with either of the required items: Minecraft shears or glass bottles.
Since glass bottles are used once, it is good to have reinforcements. The shears have durability, but they too will eventually break.
Once the hive is filled with honey, it should automatically farm whichever item.

Uncover new worlds with our Minecraft Seed Generator!