
'%20x='0'%20y='0'%20height='100%25'%20width='100%25'%20%0A%20%20%20%20%20%20%20%20%20%20xlink%3Ahref='data:image/jpg;base64,/9j/4AAQSkZJRgABAQAAAQABAAD/2wCEAAMDAwMDAwQEBAQFBQUFBQcHBgYHBwsICQgJCAsRCwwLCwwLEQ8SDw4PEg8bFRMTFRsfGhkaHyYiIiYwLTA+PlQBAwMDAwMDBAQEBAUFBQUFBwcGBgcHCwgJCAkICxELDAsLDAsRDxIPDg8SDxsVExMVGx8aGRofJiIiJjAtMD4+VP/AABEIAAUACgMBIgACEQEDEQH/xABgAAEBAAAAAAAAAAAAAAAAAAAABhAAAQMDAgcAAAAAAAAAAAAAAQAFEgIDBAcyERMXIjFBUQEBAAAAAAAAAAAAAAAAAAAABBEBAAIDAQAAAAAAAAAAAAAAAQIDAAQSIf/aAAwDAQACEQMRAD8AiL+s7rnY0K2JlgQBDlXCO4x8TU/1Ecxta2ekegMergB83oiNpbezJsGySEvDCUBZ2y9ekz//2Q=='%3E%3C/image%3E%3C/svg%3E)
Minecraft's blocky and pixelated nature is perhaps what makes Mojang Studios' immensely popular sandbox game stand out from other titles. However, with the game looking pretty much the same since it was released over a decade ago, players often install visual mods to enhance its visual quality.
One of the most popular mods for Minecraft is shaders, which changes the game's visual appeal. Sadly, they can only be installed in the Java Edition of the game.
Shaders cannot be installed directly into the game, and players will have to install a second mod that allows them to run. For this task, a majority of players have used Optifine. However, since Optifine is yet to be released for Minecraft 1.19.3, the next best option would be Iris.

Chart New Territories with the ultimate Minecraft Seed Generator!
Installing Minecraft shaders without Optifine
Iris is an underrated mod that supports shaders and is known to increase the visual performance of the game. Fortunately, it has already been released for the latest version of Minecraft.
Users can learn how to install Optifine on the newer versions of the game here.
Installing Iris shaders
Listed below are the steps to install Iris on Minecraft 1.19.3:
Step 1: If the user's system does not already have Java JDK installed, they can download it from here. Installing this program is crucial since Iris cannot run without it.
Step 2: Once Java JDK has been installed, users will need to download the Iris shaders. They can do so from the official website.
Step 3: Install Iris by launching the downloaded .jar file using JAVA JDK. To do so, right-click on the .jar file and select "Open with". Here, users need to select "Java(TM) Platform SE Binary".
Step 4: The Iris & Sodium installer will then open, where players will need to select version 1.19.3.
Step 5: If the user has installed the game in a different directory, they can browse and select the correct folder. The next step is to click on the install button. The installation may take a few seconds.
After following the above-mentioned steps, a new game installation will appear in the official launcher. If that does not show up, users will need to manually create a new installation in the launcher, where they will need to select the Iris version.
Users will need to select the newly installed version and launch the game.
How to use shaders in Iris
Now that Iris and Sodium are installed, players will need to download their favorite shaders supported by the latest Minecraft version and move them to the game's application data folder.
Here are the steps to finding the folder in which shaders need to be moved:
Step 1: Launch the newly installed Iris version of Minecraft.
Step 2: Go to settings.
Step 3: In settings, select "Video Settings".
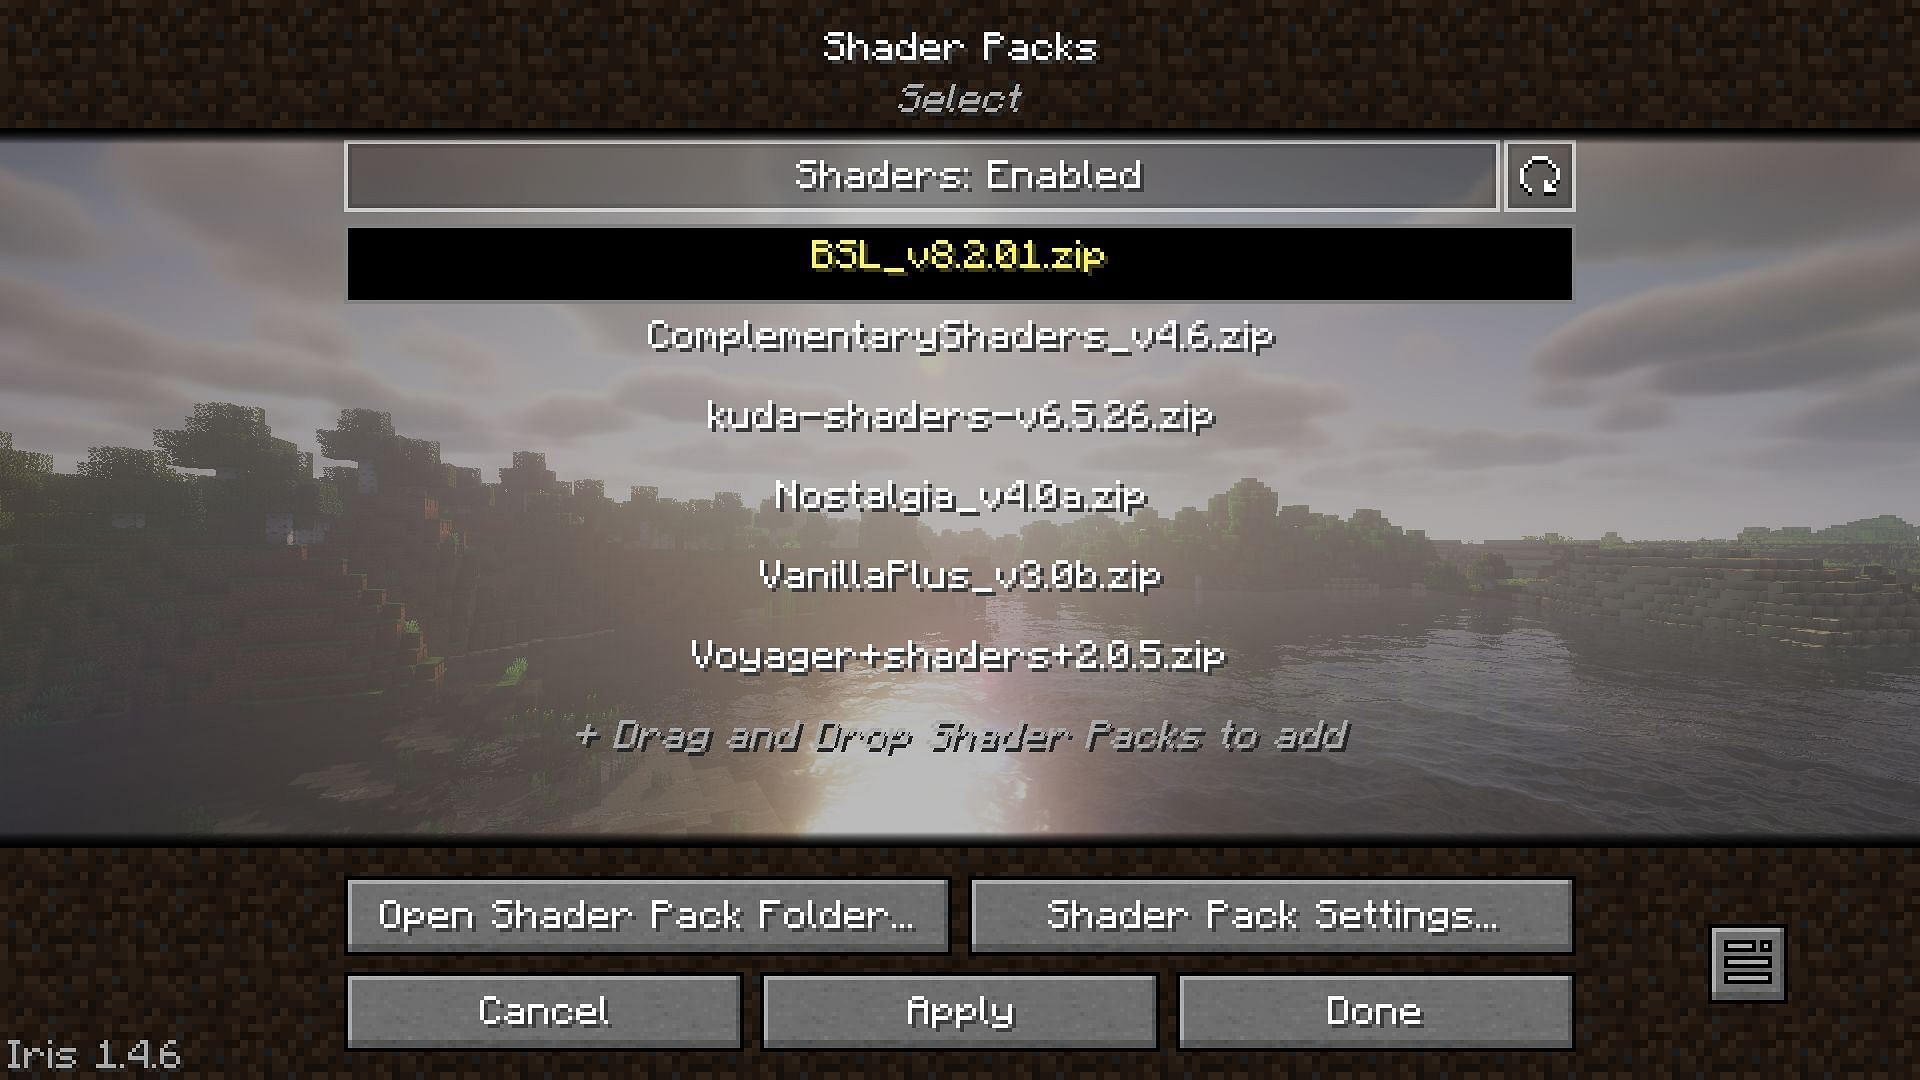
Step 4: Navigate to the "Shader Packs" tab. Then click on "Open Shader Pack Folder"
The directory that opens up is where players need to move their downloaded shaders. Once done, they can select the shaders in the shader pack settings.
Top shaders supported by Minecraft 1.19.3
Here are some of the best shaders that will work on version 1.19.3.
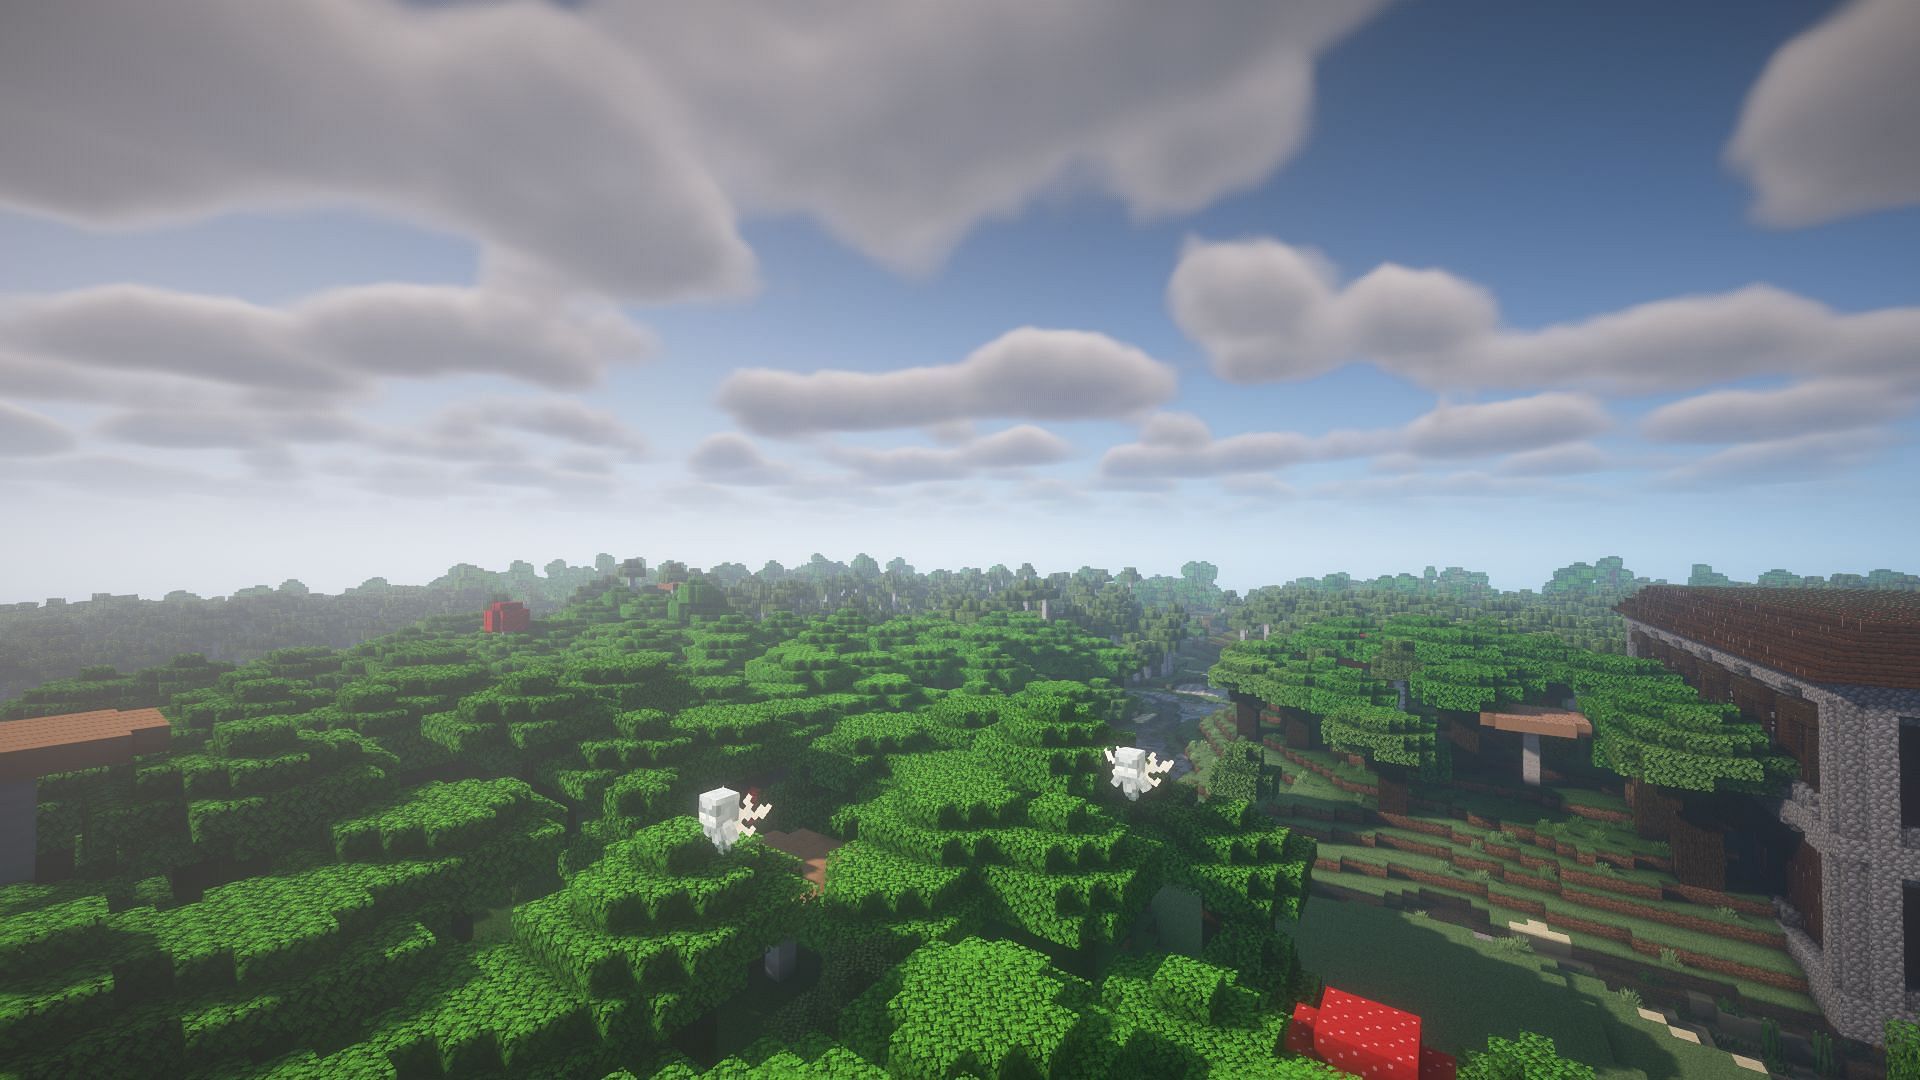
Voyager Shader
The Voyager Shader is best known for the photograph-like cloud textures it generates in the game. Aside from the clouds, the textures of the blocks and terrain also look quite realistic. This can be obtained from Texture-packs.com.
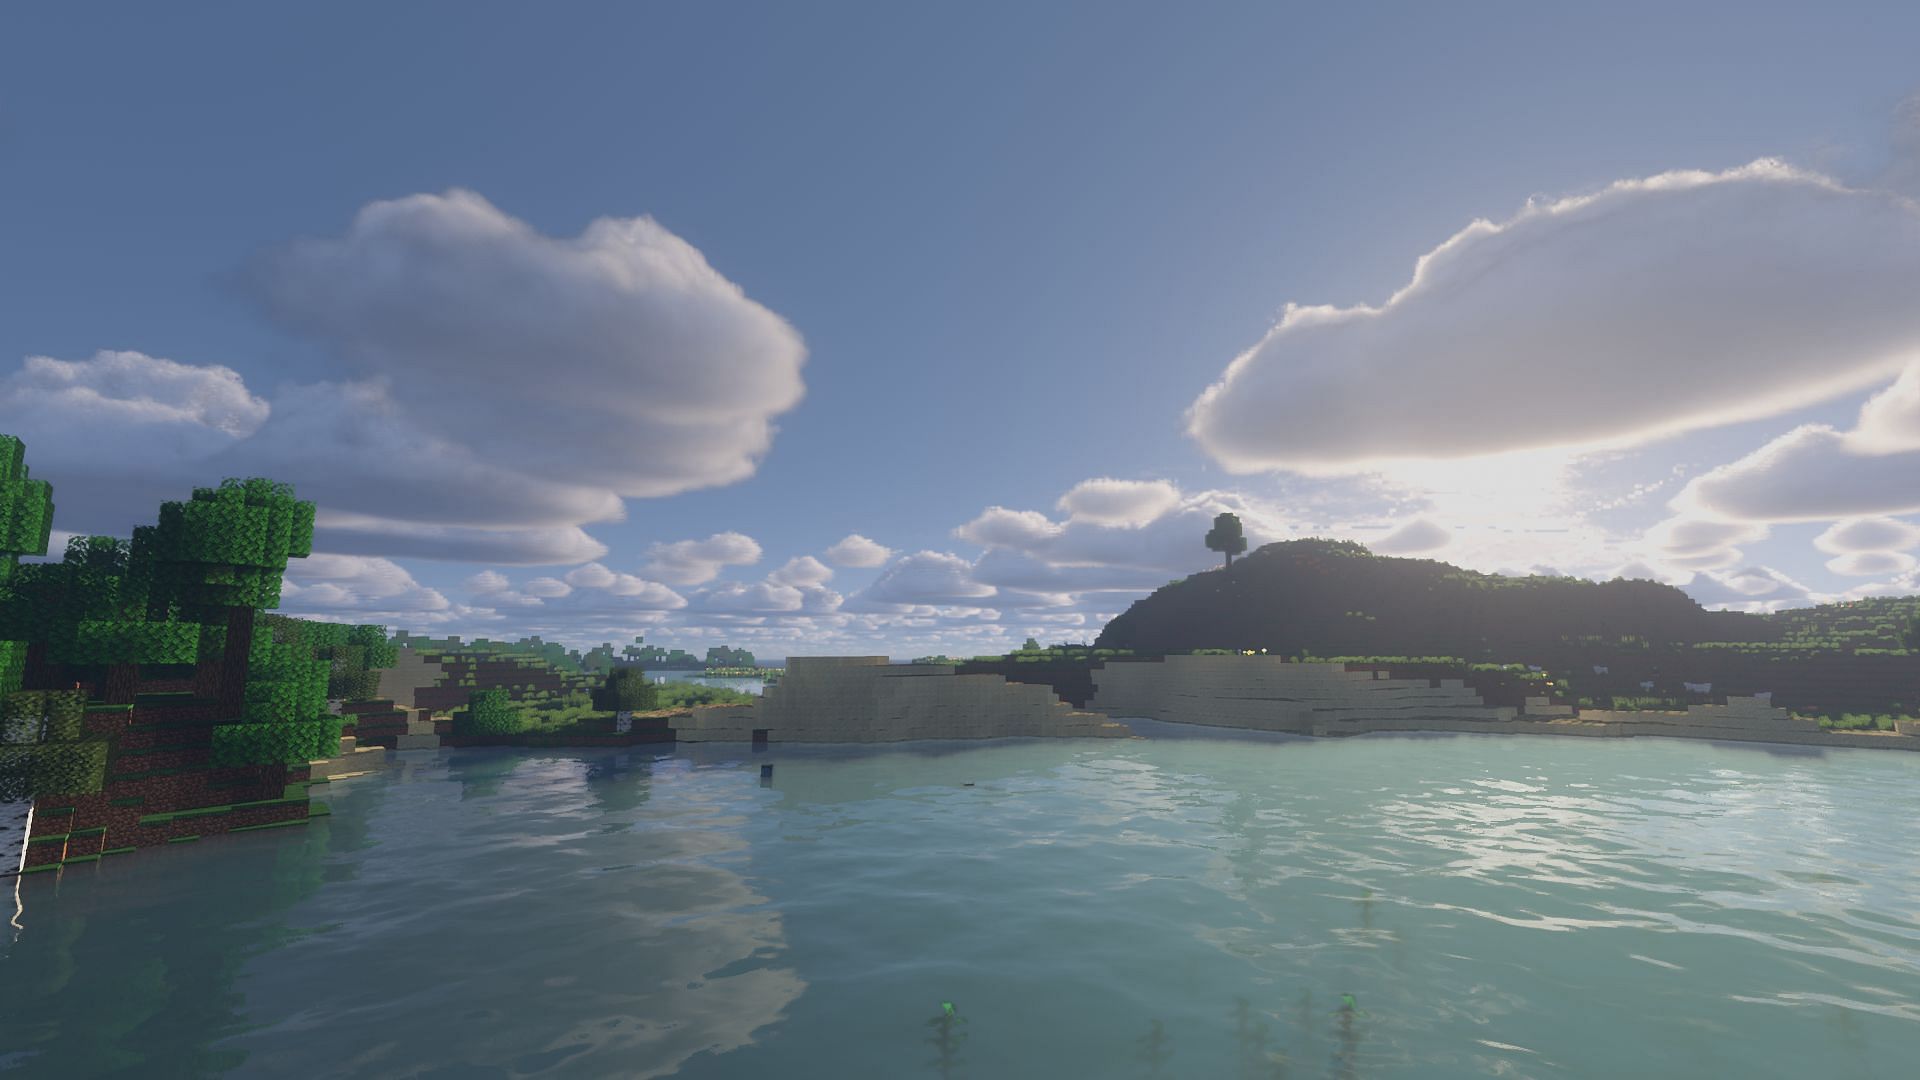
BSL Shader

The BLS Shader is one of the most popular shaders and increases the framerate, making the overall gameplay relatively smooth.
It also offers a ton of customization options in the shader pack settings. Players can tweak these settings to get the performance and visual quality. The shader can be found at Minecraftshader.com.
KUDA Shaders
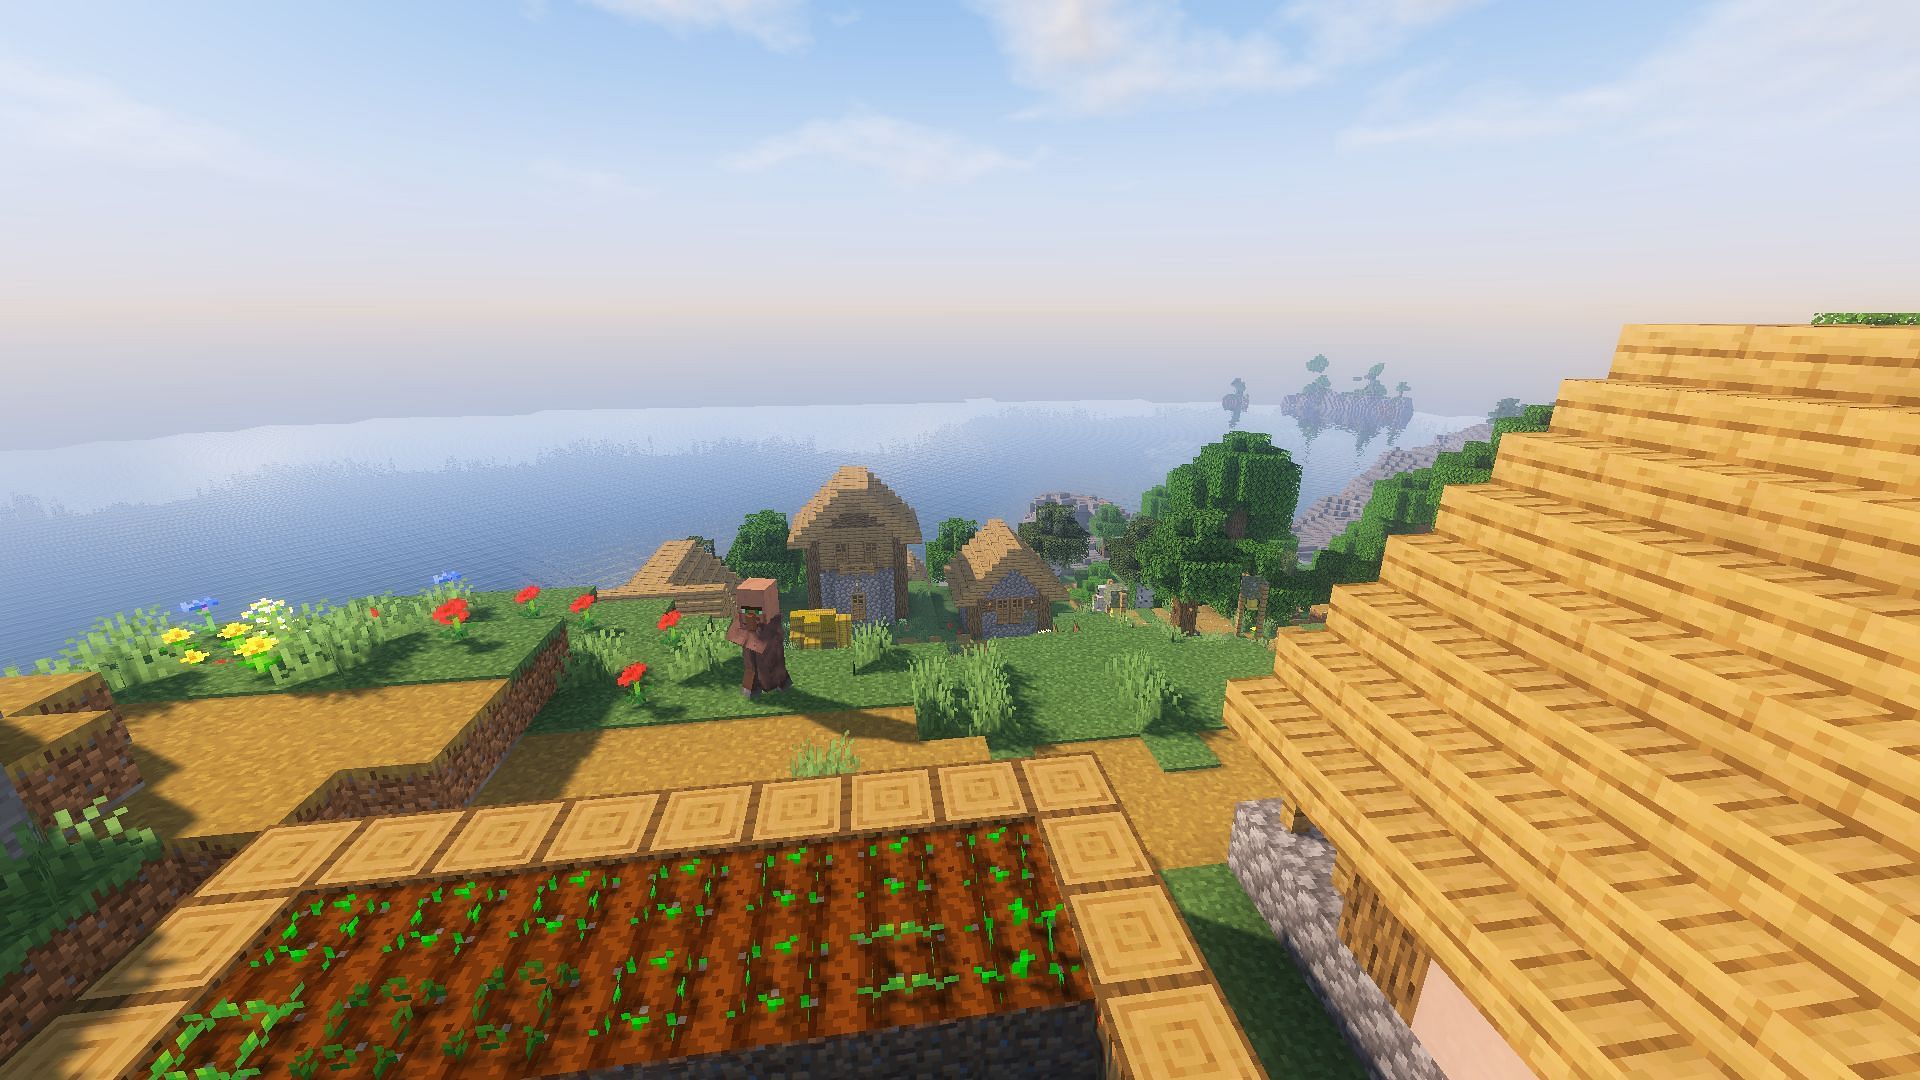
KUDA Shaders offers a lower-end shader compared to other shaders on the list and does not significantly improve visual quality. The plus point, however, is that it maintains a high frame rate. It is ideal for someone with a mid-end system looking to improve the game's quality without compromising on performance. The shader can be obtained from Texture-packs.com.

Uncover new worlds with our Minecraft Seed Generator!