
'%20x='0'%20y='0'%20height='100%25'%20width='100%25'%20%0A%20%20%20%20%20%20%20%20%20%20xlink%3Ahref='data:image/jpg;base64,/9j/2wBDAAYEBQYFBAYGBQYHBwYIChAKCgkJChQODwwQFxQYGBcUFhYaHSUfGhsjHBYWICwgIyYnKSopGR8tMC0oMCUoKSj/2wBDAQcHBwoIChMKChMoGhYaKCgoKCgoKCgoKCgoKCgoKCgoKCgoKCgoKCgoKCgoKCgoKCgoKCgoKCgoKCgoKCgoKCj/wgARCAAGAAoDASIAAhEBAxEB/8QAFgABAQEAAAAAAAAAAAAAAAAAAAUG/8QAFQEBAQAAAAAAAAAAAAAAAAAABQb/2gAMAwEAAhADEAAAANVPJtL/xAAfEAACAgIBBQAAAAAAAAAAAAABAgQFAxEAEiExUaL/2gAIAQEAAT8Az2lpLMlpktiqIqhUOujZ7n0fHJd9d5ZWZ0lQVRnLBTC3r75//8QAGREBAAIDAAAAAAAAAAAAAAAAAgABAwQR/9oACAECAQE/AFuZw74p/8QAFxEBAAMAAAAAAAAAAAAAAAAAAQACEv/aAAgBAwEBPwCwZJ//2Q=='%3E%3C/image%3E%3C/svg%3E)
Vanilla Minecraft is undeniably beautiful and has maintained most of its original design elements throughout years of updates. However, due to its visual consistency, many players seek to alter its appearance simply to experience something new.
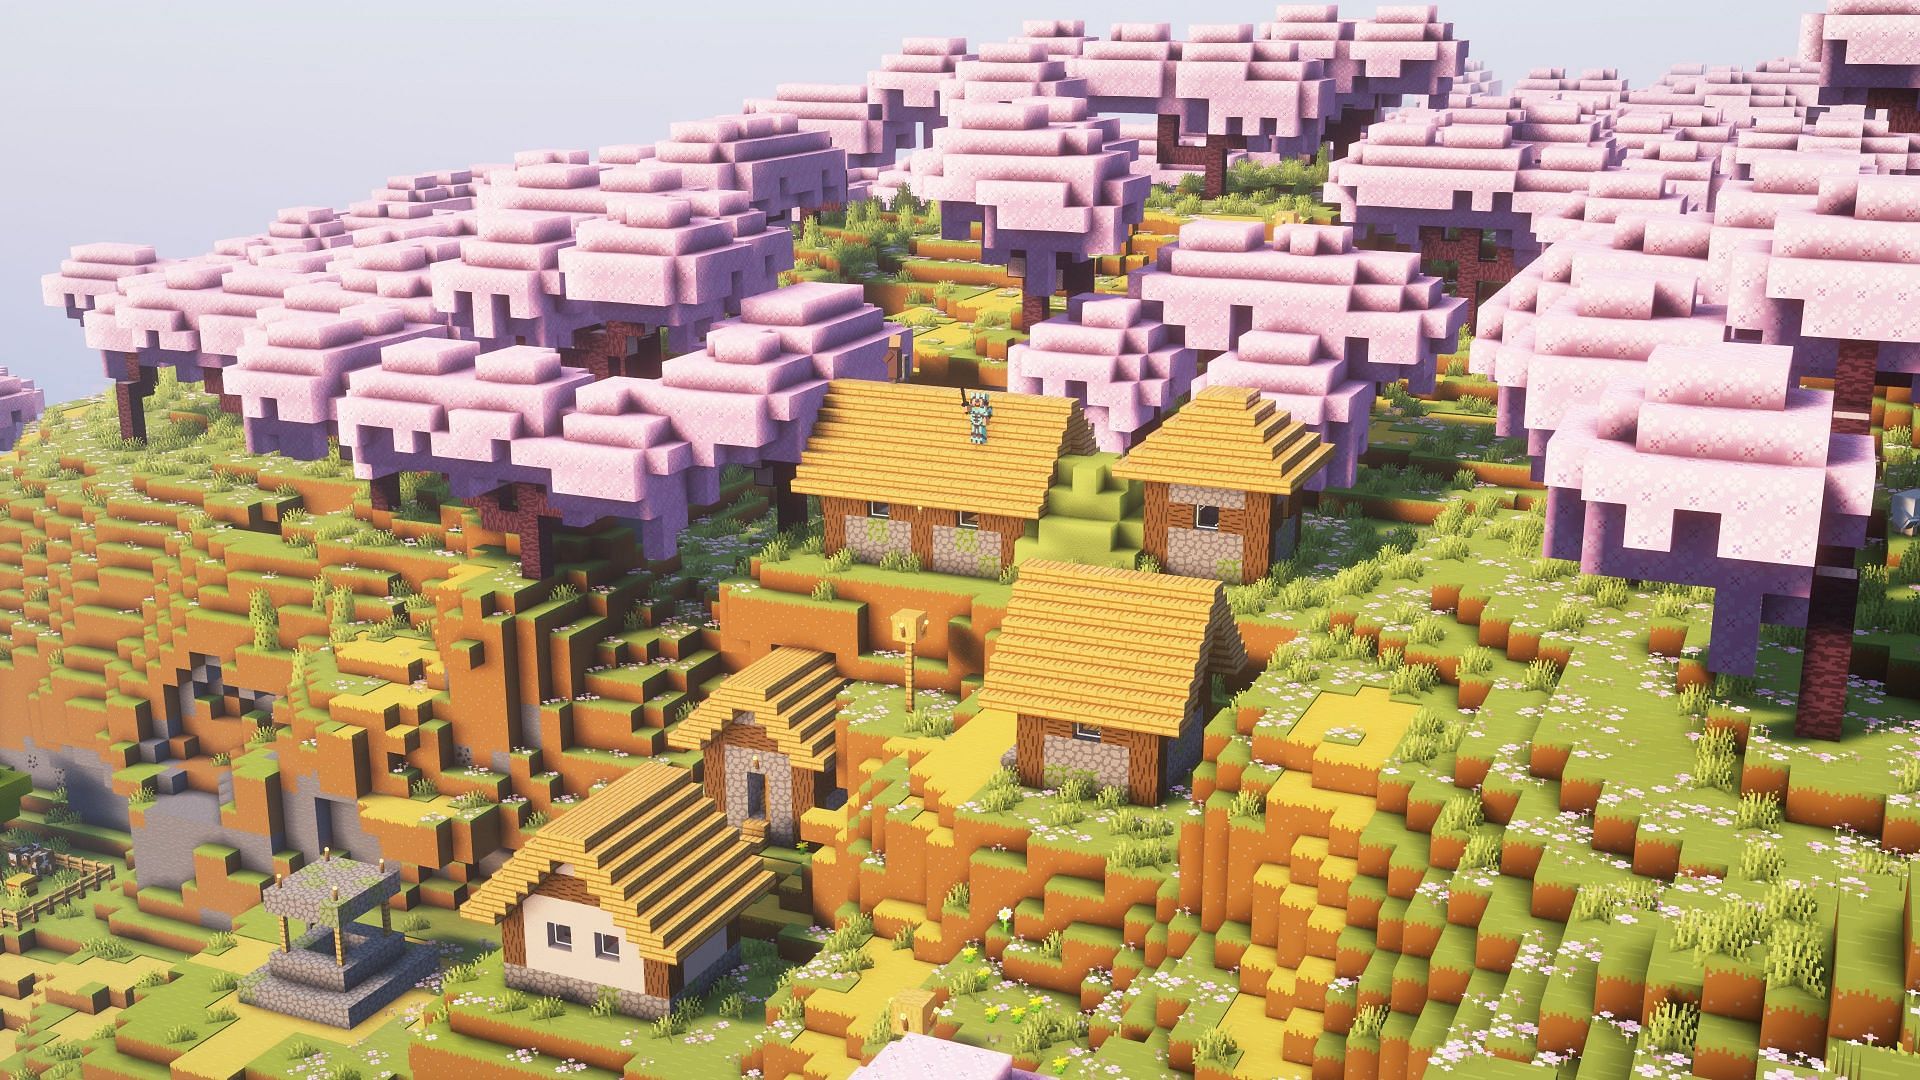
Resource packs are a great choice for tMinecraft players who want visual changes without altering game mechanics. The Bare Bones resource pack, known for its minimalist approach, simplifies textures by removing unnecessary details and smoothening everything. In this article, we will delve into the features of the Bare Bones texture pack for Minecraft and provide simple steps for its installation.

Minecraft guide to install Bare Bones resource pack for Java Edition
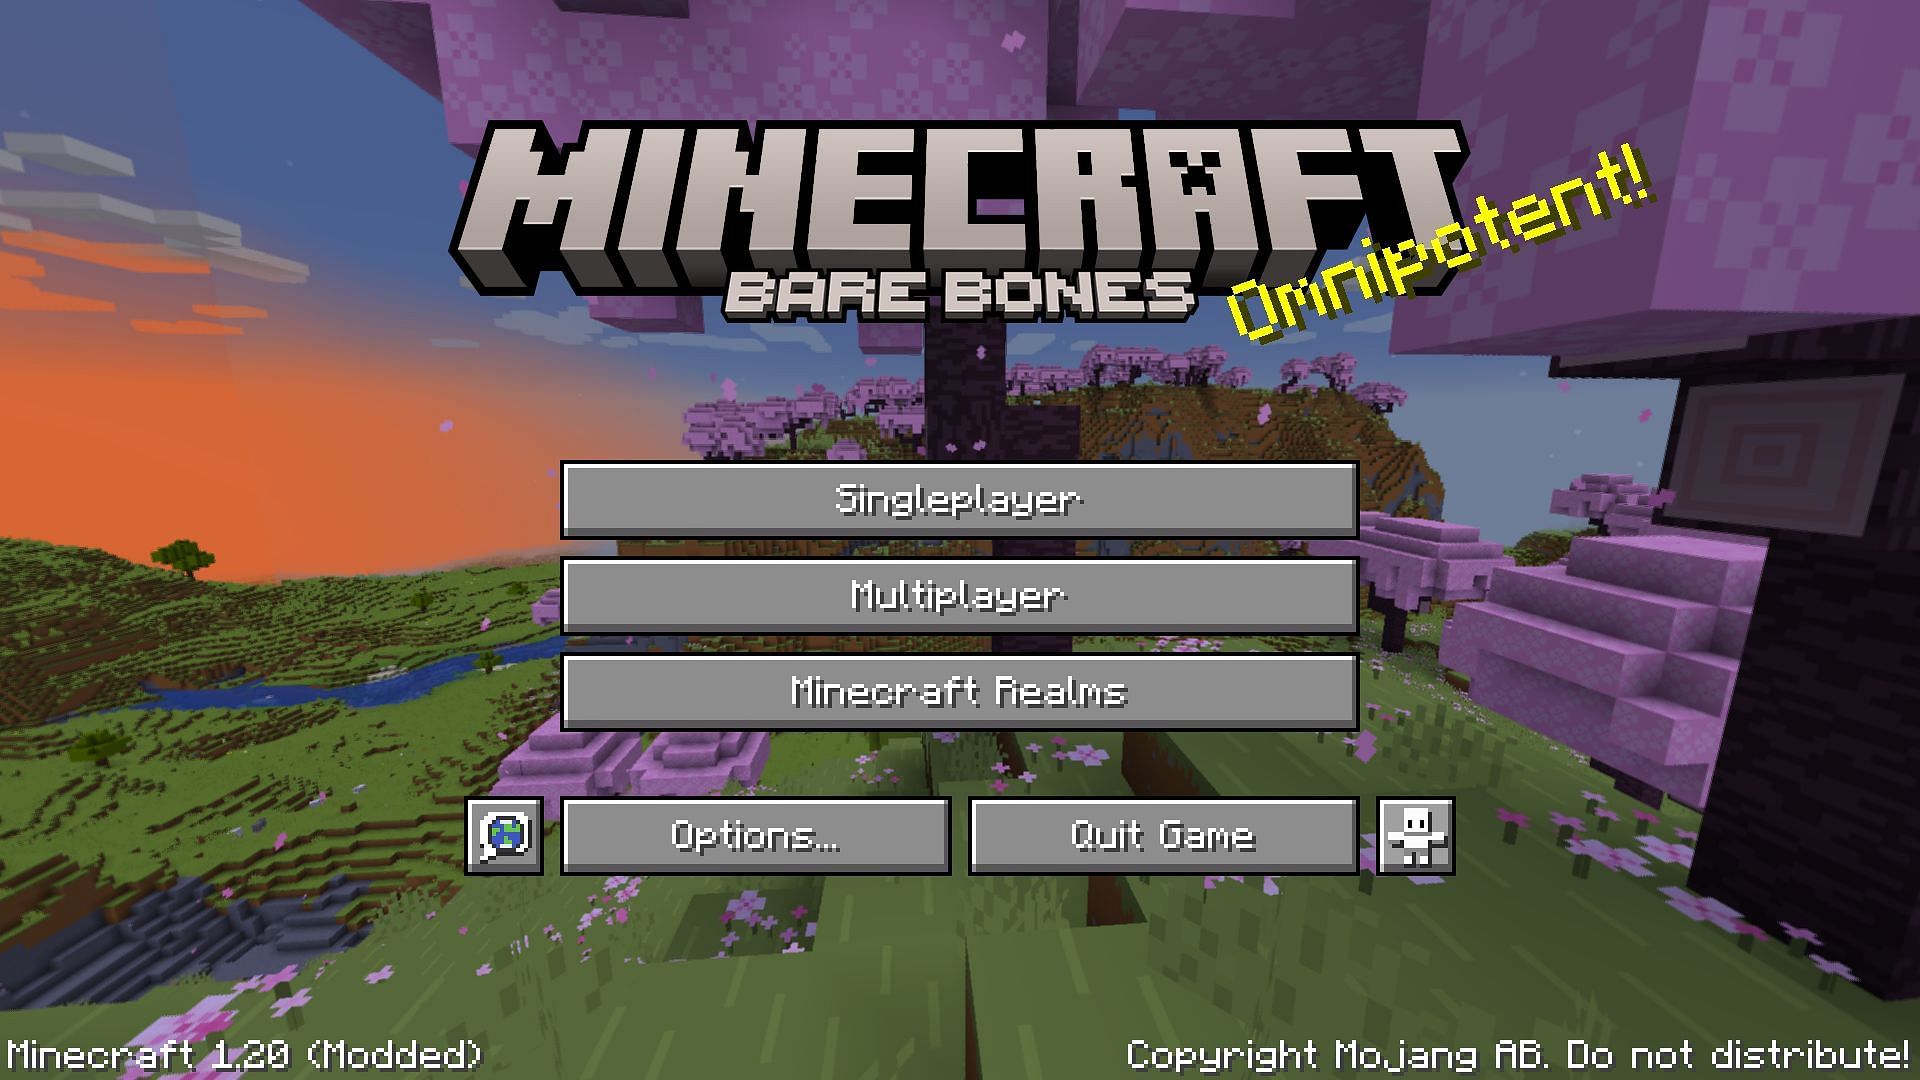
Chart New Territories with the ultimate Minecraft Seed Generator!
There are several compelling reasons to install the Bare Bones Minecraft resource pack. For instance, it ensures smooth gameplay while preserving high-quality visuals and the original Minecraft ambiance.
Here's how to install the Bare Bones resource pack for Minecraft:
- Download the Bare Bones resource pack from a trusted website. One of the better options is Modrinth.
- Once the file has been downloaded, move it to the game's application data folder. You can easily access this by pressing WIN+R and entering %appdata%/.minecraft/resourcepacks.
- Now, launch the game and go to options.
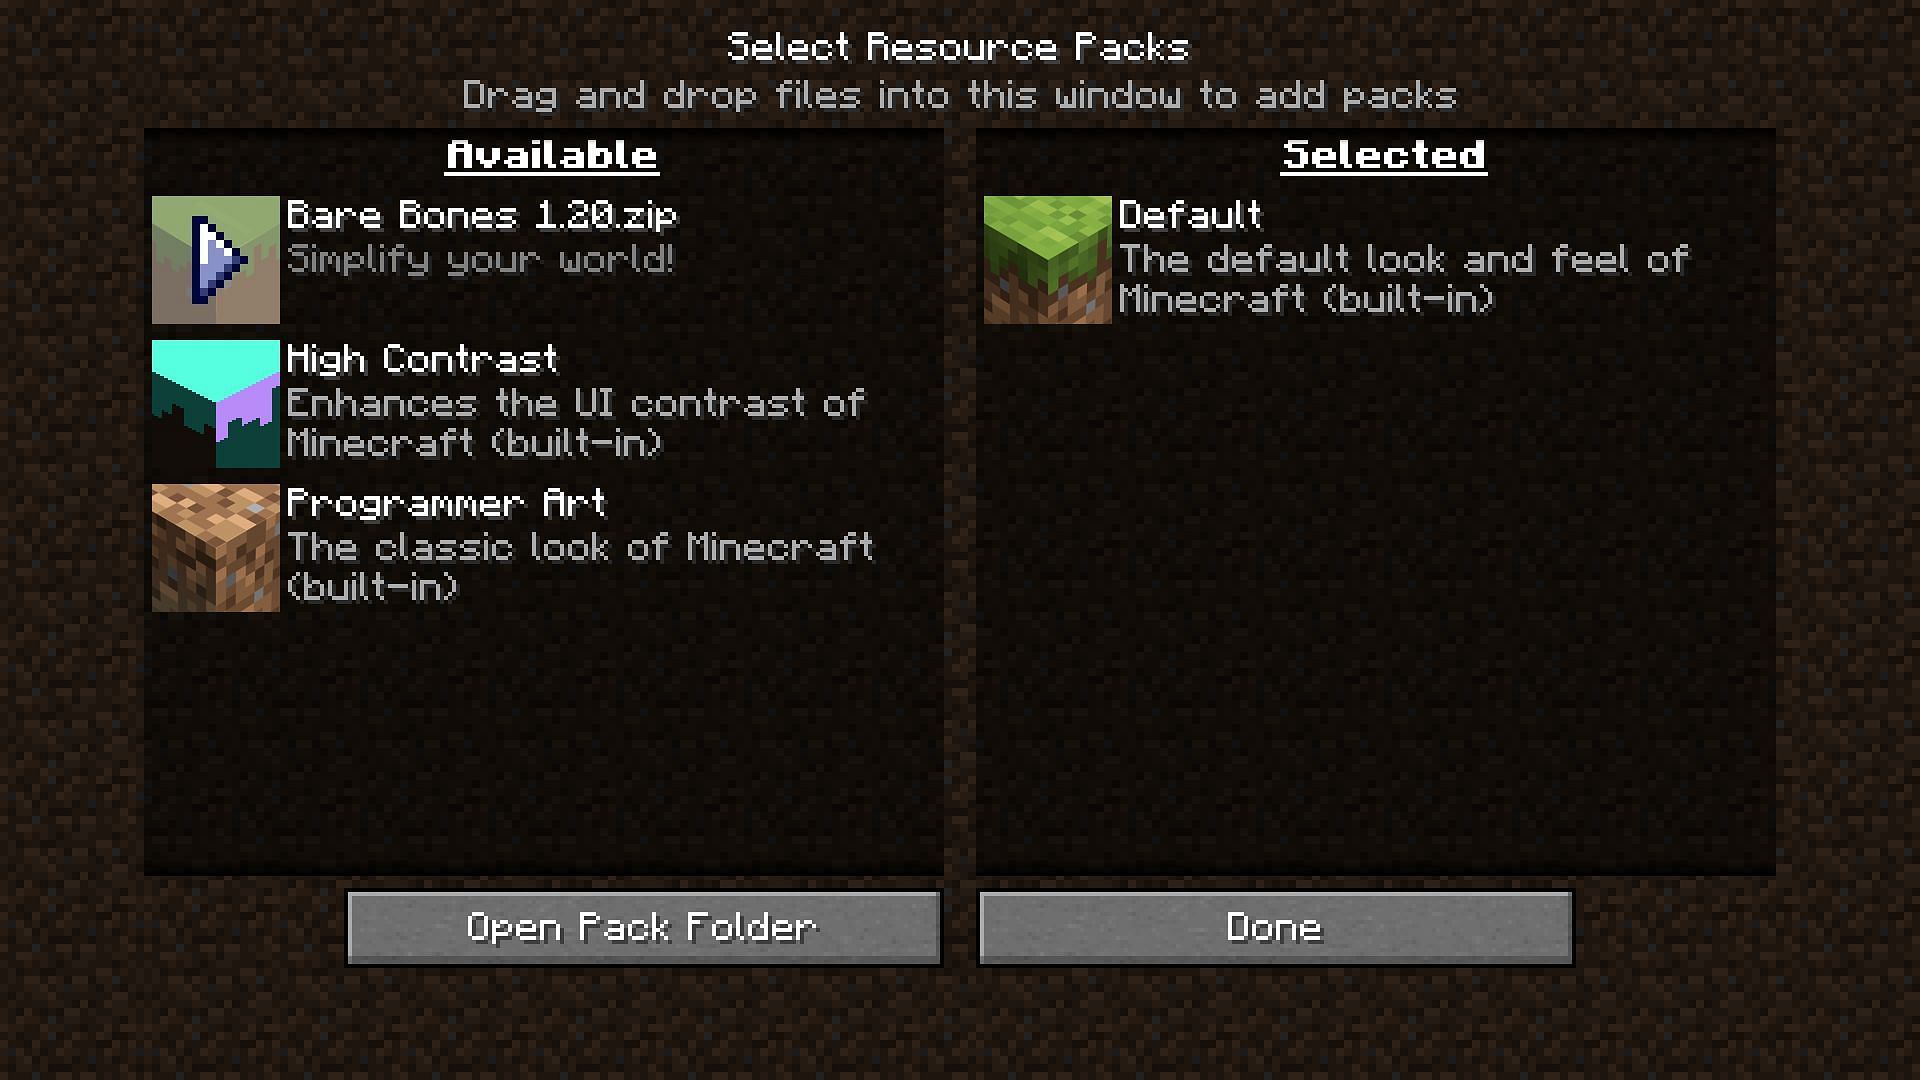
- In the options menu, select Resource Packs.
- Hover over the Bare Bones resource pack option on the left and click the right arrow once it appears.
Following these simple steps should apply the Bare Bones resource pack in the game. Sometimes, the game may display a message indicating that the resource pack is of an incompatible version, but it may still function correctly. Therefore, it is worth trying out regardless of the warning.
Aside from providing a great visual experience, this Minecraft resource pack can also be used to address lag issues that those with low-end systems might be facing. By removing many small texture details, the Bare Bones pack reduces the strain on system resources, potentially improving performance on less powerful computers.
Experience trailer-like gameplay: Bare Bones with shaders
Shaders are visual Minecraft mods that, like resource packs, make changes in the graphics department. However, most are quite graphically intensive and resource-demanding. Therefore, it's recommended that players with at least a mid-tier system attempt to install them if they desire a playable experience.
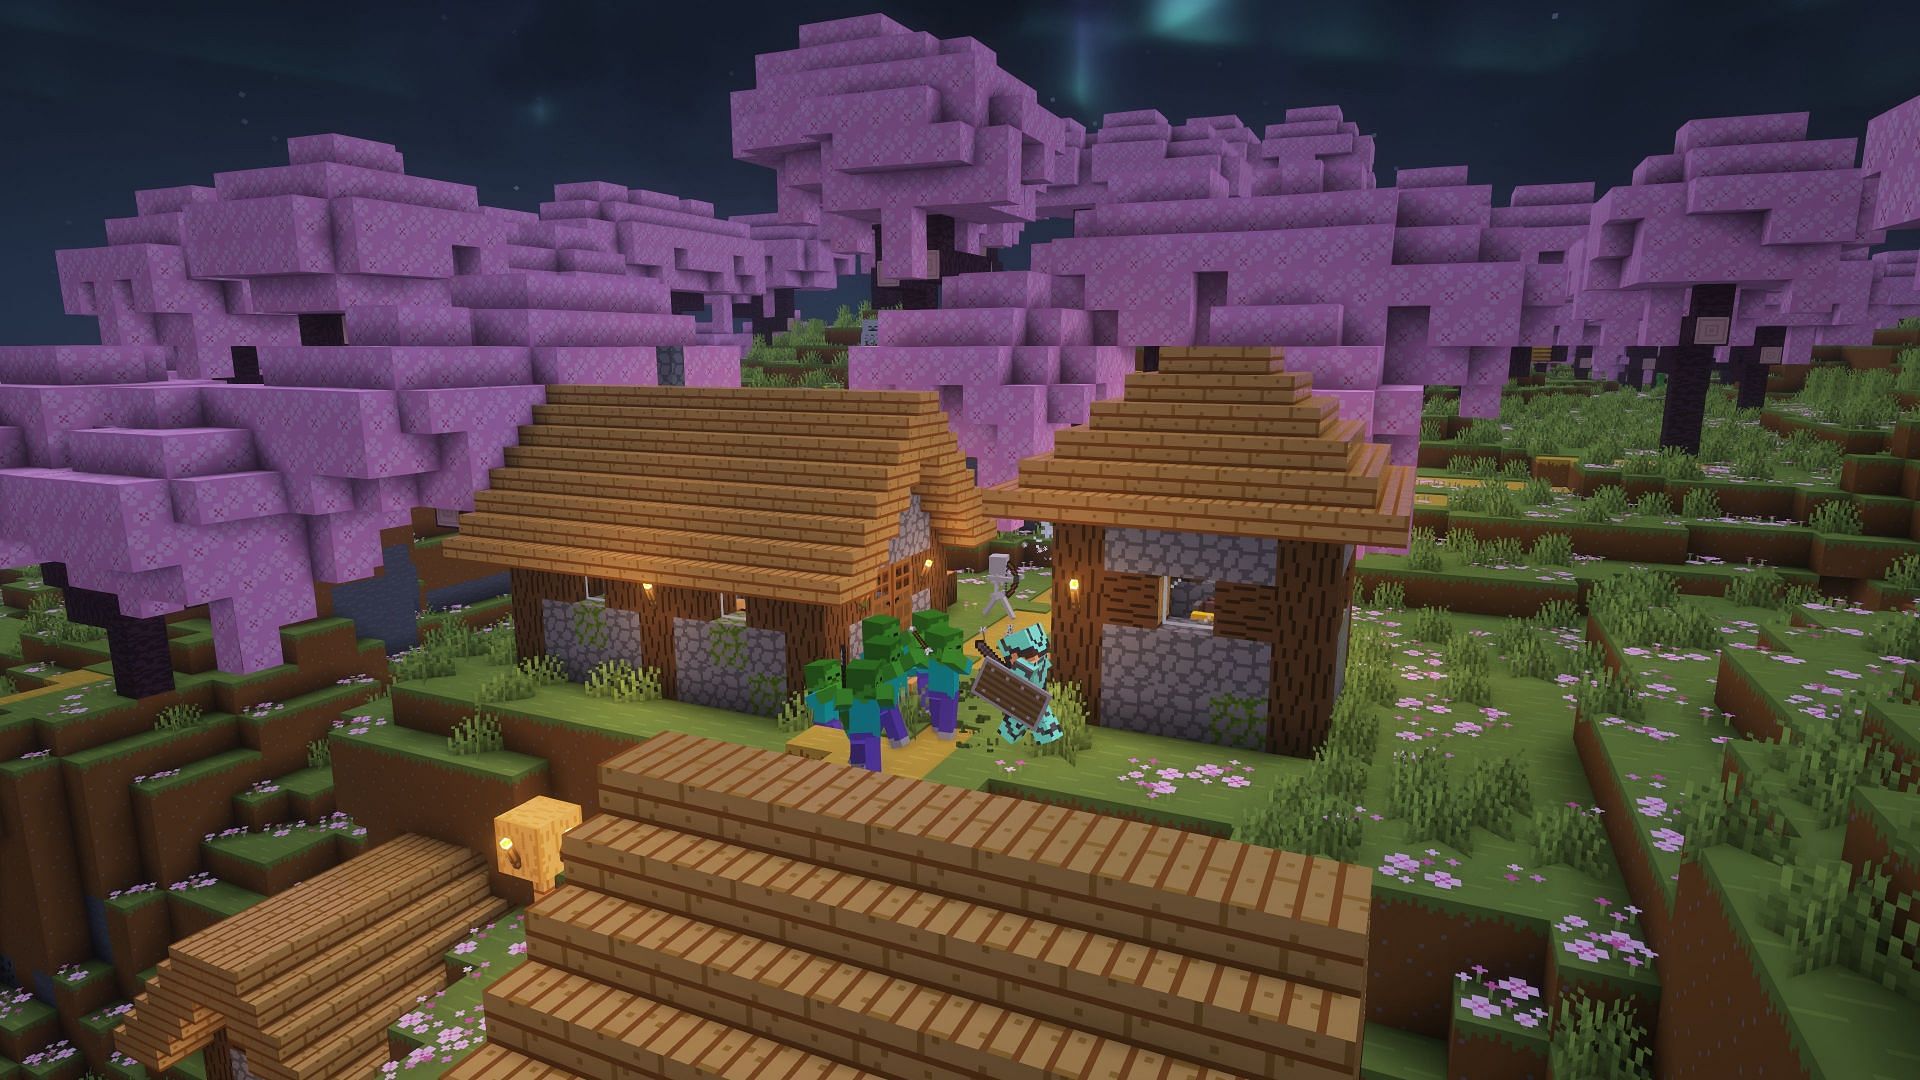
Many opt to install the Bare Bones resource pack and use it with shaders to recreate the visual feeling of Minecraft's trailers. Playing with the Bare Bones pack and shaders can significantly enhance the visual experience, offering smooth performance while maintaining high-quality graphics.
To use shaders, simply need to follow these easy steps:
- Download the Optifine mod from their official website and a shader pack of choice.
- Launch the Optifine installer using Java and click on the Install button.
- Once installed, launch the newly created Optifine version of the game from the official launcher.
- Navigate to video settings and select the shaders option.
- Click on the Shaders Folder option. A new directory will open up.
- Move the shader file you downloaded earlier here and apply it in-game.
Once done, shaders will be applied, and players can follow the steps mentioned previously to get the Bare Bones pack installed as well in this new Optifine installation.

Uncover new worlds with our Minecraft Seed Generator!