'%20x='0'%20y='0'%20height='100%25'%20width='100%25'%20%0A%20%20%20%20%20%20%20%20%20%20xlink%3Ahref='data:image/jpg;base64,/9j/2wBDAAYEBQYFBAYGBQYHBwYIChAKCgkJChQODwwQFxQYGBcUFhYaHSUfGhsjHBYWICwgIyYnKSopGR8tMC0oMCUoKSj/2wBDAQcHBwoIChMKChMoGhYaKCgoKCgoKCgoKCgoKCgoKCgoKCgoKCgoKCgoKCgoKCgoKCgoKCgoKCgoKCgoKCgoKCj/wgARCAAGAAoDASIAAhEBAxEB/8QAFgABAQEAAAAAAAAAAAAAAAAAAAQH/8QAFQEBAQAAAAAAAAAAAAAAAAAAAAH/2gAMAwEAAhADEAAAAJ8vE//EACEQAAEBBwUAAAAAAAAAAAAAAAECAAMEBQYREiEiMVHw/9oACAEBAAE/AJpWEZOg+gAlKSCrB6sbgm1xwxqfIk2e6+7b/8QAGBEAAgMAAAAAAAAAAAAAAAAAAAIBEiH/2gAIAQIBAT8AuzRp/8QAFREBAQAAAAAAAAAAAAAAAAAAAQD/2gAIAQMBAT8AQL//2Q=='%3E%3C/image%3E%3C/svg%3E)
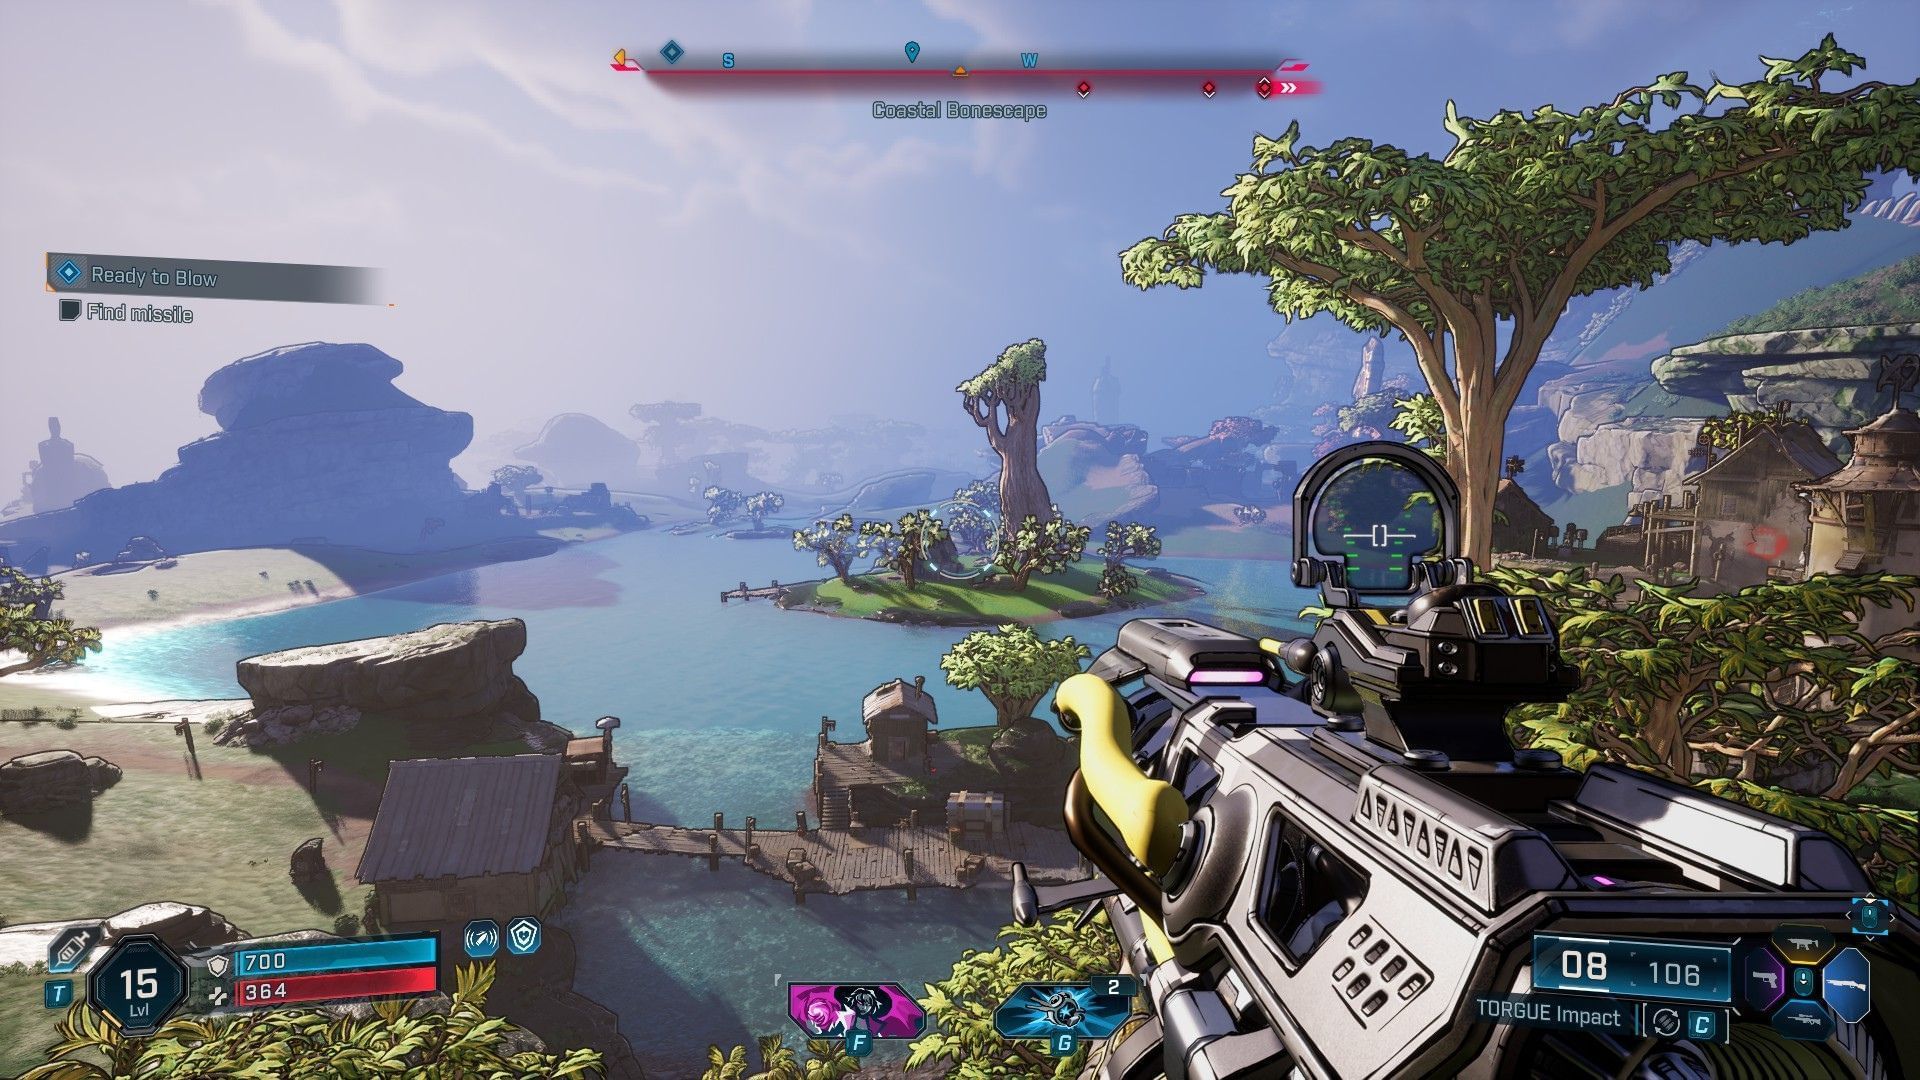
The Coastal Bonescape area contains a variety of collectibles in Borderlands 4, ranging from ECHO Logs to Lost Capsules. While they aren’t hard to find, you still need to explore the area to uncover them on your map. The game also doesn’t simply hand you over the items, as each collectible type requires you to complete the related task.
To save you the trouble of looking around, we’ve listed all the collectibles located in the area. There are 20 within the Coastal Bonescape area in Borderlands 4, and this guide will help you find them all.
Coastal Bonescape collectibles in Borderlands 4
Here are all the collectible items in the region:
- Vault Hunter’s Guide to Kairos: 1
- ECHO Logs: 5
- Dead Bolts: 2
- Lost Capsules: 1
- Propaganda Speakers: 2
- Survivalist Caches: 3
- Evocariums: 2
- Vault Fragments: 1
- Vault Symbols: 3
Here are the locations of all the collectibles in the Coastal Bonescape region:
1) Dead Bolt #1

Located in the top left corner of the Coastal Bonescape region. Find the house named Sandytoeas Villa, located at the top of a hill. Once you reach the area, defeat all the Rippers and go behind the house to find the collectible.
2) Dead Bolt #2

Located in the top center, the collectible is present on an island at the center of the lake. The area is swarming with hostile NPCs, so if you want to grab the item and run, it is located beside the boat and a dead body near the pier.
3) Vault Hunter’s Guide to Kairos #1

Located near the lake at the upper left side of the Coastal Bonescape region. If you’re doing the ‘Hangover Helper’ side quest, getting the items is much easier. Look for a temporary safehouse in the mountain arch, and you’ll find the collectible.
4) ECHO Log #1

Located near the Vault Hunter’s Guide to Kairos in the Coastal Bonescape region. Use the Stockholm Silo to fly towards the ridge and look for a temporary shelter. The log is sitting on top of a container.
Also Read: How long will Borderlands 4 take to beat?
5) ECHO Log #2

Located near the massive skull at the center of the region. There is a Kratch nest at the location. You can defeat them and grab the item, or swoop the log and run away using your hoverbike.
6) ECHO Log #3

Located at the edge of the mountain, near Harper’s Hideaway farm. Find a run-down shack facing the sea. The log is sitting on the table inside the shack.
7) ECHO Log #4

Located near the shoreline of the Coastal Bonescape region. Find the log near a flipped yellow boat with a loot cache. Follow the coastline to the left from the Headquarters of Crimson Resistance, and you’ll find the collectible.
8) ECHO Log #5

Available as part of the quest ‘Ain’t no Sham in It’. Pick up the Log from Ole Shammy’s table located in his bar. The shop is located right below the ECHO Log #3.
9) Lost Capsule #1

Located at the center of the Coastal Bonescape region. Teleport to the Safehouse and make your way to the location. Find a barn on top of the hill and look for a capsule to grab. You need to take it back to the Safehouse for decryption.
10) Survivalist Cache #1

Located near Scarlett’s Jetty on the left coastline of the region. The cache is sitting in the open, but the area is swarming with enemies. Take them out and claim your loot.
11) Survivalist Cache #2

Located on the bridge near Harper’s Hideaway farm. Find the cache on the upper side of the bridge. Grab the ledge to climb up and claim your loot.
12) Survivalist Cache #3

Located in a small Ripper encampment. The cache is on top of the main building. Defeat all enemies and claim your loot. Note that Rifts can also influence the area and spawn a boss.
13) Vault Fragment #1

Located at the bottom left of the region on Stillshore, the Vault Fragment is one of the key components in Borderlands 4. Defeat all the enemies and the boss in the area, and go to the sea shack at the far end. Keep an eye on your Vault Fragment detection meter.
14) Propaganda Speaker #1

Located in Plungeford, the Ripper village. Hack the computer and defend against four waves of enemies. Note that the hack will not progress until you defeat all the enemies.
15) Propaganda Speaker #2

Located on the hill above Shammy’s Shack. Take the Silo zipline to fast travel. Start the hack and defend against enemy waves. Beware of turrets set up by the Rippers; they can take you down in a few hits.
16) Evocarium #1

Located at Harper’s Hideaway, the Evocarium is in a storage container. Interact with it to find three golden balls on top of various structures. Collect the balls and go back to the Evocarium.
17) Evocarium #2

Located at Waterstop in the top right of the region. The area is swarming with the Timekeeper’s soldiers. Take them out and interact with the Evocarium to find all golden balls.
18) Vault Symbol #1

Located on the far right of the region, just under the Waterstop. The symbol is on top of a house infested with Kratches. Defeat them all and climb on top to uncover the collectible.
19) Vault Symbol #2

Located in Plungeford, atop the Coastal Bonescape region, the vault symbol is situated inside a building with multiple loot caches. It is the largest and only building you can enter within the area.
20) Vault Symbol #3

Located under the mountain with tall trees right beside Plungeford. Look for a cave-in near the checkpoint. The symbol will be located on top of the rocks. It is very close to the Vault symbol inside the house, so grab them together.
Check out our other Borderlands 4 guides and features
- All Weapon Manufacturers in Borderlands 4
- Who is the villain of Borderlands 4?
- What are Enhancements in Borderlands 4?
- Does Borderlands 4 have co-op and crossplay?
- Borderlands 4 Down and Outbound walkthrough
- Borderlands 4: All Silo locations