
'%20x='0'%20y='0'%20height='100%25'%20width='100%25'%20%0A%20%20%20%20%20%20%20%20%20%20xlink%3Ahref='data:image/jpg;base64,/9j/2wBDAAYEBQYFBAYGBQYHBwYIChAKCgkJChQODwwQFxQYGBcUFhYaHSUfGhsjHBYWICwgIyYnKSopGR8tMC0oMCUoKSj/2wBDAQcHBwoIChMKChMoGhYaKCgoKCgoKCgoKCgoKCgoKCgoKCgoKCgoKCgoKCgoKCgoKCgoKCgoKCgoKCgoKCgoKCj/wgARCAAGAAoDASIAAhEBAxEB/8QAFgABAQEAAAAAAAAAAAAAAAAAAAYH/8QAFQEBAQAAAAAAAAAAAAAAAAAAAwT/2gAMAwEAAhADEAAAAM2mykP/xAAhEAACAgAFBQAAAAAAAAAAAAABAgMEAAUGEiEHFTFRof/aAAgBAQABPwDqdnN3vMGVrYZ6RqwWSsigkMYgfPrnE+pEknkcwbyzE7mHJ+4//8QAFxEAAwEAAAAAAAAAAAAAAAAAAAECA//aAAgBAgEBPwDRtXR//8QAFxEAAwEAAAAAAAAAAAAAAAAAAAECEf/aAAgBAwEBPwCEnE6f/9k='%3E%3C/image%3E%3C/svg%3E)
Ghosts of the Deep is the latest dungeon to go live in Destiny 2. This area is based within the New Pacific Archology on Titan and requires players to traverse into the depths to disrupt a Hive ritual. The entire dungeon has three encounters, and given that it's a Hive dungeon, it bears a resemblance to the structures on Savathun's Throne World.
There are a total of three specific encounters in the Destiny 2 Ghosts of the Deep dungeon. The third encounter, where players must defeat the Simmumah Ur-Nokru Lucent Necromancer, is, by far, the most complicated in the entire activity. So here's how you can easily complete the final ordeal in Destiny 2.
Ploys to easily complete the third encounter in Destiny 2 Ghosts of the Deep dungeon
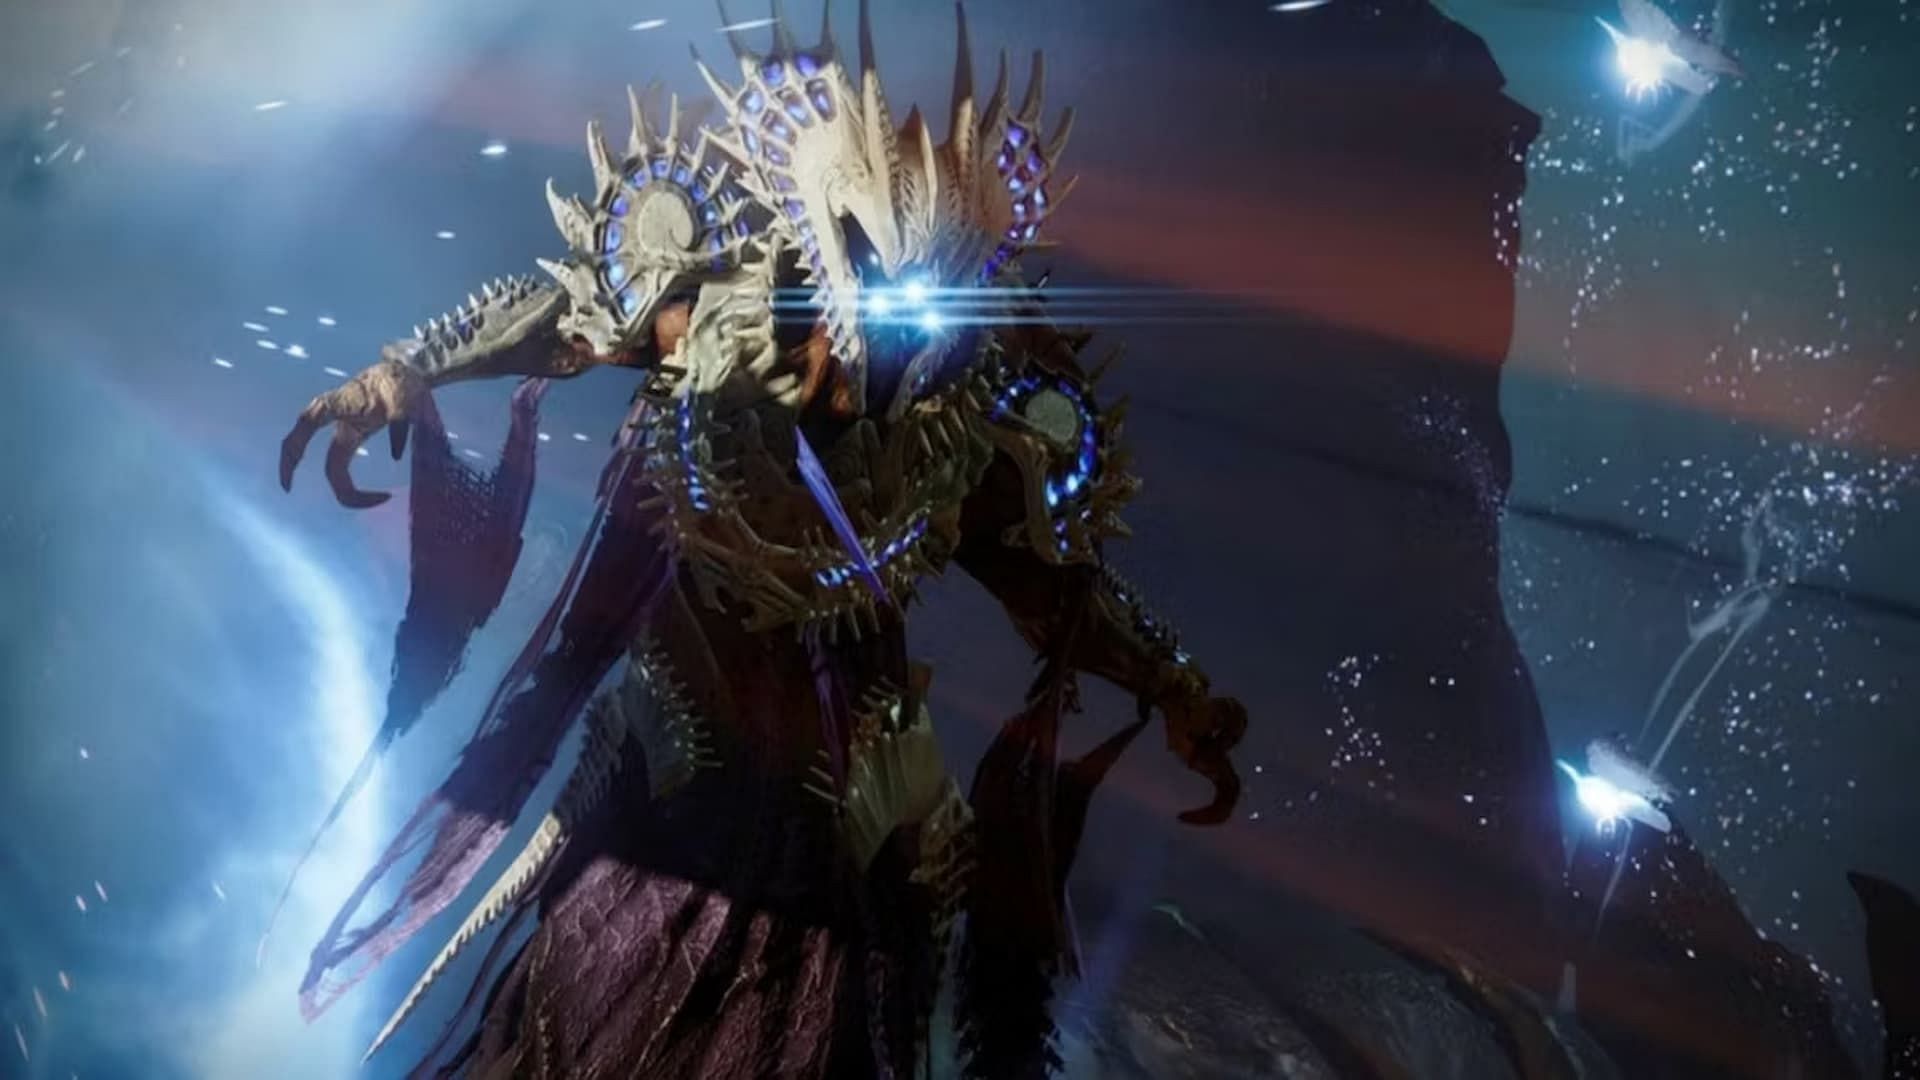
When you head into the room, you'll catch a huge Hive wizard floating over Oryx's corpse. There's also a Hive Ghost here. You'll also notice a few water walls in the area. These are portals that lead to other rooms that you will have to clear later in the encounter.
You will also spot a Deepsight node in the area. However, this node keeps rotating, so you'll have to keep an eye out for it throughout the encounter. As for the weapons, you'll need to take care of a lot of ads and deal damage simultaneously. However, the DPS phase isn't the major focus here because there's no wipe mechanic involved.
So keeping a machine gun like the Commemoration should come in handy. Alternatively, if you're using weapons like Osteo Striga or the Witherhoard to clear ads, you can utilize rocket launchers for the DPS phase. Moreover, the Hive wizard deals a lot of Arc damage, so running triple Arc resistance mods on your chest armor piece is important.
To start the encounter, head into the area and destroy the Hive Ghost first. You'll see a Deepsight node as well. Activate it, and you'll notice that three platforms start glowing, and a Hive Knight spawns. Stand on one of the glowing platforms and defeat the Knight. Doing so should draw Simmumah to that plate.
When that happens, players on the other platforms should be able to see a ring and the symbol of the Taken King. If you can't see them, you must activate the Deepsight node again but be quick. The moment you see the ring and the symbol, shoot the latter through the former. That should cause a big Hive symbol to spawn.
Do this thrice, and then take note of all the symbols spawned so far. Now head into the rooms behind the water walls. Keep wading through them until you come across a second room with a Hive Lightbearer. Take note of the symbol in that room, and then defeat them.
The symbol will vanish when you destroy the Hive Ghost. Subsequently, you'll receive a Vestige of Light buff that you must deposit at the platform with the matching symbol, similar to what you did in the first encounter in Destiny 2 Ghosts of the Deep.
If you deposit the Vestige at the wrong symbol, you'll perish. If you can't deposit the buff, you must activate the Deepsight node again. Once you've done this for all the platforms, you'll see a pool of Light spawning at the last platform.
Stand in this pool of Light and start damaging the Hive wizard in Destiny 2 Ghosts of the Deep. This phase resembles the Golgoroth encounter in the King's Fall raid. After destroying the shield, you can start chipping away at the boss' health.
It's unlikely you'll be able to one-phase the boss, just like in the second encounter of the Destiny 2 Ghosts of the Deep dungeon. So you might have to rinse and repeat the steps mentioned above. Having a Void debuff is slightly beneficial during this encounter.
