
'%20x='0'%20y='0'%20height='100%25'%20width='100%25'%20%0A%20%20%20%20%20%20%20%20%20%20xlink%3Ahref='data:image/jpg;base64,/9j/2wBDAAYEBQYFBAYGBQYHBwYIChAKCgkJChQODwwQFxQYGBcUFhYaHSUfGhsjHBYWICwgIyYnKSopGR8tMC0oMCUoKSj/2wBDAQcHBwoIChMKChMoGhYaKCgoKCgoKCgoKCgoKCgoKCgoKCgoKCgoKCgoKCgoKCgoKCgoKCgoKCgoKCgoKCgoKCj/wgARCAAGAAoDASIAAhEBAxEB/8QAFgABAQEAAAAAAAAAAAAAAAAAAAQH/8QAFQEBAQAAAAAAAAAAAAAAAAAAAgP/2gAMAwEAAhADEAAAAMunDb//xAAgEAABAgYDAQAAAAAAAAAAAAACAQMABBESEyEFMVFi/9oACAEBAAE/AAy8cU0y6VVbxuHYXz2i+0WFkycW8SChbS4dx//EABYRAAMAAAAAAAAAAAAAAAAAAAARQf/aAAgBAgEBPwCM/8QAFxEAAwEAAAAAAAAAAAAAAAAAAAERMf/aAAgBAwEBPwDXD//Z'%3E%3C/image%3E%3C/svg%3E)
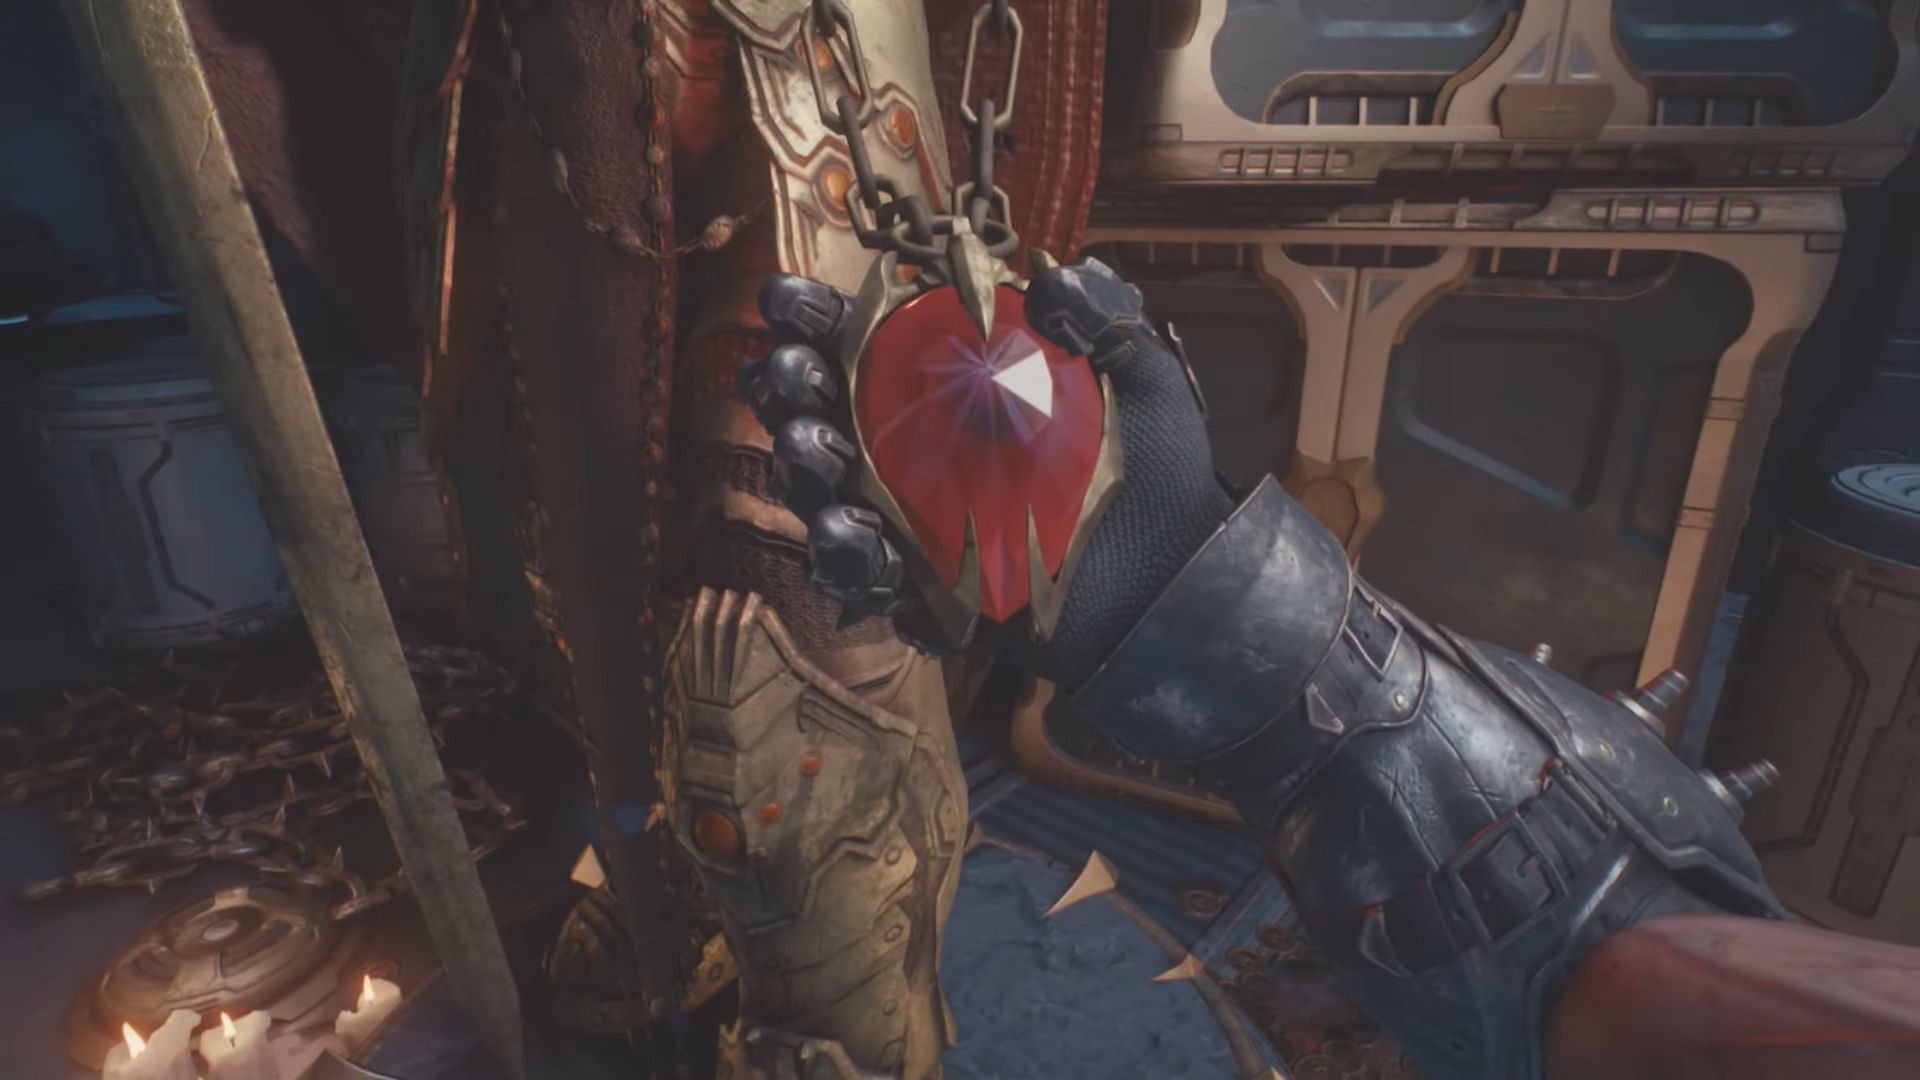
Rubies in Doom The Dark Ages can help you upgrade your weapons, including your shield and melee. These can be found hidden on many maps and across missions. You may have some trouble finding them on your own, as the game doesn't always lead you to them.
There are about 16 Ruby locations in Doom The Dark Ages. You can explore them naturally as you progress in-game. This guide lists all Ruby locations.
Doom The Dark Ages: All Ruby locations
Sentinel Barracks
Ruby 1
Looking for Crossword hints & solutions? Check out latest NYT Mini Crossword Answers, LA Times Crossword Answers, and Atlantic Crossword Answers

The first Ruby can be found in Sentinel Barracks. This one is rather easy to find, as the game's objective marker itself will lead you to it. It's located in the hangar in this mission.
Ruby 2

The second Ruby can be found in the location marked on the map above. Since it has already been collected, it appears with a green check mark. It can be found in a secret area — you must eliminate an enemy near the Demonic Essence and then jump down and turn around to proceed further. You'll have to mount and scramble up two walls to get there.
The Holy City of Aratum
Ruby 1

Follow the main corridor once you see the icon of the Ruby on the Automap. Once you approach it, you will come across a pressure plate that opens the gate to the Ruby in Doom The Dark Ages.
Look up and break the chandelier directly above the plate. It will drop and keep the plate squeezed, opening the gate for good. You can then go and collect the Ruby.
Ruby 2

In the area near the first weapon skin on the map, you will come across a pressure plate. Stand on it and you'll see a massive latch rise inside a section right in front of you. Smash it with your shield and jump into the water in this section of Doom The Dark Ages.
As you swim downwards, you'll find a wheel — turn it to drain all the water. Inside the little cell is a Red Keycard. Take it and move on. You can then find Ruby's position on the map and use the card to unlock the gates, allowing you to take the gem with you.
Siege Part 1
Ruby 1

The first Ruby in Siege Part 1 in Doom The Dark Ages can be found in the area shown on the map above. You will find yourself against a tree with a portal over it. Destroy it to start a battle and defeat all the monsters in the area. This will open up the barrier protecting the Ruby, and you will be able to claim it.
Ruby 2

This Ruby in Doom The Dark Ages is trapped in a cell floating over a pool of water. Dive into the water and head left. Once you resurface, jump over to the platform and move towards the wooden panels hiding a pathway. You will be attacked by two creatures. Quickly dispose of them and move forward.
Smash through the panels and keep progressing. You'll come across a gate — trigger it to open and leap across the water to flip a switch. This will open up the gates to the Ruby but also submerge it in water.
Then, go back to where you started, dive into the water, and obtain your Ruby.
Ruby 3

You'll need the secret key to get to this Ruby. It is denoted by a question mark on the far right of the image above. You can find the secret key in this chapter, north of the very first Sentinel Shrine that you come across after spawning. Using the key, you can open up the secret area leading up to this Ruby in Siege Part 1 of Doom The Dark Ages.
Siege Part 2
Ruby 1

A Ruby can be found in the Ship Hanger area in Siege Part 2. You must obtain a hidden key after smashing through a pathway with your shield. An invisible enemy will spawn — defeat it and get the secret key. Then, move towards the Ruby's location to acquire it from behind a locked gate.
Ruby 2

Here you can see the location of the second Ruby. Climb up the platform to get it after going through the Ship's Hangar area, where you found the first Ruby.
Abyssal Forest
Ruby 1

After collecting the yellow key, stick to the left side of the area upon defeating all the enemies. There's a pathway underneath that you can use to get to the Ruby. You'll have to swim through a pool and then climb up a wall. You can then get boosted upwards — this is where you'll find the Ruby.
Ruby 2

The second Ruby in the Abyssal Forest of Doom The Dark Ages can be found close to the mission objective point, which requires you to destroy the area to create a path. Close to the turret on the left, you can find a pathway lit by gold. Collect the gold and use it as a path to the Ruby. Climb up a wall and you'll find the gem.
Ancestral Forge

Once you turn the first switch, you can use the secret key to unlock an area in the northwestern zone close to the switch. Go up this pathway and defeat some demons to move forward. This is where you'll find the first Ruby in the Ancestral Forge.
Ruby 2

Simply follow the main pathway inside the forge towards your objective. The narrow corridor should lead you to a breakable wall. Smash through it to discover a large chain. Throw your shield at it to break it and open the gate to the Ruby.
Also read: 10 best tips for beginners in Doom: The Dark Ages
The Forsaken Plains
Ruby 1

You must complete the Gore Nest in the southwest region of the map and obtain the secret key from the western side to unlock this Ruby in Doom The Dark Ages.
Ruby 2

With the secret key, you can also find a way to the second Ruby in the Forsaken Plains. You will have to access the lower section of the map in the central region and open the secret door. This place will only become available after destroying the hell cannon there.
Head to the objective point to get close to the gem. Defeat the enemy in this area, collect the gold, and then get the second Ruby.
Ruby 3

The third Ruby will be displayed on the map openly. You will have to use the platform to go to the upper level. Avoid the spikes and flames as you get on the platform.
Sentinel Command Station
Ruby 1

This Ruby is located on the upper level of the map. You'll have to perform a Shield Recall jump and then leap over a gap with a demon at the other end shooting at you. Take down a few enemies, turn left, and you'll spot the statue with the Ruby. This gem is visible on the map.
Spire of Nerathul
Ruby 1

The first Ruby will be found close to the bottom objective marker. Once you land with your Cyber Dragon in Doom The Dark Ages, go underwater. Keep to the right and you'll discover a deeper underwater cave. Navigate through it to find this Ruby.
Also read: Doom The Dark Ages all difficulties explained
Ruby 2

The second Ruby is visible on the map. You'll come across a room with red barrels close by. Fight the invisible demons here and go to the entrance of the area. Break the chain and open the gate. This will allow you to get boosted to the Ruby and some gold.
Ruby 3

Once you mount the dragon again, go to the objective point and move to the top objective marker. You will encounter two enemies. Defeat them, and the shields protecting the Ruby in Doom The Dark Ages will fall down.
City of Ry'uul
Ruby 1

This Ruby is clearly visible on the map above. After destroying the cosmic eye, raise the elevator by using your shield to press the lever icons. Use the tunnel revealed and dive into the water. Go towards the Ruby icon to get it.
Ruby 2

After the fight in this region of Doom The Dark Ages, you will see a boost pad after taking some gold from the area. Use it to jump over a ledge to find the second Ruby.
Read more: Doom The Dark Ages release countdown: Start time for all regions
The Kar'Thul Marshes
Ruby 1

Once you're in the starting position, locate the cave to your left. You'll be teleported to a different room. Swim through the water and break the chain that you encounter with your shield. Drop back down and activate the cosmic eye. Finally, swim down again and get the Ruby.
Temple of Lomarith
Ruby 1

At the beginning of the chapter, stick to the right side of the portal and then use your Shield Jump to get to the upper level. This Ruby is visible on the map — simply follow the icon to get to it.
Ruby 2

You'll find the secret key on top of the shipwreck as you move further in this chapter. Get it and then jump across to the Sentinel Shrine. Next to it is the locked door. Unlock it to get the Ruby.
Belly of the Beast
Ruby 1

Follow the objective marker after picking up the first Demonic Essence in Belly of the Beast. You will come across a tunnel that will lead you to this Ruby. This is the only one in this chapter of Doom The Dark Ages.
Harbor of Souls
Ruby 1

This Ruby comes rather late in the chapter, as it requires some progress. You will reach a corridor that leads you to a set of stairs. There, you will find a platform that can take you to a higher level. Smash the gear icon on the opposite wall, and the gate protecting the Ruby will open up for you.
Also read: Does DOOM: The Dark Ages have multiplayer?
Resurrection
Ruby 1

Towards the siege tower, you'll discover a Ruby protected by a barrier. Smash through the tree to trigger a fight and defeat the demons that spawn. This will disable the barrier, and the Ruby will be yours in Resurrection in Doom The Dark Ages.
Ruby 2

You'll need the Blue Key to access this Ruby. It's located in the northwestern region of the map. Follow the path of gold, which will lead you to its location.
Ruby 3

Once again, use the Blue Key to open this space up close to the starting point. You'll encounter a brief fight, which will disable the barrier protecting the gem. Defeat the demons and collect your Ruby.
Reckoning
Ruby 1

You will find this Ruby in the Reckoning in the same area as the Blue Skull. You'll come across a hole in the ground close to the entrance. Use the boost pad you find here to return to an upper level — the path here will lead you to this Ruby.
Ruby 2

Towards the objective marker, you'll find an elevator. Before taking it, shield charge through the wall directly opposite it to reveal a blue gear icon. Smashing it will show you a climbable wall — scramble up and repeat the action with another gear. This will lead you to the next Ruby in Doom The Dark Ages.
Ruby 3

The last Ruby in the campaign will be available once you obtain the secret key. With the key, go to the main objective area, find the gate, and unlock it. Behind it is the last gem you'll get in Doom The Dark Ages. This can help you with some of your final weapon upgrades in the game.

Are you stuck on today's Wordle? Our Wordle Solver will help you find the answer.