
'%20x='0'%20y='0'%20height='100%25'%20width='100%25'%20%0A%20%20%20%20%20%20%20%20%20%20xlink%3Ahref='data:image/jpg;base64,/9j/2wBDAAYEBQYFBAYGBQYHBwYIChAKCgkJChQODwwQFxQYGBcUFhYaHSUfGhsjHBYWICwgIyYnKSopGR8tMC0oMCUoKSj/2wBDAQcHBwoIChMKChMoGhYaKCgoKCgoKCgoKCgoKCgoKCgoKCgoKCgoKCgoKCgoKCgoKCgoKCgoKCgoKCgoKCgoKCj/wgARCAAGAAoDASIAAhEBAxEB/8QAFgABAQEAAAAAAAAAAAAAAAAAAAMG/8QAFQEBAQAAAAAAAAAAAAAAAAAAAgX/2gAMAwEAAhADEAAAAMvEnD//xAAiEAACAQMCBwAAAAAAAAAAAAACAwEABTEEERQWJDJCYcL/2gAIAQEAAT8A5qvI6tZOurCLYIDpVTgt/WcU510lpzxau6fEo+q//8QAGREAAgMBAAAAAAAAAAAAAAAAAQIAAwQx/9oACAECAQE/AG13HrGf/8QAGREAAgMBAAAAAAAAAAAAAAAAAQIAAxES/9oACAEDAQE/ABWnAbJ//9k='%3E%3C/image%3E%3C/svg%3E)
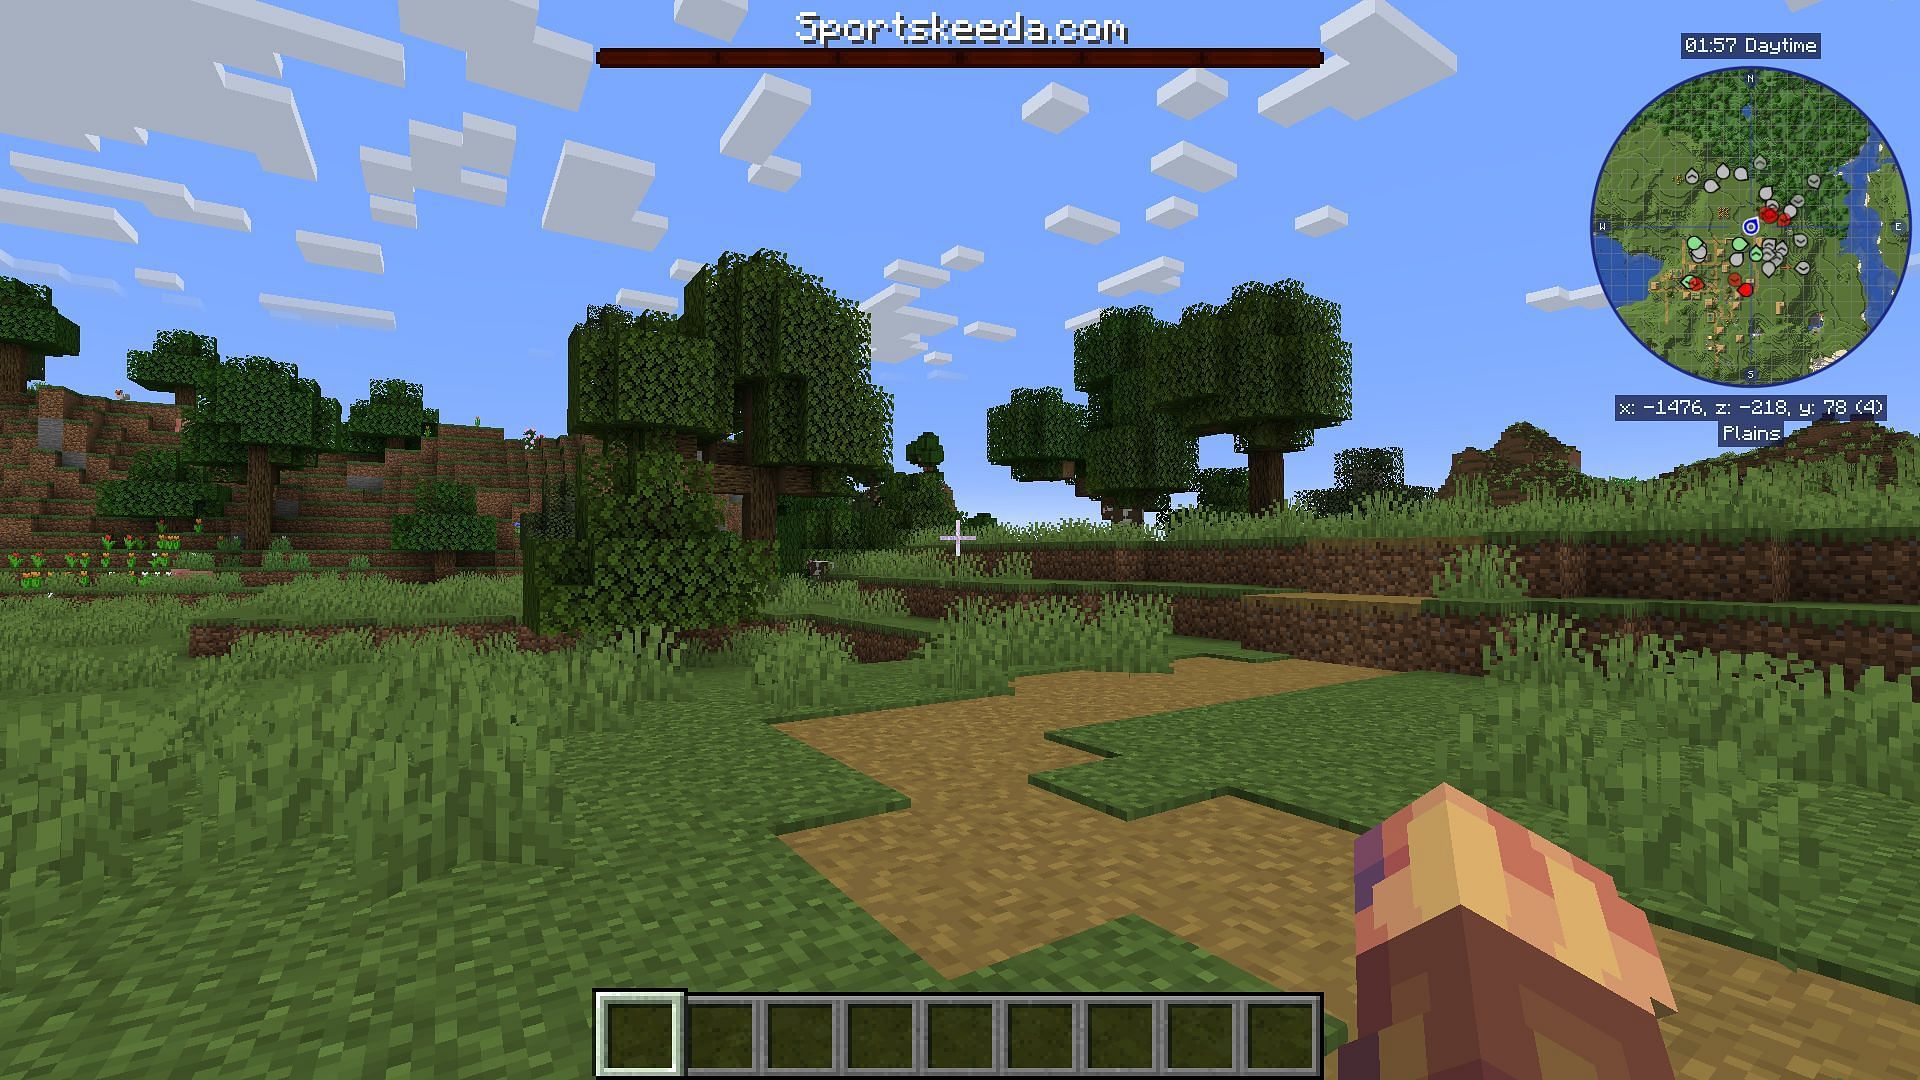
Minecraft players who have battled foes like the Ender Dragon or the Wither have likely noticed the large boss health bars they possess at the top of the screen. While the vanilla build of the game reserves the bars for these two bosses, it's also possible to use in-game commands to create customized boss bars of your own design if you don't mind a little bit of a learning curve.
The command structure for creating Minecraft boss bars can be a little complex when it comes to getting into the finer details. However, fans can create basic boss bars and make them display on screen in just a few keystrokes.
Note: Custom boss bars are NOT available in Minecraft: Bedrock Edition.

Chart New Territories with the ultimate Minecraft Seed Generator!
How to create a Custom Boss Bar in Minecraft Java
If Minecraft fans are curious about creating their own boss bars, they can do so with a few separate command syntaxes. It goes without saying that before using these inputs, players will need to enable cheats first. Furthermore, these aren't present within the Bedrock engine, so players won't be able to use them outside of Java Edition.
How to Make a Custom Boss Bar in Minecraft: Java Edition
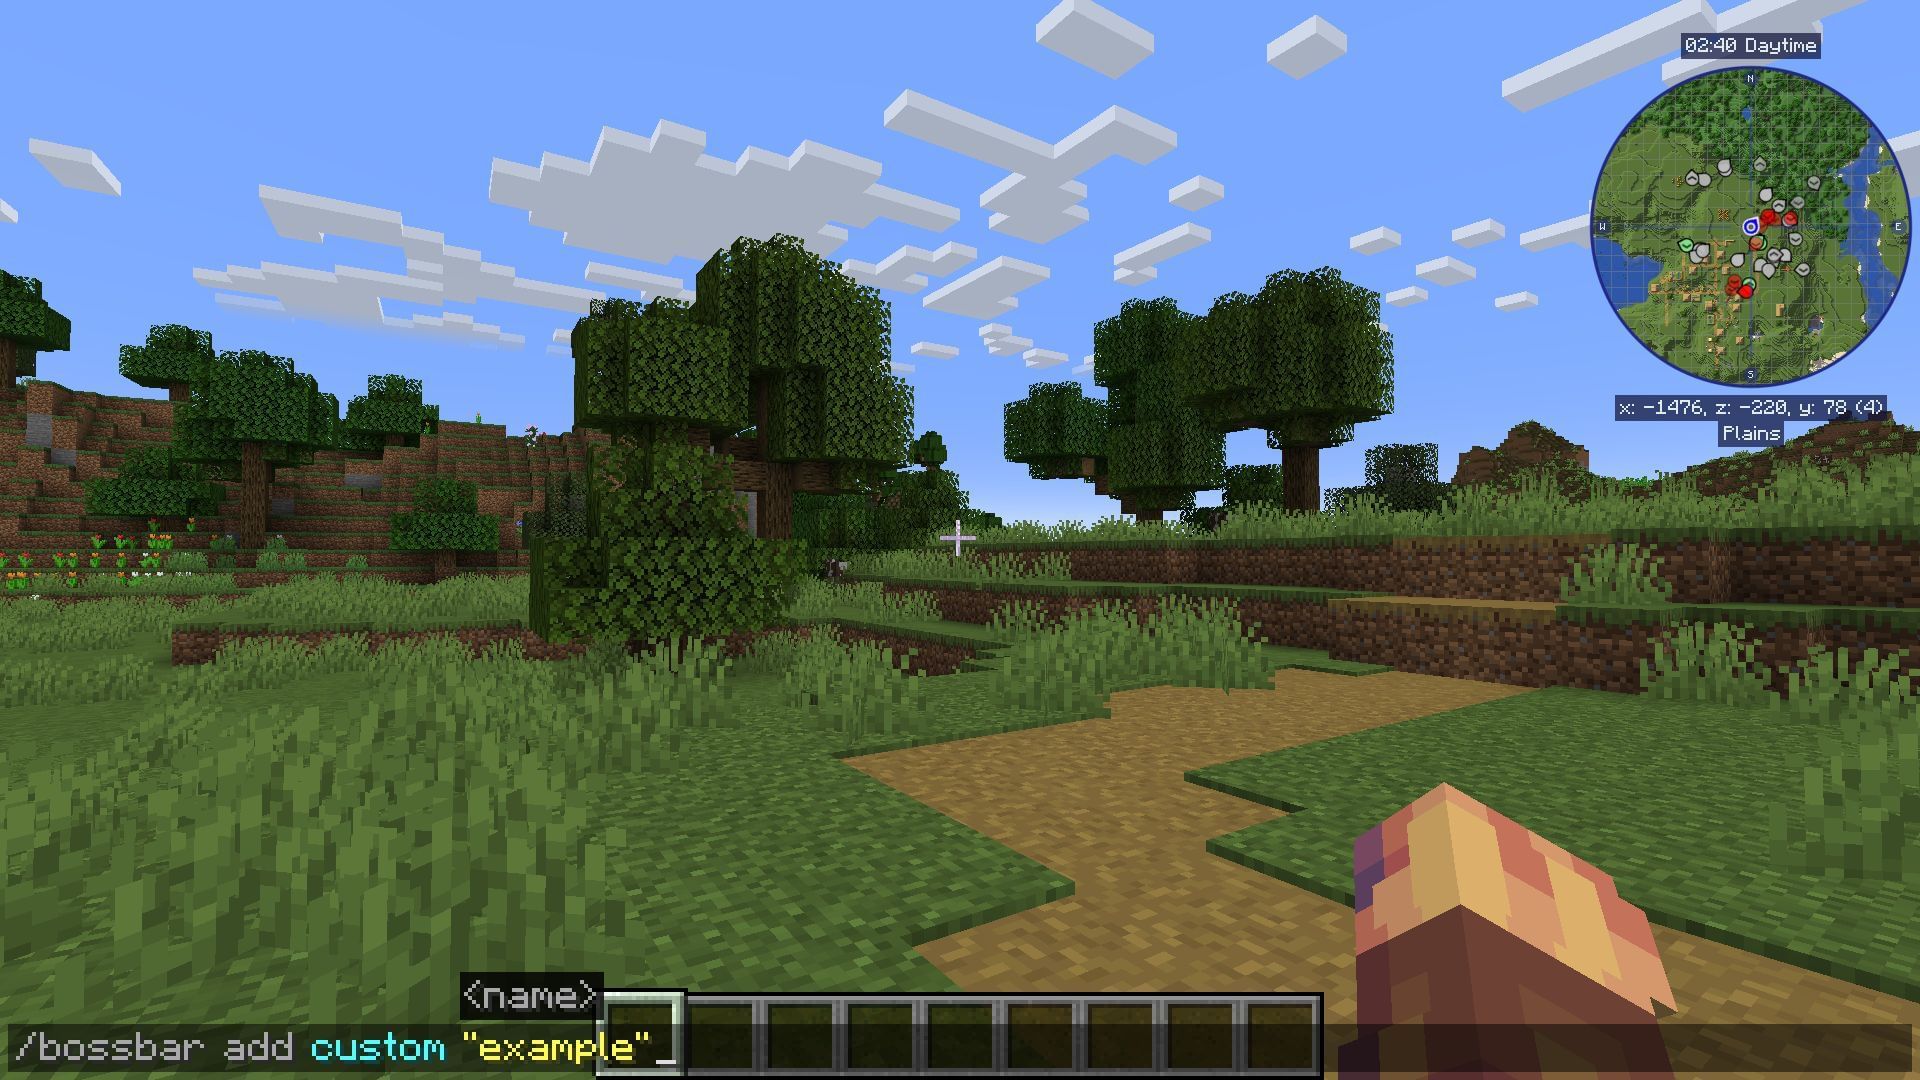
- To begin, enter the command "/bossbar add" followed by an ID and a name. The ID can be whatever you wish, but it's best to make it memorable so you don't forget it in other commands. The name is the text that will appear at the top of the boss bar. As an example, you could enter /bossbar add custom "example" and then press enter to create a boss bar named custom with the word "example" above the bar.
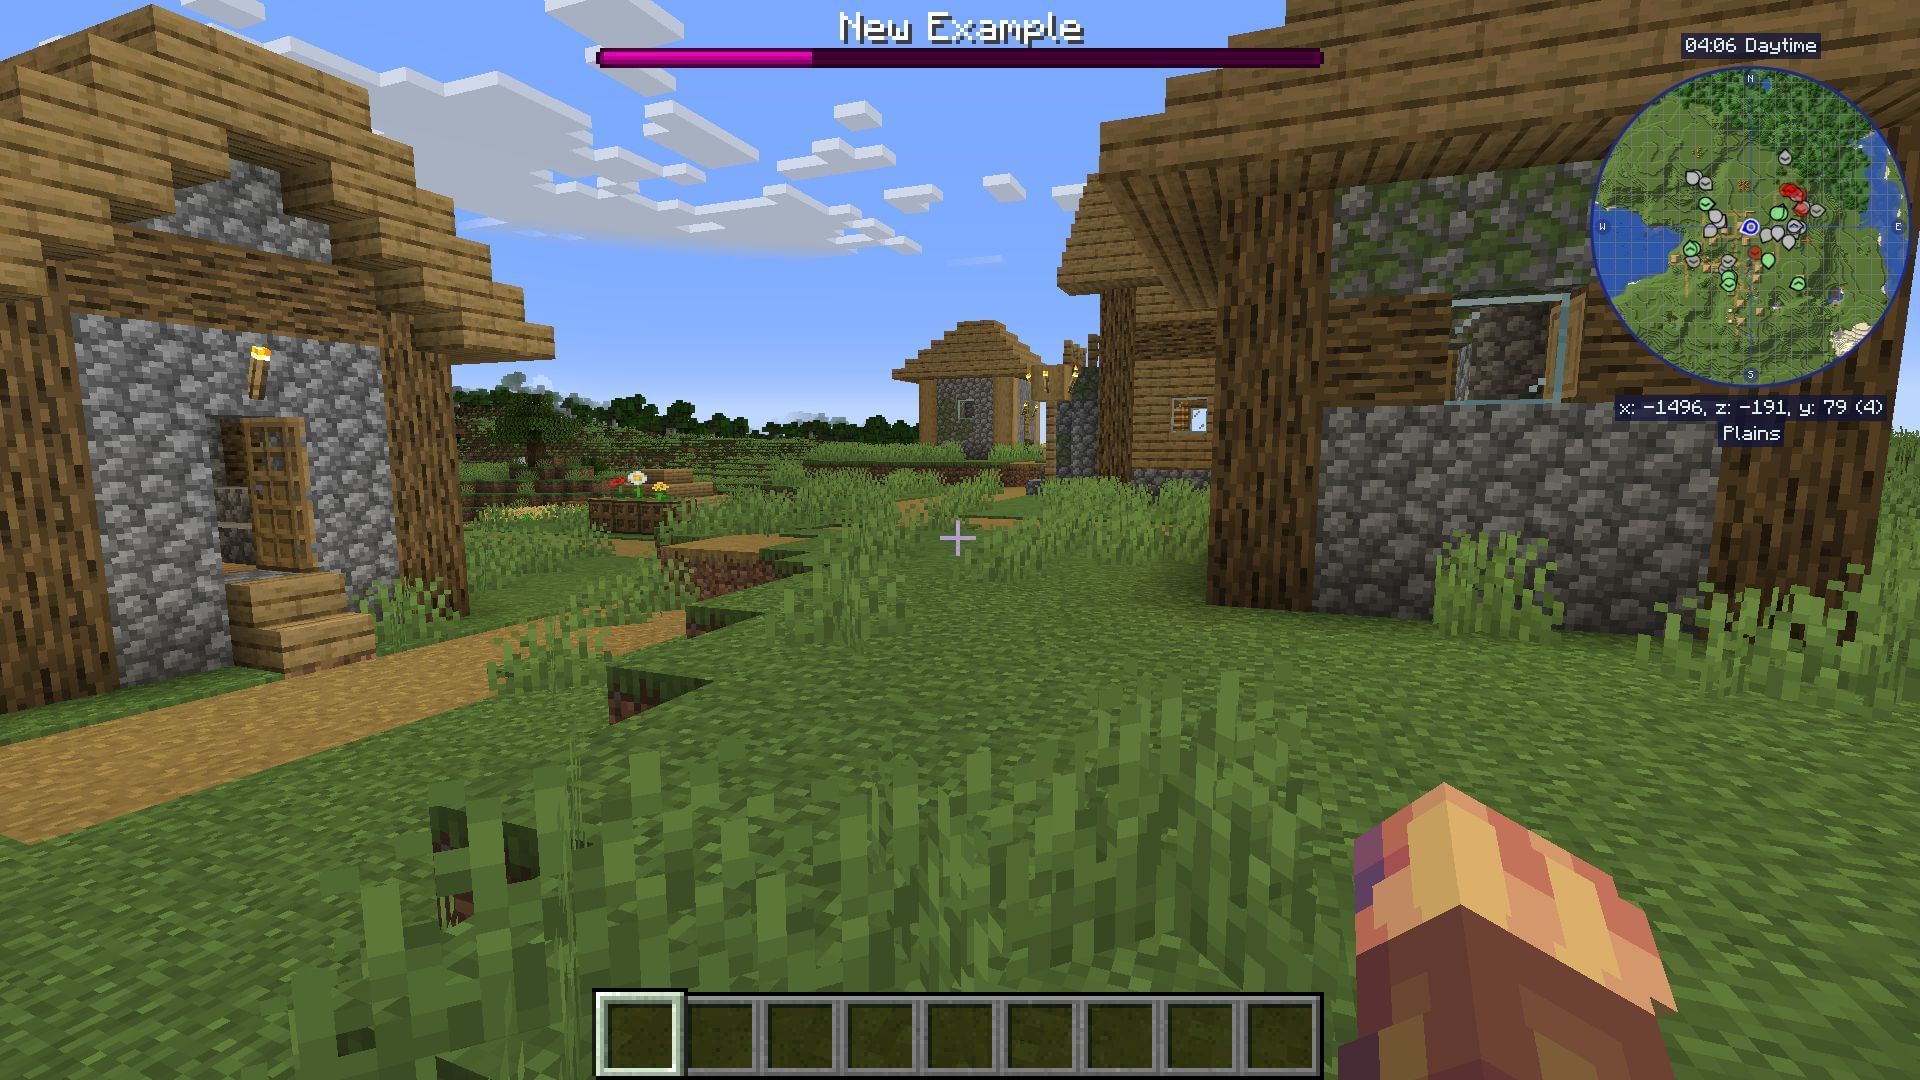
- Once the bar has been created, you can alter its color by entering "/bossbar set <ID> color <color>." The ID tag will be the boss bar ID you created earlier, and the colors should pop up in the command's autofill. Be sure not to include the actual brackets "<>" in the command syntax and instead, just type out the ID's name.
- To change the number of notched sections in the boss bar, you can enter "/bossbar set <ID> style <style>." The available options for the style tag should appear in the autofill, each with its own numbered segments and the "progress" option.
- To set the maximum value of the bar, you can enter the Minecraft command "/bossbar set <ID> max <max>" where the <max> in the command syntax is a number.
- To set the current value of the boss bar, use the command "/bossbar set <ID> value <value>" where the <value> tag is replaced by a number.
- Lastly, to show which players can see the boss bar, enter "/bossbar set <ID> players <targets>" where the <targets> are either target selectors like @a, @p, @s, @r, etc. or a specific player's name. Once this command is run, the boss bar should appear to the selected player(s).
- If you'd like to remove your boss bar, enter "/bossbar remove <ID>" where the <ID> is the named ID you gave the bar in Step 1.
The command syntaxes above are the basic structures of creating a custom boss bar in Java Edition. Additional commands exist to tie the boss bar to a mob, player, or event, but the commands become excessively more complex and require much more knowledge surrounding the game's in-game scripts and entity tags.
For Minecraft beginners who want to get started before using the boss bars in various different capacities, the steps listed above should provide the basic foundational knowledge required before diving into the much more complicated aspects of developing custom boss bars.
How to create mobs with custom boss bars in Minecraft: Java Edition
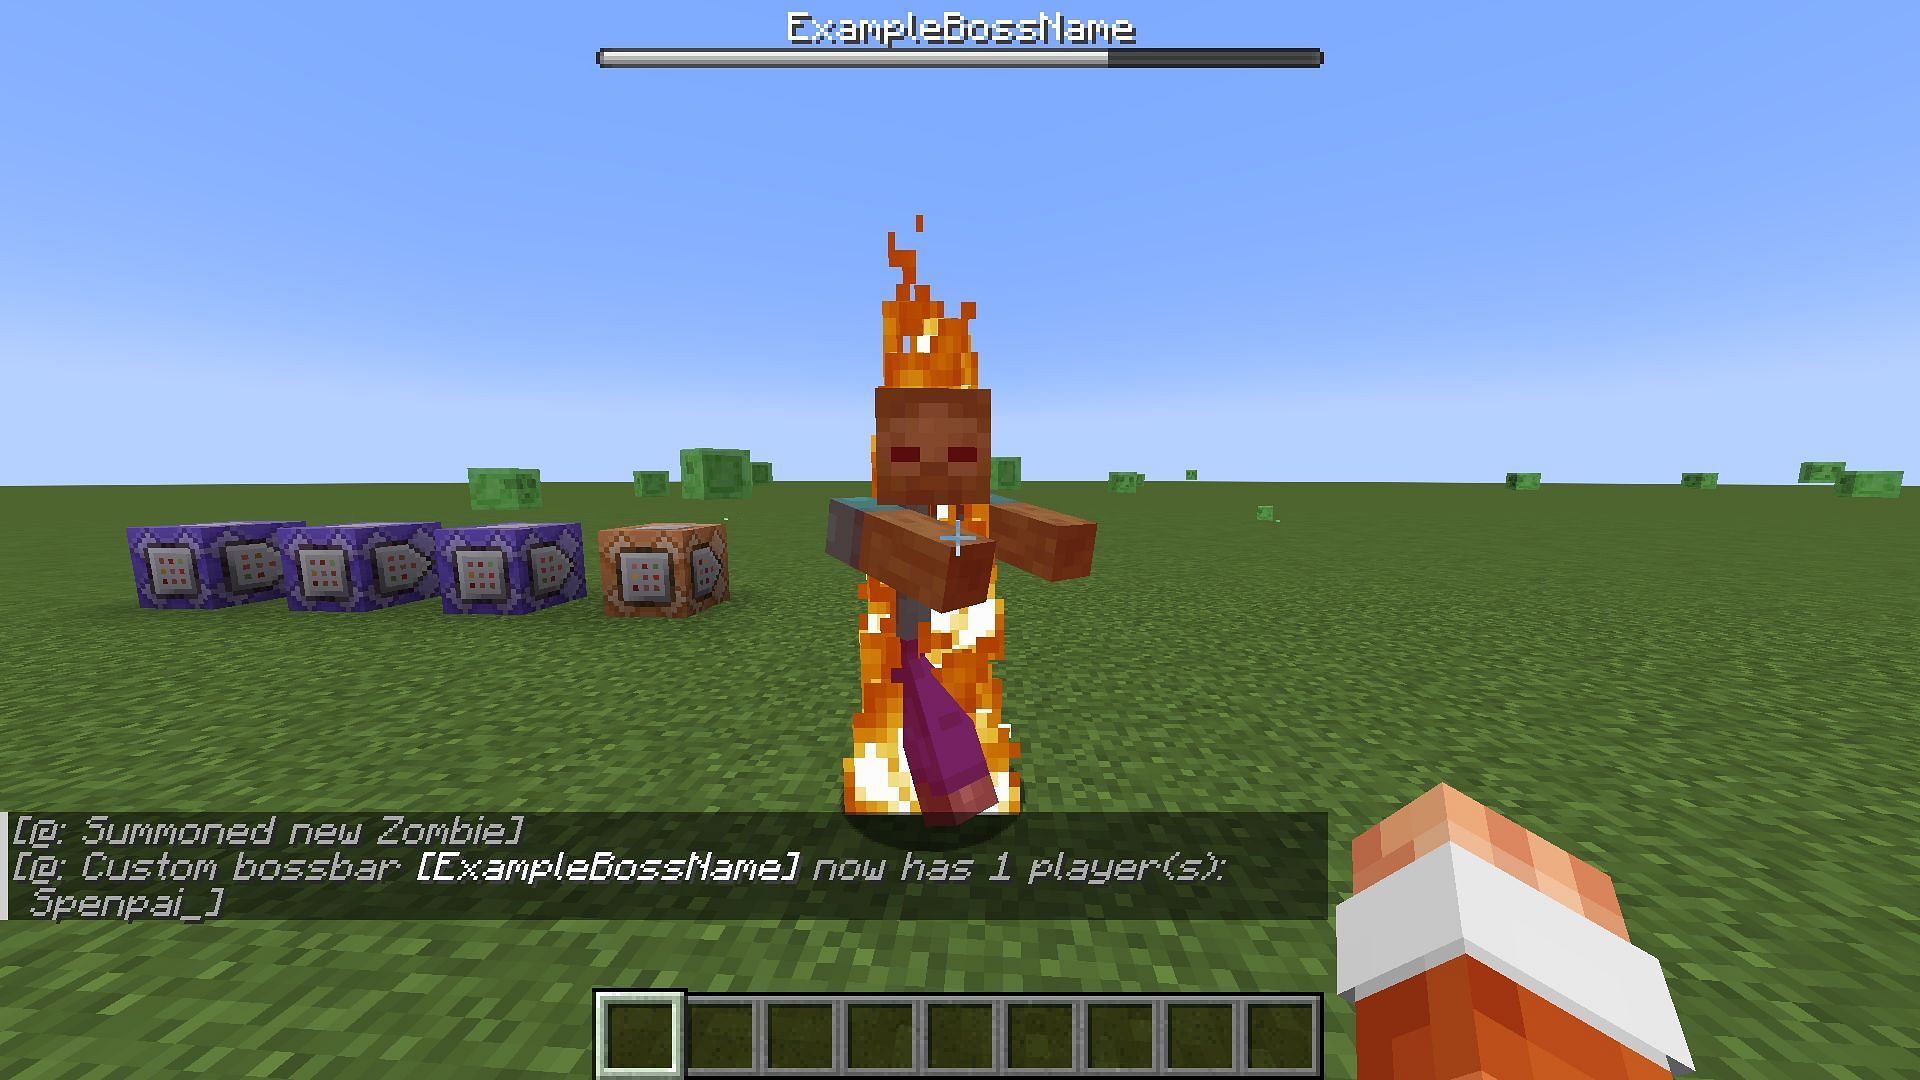
In addition to creating custom boss bars in general, it's possible to connect a boss bar to an in-game mob through the use of a sequence of standard and repeating command blocks. The process can be a little complex if players aren't familiar with the nuances of commands, but a set of steps can be found below to show how to add a boss bar to a mob using a zombie as an example:
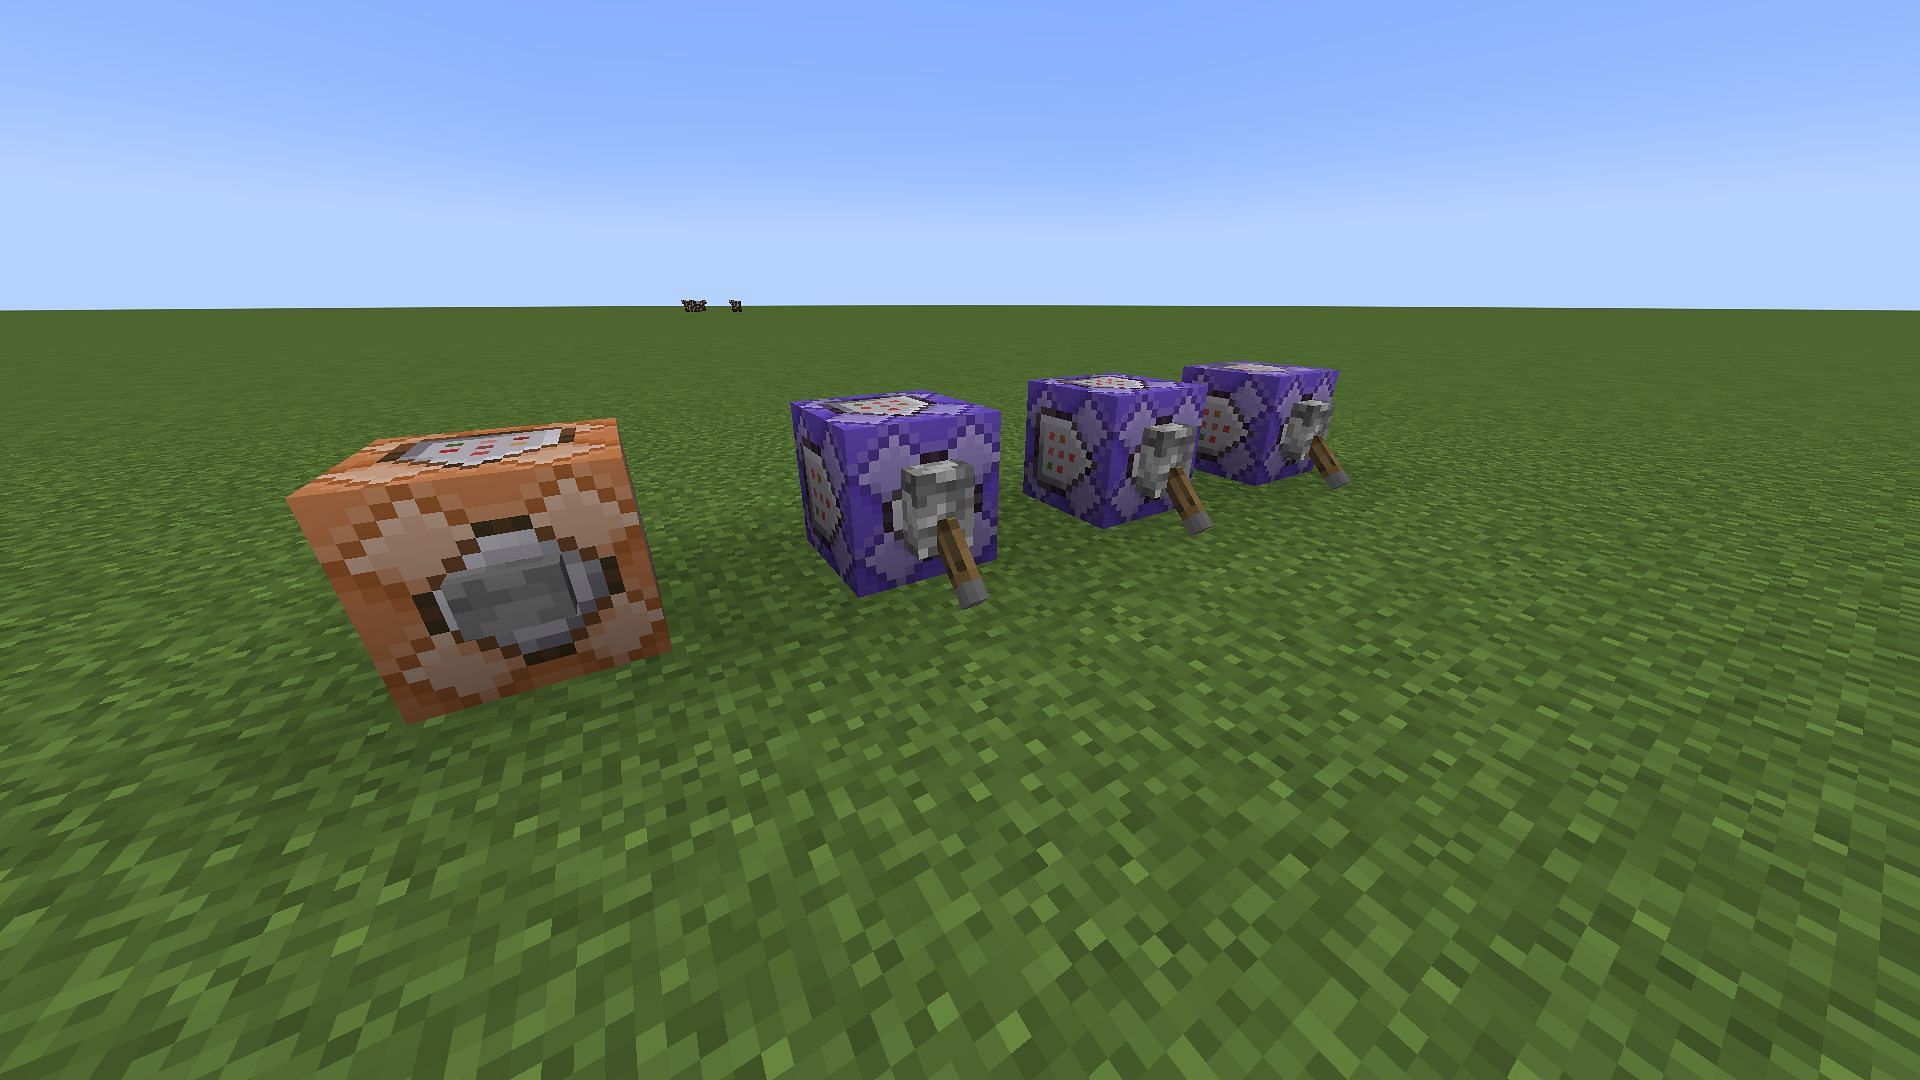
- Begin by giving yourself a command block with the /give @s command_block command. Place the command block, crouch, and place a button on it.
- Open the command block's UI and enter the command summon zombie ~ ~1 ~ {Tags:[Boss]} and then press done. This will allow you to spawn a zombie with the NBT tag "boss," but you can always use a different mob if you'd like.
- Open your chat menu and enter /bossbar add zombie {"text":"ExampleBossName"} and press enter. This will assign a boss bar to the zombie mob with the boss bar title "ExampleBossName" but you can change this text to suit your preferences.
- Next, open your chat menu again and enter /bossbar set zombie max 20 and press enter. This will set the maximum HP of the boss bar to 20, which matches the zombie's max HP in Minecraft. You can use different values for different mobs. For example, if you were summoning a boss cow, you would set the value to 10 since cows have 10 health.
- Give yourself three repeating command blocks with the /give @s repeating_command_block 3 command and place those three command blocks. Then crouch and attach levers to them.
- Open the UI of the first repeating command block and enter execute if entity @e[tag=Boss,limit=1] run bossbar set minecraft:zombie players @a and click done. This will allow the boss bar to be shown to all players when the appropriate zombie mob is spawned. Flip the lever on the first repeating command block to repeatedly execute this command.
- Open the UI of the second repeating command block and enter execute store result bossbar minecraft:zombie value run data get entity @e[limit=1,tag=Boss] Health and click done, then flip the lever on the second repeating command block. This will add "health" to the boss bar, which will be reduced when the zombie is attacked.
- Lastly, open the third repeating command block's UI and enter execute unless entity @e[tag=Boss,limit=1] run bossbar set minecraft:zombie players test and then click done and flip the lever on the third repeating command block. This will ensure that once the boss bar is depleted, it will disappear for any players currently in the game world.
That's all there is to it! Keep in mind that many of the variables in the commands listed above can be changed to suit players' preferences, but the commands above should provide a template to understand how to summon a mob with a custom boss bar in Minecraft.

Uncover new worlds with our Minecraft Seed Generator!