
'%20x='0'%20y='0'%20height='100%25'%20width='100%25'%20%0A%20%20%20%20%20%20%20%20%20%20xlink%3Ahref='data:image/jpg;base64,/9j/2wBDAAYEBQYFBAYGBQYHBwYIChAKCgkJChQODwwQFxQYGBcUFhYaHSUfGhsjHBYWICwgIyYnKSopGR8tMC0oMCUoKSj/2wBDAQcHBwoIChMKChMoGhYaKCgoKCgoKCgoKCgoKCgoKCgoKCgoKCgoKCgoKCgoKCgoKCgoKCgoKCgoKCgoKCgoKCj/wgARCAAGAAoDASIAAhEBAxEB/8QAFQABAQAAAAAAAAAAAAAAAAAABAb/2gAIAQEAAAAAFM//xAAUAQEAAAAAAAAAAAAAAAAAAAAF/9oACAECEAAAAD//xAAUAQEAAAAAAAAAAAAAAAAAAAAF/9oACAEDEAAAAF//xAAgEAACAgEDBQAAAAAAAAAAAAABBAIDAAUGERIlUYHS/9oACAEBAAE/AGN66m81ctVOtC2MRKJWqB4BHmfJySjXUe7P+7Z/Wf/EABkRAAIDAQAAAAAAAAAAAAAAAAIDAAEEMv/aAAgBAgEBPwBmlp9Fc//EABkRAAMAAwAAAAAAAAAAAAAAAAECAwAEEf/aAAgBAwEBPwCWpFegLn//2Q=='%3E%3C/image%3E%3C/svg%3E)
Iron as a resource is often the gatekeeper of automation in Minecraft. It is used to craft rails, minecarts, hoppers, and many other vital components of farm automation. This means that access to an abundance of easy iron could make or break any future farming endeavors.
There is a way to get iron outside of farming it, and that is by killing iron golems. This is a system that players can use to create AFK iron farms. It takes advantage of villagers summoning iron golems when panicked to summon the golems in a kill box to collect the iron they drop.

Building an iron farm in Minecraft Bedrock 1.18
Find a location
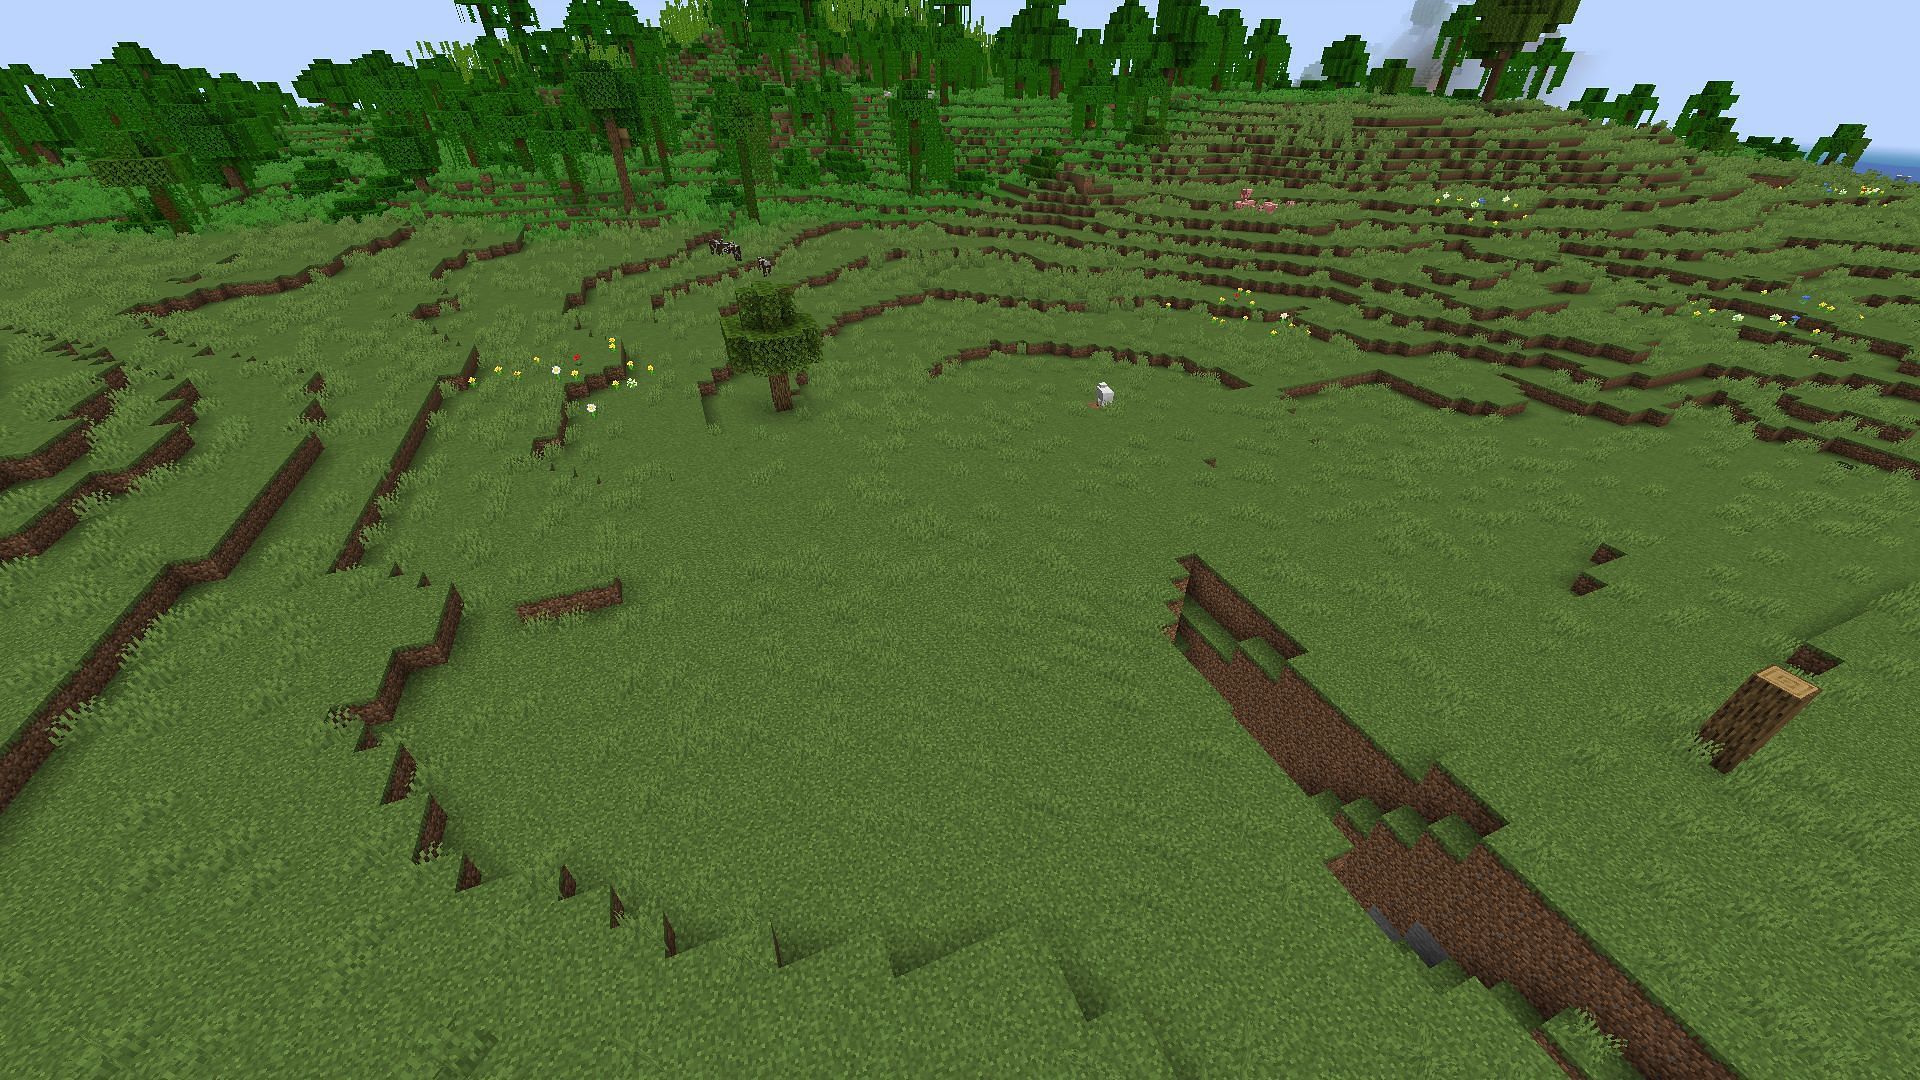
Players will want to pick a location that is at least a hundred blocks away from a village. This is due to villages interfering with iron golem spawning from the villagers in the farm. Due to how general this requirement is, it is an easy one to meet.
Deserts, planes, or any other flat, mostly empty biome, is perfect for the location of this farm as players will want to keep elevation differences to a minimum.
Build the platform
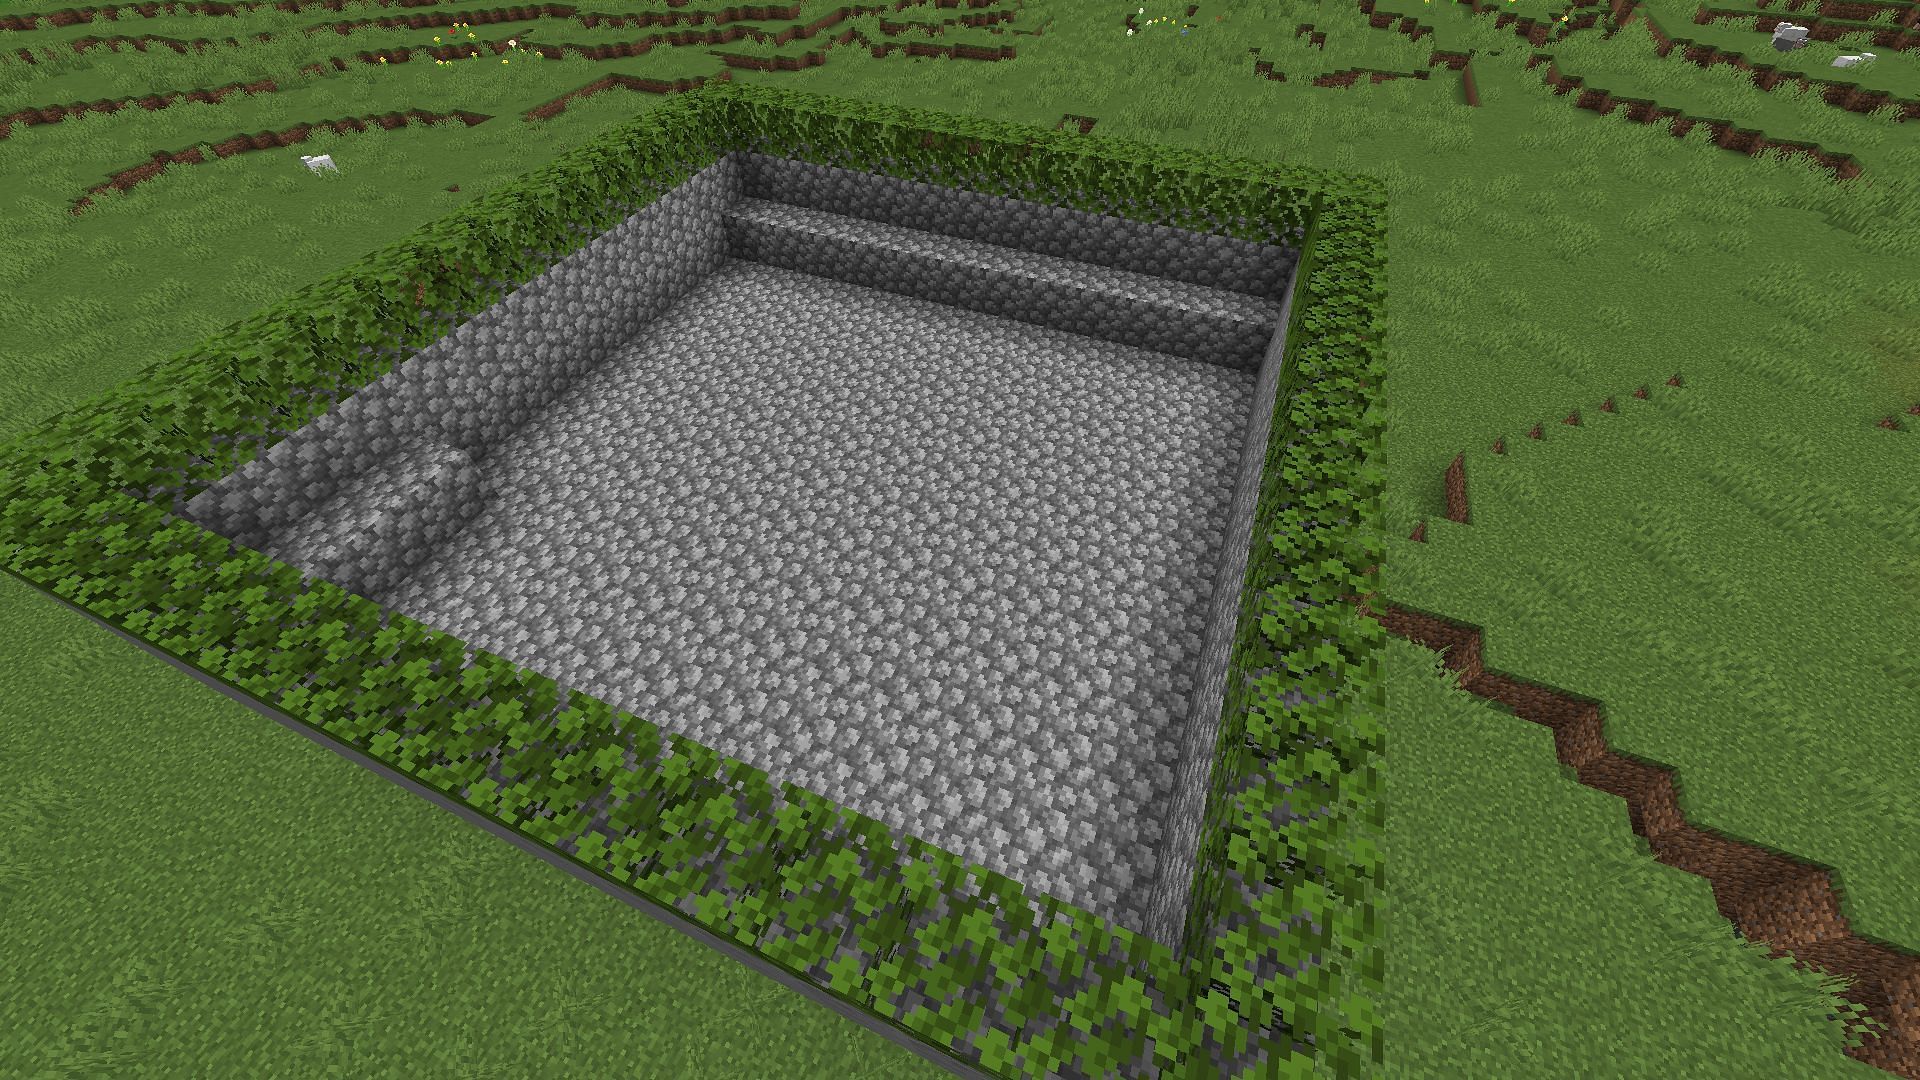
Once players have a location picked out, they should build four blocks up. On the fourth block, they must build a platform that is 14 blocks wide and 14 blocks long. Then they should add a wall around the edge that is two blocks tall. This will result in an internal platform size of 12 blocks by 12 blocks.
Then players should add leaf blocks around the top of this wall. This will keep iron golems from spawning on the wall. Players should later add a one-block tall length to one of the walls, which will be 12 blocks long. Then along the lefthand side, when facing this new block structure and in the corner farther away from it, players must add three blocks.
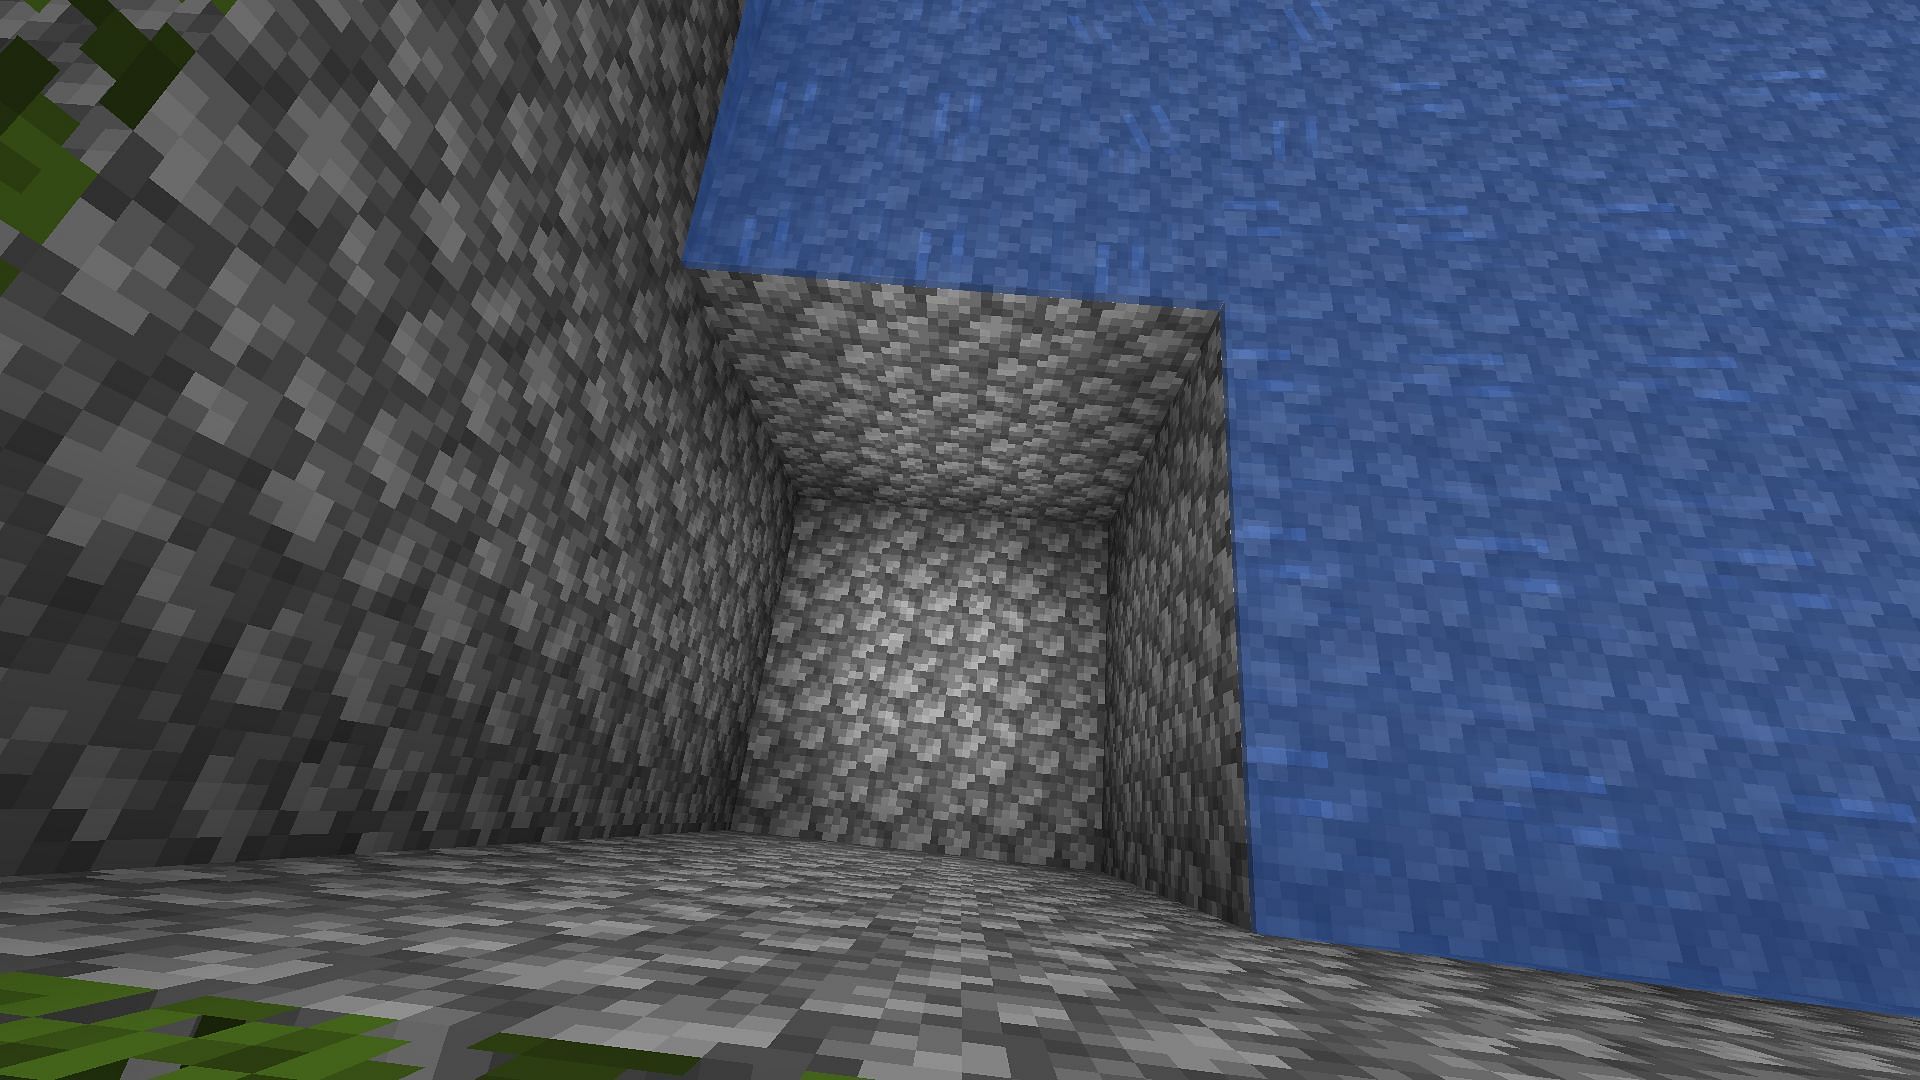
Add water
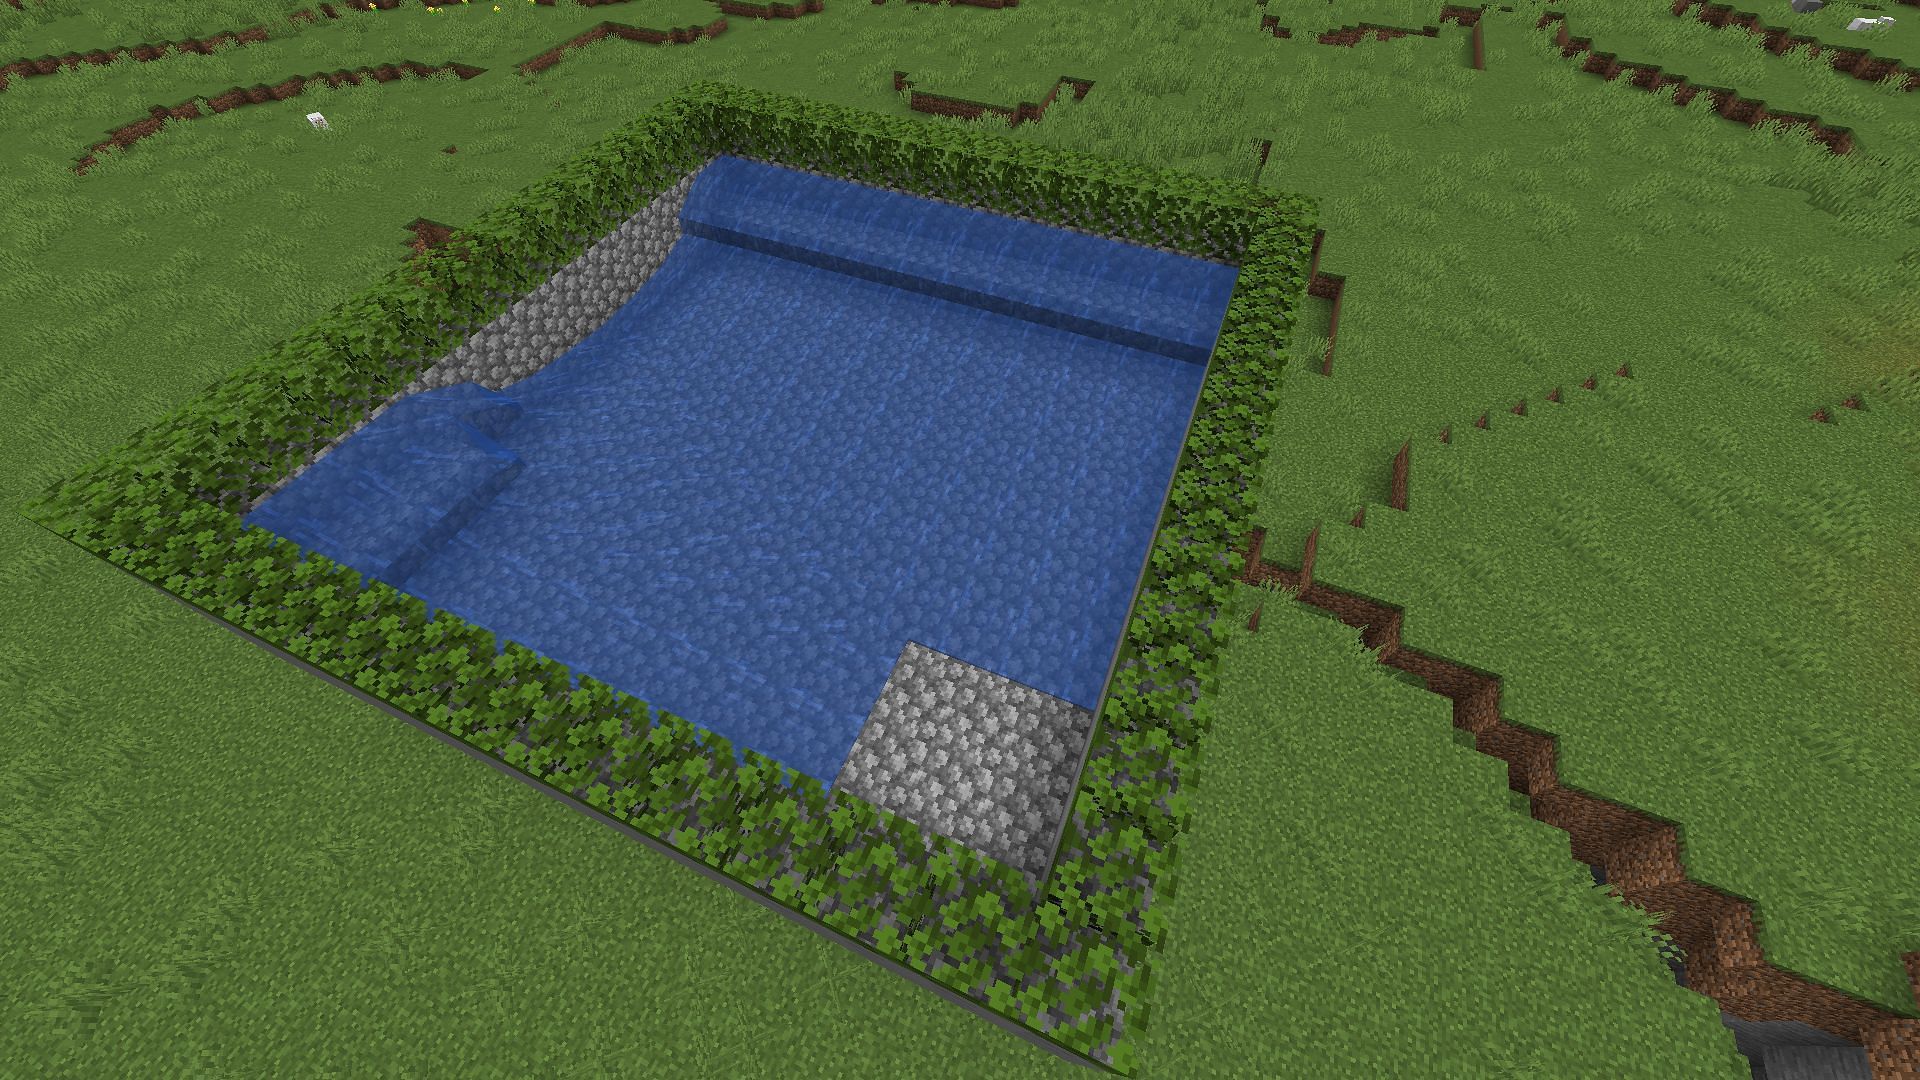
Once these blocks have been placed on top of the platform, players should add source water blocks along the 12-block length and three-block length. This should cause a current that will push anything in the platform into a three-by-three area in one of the corners.
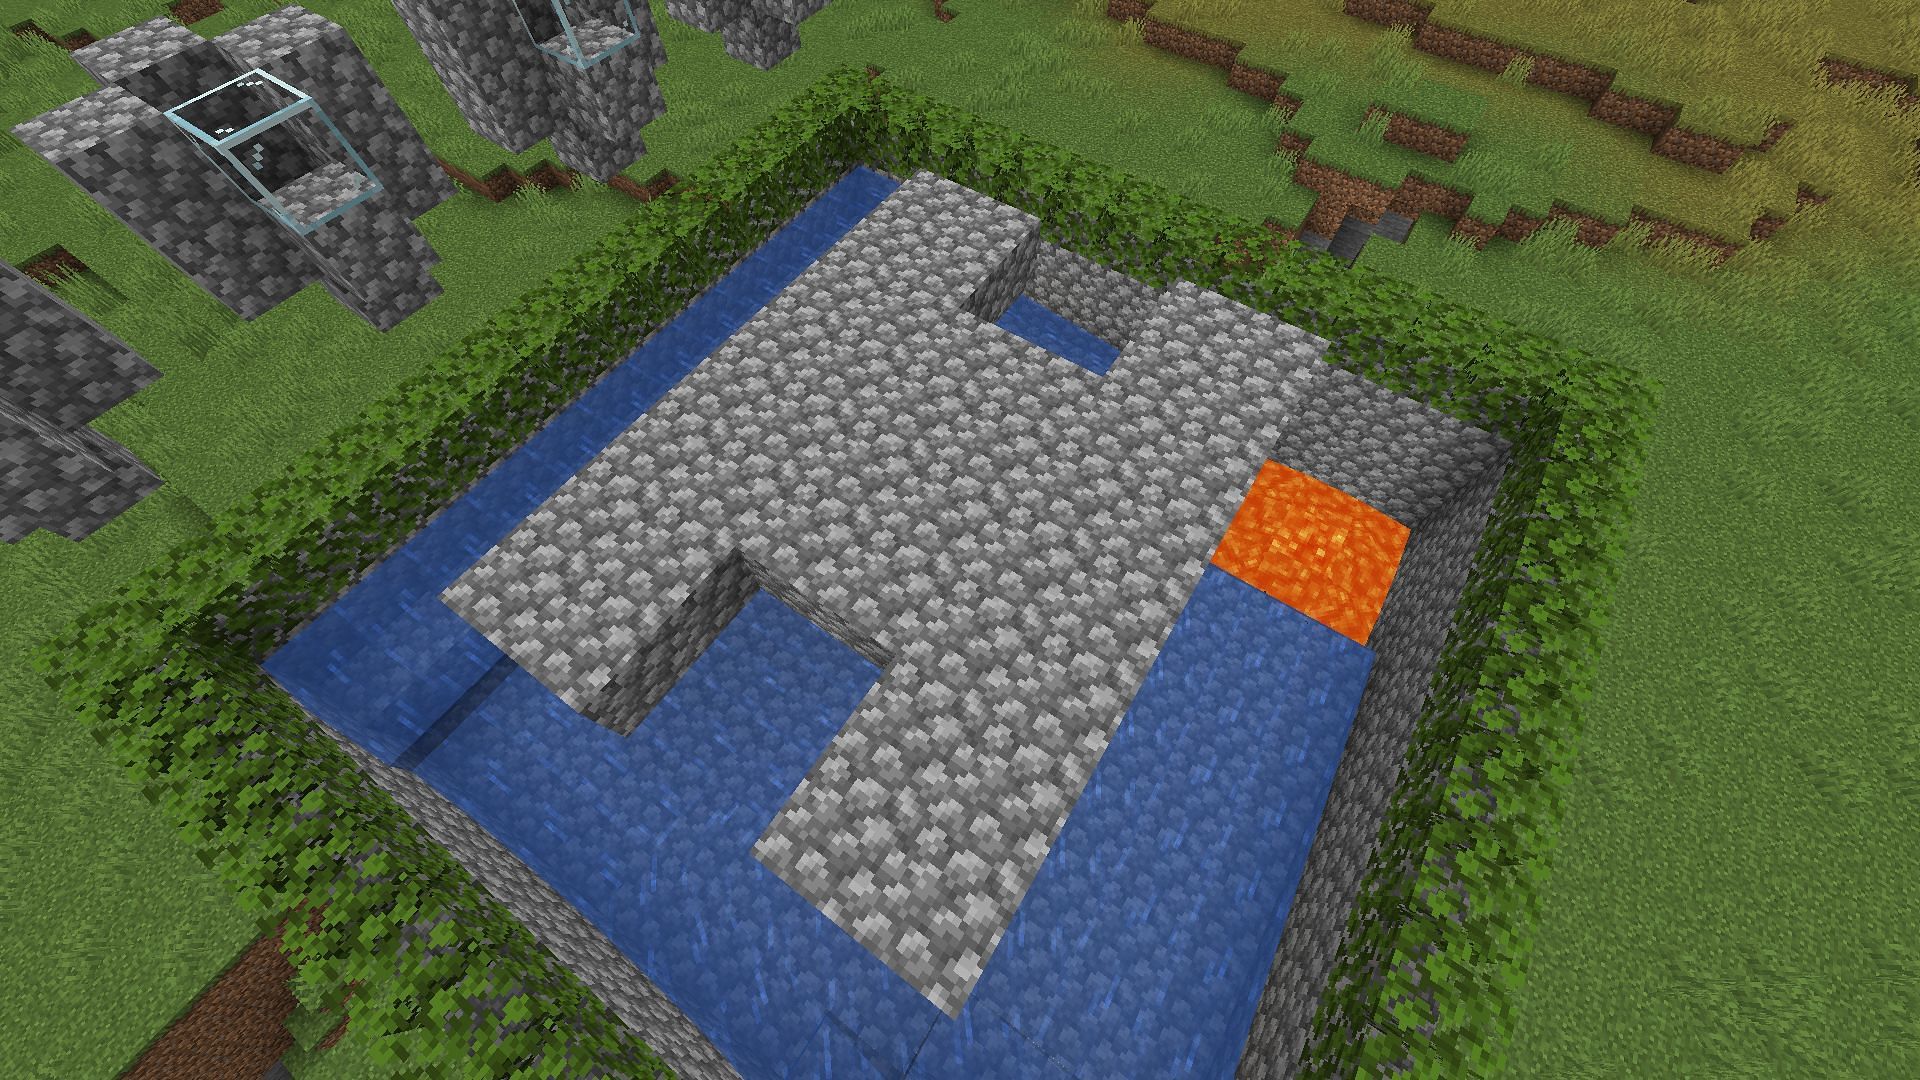
Create the killbox
Players should mine out this three-by-three area, dropping them to the floor. Then build walls surrounding this area to enclose it from the outside world, creating a small box that the water will push mobs into. Lastly, place blocks on top of the dirt, creating what is effectively an open topped box.
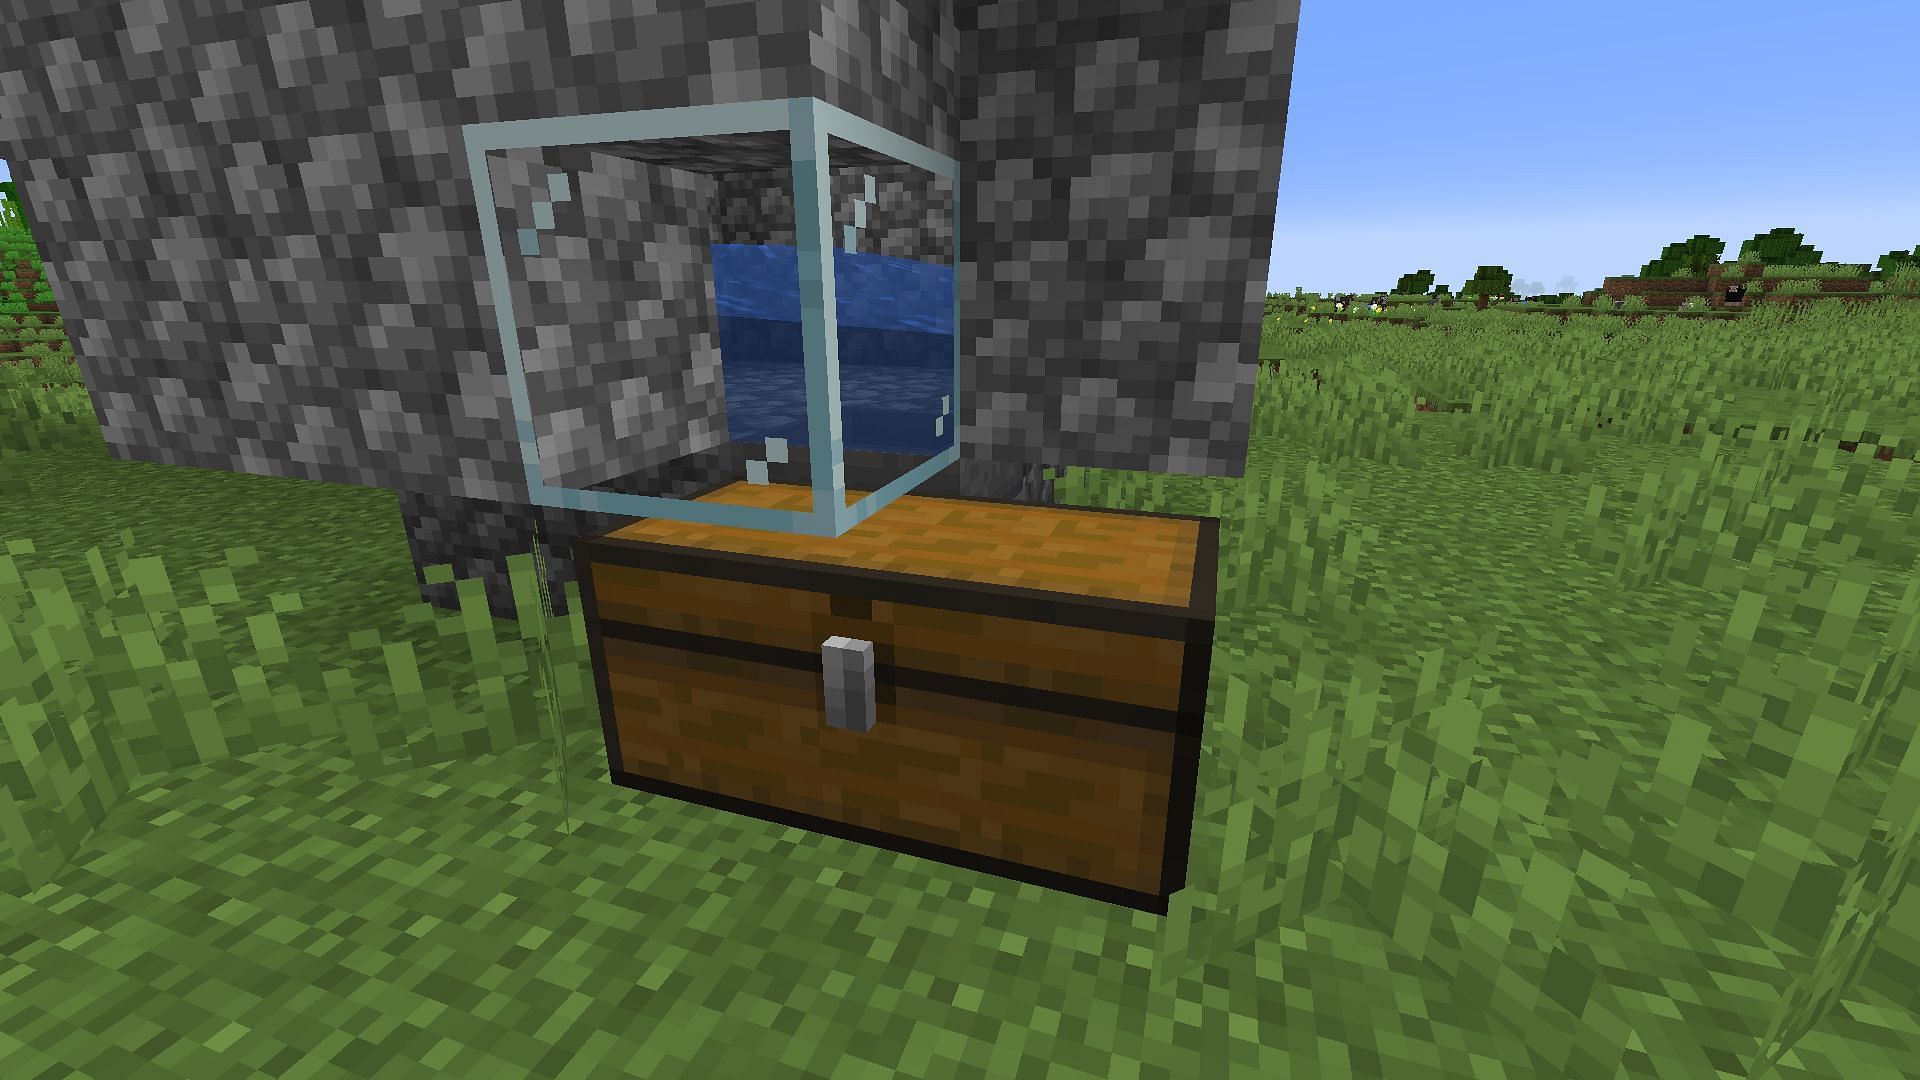
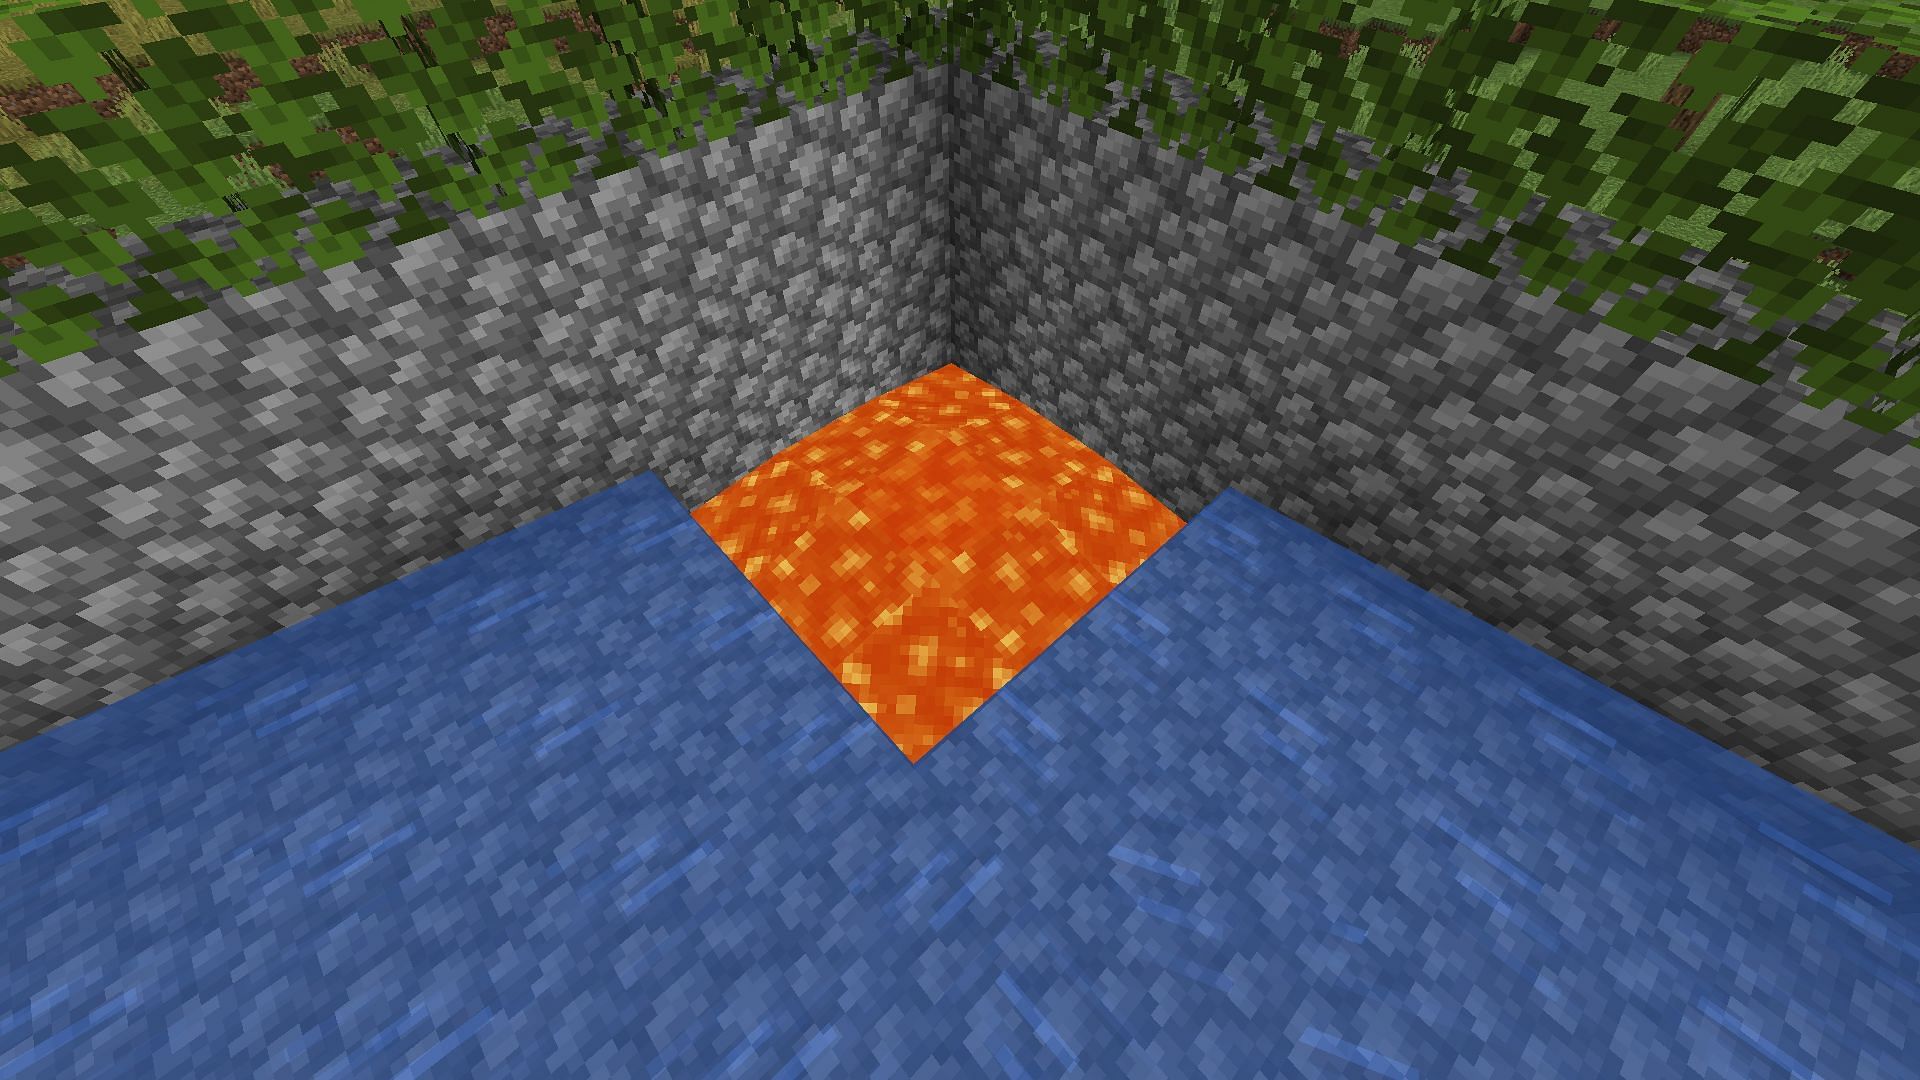
Players should place a double chest as part of the outside walls, with a hopper on the bottom of the box facing into them. They must then set up a water source block in the corner opposite the hopper to push the drops into the hopper and then into the chests. Players should later place nine signs above the water to keep any liquids from flowing down and ruining the farm’s collection method.
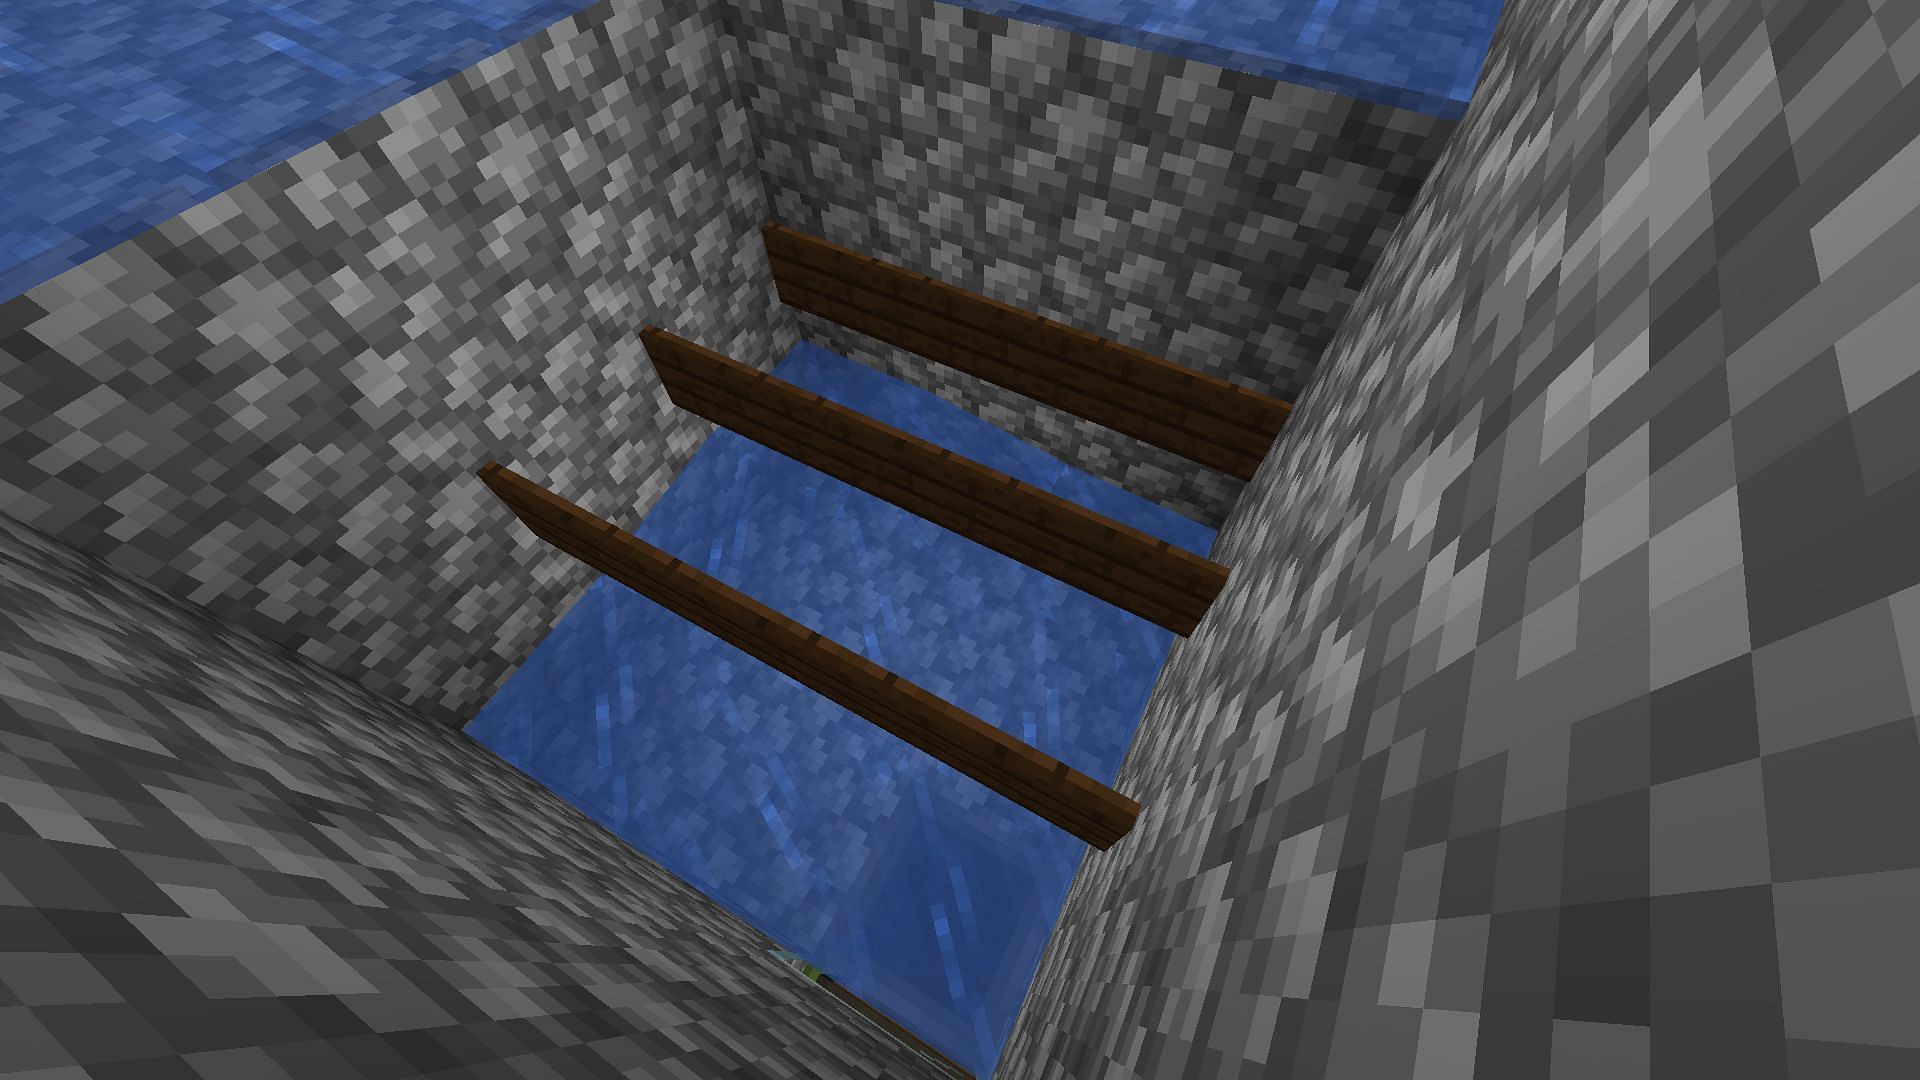
Players should then place a single lava source block on top of the middle sign. This will cause the lava to flow out and cover all the signs but not fall and ruin the water below. This lava will be what kills the iron golems.
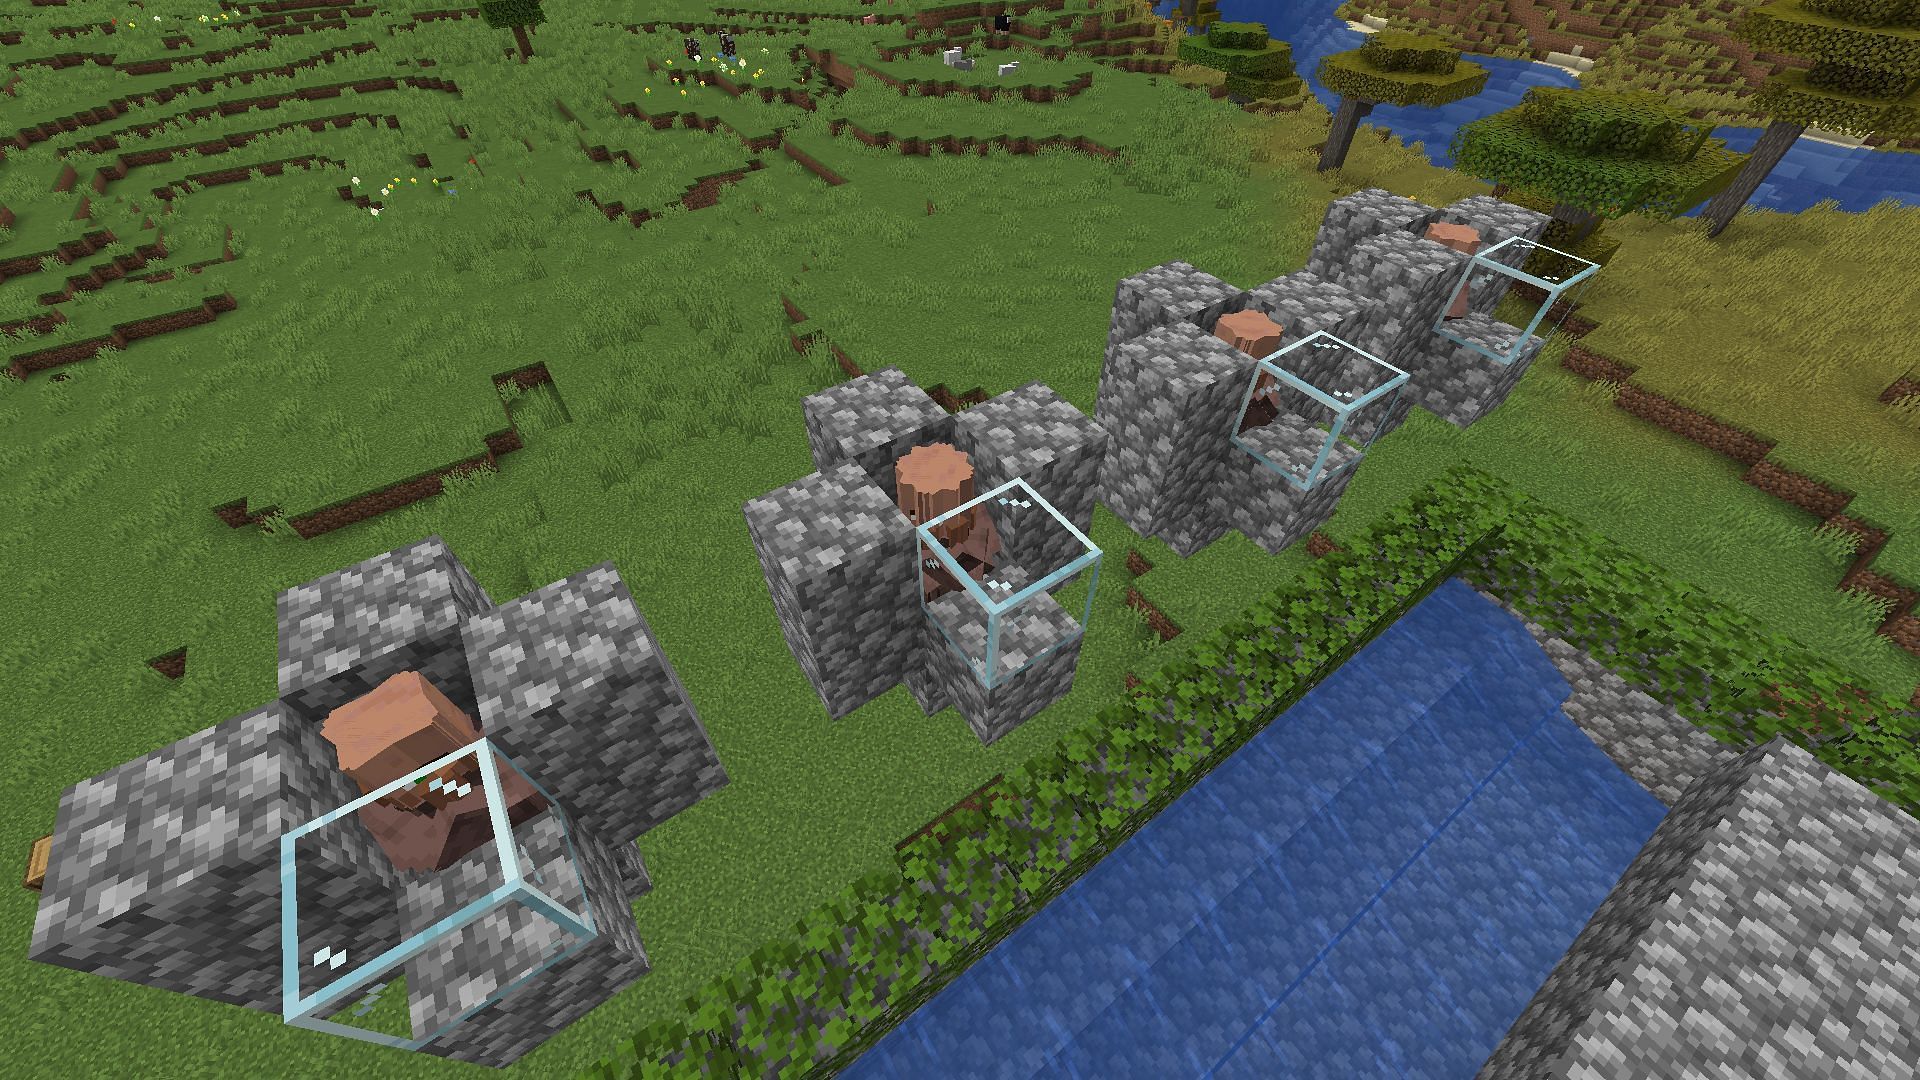
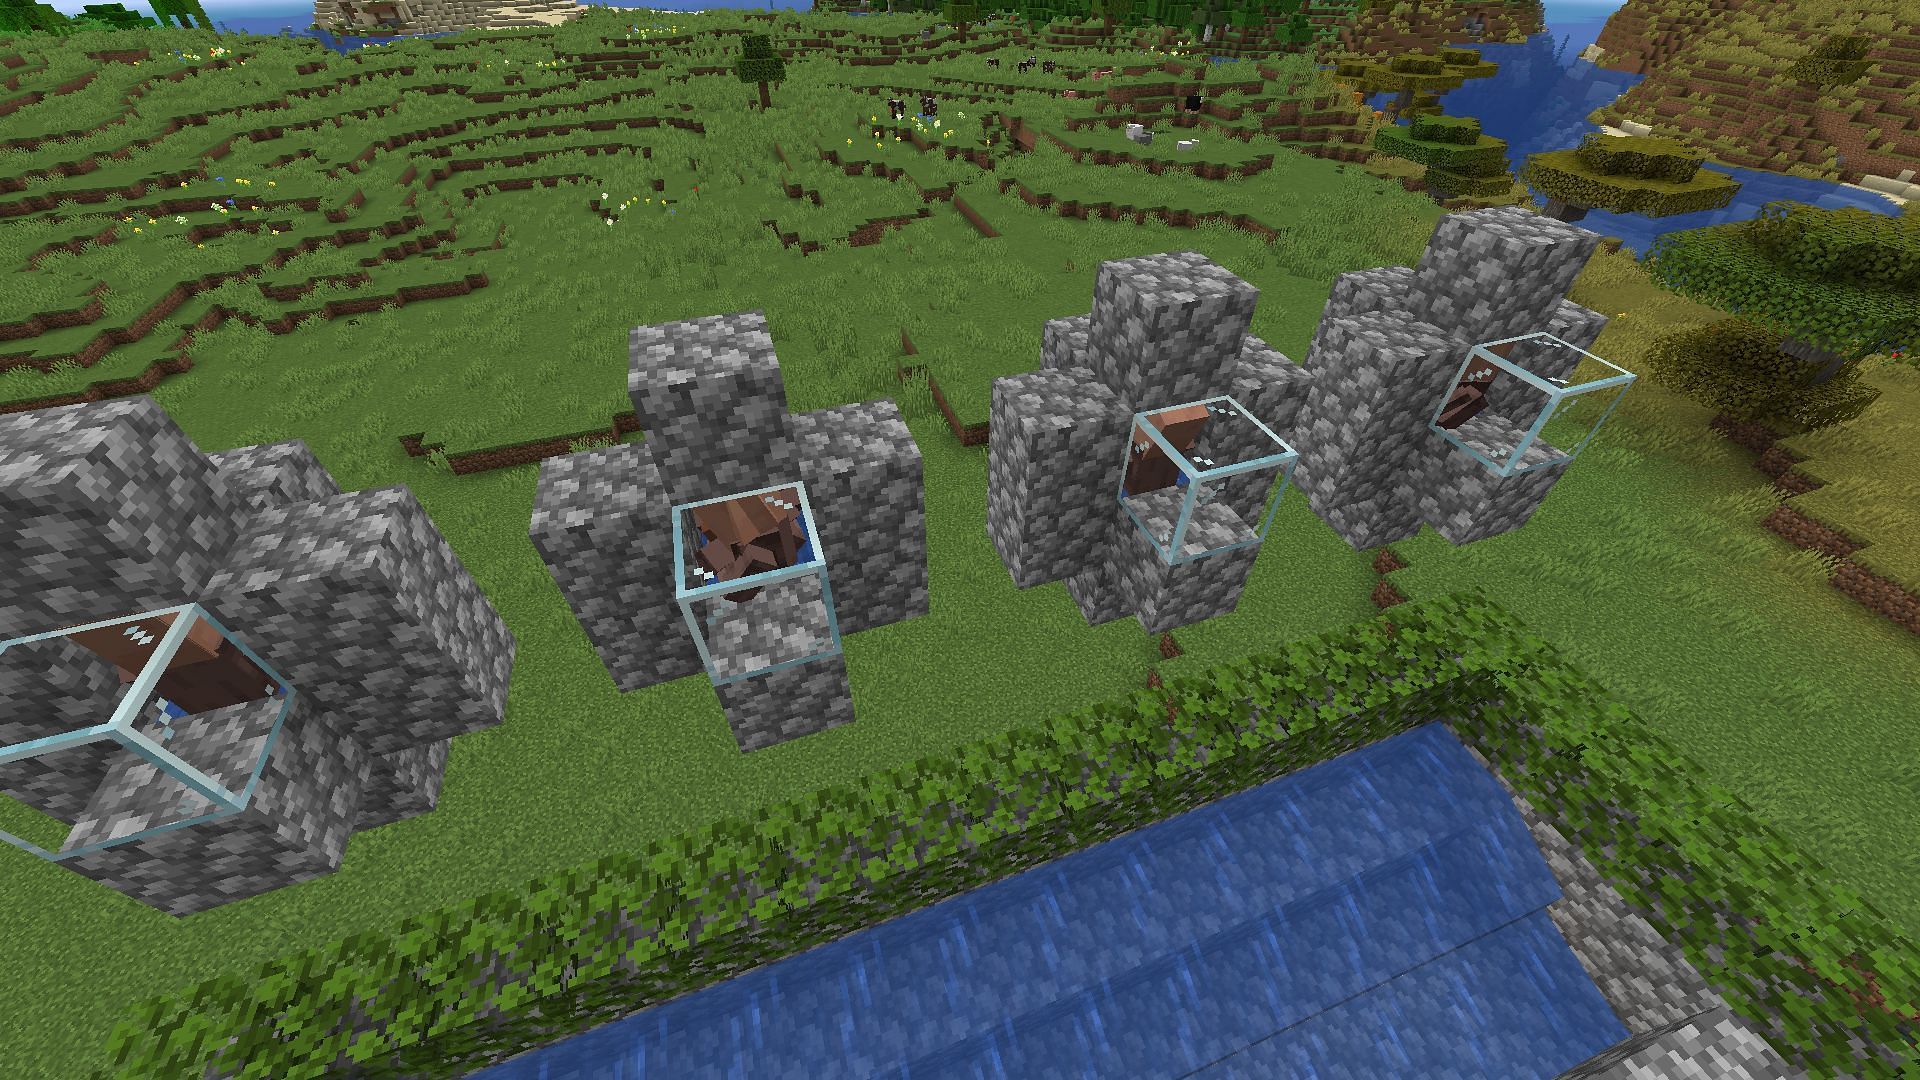
Create the villager capsules
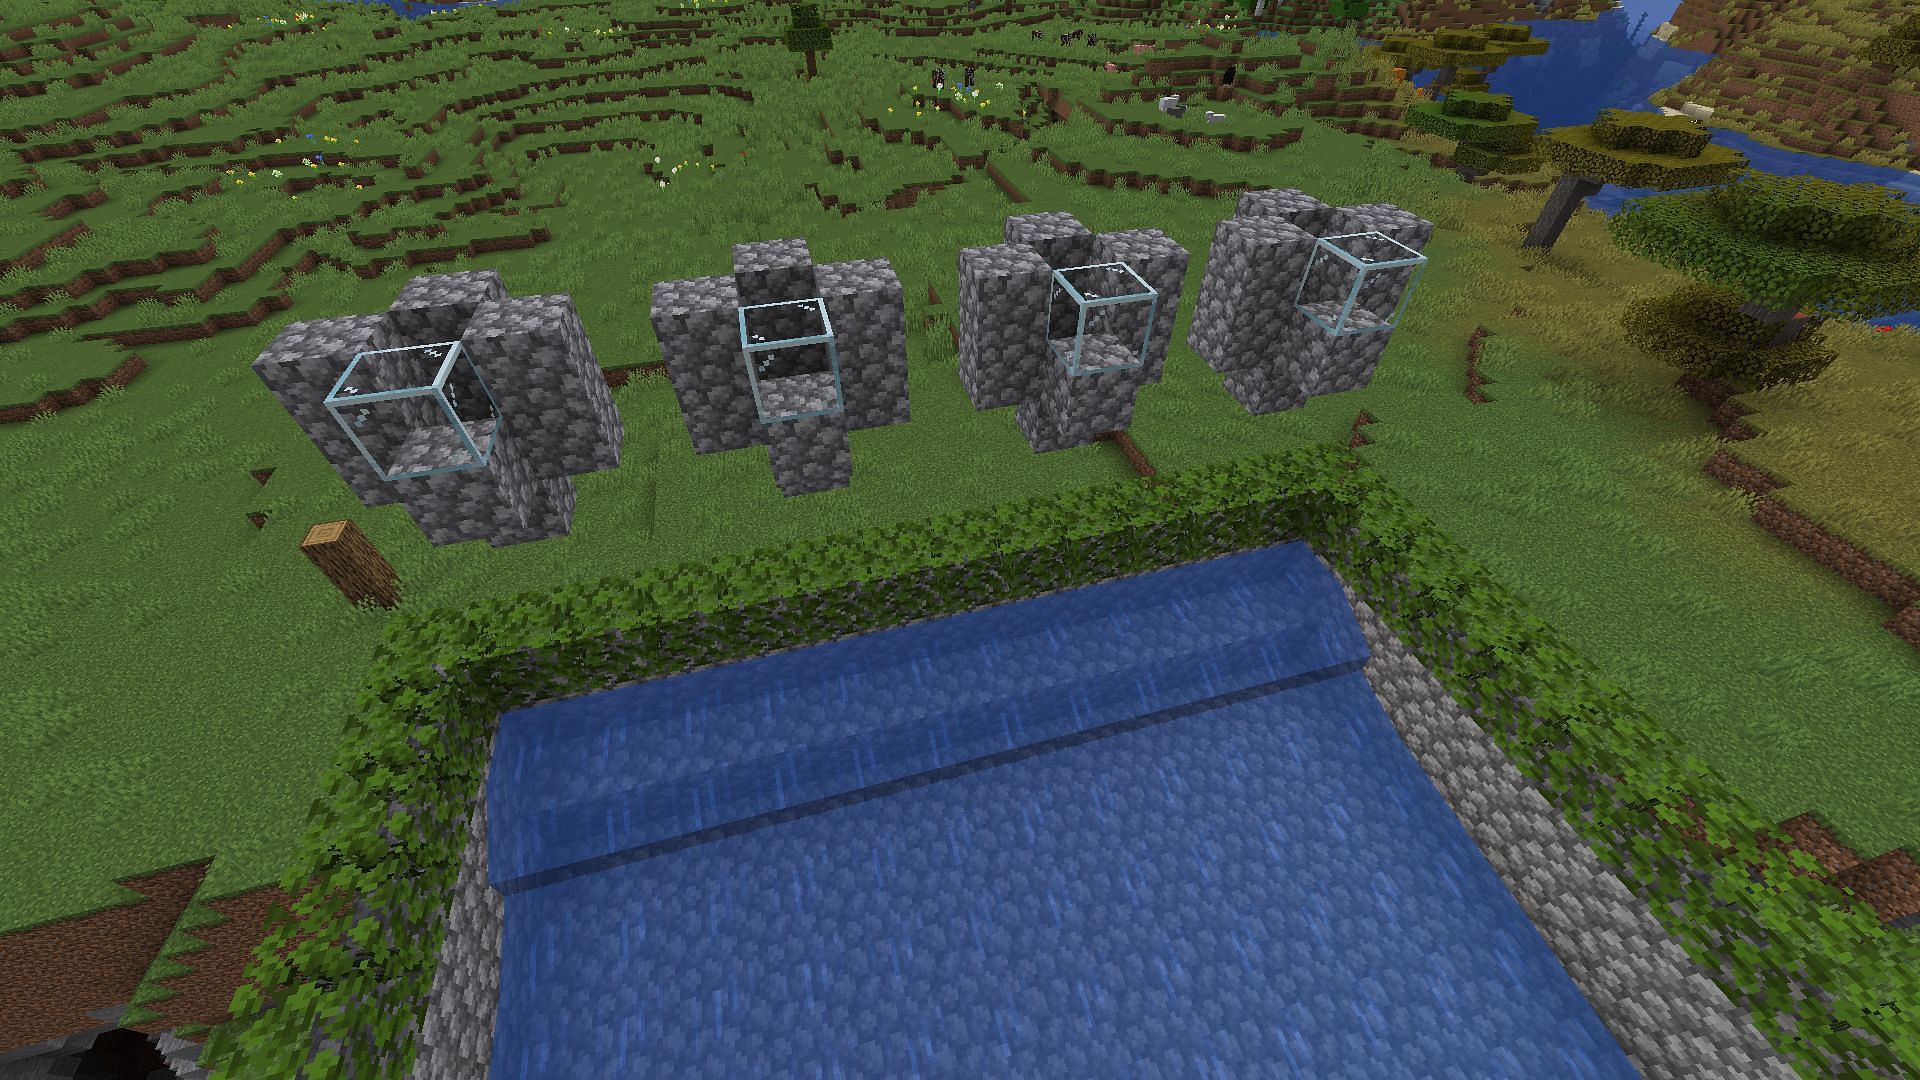
Players should then create small floating capsules along the back wall of the farm. This will be on the same side of the farm as the 12-block-long water source. These capsules will each hold five villagers to have the farm count as a village in the game.
The capsules should be created with a one-block empty gap between where villagers stand and the farm itself. There should also be a glass block that allows villagers to see into the farm, but other than that, the design of the capsule matters very little. Do this four times, with three blocks separating where the villagers stand.
Create the bed stand
Players should count out four blocks from the leaf wall on the same side as the villager capsules and build what appears to be a large capital H on its side. Two blocks by eight blocks, then two blocks by four blocks, and then another two blocks by eight blocks. This is a temporary platform and will be removed once the beds have been placed on top of it.
Fill the capsules
There are many methods to moving villagers: minecarts, boats, boats, leads, etc. It does not matter which method players use, so long as they get five villagers in each capsule. Once each capsule has five villagers in them, seal up the top whole of the capsule. Then go through each capsule and put a water source block on the bottom of the capsule.
Place beds and leaves
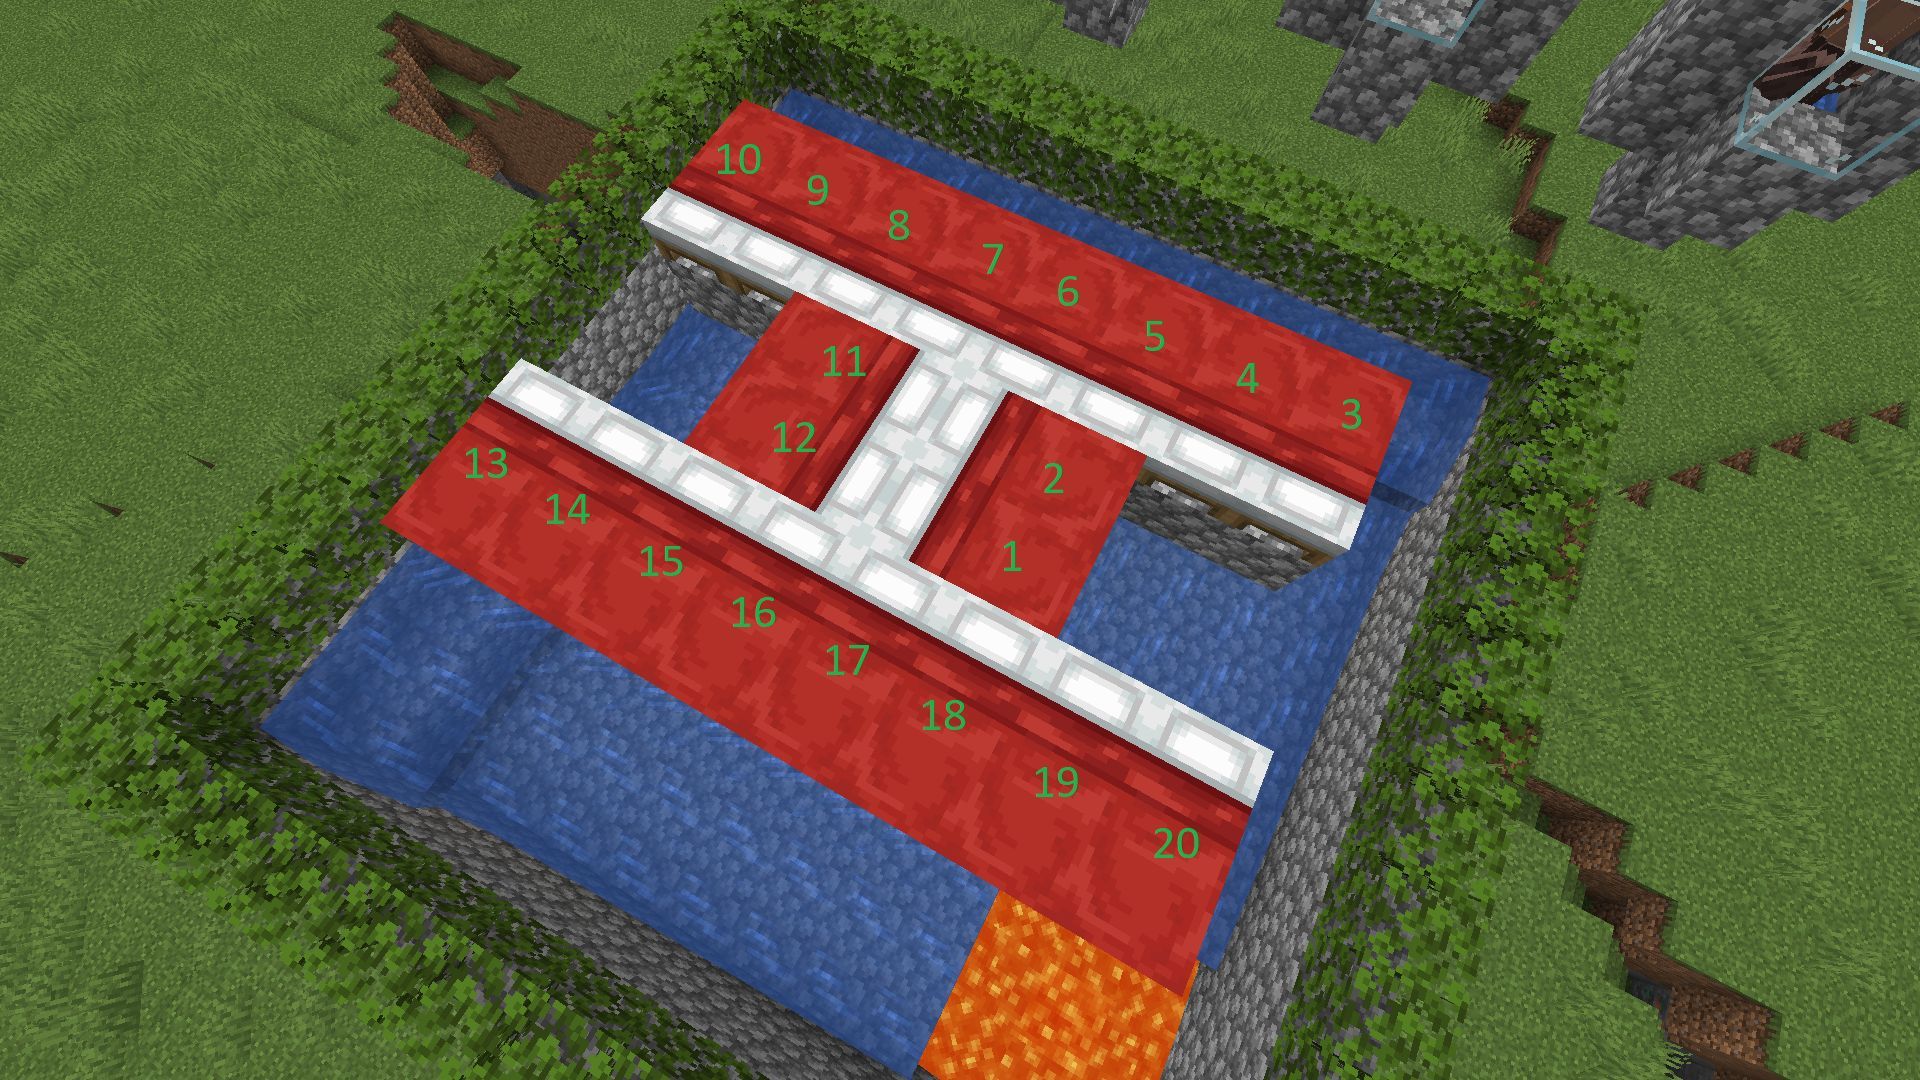
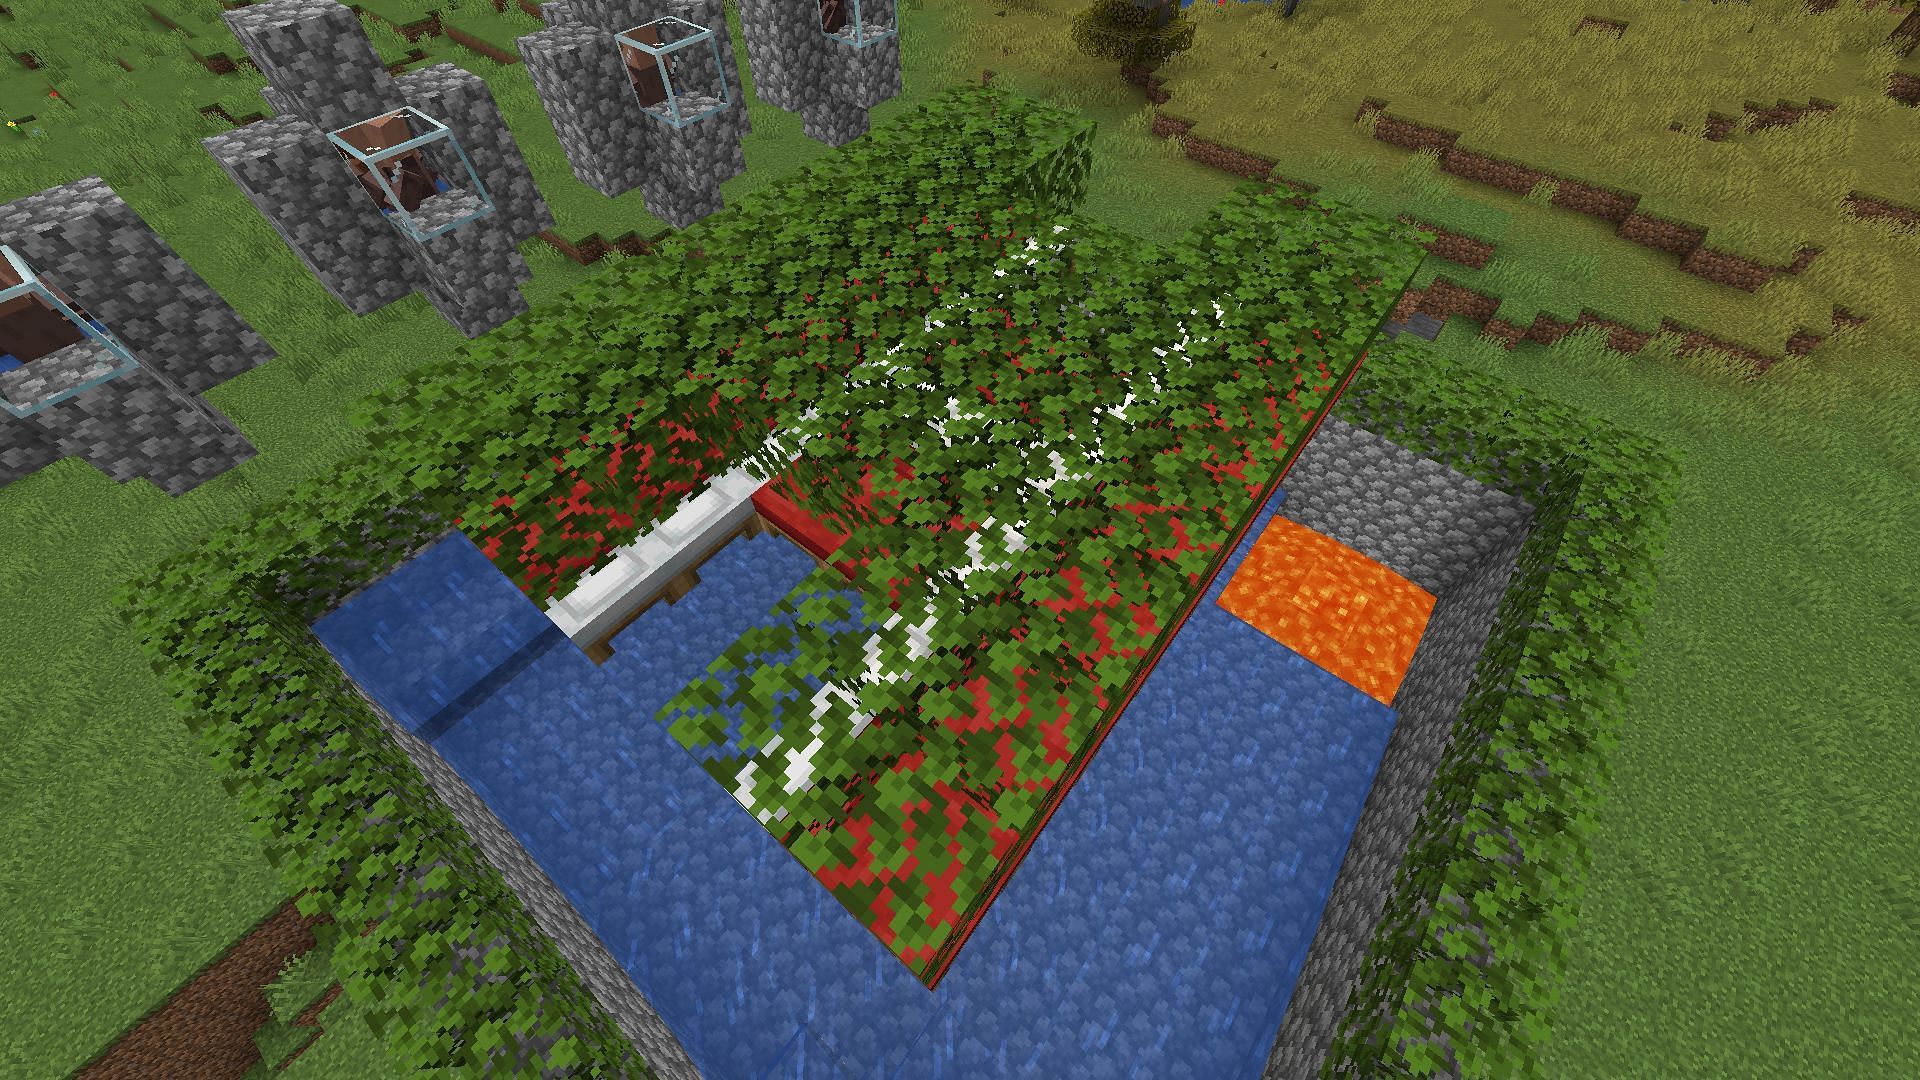
The platform made earlier can hold 20 beds, one for each villager. They should be placed in a certain order, notated in the image. Once all beds are placed, and each has green particles emitted after placing, showing that a villager has claimed it, break the platform on which the beds were placed. Then crouch and place leaves over the top of all the beds. This will stop iron golems from spawning on the beds.
Link villagers to work stations
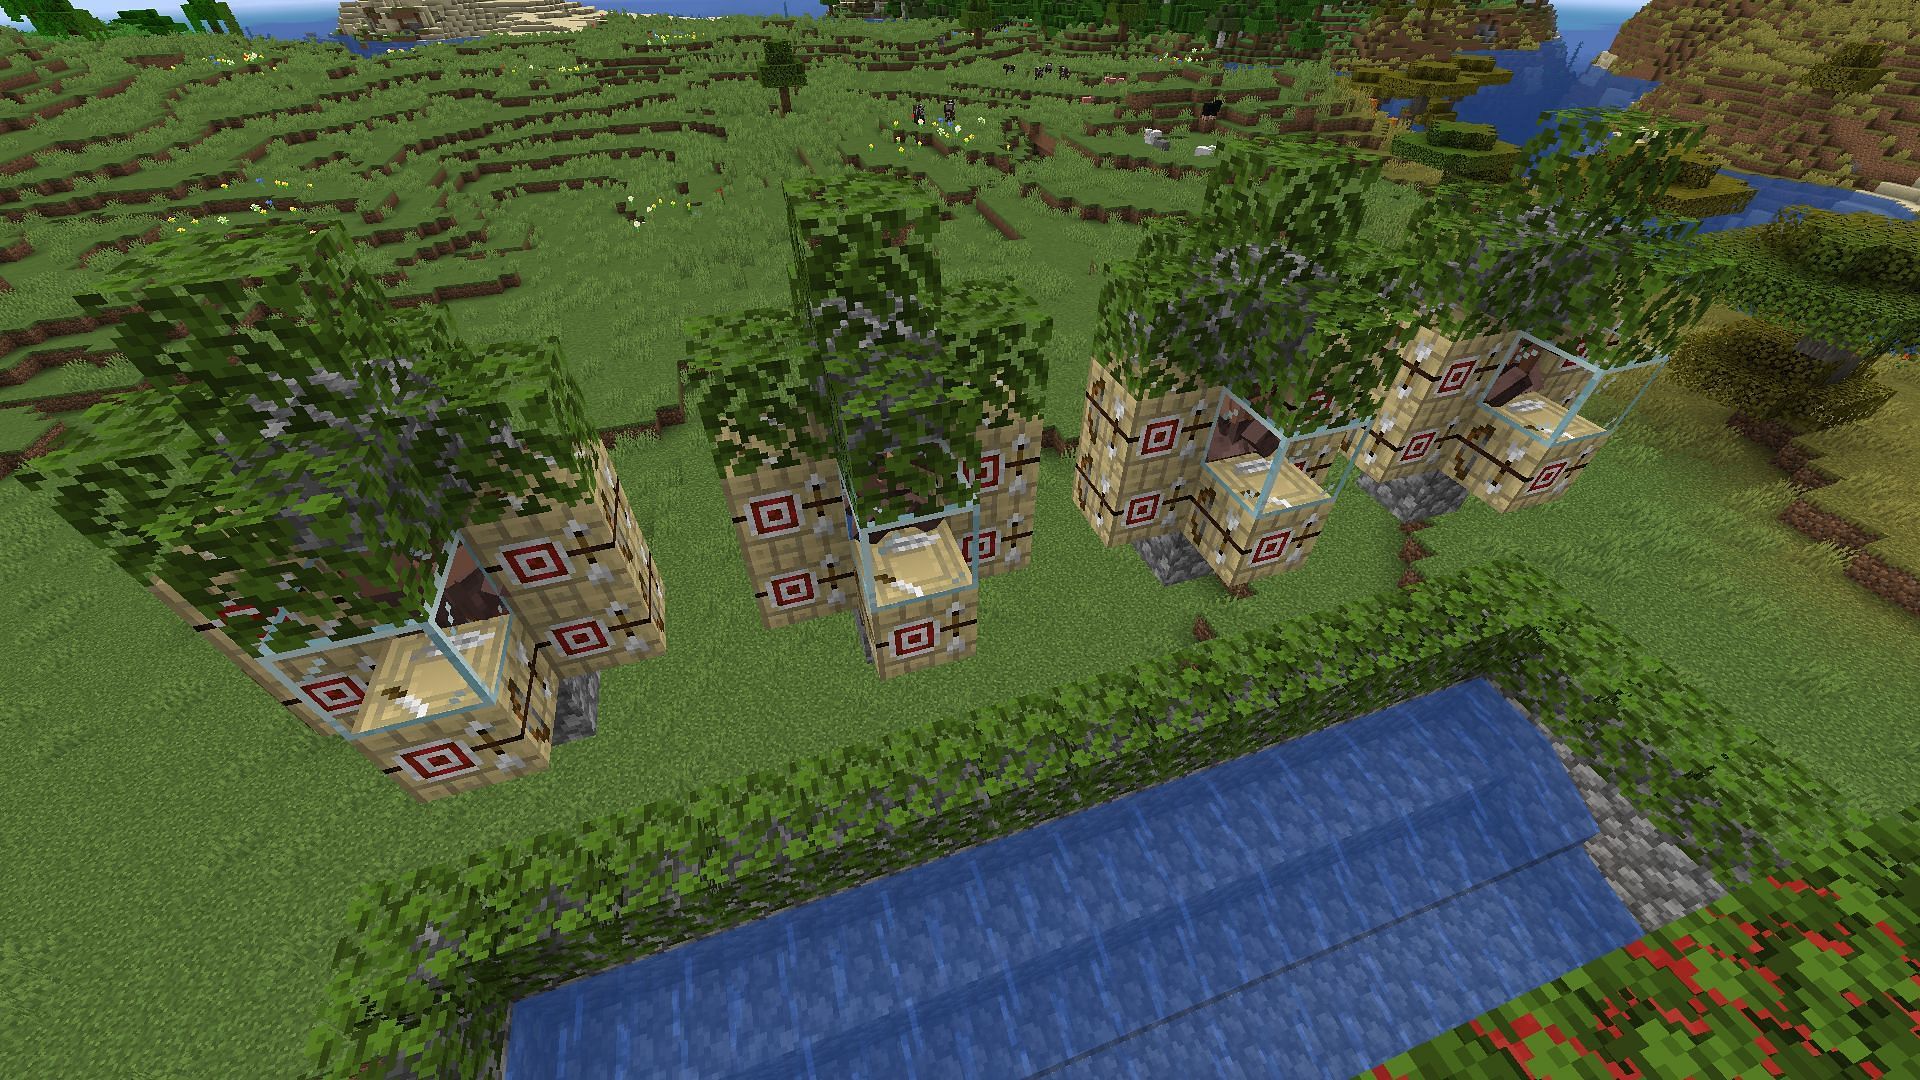
Place a work station of any kind on the wall of leaves near the capsules and see which villager it assigns to. Then go to the capsule and break one of the blocks next to the villager and place that work station there.
Repeat this process until each villager in each capsule is assigned to a workstation placed in the capsule. Then cover the capsules in leaves to keep iron golems from spawning on them. Later, place a torch on the front of each capsule.
