
'%20x='0'%20y='0'%20height='100%25'%20width='100%25'%20%0A%20%20%20%20%20%20%20%20%20%20xlink%3Ahref='data:image/jpg;base64,/9j/2wBDAAYEBQYFBAYGBQYHBwYIChAKCgkJChQODwwQFxQYGBcUFhYaHSUfGhsjHBYWICwgIyYnKSopGR8tMC0oMCUoKSj/2wBDAQcHBwoIChMKChMoGhYaKCgoKCgoKCgoKCgoKCgoKCgoKCgoKCgoKCgoKCgoKCgoKCgoKCgoKCgoKCgoKCgoKCj/wgARCAAGAAoDASIAAhEBAxEB/8QAFgABAQEAAAAAAAAAAAAAAAAAAAQH/8QAFQEBAQAAAAAAAAAAAAAAAAAABAX/2gAMAwEAAhADEAAAAMQoFT//xAAfEAACAgIBBQAAAAAAAAAAAAABAgMEABEFEhMyUYH/2gAIAQEAAT8Akud7kBO46U2m4/Iesnu1ZJ5HauwLMSQraHwZ/8QAGBEAAgMAAAAAAAAAAAAAAAAAAQIAAzH/2gAIAQIBAT8AS1xhn//EABcRAAMBAAAAAAAAAAAAAAAAAAACIQP/2gAIAQMBAT8AfBJD/9k='%3E%3C/image%3E%3C/svg%3E)
Glowsquids were first introduced in Minecraft 1.17 following their win in the Mob Vote. Since then, they've populated deep waters with light and become somewhat of a fan favorite. Glow ink sacs don't have a ton of different uses right now, but the mob has been a welcome addition to the game.
With that being said, glow ink sacs are useful. Glowing signs and other items cannot be made without them and there's probably more usage coming in future updates.

For whatever reason crafters may want the item, it's not terribly easy to get. Finding and killing glowsquids is easier said than done sometimes. Fortunately, there is a farm you can construct to automate the process.
Chart New Territories with the ultimate Minecraft Seed Generator!
Minecraft glowsquid: Build your own farm
Step 1: Mine out a room underground and fill it with water
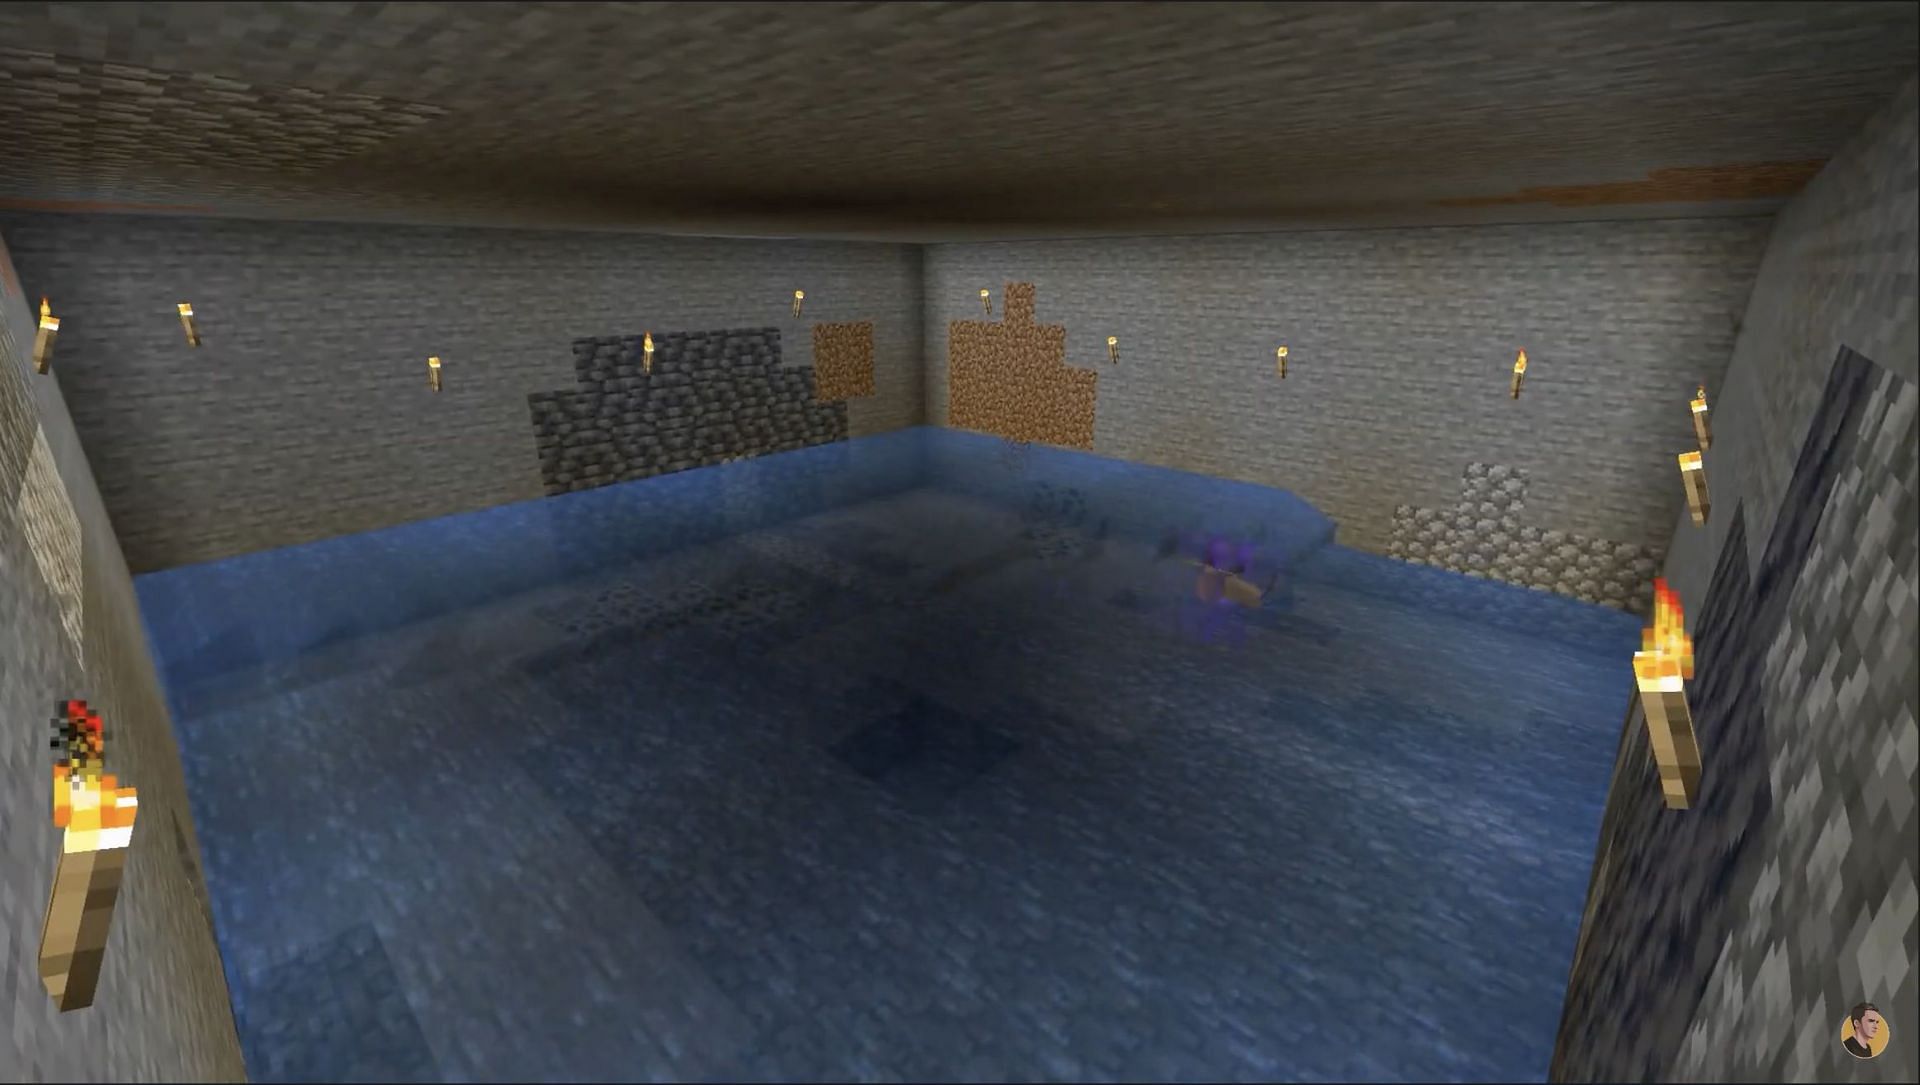
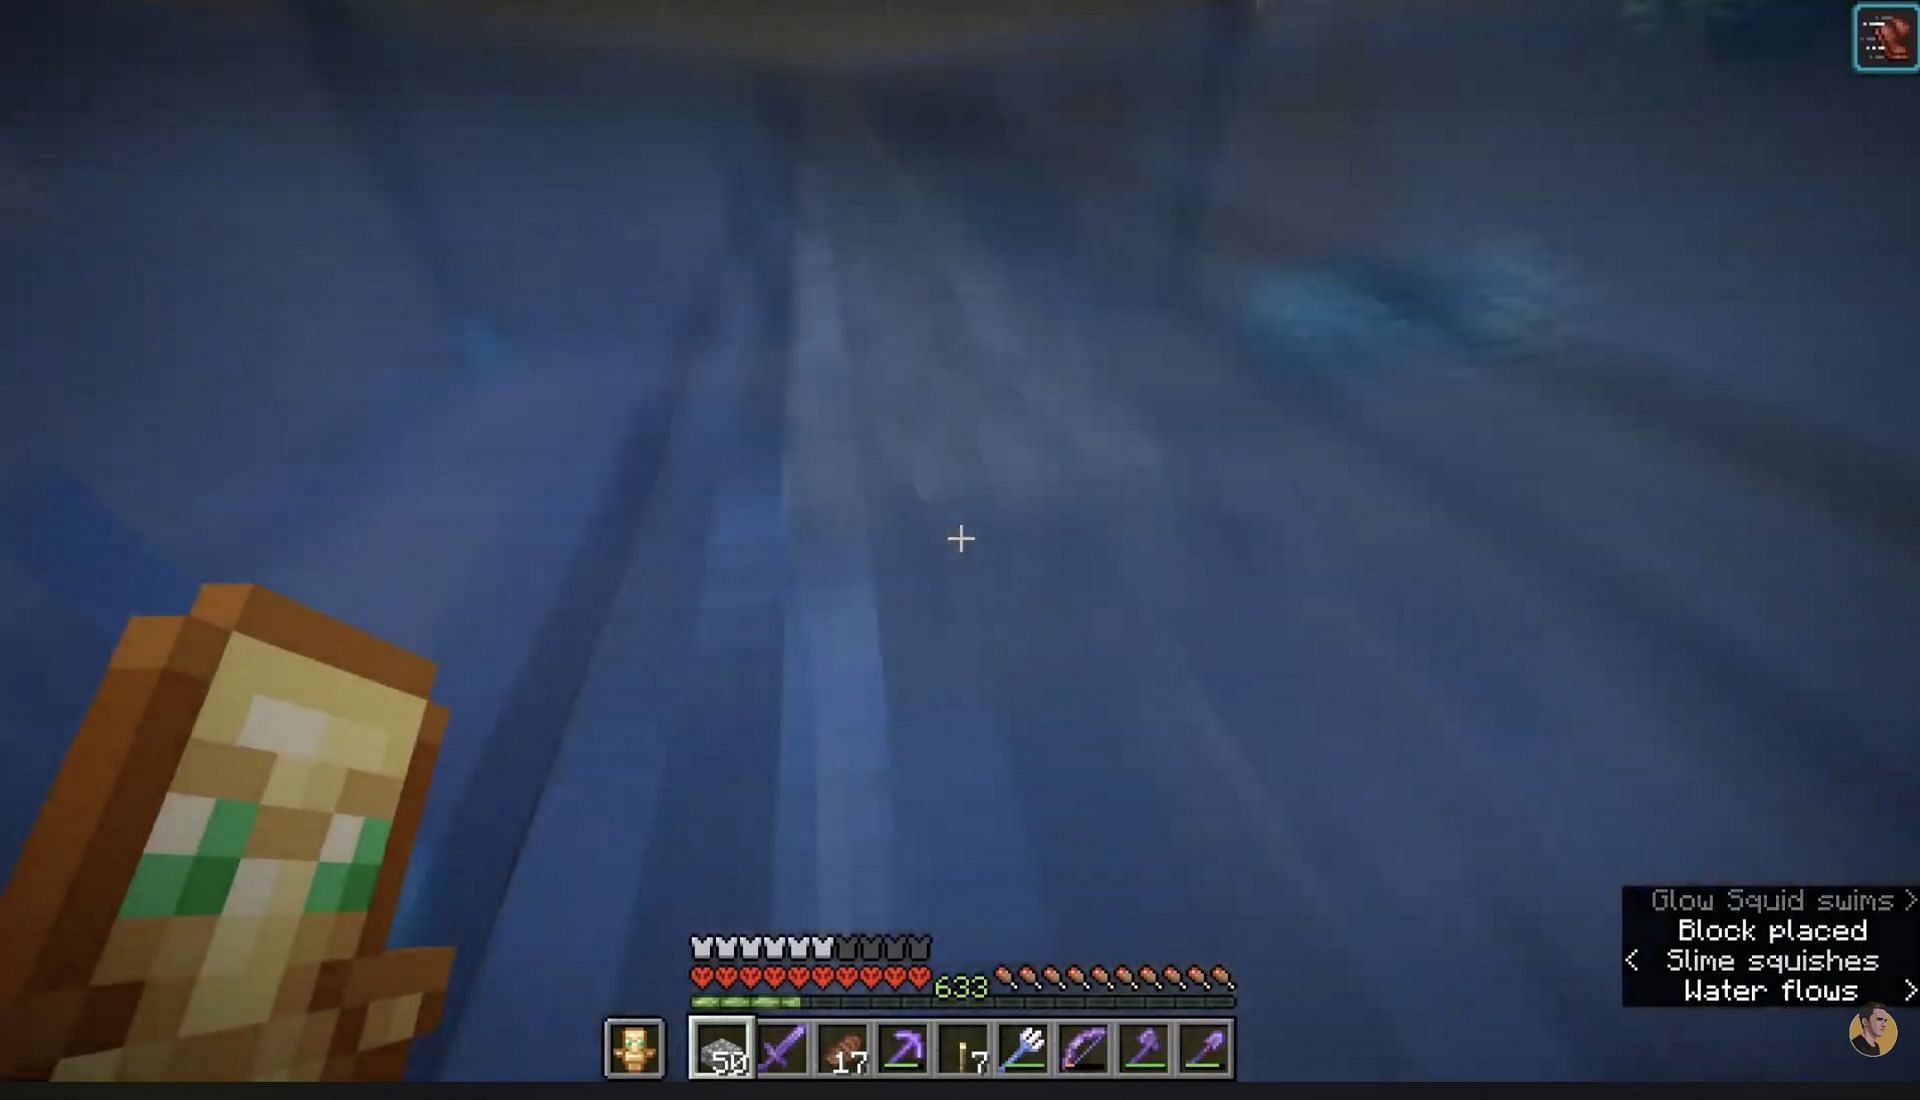
The first step is to mine out a room underground. The room should be at least below Y level 22, since that's approximately where glowsquids begin spawning in Minecraft.
The room needs to be 17x17x7, so 17 blocks for each wall (lengthwise) and seven blocks tall. Fill the room with water for up to four blocks. You may want to make an infinite water source for this. In the end, the water should be four blocks high and have three left before the ceiling.
Step 2: Make ceilings
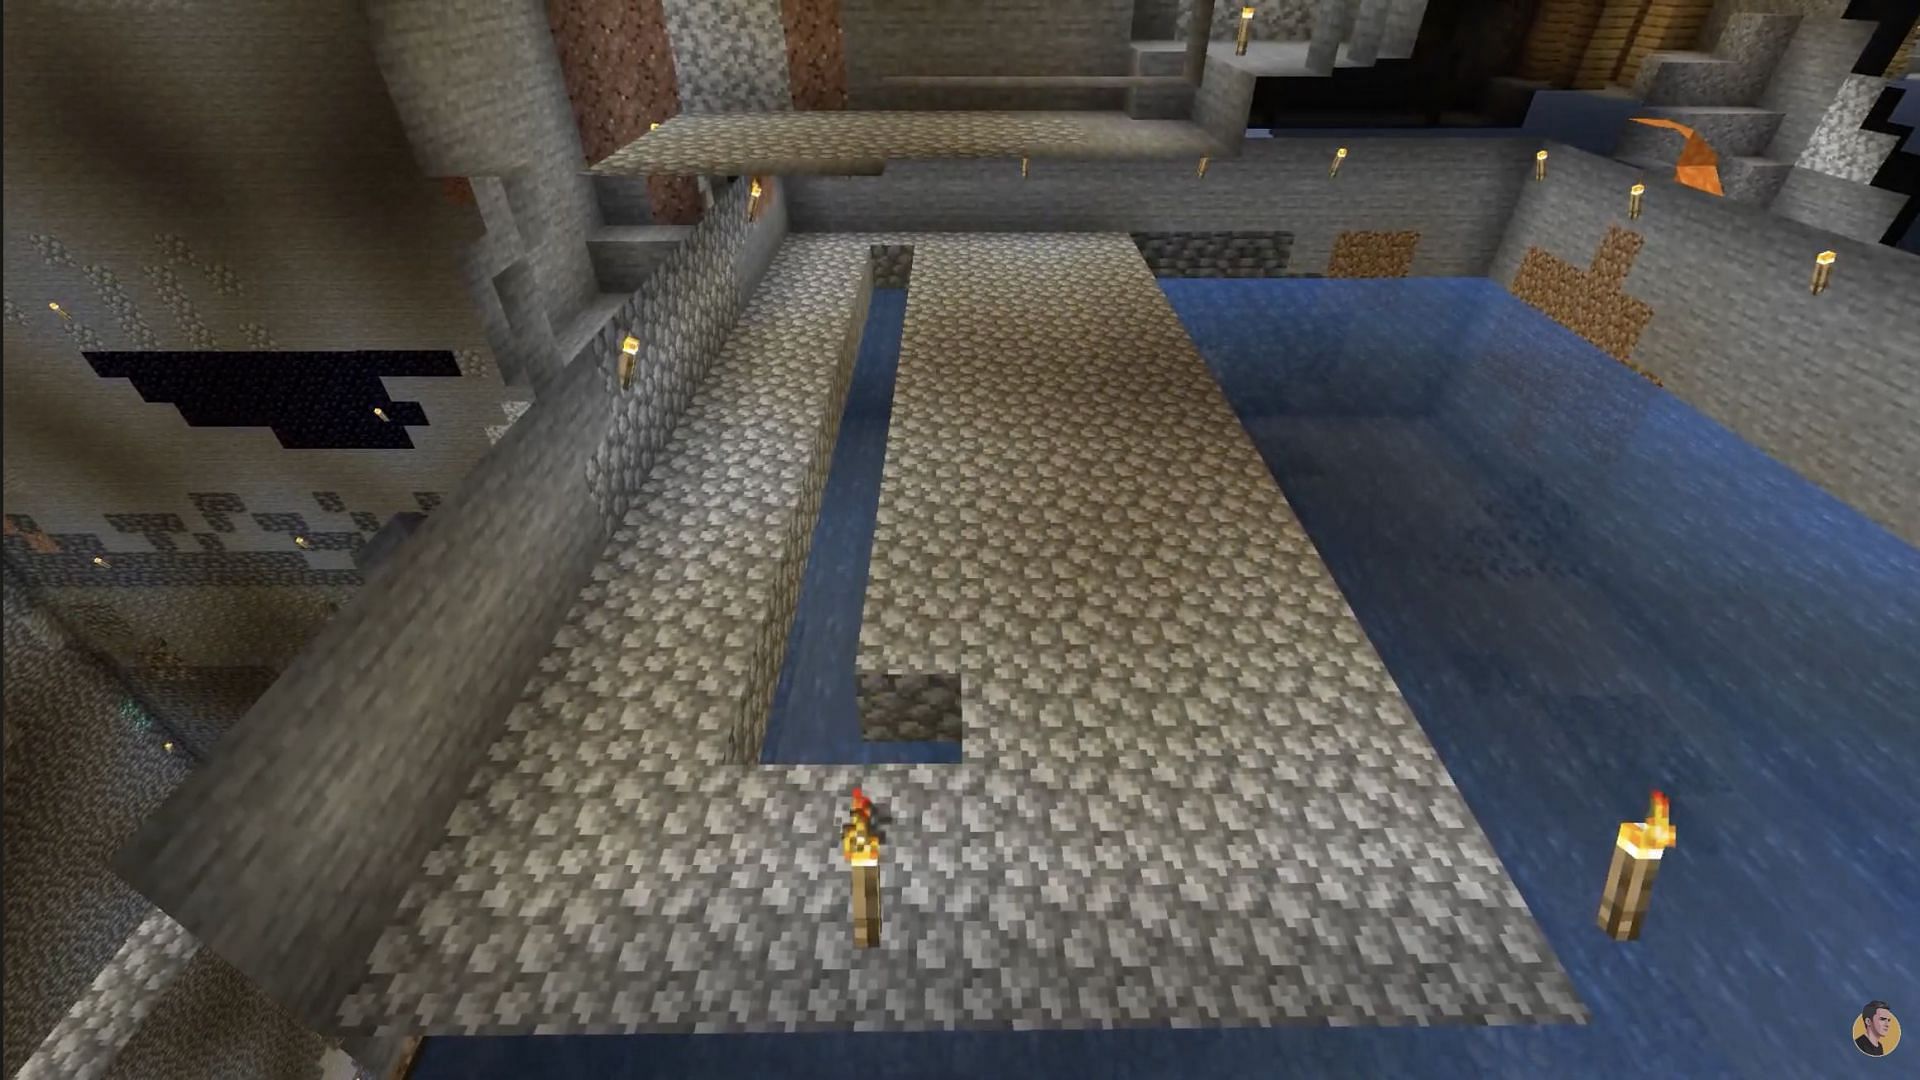
On both sides, you need to fill out a temporary ceiling. Do this with any random blocks. Make sure it goes all the way down the length of the wall and then out seven blocks from there. Do the same on both sides and fill them in.
Step 3: Place flowing water
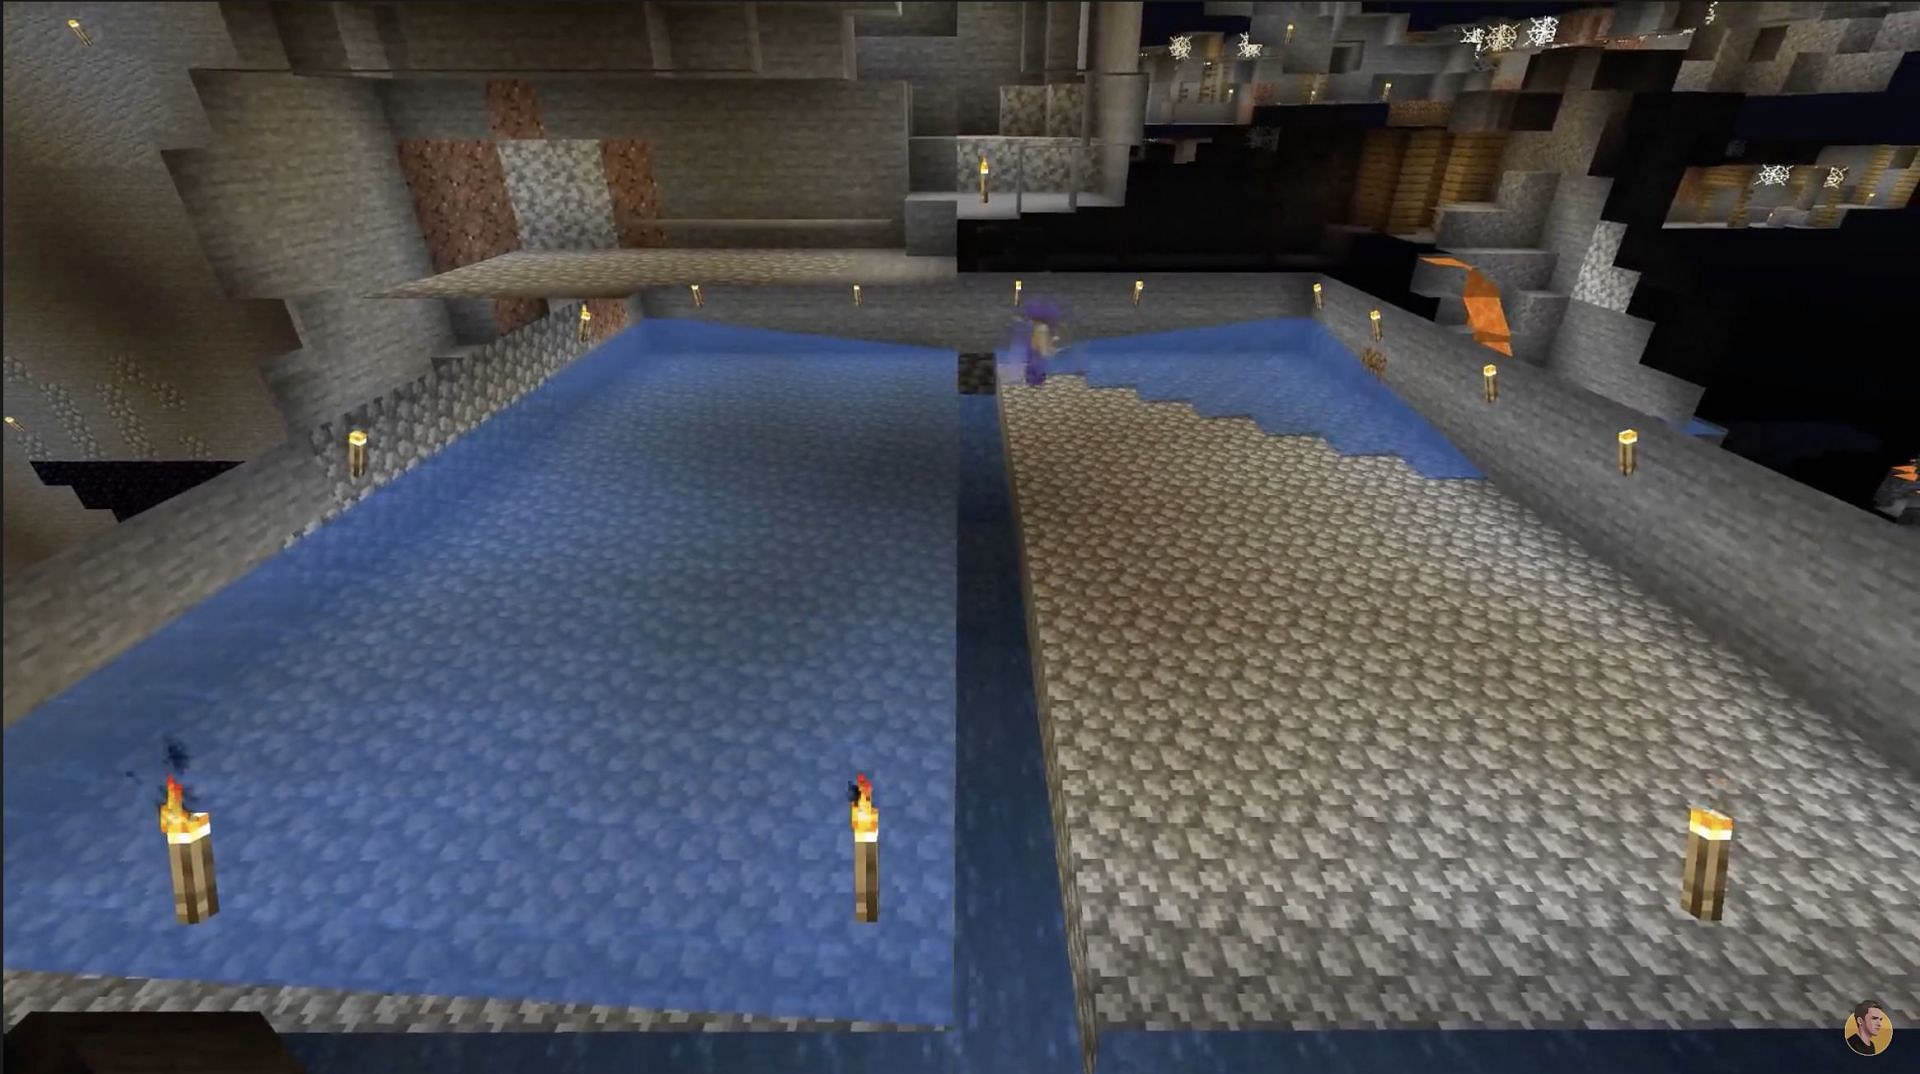
With just one block of space between each ceiling, place a water bucket on each block of the original wall. It should flow off the ceilings. Once that's done on both sides, remove the blocks below the water. Under the water, place a water bucket on each block of the now-removed ceiling.
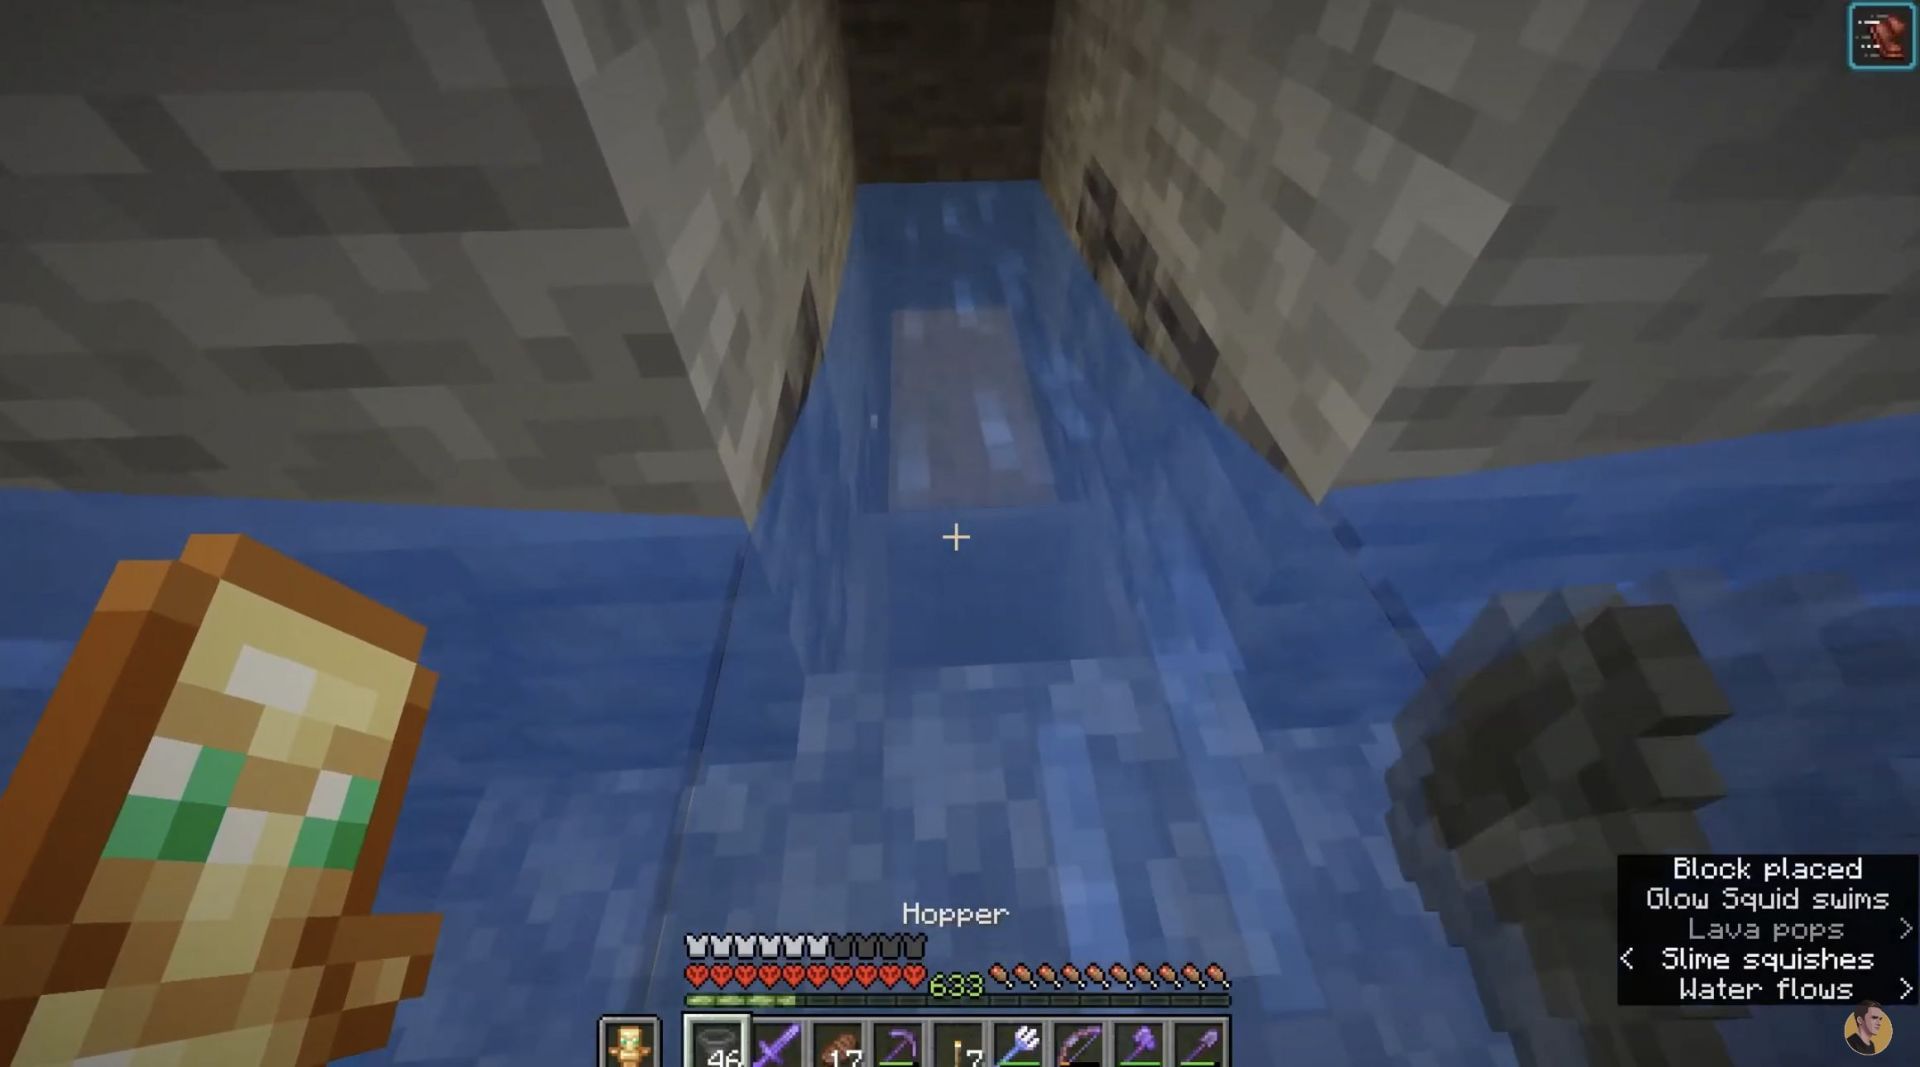
Step 4: Place hoppers and slabs
In the middle, one block down from the water, place a row of hoppers from wall to wall. On top of that, place slabs all the way across. On either side (the same level as the hoppers), place Minecraft blocks. Do the same directly below the hoppers to encase them.
Step 4: Add chests
On the block right next to the Minecraft hoppers, mine a pathway. On the block immediately beside the first hopper, add another hopper and a double chest directly beside that. Water should flow over the first hopper and chest.
Step 5: Add axolotls
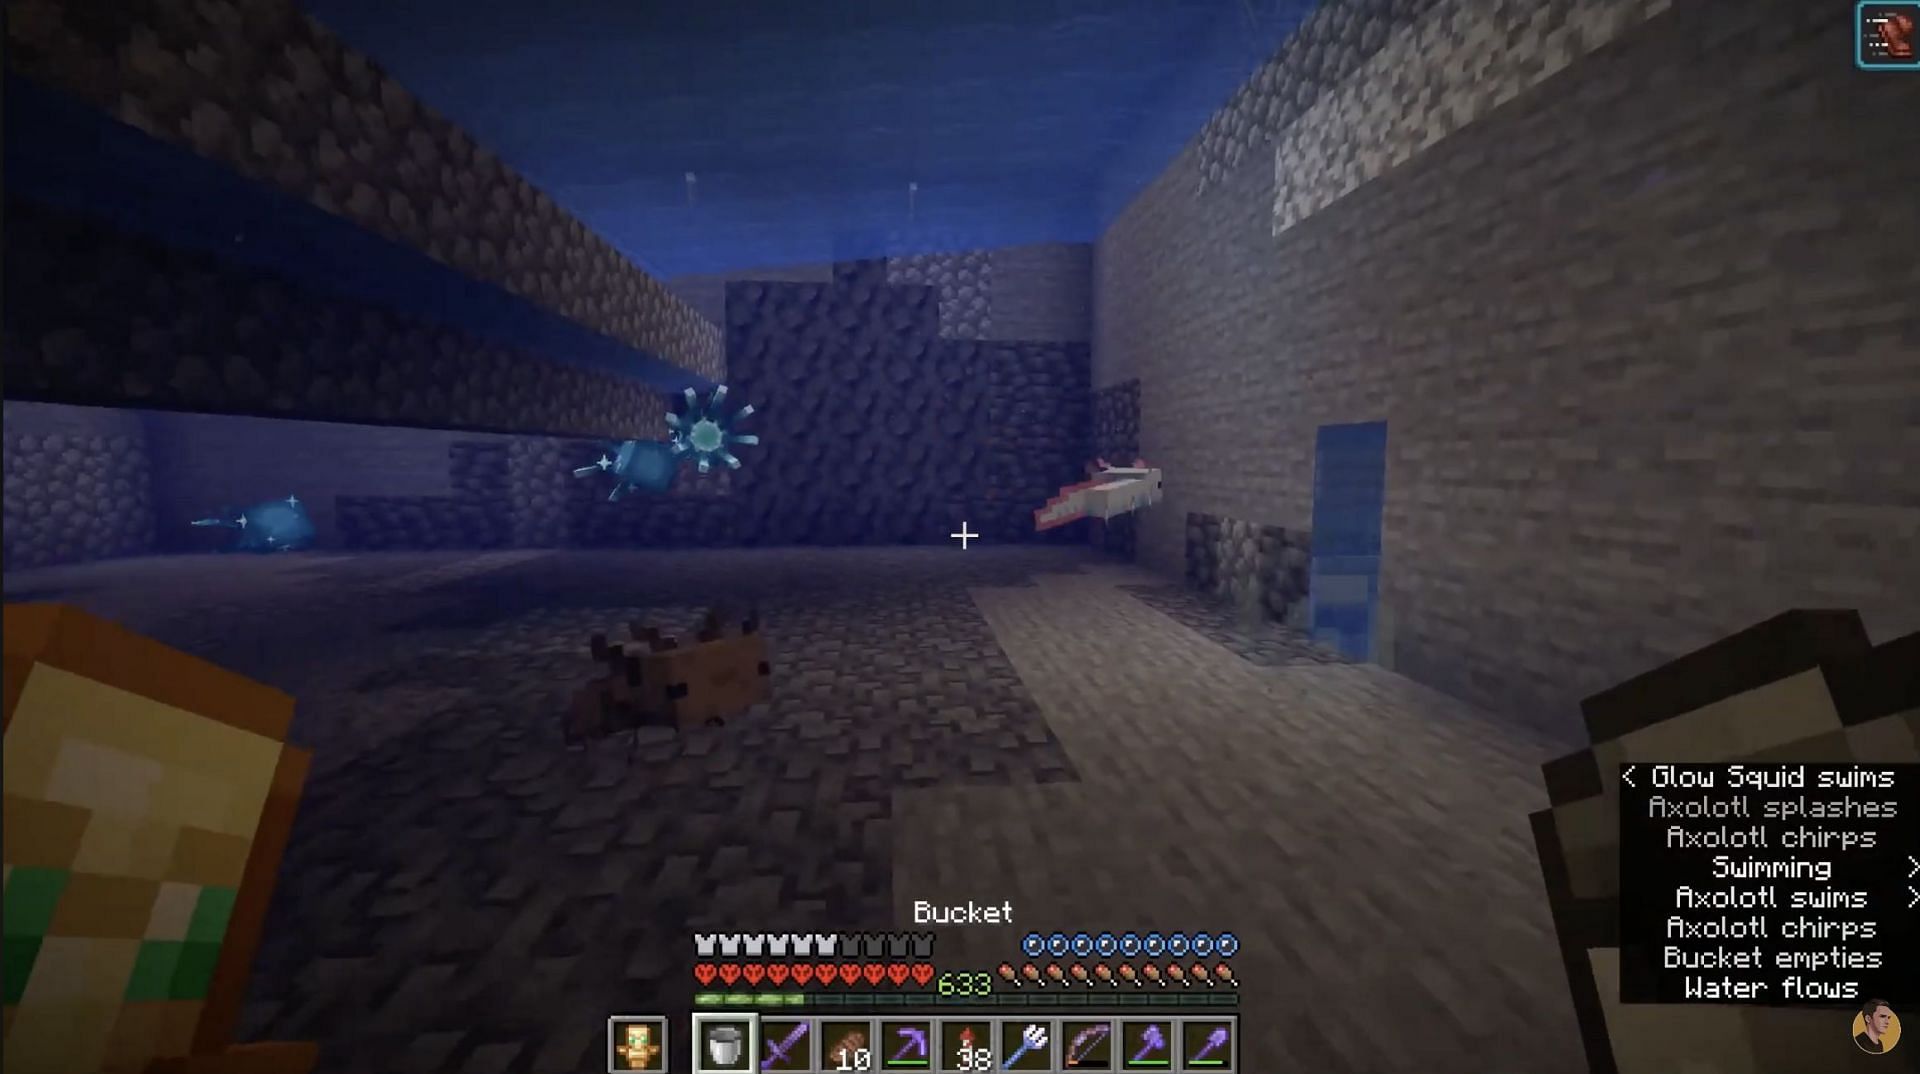
Axolotls hunt glowsquids, so introducing them here (as many as you want) will eventually kill the glowsquids, resulting in their loot going into the hoppers.
This will result in a lot of glow ink sacs in Minecraft.

Uncover new worlds with our Minecraft Seed Generator!