
'%20x='0'%20y='0'%20height='100%25'%20width='100%25'%20%0A%20%20%20%20%20%20%20%20%20%20xlink%3Ahref='data:image/jpg;base64,/9j/2wBDAAYEBQYFBAYGBQYHBwYIChAKCgkJChQODwwQFxQYGBcUFhYaHSUfGhsjHBYWICwgIyYnKSopGR8tMC0oMCUoKSj/2wBDAQcHBwoIChMKChMoGhYaKCgoKCgoKCgoKCgoKCgoKCgoKCgoKCgoKCgoKCgoKCgoKCgoKCgoKCgoKCgoKCgoKCj/wgARCAAGAAoDASIAAhEBAxEB/8QAFgABAQEAAAAAAAAAAAAAAAAAAAUH/8QAFQEBAQAAAAAAAAAAAAAAAAAAAQL/2gAMAwEAAhADEAAAAMalEP8A/8QAIBAAAQQCAQUAAAAAAAAAAAAAAgEDBAUAERUyVGGU0v/aAAgBAQABPwCGsuXGu5B2ti2UNpHxEXzVCVT1rq85ydh3872nPrP/xAAVEQEBAAAAAAAAAAAAAAAAAAAAAv/aAAgBAgEBPwCn/8QAFBEBAAAAAAAAAAAAAAAAAAAAAP/aAAgBAwEBPwB//9k='%3E%3C/image%3E%3C/svg%3E)
Minecraft is known for how far players can customize their experience: They can create custom skins down to the pixel, and even get or create resource packs that replace all the game’s textures and sounds. This customization is best represented by Java Edition, however.
While Bedrock Edition players do not get this same level of total customization, there are ways that they can use custom skins, similar to Java Edition players. However, they can only set custom skins via images on mobile devices or the PC version of Bedrock.
Note: Players on consoles cannot access custom skins from third-party websites.

Chart New Territories with the ultimate Minecraft Seed Generator!
A guide to importing and using custom skins in Minecraft Bedrock Edition
1) Download or create a skin
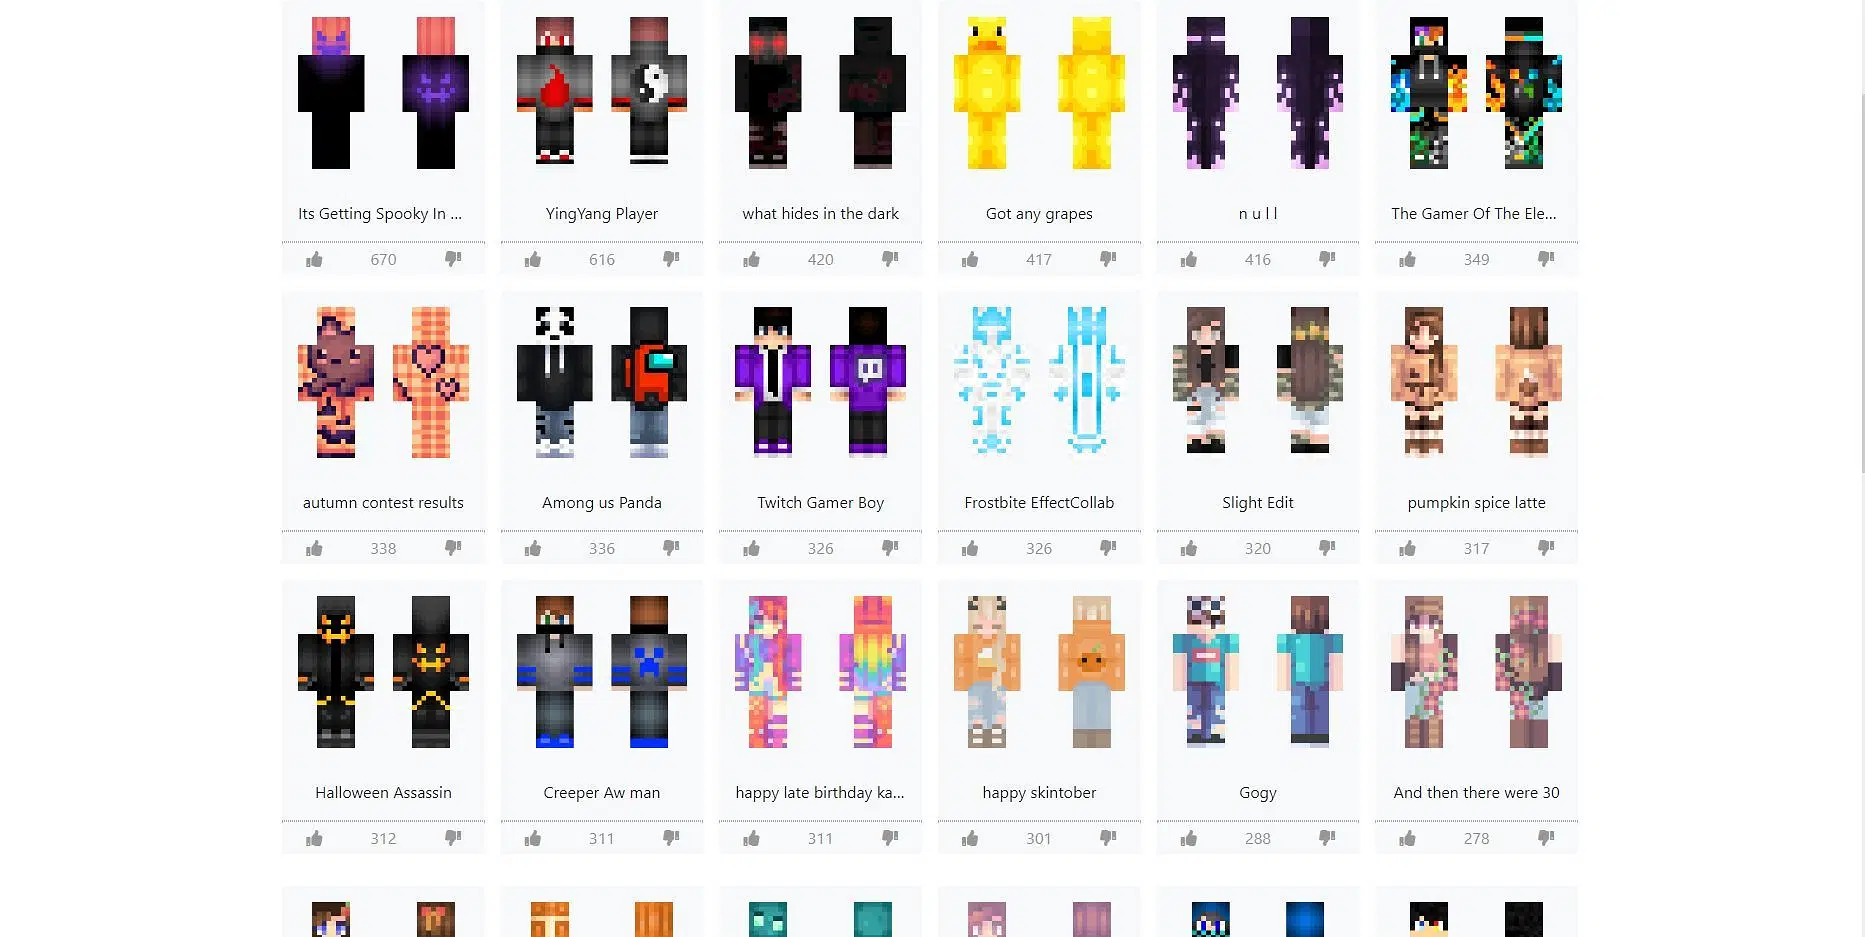
The first thing players are going to need to do is navigate to any of the game’s popular skin sharing websites. For this example, Skindex was used here. They should find a skin they want to use and download it, or they can create their own one from scratch.
2) Go to the dressing room
Players will need to launch the game and navigate to the dressing room, as this is the menu they can use to customize their in-game skin.
3) Select a slot
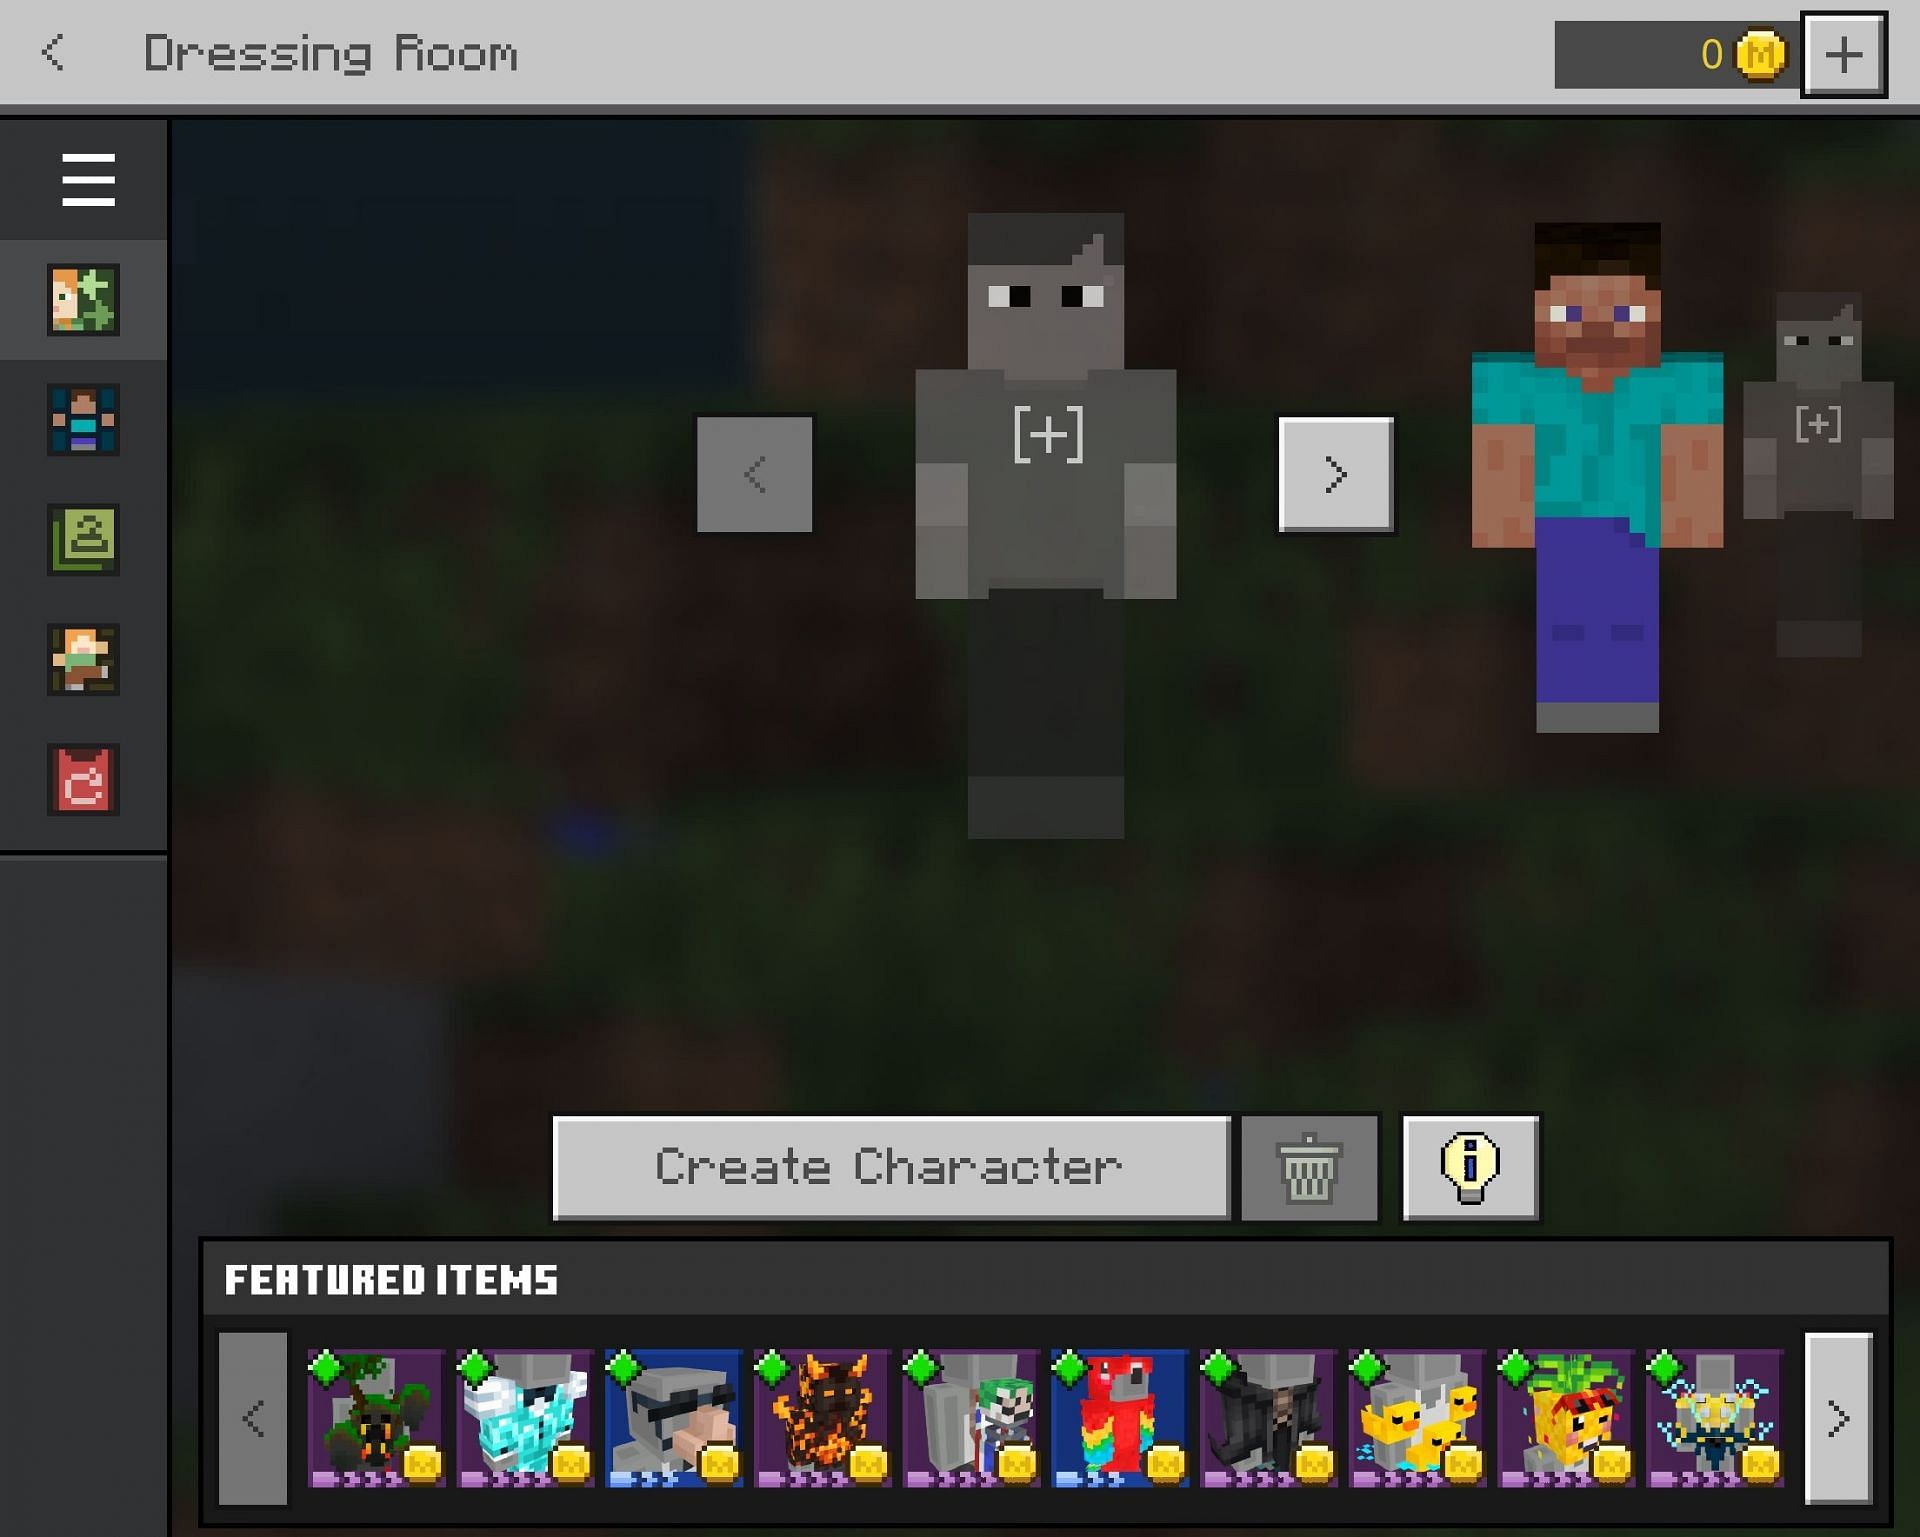
There are up to five character slots that players have access to. They can either edit an existing skin, or delete a selection and make a new one.
4) Create a character
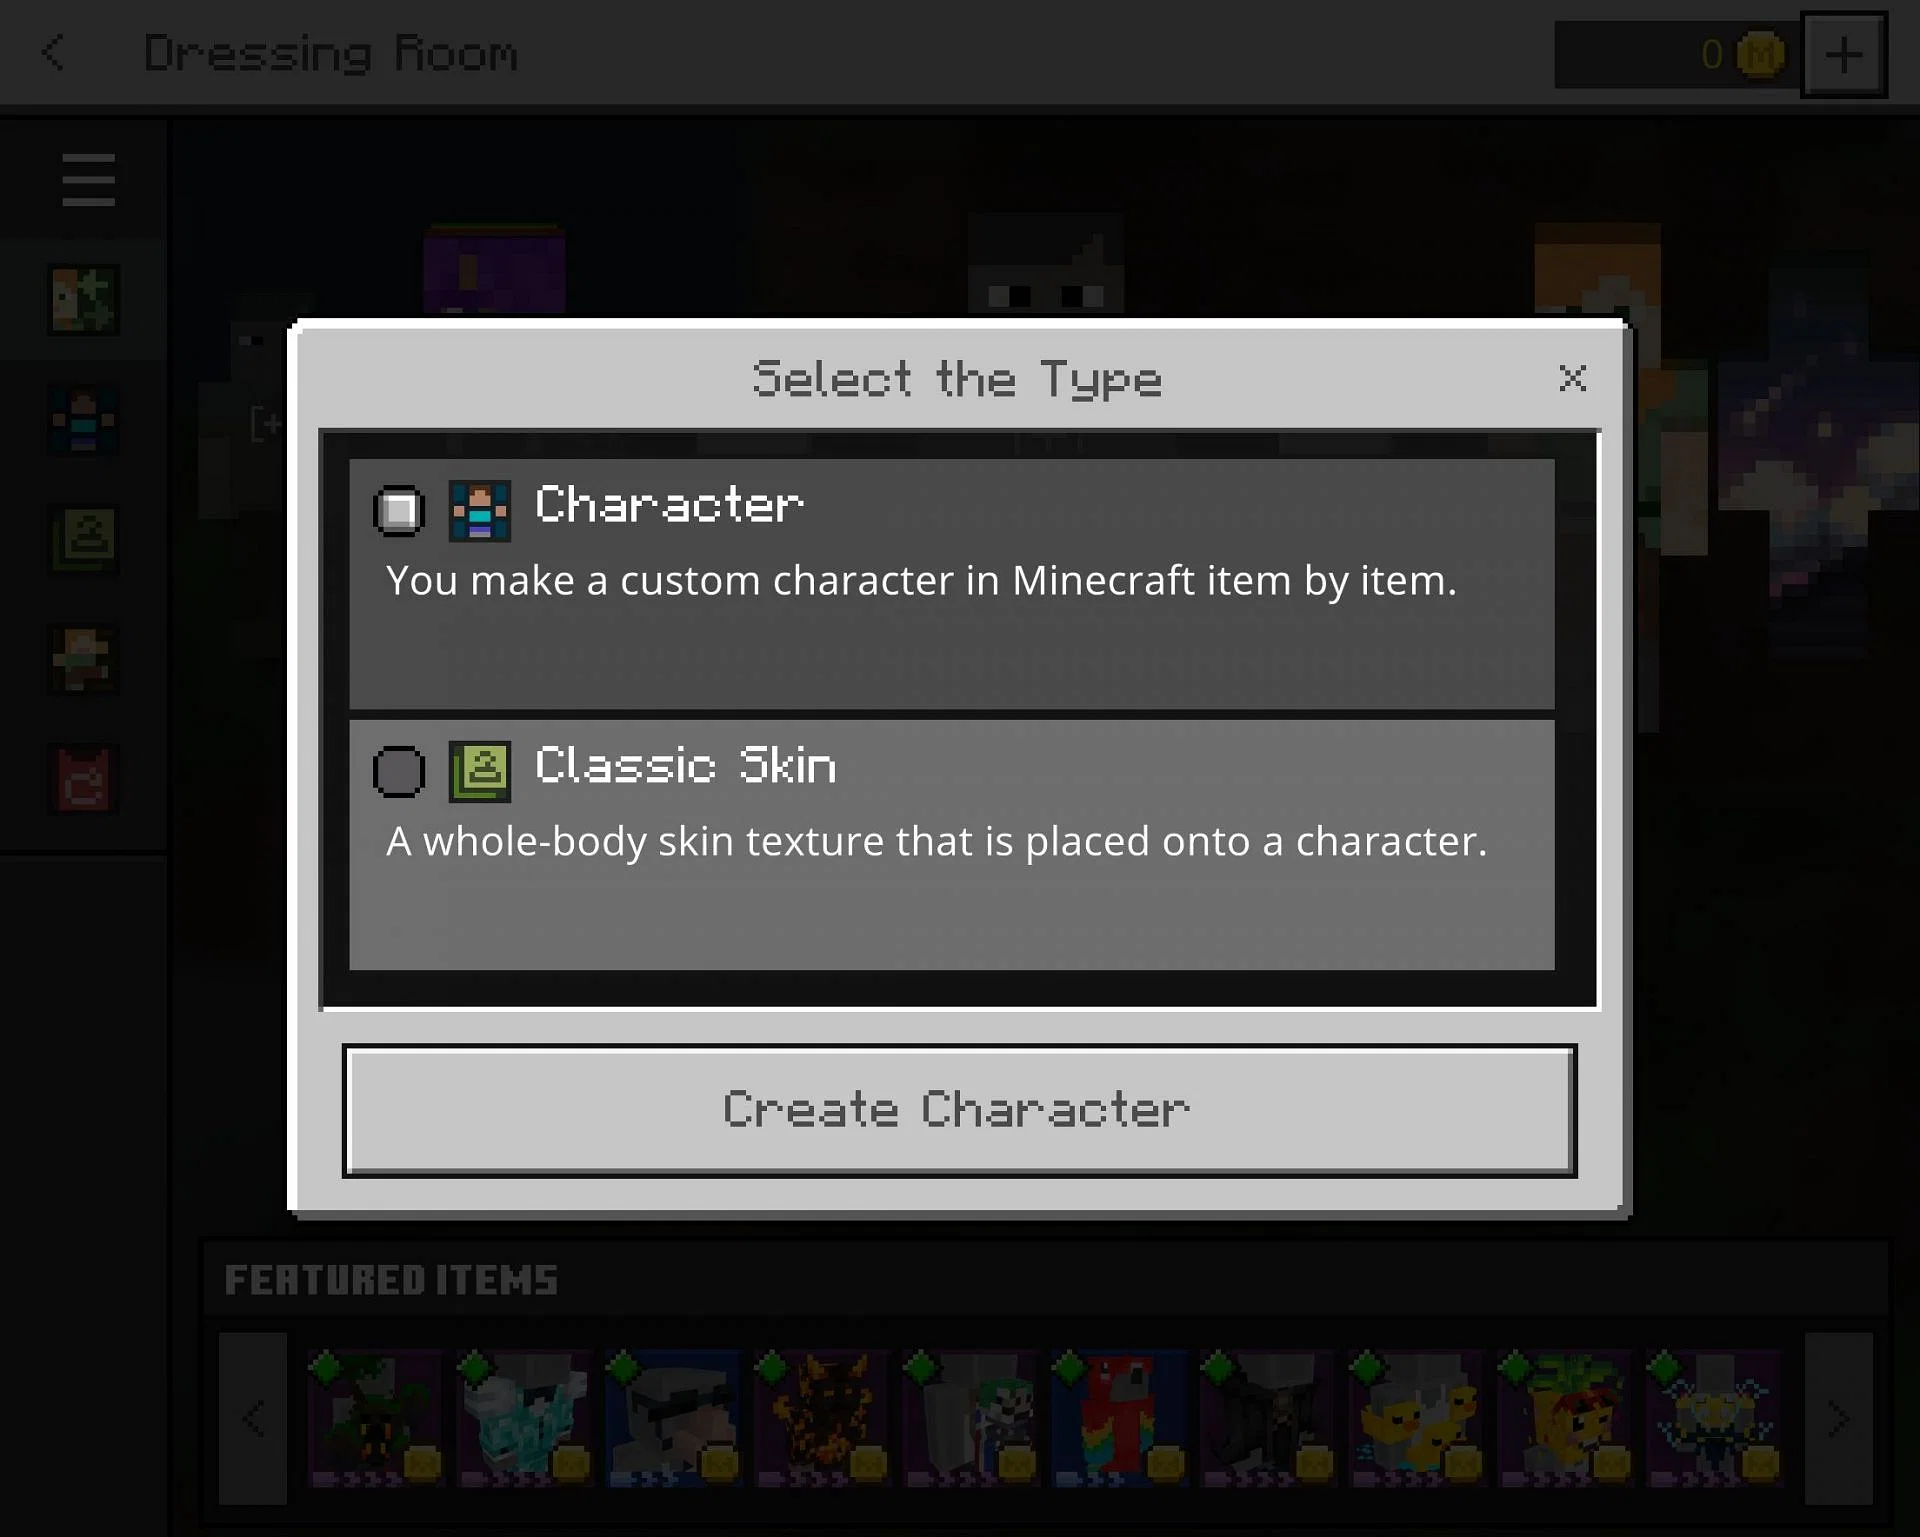
If players intend to create a new skin, they will need to hit the “Create Character” button on an empty skin slot. They will then need to select the second option, which is a classic skin - a full body texture that cannot be edited further. Then the player should hit the “Create Character” button again.
5) Use owned skins
Players should look near the middle of the screen, where there should be an "Owned Skins" section, one of the options being a totally gray, blank skin. They should hit this option, which should the change the text on the right side of the screen, and add a button that says “Choose new skin.”
Players should hit this button, which will open up a file navigator for an image file.
6) Use the file navigator to select the custom downloaded skin
Players should use this file navigator to select their custom-created or downloaded skin. Once the file is uploaded, they will prompted to select a skin type, either slim or wide. Once an option has been selected, the previously blank skin preview should update to the custom skin.
7) Back out of menus
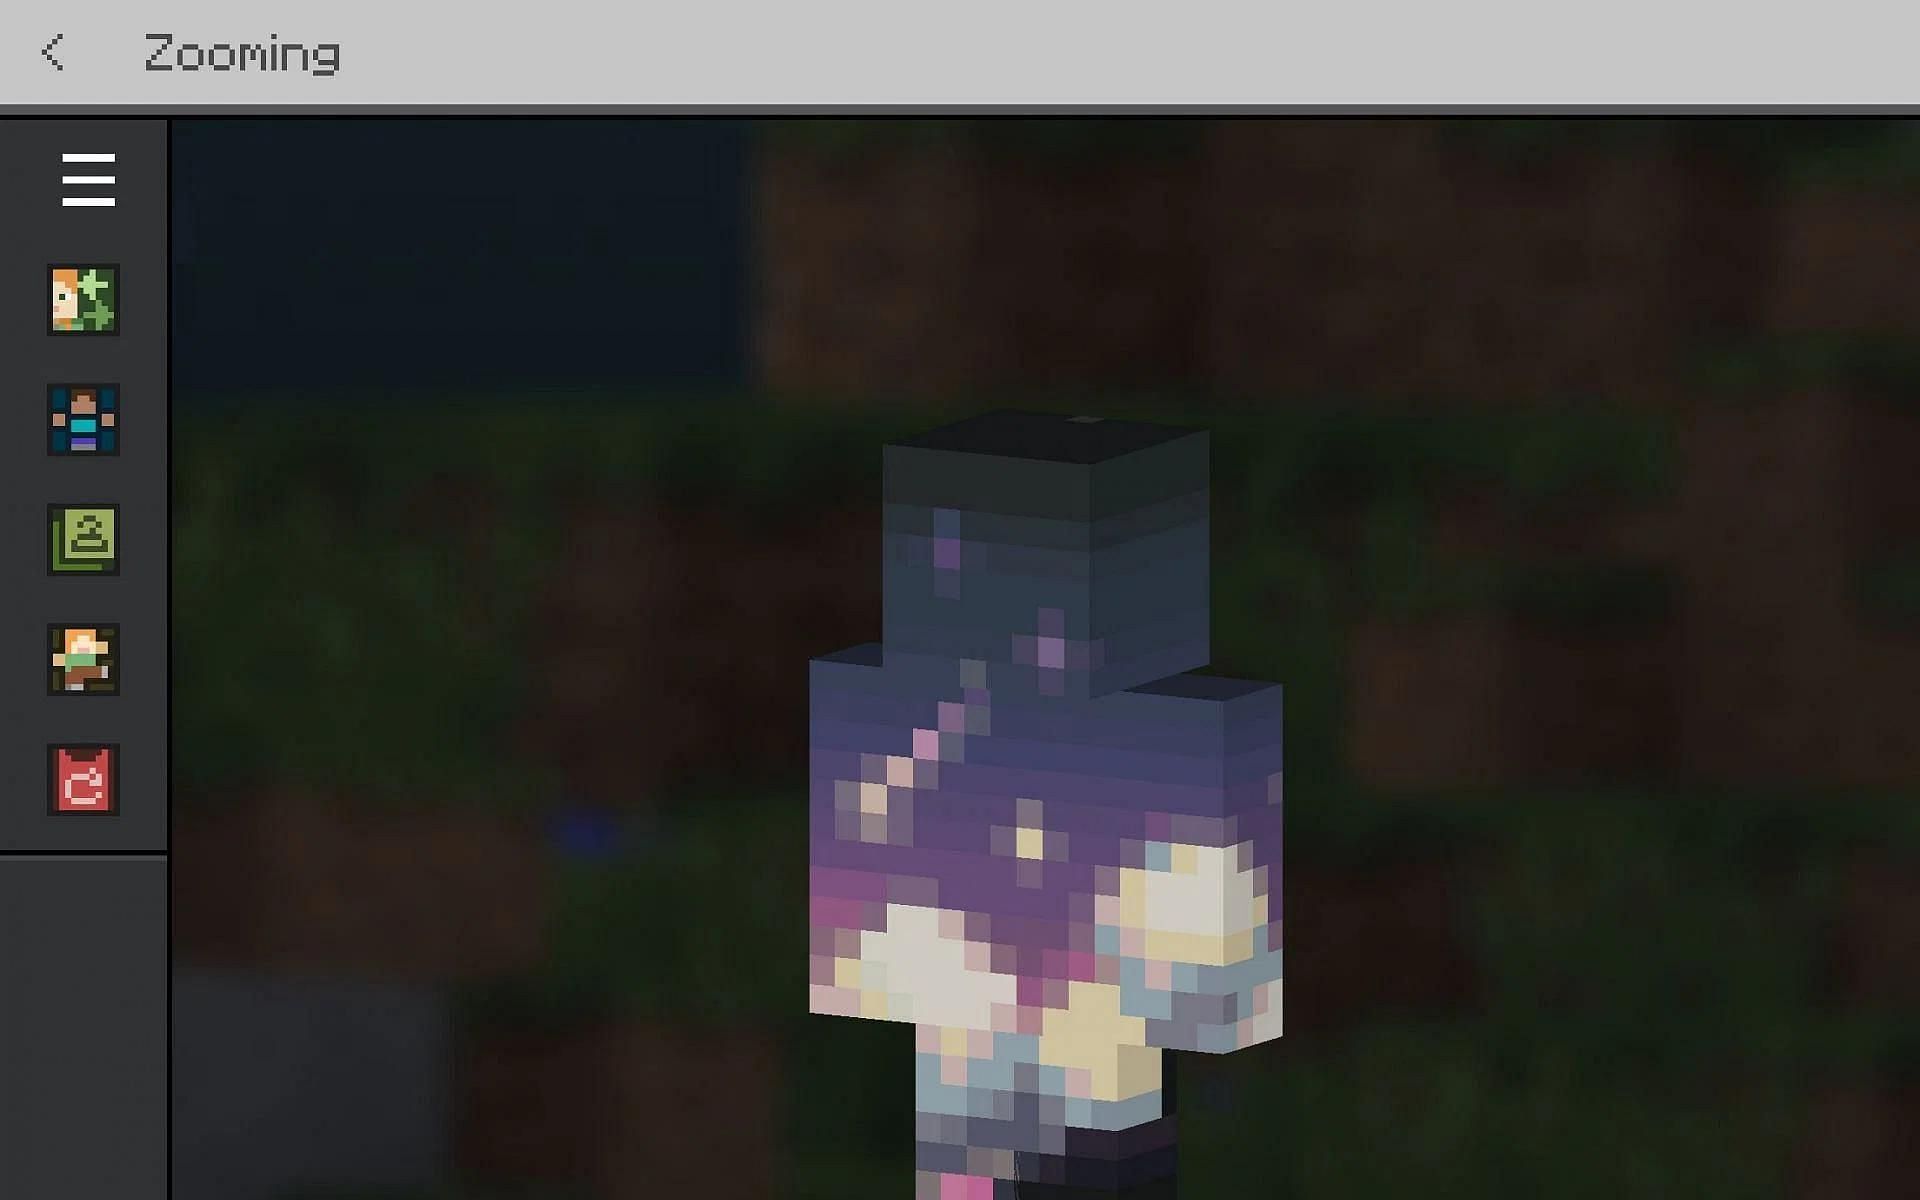
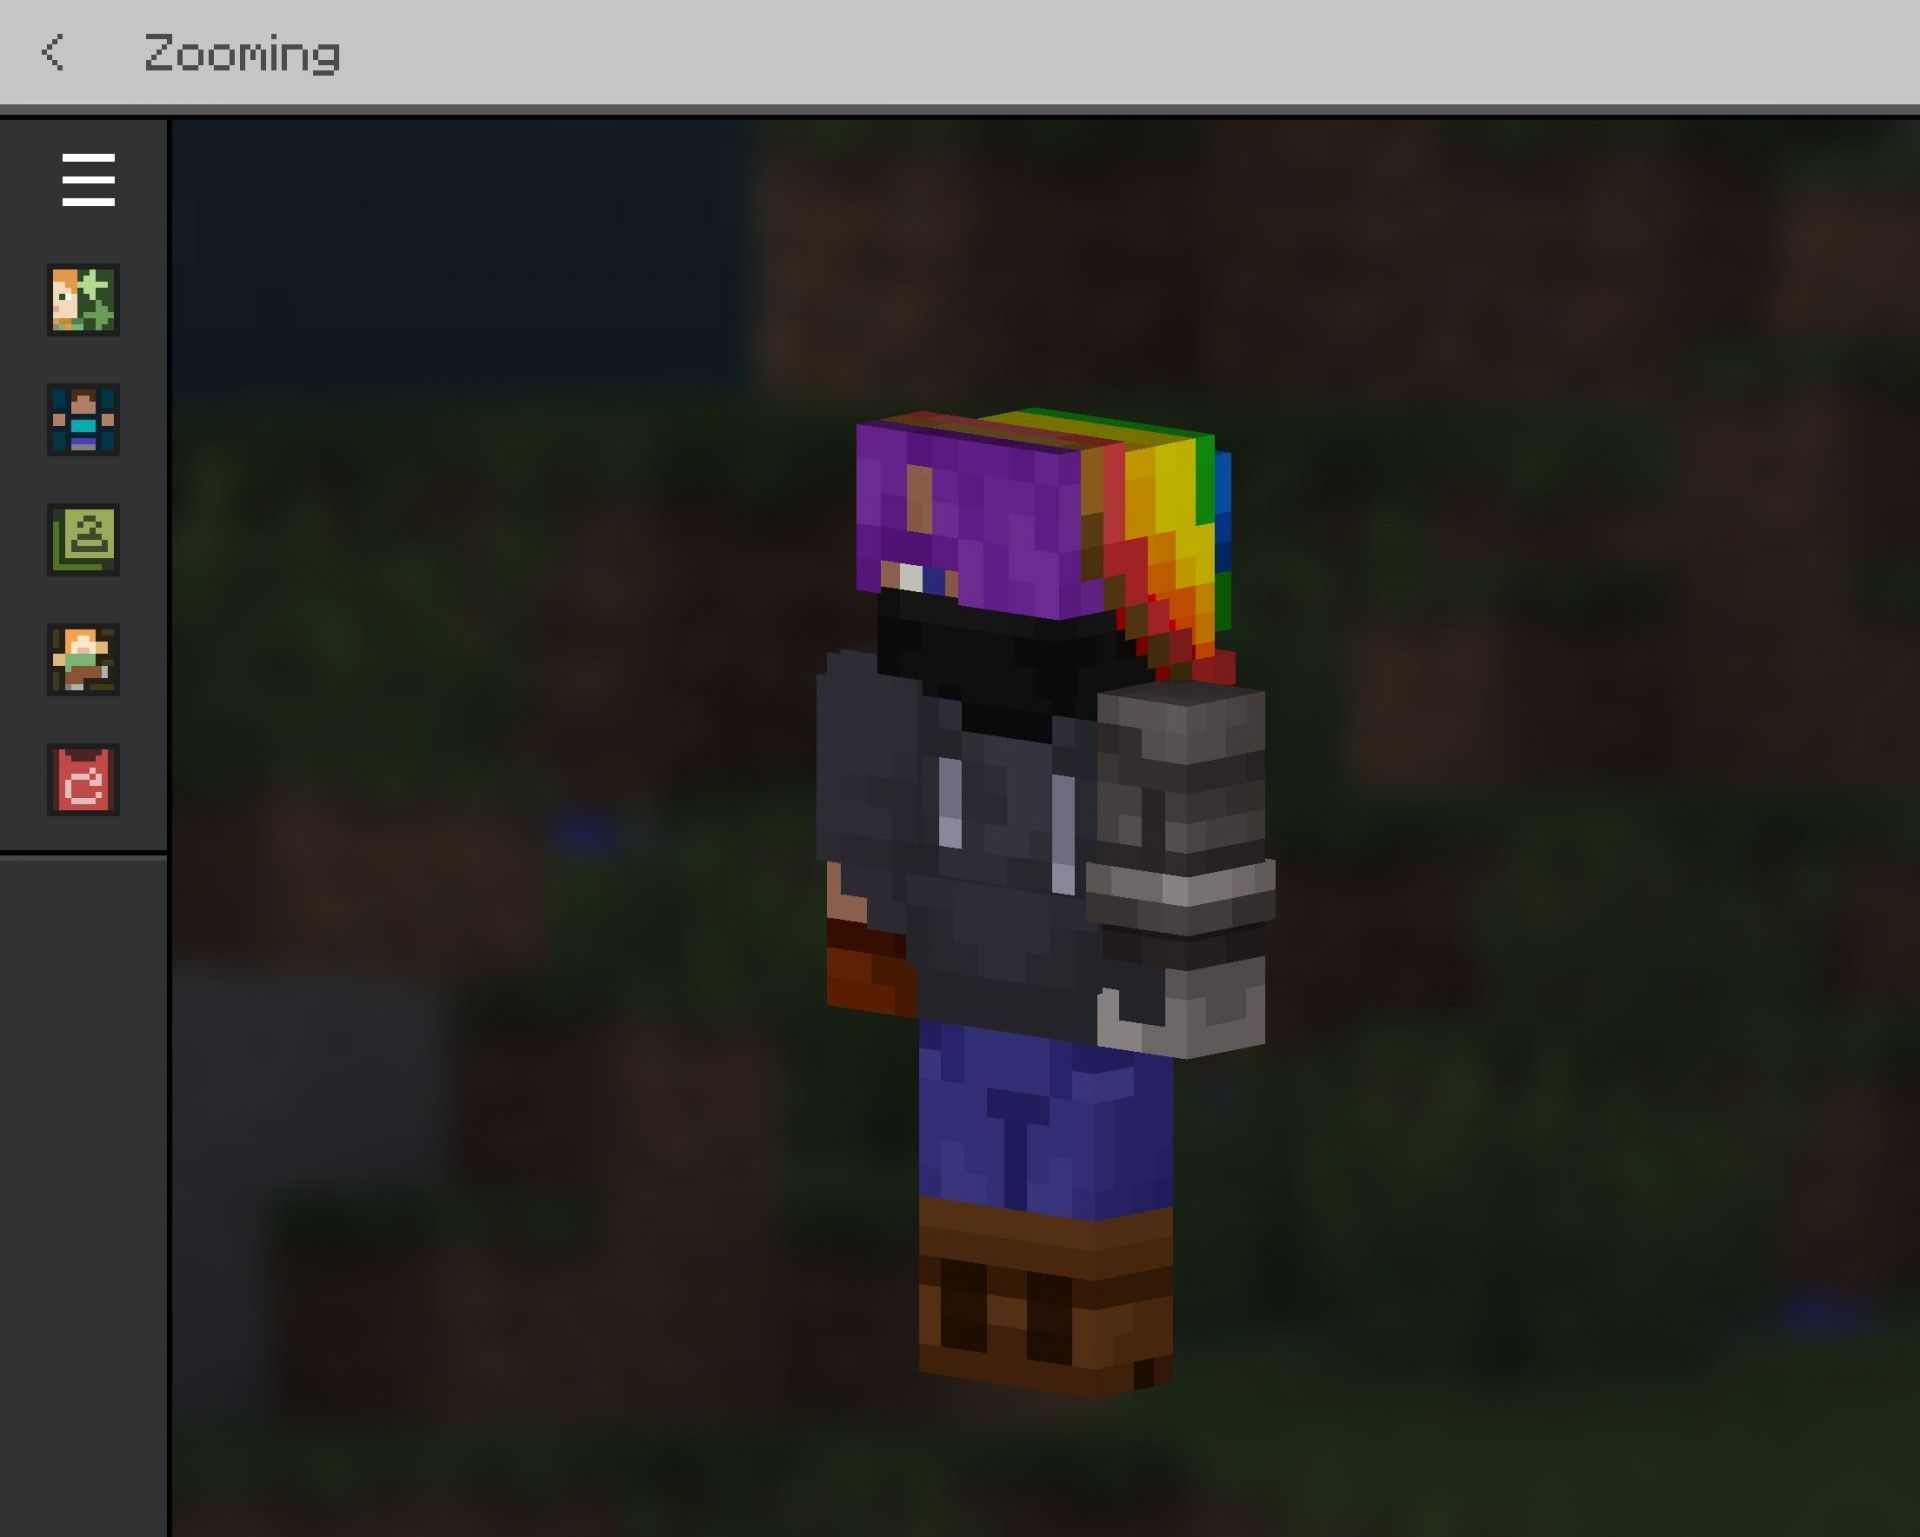
Once the skin is equipped and its preview appears on the right side of the screen, players can simply navigate out of the dressing room menu back to the home screen. They can then play Minecraft with their custom skin equipped.
Customize a preexisting skin
There is also a different way for Bedrock Players to get a more customized skin. While this is not as personalized as importing a skin that has been created pixel by pixel, it does allow players to put their own personal touches on their character by using items available that are available in the marketplace.
1) Go to the dressing room
As with the previous method, players will need to go to their dressing room, as that is the place that allows for any and all character customization.
2) Select a slot
Once in the dressing room, players should have a grand total of five different character slots that they can pick from. They should navigate around, looking for an empty slot, or delete one of the preexisting characters to make room for a new one.
3) Create a character
Once there is an empty slot available for players to use, they should hit the “Create Character” button. This will give them a prompt to create a character or use a classic skin. The latter option will allow players to use a custom imported skin or a full body marketplace skin.
Make sure that “character” is selected and then hit the “Create Character” button.
4) Customize the skin
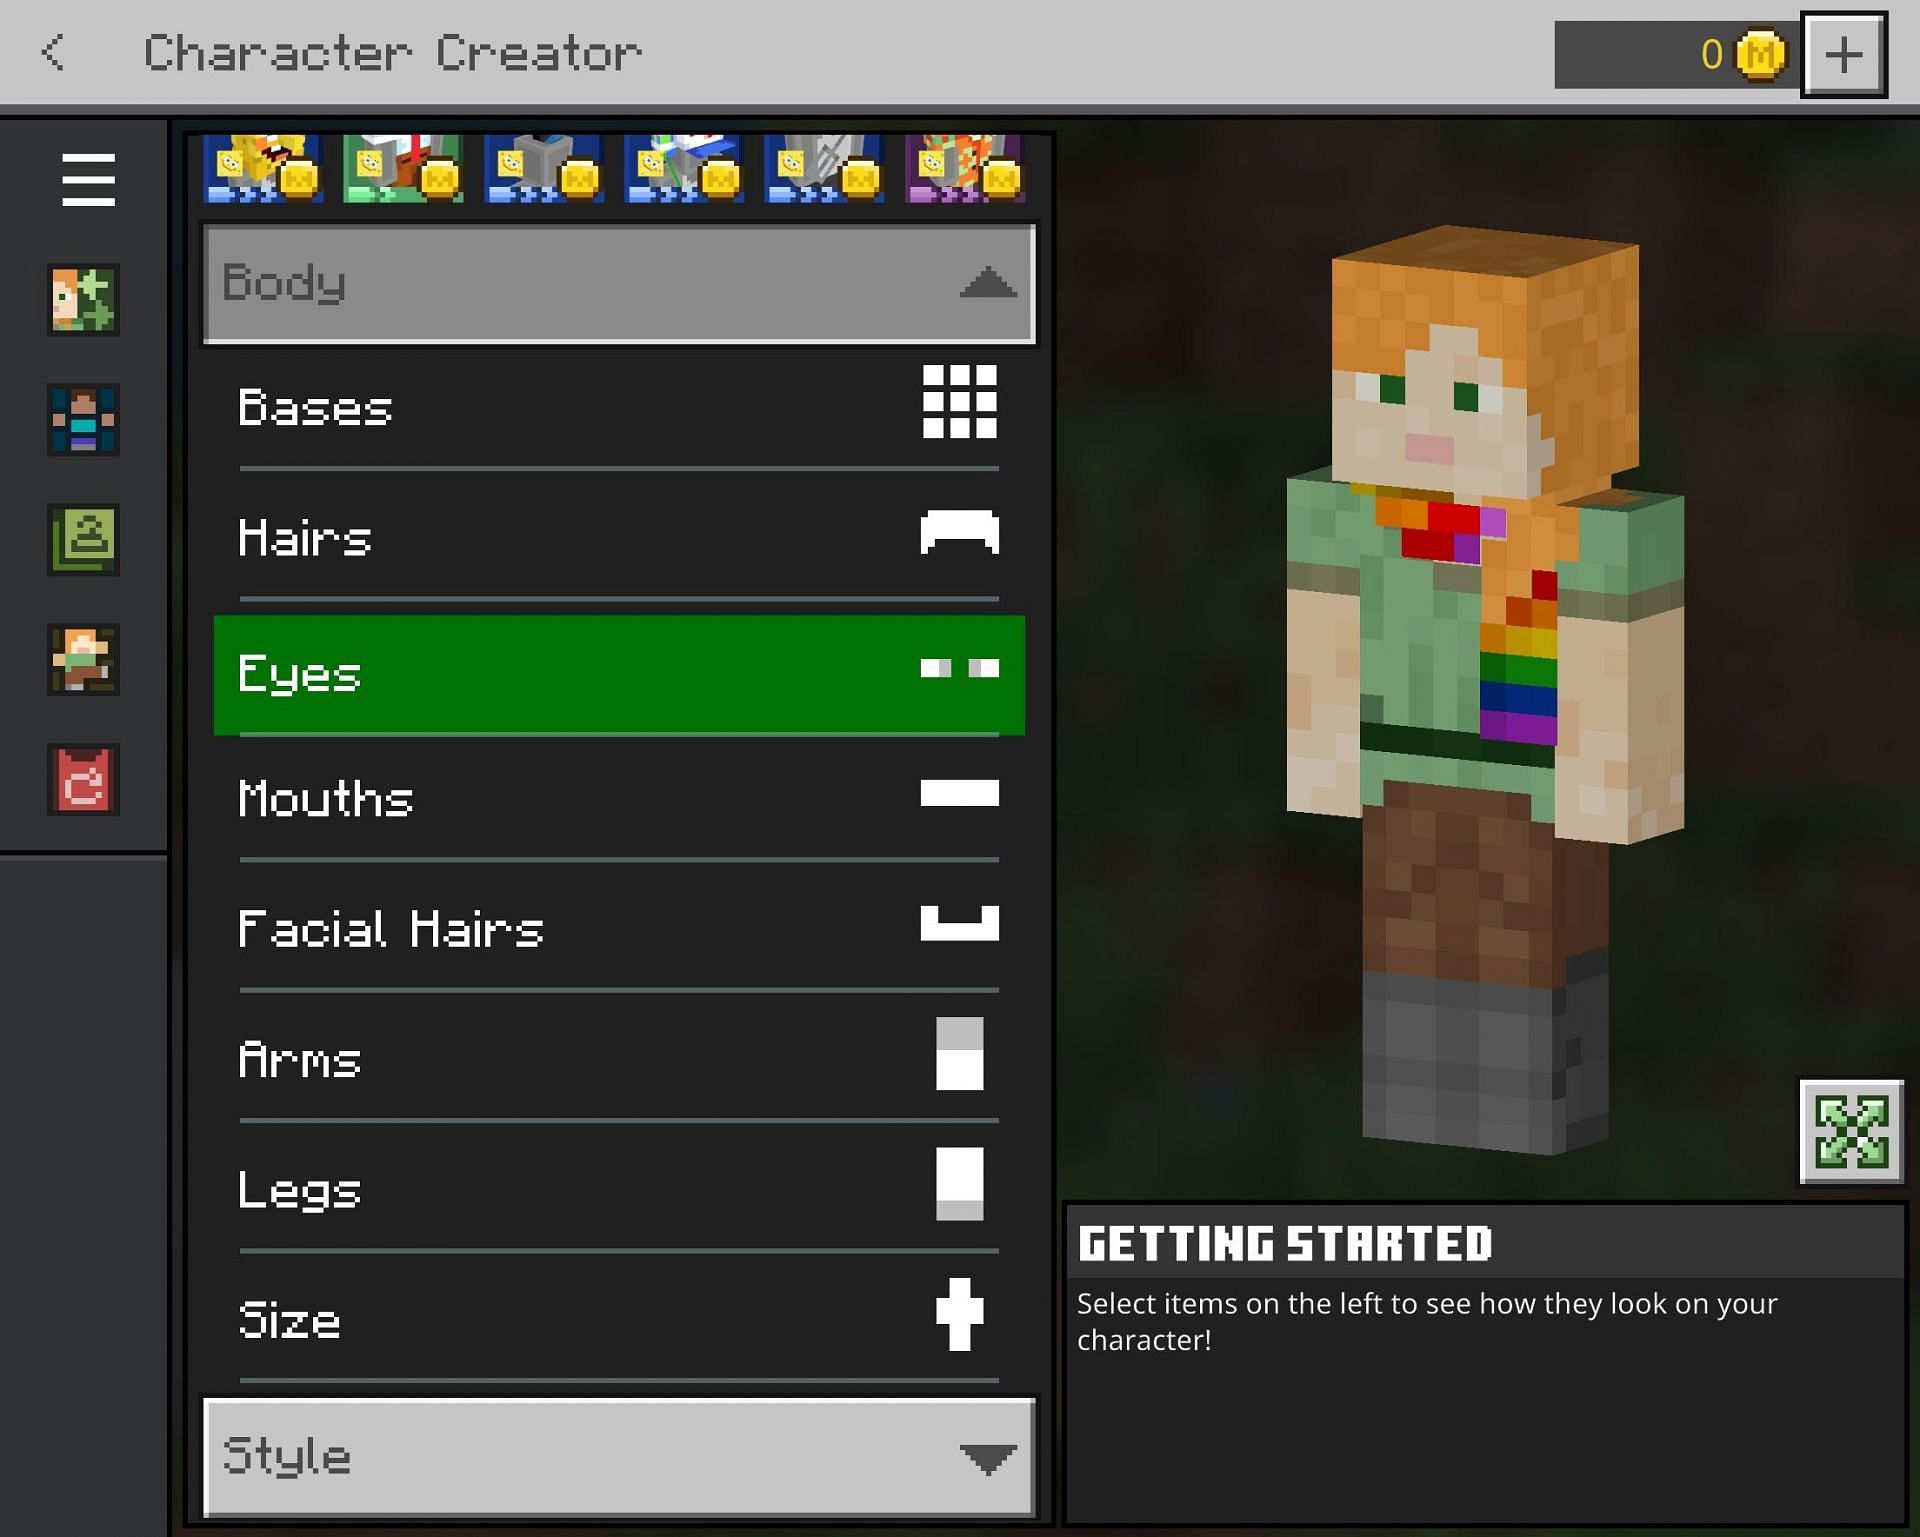
After hitting the “Create Character” button, players will be navigated to the menu where they can either customize the skin or outfit. They should go through each option to make sure that every thing is as they want for their new variant. Once they are finished, they can simply back out of these menus, and the changes will be automatically saved.

Uncover new worlds with our Minecraft Seed Generator!