
'%20x='0'%20y='0'%20height='100%25'%20width='100%25'%20%0A%20%20%20%20%20%20%20%20%20%20xlink%3Ahref='data:image/jpg;base64,/9j/2wBDAAYEBQYFBAYGBQYHBwYIChAKCgkJChQODwwQFxQYGBcUFhYaHSUfGhsjHBYWICwgIyYnKSopGR8tMC0oMCUoKSj/2wBDAQcHBwoIChMKChMoGhYaKCgoKCgoKCgoKCgoKCgoKCgoKCgoKCgoKCgoKCgoKCgoKCgoKCgoKCgoKCgoKCgoKCj/wgARCAAGAAoDASIAAhEBAxEB/8QAFQABAQAAAAAAAAAAAAAAAAAABQb/2gAIAQEAAAAABmv/xAAUAQEAAAAAAAAAAAAAAAAAAAAC/9oACAECEAAAAF//xAAUAQEAAAAAAAAAAAAAAAAAAAAC/9oACAEDEAAAAD//xAAgEAABBAIBBQAAAAAAAAAAAAADAQIEEQAFIgYSEyFB/9oACAEBAAE/ANVt9to4cSHF2RScEQbZDGmaxLpKtLyX1OcMowiobyMerXdhvVovzjn/xAAYEQACAwAAAAAAAAAAAAAAAAADEQABEv/aAAgBAgEBPwAZiJauf//EABgRAAIDAAAAAAAAAAAAAAAAAAACAQNB/9oACAEDAQE/AGqSMP/Z'%3E%3C/image%3E%3C/svg%3E)
Minecraft is an incredibly easy game to modify. While some mods aim to completely overhaul the game, turning it into a completely different experience, such as Pixelmon or RLCraft, there are other mods that aim to add quality of life features or single additions, such as JourneyMap or Nature’s Compass.
However, for players looking to add a little more power to the ranged weapons available in-game, there is nowhere better to look than the plethora of mods centered around adding guns to the game. This article features the steps involved in adding and installing a gun mod in Minecraft 1.19.

How to install gun mods for Minecraft 1.19
1) Open the CurseForge application
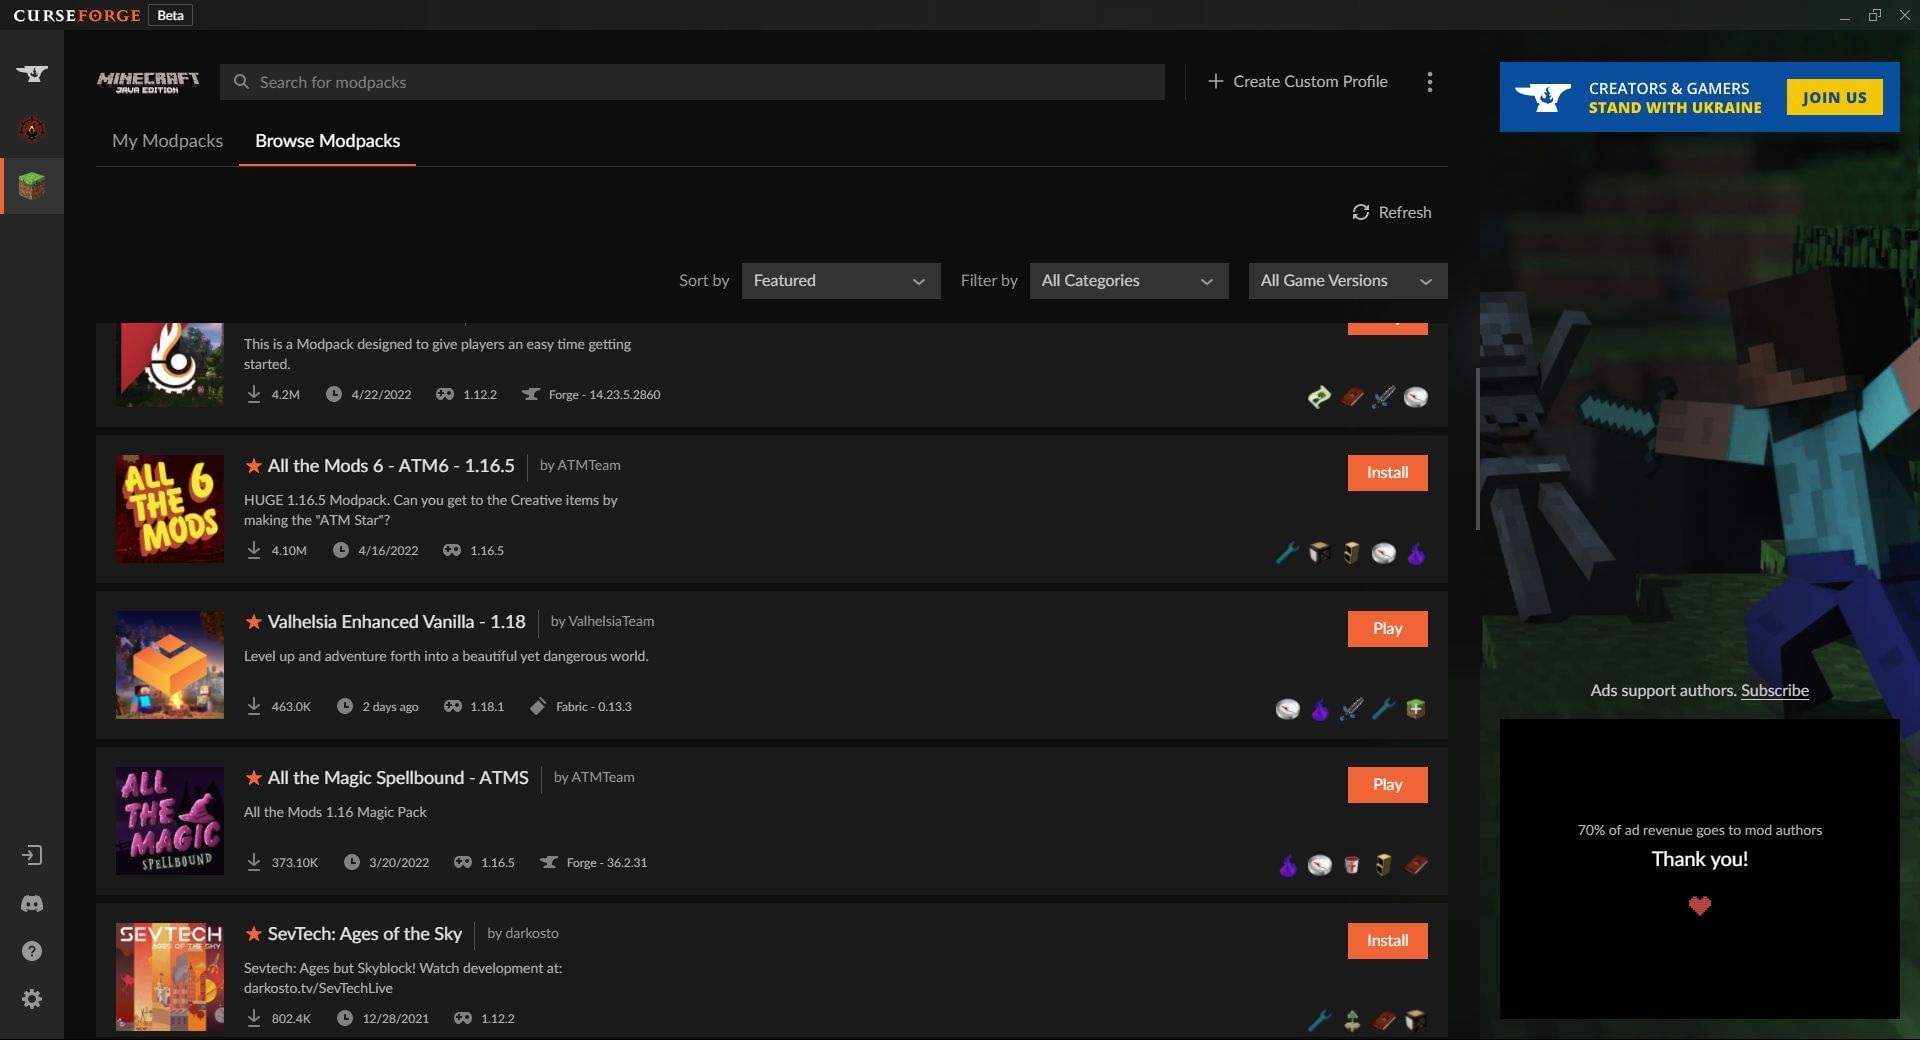
Chart New Territories with the ultimate Minecraft Seed Generator!
The CurseForge application is by far the easiest way to install modifications for Minecraft. The first thing that players need to do is open the CurseForge application if they already have it installed, or install it from the CurseForge website if they do not.
2) Click 'create custom profile'
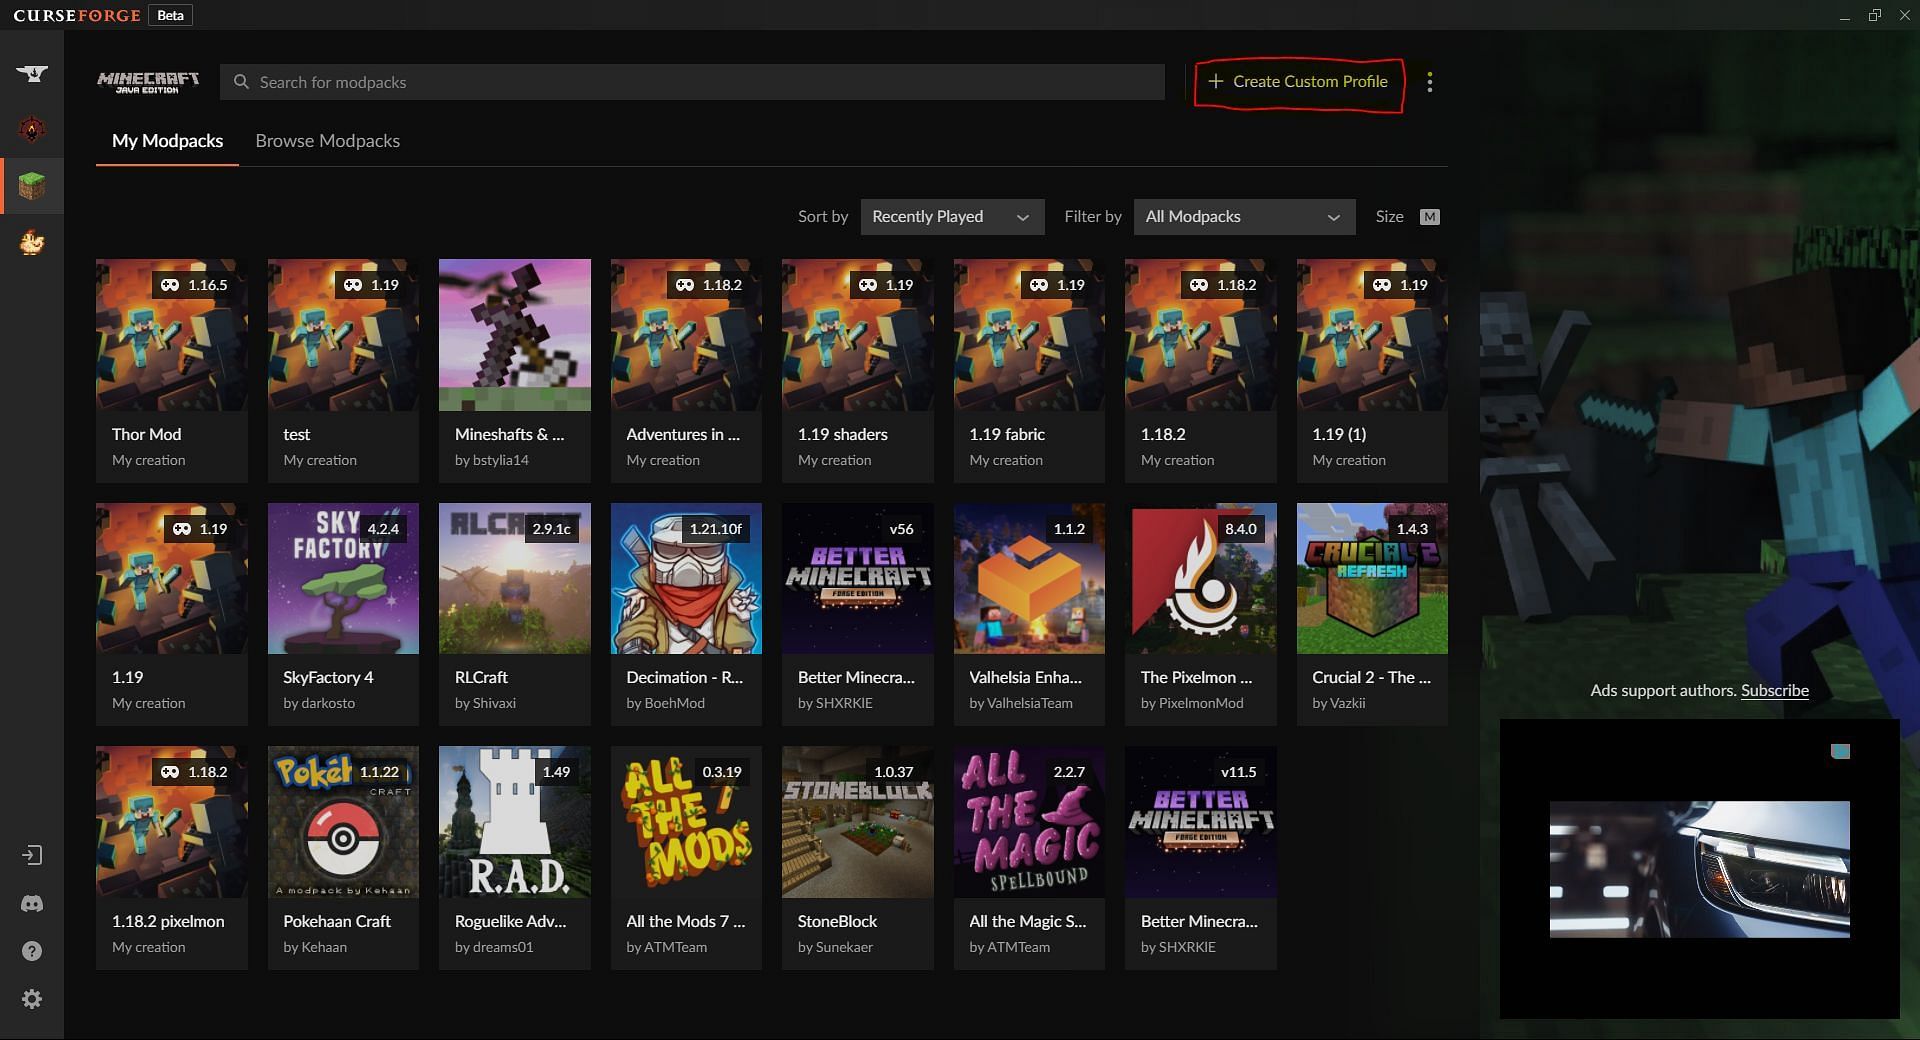
Once CurseForge is open or installed, and linked to a player’s installation of Minecraft, they can begin the process of preparing the game for mods. The first thing that players will want to do is to click the button on the upper right half of the middle of the window, which will say “+ Create Custom Profile.”
This will open the dialog box to create a new profile, which is a separate version of the game that will have the mods installed, leaving the base game untouched.
3) Create a new profile
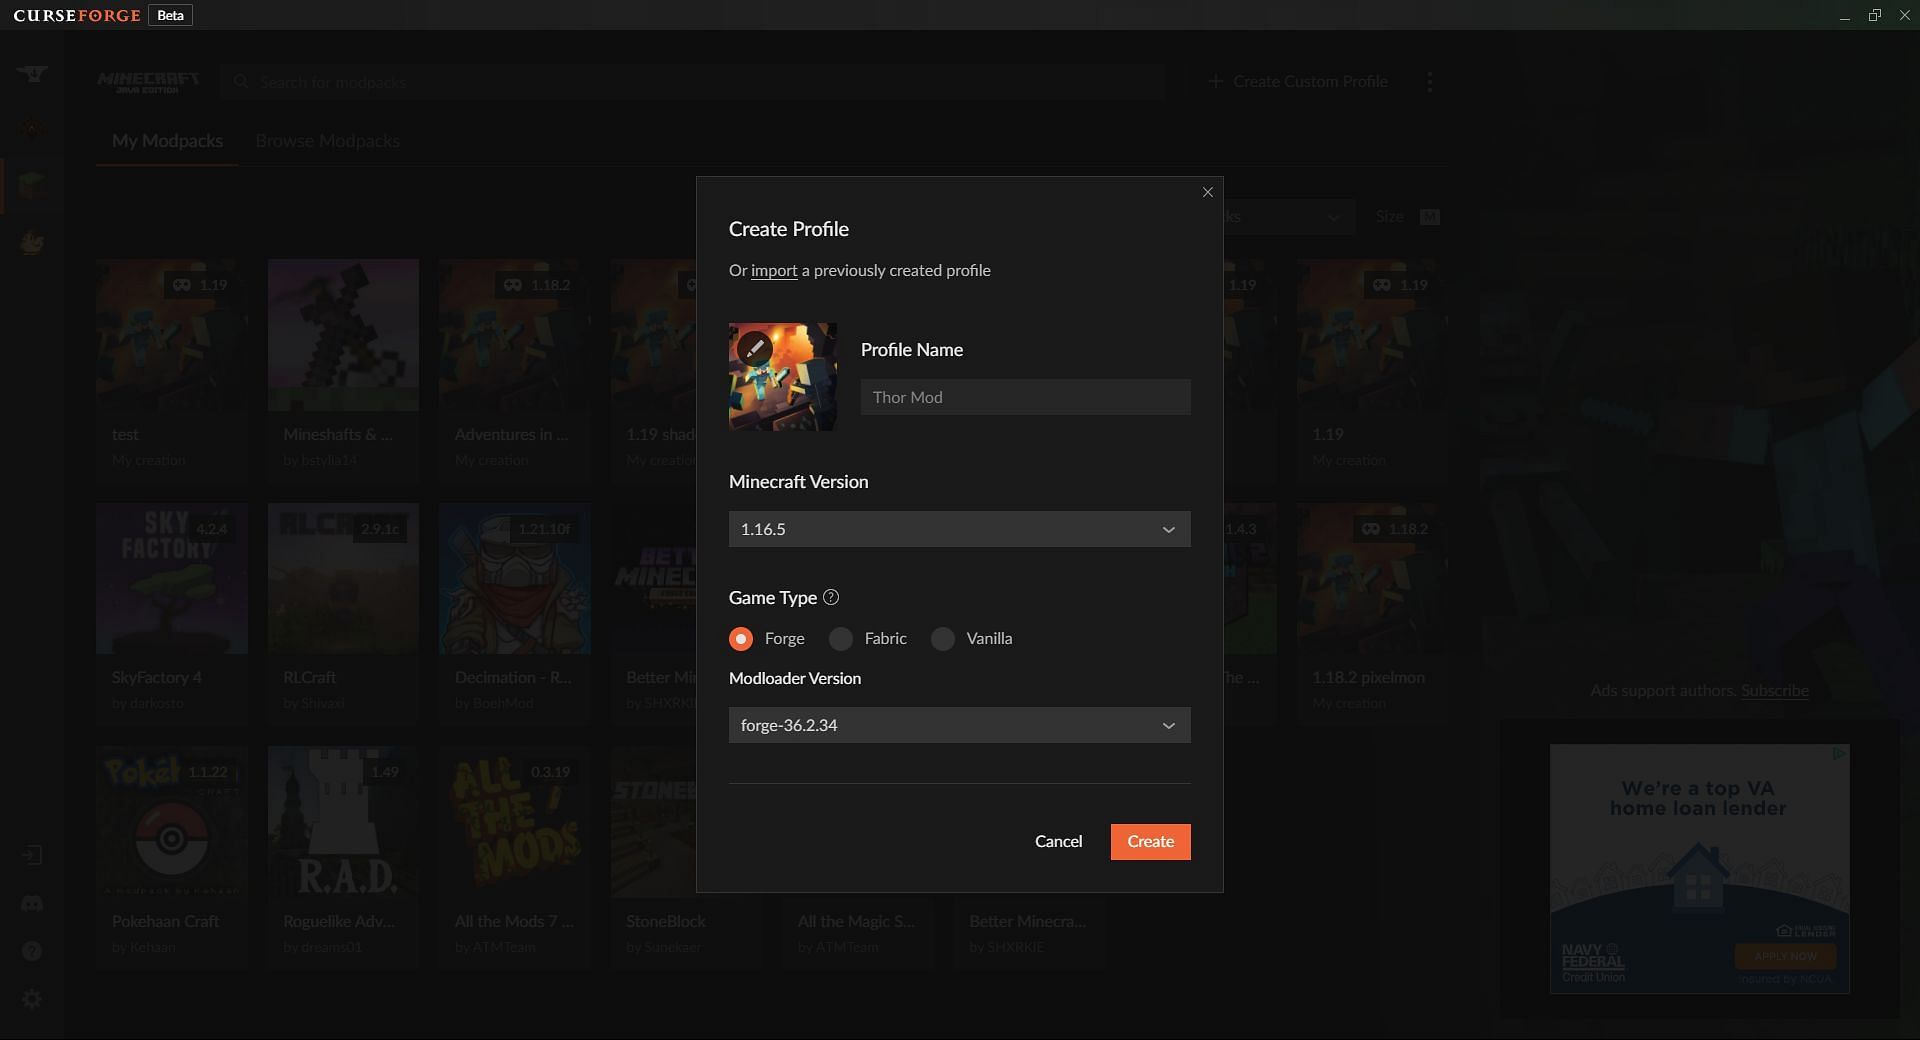
Once the dialog box opens, players should give their profile a name that will make it easy to pick out of the list, while also relating to the installation. For example, players installing gun mods could name it “Gun Mods” or base it on the version of the game and name it “1.19.”
Next, players will want to pick a version of the base game to use as the foundation for the mods. The best version for this, in terms of options for different gun mods, while still being as up-to-date as possible, is base 1.19.
Next, players should pick which mod loader they want: Forge or Fabric. The image here shows the process in Fabric while testing. Leave the modloader version option at default unless any mods require a specific version that is newer.
Once this is all filled out, click “Create” and wait for the profile to be made.
4) Click add more content
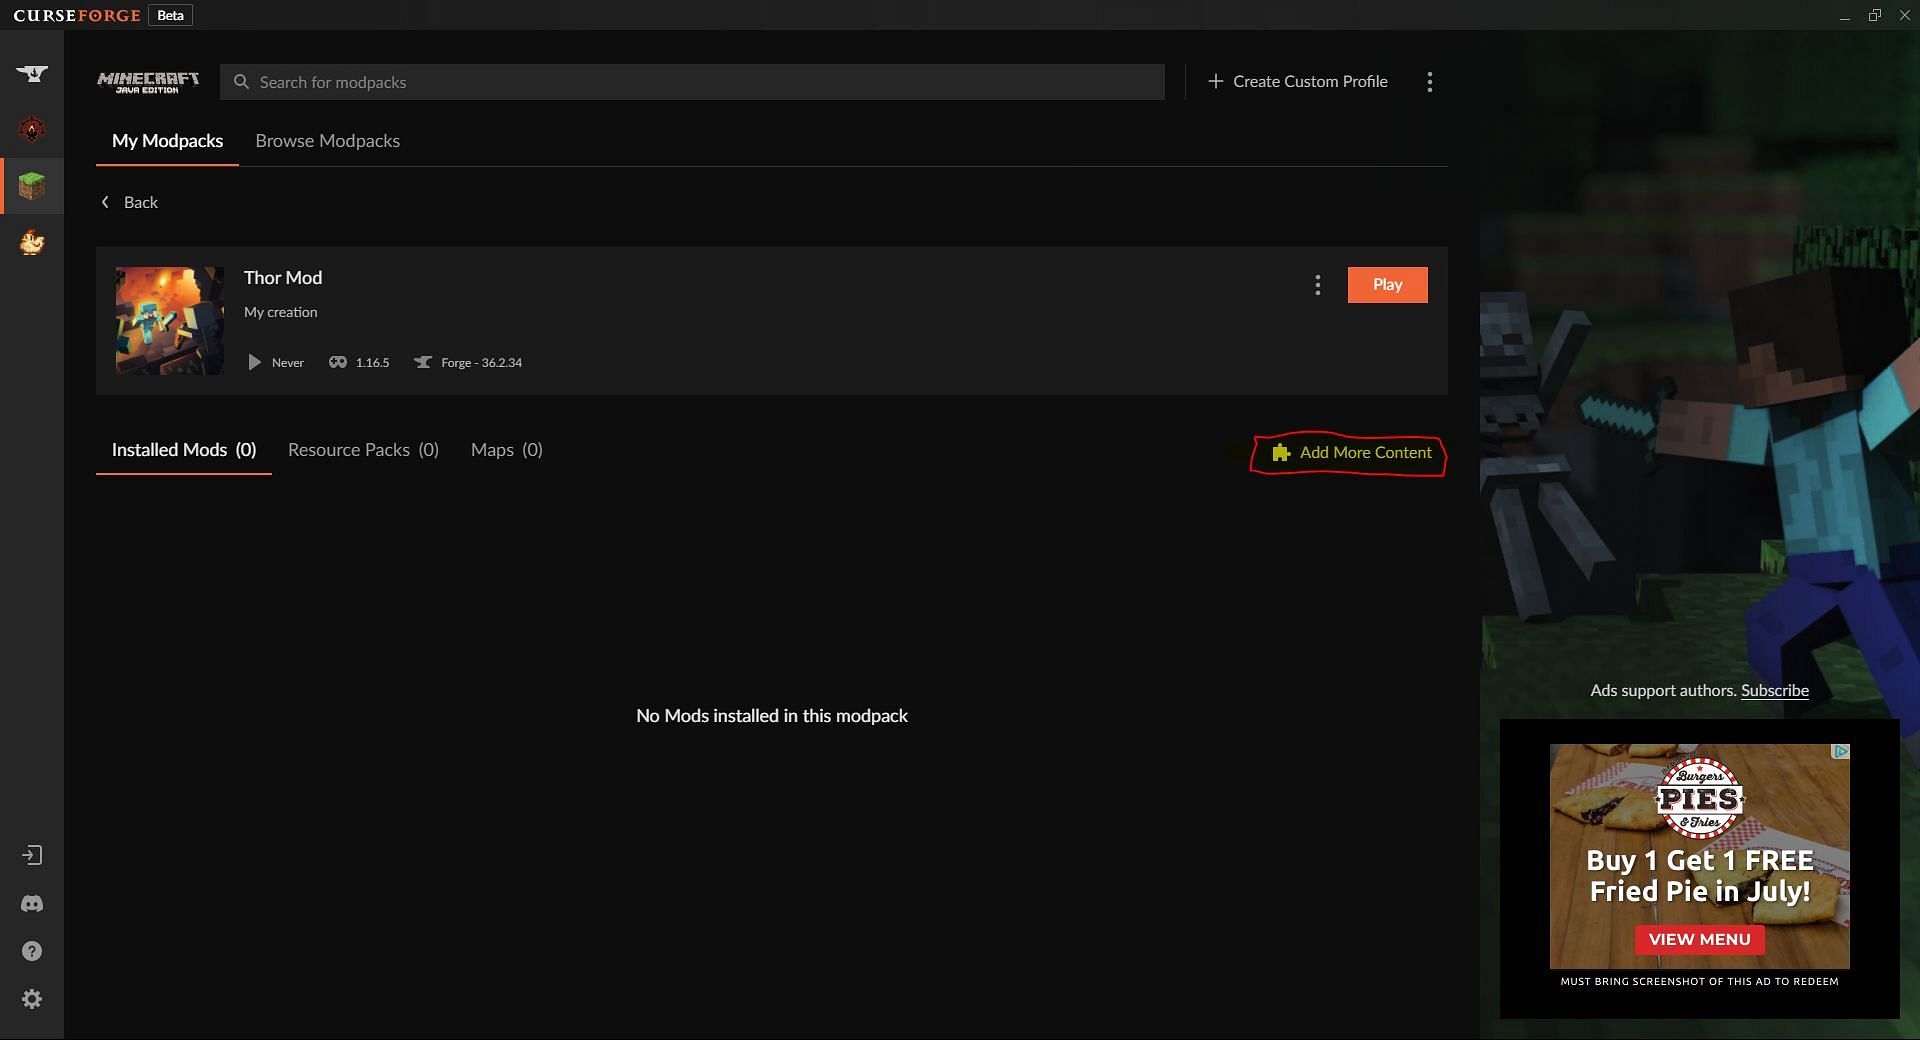
Once the profile has been created and players have logged in, they should see a blank list of mods. Hit the “Add More Content” button near the middle of the screen to pull up the list of mods available for the version of the game used.
5) Search for “gun”
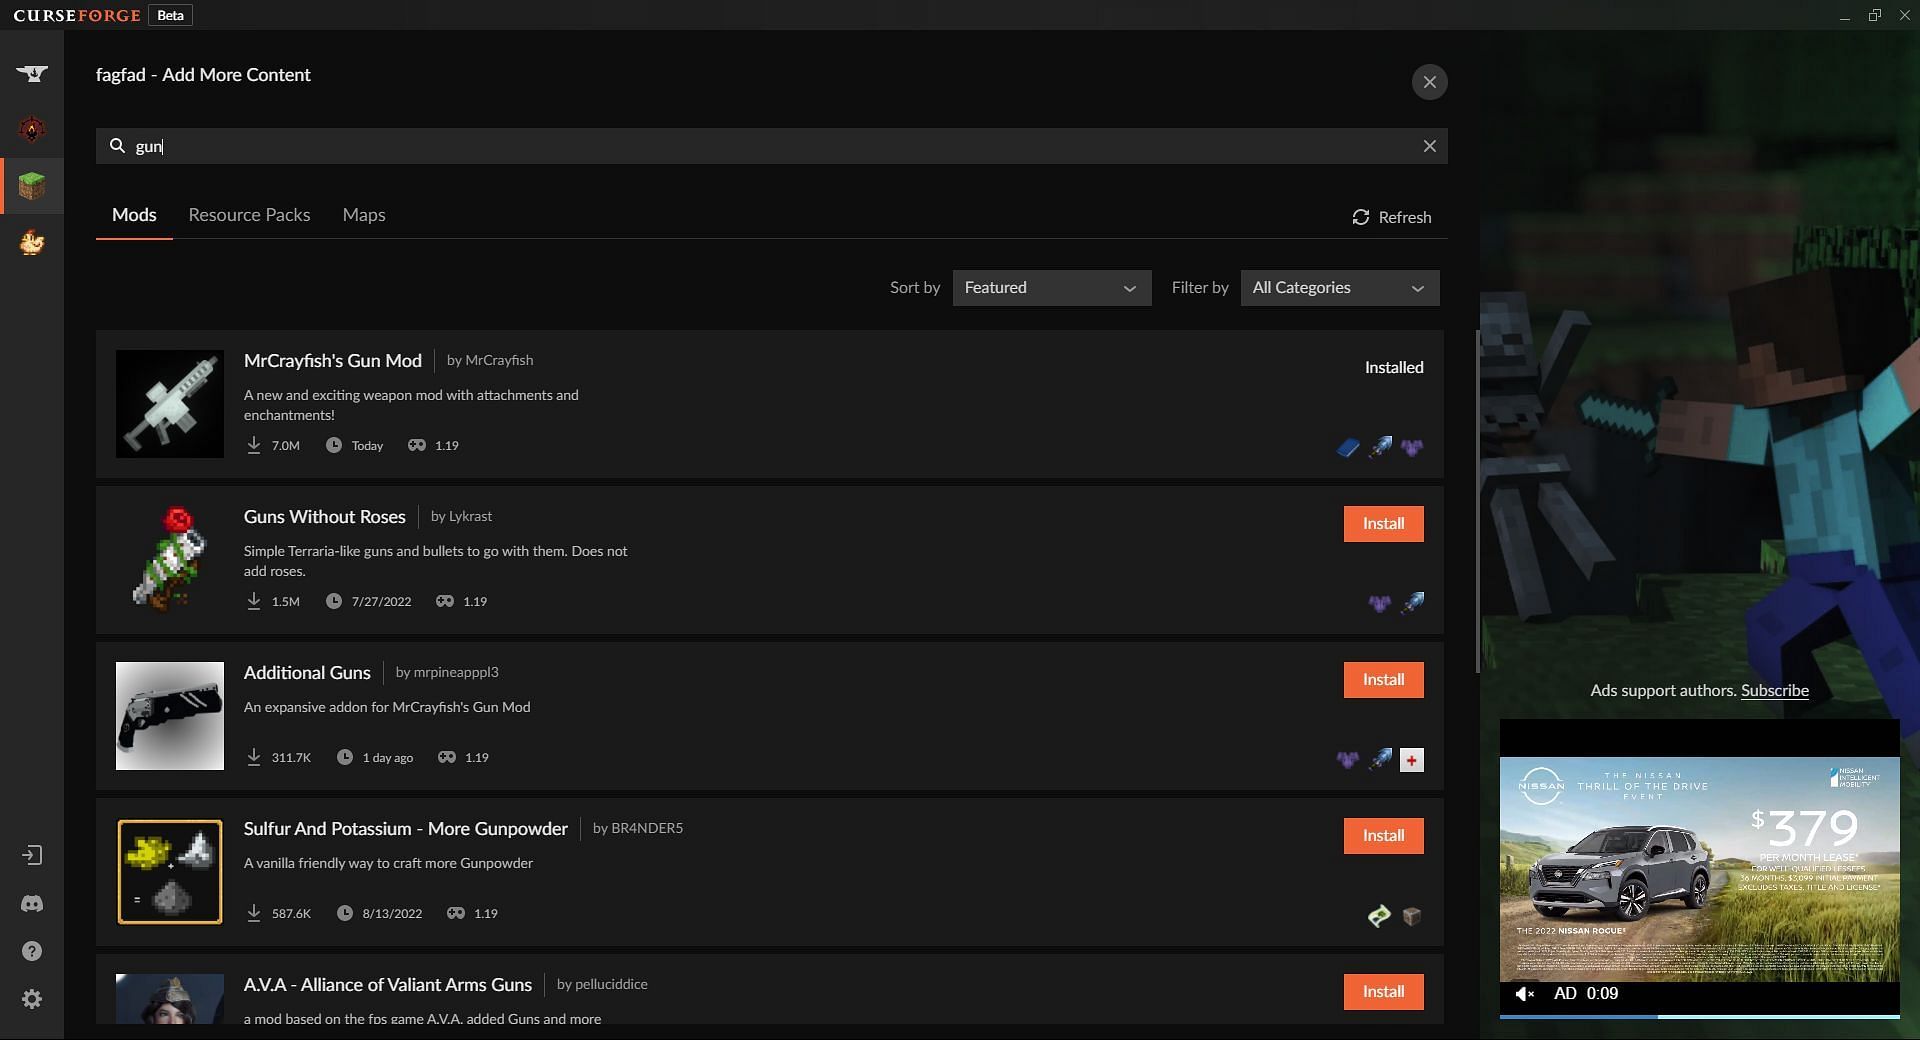
Players can find mods relating to guns in Minecraft by clicking on the search box and searching for the keyword “gun” which will pull up all mods with that word in their name. The default sorting is set to featured mods, though this can be changed to other categories such as popularity and total downloads.
6) Pick mods to install and install them
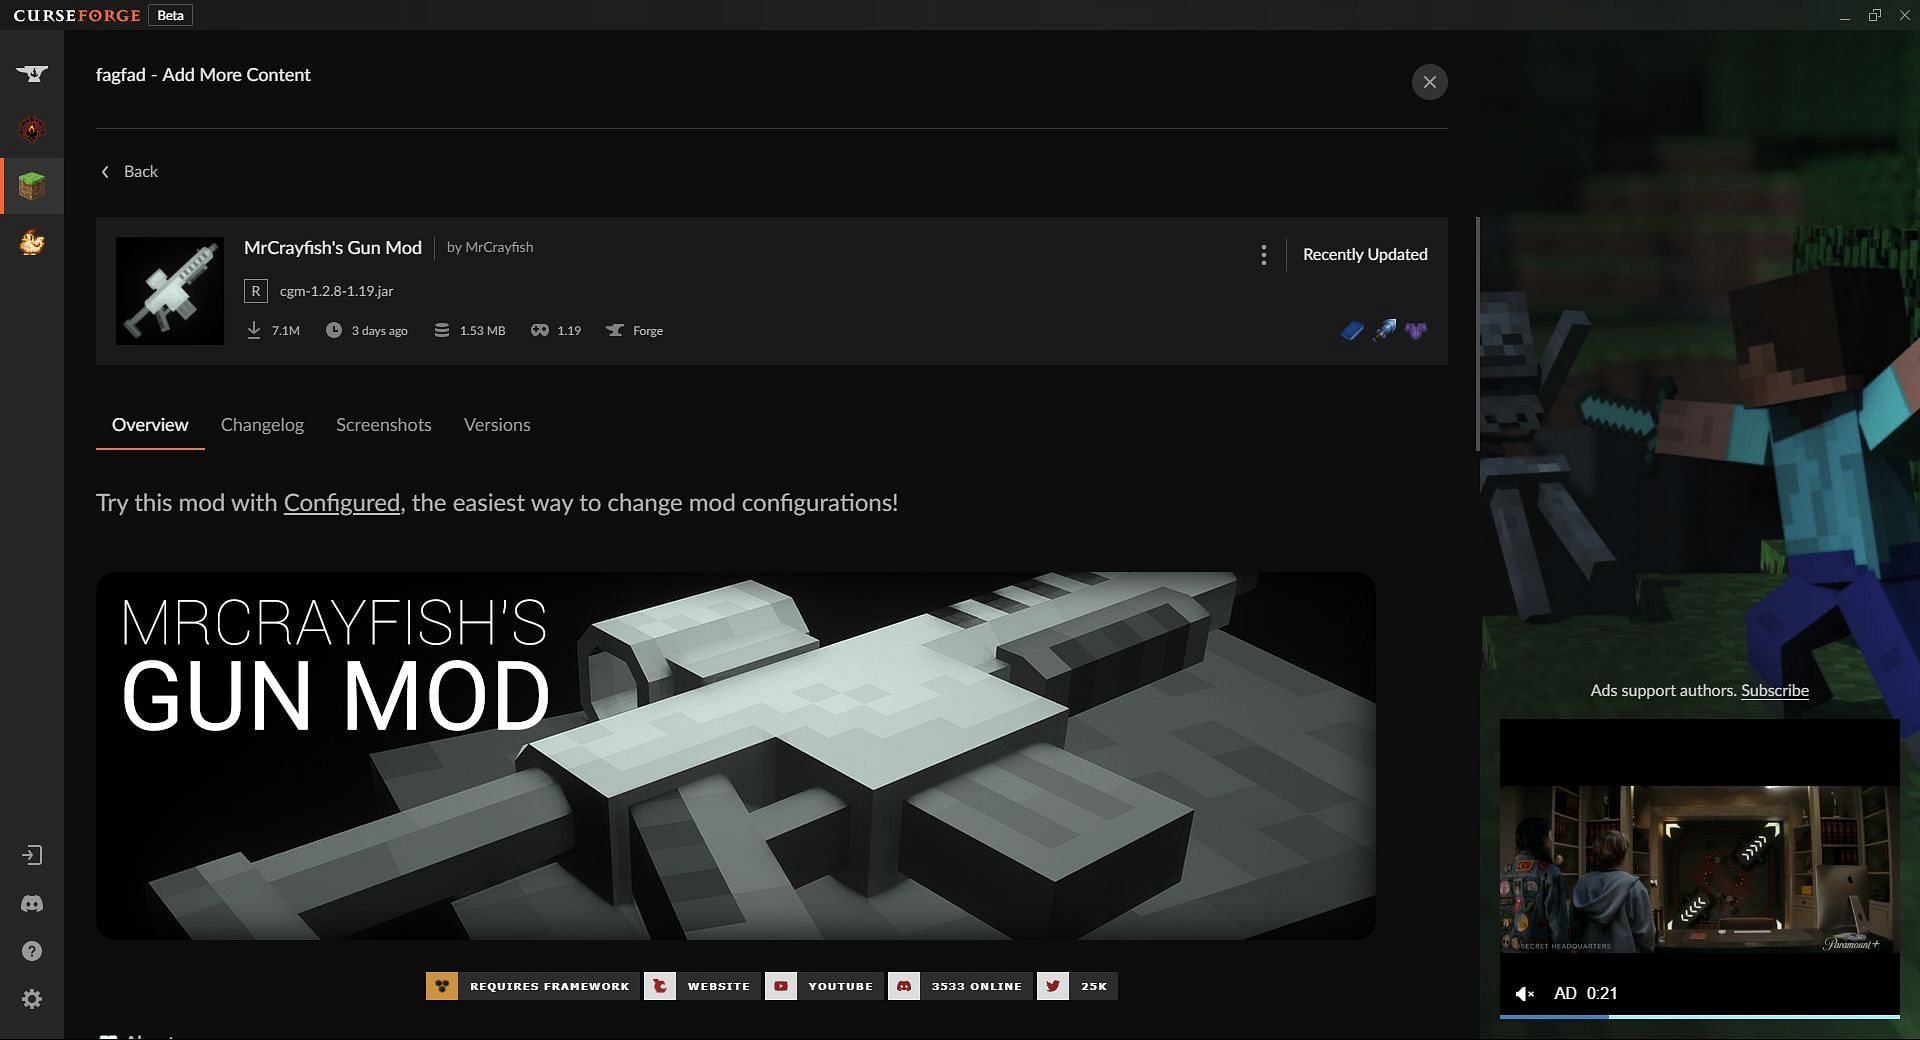
Players should look through this list and find whatever gun mod they like the most. For this example, the mod in question that was installed was MrCrayfish’s Gun Mod, as it is the most popular mod, and is very well done.
7) Click play
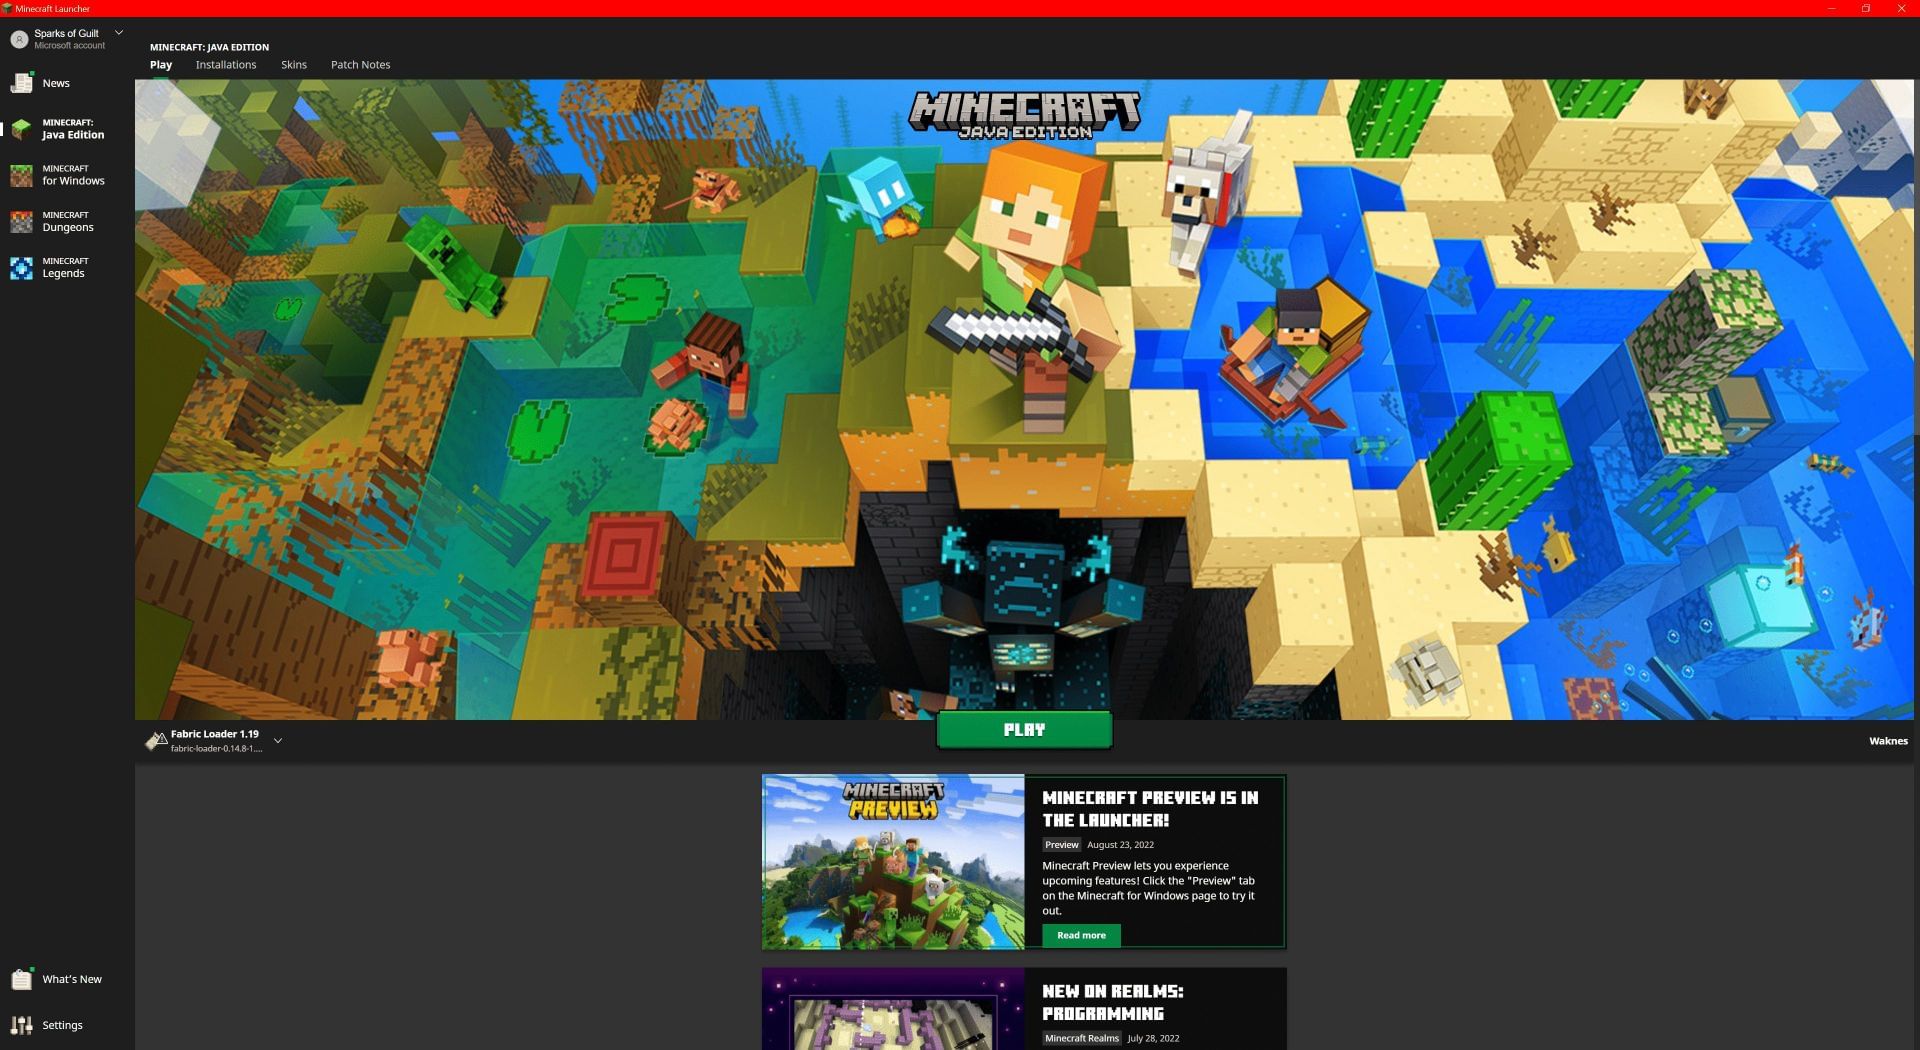
Once the player has installed all the mods they want, they can return to the profile. The list of mods should now show the installed mods. Players can then click the “Play” button to launch a version of the Minecraft launcher associated with the mods. Once the launcher is opened, players can simply hit play to launch the modded version of the game.
8) Test the mods
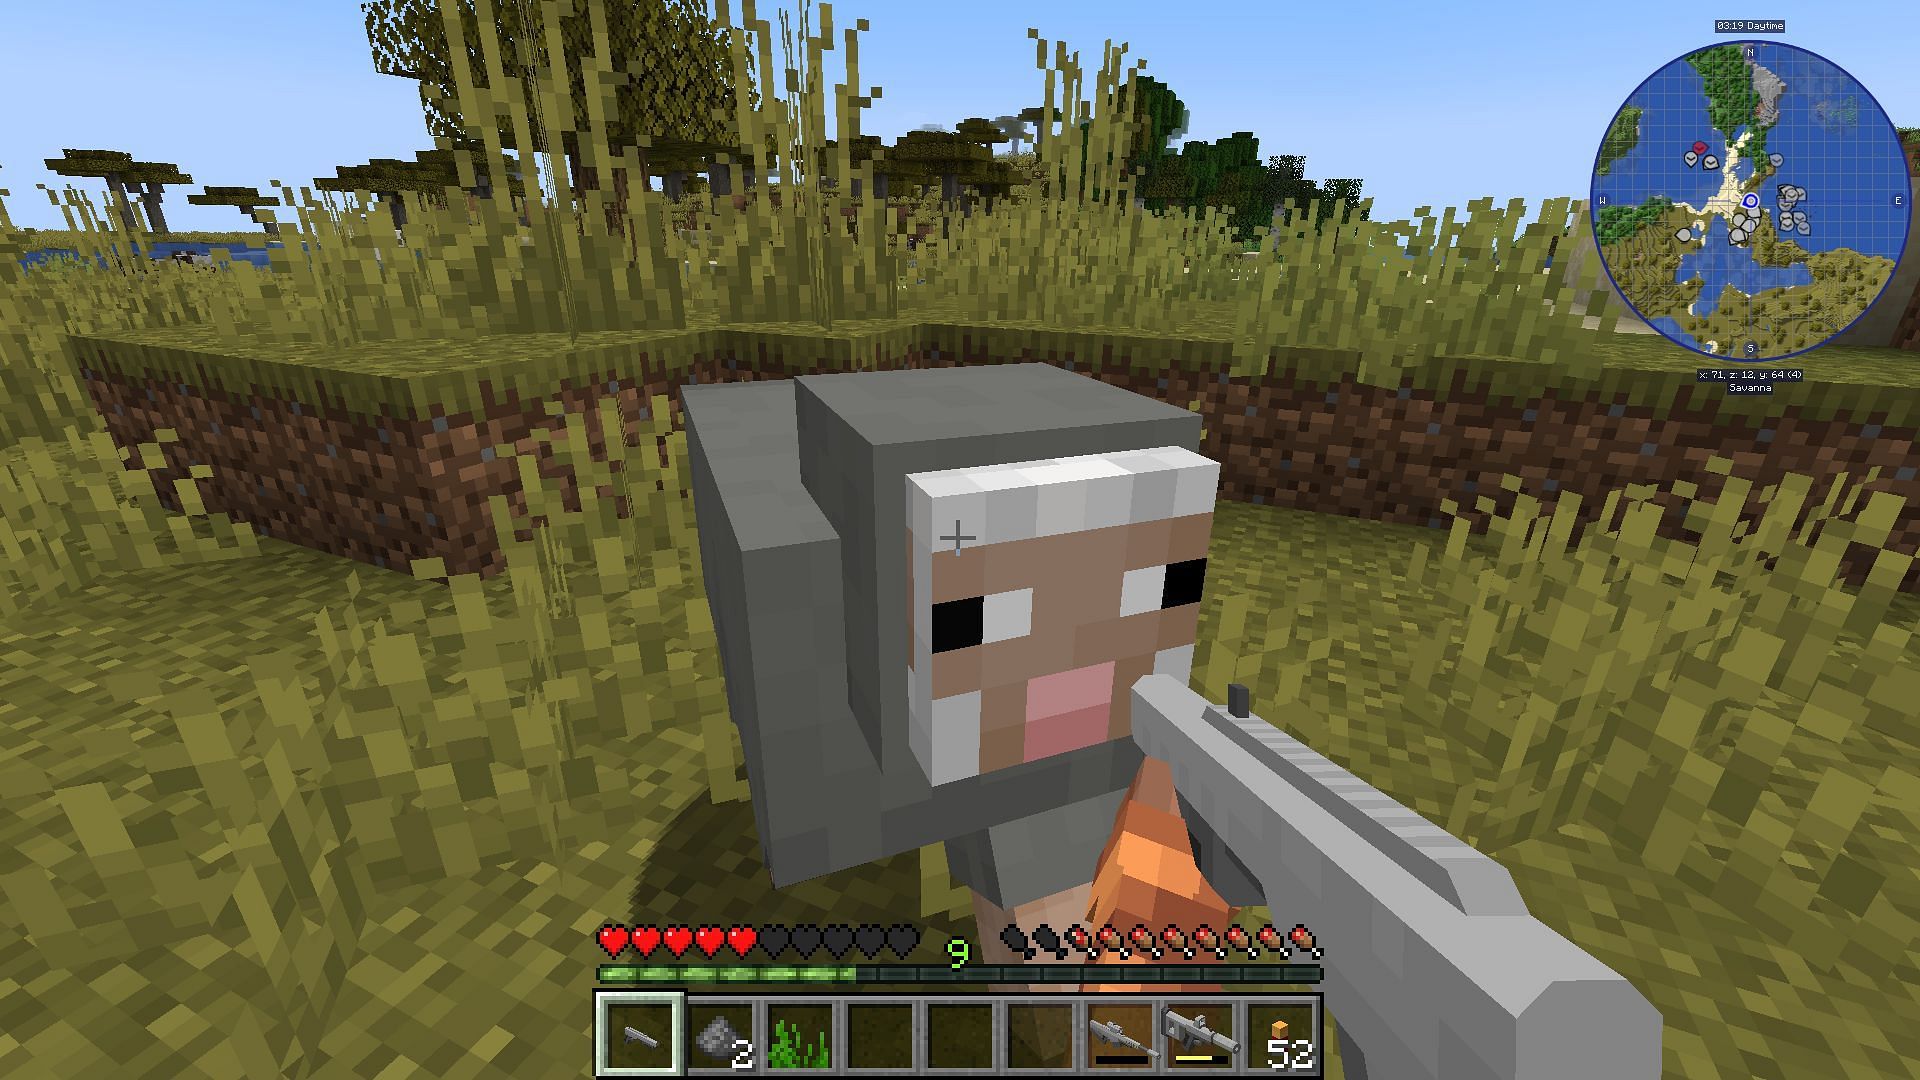
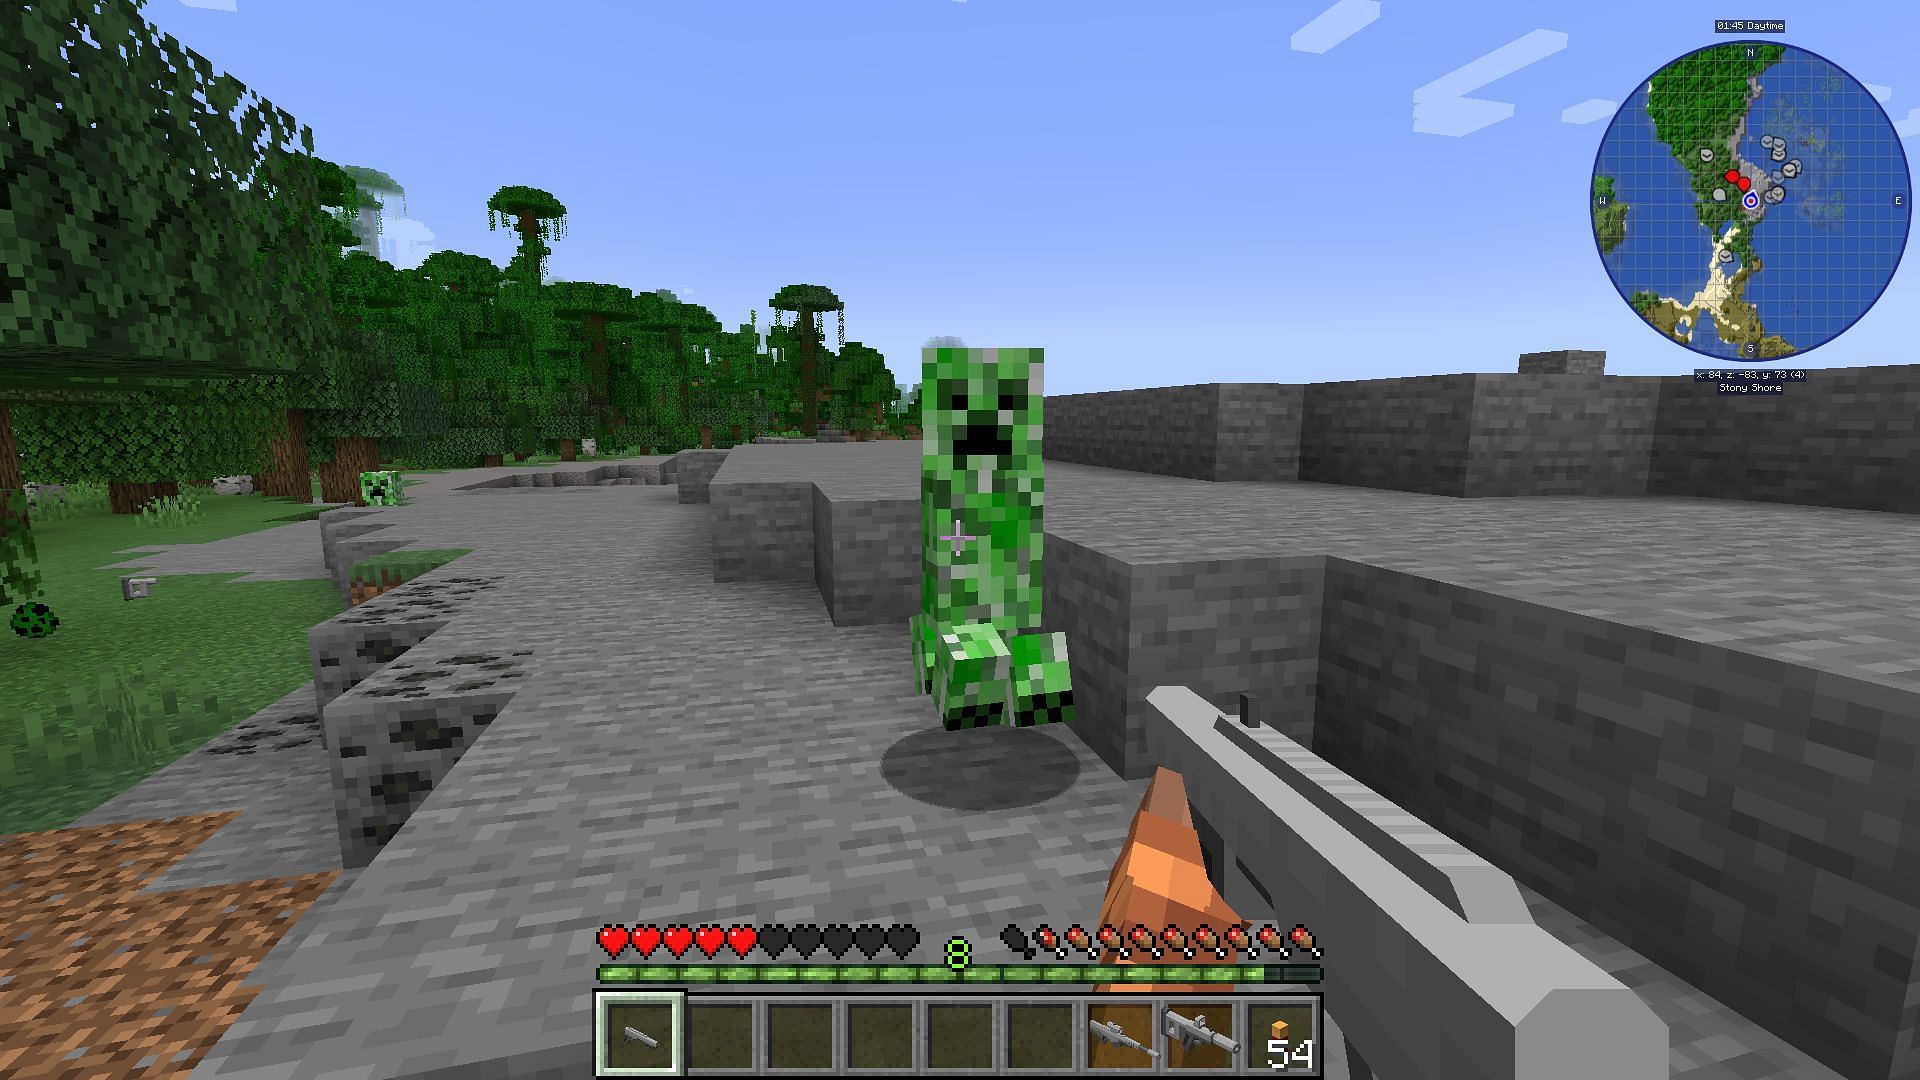
Once the game has launched, players can test the mods to make sure they are working by creating a new creative world. They need to start creative mode and check the inventory for a “gun”. If there are guns listed in the inventory, the mod is installed correctly, and players can make a new survival world, or change their game mode to survival and begin working towards crafting some firearms.

Uncover new worlds with our Minecraft Seed Generator!