
'%20x='0'%20y='0'%20height='100%25'%20width='100%25'%20%0A%20%20%20%20%20%20%20%20%20%20xlink%3Ahref='data:image/jpg;base64,/9j/2wBDAAYEBQYFBAYGBQYHBwYIChAKCgkJChQODwwQFxQYGBcUFhYaHSUfGhsjHBYWICwgIyYnKSopGR8tMC0oMCUoKSj/2wBDAQcHBwoIChMKChMoGhYaKCgoKCgoKCgoKCgoKCgoKCgoKCgoKCgoKCgoKCgoKCgoKCgoKCgoKCgoKCgoKCgoKCj/wgARCAAHAAoDASIAAhEBAxEB/8QAFQABAQAAAAAAAAAAAAAAAAAAAwf/2gAIAQEAAAAAmz//xAAUAQEAAAAAAAAAAAAAAAAAAAAF/9oACAECEAAAAEf/xAAUAQEAAAAAAAAAAAAAAAAAAAAG/9oACAEDEAAAABn/xAAhEAABAQgDAQAAAAAAAAAAAAABEQACAwQSFSEiJTFhov/aAAgBAQABPwC1StI4mRweq4uw9NbWeM7qkm6mEEEoPtv/xAAYEQACAwAAAAAAAAAAAAAAAAAAAgEDMf/aAAgBAgEBPwBqoXD/xAAbEQABBAMAAAAAAAAAAAAAAAACAAEDBREykf/aAAgBAwEBPwAbGY9scZf/2Q=='%3E%3C/image%3E%3C/svg%3E)
Every Minecraft player wants to see their game fully updated, as it means having access to the latest features. While this stands true for every everyone who uses the single-player game mode, it also applies to those who host online servers.
Updating a server will, more often than not, attract more players and a good reputation. It will also allow them to use updated mods, shaders, add-ons, data packs, texture packs, plugins, and resource packs. Fortunately, the process of updating a server to the newest version, titled Minecraft 1.19, is fairly easy.

Chart New Territories with the ultimate Minecraft Seed Generator!
Steps to update a vanilla server to Minecraft 1.19.2 The Wild Update
1) Check the server's current version
First things first, hosts should be aware of what version the server is currently running on. This is important as players who have the 1.18 version installed, for example, will not be able to join a server that is running the 1.19 version.
They can check the server's version by opening the game and going into the Multiplayer tab. This page has a list of servers, one of which will be the host’s.
2) Stop the server
Before changing the server's version, players will have to shut it down temporarily. This is usually done from the server’s console that runs outside the game. It controls every in-game command, like kicking and banning, game modes, operator and admin permissions, and more.
3) Make a back up of the server
A general rule of thumb before making any tweaks to a server’s files is to always back up its contents. To do this, players need to copy the server's folder and paste it in a secure location. This will ensure that they have something to revert to if anything were to go wrong during the update process.
4) Download the latest Minecraft version
For an individual player updating their game, the process is composed of going to the profile's section beside the Play button in the Minecraft Launcher and selecting the correct version to be installed.
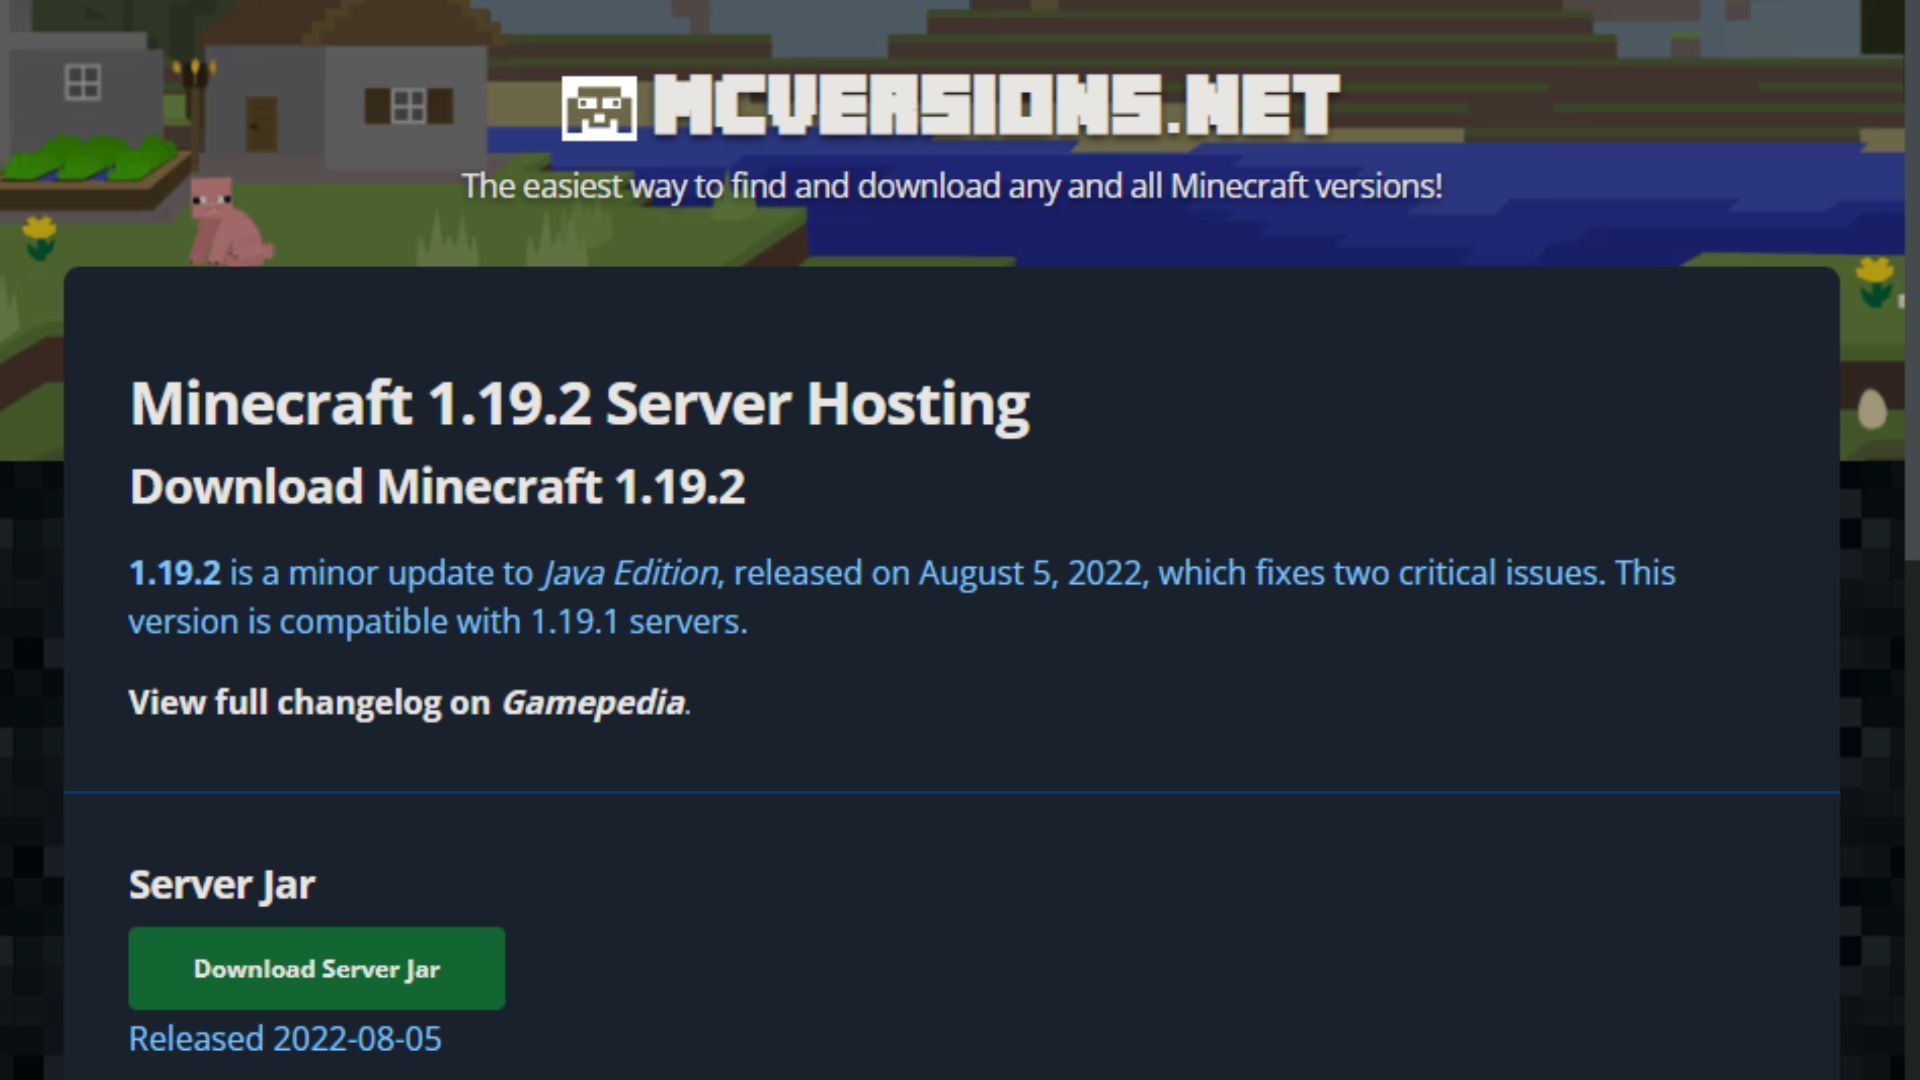
However, for a server, hosts will need to download the .jar file for the 1.19.2 version. For vanilla Minecraft, this file can be found on a website called mcversions, under the Stable Releases tab.
5) Replace the new “server.jar” file with the old one
Once the server.jar file for The Wild Update has been downloaded, the process becomes quite easy. All the host has to do is replace the newly downloaded file with the old one in the server’s folder.
6) Enjoy The Wild Update on the server
Once the new .jar file has been pasted into the server's folder, hosts can start it back up. While it will indicate the older version before startup, players will witness the server's version change to 1.19.2 once it is booted and running, which is, as of now, the latest verion of Minecraft.
While this guide only refers to the update process for a vanilla server, players with plugins and mods can follow it as well. While their servers will work in such a situation, the mods and plugins might not.
Players will have to update those features aside from the server's update process. While plugins can be updated and put to work straight away, utmost care should be taken while updating mods, as compatibility issues can lead to corruption of server files, and subsequently, the in-game world itself.

Uncover new worlds with our Minecraft Seed Generator!