
'%20x='0'%20y='0'%20height='100%25'%20width='100%25'%20%0A%20%20%20%20%20%20%20%20%20%20xlink%3Ahref='data:image/jpg;base64,/9j/2wBDAAYEBQYFBAYGBQYHBwYIChAKCgkJChQODwwQFxQYGBcUFhYaHSUfGhsjHBYWICwgIyYnKSopGR8tMC0oMCUoKSj/2wBDAQcHBwoIChMKChMoGhYaKCgoKCgoKCgoKCgoKCgoKCgoKCgoKCgoKCgoKCgoKCgoKCgoKCgoKCgoKCgoKCgoKCj/wgARCAAGAAoDASIAAhEBAxEB/8QAFgABAQEAAAAAAAAAAAAAAAAAAAYH/8QAFQEBAQAAAAAAAAAAAAAAAAAAAwT/2gAMAwEAAhADEAAAAMLnyZ//xAAdEAACAgIDAQAAAAAAAAAAAAABAgMRAAQFBkFh/9oACAEBAAE/AOX7Pt70k8jBY3lUorIKKKRVX6KwJAooxsSPuf/EABcRAAMBAAAAAAAAAAAAAAAAAAABAiH/2gAIAQIBAT8AlKVh/8QAGBEAAgMAAAAAAAAAAAAAAAAAAAECETH/2gAIAQMBAT8Ak70//9k='%3E%3C/image%3E%3C/svg%3E)
The new Ghosts of the Deep Dungeon in Destiny 2 follows the seasonal storyline, where players must dive deep into Titan's archeology. Although the main objective might involve disrupting the Hive's resurrection ritual, players need to go around and find 12 of Xivu Arath's audio logs to achieve the seal.
The following article will guide you through all the locations of the Xivu Arath collectibles within the new Dungeon. Typically, it will help if you complete the Dungeon at least once and become accustomed to the doors and the entire area.
Where are the locations of Memory of Darkness in Destiny 2 Ghosts of the Deep for the In Memoriam Triumph
These are the locations of Memory of Darkness in Destiny 2 Ghosts of the Deep dungeon:
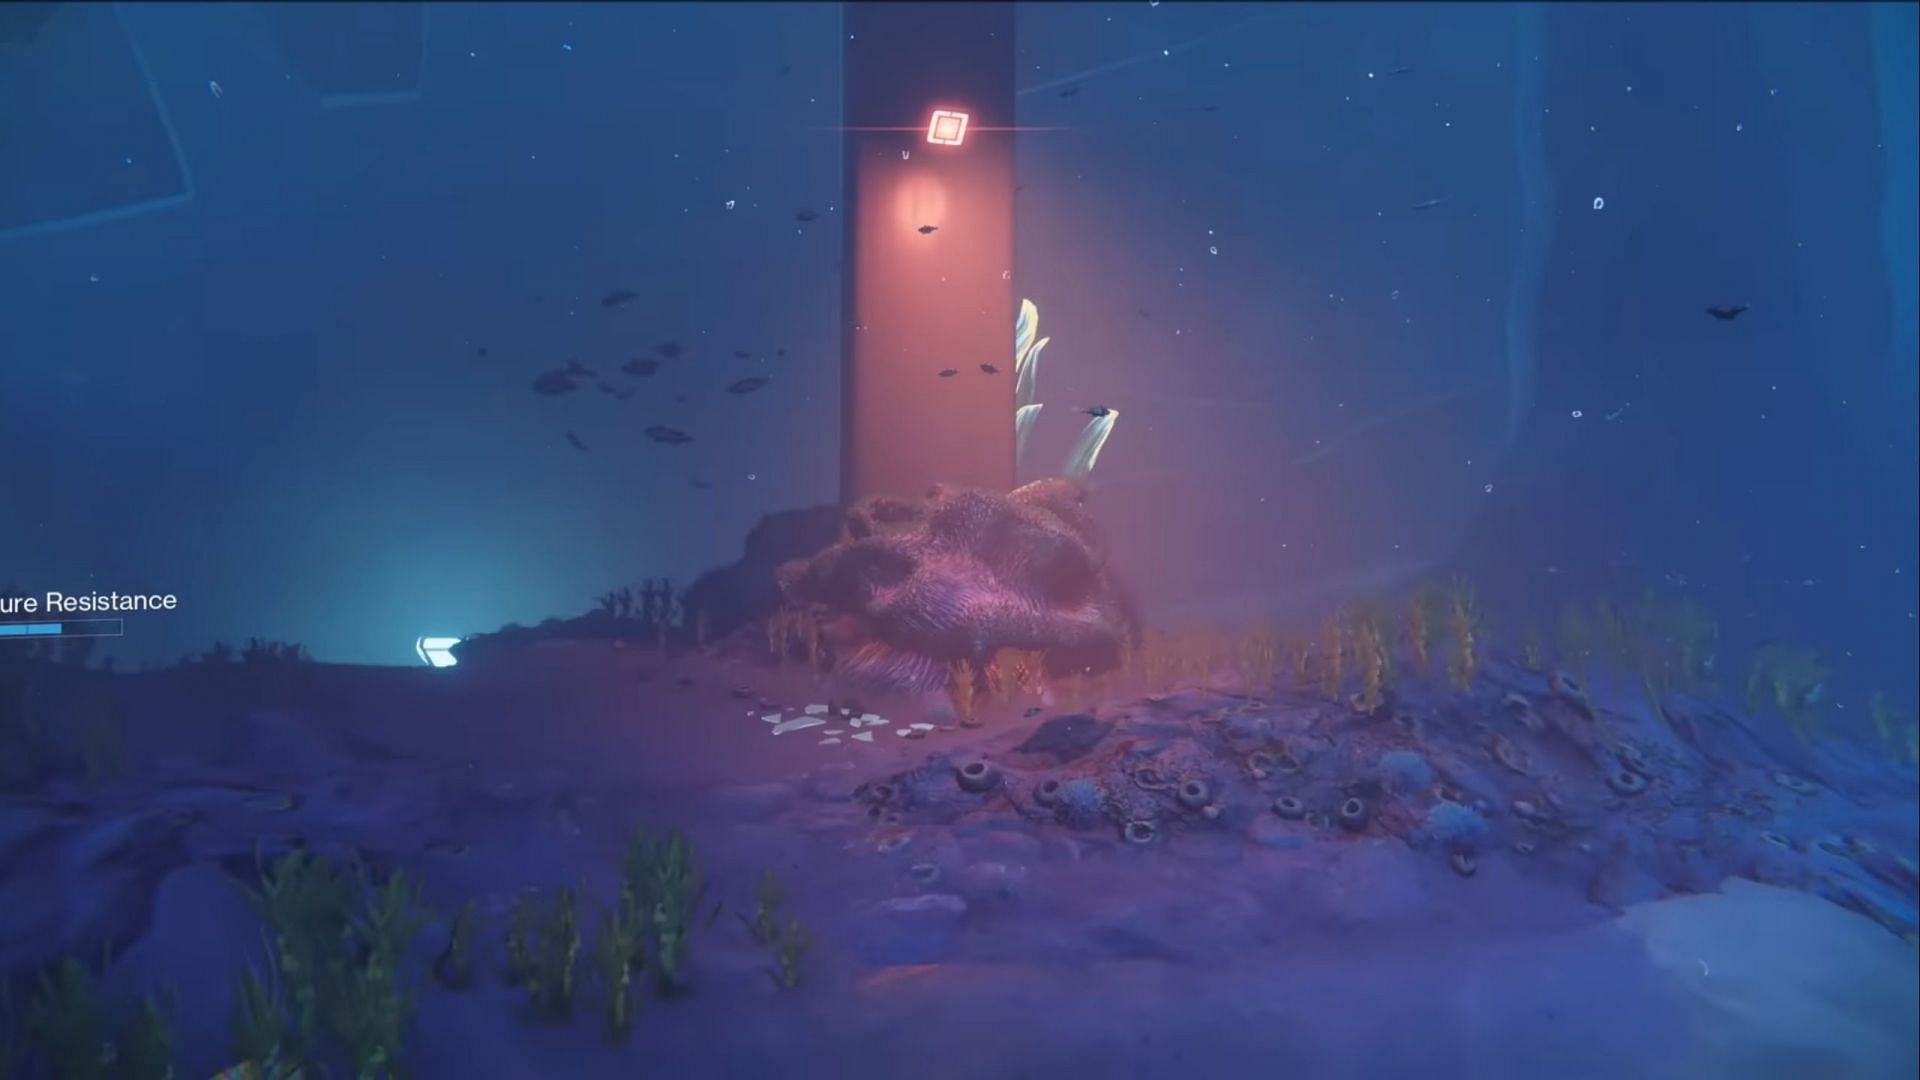
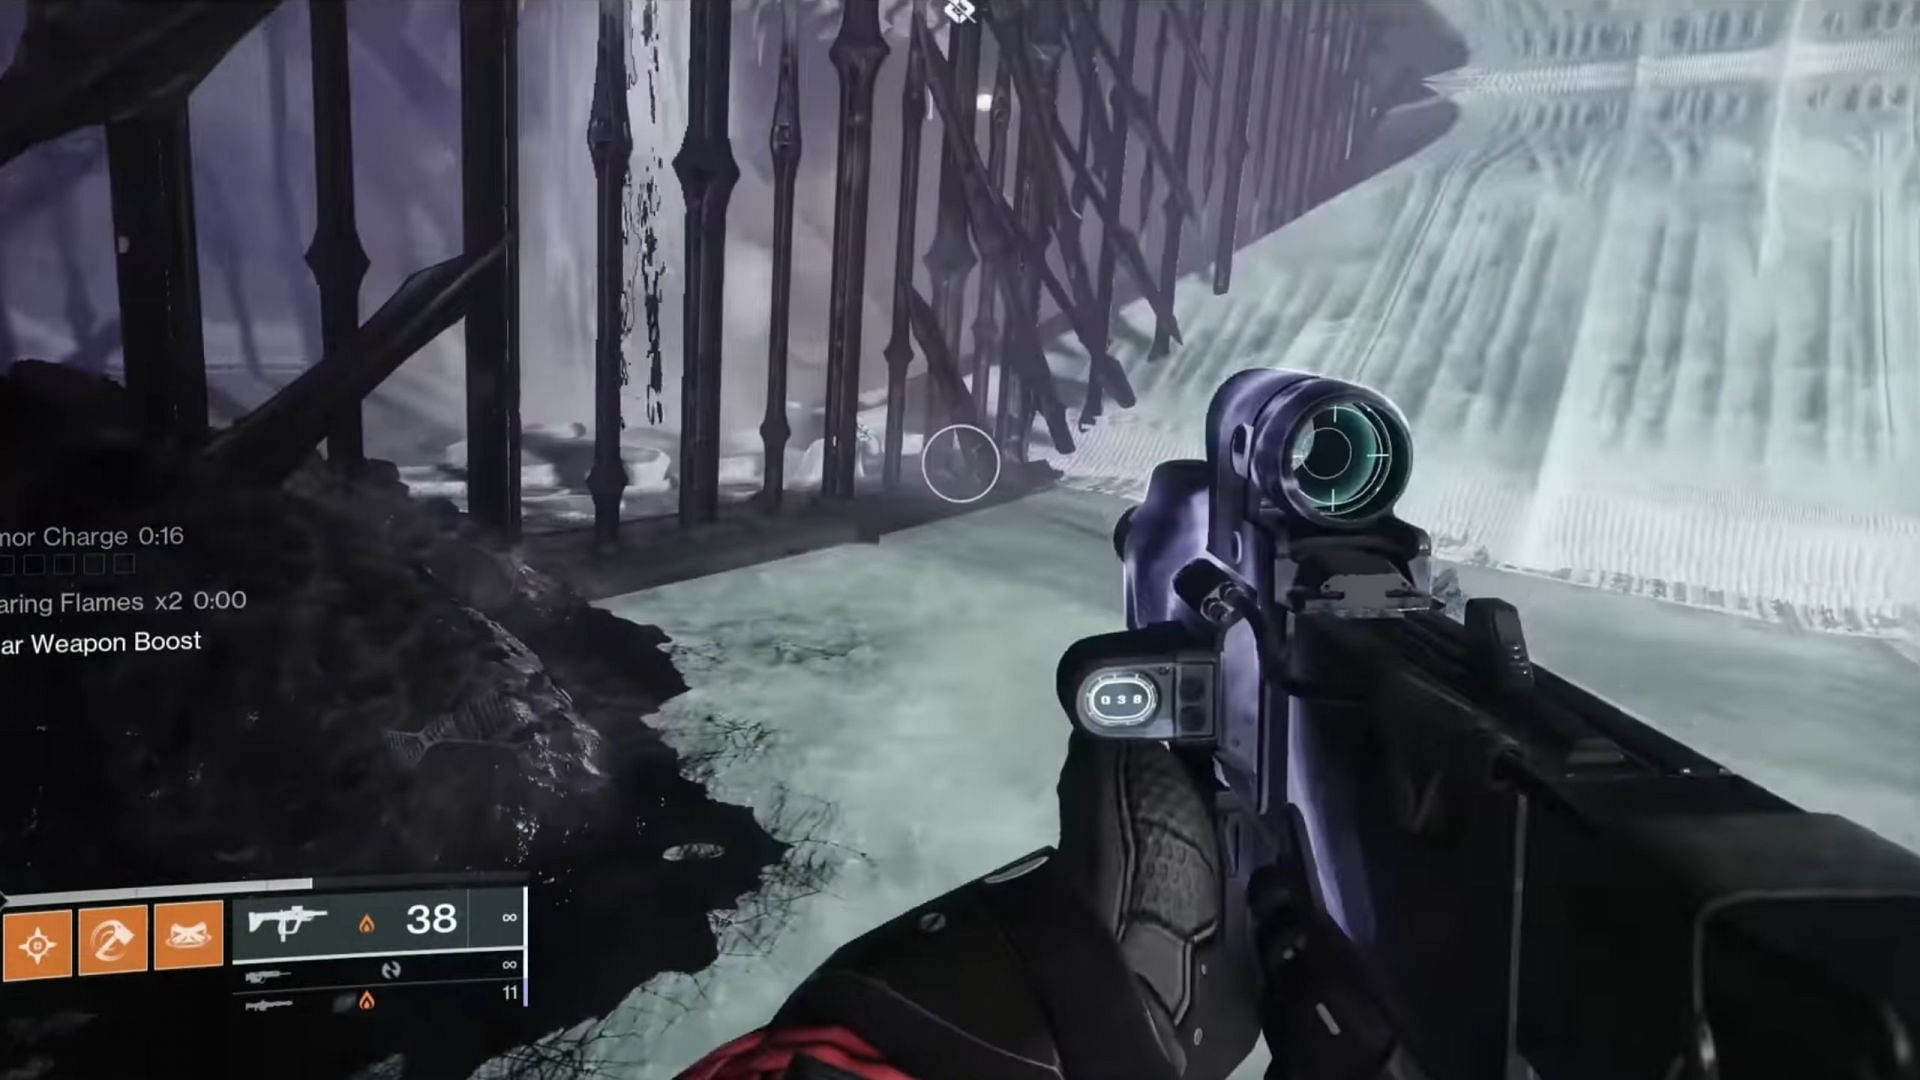
1) Entrance
Spawn into the first encounter upon launching the Dungeon, and then keep heading straight. Look for numerous tree branches, as shown in the image below.
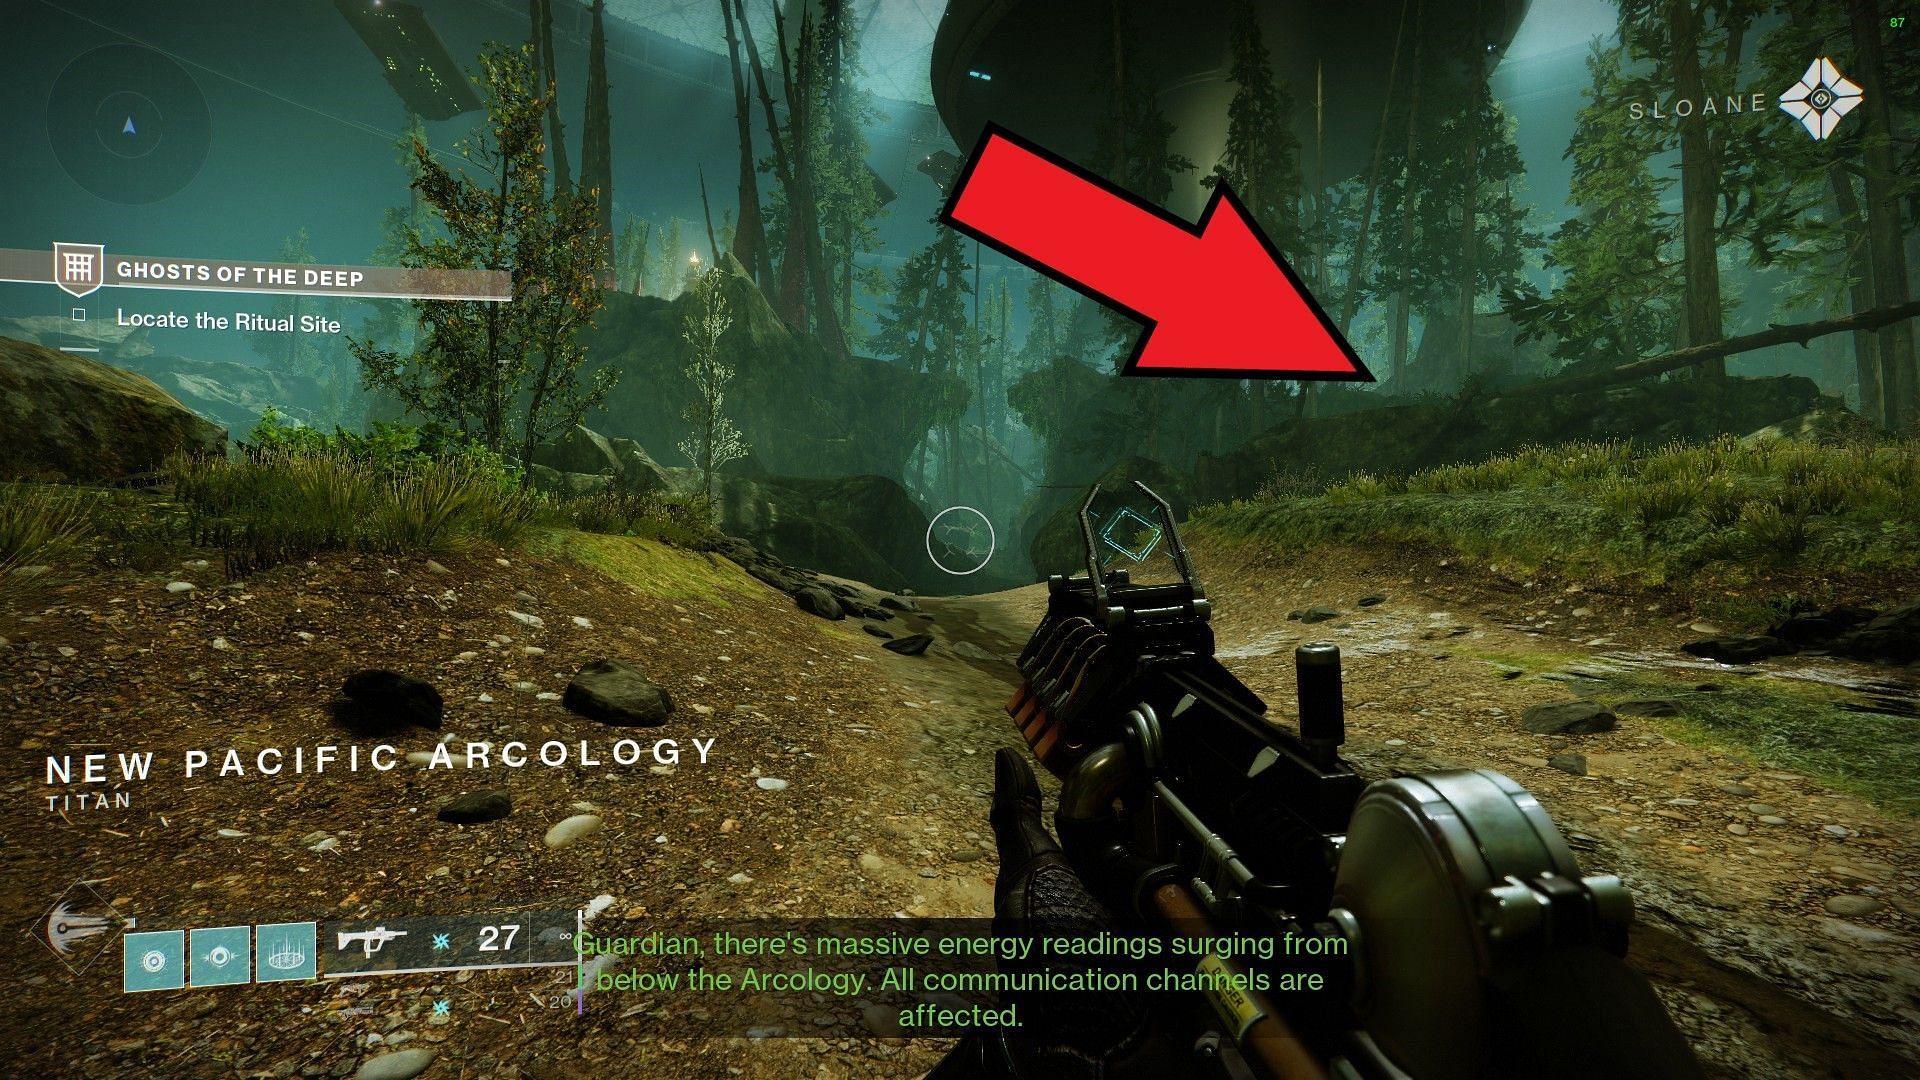
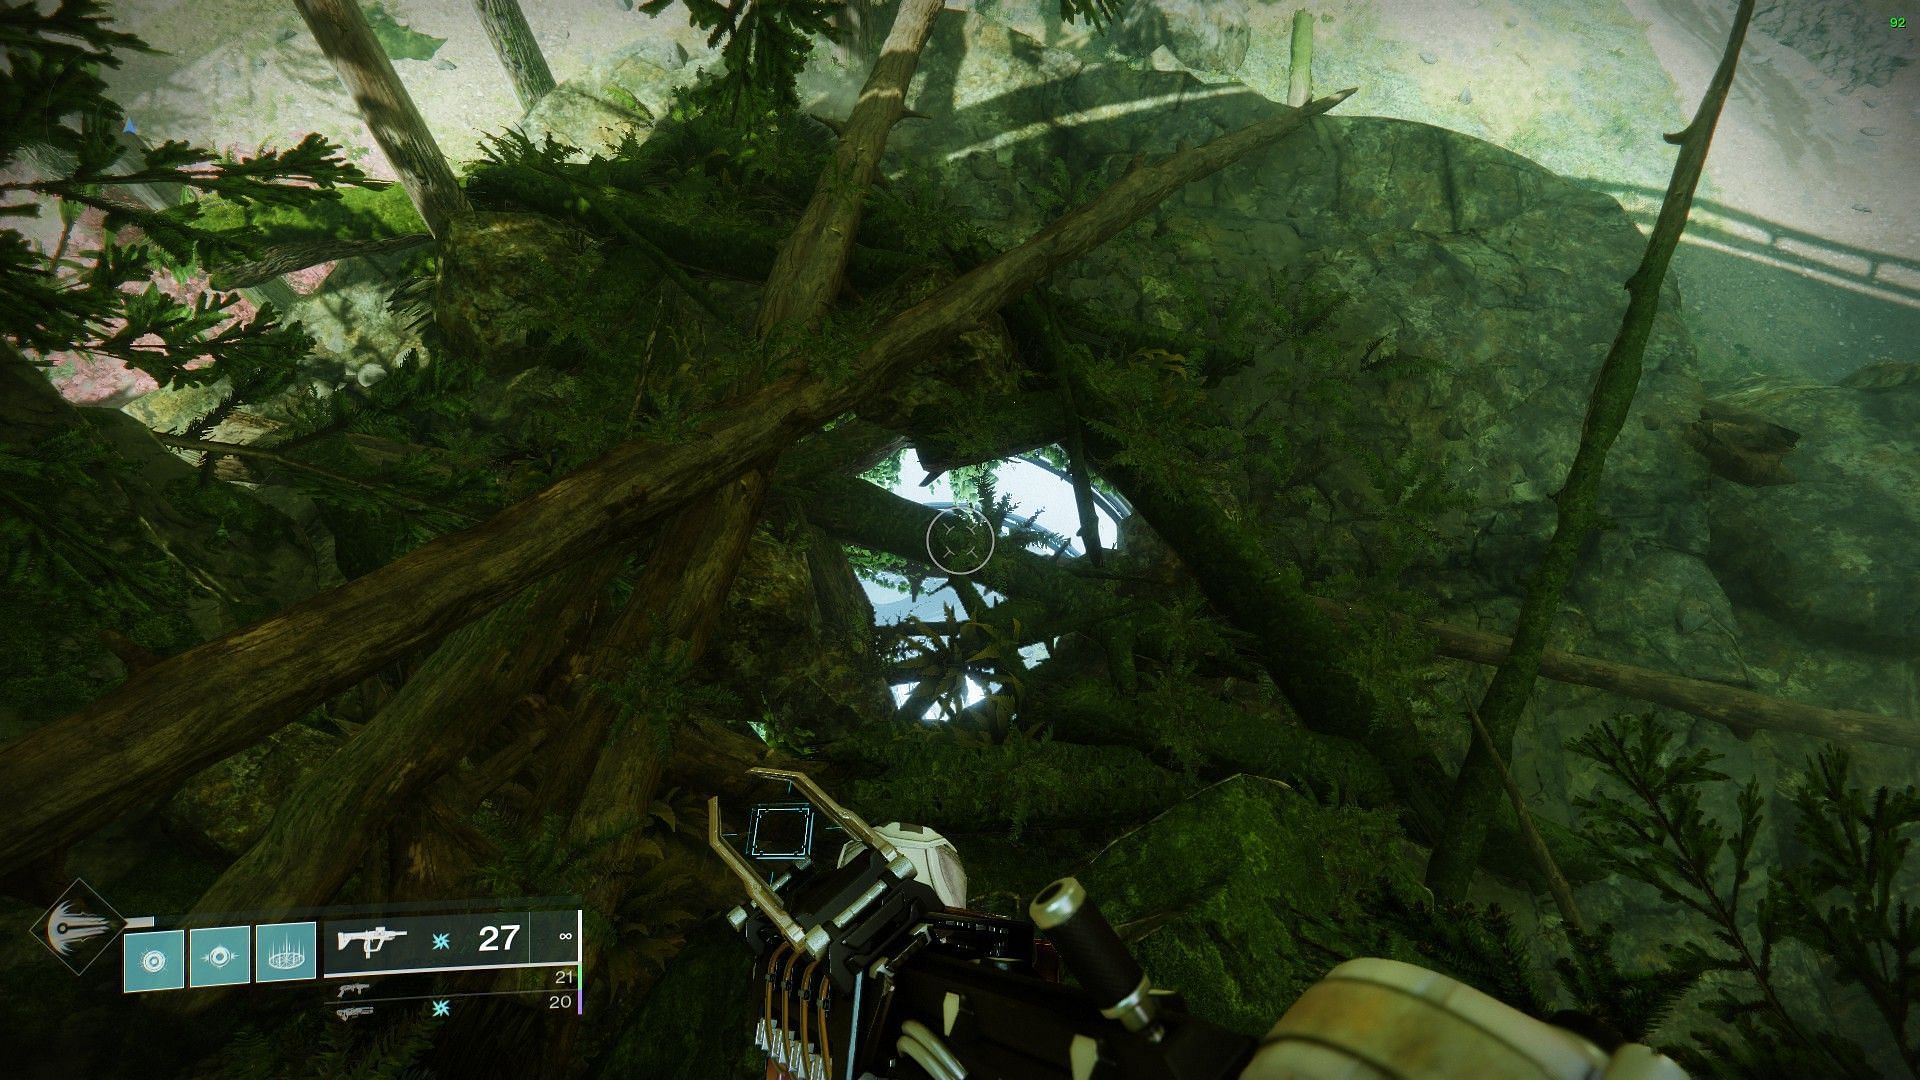
You will then see an entrance to a secret underground facility within these branches. If you jump down following the red light, you'll find your first Xivu Arath audio file.
2) First jumping puzzle
After completing the entrance encounter, jump past the fans, go through the cracked wire wall, and ascend onto the upper-left room.
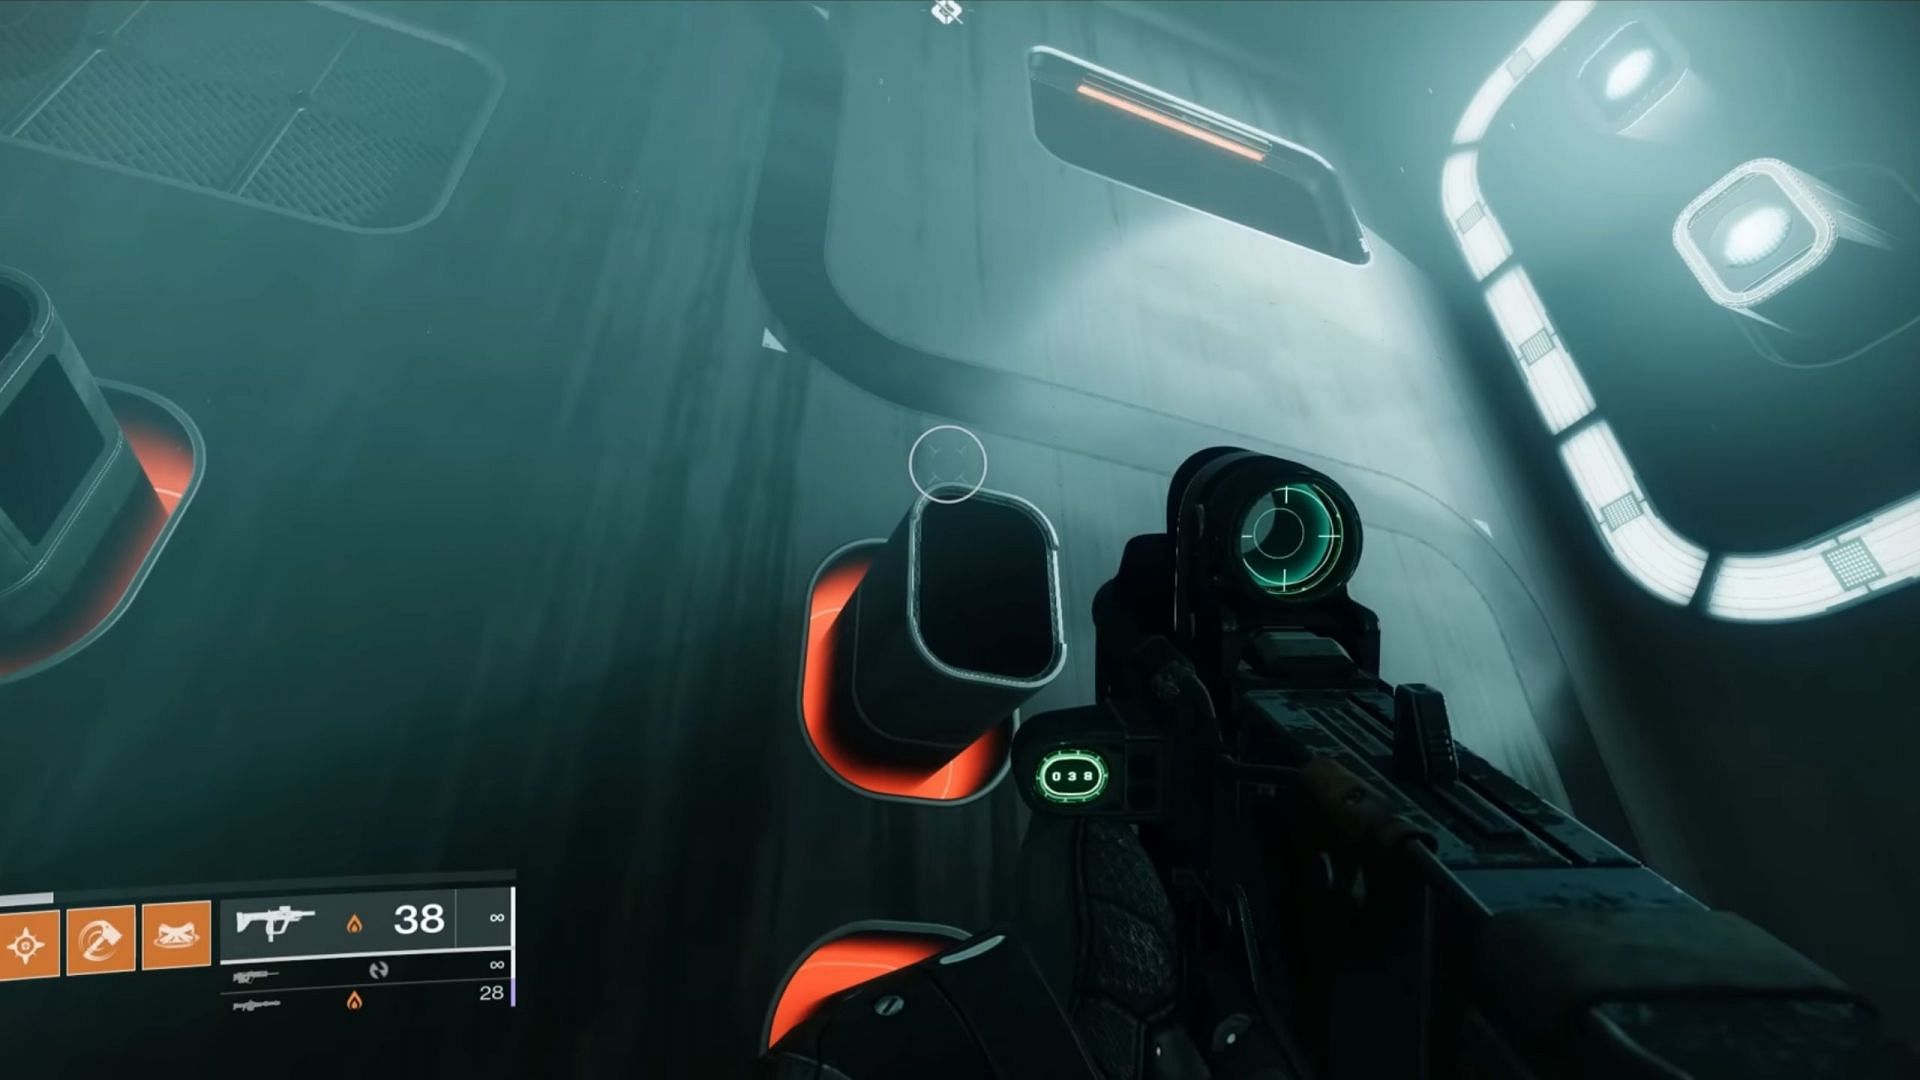
The collectible will be located in the room.
3) Pink room of archeology
After jumping down a fair bit, you will encounter old archeology with mosses and plants. Keep heading straight until you come across a pink room.
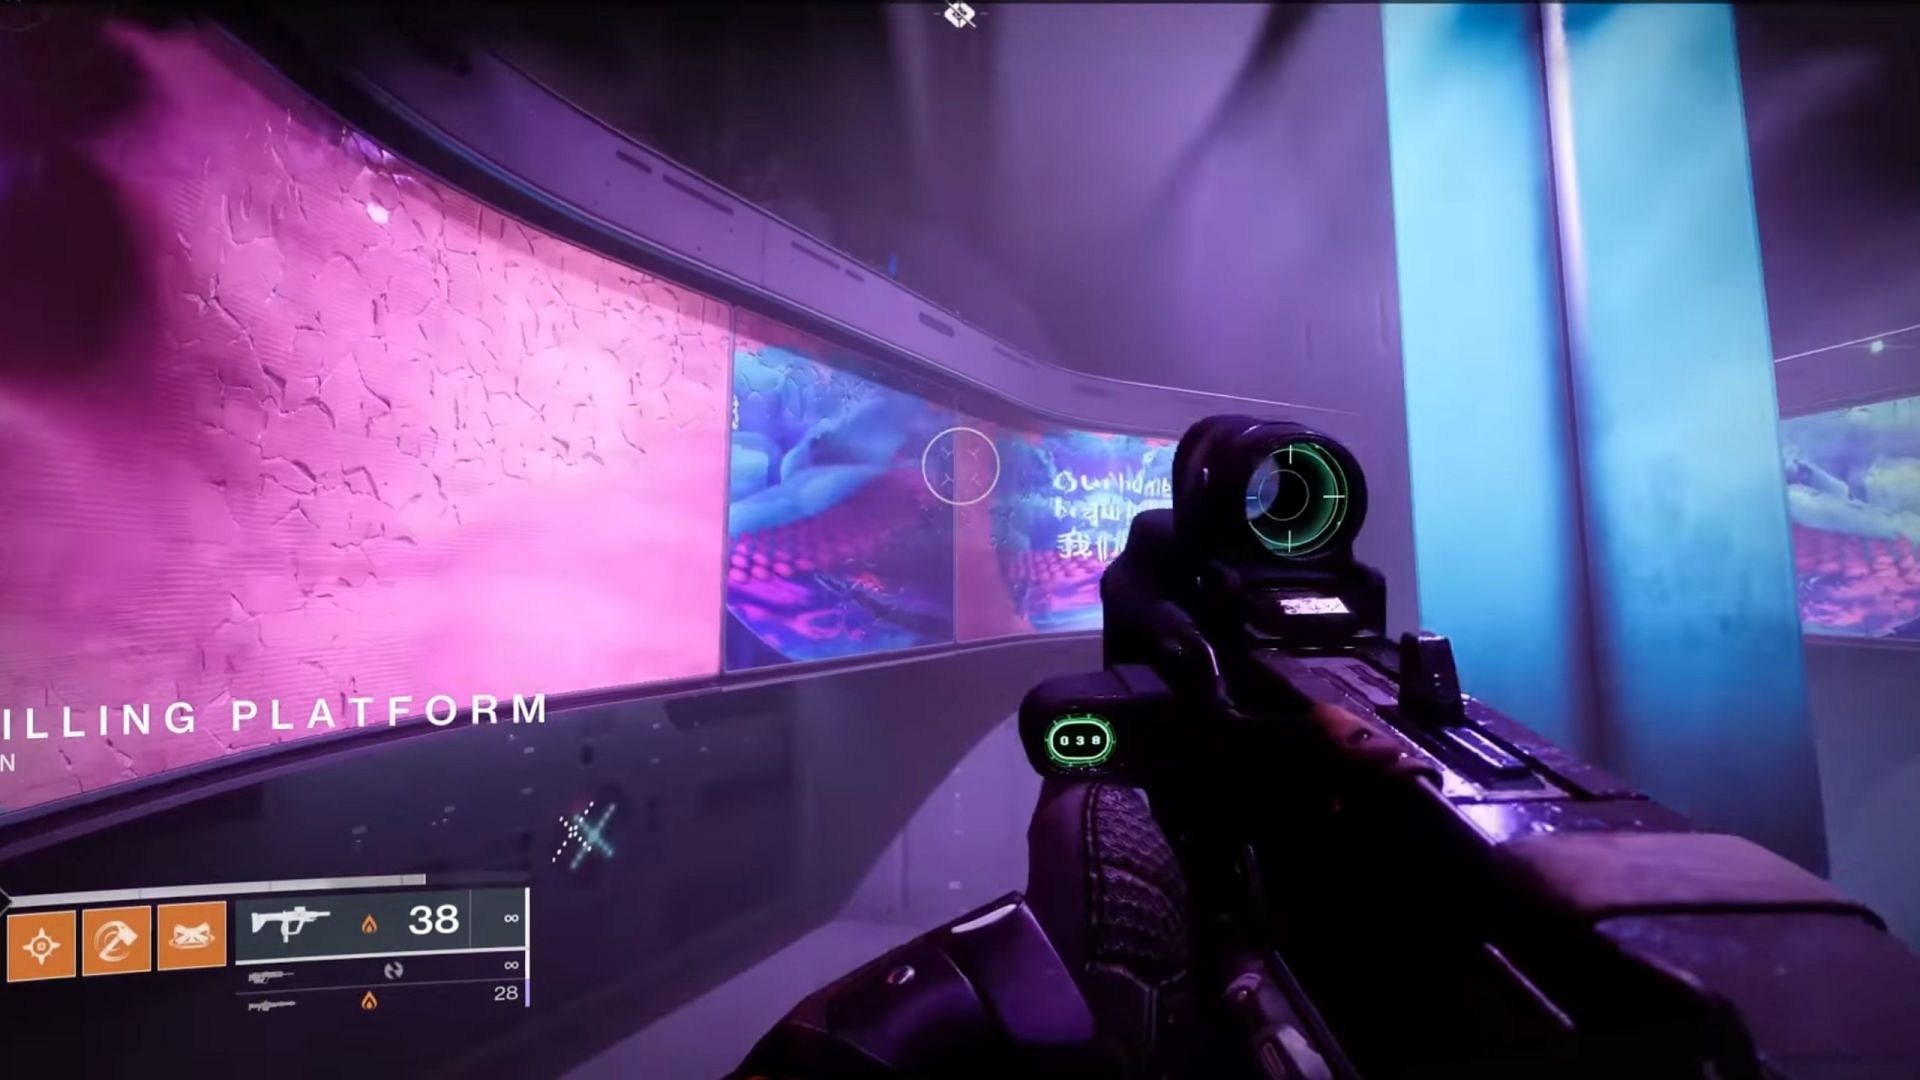
Jump on the ledge left from the entrance and collect the third audio file.
4) Rotating platform
After clearing all enemies in the large blue room, drop down and look for a rotating platform, as shown in the image below.
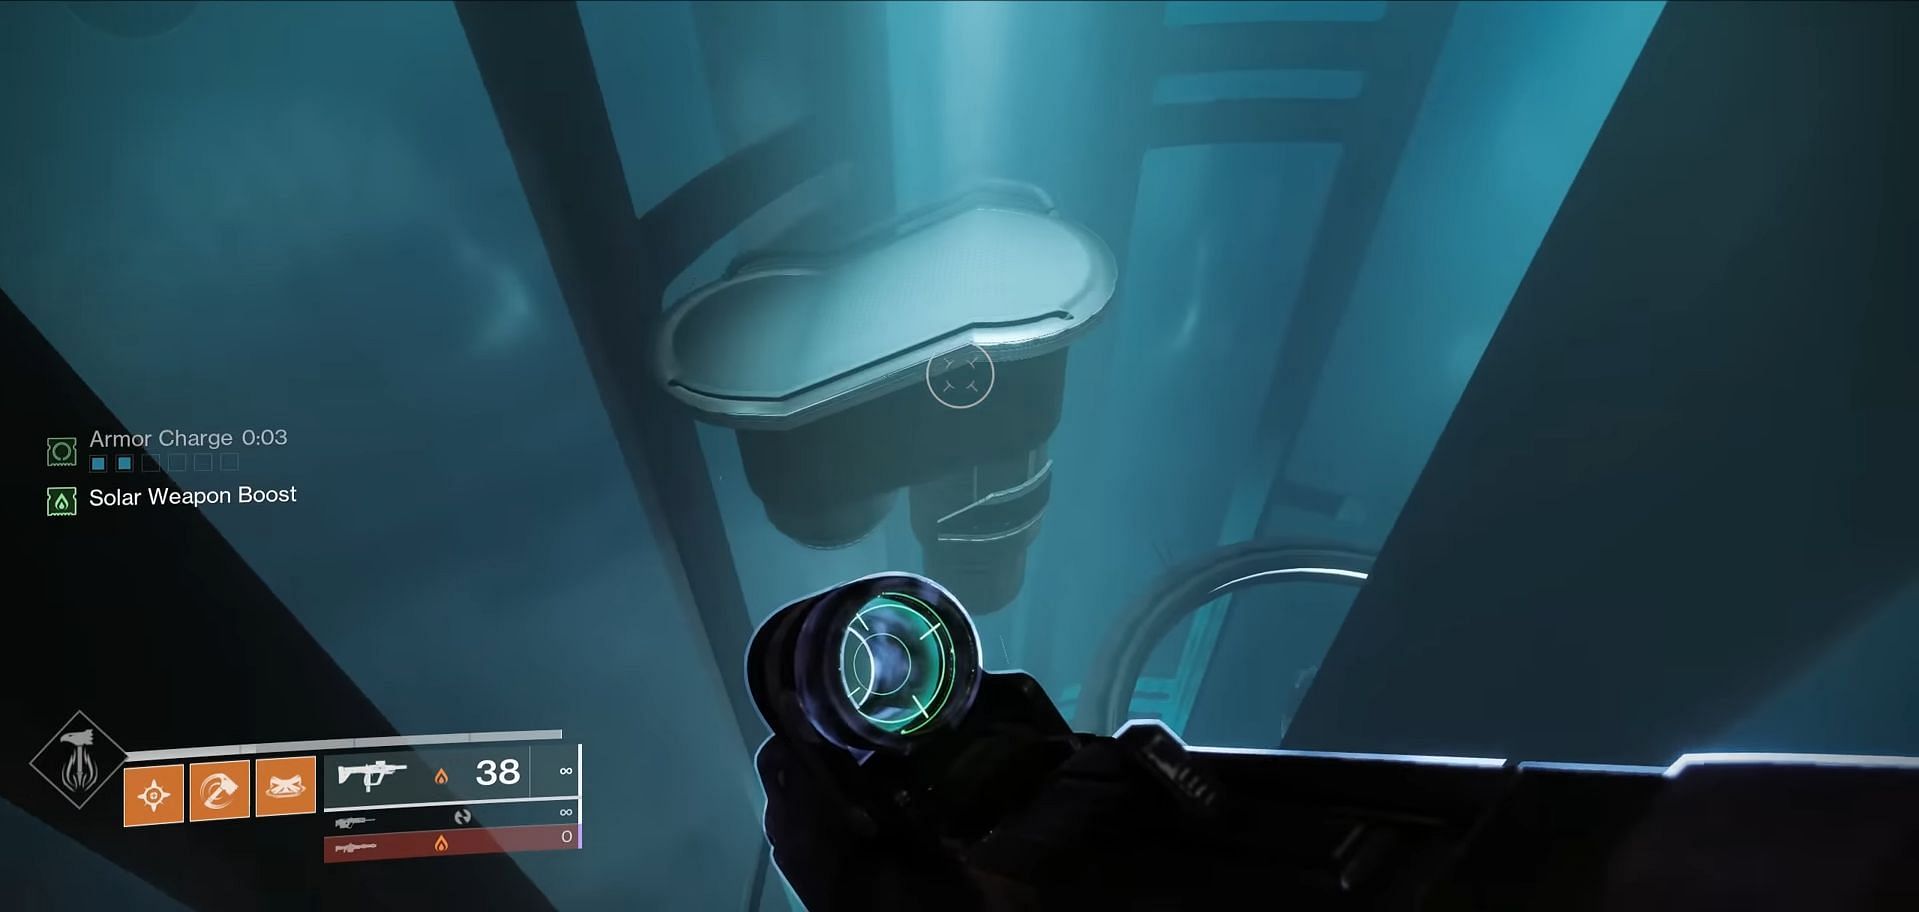
Hop onto the platform and look for the audio file that's attached to the central pillar.
5) Underwater #1
Keep dropping down from the fourth collectible until you come across the water floor. Dive in and look for an opened doorway with a yellow light, as shown in the image below.
Go through the door and collect the audio file. Don't forget to collect bubbles and replenish your pressure meter.
6) Underwater #2
Upon collecting the fifth file, make your way just opposite the door and keep swimming down as you normally would until you see a small fan and a stream leading upwards.

Instead of taking the upward stream, take the stairs to your left and follow the platform. An audio file will be located at the end of the platform.
7) Underwater #3
Take the stream upwards and look for a door with white light to your left. Follow this path and make another dive, and keep heading down until you see a red light, as shown in the image below.
Keep following the path to the edge by taking a left and you will encounter an audio log.
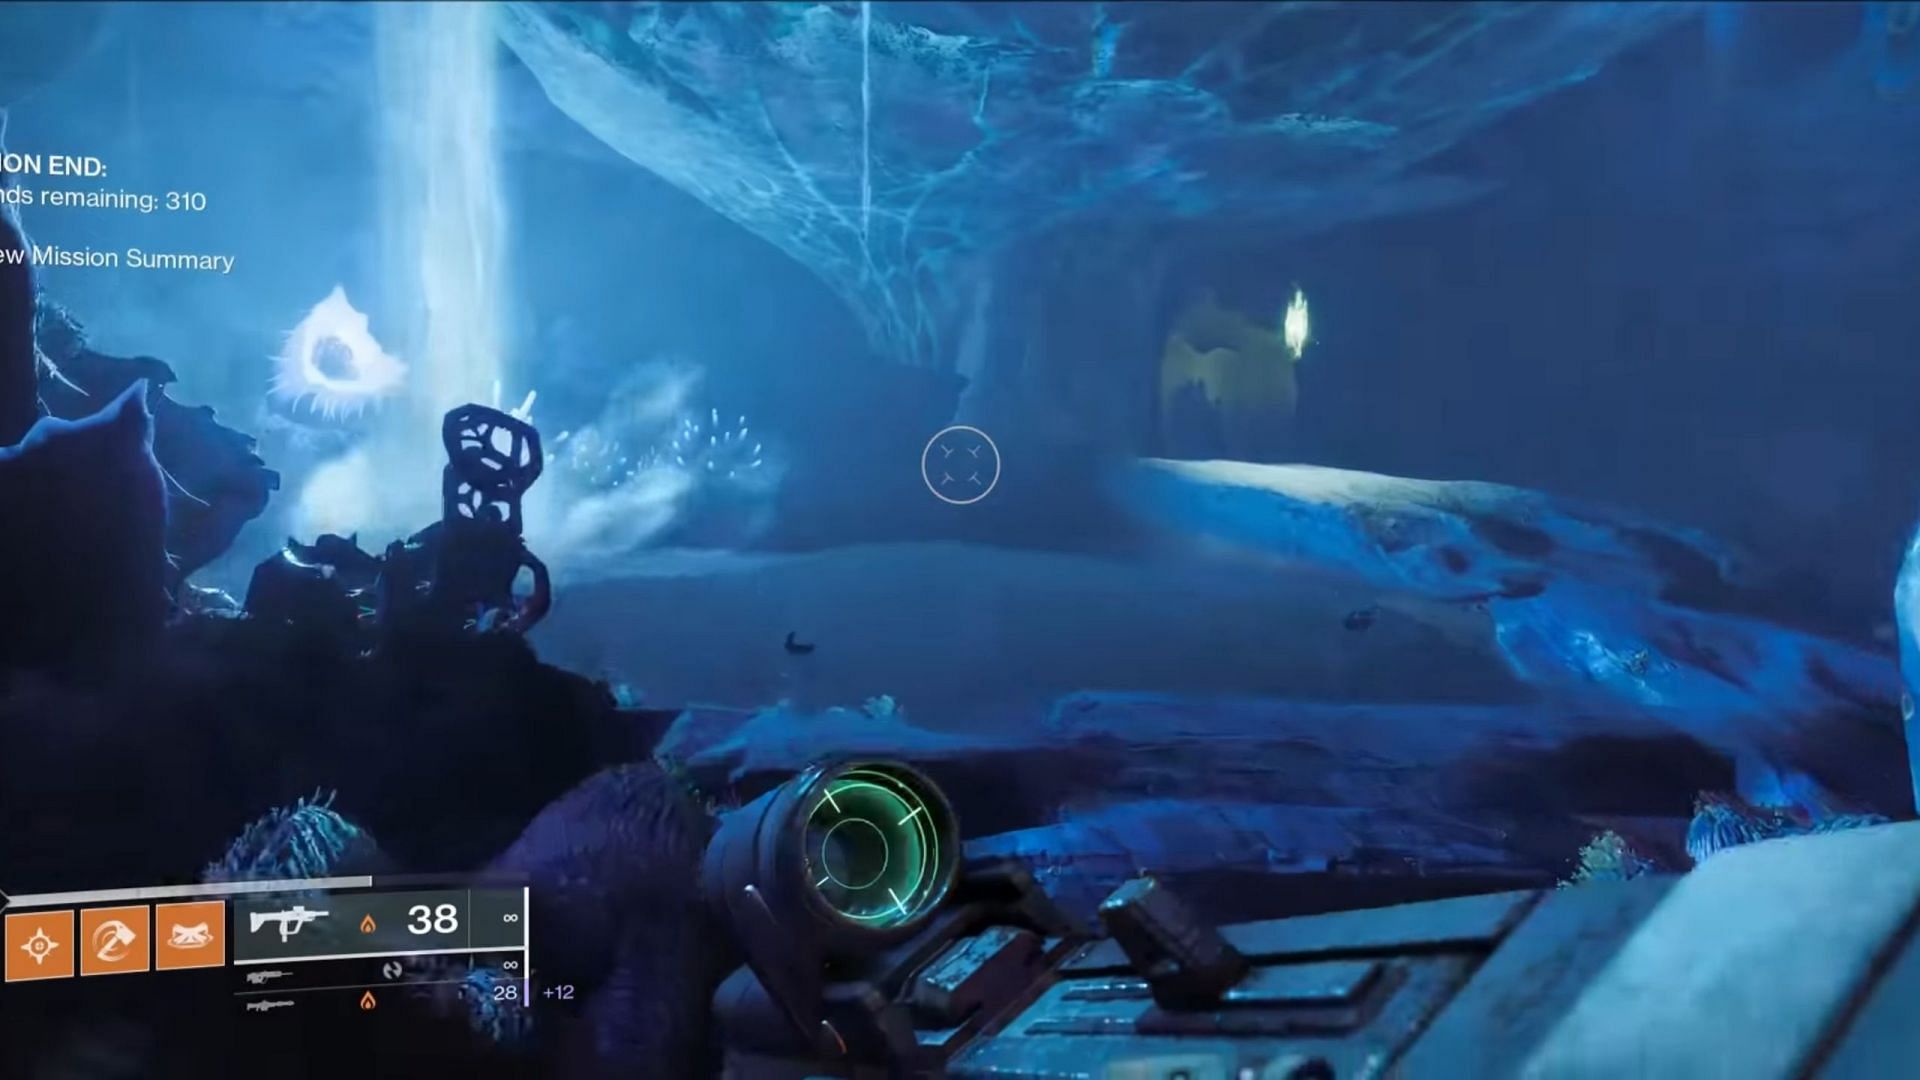
8) Underwater #4
Head back to the red light and jump down the edge to reach the fan and the upward stream. Upon heading out of the water, go through the door with the blue light in front of you, and keep going until you come across another diving point.
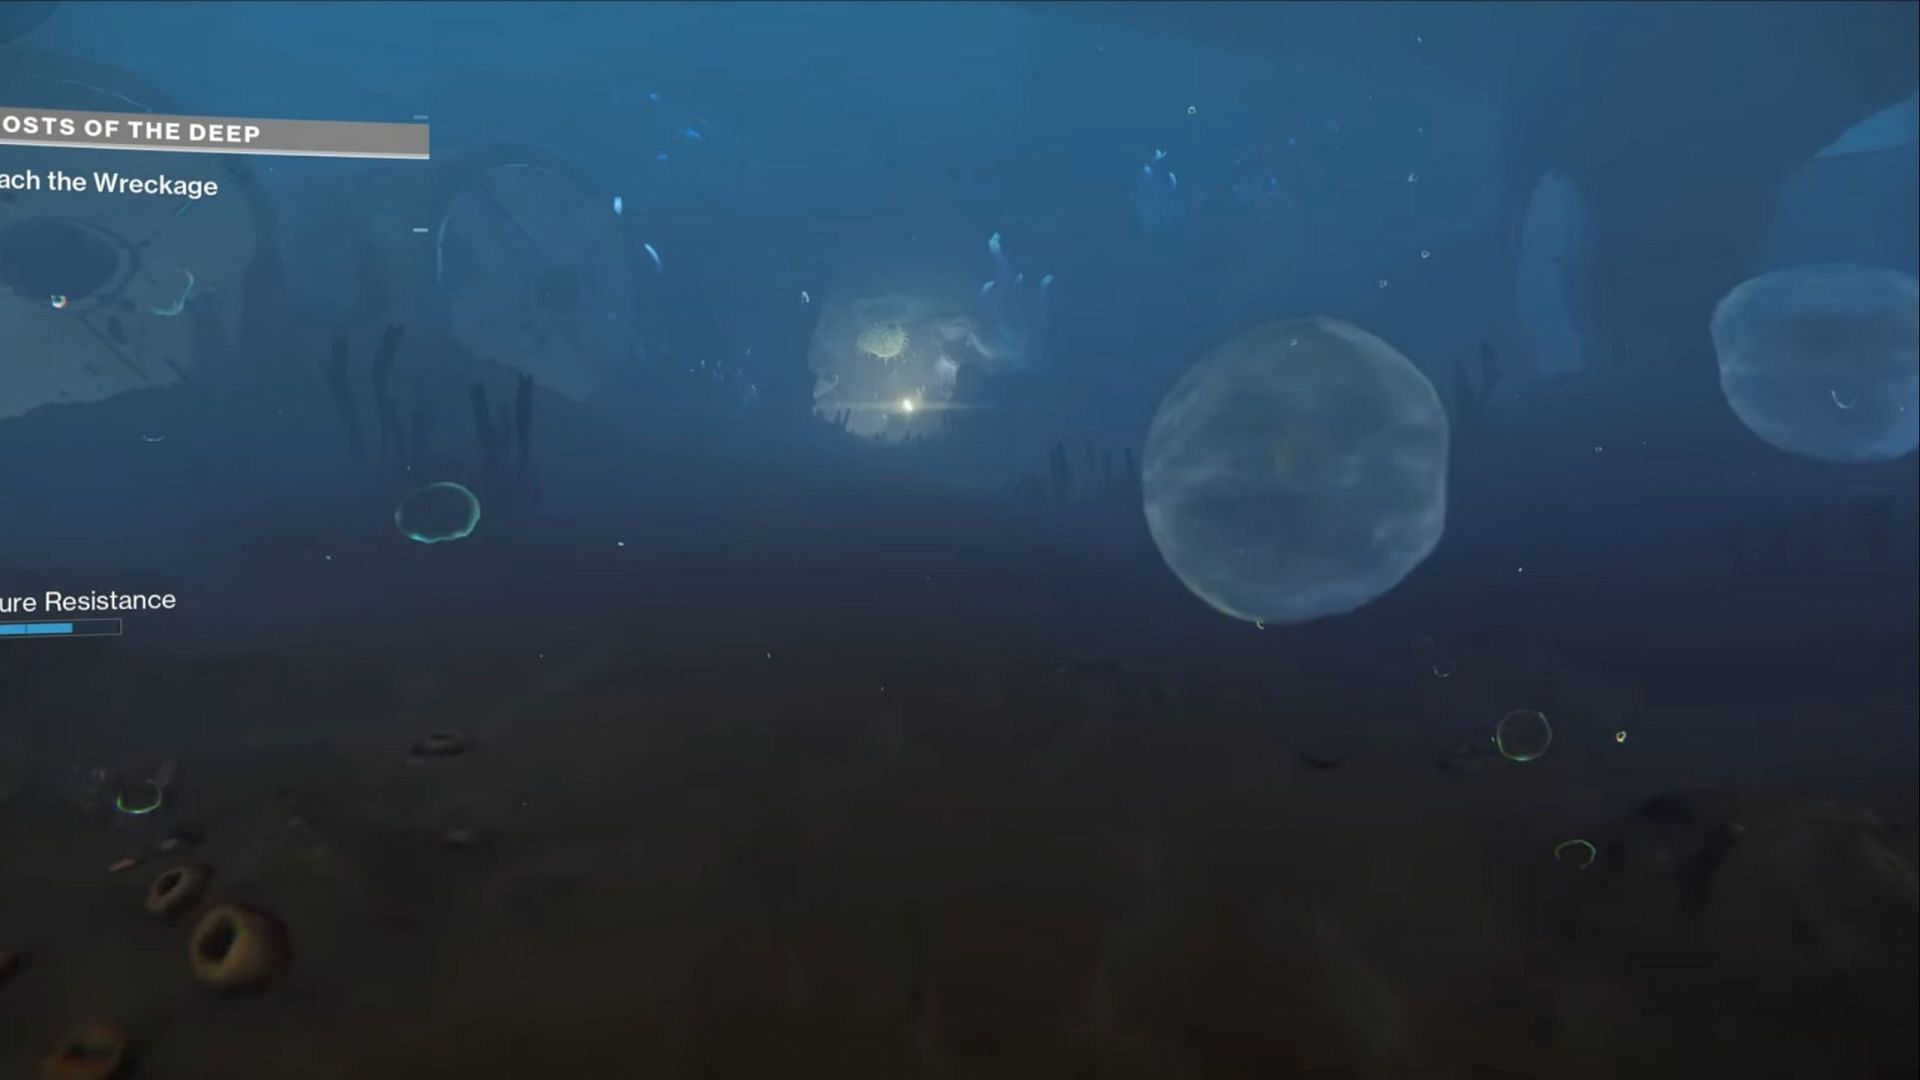
Make the dive and you'll face a new objective called "Reach the Wreckage." As shown in the image above, look to your left and follow a small light source to collect the audio file.
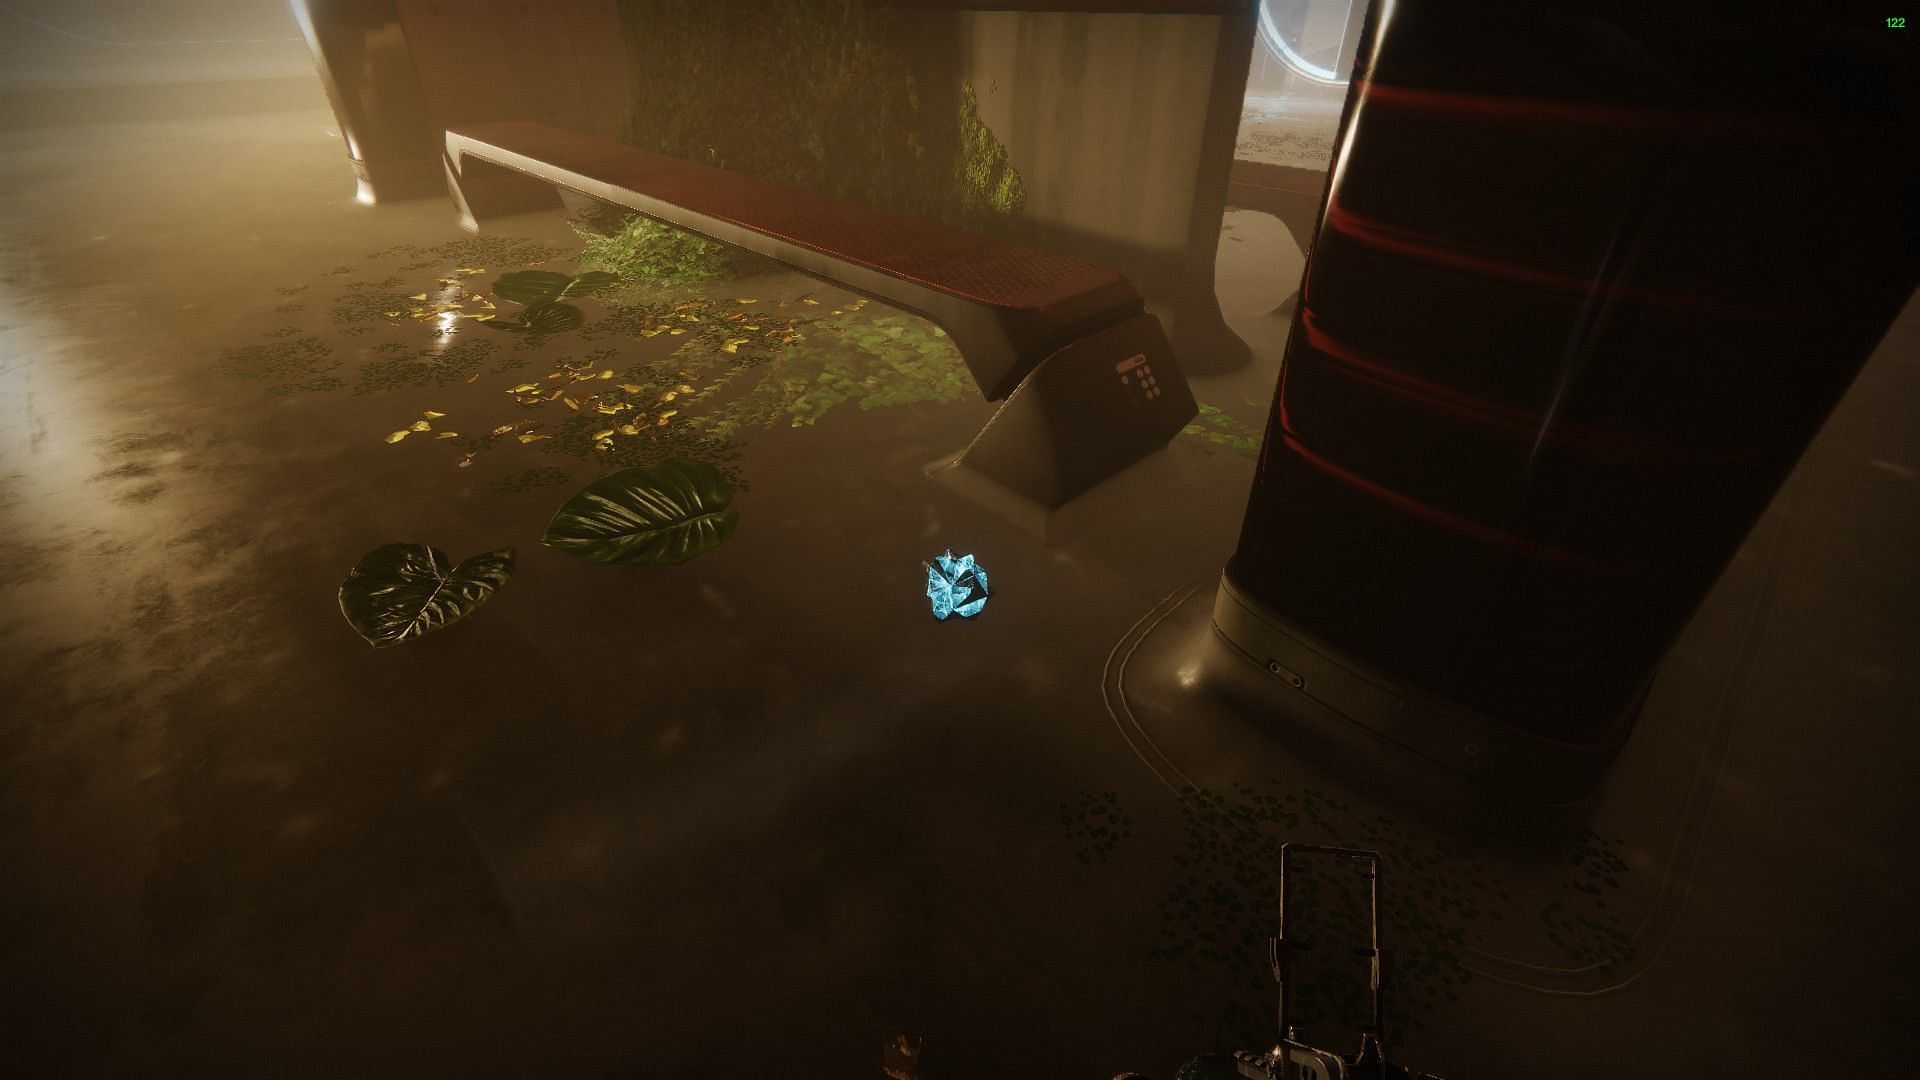
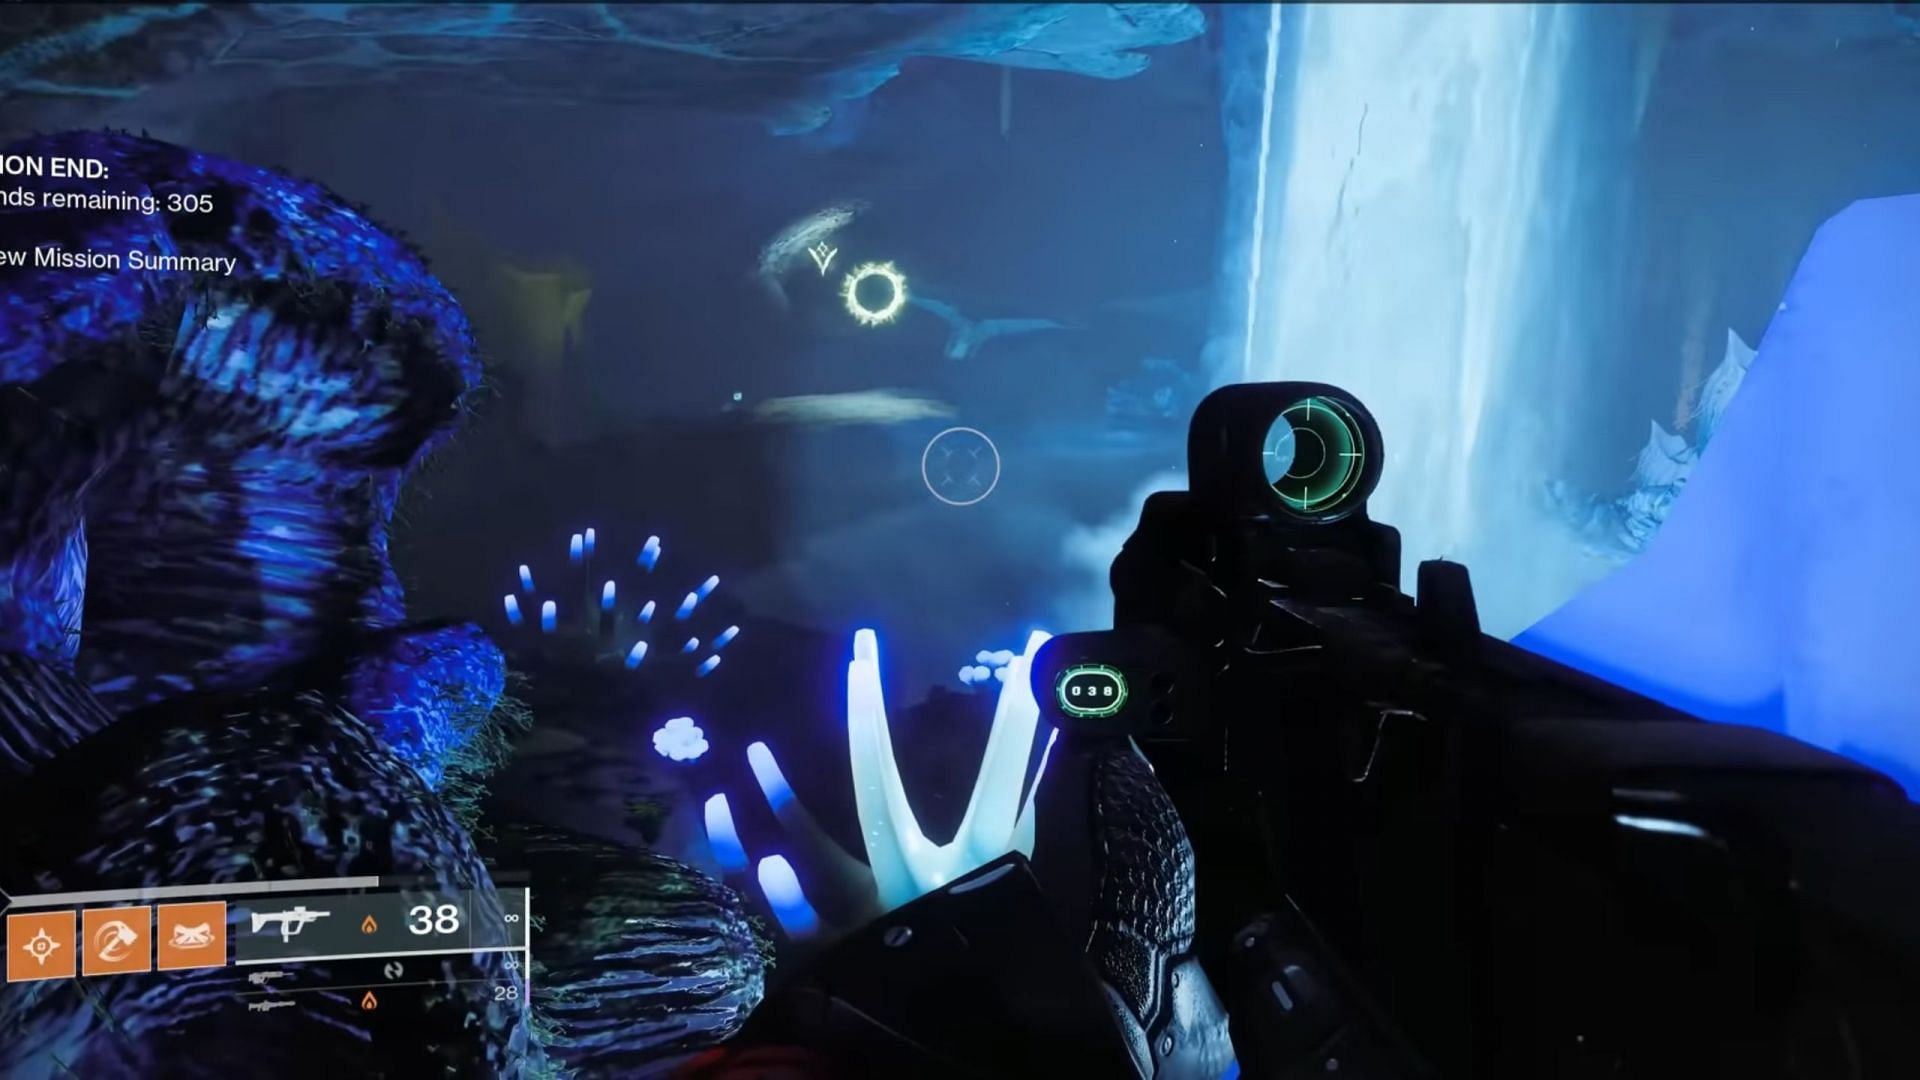
9) Underwater #5
After defeating the first Hive wave, follow the usual path to the encounter by going through another water wall and going to the giant light source. The image below might provide a more precise idea.
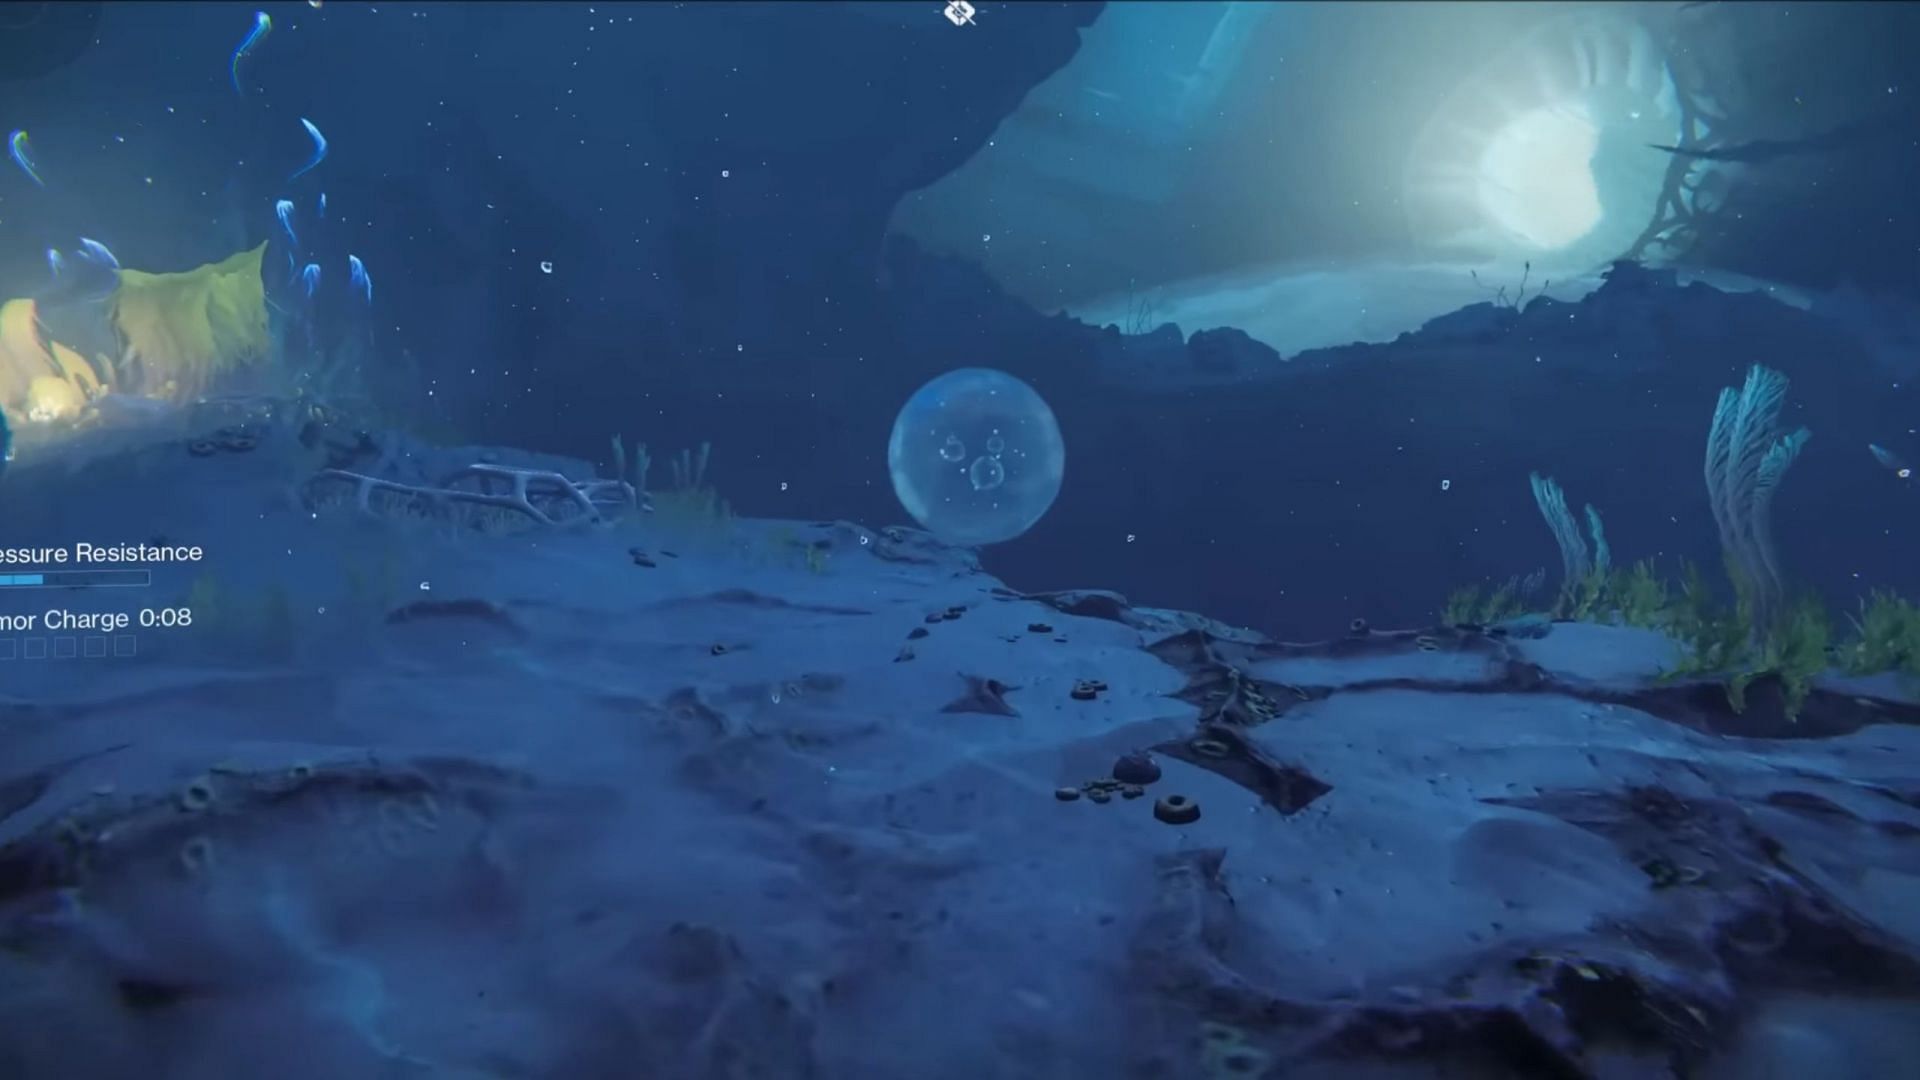
Take a right from the vast gap and you will see an audio file on top of a green leaf.
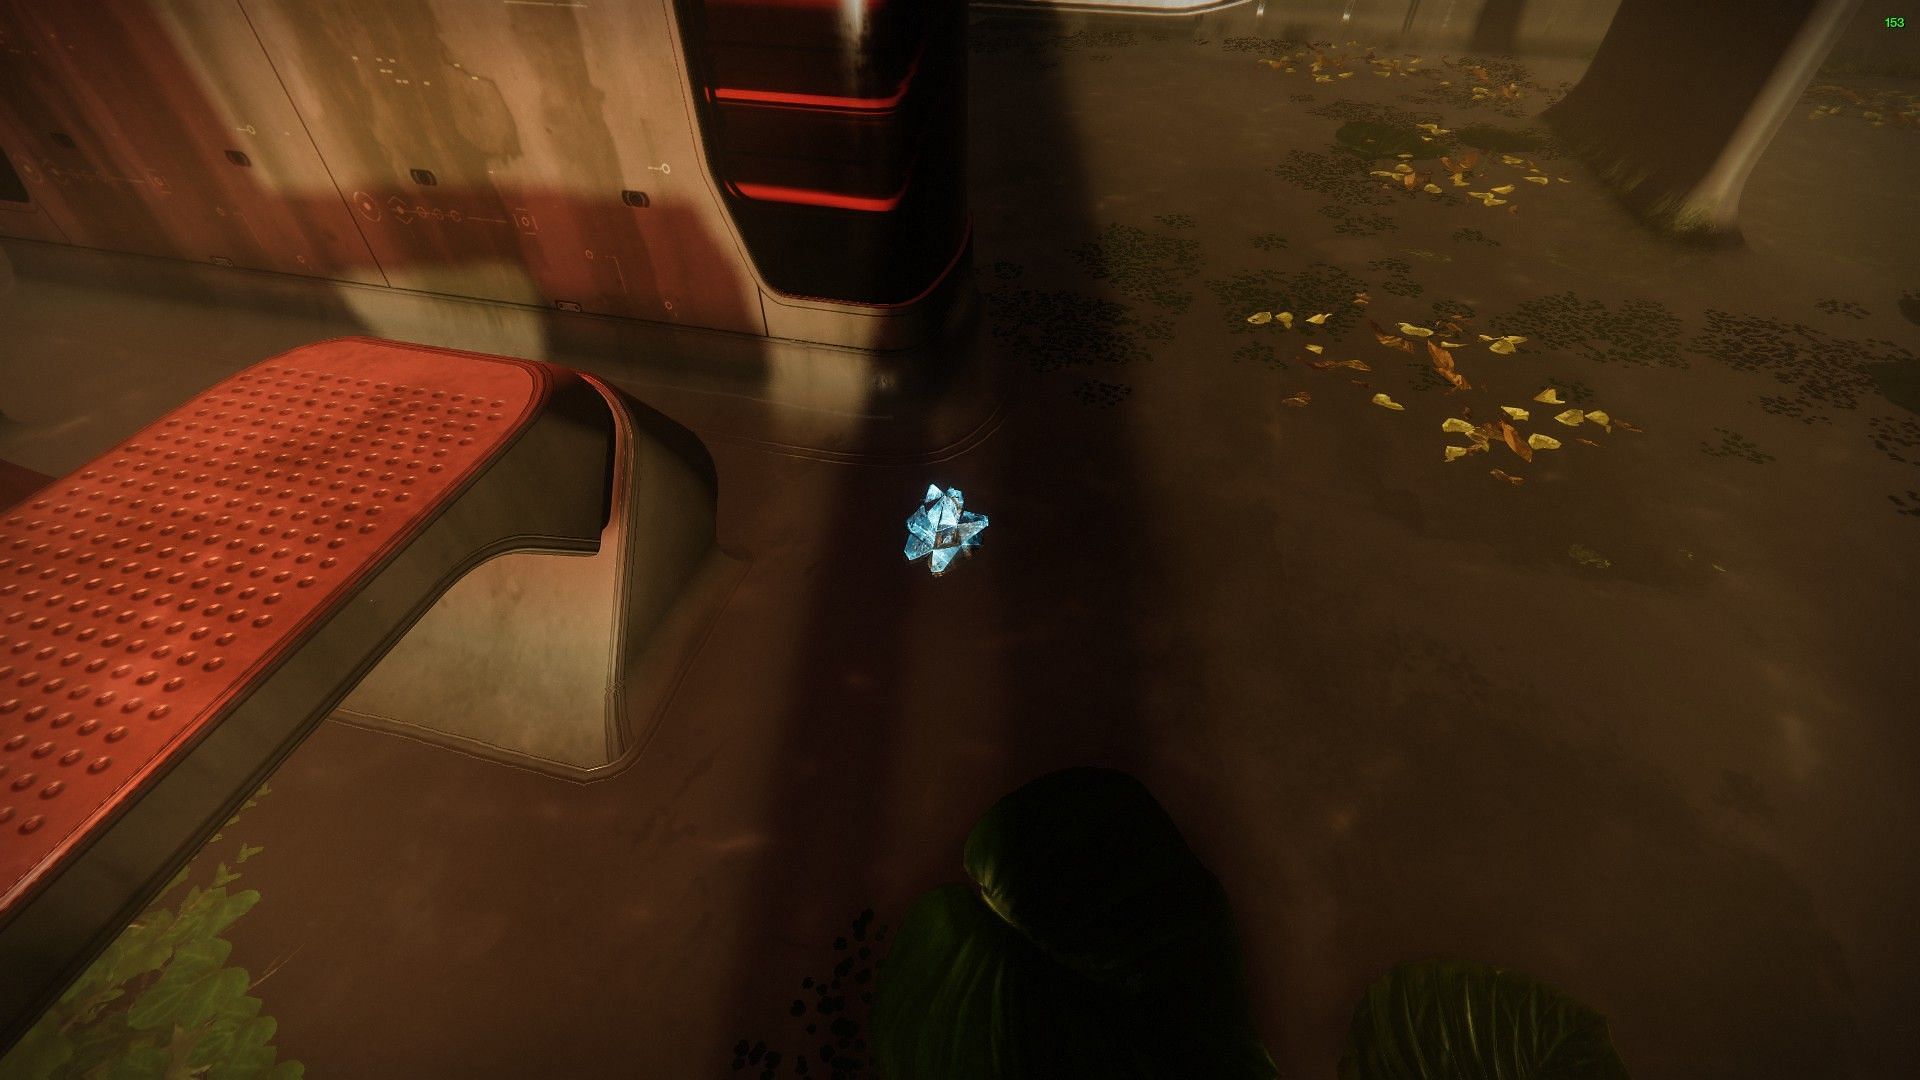
10) Wreckage waterfall
Follow the usual route until you encounter multiple holes. Now, drop down to the bridge within the wreckage and look for a small waterfall, as shown in the image below.
The audio file can be found inside.
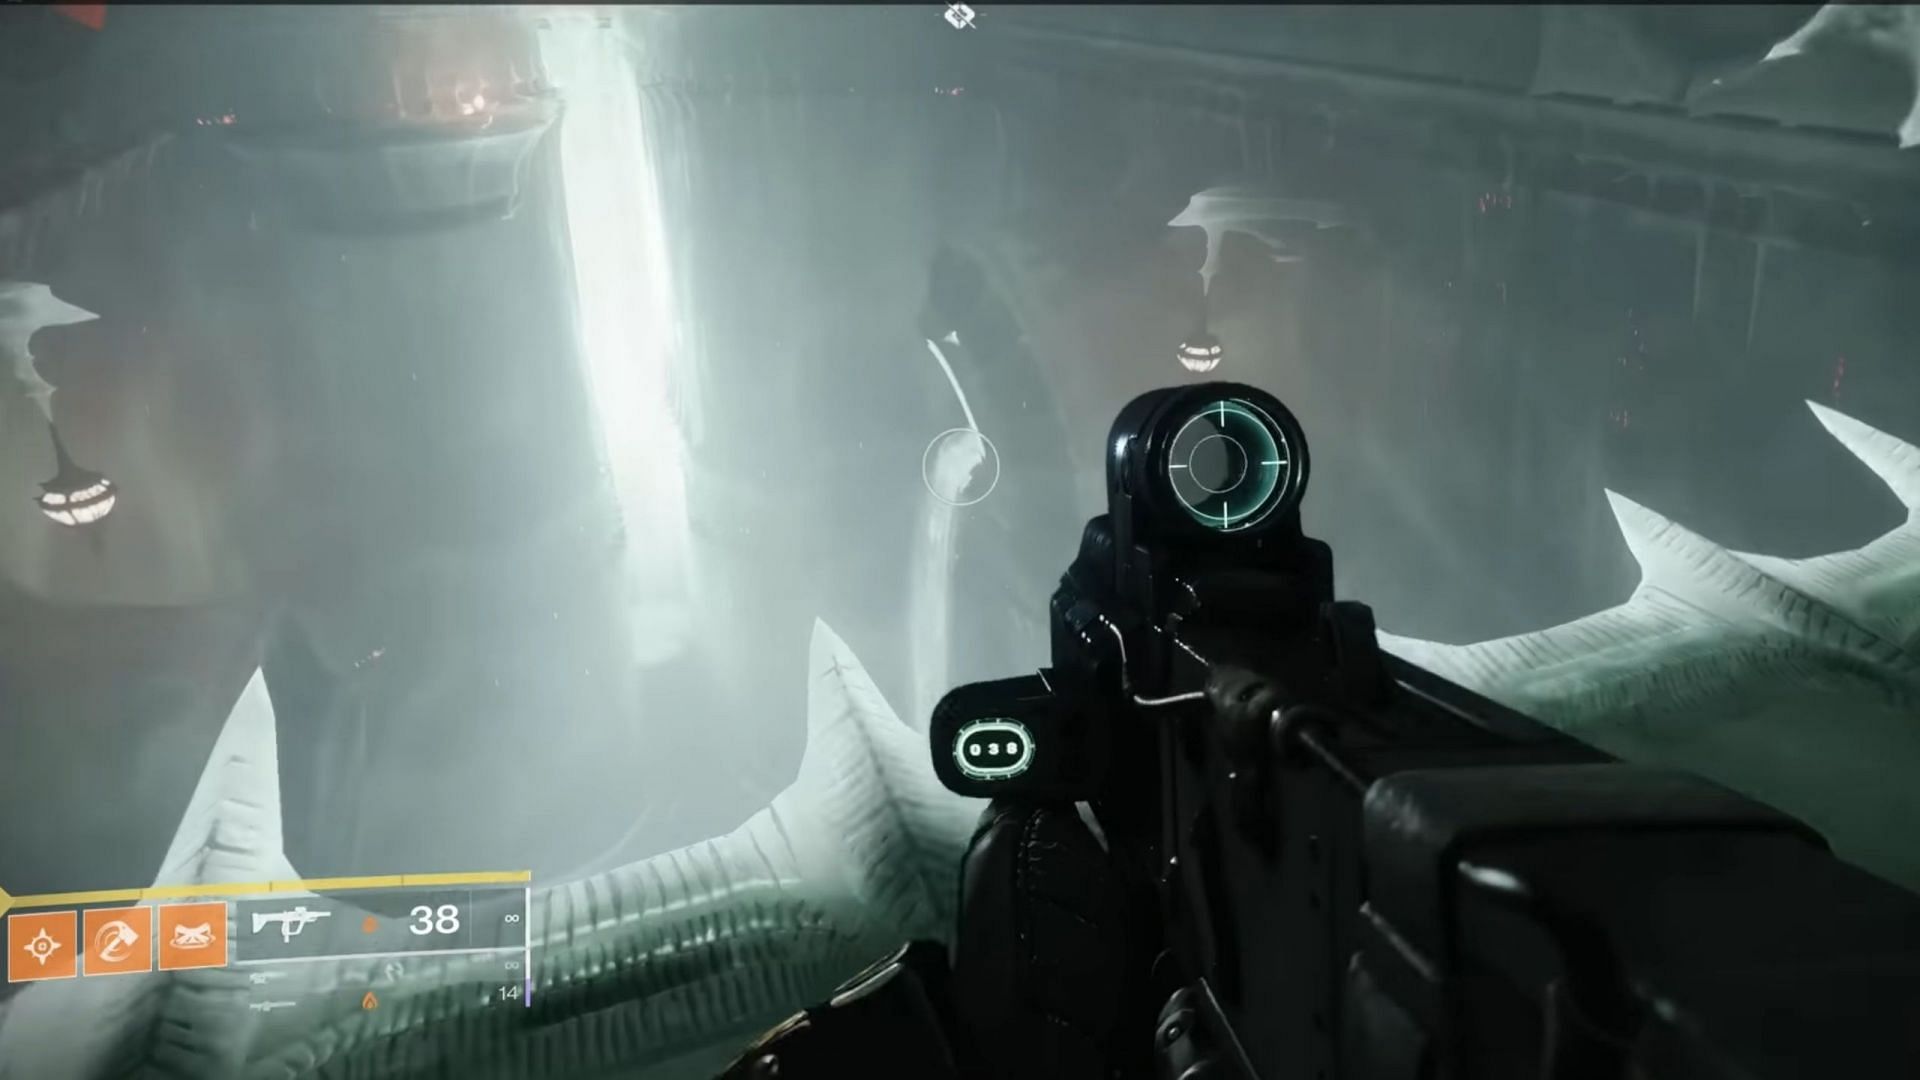
11) After the first boss
After defeating the first boss, follow the path and drop down until you reach a room with numerous Thralls. Look for Hive metals bars in a hallway, as shown in the image below.
The audio file can be located just on the other side of the metal bars.
12) After defeating the final boss
Once the final boss has been killed, make your way to the blue room/Blade Barrage Hive Guardian room, as shown in the image below, and align both symbols.
Aligning the symbols will open up a new path. Follow this path and collect the audio file.
