
'%20x='0'%20y='0'%20height='100%25'%20width='100%25'%20%0A%20%20%20%20%20%20%20%20%20%20xlink%3Ahref='data:image/jpg;base64,/9j/2wBDAAYEBQYFBAYGBQYHBwYIChAKCgkJChQODwwQFxQYGBcUFhYaHSUfGhsjHBYWICwgIyYnKSopGR8tMC0oMCUoKSj/2wBDAQcHBwoIChMKChMoGhYaKCgoKCgoKCgoKCgoKCgoKCgoKCgoKCgoKCgoKCgoKCgoKCgoKCgoKCgoKCgoKCgoKCj/wgARCAAGAAoDASIAAhEBAxEB/8QAFgABAQEAAAAAAAAAAAAAAAAAAAUH/8QAFAEBAAAAAAAAAAAAAAAAAAAABP/aAAwDAQACEAMQAAAAwmcLJ//EAB4QAAIBAwUAAAAAAAAAAAAAAAEDAgAFEhETUpHh/9oACAEBAAE/ABtotM5shm6B1PEg+mi9pJOKuq//xAAWEQEBAQAAAAAAAAAAAAAAAAACAAH/2gAIAQIBAT8AS2//xAAWEQEBAQAAAAAAAAAAAAAAAAACAAH/2gAIAQMBAT8AJy//2Q=='%3E%3C/image%3E%3C/svg%3E)
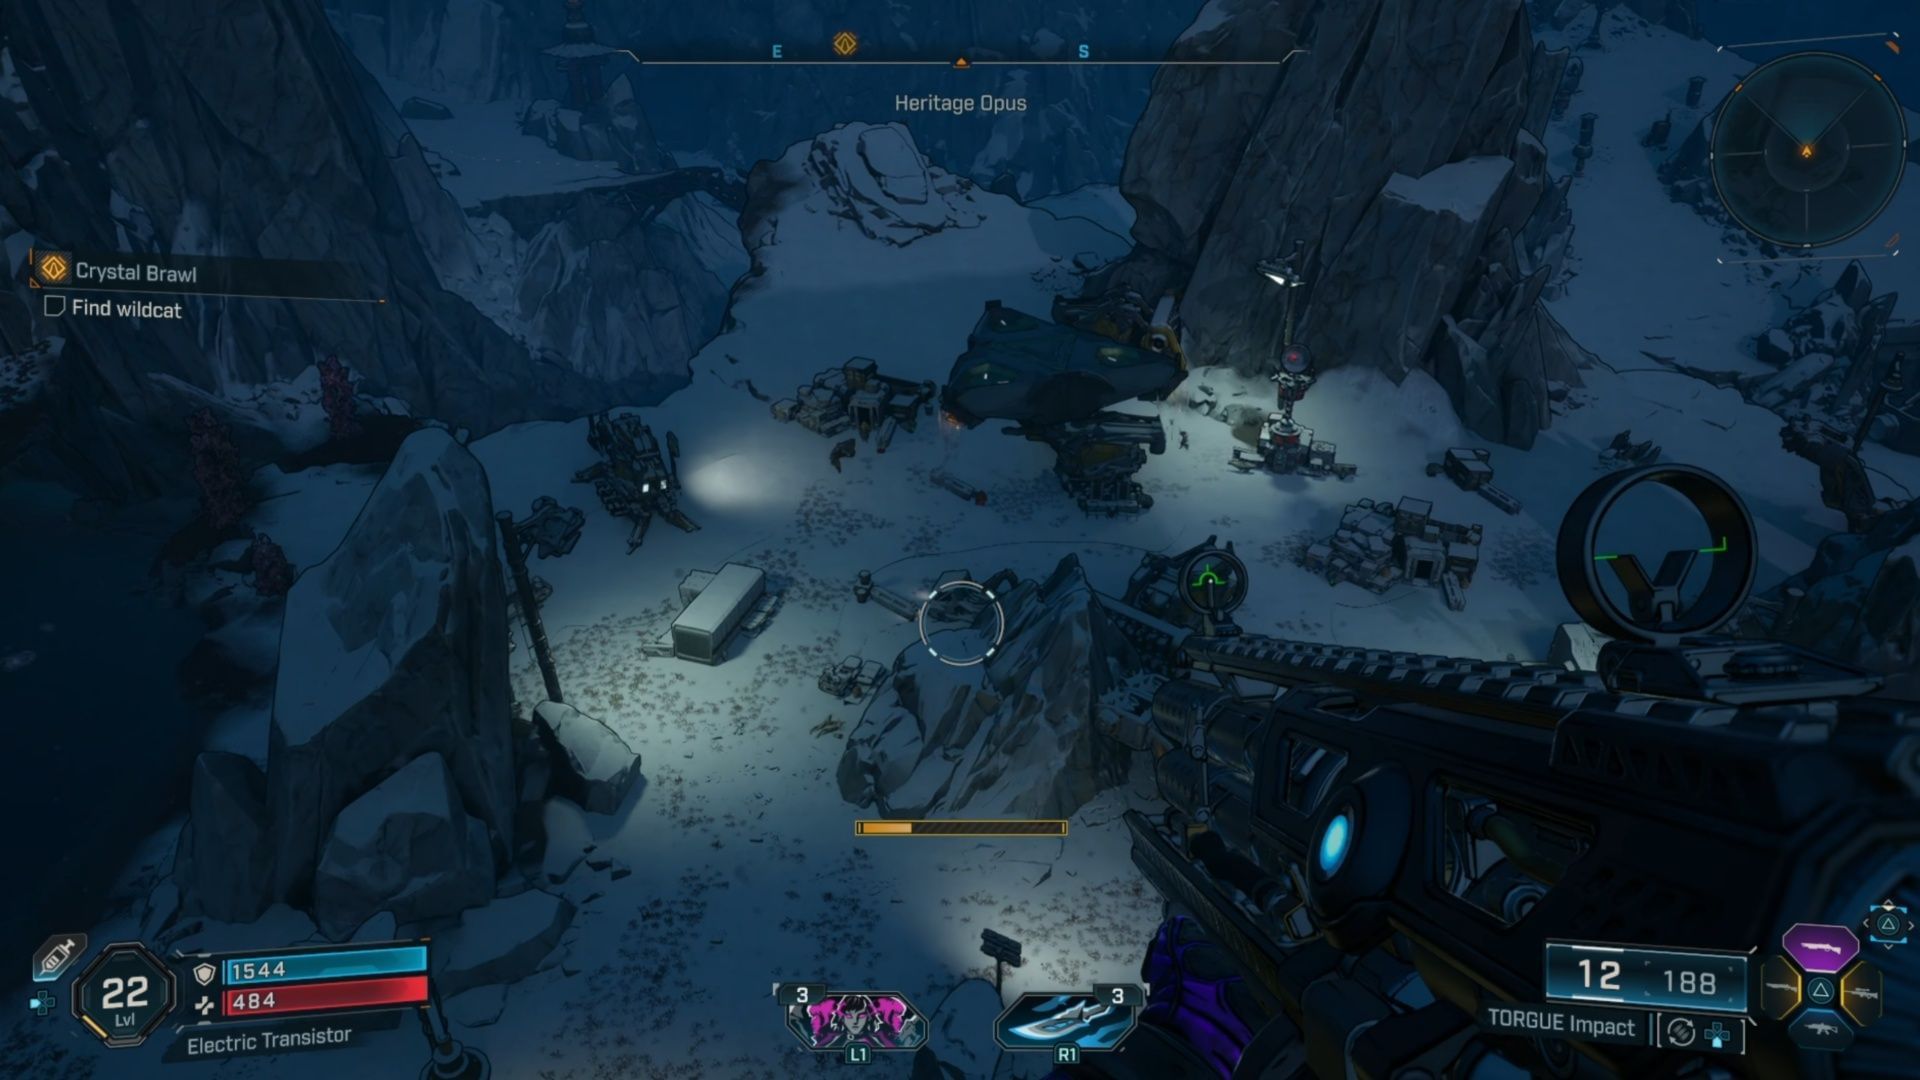
Borderlands 4’s Crystal Brawl mission takes place immediately after Shadow of the Mountain, in the Terminus Range area. We’re going to look up the Siren we saw in the Eridian Relic at the end of Shadow of the Mountain, none other than Amara! She’s incredibly powerful, as far as Sirens go, and we’ll need her help if we’re going to smash our way through the moonfall site. Unlike some of the other missions, there’s no “big boss” at the end.
Instead, it’s a swarm of what felt like an endless flow of enemies that just kept spawning in. What that means is for the last objective, you can just break the things you need to break and once the game acknowledges you did, you can just leave! If you want to know how to complete Crystal Brawl in Borderlands 4, here’s what you need to do.
Crystal Brawl complete quest guide for Borderlands 4
Mission Information
- Quest Giver: Defiant Calder
- Location: Belton’s Bore
- Recommended Level: 15-20
- Approximately length of mission: 45 minutes to an hour
Mission Steps
- Talk to Defiant Calder, find Wildcat, Follow Amara
- Meet Amara near moonfall site, Breach moonfall site with Amara/Crush Order forces
- Breach moonfall site with Amara and Kill Order guards
- Breach moonfall site with Amara, reach dig site
- Destroy power generator & kill dig site guards (Optional objective: Destroy Eridium mining drones)
- Reach next dig site (Optional objective: Destroy Eridium mining drones), Kill dig site guard
- Return to Central Chamber, Destroy Refinery Processor
- Destroy Refinery Processors, Expose Secondary process and tertiary processor (and destroy secondary/tertiary processors)
- Destroy Refinery Core, Leave dig site
1) Talk to Defiant Calder, find Wildcat, Follow Amara

After a brief chat with Defiant Calder to kick off Crystal Brawl in Borderlands 4, he’s going to send you off to meet Wildcat; he warns you to beware her claws, but there’s no real threat to us; we’re the heroes of the story! It’s an incredibly long drive from your base down to her location, but if you bothered to pick up the Heritage Opus Safehouse, it’s much shorter. You could have picked this up in the previous mission while driving around; it was certainly on your route.
As you head into the Heart of the Mountain, you’ll have to deal with Creeps, an annoying, burrowing, scorpion-type creature. You’ll face off against a swarm or two of them inside the mountain itself, before you can get to Wildcat. You’ll likely also see a swarm of Kratches, but if you don’t care about them, just keep going.
On the other side of the cave, you’ll see crashed, destroyed spaceship parts all over the mountain. Jump up the rocks to your left and head that way to find hole to crawl through and then a climbable wall.

Take that instead of pushing towards Wildcat. If you take this route, you’ll find an ECHO Log behind the little bar you find on top after going up a second climbable wall, and a Vault Hunter Logo on the back of the blue trash bin.
Just follow the normal mission path after this, jumping across chasms, climbing up walls, and killing the occasional pack of Manglers or other enemies. You’ve still got a ways to go before you meet Wildcat in Borderlands 4’s Crystal Brawl, so just keep along the route provided by the ECHO Device.
Eventually, you’ll meet up with Wildcat/Amara, who will decide you’re no threat. Follow her onto the bridge of her former ship, and flick the Bobblehead on the dashboard for 100 XP. You’ll hear more about the most powerful Siren of all, Lilith, and then the mission will proceed.
2) Meet Amara near moonfall site, Breach moonfall site with Amara/Crush Order forces

It turns out we’re going Eridium hunting! Meet Amara near the moonfall site as a part of Borderlands 4’s Crystal Brawl mission, which will be available to check out on your map. Once again, fast travel to Heritage Opus for a bit of a shorter trip. There’s lots of collectibles on the way to the moonfall site, if you’re up for some exploration.
Among these are a Lost Capsule near the Heritage Opus site, if you haven’t already picked it up. You’ll find more points of exploration after you fight your way through Checkpoint Taupe, which is directly along the path of this Borderlands 4 mission objective. There’s also the Vestal Garrison along the path which contains an ECHO Log.

You can also unlock another Safehouse along the way, in The Nightcap. This one’s tricky, because you need to get up to a climbable wall high up in the cave, turn around to face a higher platform, and double jump/glide across. You can also find a Propaganda Speaker along the way as well, so keep an eye out for these on your map, should you want to do some side content while exploring this Borderlands 4 main story mission.
Upon arriving, you’ll want to enter, and thus, breach the moonfall site with Amara and crush the Order forces. What’s nice about this fight is if you’re playing solo, now you’ve got help! Unlike previous allies, Amara is incredibly useful.
She’ll revive you if you’re downed, as long as you’re close enough to her and she can make it in time. Other than a Badass or two, there’s not much to fear in this group. Get through them, and proceed deeper into the area.
3) Breach moonfall site with Amara and Kill Order guards

There are naturally more Badasses ahead, like a Badass Domination Engine, which, depending on its affixes, can be a pain to deal with. They will likely spawn in with a Badass Watchman, so the fight really heats up here.
The majority of this part of the Borderlands 4 mission is going to be reaching the end of the moonfall site, and slaughtering any Order forces you come across. At the end of this section, there’s also probably going to be an incredibly tanky Hammerhead, so thankfully, Amara’s here for this Borderlands 4 mission.
4) Breach moonfall site with Amara, reach dig site
Push deeper into this Borderlands 4 area with Amara, until you ultimately reach the dig site. Before that, you’ll also get a real demonstration of Amara’s power, as she uses the Eridium to smash through a door. It’s a very cool scene, and leads to a more comical moment later in the mission.
The dig site is filled with enemies that swarm down upon you, but at least they’re mostly coming from one direction; right ahead of you. There’s no groups jumping you from behind. While you’re in here, you also need to destroy a power generator, so you can proceed.
5) Destroy power generator & kill dig site guards (Optional objective: Destroy Eridium mining drones)

While you’re fighting the dig site guards and working towards the power generator, you’ll also unlock an optional objective: destroy Eridium Mining Drones. None of them are really hidden; just look for the massive orange-glowing spider bots, like the one you see in the screenshot above.
There are three of them in the room right away when you get this challenge. One directly ahead on the rocks, one off to the right, and one dead ahead on the left. You need to destroy seven of them in total, and they will all be right along the path ahead of you.

At the same time though, you have other enemies to deal with, so fight them off before you worry too much about the Mining Drones. This might be one of the busiest enemy rooms I’ve seen in Borderlands 4 thus far. There are many Badasses, including a Badass Hulkhead, alongside Wardens, and other annoying Synths.
When you’ve finally defeated everyone, head to the next objective in this room, and shoot the purple crystal, which is the power generator. That will allow you to proceed, where a Force Field is barring the path.
6) Reach next dig site (Optional objective: Destroy Eridium mining drones), Kill dig site guards

Unfortunately, the Force Field is a bit sturdier than Amara planned for as a part of this Borderlands 4 mission. Instead, she’ll just knock another door down, allowing you further access to the next dig site. Before you leave this room, look to your left (by the door she breaks down) and kill the fourth Eridium Mining Drone.
The Fifth Eridium Mining Drone is to your left as soon as you get through the door. You’ll then see the sixth Eridium Mining Drone on the left after climbing up the first stairs. This is a very easy optional objective as far as Borderlands 4 goes, so complete it as you progress through Crystal Brawl.

If you look to your immediate right, you’ll find the seventh and final Eridium Mining Drone, wrapping up that optional objective for Crystal Brawl in Borderlands 4. From here, just slaughter everyone in this wide open area. They just keep filing in towards you from the path ahead, but they aren’t any real threat.
After you clear out all the enemies, head up to the next purple crystal, marked by a quest objective, and shoot it to destroy it. Vile Lictor will spawn in more foes, including at least one Badass, to show he’s tired of dealing with you. Just wipe them out, and move on. It’s a relatively tiny pack in comparison.
7) Return to Central Chamber, Destroy Refinery Processor
`
When these foes have been defeated, backtrack to the Central Chamber, and this time, after a comical one-liner, she does take down the Force Field! There’s plenty of enemies in this chamber, and you’ll also find that the purple crystal for the refinery processor is vulnerable in the middle of the room.
Make a beeline for it, and just destroy it right now. I didn’t bother to clear all the enemies, I just blew it up immediately to get to the next phase. There’s still more stuff to destroy here, and the enemies showed no signs of slowing down as a part of this Borderlands 4 battle.
8) Destroy Refinery Processors, Expose Secondary process and tertiary processor (and destroy secondary/tertiary processors)

On the left and right side of this open area in Borderlands 4, you’ll find the secondary and tertiary processors. You have to get access to them first, though. You’re looking for the two pads in the room that look like what you see in the image above. Double jump and slam down into the pad, to expose the processor.
You’ll see a purple explosion above you, and one of the crystals will become visible. Just scope in and shoot until it explodes. Then, just do the same thing on the other side of the screen. Fight the enemies you need to, but don’t get caught up in it.
9) Destroy Refinery Core, Leave dig site

After blowing up the secondary and tertiary cores during this Borderlands 4 battle, you’ll see a huge power core in the far end of the room, with a red-striped barrier surrounding it. Get to it, and open fire to completely destroy the Refinery Core. You don’t have to defeat all of the enemies, you just need to break that core!
From here, you can keep fighting, or you can leave. I wound up just fleeing, because the enemy packs didn’t seem like they were ever going to stop. Just run away with Amara, until you get the Main Mission Complete: Crystal Brawl message in Borderlands 4.
Your reward will be XP, Money, Eridium, a Rare or Epic Shield, and the Augered Reality Vault Hunter Style. It will also allow you to take on the next mission, Dark Subject.
Check out our other Borderlands 4 guides and features
- All Weapon Manufacturers in Borderlands 4
- Who is the villain of Borderlands 4?
- What are Enhancements in Borderlands 4?
- Does Borderlands 4 have co-op and crossplay?
