
'%20x='0'%20y='0'%20height='100%25'%20width='100%25'%20%0A%20%20%20%20%20%20%20%20%20%20xlink%3Ahref='data:image/jpg;base64,/9j/2wBDAAYEBQYFBAYGBQYHBwYIChAKCgkJChQODwwQFxQYGBcUFhYaHSUfGhsjHBYWICwgIyYnKSopGR8tMC0oMCUoKSj/2wBDAQcHBwoIChMKChMoGhYaKCgoKCgoKCgoKCgoKCgoKCgoKCgoKCgoKCgoKCgoKCgoKCgoKCgoKCgoKCgoKCgoKCj/wgARCAAGAAoDASIAAhEBAxEB/8QAFgABAQEAAAAAAAAAAAAAAAAAAAUH/8QAFQEBAQAAAAAAAAAAAAAAAAAAAAP/2gAMAwEAAhADEAAAAMKhFH//xAAfEAADAAEDBQAAAAAAAAAAAAABAgMhAAQFBhESEyL/2gAIAQEAAT8Av1Ia7ULTaxHxNUZRlPHGNX5CBvQ+tj3Y5KjX/8QAFxEBAAMAAAAAAAAAAAAAAAAAAQACIf/aAAgBAgEBPwBsus//xAAWEQEBAQAAAAAAAAAAAAAAAAABABL/2gAIAQMBAT8AyF//2Q=='%3E%3C/image%3E%3C/svg%3E)
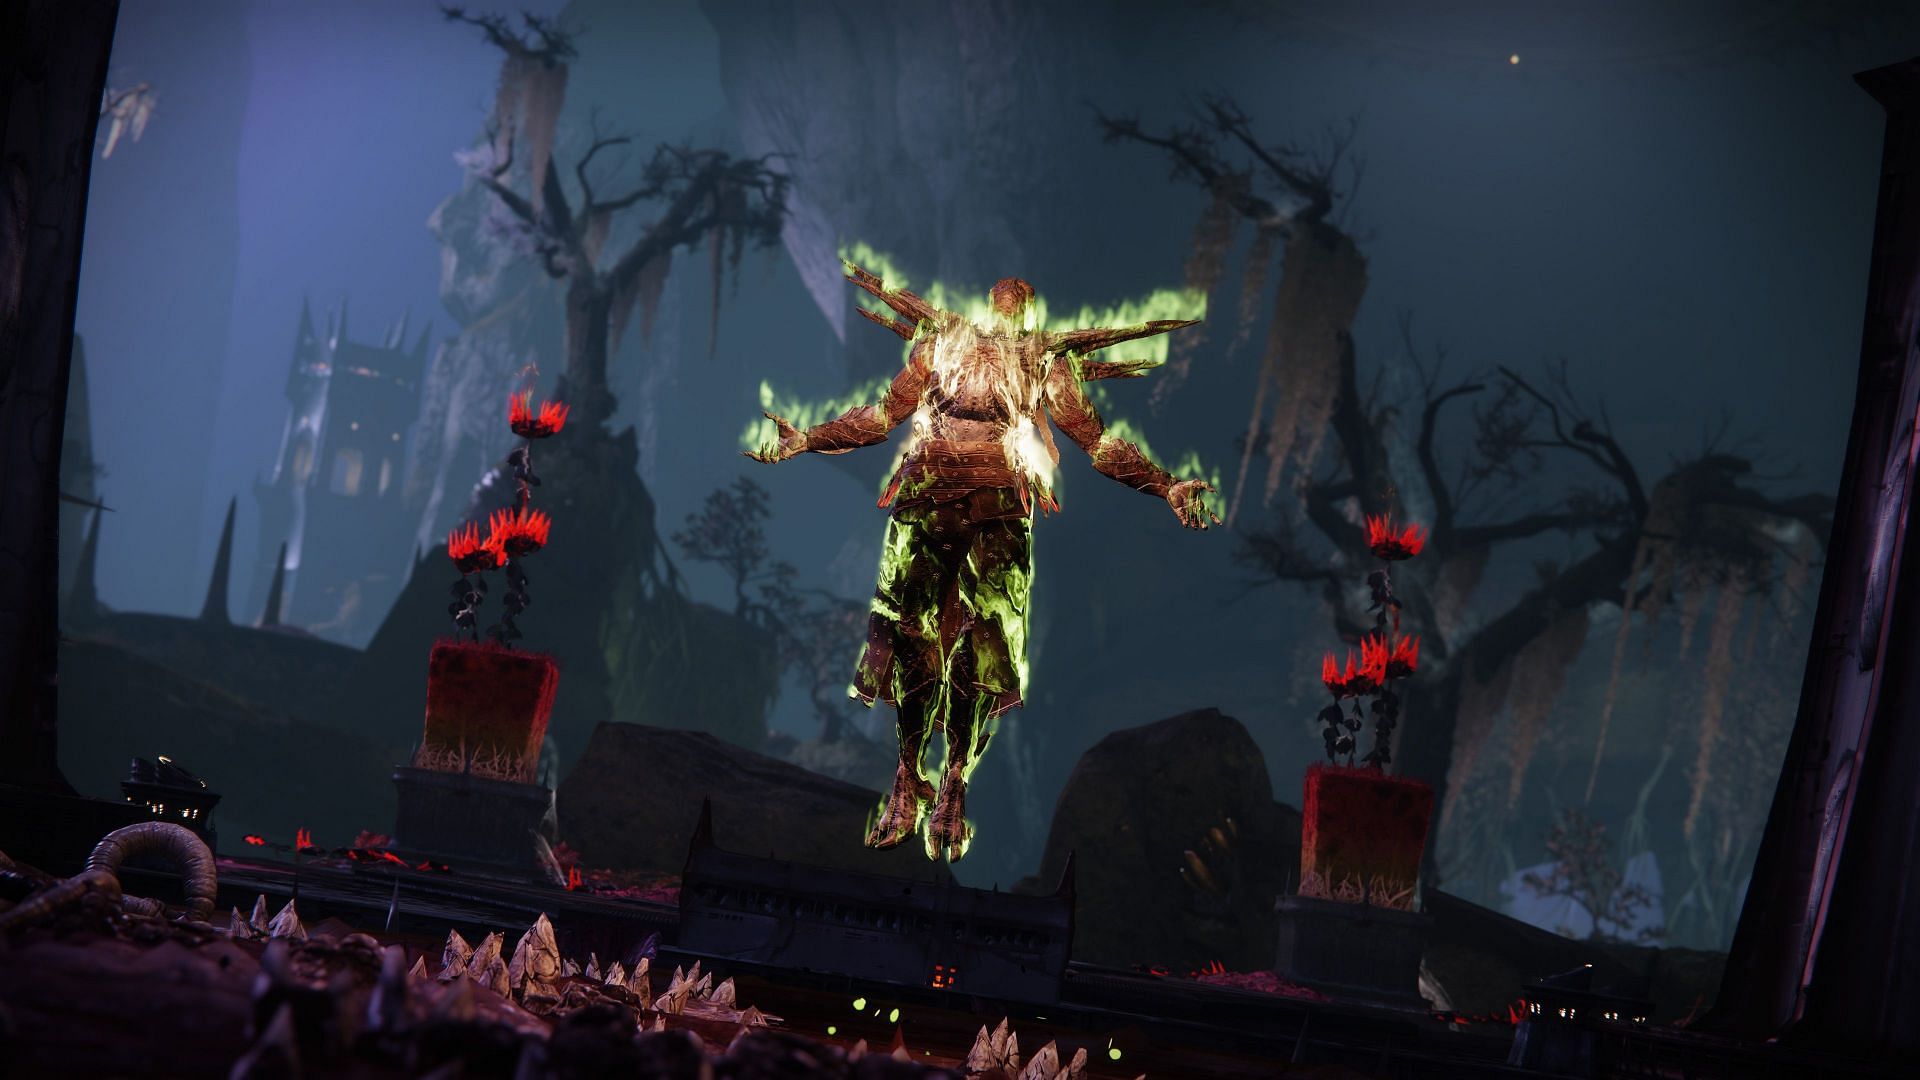
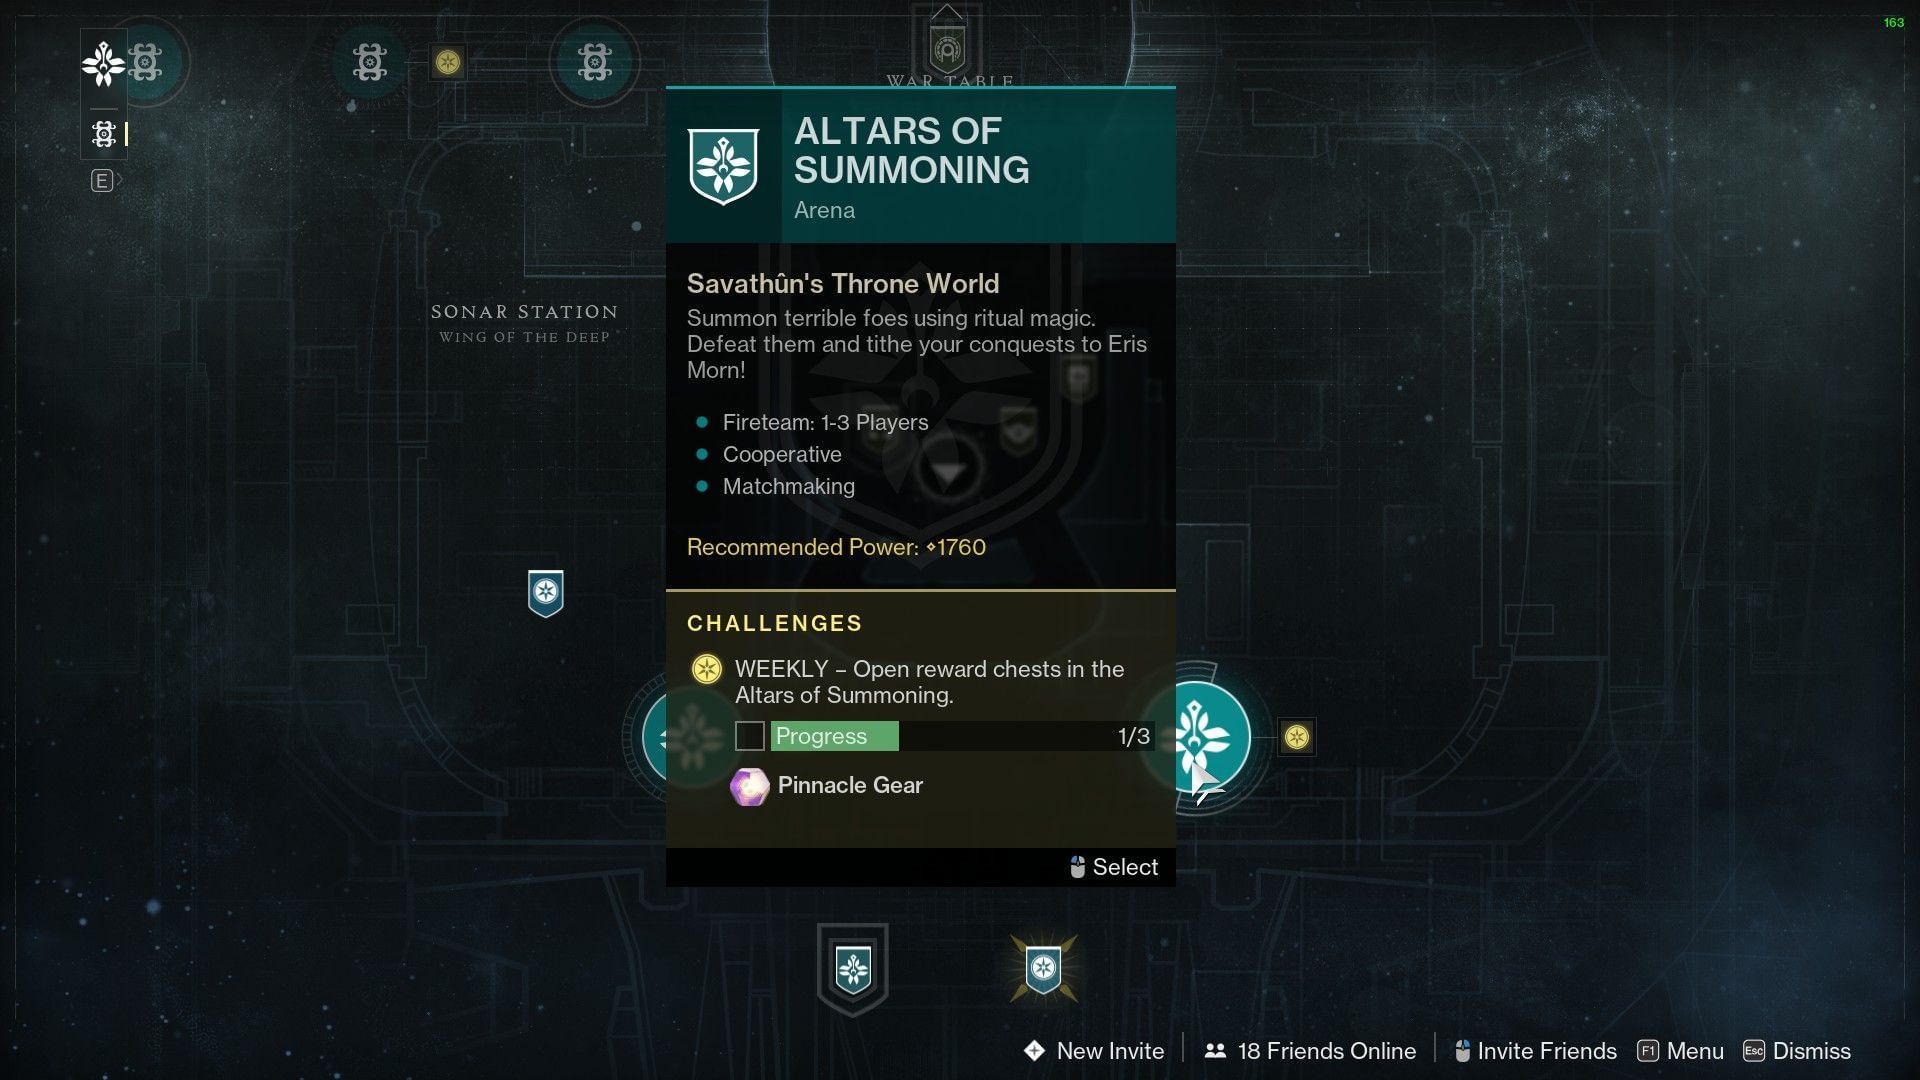
The Altars of Summoning in Destiny 2 Season of the Witch is one of the two primary activities added to the pool. It seems to be Bungie's take on an endless game mode tied to the seasonal lore, where three participants will need to kill numerous enemies across four different encounters. The main objective is to start a Hive ritual in different parts of the arena, summon enemies, and kill them to empower Eris Morn's Hive form.
This article lists all the mechanics needed for an Altars of Summoning run. The overall progression is similar to any Destiny 2 seasonal missions in the past, where finishing one encounter will fill up an objective bar. Additionally, failing an encounter will grant a small progression toward completion.
Disclaimer: This article is subjective and relies solely on the writer's opinion.
Altars of Summoning mechanics guide in Destiny 2 Season of the Witch
As mentioned, Altars of Summoning includes four different encounters that can be randomly generated during your run. However, it is recommended to complete the first four steps of the seasonal "The Bladed Path" questline before anything else. Once done, the Altars of Summoning activity can be found within the HELM's overview map.
Here is a list of mechanics in the order intended to clear out any confusion regarding the core mechanics that are tied to the Altars of Summoning activity:
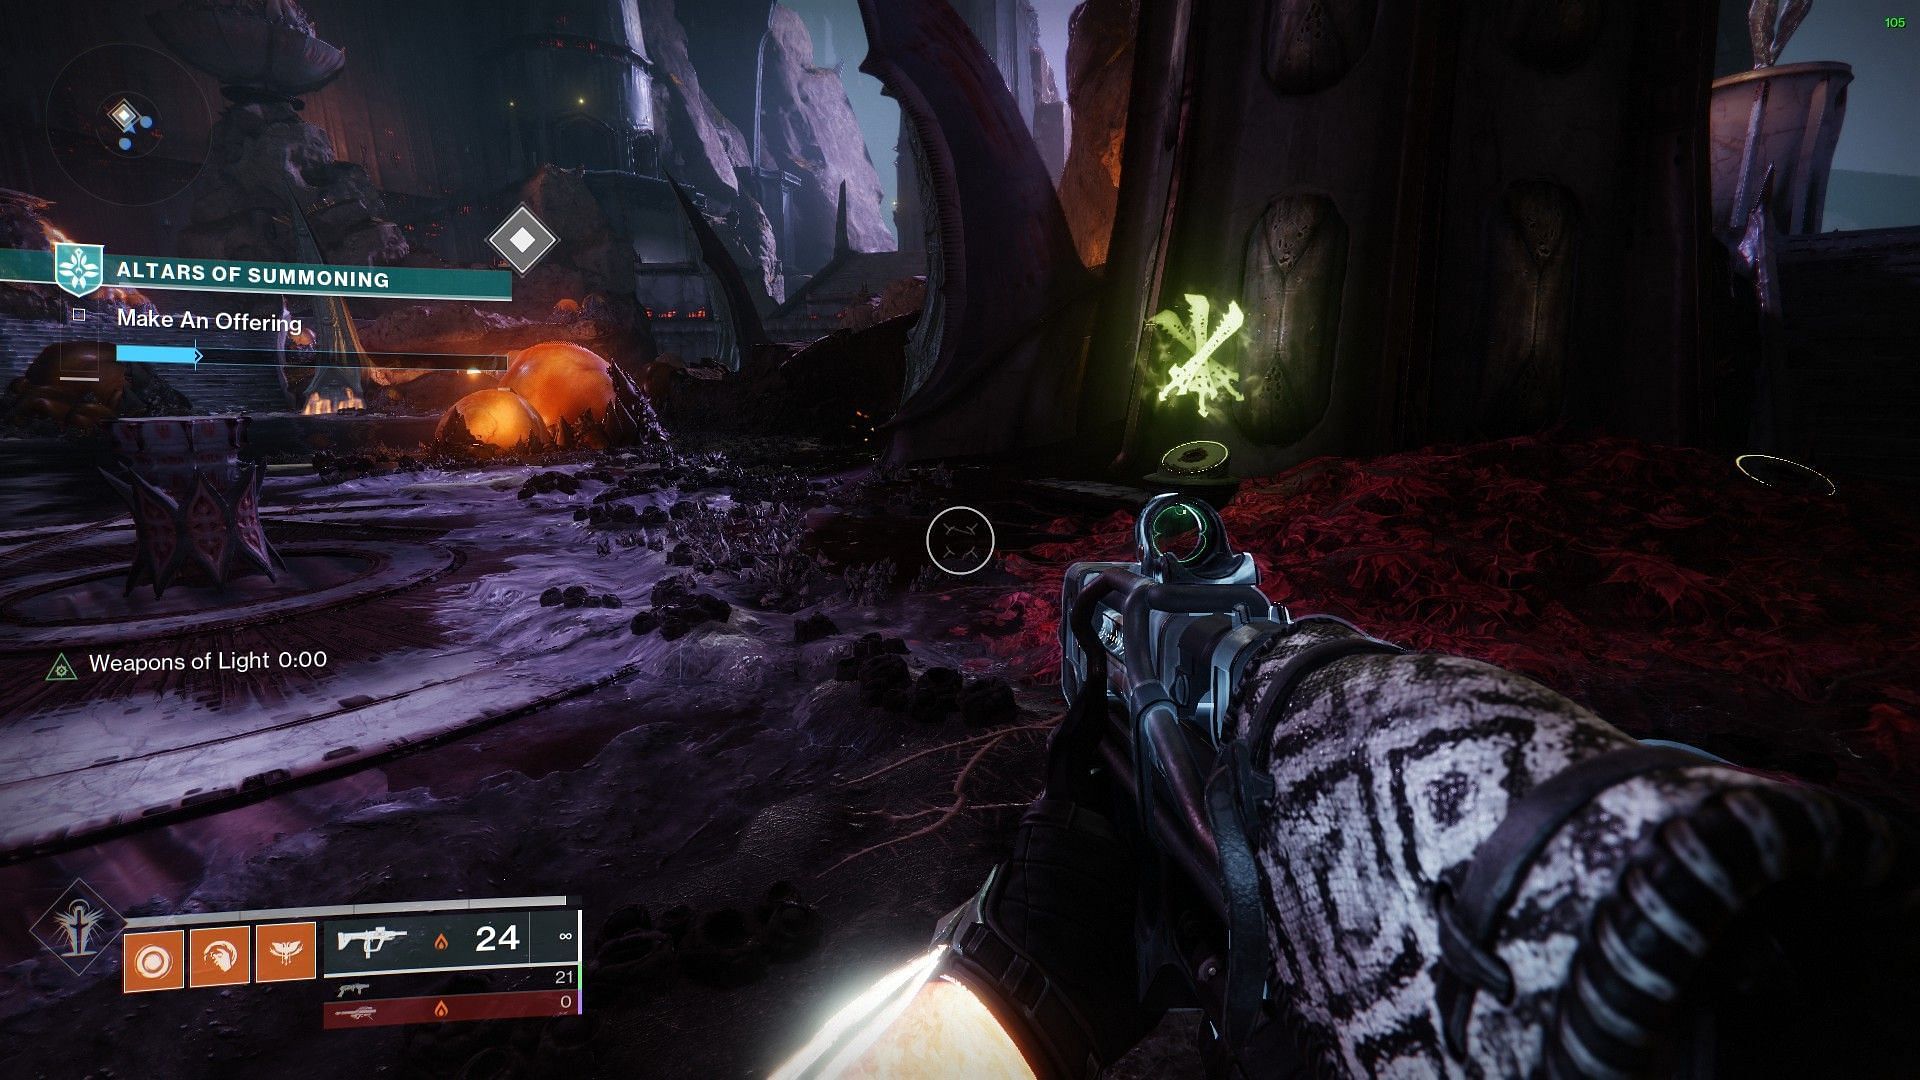
- The activity can be started by interacting with one of many Hive symbols.
- A progression bar on the left shows the amount of completion made.
- After starting the activity, each location will allow you to interact with three swords.
- The number of swords in each of the nodes refers to the encounter difficulty. For example, interacting with the One-sword node will resume an encounter with the easiest difficulty. Similar two-sword and three-sword nodes increase the spike in the challenge.
- Starting an encounter in a specific difficulty will reward reputation points based on the challenge tier.
- Once the bar is filled, you are free to collect the loot and either leave the activity or continue again by interacting with one of the Hive runes.
Rewards include seasonal armor pieces and weapons from a chest.
Altars of Summoning encounter guide in Destiny 2 Season of the Witch
The following list contains every known encounter from the Altars of Summoning activity and how to complete them in Destiny 2:
- Hive crystal: Similar mechanics from the first mission. Melee hit on the central crystal, followed by charging multiple crystals within a time limit.
- Hive rune deposits. Defeat Rune Bringer Wizards to get motes and deposit a total of three motes on the glowing platform.
- Vex: Defeat three bosses in total and prevent marked Hobgoblins from reaching Vex nodes. The latter is quite similar to the Garden of Salvation mechanic.
- Scorn: Defeat Abominations and break crystals with melee.
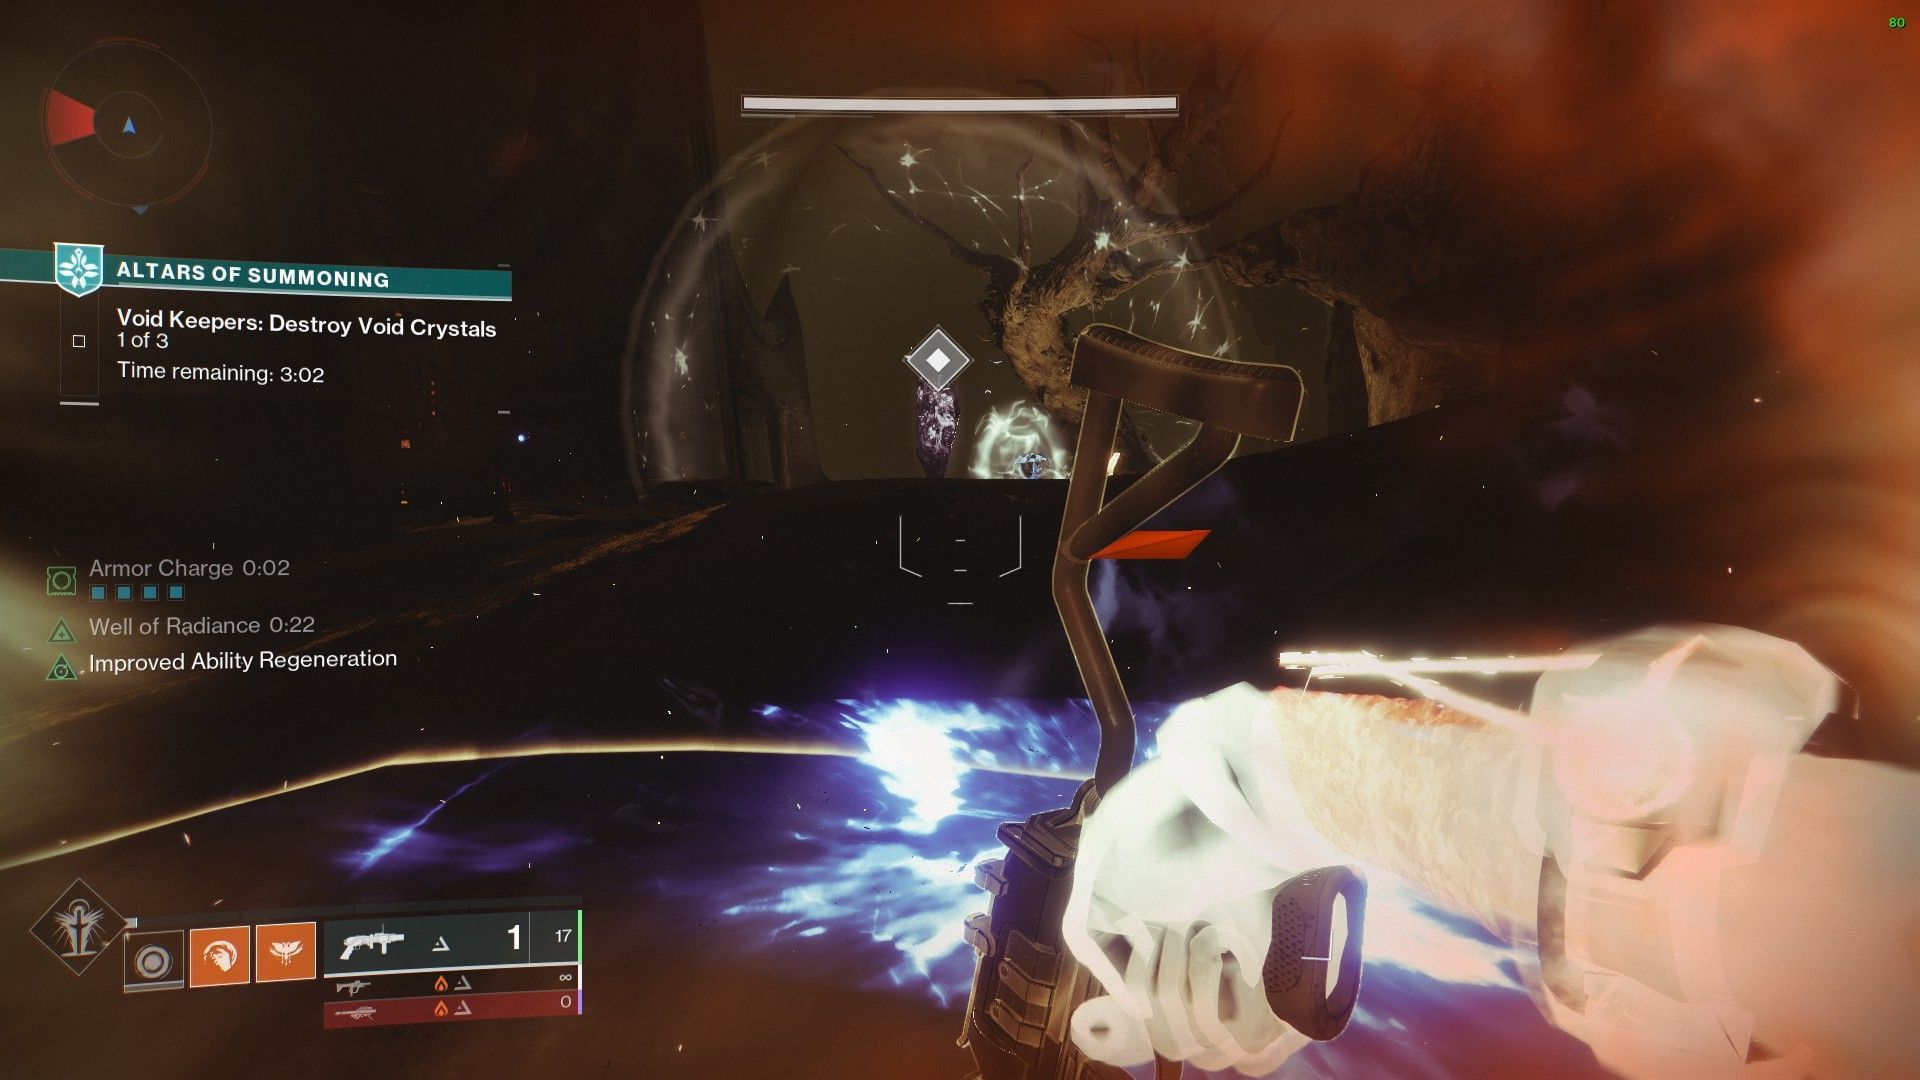
Based on each encounter's difficulty tier and success, the progress toward the activity completion will matter. However, since the game won't put you out to orbit, you have the option to keep going for increased amounts of loot per run.
