
'%20x='0'%20y='0'%20height='100%25'%20width='100%25'%20%0A%20%20%20%20%20%20%20%20%20%20xlink%3Ahref='data:image/jpg;base64,/9j/4AAQSkZJRgABAQAAAQABAAD/2wCEAAMDAwMDAwQEBAQFBQUFBQcHBgYHBwsICQgJCAsRCwwLCwwLEQ8SDw4PEg8bFRMTFRsfGhkaHyYiIiYwLTA+PlQBAwMDAwMDBAQEBAUFBQUFBwcGBgcHCwgJCAkICxELDAsLDAsRDxIPDg8SDxsVExMVGx8aGRofJiIiJjAtMD4+VP/AABEIAAUACgMBIgACEQEDEQH/xABfAAEBAAAAAAAAAAAAAAAAAAAABxAAAgEEAQUAAAAAAAAAAAAAAQIRAAMEIgUSISMxQQEBAQAAAAAAAAAAAAAAAAAAAQYRAQEAAQUAAAAAAAAAAAAAAAECAAMRISJR/9oADAMBAAIRAxEAPwCWY2LxSctaIwh4LhDbR13AwUPCgADaYip5LXdw7KG7gQpifnqlKo9GJSb27XA0+uJSPDn/2Q=='%3E%3C/image%3E%3C/svg%3E)
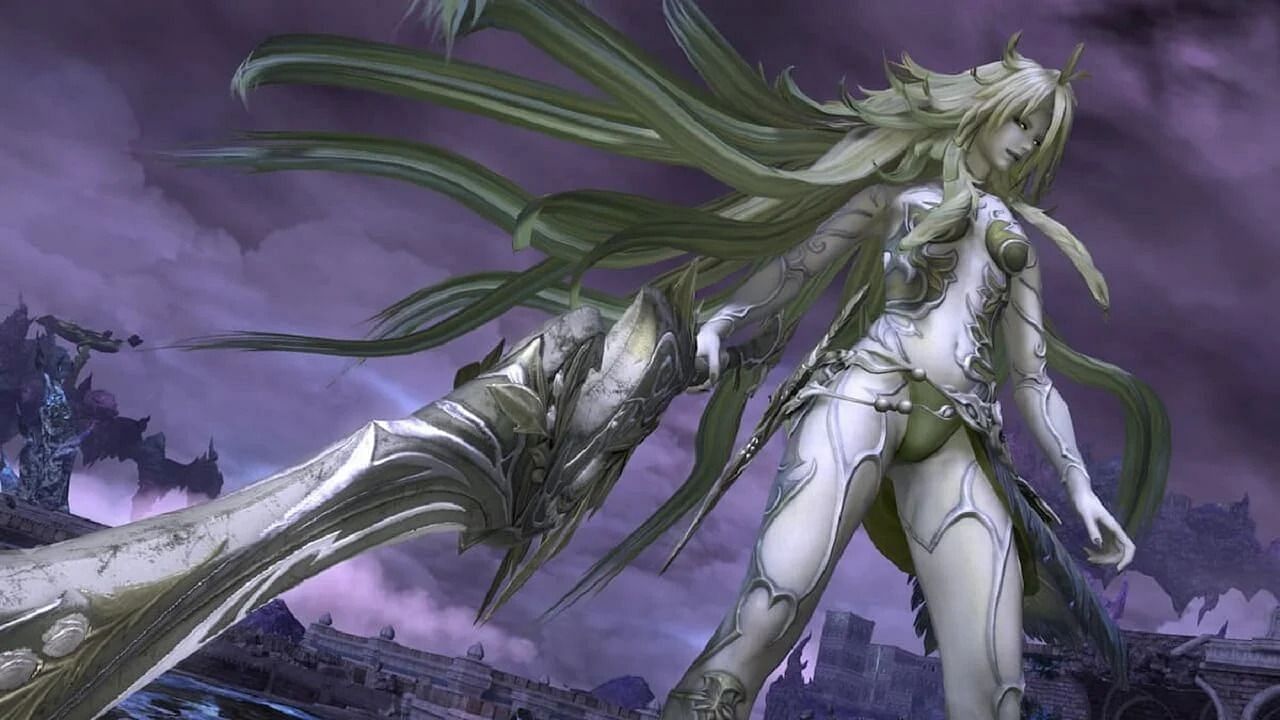
One of the most challenging aspects of Final Fantasy XIV is taking on the toughest battles against foes in Extreme mode. Storm's Crown is one of the most notorious Extreme battles in the game, with players facing off against the primal Barbariccia in a test of skill, strategy, and teamwork.
To successfully defeat Final Fantasy XIV's Barbariccia in Storm's Crown (Extreme), players must cooperate and coordinate their attacks and strategies carefully. They must also be well-equipped with the right gear and have a thorough understanding of their roles and responsibilities in the battle.
The fight requires a high level of skill and precision, as players must dodge Barbariccia's attacks while dealing damage to her and avoiding deadly environmental hazards.
Final Fantasy XIV guide - How to beat Storm's Crown Extreme Trial
This Final Fantasy XIV guide will provide you with everything you need to know to successfully take on Storm's Crown (Extreme) and emerge victorious. We'll cover the basics of the fight, including the mechanics of Barbariccia's attacks, the roles and responsibilities of each player in the party, and the gear and preparation needed to take on this challenge.
We'll also provide tips and strategies for each phase of the fight, so you can be fully prepared for anything Barbariccia throws your way.
Before being able to take on this Final Fantasy XIV fight, you must meet the following requirements:
- Complete 6.2 MSQ "The Wind Rises"
- An iLevel of at least 600
After completing the aforementioned requirements, go to Old Sharlayan and talk to the Wandering Minstrel (X:12.7, Y:14.3). The Storm's Crown Extreme Trial will then be unlocked, enabling you to queue for it using Party Finder or with a fixed group.
Light Parties/Clock Position
Understanding your position, where it fits in the larger picture, and how to cooperate with others in such tough trials are some of the most important components of any endgame action in Final Fantasy XIV. To accomplish this, you will typically divide into Light Parties and then find your Clock Position, providing you with two possible sites of retreat during crucial battle moments.
Always set your melee DPS in the south-most intercardinal direction and your ranged DPS in the north-most intercardinal direction. Then, on the east and westmost markers, the Healers will be positioned on each side of the target.
Last but not least are the tanks, which will take the northern and southern points. They may quickly switch while keeping the enemy's back turned towards the melee DPS jobs, enabling them to reach their positions.
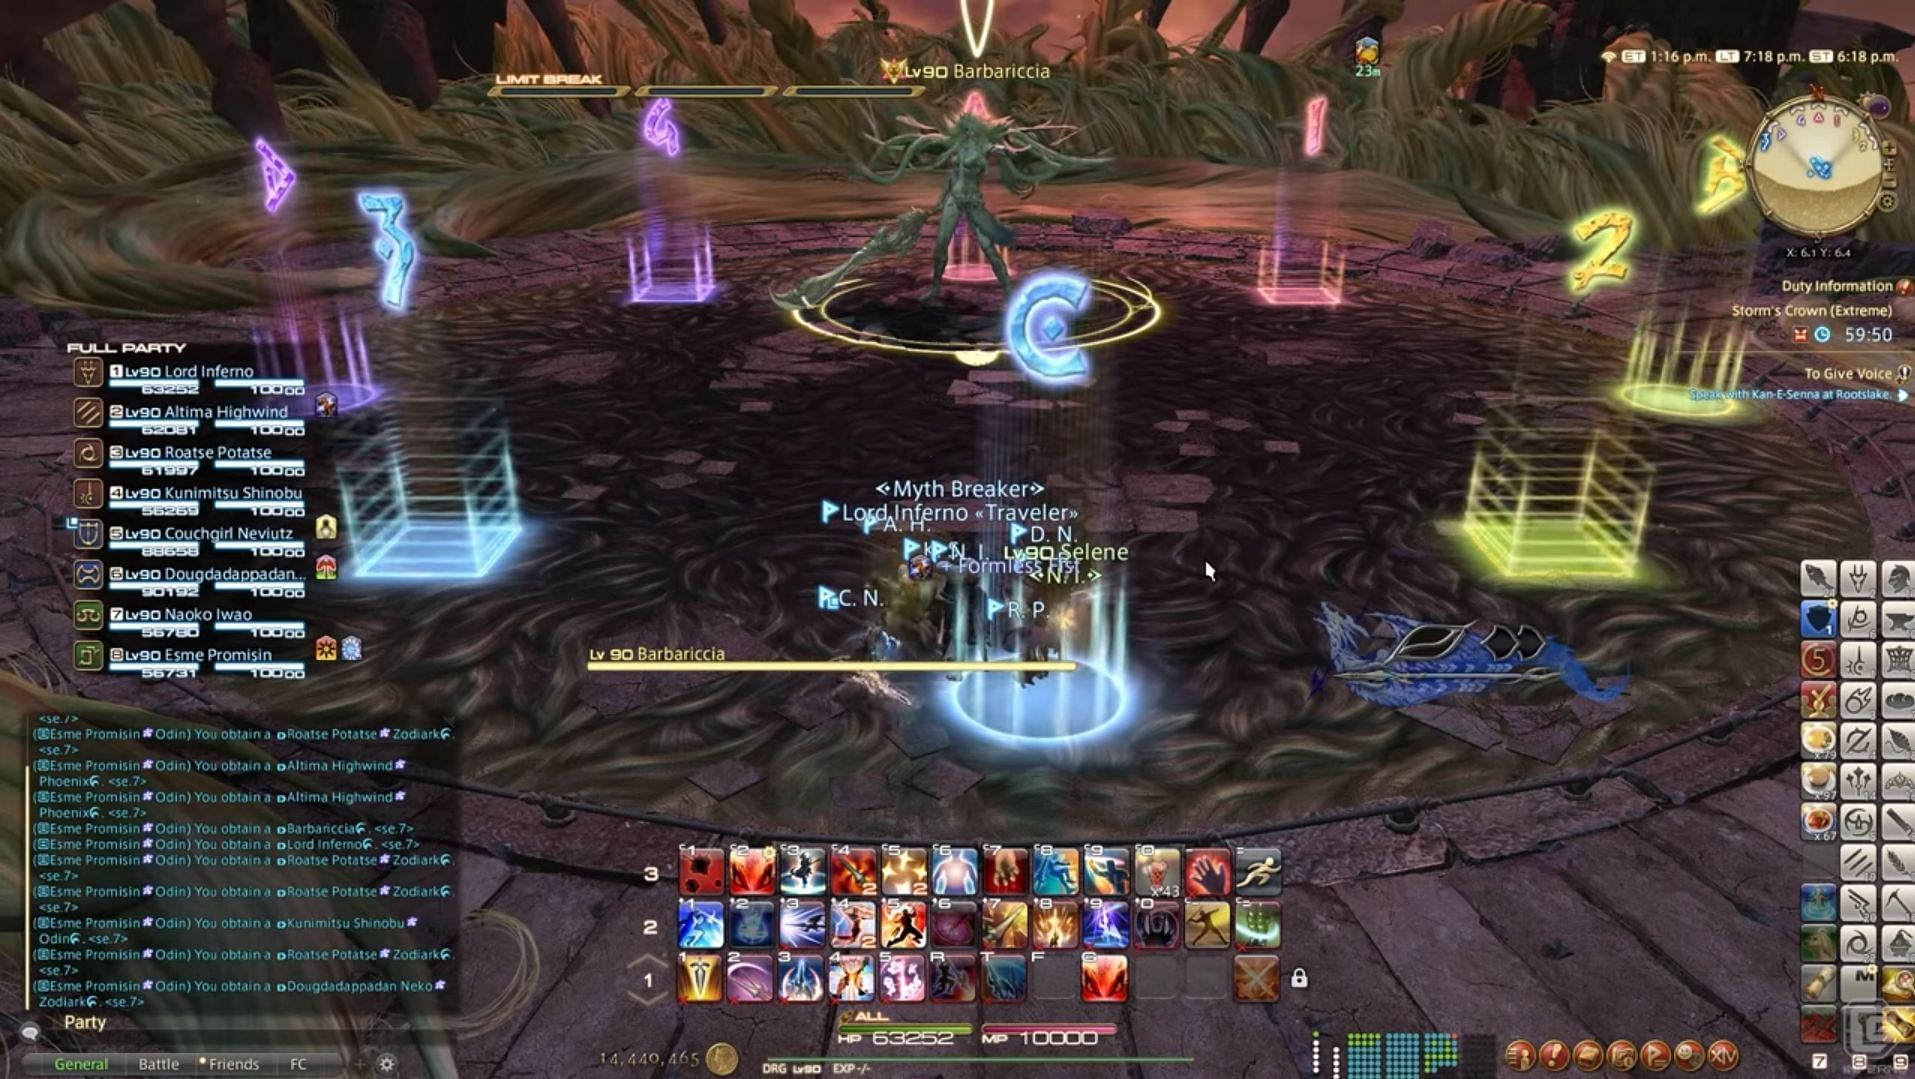
Phase 1
Take note of the following abilities that Barbariccia will use in this phase:
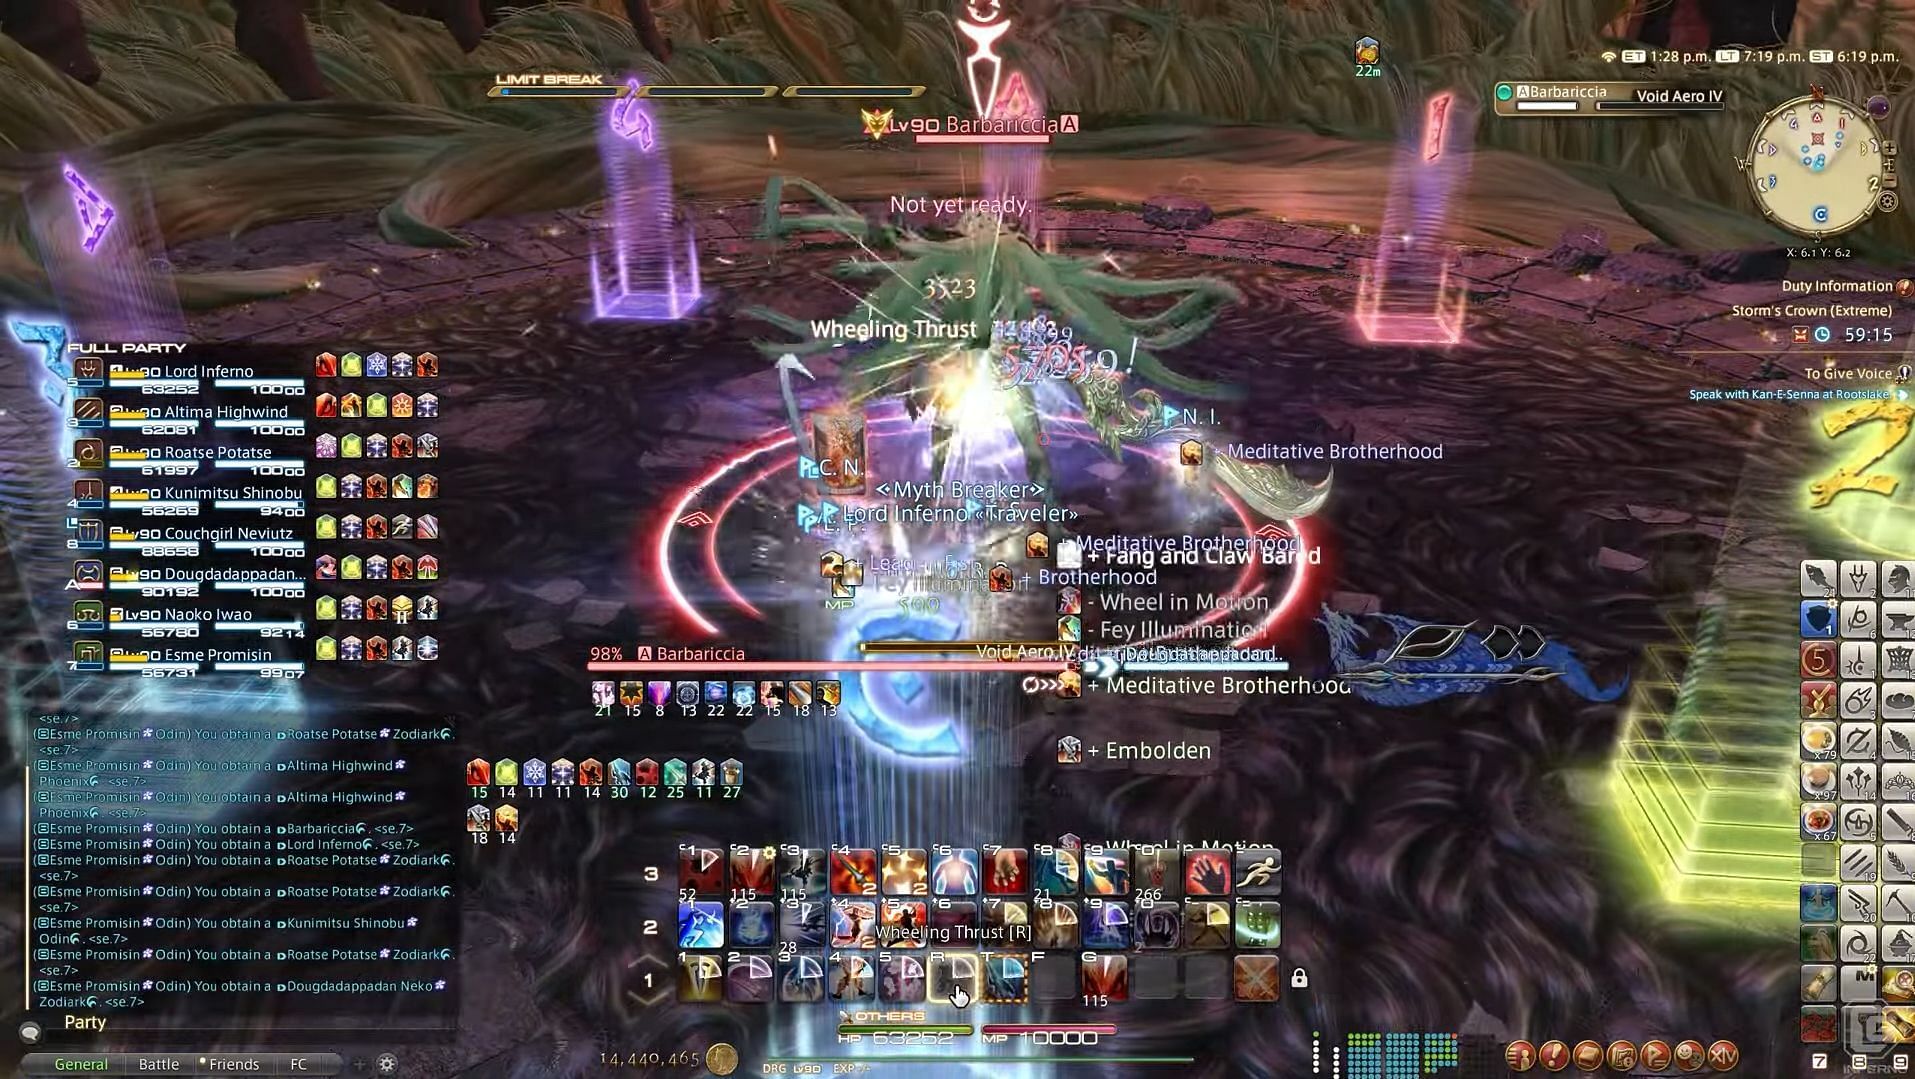
- Void Aero IV: Deal moderate magic damage to the entire raid.
- Raging Storm: Deal light magic damage to the whole party when Barbariccia jumps to the middle of the arena without a cast bar.
- During Savage Barbery: Barbariccia will throw her sword towards a cardinal edge. If she raises her sword, there will be a line AoE in front and behind her relative to where she is facing. If she lowers it, there will be a donut AoE.
- Hair Raid: Barbariccia tethers to her sword and performs different mechanics based on her position. If she floats in the air, she will do a donut AoE around her. If she crouches down, she will dash to the sword and cleave the entire arena with a conal AoE, leaving the area at the wall safe.
- Deadly Twist: Apply stack markers on both healers.
- Hair Spray: Mark AoEs on all players.
- Void Aero III: A tank buster that inflicts Wind Vulnerability Up debuff, necessitating a tank swap.
- During Teasing Tangles: Barbariccia summons four tangle circles at the cardinal points of the arena. Two players (one DPS and one support) are fettered and chained to the tangle, causing their movement speed to decrease, and leaving the circle will drag them back in with a DoT.
- After Secret Breeze: Barbariccia will inflict a physical vulnerability up a debuff on all players with an unmarked conal AoE.
- During Hair Flay: Four players (one from each tangle) receive a marked circular AoE that deals moderate magical damage.
- Upbraid: A two-player stack marker that deals moderate magical damage and is given to two players from opposite tangles.
- Curling Iron: Starts Barbariccia's transition to the wind phase, dealing light magical damage and knocking players back from Voidstrom.
- Catabasis: Barbariccia's ultimate attack, which deals massive raid-wide magic damage.
In this encounter, Barbariccia has two phases: wind and normal. Final Fantasy XIV players employ traditional tactics during the normal phase, whereas the wind phase necessitates more movement.
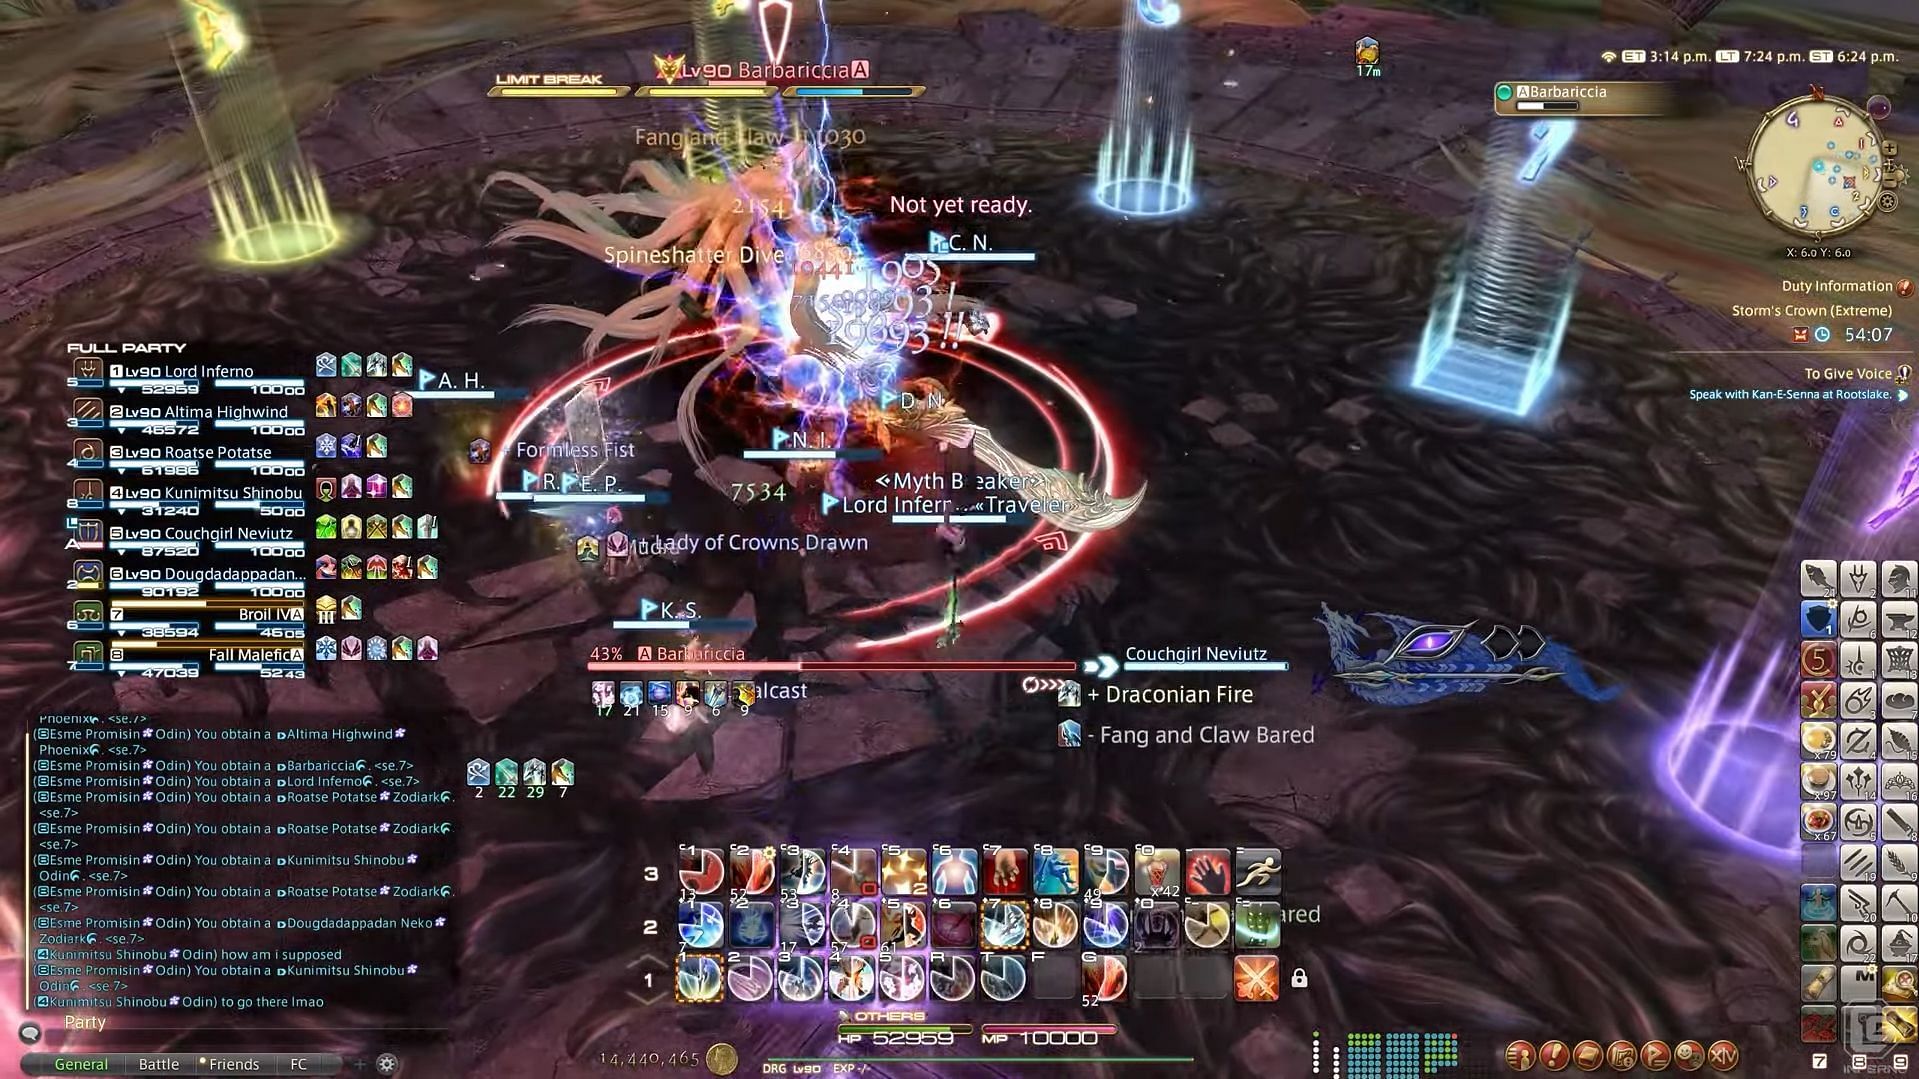
Void Aero IV is the first spell that Barbariccia will cast before using Savage Barbery, Hair Raid, and either Hair Spray or Deadly Twist in the center of the battlefield. Players need to space themselves out or stack as needed, avoid the mechanics, and locate the sword.
Barbariccia will perform the earlier mechanics once more before casting Void Aero III and Teasing Tangles to capture every player. In each tangle, one player will receive Hair Flay, while the other will receive Upbraid or no mechanic.
Players should heal up for the next set of mechanics and switch to phase 2 after avoiding Secret Breeze, which comes with Barbariccia's ultimate attack, Catabasis.
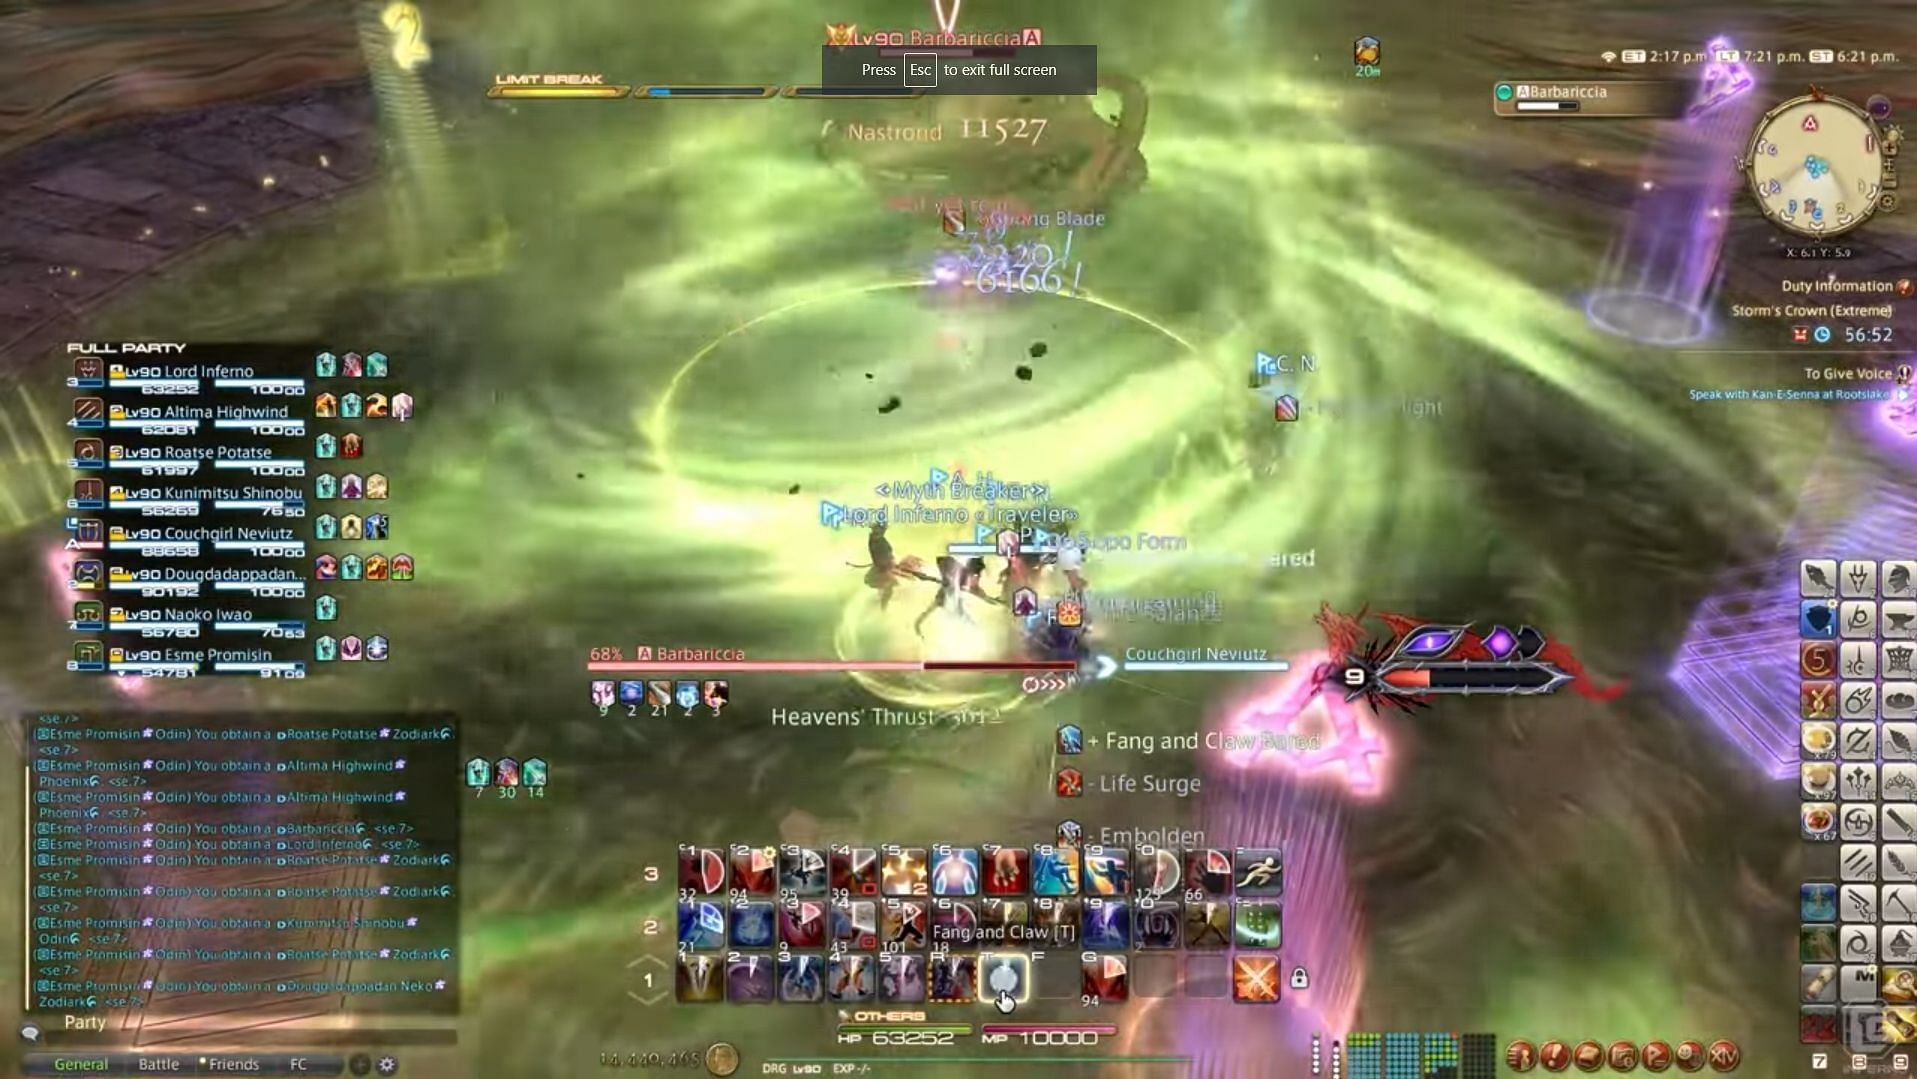
Phase 2
Take note of the following abilities that Barbariccia will use in this phase:
- Brutal Rush: Barbariccia tethers four players in one role with a thin tether and jumps to each, dealing light damage, followed by a line AoE towards them.
- Winding Gale: A set of curved line AoEs that meet in the center, followed by line AoEs that go across the arena.
- Brittle Boulder marks all players with a rock, which will explode in a large AoE after a short while, followed by an AoE marker on each player's position.
- Tornado Chain: Spawns three sets of ring AoEs from the middle of the arena.
- Knuckle Drum: Deals 10 instances of light magical damage to the entire party followed by a hit of moderate raid-wide magical damage.
- Blow Away: A baited ground AoE that players need to dodge by moving together.
- Bold Boulder is a proximity tank buster that affects both tanks.
- Impact: A knockback from the center of the room that kills players instantly if they are in the middle.
- Trample: A physical stack marker on a random healer that Barbariccia jumps to.
- Blustery Ruler: A circular AoE in the center that spawns tornadoes, knocking players up and inflicting a vulnerability stack if hit.
- Dry Blows: Small ground AoEs that appear randomly in the arena.
- Iron Out: Barbariccia's transition to the normal phase, dealing light magical damage and knocking players back from Voidstrom.
This is a very fast-paced phase, so ensure your team’s focus to be able to execute the mechanics properly. All players must stay away from the storm beyond the arena throughout the wind phase as it deals with Windburn DoT.
Brutal Rush on supports, Winding Gale, and Boulder Break mark the beginning of the phase. Then, all players must disperse for the AoE section, evade Tornado Chain, and bait Brittle Boulder.
Barbariccia will use Knuckle Drum, Blow Away, and Brutal Rush on DPS to repeat the techniques. You will then have to avoid a mix of Bold Boulder, Trample, and Impact. All players will be constrained by Barbariccia, which calls for clean evasion of Blustery Ruler, Dry Blows, and Tornado Chain.
Her Upbraid will target four players, and after taking the stack, all players must spread out. Iron Out and Knuckle Drum mark the end of the phase. Meet with the team to heal and refocus for the next phase.
Phase 3
Take note of the following abilities that Barbariccia uses in this phase:
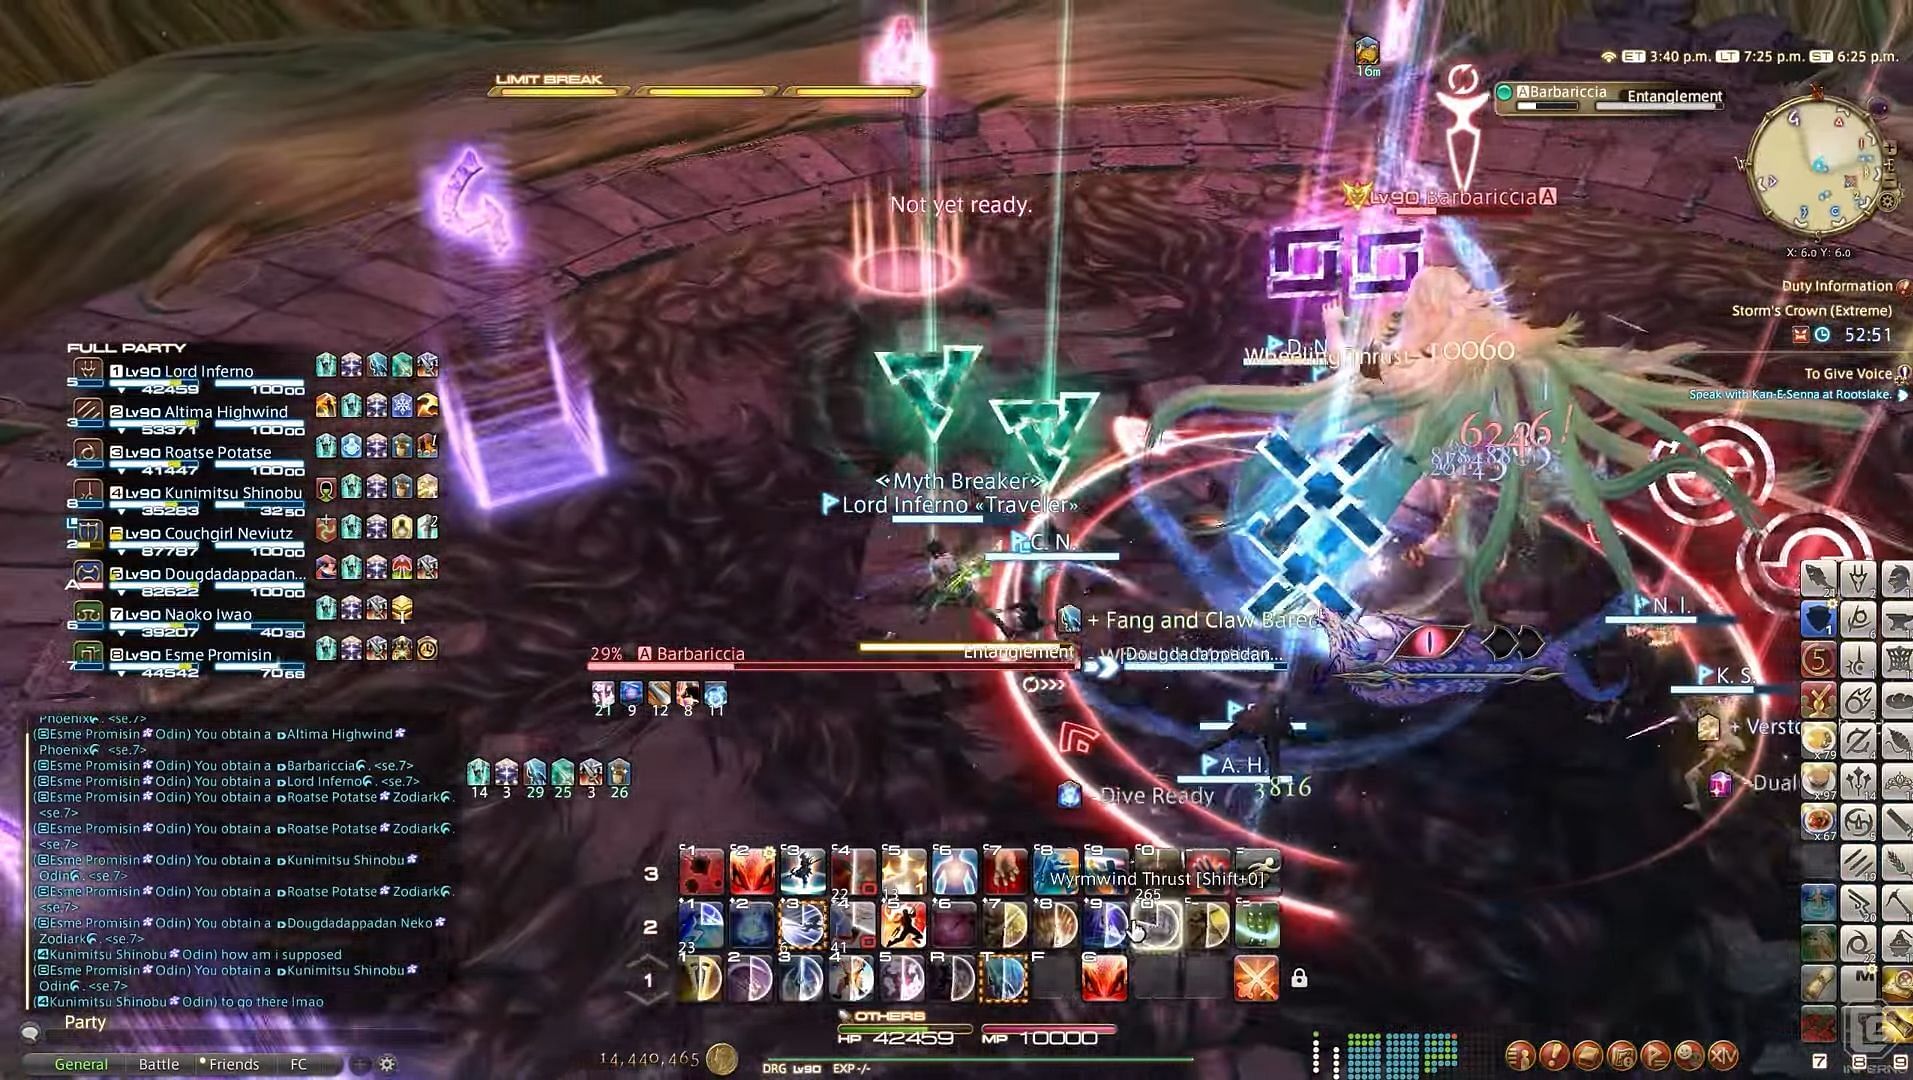
- During Entanglement: Barbariccia connects one DPS player to one support player with a tether similar to Teasing Tangles. The players are bound within a circle and cannot leave, or they will be pulled toward each other. The players can identify their partners using the symbol on their heads: a purple square, blue cross, green triangle, or red circle.
Phase 3 is probably the easiest one in Final Fantasy XIV's Storm's Crown trial. Barbariccia will use Entanglement and Secret Breeze to tie each DPS to a single support. Savage Barbery will be followed by Hair Raid, Hair Spray, or Deadly Twist, then Void Aero IV and III.
Barbariccia will then cast another Entanglement after using Raging Storm, but the two groups of tethered players will instead receive Upbraid. She will also perform the Deadly Twist into Hair Raid and Hair Spray combination once more.
Barbariccia will enter the second wind phase with Curling Iron after a Void Aero IV and Raging Storm.
Phase 4
Barbariccia has no new abilities in this phase. She will repeat most of the mechanics you have already encountered in the previous phases.
The boss will use Knuckle Drum, Blow Away, Brittle Boulder, and Brutal Rush on supports in the opening section. As they make their way to their timed places, they must bait and avoid AoEs. The following items are Tornado Chain, Impact, Hair Spray, Blustery Ruler, and Dry Blows.
Tornadoes must be avoided. Execute a Tornado Chain while avoiding AoEs. This will come with Boulder Break and Winding Gale.
Before Barbariccia transitions with Iron Out, the mechanics will repeat with another Winding Gale, Tornado Chain, Bold Boulder on tanks, Trample on a random healer, and Knuckle Drum.
Phase 5

The fifth phase will repeat all the previous mechanics that you just defeated, so keep your dedication, hype your team up, and power through this last phase. Before enrage begins at 11:14, the fight's final phase is a brief repetition of the previous regular phase.
After the first conal AoE occurs, move to the intercardinal and spread because Barbariccia will cast Entanglement and Secret Breeze. Savage Barbery, Hair Raid, Deadly Twist or Hair Spray at random, Void Aero IV, Raging Storm, and finally a 9-second Maelstrom enrage cast to follow. Before she kills you, DPS the Final Fantasy XIV boss.
Loot Drops/Rewards
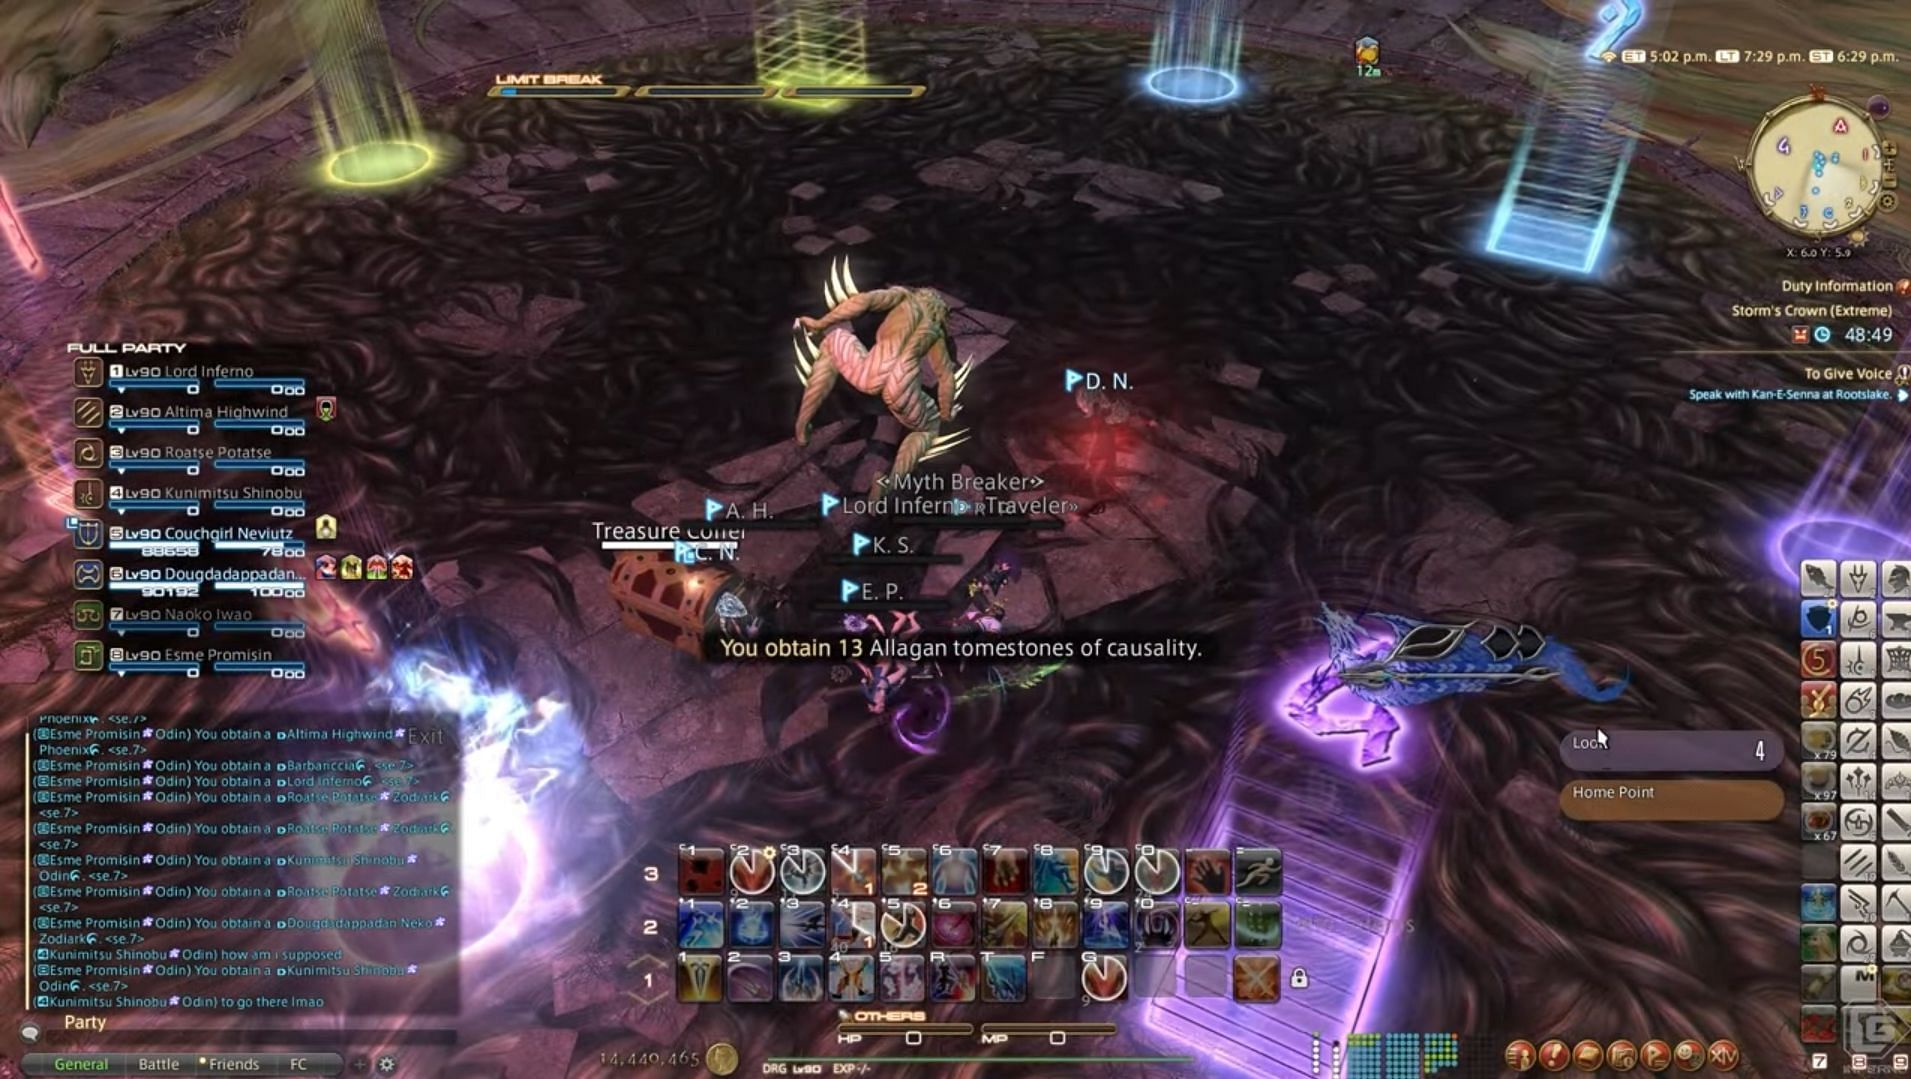
Players who successfully complete the Storm's Crown trial in Final Fantasy XIV can earn rewards such as gears, items, and experience points. The amazing rewards are as follows:
- Windswept Weapon Coffer
- Paladin’s Windswept Arms
- Windswept Battleaxe
- Windswept Blade
- Windswept Bow
- Windswept Cane
- Windswept Codex
- Windswept Daggers
- Windswept Faussar
- Windswept Fists
- Windswept Grimoire
- Windswept Gunblade
- Windswept Heirsbanes
- Windswept Milpreves
- Windswept Musketoon
- Windswept Rapier
- Windswept Rod
- Windswept Spear
- Windswept Torquetum
- Windswept Zaghnal
- Barbariccia Card
- Lynx of Imperious Wind Flute
- Faded Copy of Battle with the Four Fiends (Buried Memory)
- Pearl of Winds
Storm's Crown (Extreme) in Final Fantasy XIV is a really tough trial that demands strong coordination and mechanical awareness from players. We hope that after reading this guide, you will have a better understanding of the battle and be better equipped to handle the difficulties that you will be facing.
