'%20x='0'%20y='0'%20height='100%25'%20width='100%25'%20%0A%20%20%20%20%20%20%20%20%20%20xlink%3Ahref='data:image/jpg;base64,/9j/2wBDAAYEBQYFBAYGBQYHBwYIChAKCgkJChQODwwQFxQYGBcUFhYaHSUfGhsjHBYWICwgIyYnKSopGR8tMC0oMCUoKSj/2wBDAQcHBwoIChMKChMoGhYaKCgoKCgoKCgoKCgoKCgoKCgoKCgoKCgoKCgoKCgoKCgoKCgoKCgoKCgoKCgoKCgoKCj/wgARCAAGAAoDASIAAhEBAxEB/8QAFgABAQEAAAAAAAAAAAAAAAAAAAQG/8QAFQEBAQAAAAAAAAAAAAAAAAAAAQP/2gAMAwEAAhADEAAAAMTEFP/EACEQAAEEAQMFAAAAAAAAAAAAAAQBAgMFEgARcQYHITFS/9oACAEBAAE/AO2xwQvUY5aB7ubM2eRvjF6ZetudXwEB17YlyWdlmQTJKvLnKv3r/8QAFREBAQAAAAAAAAAAAAAAAAAAAQD/2gAIAQIBAT8AC//EABURAQEAAAAAAAAAAAAAAAAAAAEA/9oACAEDAQE/AFv/2Q=='%3E%3C/image%3E%3C/svg%3E)
The latest major update in Warframe, the Duviri Paradox, added a new free-roam landscape to explore. An open landscape like it has not been part of Digital Extreme's update repertoire for a while, the last being Cambion Drift from 2020. Part and parcel of these open worlds in Warframe is an area boss. Ever since the eponymous Eidolons from Planes of Eidolon, these creatures loom large in the background. For the void-laden floating isles of Duviri, this mantle is taken by the Orowyrm.
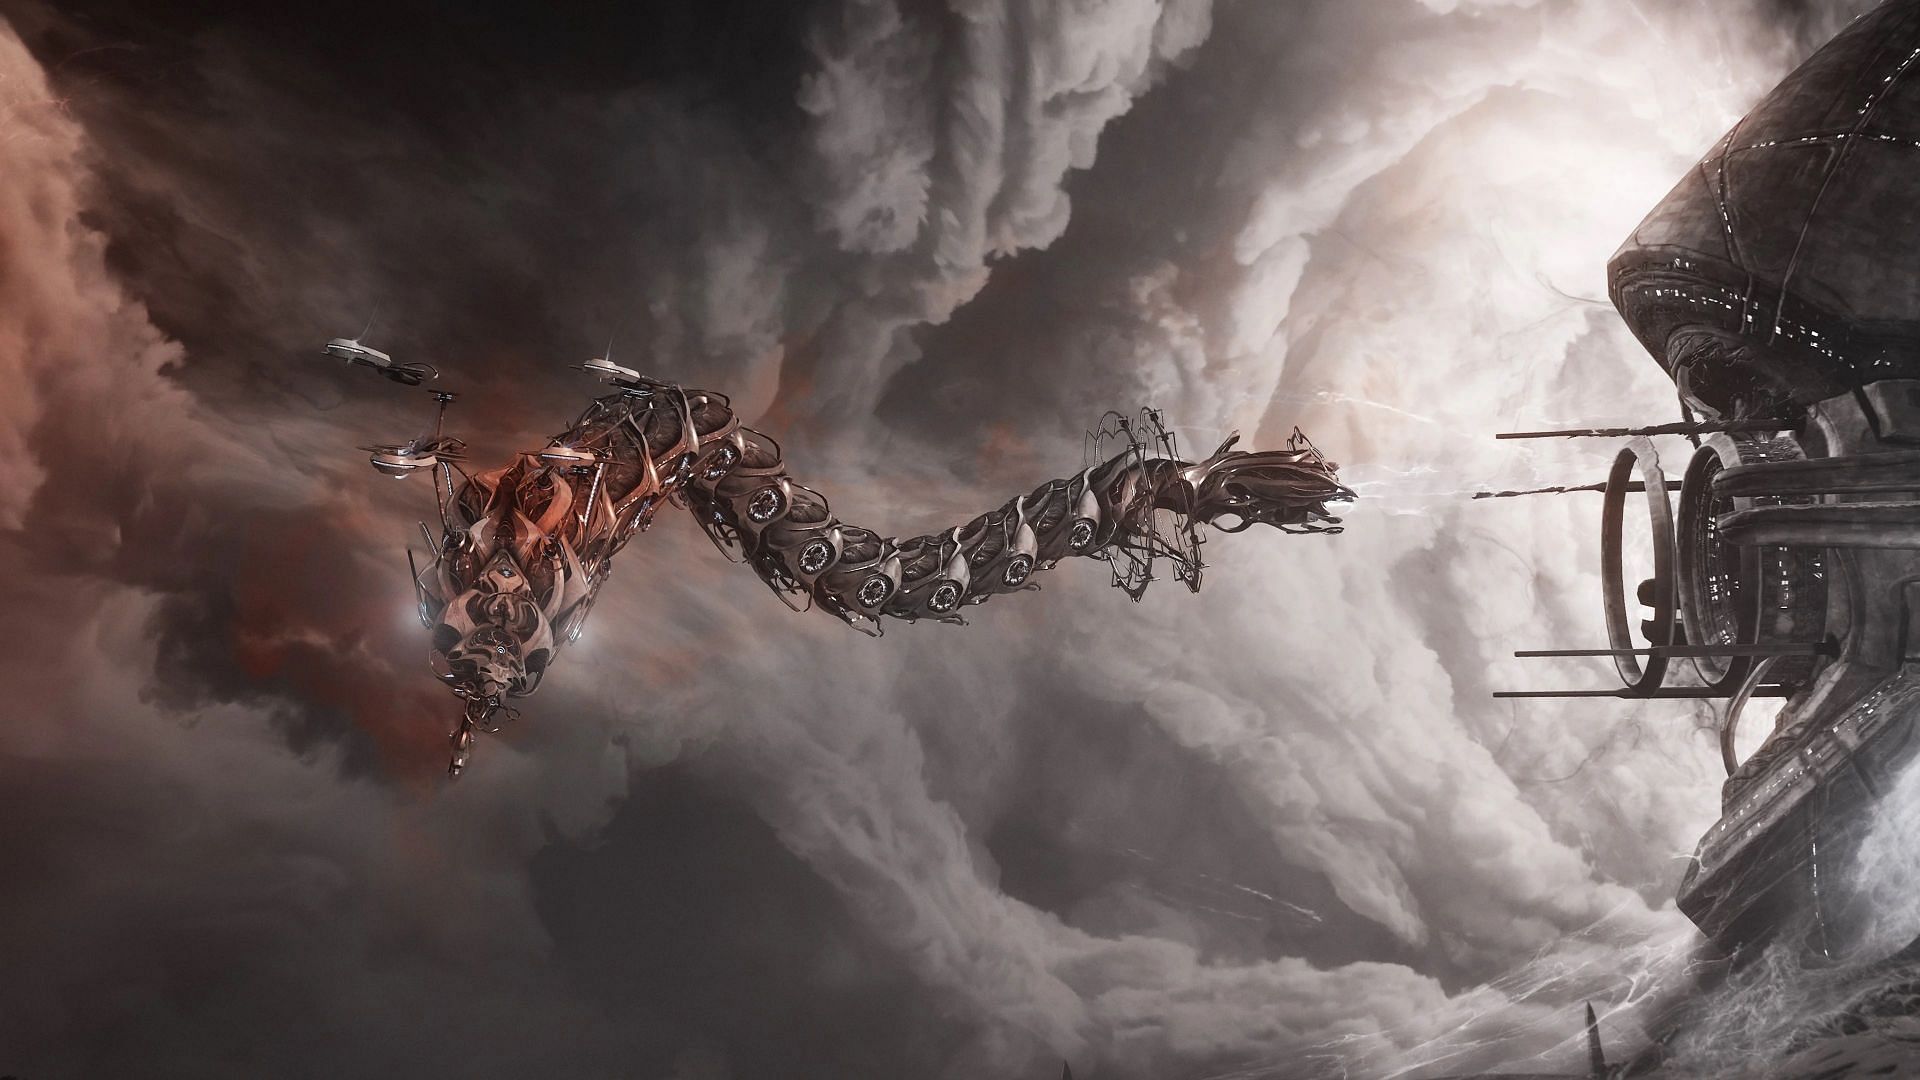
This massive bio-mechanical wyrm is teased spectacularly in the first five minutes of the Duviri Paradox quest when the drifter attempts to cross the broken bridge. The creature does not quite deign to attack the player during their romp through the Duviri spirals, but it is understood very early on that they will be a formidable boss fight at the end.
In typical Warframe fashion, though, the in-game instructions for the Orowyrm boss fight feel inadequate. As such, the following is a brief rundown of all the fight stages leading up to defeating Orowyrm.
How to beat the Duviri spiral boss in Warframe?
After you beat the six quest stages in a Duviri run, you will get the prompt to 'Summon The Orowyrm.' At the waypoint, the rablit (the blue rabbit at Teshin's cave) will deliver the Orvius. Teshin explains the gist of the upcoming segment. The Orowyrm is invulnerable to damage and can only be breached with the Orvius.
Catching up to the Orowyrm
Summon Kaithe (your mount) and take to the skies. As you approach the Orowyrm, you will notice you lack the innate mobility to catch up. This is intentional, so you need not be alarmed.
Note that using the Orvius on horseback is bound to weapon shooting controls, LMB by default. Avoid pressing the melee button when airborne on Kaithe, as it will dismiss the mount, and you will start falling.
The Orowyrm will automatically hurl blue orb projectiles at a certain distance at players sequentially. Shoot the orbs before they reach you with the Orvius (LMB), and you will gain a massive speed boost to catch up to them.
Once you get near the Orowyrm, shoot the Orvius at any of the holes on the Orowyrm's flanks to automatically grapple to it (more advanced Warframe players will remember this mechanic from the New War). The goal is to advance to its head, platforming from one hole to another. The basic movement is: jump to let go of the current hole, quickly target the next hole, and shoot your Orvius to latch on to it.
When you get to the hole nearest to the Orowyrm's head, you will get to control it. The next segment is about destroying the objectives while mounted on the Orowyrm and bringing them to a portal before the timer runs out.
Taking on The Orowyrm with your Warframe
Taking the Orowyrm through the portal initiates the proper fight. In this segment, you play as your Warframe. The Warframe loadout, of course, will be the one you have used in the Undercroft in the current run thus far.
You must shoot the fiery rings circling the Orowym's spine and destroy them to whittle down its health. You can use the Heavy Weapon (Archguns) presented to you to boost this process.
After every notch of health is depleted, the Orowyrm will turn invulnerable and spawn numerous Wyrmlings. Quickly get to the mount spawned in the middle of the arena. Get to flight mode and go to the outer ring of the arena, as staying within the void anomaly will constantly damage you with six heat procs. Kill the Wyrmlings to make the Orowyrm vulnerable again. Rinse and repeat till it is dead.
Check out other guides on this game from Sportskeeda:
All Warframes tier list ||Warframe Incarnon weapons tier list || Kuva weapons tier list || All Warframe Twitch drops this week || Best stat-stick weapons in Warframe || Tenet weapons tier list || Latest Baro Ki'teer Inventory || All Warframe Promo Codes || Best weapons in Warframe for each Mastery Rank