
'%20x='0'%20y='0'%20height='100%25'%20width='100%25'%20%0A%20%20%20%20%20%20%20%20%20%20xlink%3Ahref='data:image/jpg;base64,/9j/4AAQSkZJRgABAQAAAQABAAD/2wCEAAMDAwMDAwQEBAQFBQUFBQcHBgYHBwsICQgJCAsRCwwLCwwLEQ8SDw4PEg8bFRMTFRsfGhkaHyYiIiYwLTA+PlQBAwMDAwMDBAQEBAUFBQUFBwcGBgcHCwgJCAkICxELDAsLDAsRDxIPDg8SDxsVExMVGx8aGRofJiIiJjAtMD4+VP/AABEIAAUACgMBIgACEQEDEQH/xABlAAEBAQAAAAAAAAAAAAAAAAAABAgQAAAEAwkAAAAAAAAAAAAAAAABAgMFERIEBhYhMUNxkdIBAQAAAAAAAAAAAAAAAAAAAAYRAAIBAwUAAAAAAAAAAAAAAAECAwAEBRESITGh/9oADAMBAAIRAxEAPwDHrF32owxXanazbVlNOnEjFWCoQW2npXoADxcbZ3ESSSozOyglt7c+00hhiKAlFJPZI1r/2Q=='%3E%3C/image%3E%3C/svg%3E)
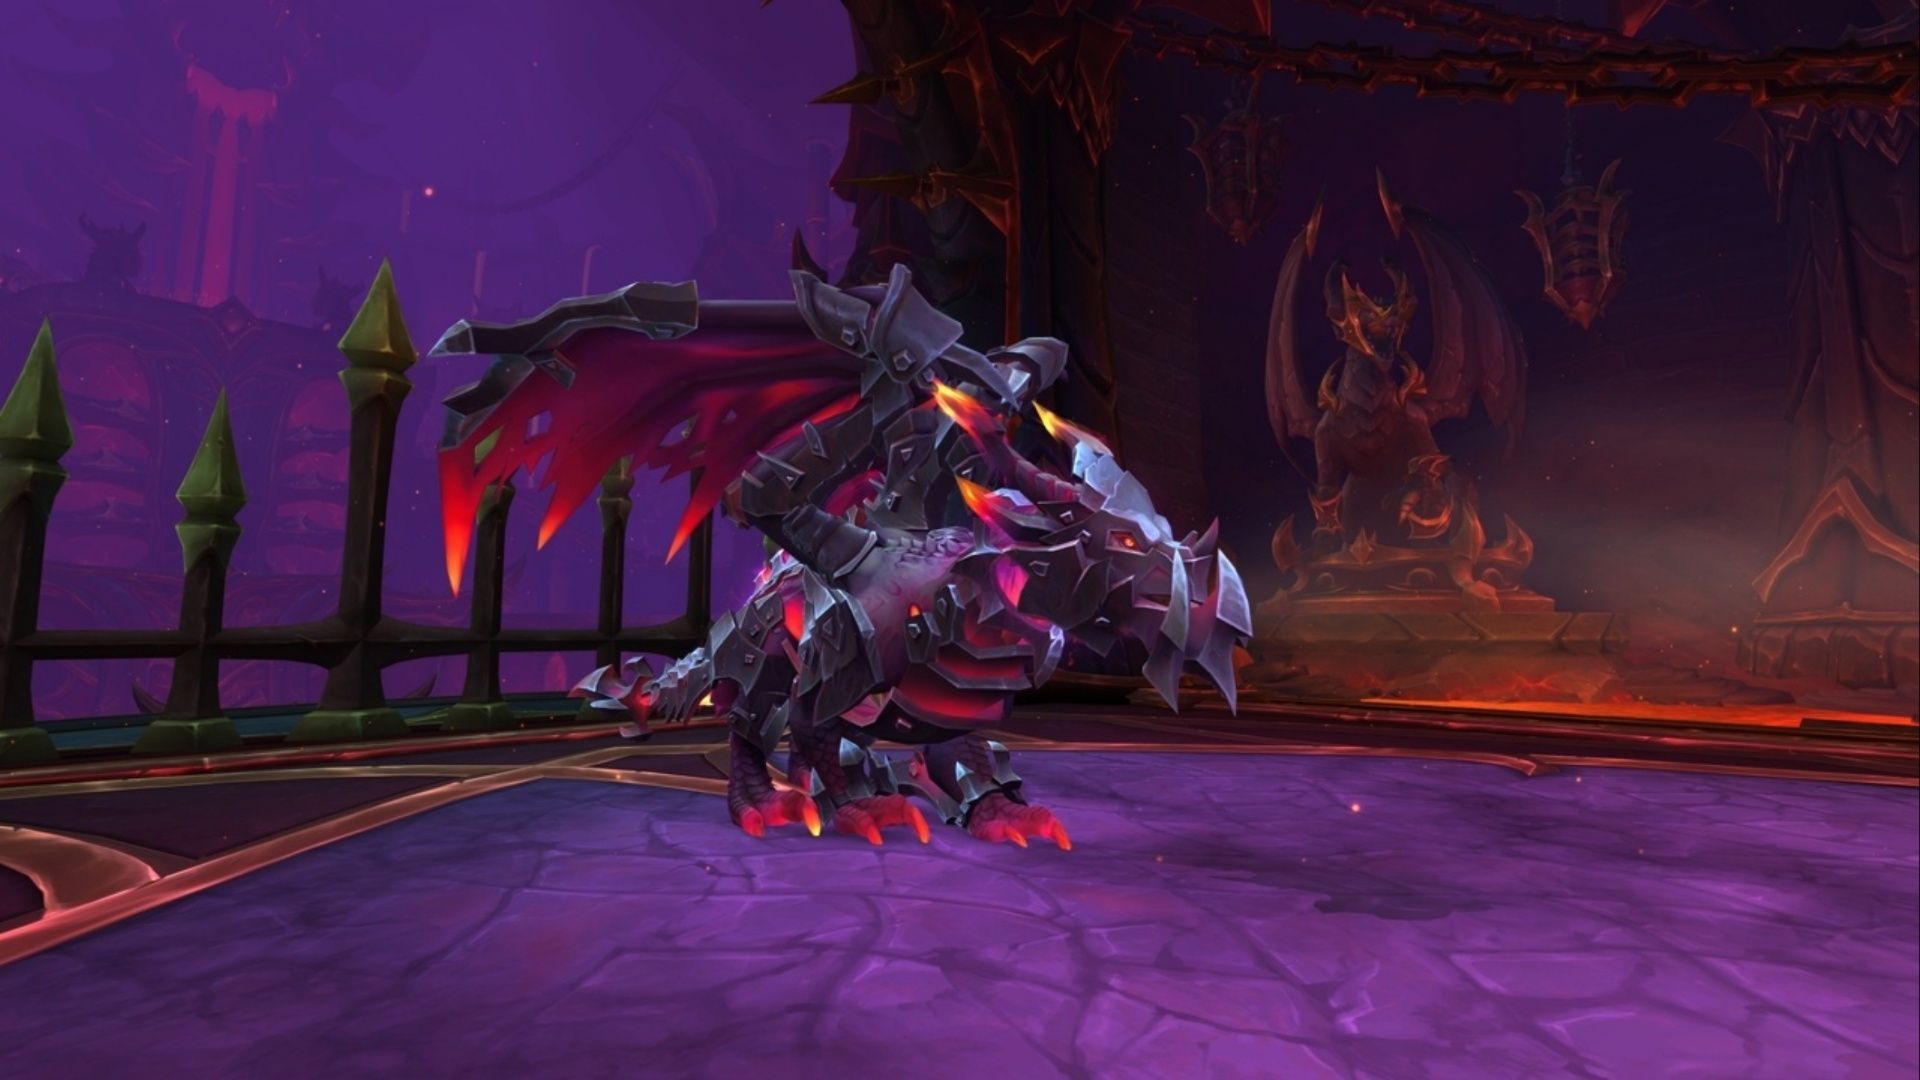
World of Warcraft: Dragonflight’s Aberrus opens today, meaning Kazzara, the Hellforged boss, is now available for players to battle. In this battle, players must deal with a massive dragon covered in metallic plates, similar to Deathwing in WoW’s Cataclysm expansion. Although the fight is relatively simple, players who aren’t dpsing quickly enough will become overwhelmed by some mechanics, such as the Molten Scar and Dread Rifts.
While the mechanics of this fight aren’t particularly complex, Kazzara makes a suitable first boss for World of Warcraft: Dragonflight’s Aberrus raid. Below, you will find the abilities that this boss uses, general strategy, and changes that come with the Heroic difficulty of the battle.
How to defeat Kazzara in World of Warcraft: Dragonflight
When battling Kazzara, the Hellforged in World of Warcraft: Dragonflight, it is important for players to tank her away from the raid and provide ample space for movement behind her. This is because she will drop Dread Rifts that will spawn Rays of Anguish. Players will want to kite those rays away from the group, so having enough space for navigation is crucial in this situation.
Boss abilities
- Dread Rifts: Players will be marked by this, and after five seconds, a Dread Rift will spawn at their location. It deals damage to players within five yards of it and lefts a Riftburn behind, which deals damage.
- Rays of Anguish: When a Dread Rift spawns, a Ray of Anguish comes with it, which tracks a nearby player. Kite this away from the other raiders until it stops.
- Wings of Extinction: The boss occasionally flaps her wings to push players away briefly. It deals damage to everyone and gives a 20-second DOT as well. Just make sure you don’t get knocked into a Dread Rift.
- Hellbeam: Once Kazzara hits 100 energy, she will face a direction at random and unleash the Hellbeam. It deals tons of damage, but it’s avoidable. Just beware, as Dread Rifts can happen at the same time.
- Hellsteel Carnage: At 80%, 60%, and 40%, Kazzara sheds some armor, which damages everyone, and drops Hellsteal Fragments. This also increases the damage by Infernal Heart, which is a passive damage ability to anyone close by.
- Revenant’s Blood: Puddles that periodically spawn during the fight, damaging players within 3 yards of its impact. These come more, the lower the boss's health gets.
The battle gets difficult once players have less room to maneuver, so be careful where you drop Dread Rifts in the Kazzara boss battle in World of Warcraft: Dragonflight. Ideally, you should drop them behind the raid, as far back as possible.
The longer this raid fight goes on, the less space you’ll have because of these various mechanics, making it more of a DPS race than anything else. Kazzara is a simple encounter, though Hellsteel Carnage can make things challenging. The extra damage and additional puddles and rifts make this World of Warcraft: Dragonflight boss harder the longer the battle goes on.
In Heroic Difficulty, there is only one significant change to worry about. Rays of Anguish no longer have a time limit, so you have to kite the beam across a Dread Rift to stop them. In Heroic difficulty, you’ll want to drop the rifts relatively close to your raid, so it’s easy to kite to one.
This will leave a Molten Scar on the field in this Aberrus encounter. Keep an eye on the Dread Rifts that can be used on it, as they have a darker, swirling color pattern. Avoid having a Ray of Anguish going when another activates, as it will deal raid-wide damage and move faster on top of that.
That’s all there is to defeat Kazzara in World of Warcraft: Dragonflight’s latest raid. While the boss may not be particularly challenging at first, it's crucial to communicate and drop rifts in smart locations to prevent things from spiraling out of control. Once the boss is defeated, divide up the loot and continue with the rest of the raid dungeon.
