
'%20x='0'%20y='0'%20height='100%25'%20width='100%25'%20%0A%20%20%20%20%20%20%20%20%20%20xlink%3Ahref='data:image/jpg;base64,/9j/2wBDAAYEBQYFBAYGBQYHBwYIChAKCgkJChQODwwQFxQYGBcUFhYaHSUfGhsjHBYWICwgIyYnKSopGR8tMC0oMCUoKSj/2wBDAQcHBwoIChMKChMoGhYaKCgoKCgoKCgoKCgoKCgoKCgoKCgoKCgoKCgoKCgoKCgoKCgoKCgoKCgoKCgoKCgoKCj/wgARCAAHAAoDASIAAhEBAxEB/8QAFQABAQAAAAAAAAAAAAAAAAAABAb/2gAIAQEAAAAAjQ//xAAUAQEAAAAAAAAAAAAAAAAAAAAD/9oACAECEAAAAH//xAAUAQEAAAAAAAAAAAAAAAAAAAAE/9oACAEDEAAAABf/xAAeEAACAgEFAQAAAAAAAAAAAAABAgMEEQAFBhIhUv/aAAgBAQABPwClyaaoldILy2KqRhZ8xsiAyKpI+j1Yat7xALUwr7lFNCHPSTEyd1z4cY81/8QAFxEAAwEAAAAAAAAAAAAAAAAAAAITUf/aAAgBAgEBPwCjaf/EABcRAAMBAAAAAAAAAAAAAAAAAAACA1L/2gAIAQMBAT8AWE8n/9k='%3E%3C/image%3E%3C/svg%3E)
In Valorant, Chamber is a Sentinel Agent. Being a Sentinel, his responsibilities include holding down sites on the defensive side. On the attacking side, his role involves preventing enemies from flanking his team.
His Basic abilities include - Trademark and Headhunter. Chamber's Signature ability is called Rendezvous, which allows him to teleport instantly from one area to another. His Ultimate ability is called Tour De Force, a sniper rifle in Valorant that shoots faster than the Operator and comes with only five bullets.
Pearl is the latest map to be introduced to Valorant. It was added to the game with the Episode 5 Act 1 update. However, the map received criticism from fans for its complex design. The map was updated with changes in the Valorant 5.06 patch, making things simpler for attacking and defending teams.
A guide to playing Chamber on Valorant's Pearl
Pearl is a map in Valorant that exists inside a glass dome underwater. It has two sites, A and B. Site A is compact and has plenty of closed spaces allowing for close-quarter combat to shine. Site B is open and long, allowing for weapons in Valorant such as Sheriff, Guardian, Marshall, and Operator to be more viable.
The midsection of the map is split into four sections, allowing entry to both sites A and B, along with the option to take control of the enemy's spawn. Thus, taking mid control of the map is crucial in determining the match's outcome.
As mid is the most heated section of the map, positing a Sentinel agent in such areas can be strategically essential. Moreover, Chamber's ability set allows him to hold the B site in this Valorant map easily.
Chamber thus becomes one of the best Agents to play on the map. Here's how to use this Agent on Pearl:
Pearl A site defense
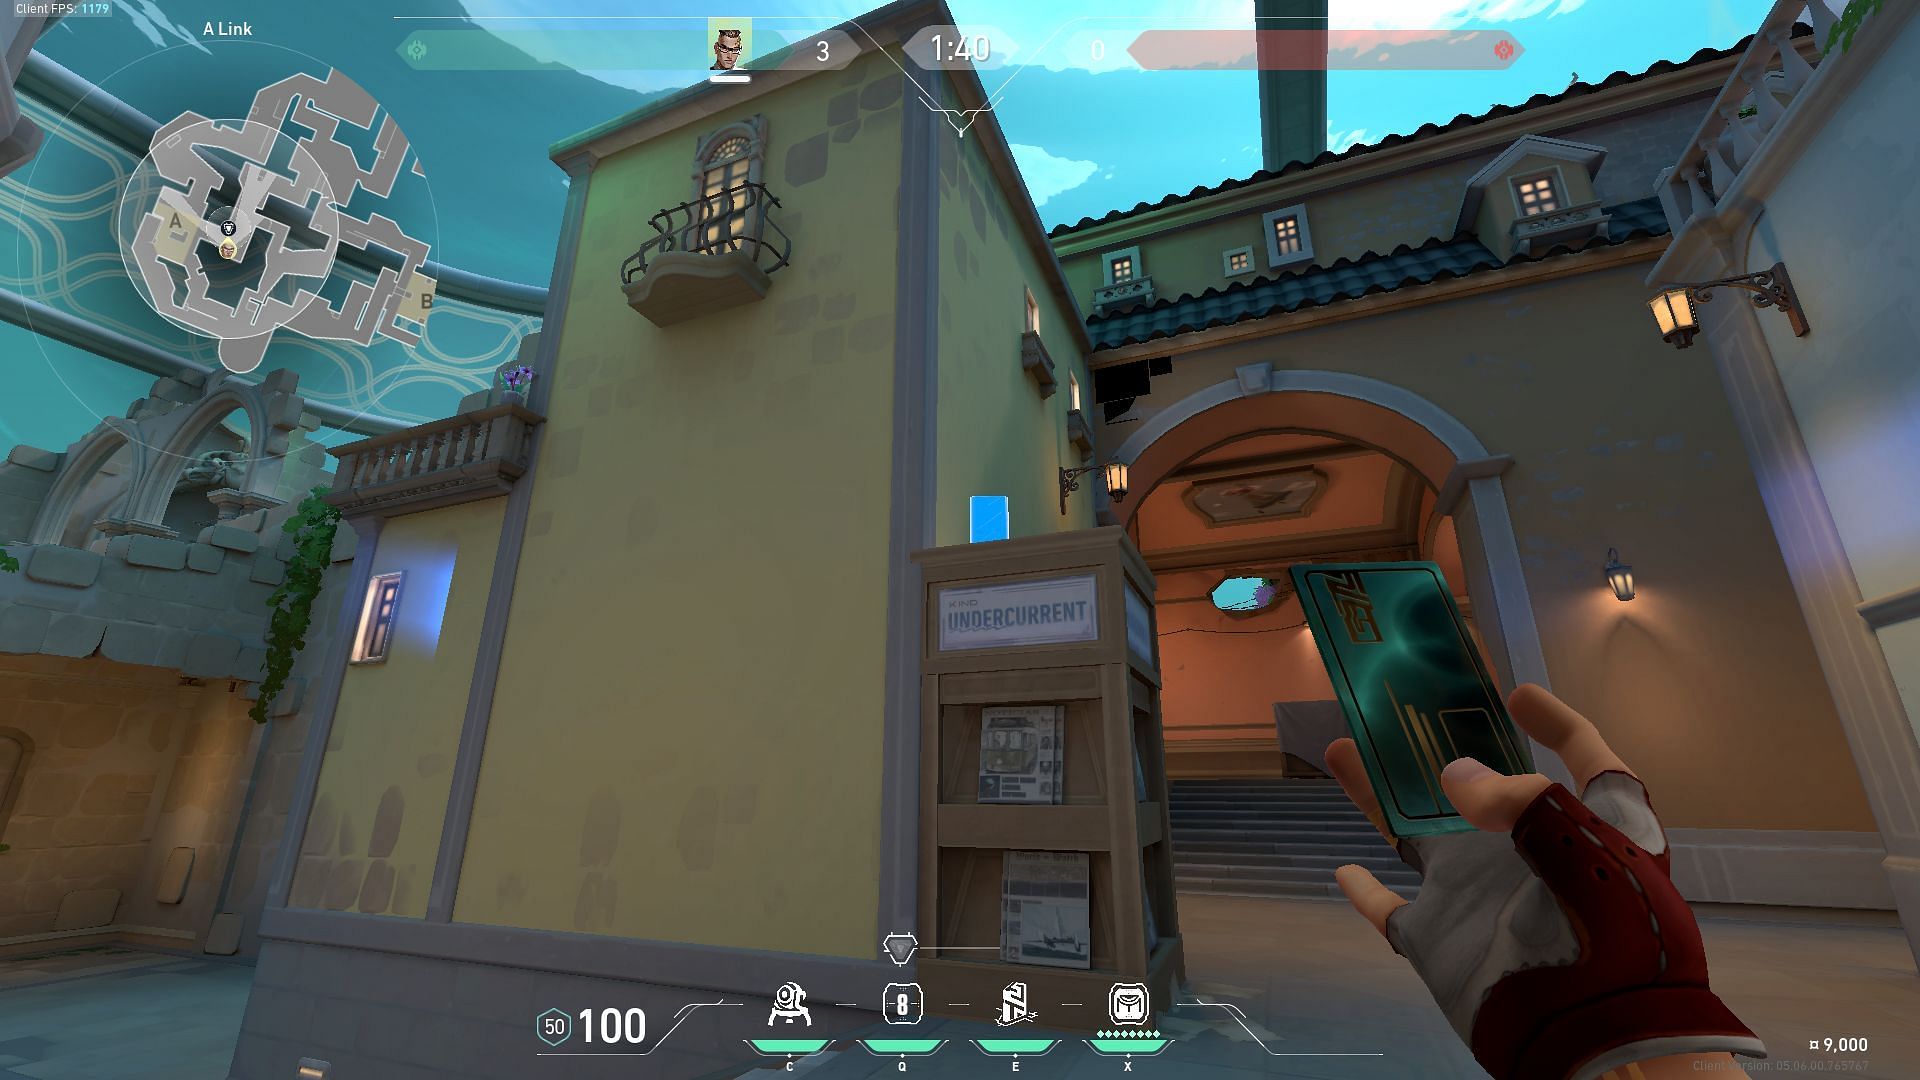
If you are playing on A site, as soon as you spawn, place the first card of your Rendezvous ability in the left corner of A Flowers.
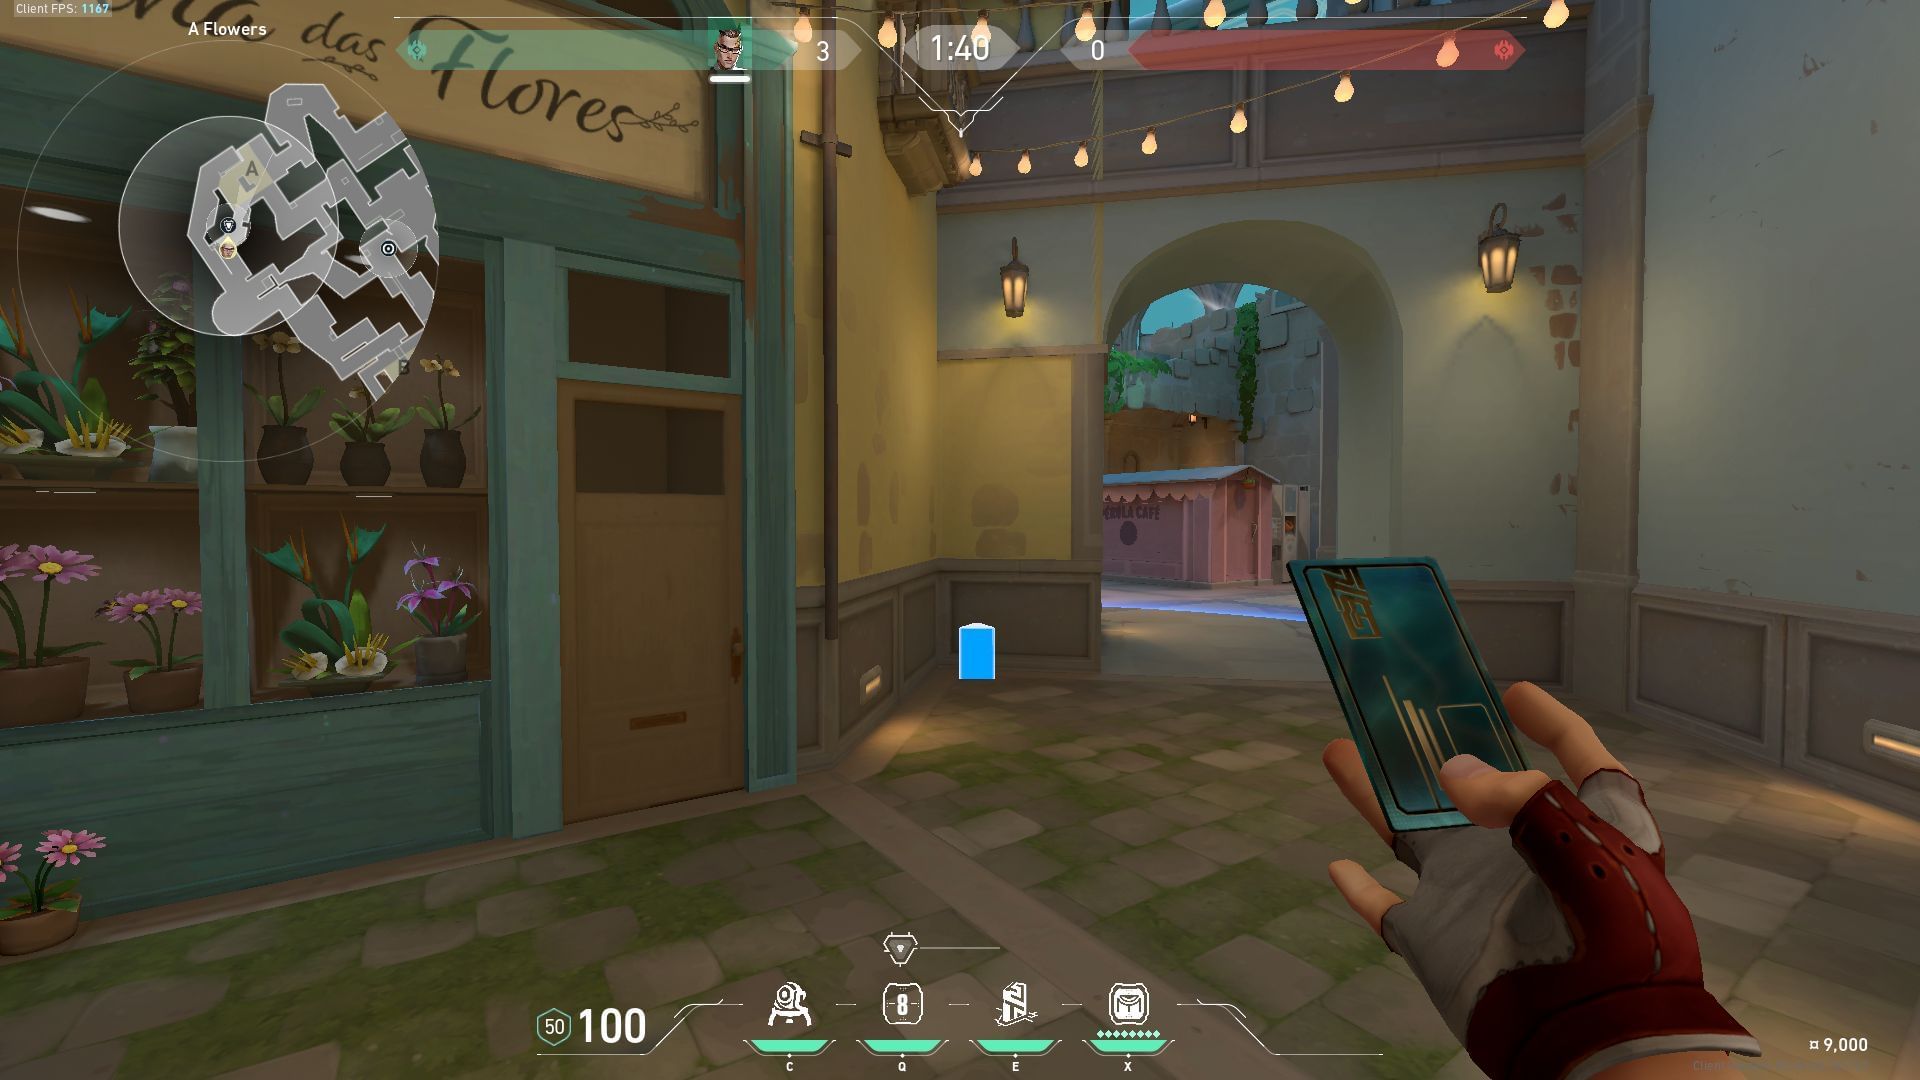
Then, place your Trademark trap on the fourth stair from the top in A Art. This will alert you and your teammates of enemies flanking from A Art and A-Mid Connector.
Now place your second Rendezvous card in the left corner of A Main. This enables you to push up A Main and hold an angle.
Enemies wouldn't expect you to push up so early. You can get a kill on an unaware enemy and then quickly teleport back to A Flowers. From there, you will again get sight of enemies pushing from A Main.
This setup allows Chamber to hold three entry points at once. The player himself will be holding A Main, and his trap at A Art will alert him if there are any incoming flanks.
Pearl B site defense
On B site, Chamber can either go for an aggressive pick with weapons such as Operator and Tour De Force or hide for some free kills using automatic weapons.
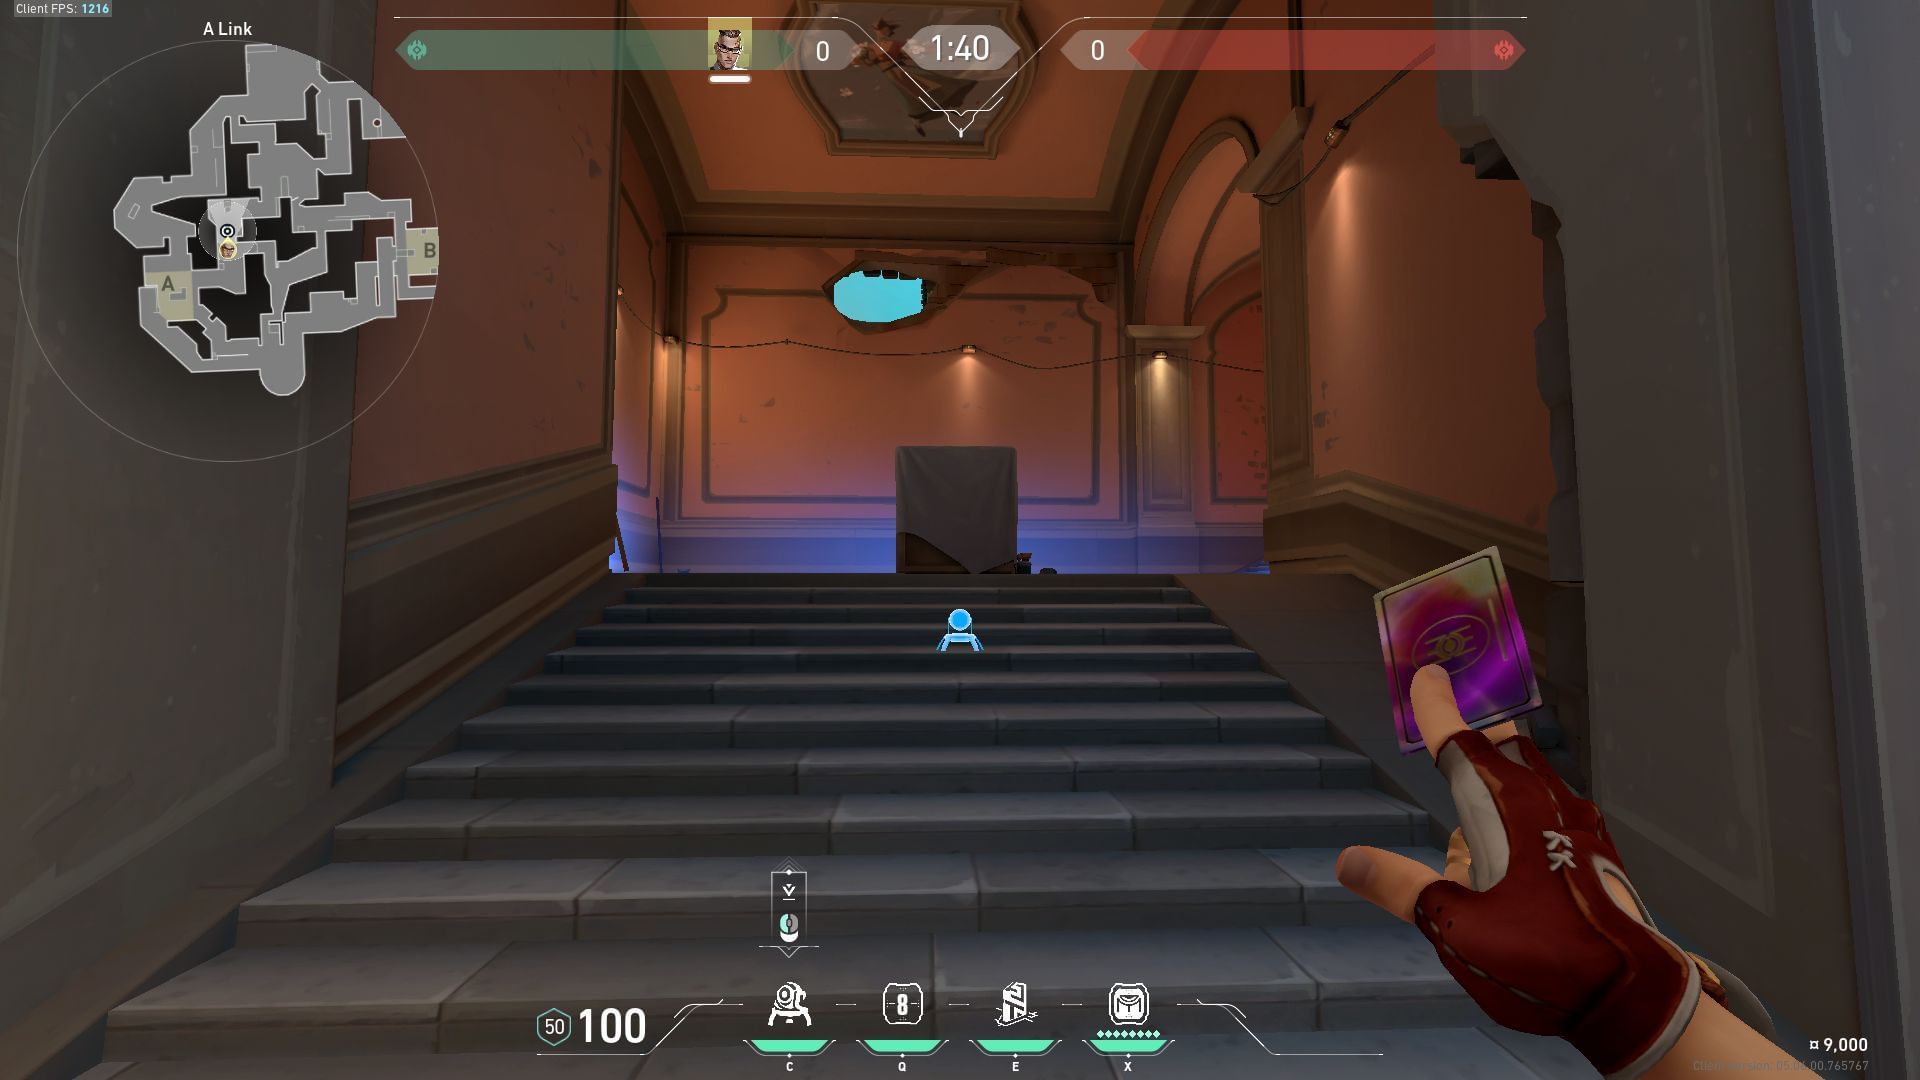
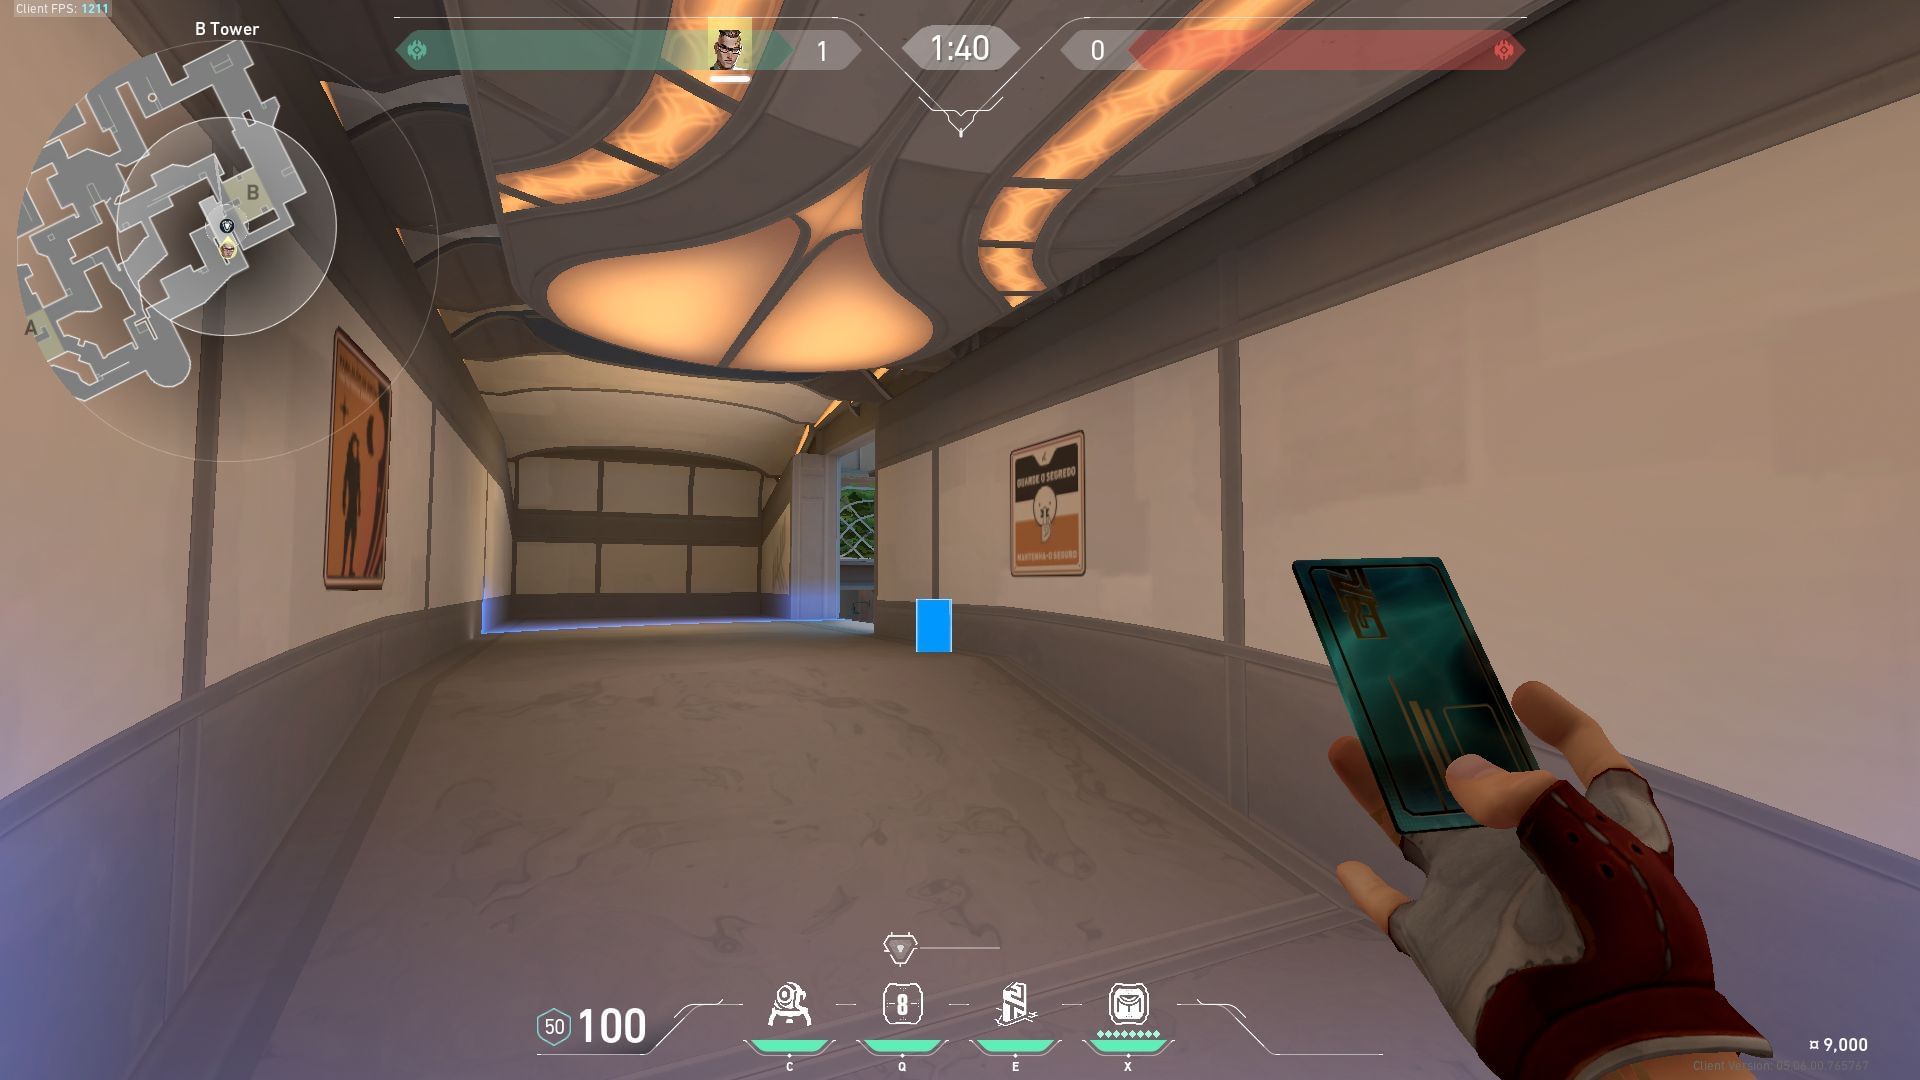
Place your first Rendezvous card in the far right corner of B Tower.
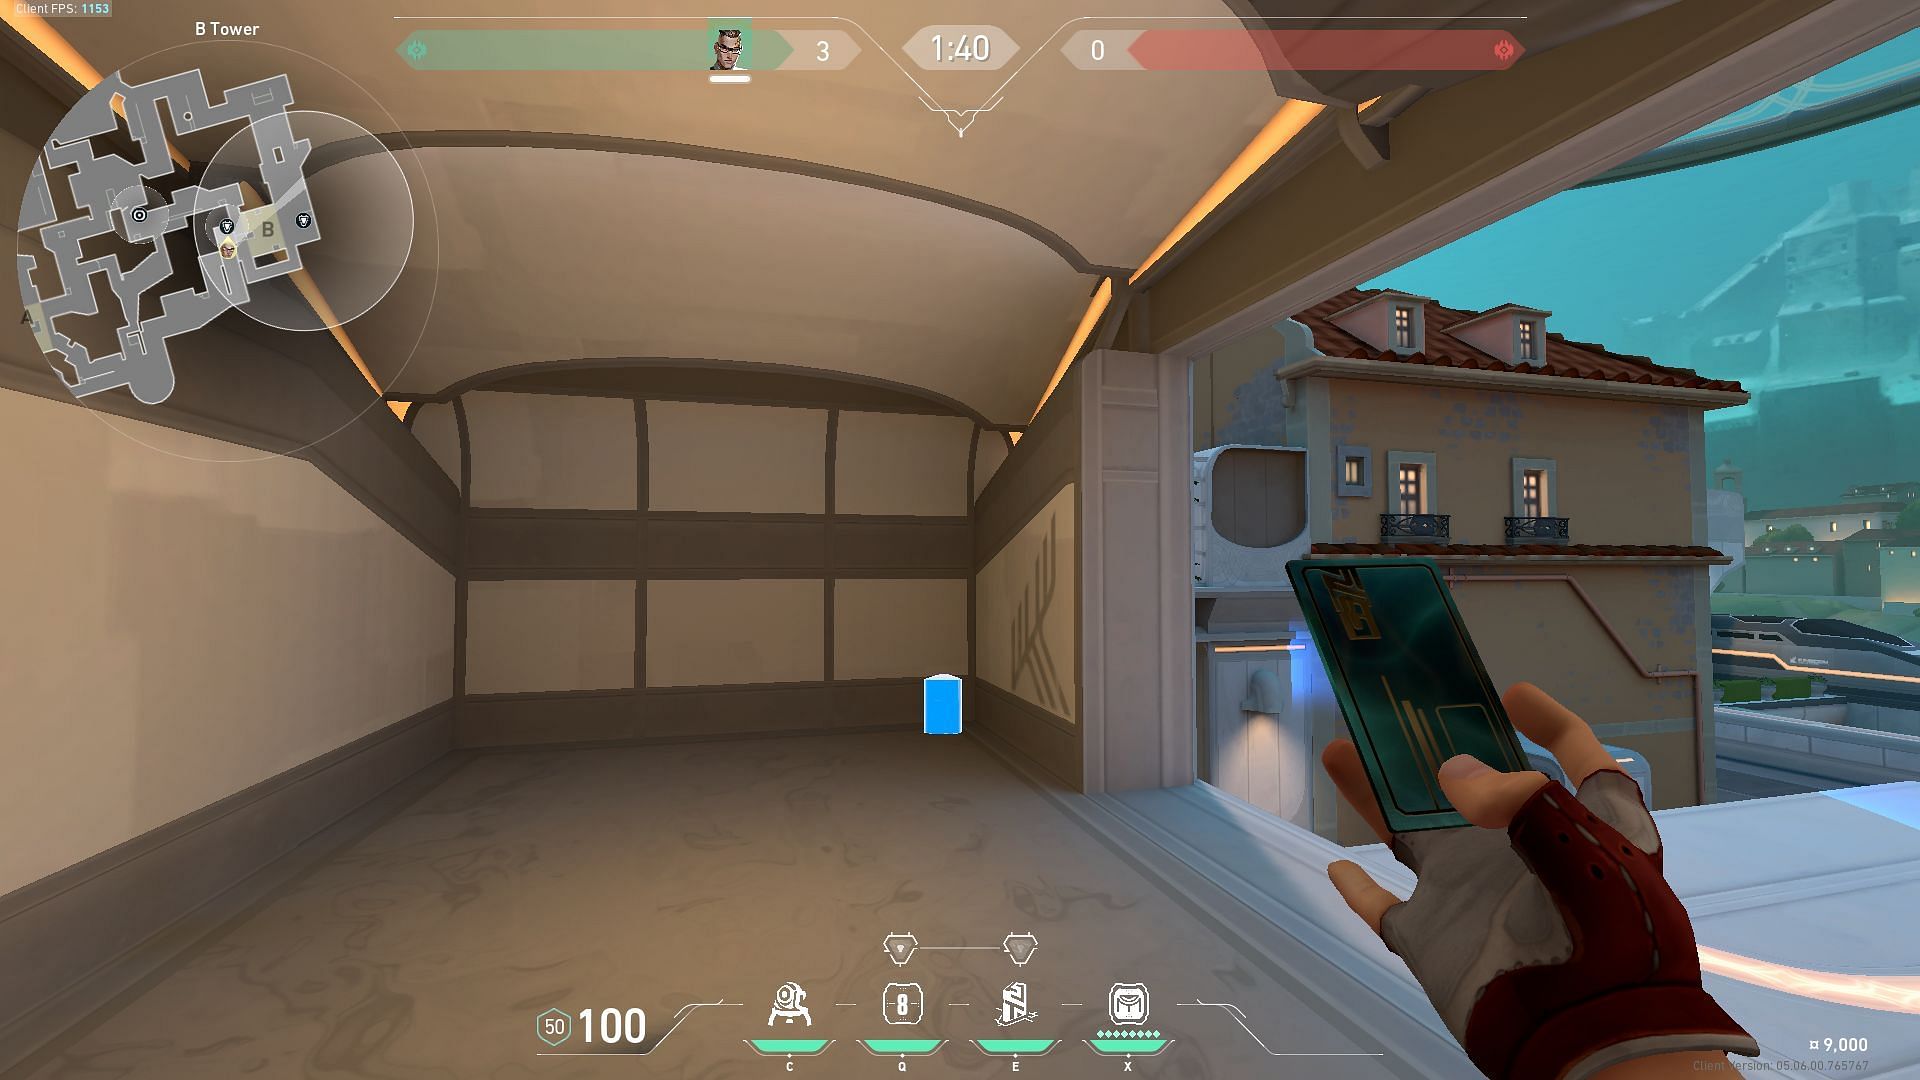
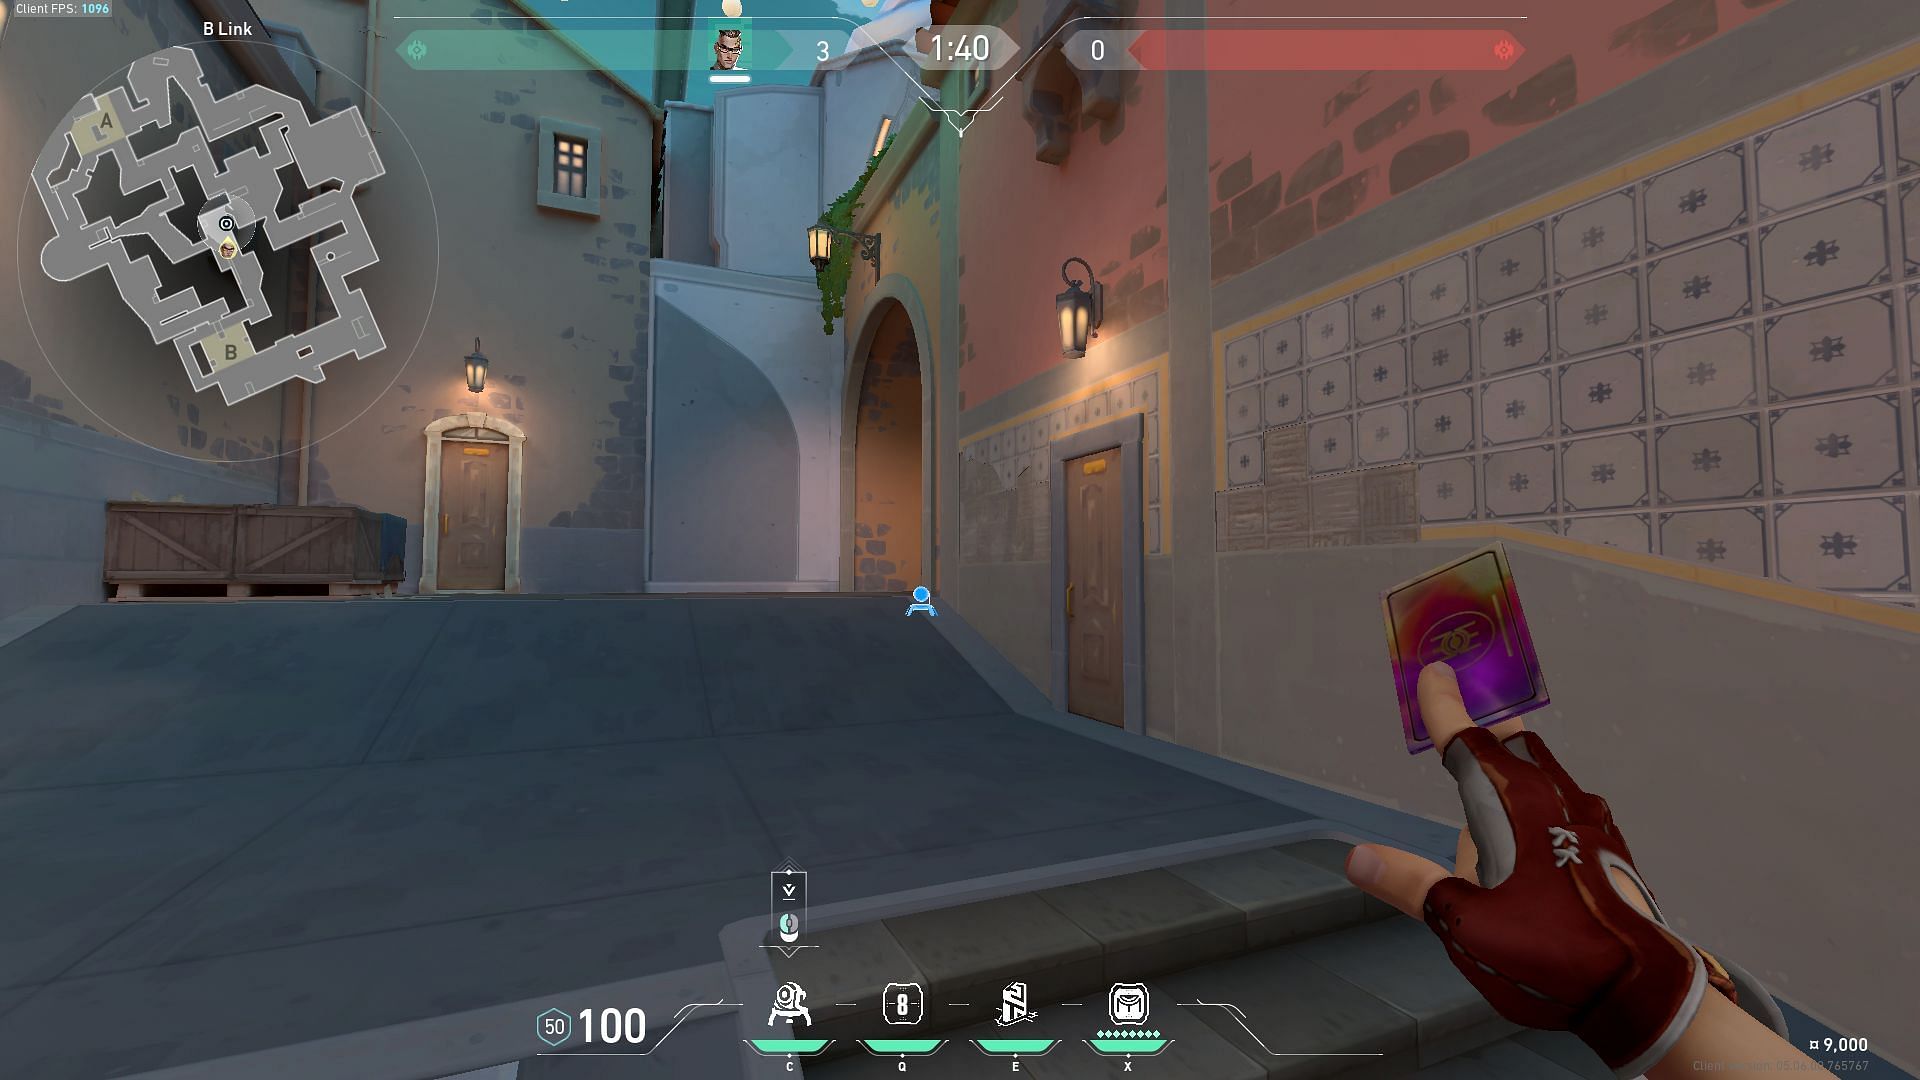
Then immediately proceed to Mid Doors from B Link. Place a trap there so that you get informed of any enemies flanking from mid.
Now run back to B and place your second Rendezvous card behind B Screens. Depending on how you wish to play, you can pick B Ramps with the Operator or hide behind until they get close.
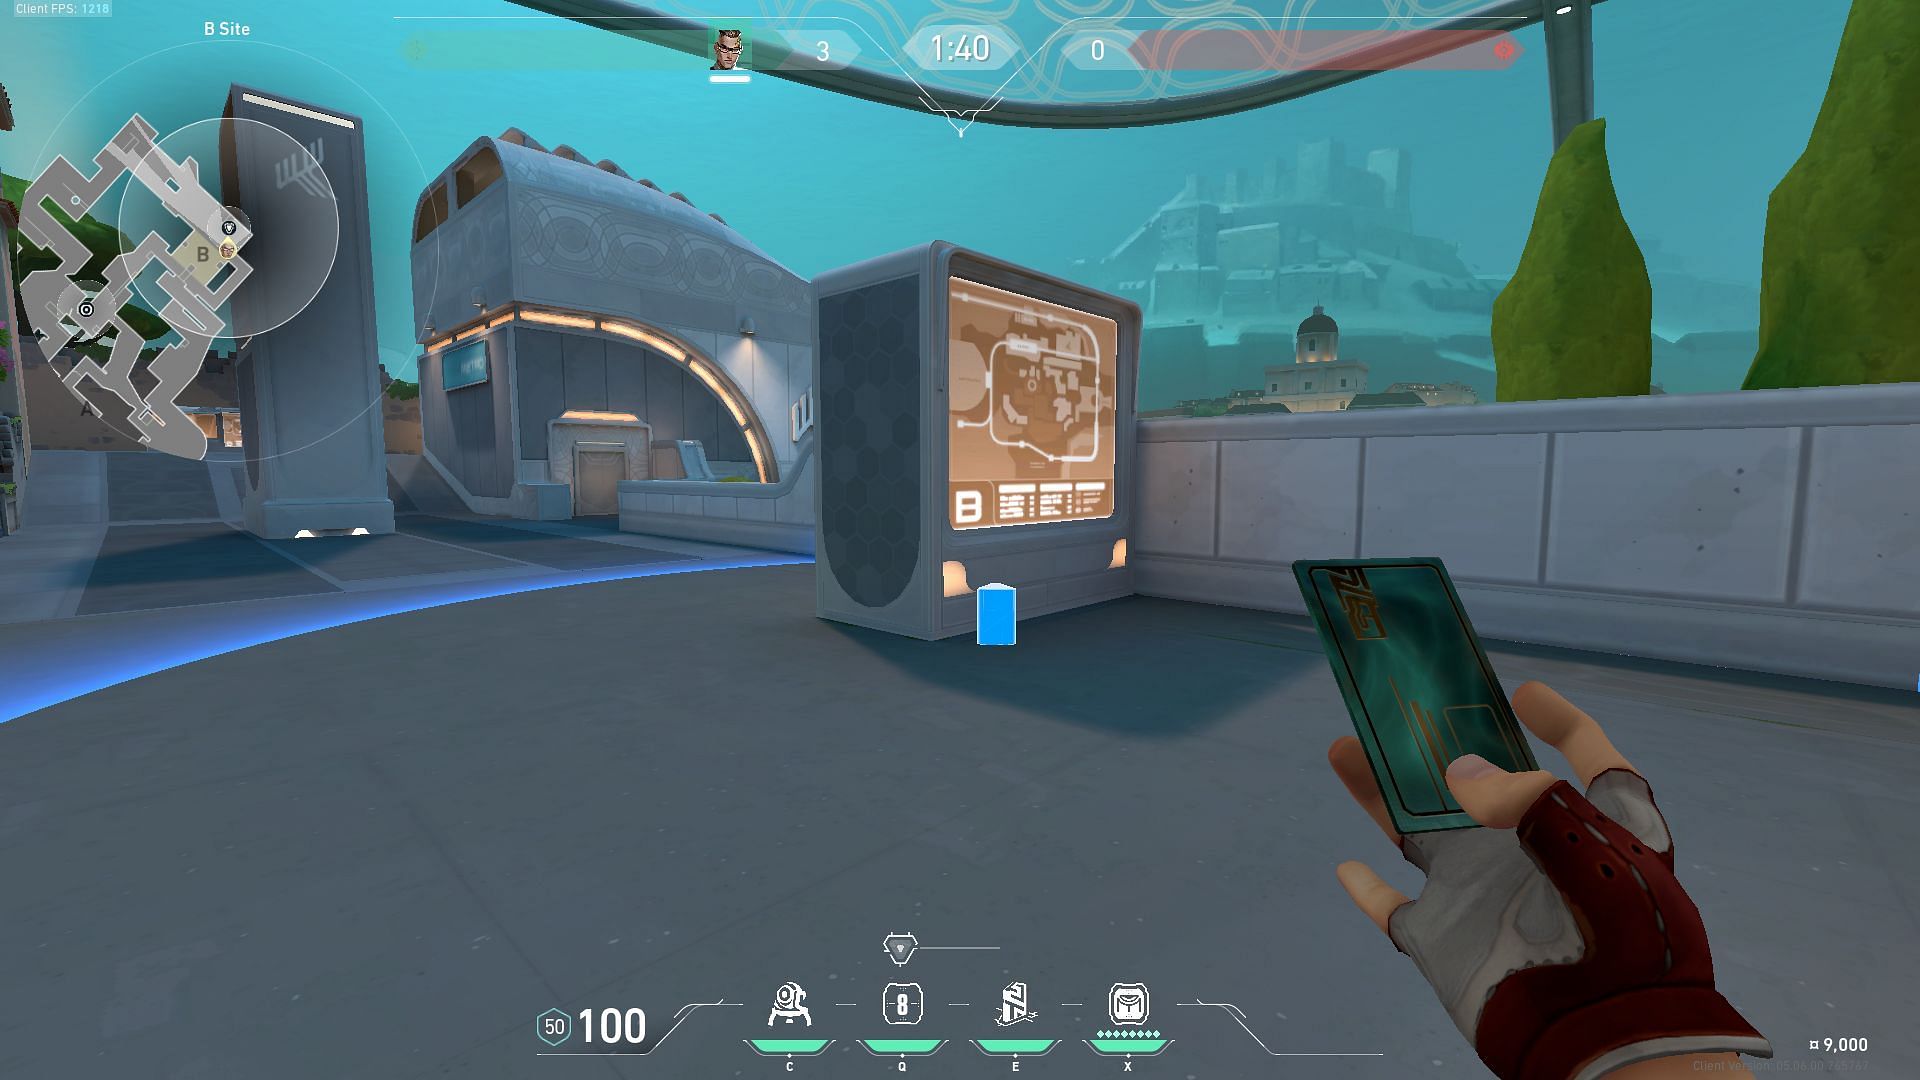
Hiding behind Screen will get you at least one free kill on an unsuspecting enemy. Once you get a kill here, you can instantly teleport to B Tower. From there, you will have a clear vision of the enemies running up to B Screen trying to trade their teammates, enabling you to get even more picks.
Pearl Mid - A Art defense
This section of the map in Valorant is hard to defend or attack without proper utility usage. But Agents like Chamber have no difficulty holding this area thanks to his Rendezvous ability.
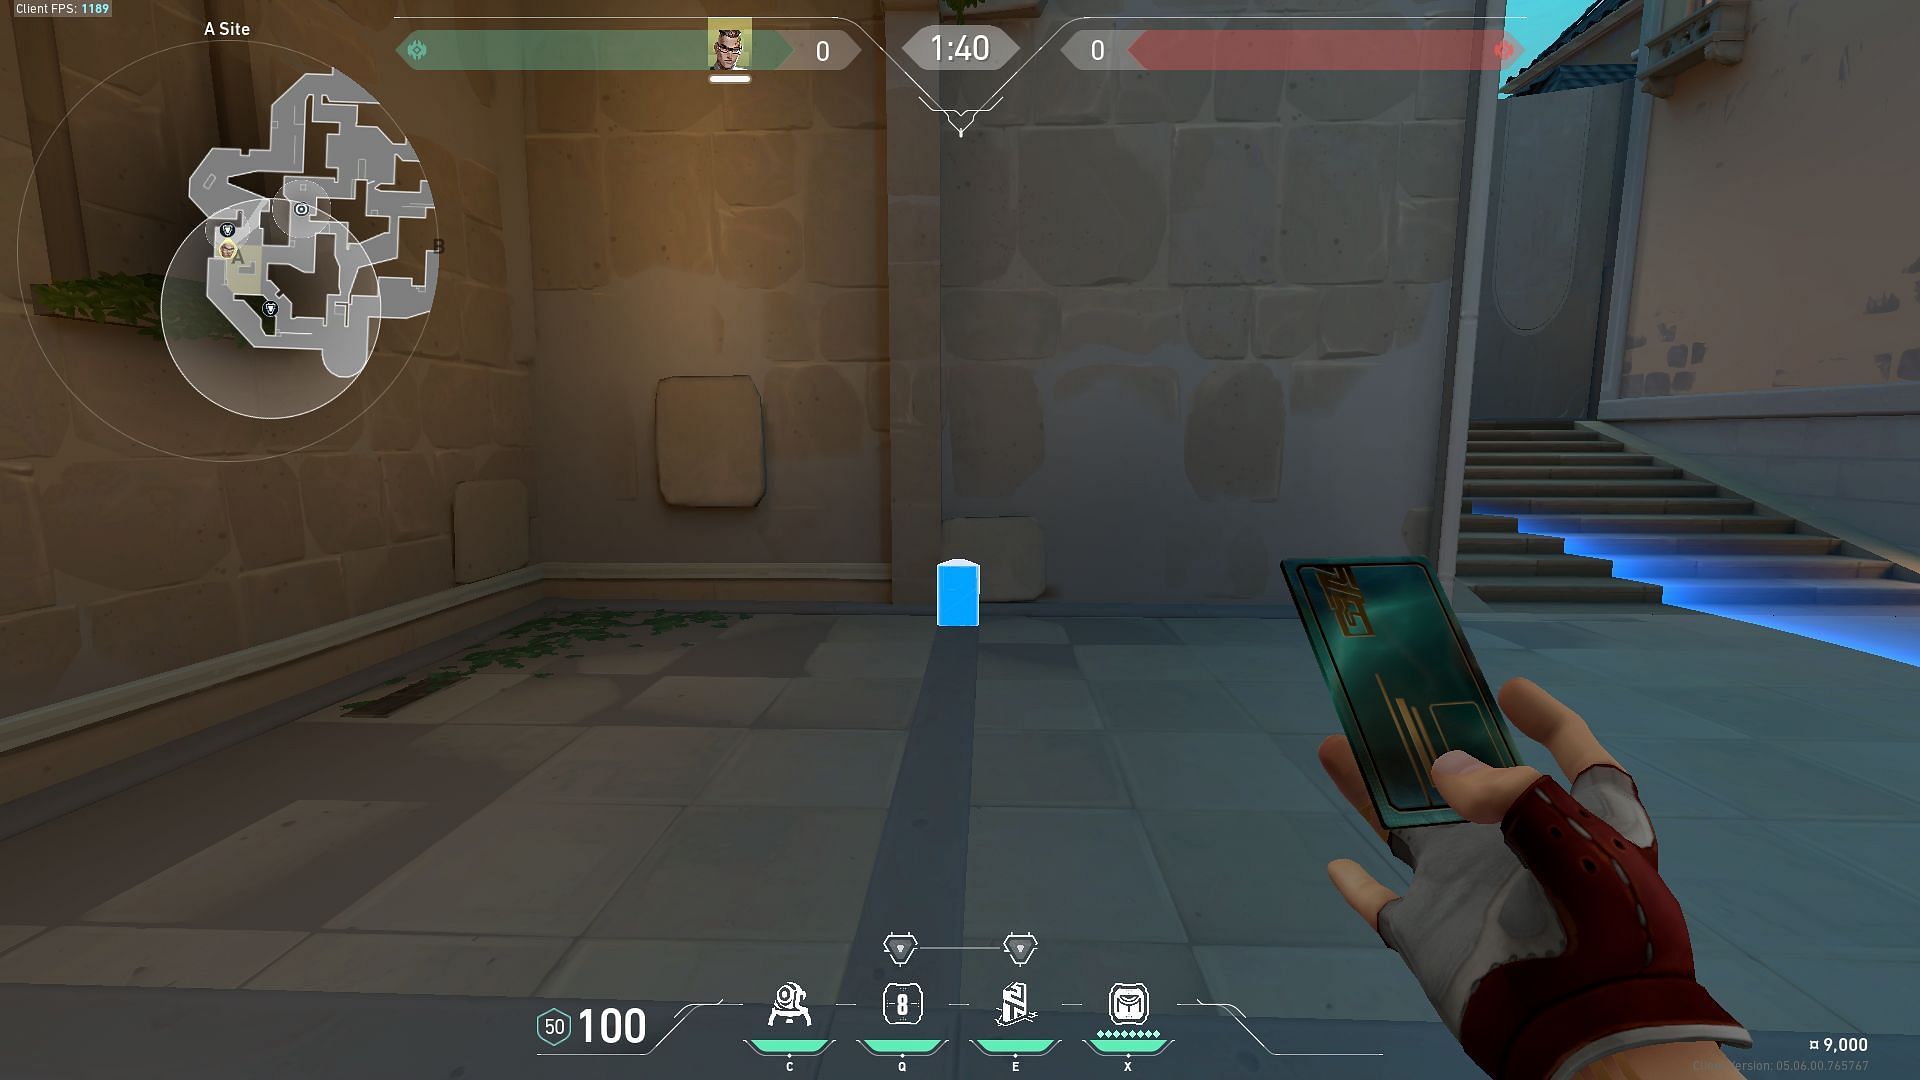
Place your first Rendezvous card in the left corner of A Flowers.

Then proceed to place your Trademark on A Main. This will alert you when enemies push in from A Main.
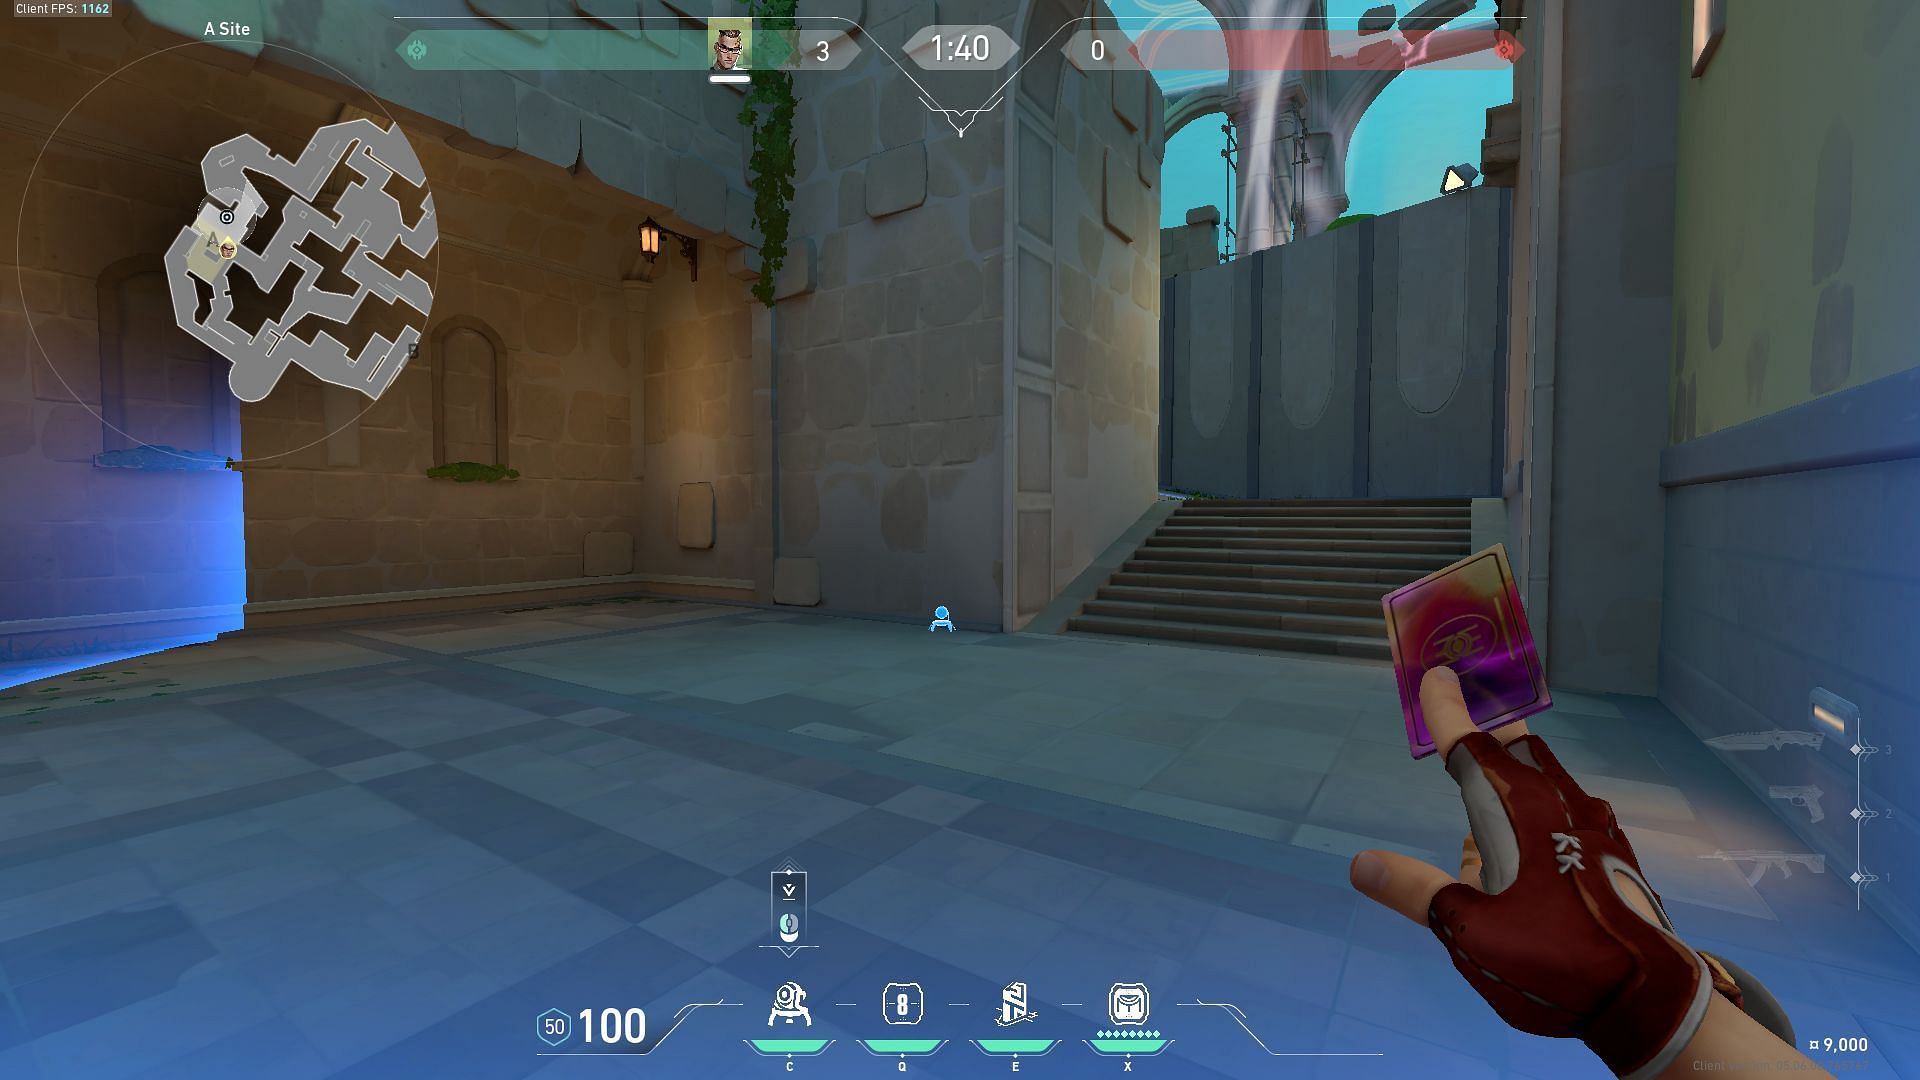
Now head back to A Art and put your second Rendezvous card on top of the boxes. Immediately return to A Flowers and teleport to the top of those boxes. This will place you in an off-angle for your enemies. As they push in Art, they will be expecting enemies below. Spotting you above will throw off their crosshair placement, granting you a free kill.
If Art is clear, you can also see the enemy bomb planter at A site.
Pearl Mid - Mid Door/B site defense
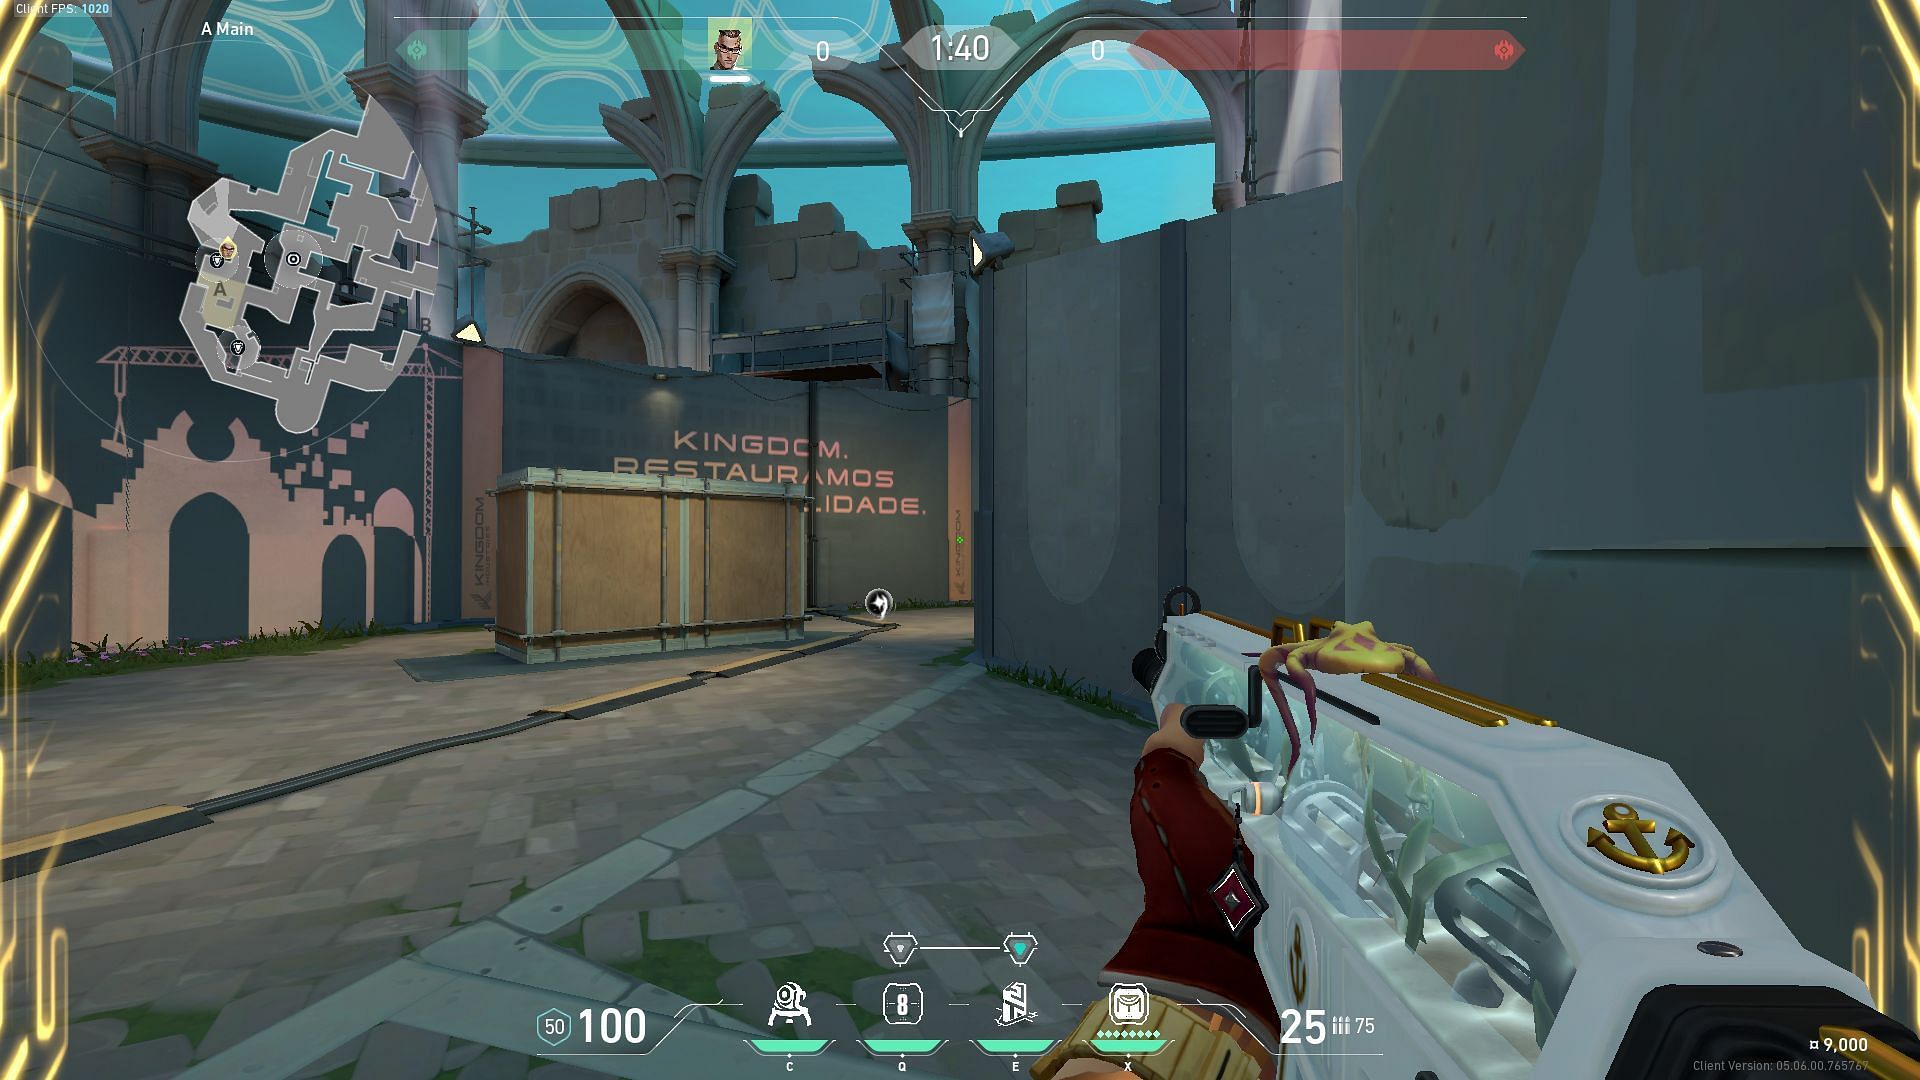
In Valorant, Pearl's mid-door is often contested by enemies, making it another hotspot on the map. Being a Chamber, proceed to place your first Rendezvous card in B Tower.
Next, proceed to place your trap near mid-doors. And place your second Rendezvous card in Mid Connector.
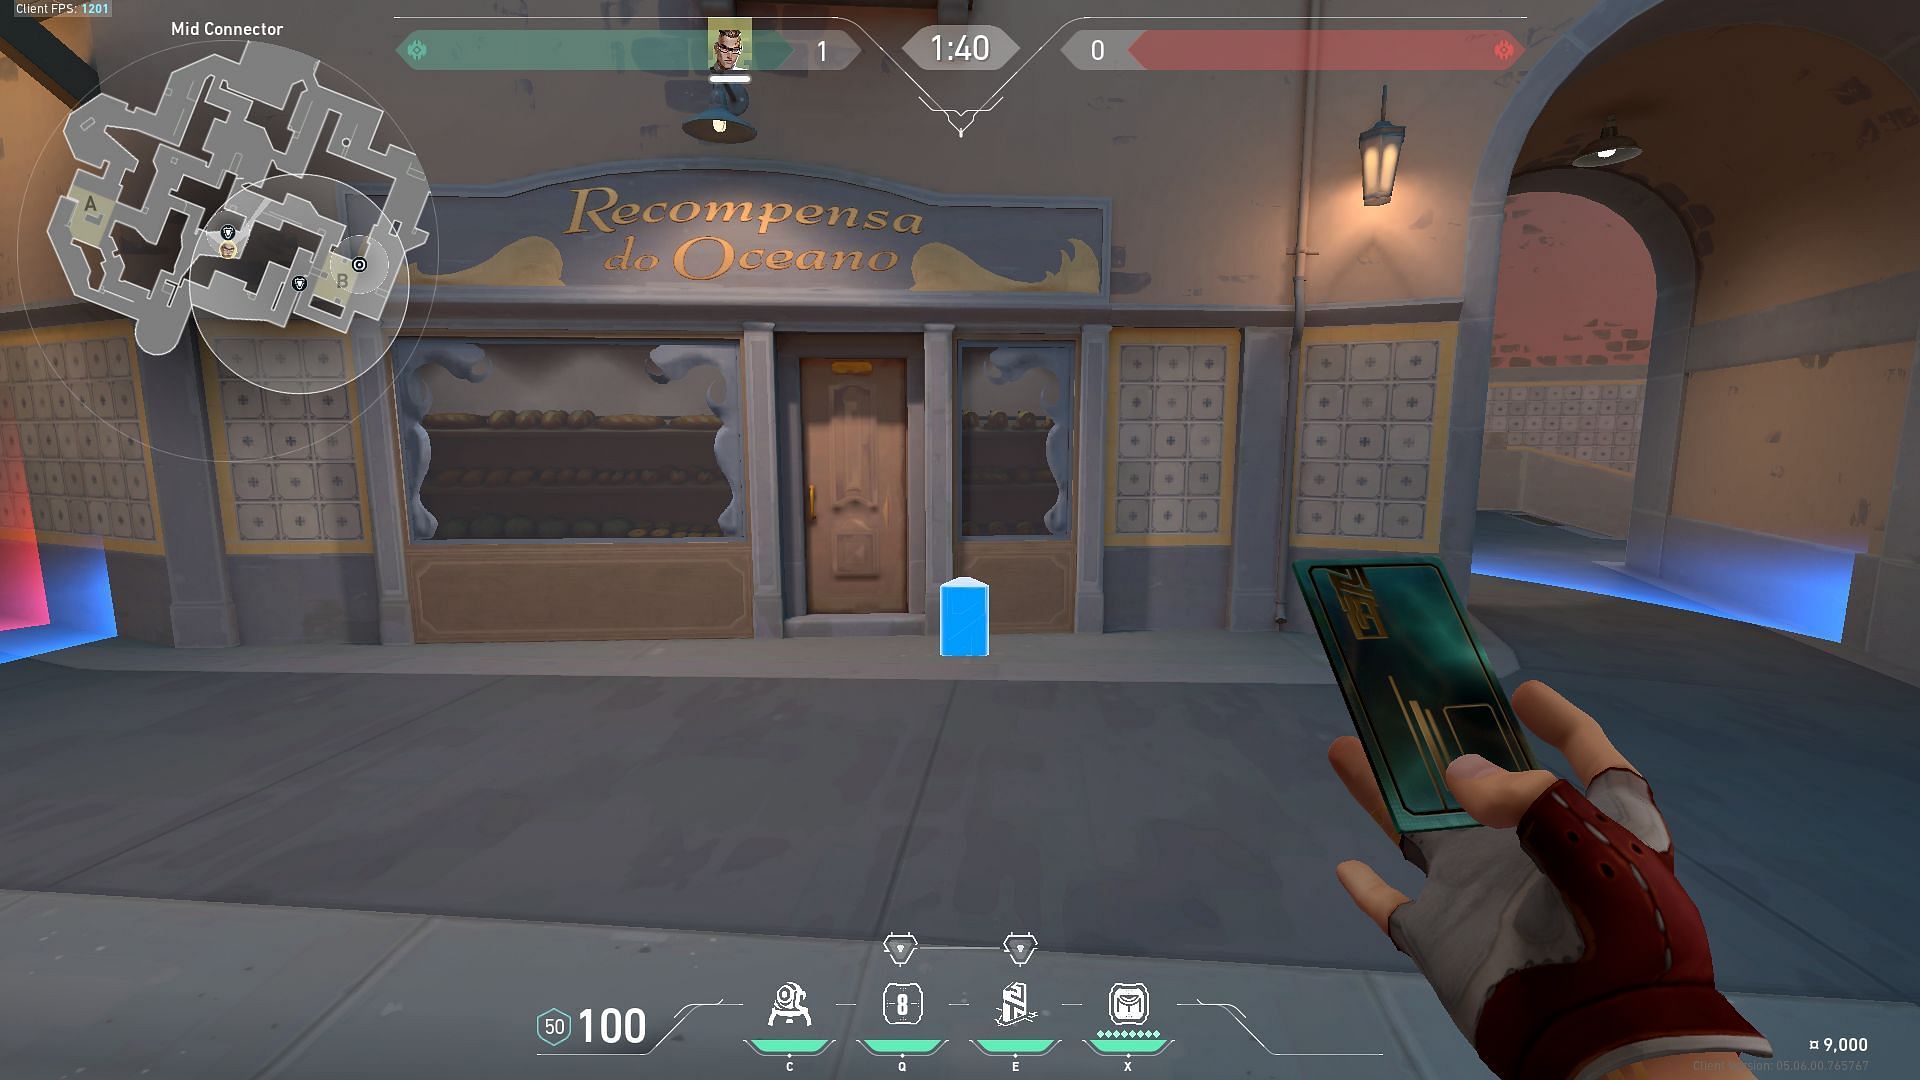
Once enemies have entered through the mid doors, your trap will alert you. You can then peek from the tunnel and get a frag. If things don't go your way, you can instantly teleport back to B Tower and choke enemies coming to B site through B Link.
However, for this to work, you will need your teammates to hold B and A Art for you. Players in Valorant can be cooperative, and just asking them should have you covered.
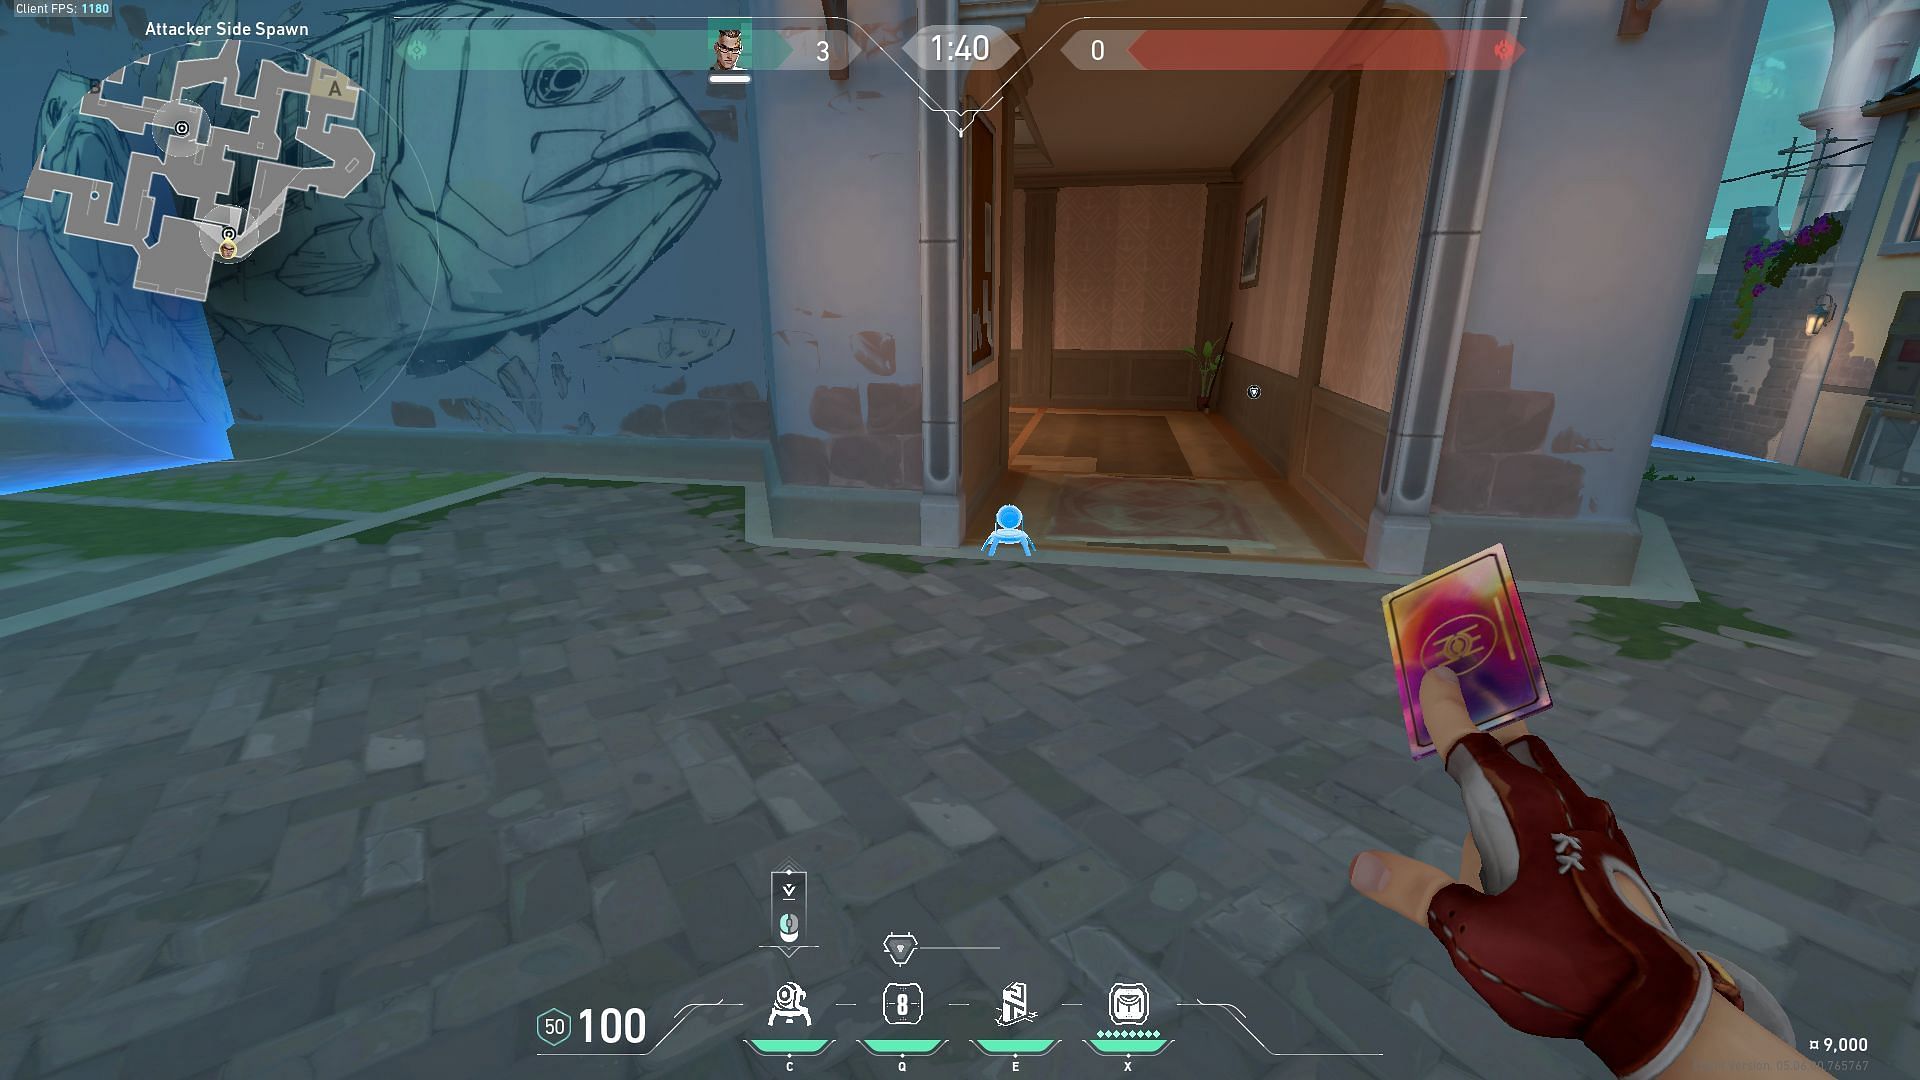
Pearl Attack
If players find themselves on the attacking side, being a Sentinel in Valorant, their responsibility lies in protecting the team from the flanks. If the team is pushing B, place your Trademark trap outside B Club. This protects the team from Midshops push as well Attacker Spawn push.
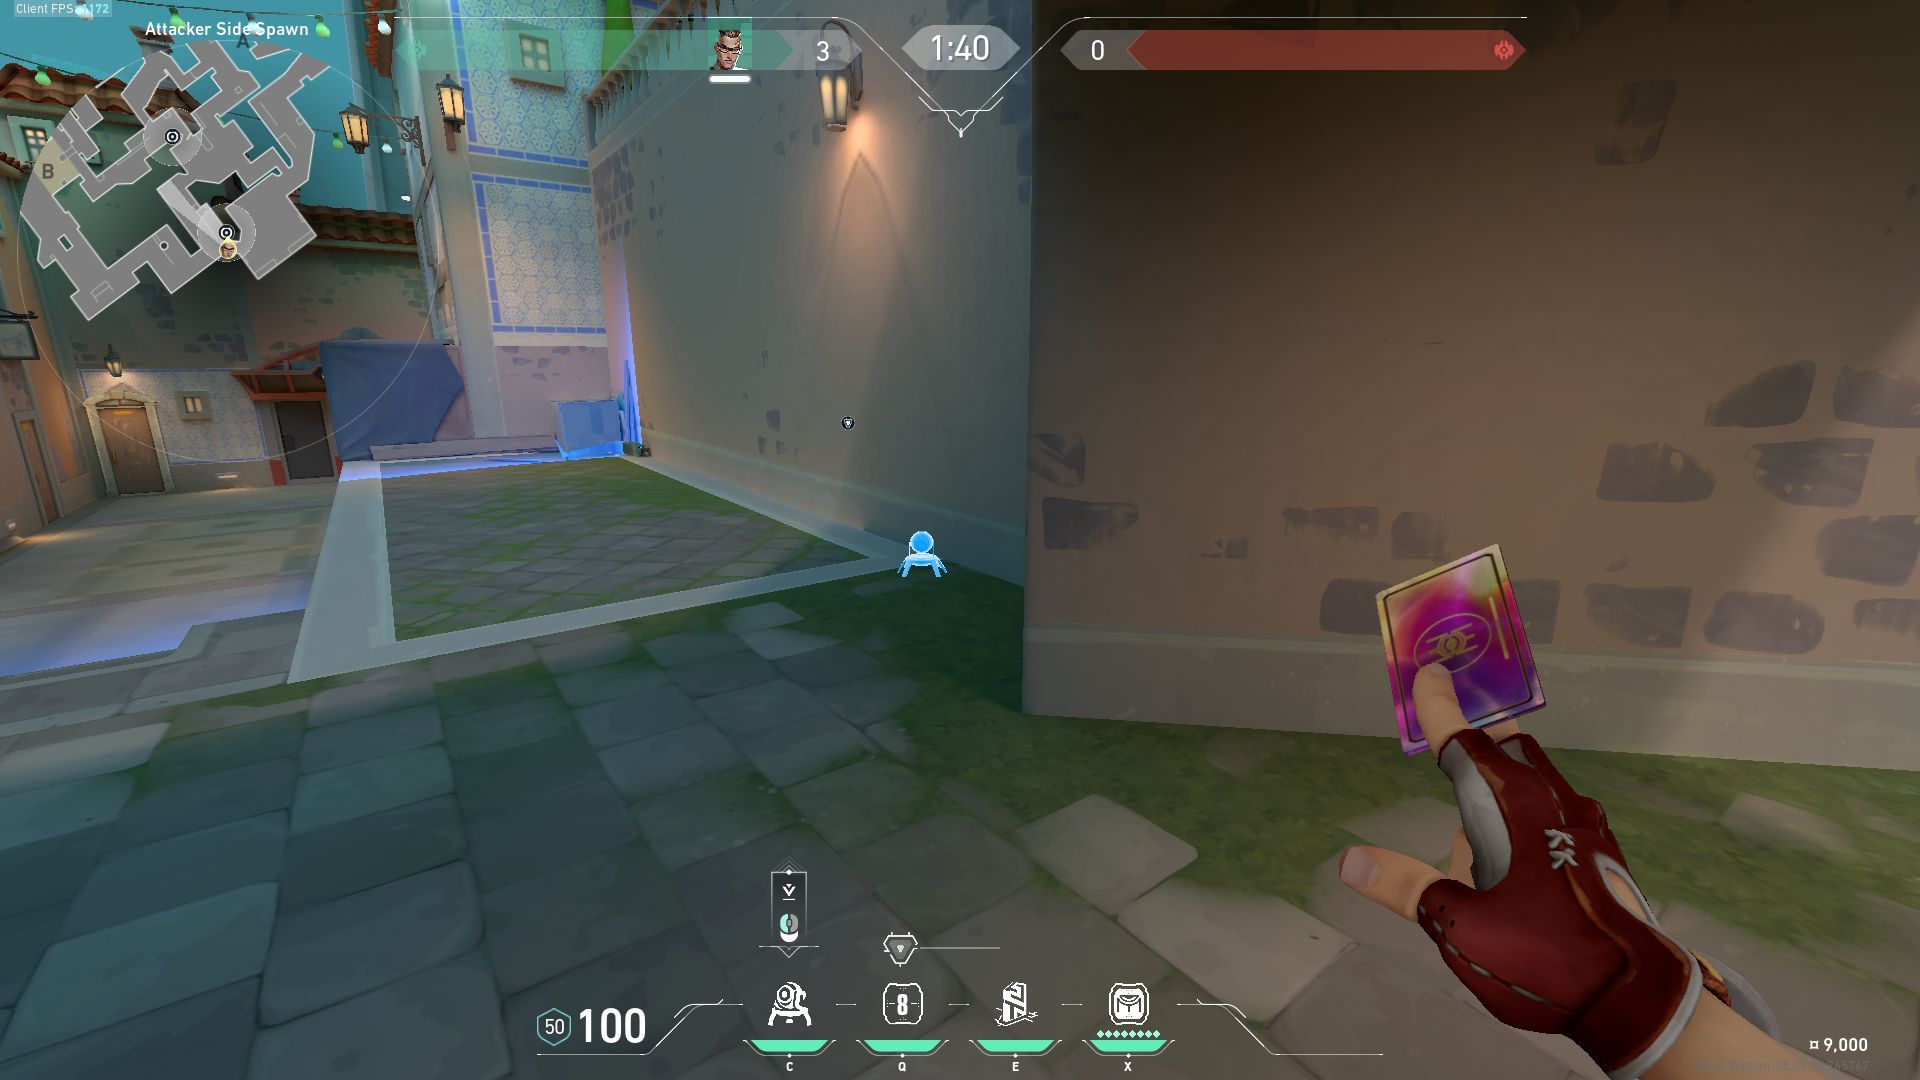
Similarly, if your team is pushing A, place the trap in the entry point of Mid Top. This prevents flanks from Mid and Attacker Spawn.
Chamber is truly special to Pearl. His ability set allows him to go aggressive, hold off angles and care for flanks, unlike any other agent. Moreover, being an Agent that is devastating with Sniper Rifles, B site on Pearl is Chamber's playground.