

'%20x='0'%20y='0'%20height='100%25'%20width='100%25'%20%0A%20%20%20%20%20%20%20%20%20%20xlink%3Ahref='data:image/jpg;base64,/9j/2wBDAAYEBQYFBAYGBQYHBwYIChAKCgkJChQODwwQFxQYGBcUFhYaHSUfGhsjHBYWICwgIyYnKSopGR8tMC0oMCUoKSj/2wBDAQcHBwoIChMKChMoGhYaKCgoKCgoKCgoKCgoKCgoKCgoKCgoKCgoKCgoKCgoKCgoKCgoKCgoKCgoKCgoKCgoKCj/wgARCAAGAAoDASIAAhEBAxEB/8QAFgABAQEAAAAAAAAAAAAAAAAAAAIH/8QAFAEBAAAAAAAAAAAAAAAAAAAAAf/aAAwDAQACEAMQAAAAyCQf/8QAIBAAAgEEAQUAAAAAAAAAAAAAAQIDAAQFERITISJikf/aAAgBAQABPwDDXzQ4S1UrzWOUIfYOXb72oxTzHqoluqv5BTs63X//xAAVEQEBAAAAAAAAAAAAAAAAAAAAAf/aAAgBAgEBPwCv/8QAFhEBAQEAAAAAAAAAAAAAAAAAAQAC/9oACAEDAQE/AMAt/9k='%3E%3C/image%3E%3C/svg%3E)
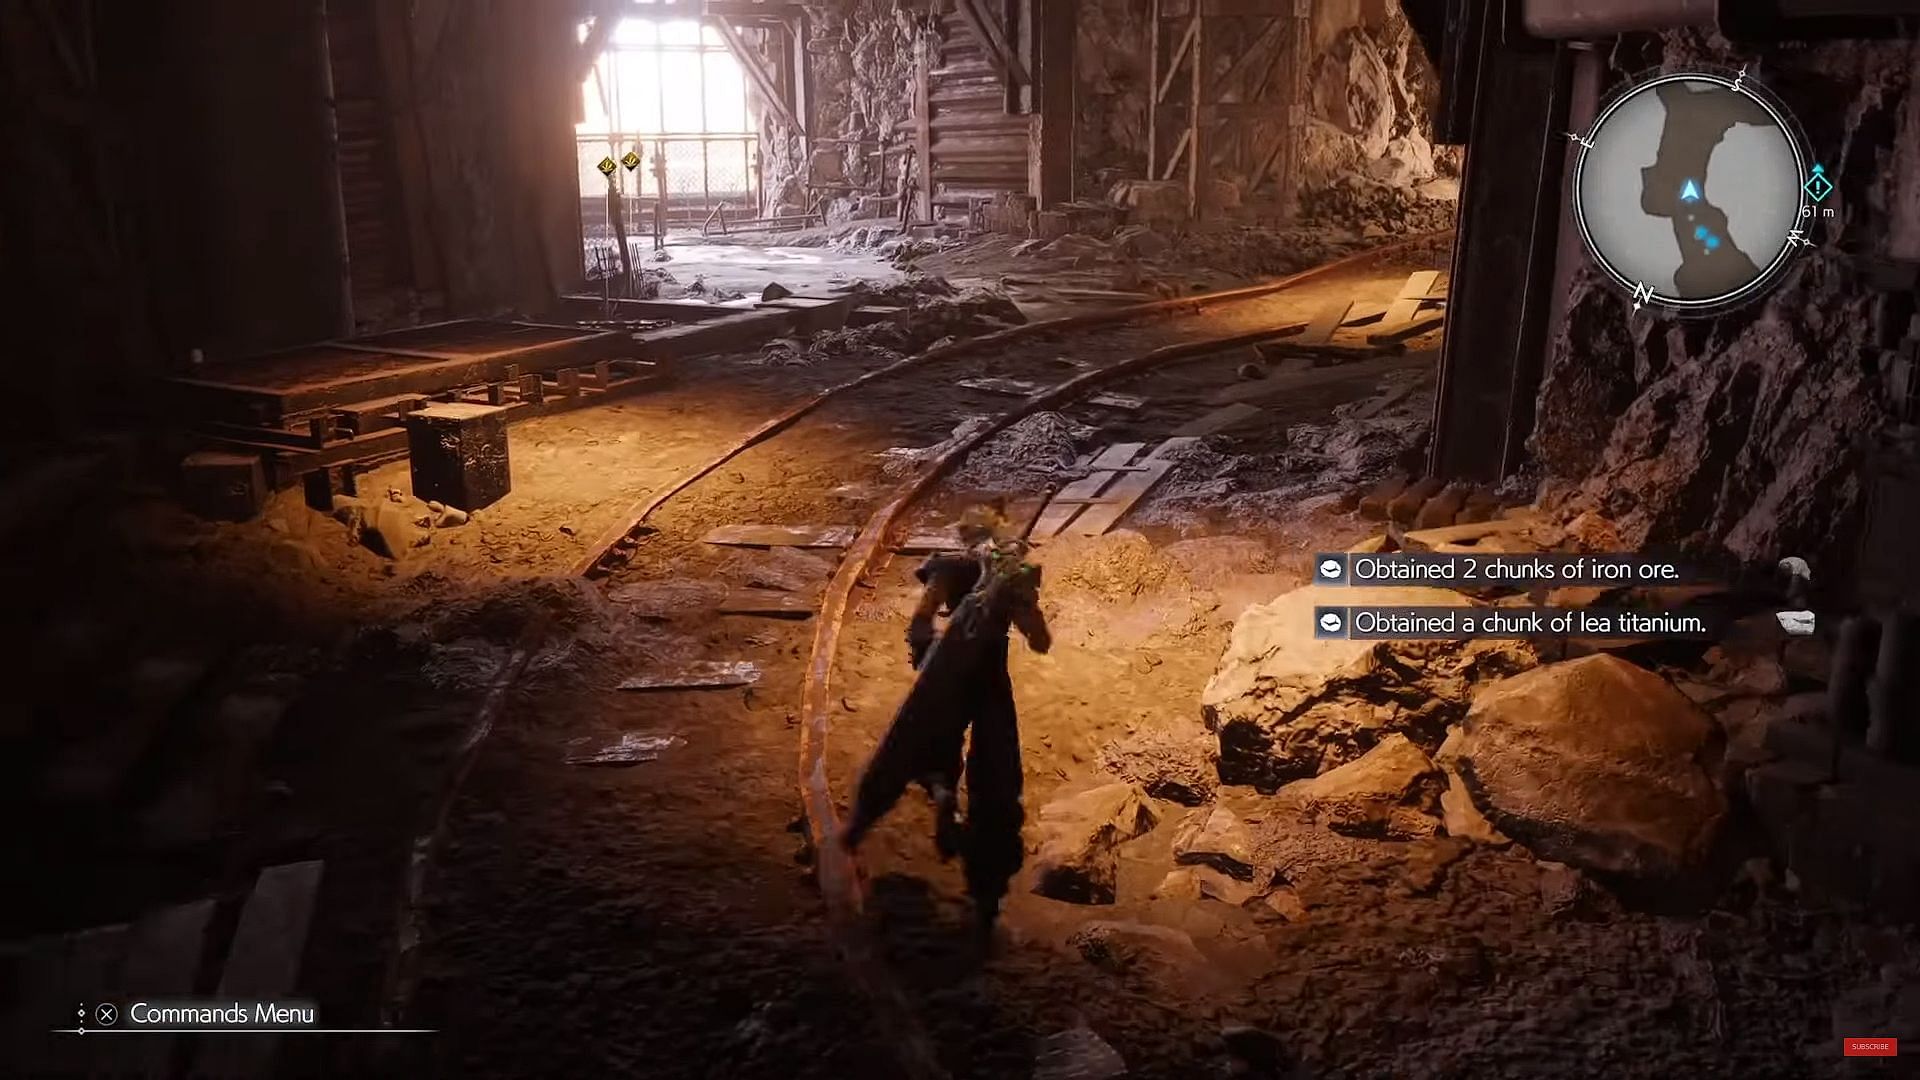
Deeper into Darkness in Final Fantasy 7 Rebirth is the third chapter of the game, where you continue after the boss fight of Midgardsormr from the last chapter and follow the mysterious cloaked figures into the Mythril Mines. You also encounter various threats and come across Turks as they are currently headed towards Junon.
This article aims to provide a brief walkthrough of Deeper into Darkness in Final Fantasy 7 Rebirth.
Deeper into Darkness: Into the Mines

Looking for Crossword hints & solutions? Check out latest NYT Mini Crossword Answers, LA Times Crossword Answers, and Atlantic Crossword Answers
After the final cutscene of the previous chapter, A New Journey Begins, players head into the Mines to find a rest stop and refreshments. After this, a cutscene will play upon getting close to the cloaked figures, and Red XIII and Barret will leave the party for a while.
You must follow the tunnel until there is a set of broken-down stairs and a narrow path that leads to the other side. After crossing, go down the ladder and take out the monsters at the bottom. Upon going down another ladder, there will be a tunnel with a "Workers" sign above it; proceed there. You will come across an Ogre that needs to be taken out at this stage. It can be taken out quickly with fire magic or abilities since it weakens against fire.
Deeper into Darkness: Broken Elevator
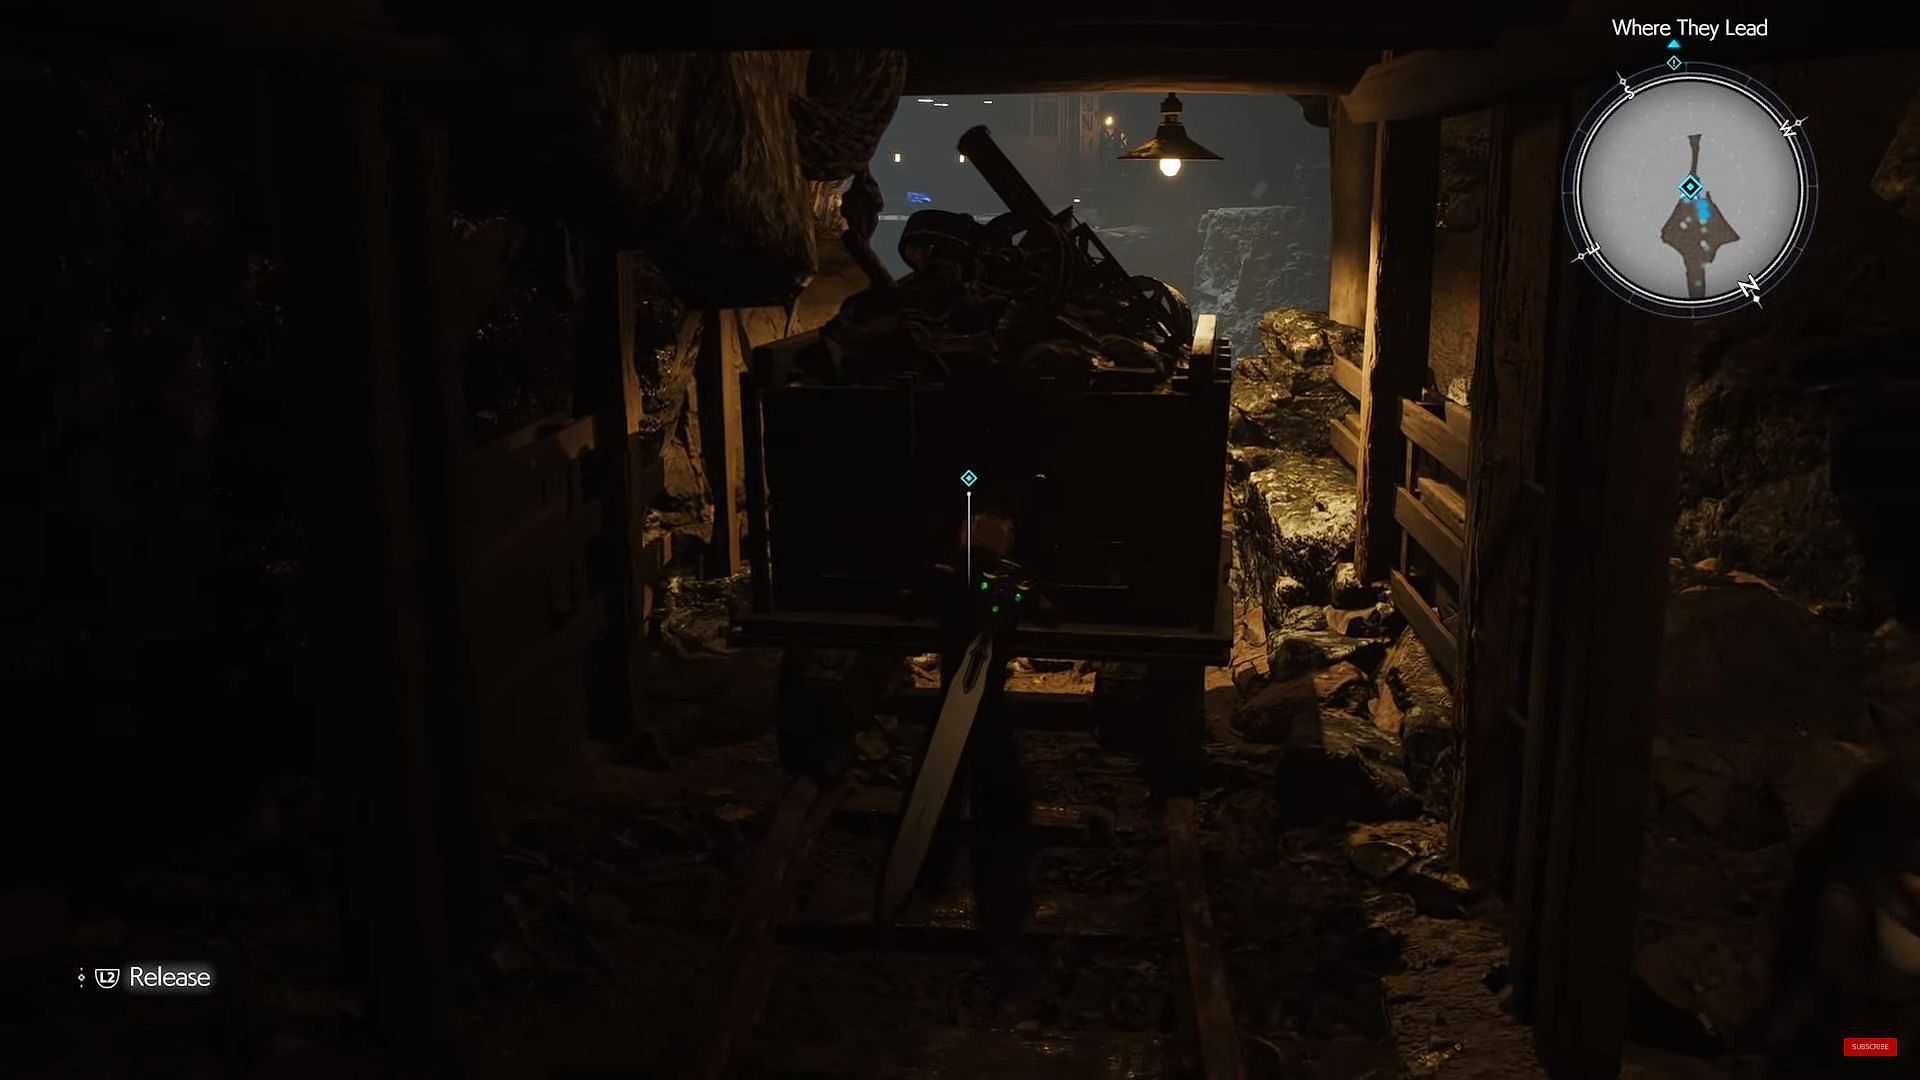
Going further into the tunnel with the "Workers" sign will bring you to cart tracks that must be followed. After coming across a large mine cart that blocks your path, you must pull it until there is enough space to get through the tunnel. After this, a brief cutscene will play, following which you can go left across a bridge and fight with the monsters there.
You will find a ladder and an elevator, both out of commission. From here, go to the left, where there seems to be a dead end. Walking along the left of the mine cart, you can now push it toward the initial place where the broken ladder and elevator were. A blue mark will appear on top of the cart that will indicate that you can climb up and go to the platform above.
Deeper into Darkness: Rude and Elena
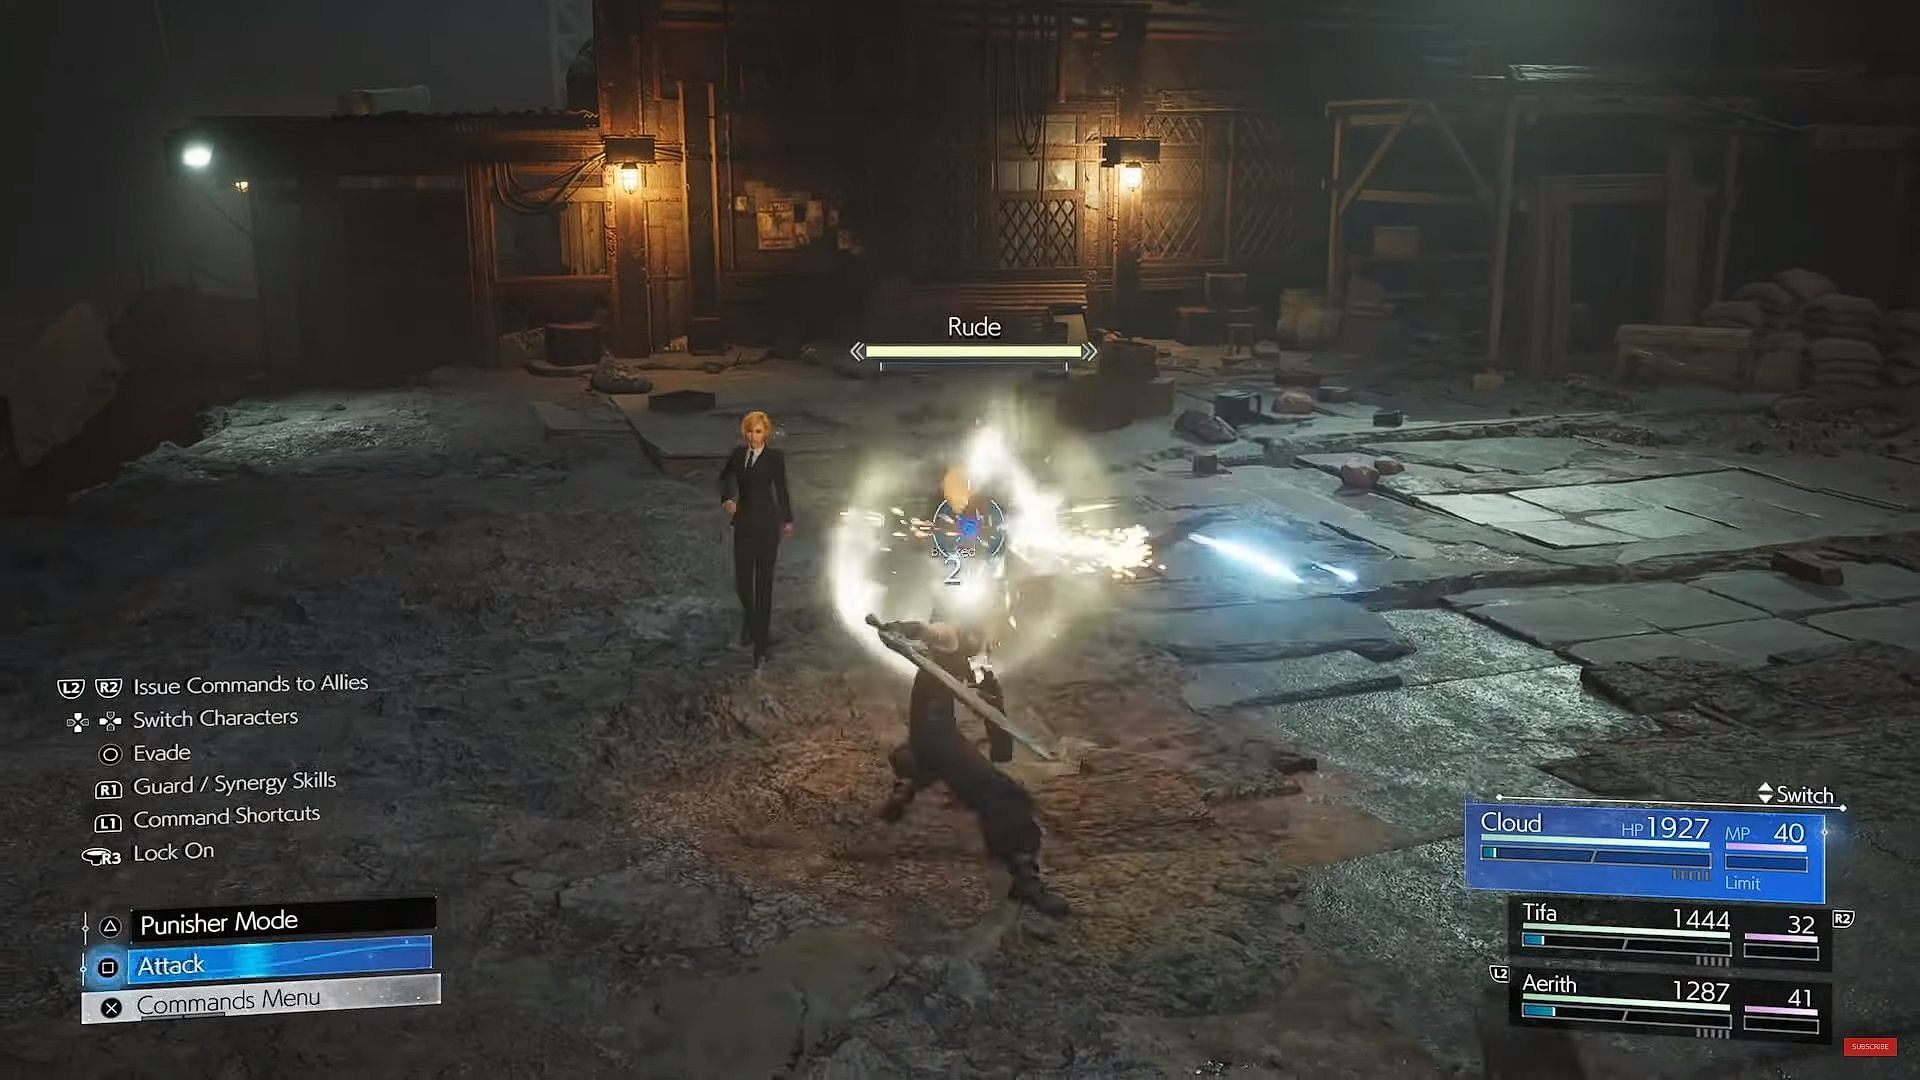
After encountering two ogres on the platform from the previous section, you can go up the ladder and run along a sloping platform until you eventually reach a rest stop where a boss fight will start.
This boss fight between Rude & Elena will require you to focus on Rude's melee attacks and Elena's melee and ranged attacks that she mixes up during the fight. Rude is weak to air damage while Elena is weak to lightning. You must continue fighting and dodging attacks until a cinematic occurs, triggering the Petite Powerhouse ability for both of them.
During this state, Elena cannot be targeted and will keep charging an ability that will hit all party members. You must focus on staggering one of the bosses, following which, using Synergy or Limit Breaks on them will deal a lot of damage. The fight will become easier after one of them is defeated.
Deeper into Darkness: Escaping the depths
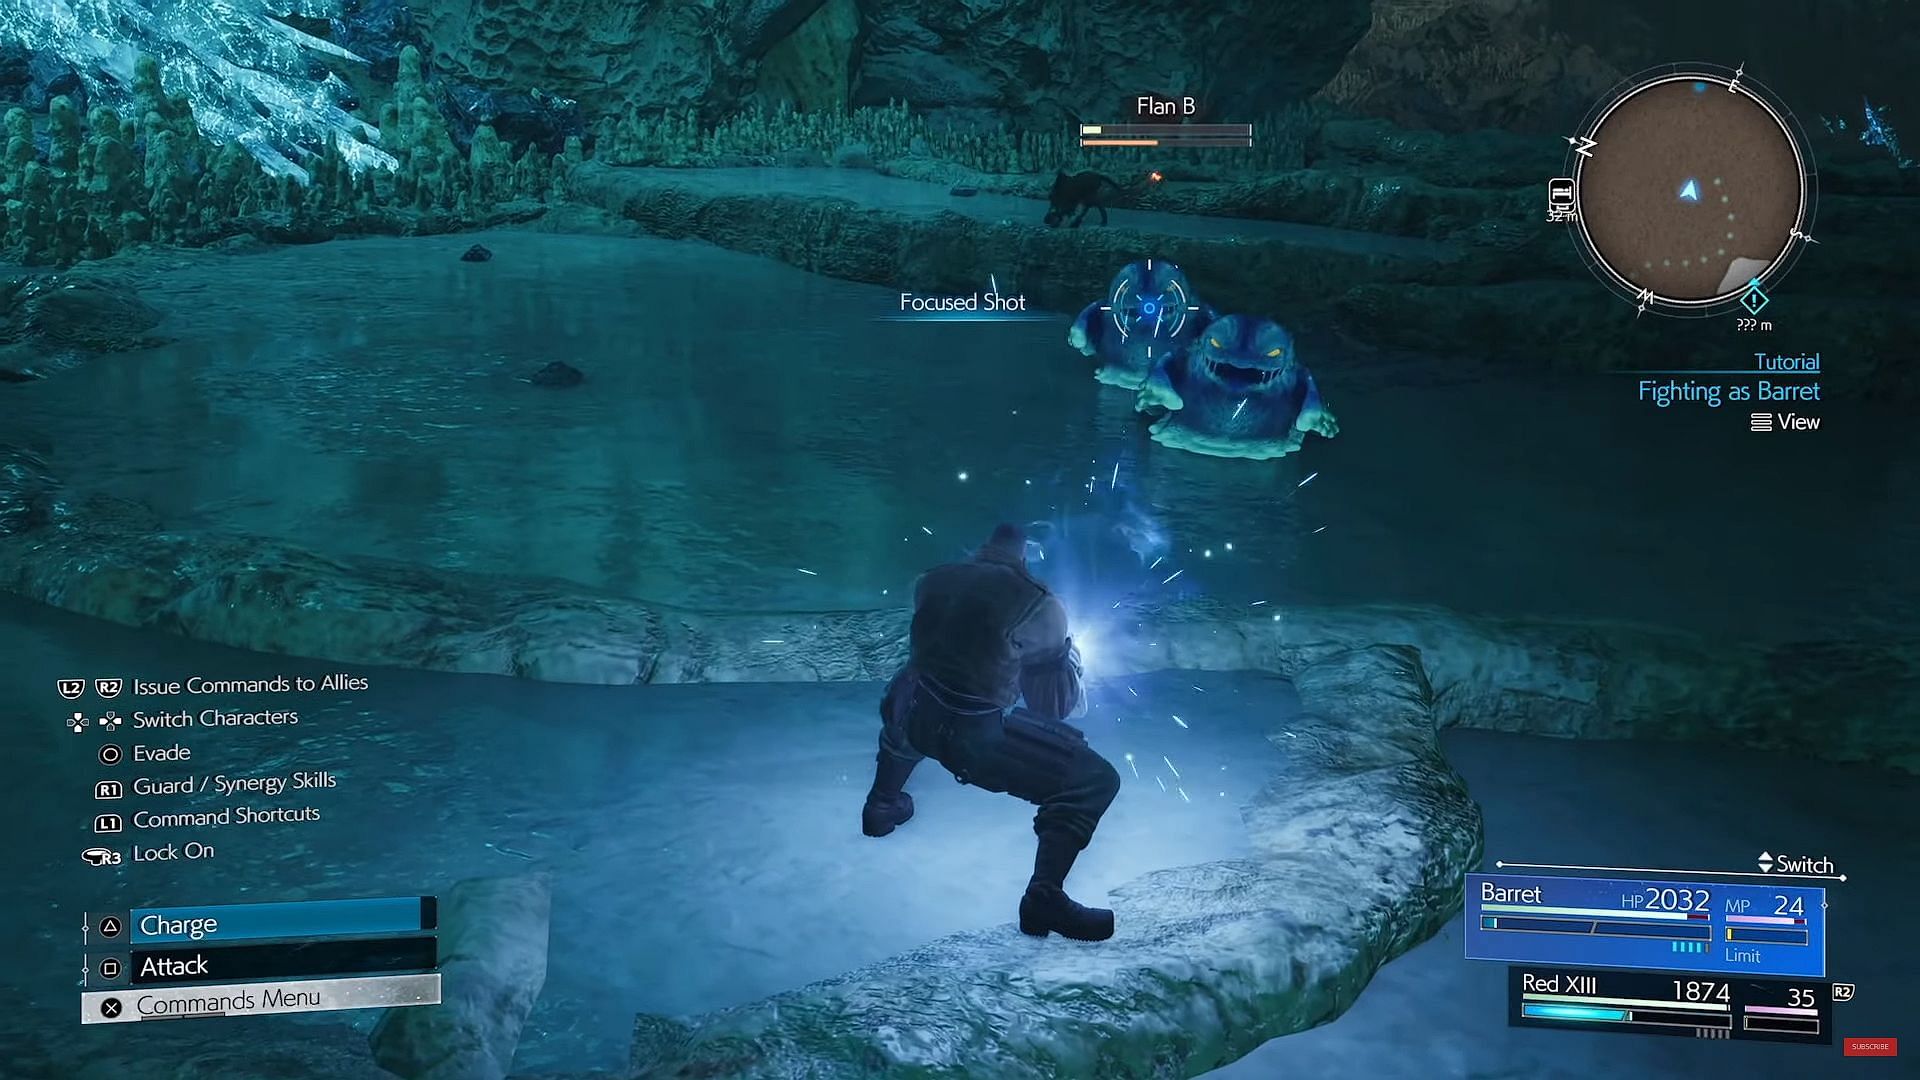
After the boss fight cutscene ends, you will be given control of Barret and Red XIII as they try to escape the depths. They will come across a rest stop with vending machines. While you keep exploring the depths and finding means to escape it, they will see blue dots on the map pointing them to crystals that can be destroyed with guns.
Following the path within the depths, you can head northeast, jump into the water, and swim across to the other side. You can climb up the ledges and start heading east at this point. Blue crystals on walls will denote the parts of the wall that can be climbed, and once the top is reached, players can use guns to destroy the rocks.
You now need to look for a tree you can climb. After ascending further, there is a tunnel that leads to a dead end. At the end of the tunnel, there will be a lever next to two merging mine cart tracks. This lever helps change mine cart positions and tracks, which will let you access a ledge normally unreachable.
You can also move the cart to a chest that will provide a bulletproof vest, and a narrow pathway can be followed here to a point where an Ogre can be fought. After a small cutscene that occurs upon reaching a cliffside, you can find stuck ladders on the left side that can be displaced and used to go up to a small room with a mine cart.
A lever here will allow you to open a gate and push the cart until a cutscene is triggered, and Cloud and the party can rise with a bridge. Going back to the room with the mine cart will have Aerith pull the lever so that the path forward can open, and you can head into an arena for a boss fight.
Deeper into Darkness: Fighting the Golem
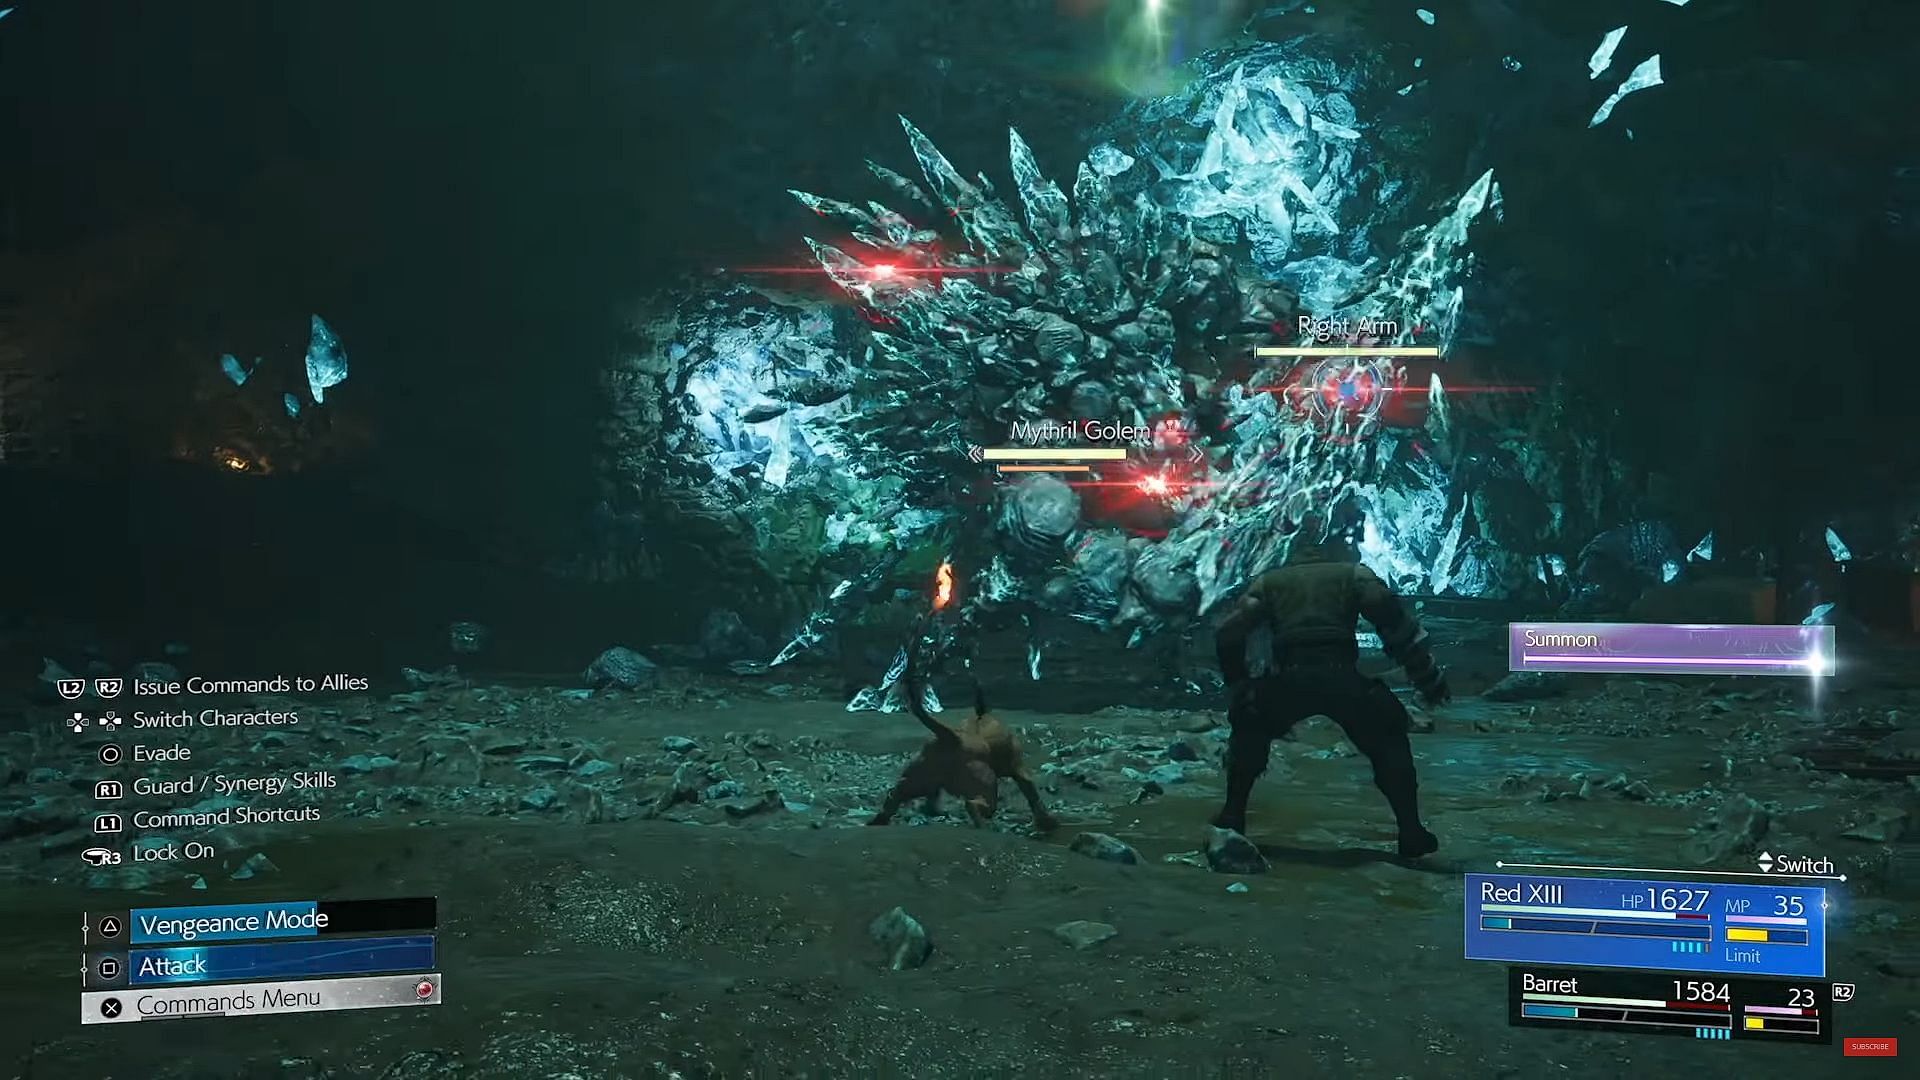
Upon entering an open arena, you will face a Mythril Golem that must be defeated. At the start of the battle, you will only be able to damage its head and need to bring the health bar down to the lowest to shift focus on its body. You can stagger the body at this point and unleash strong attacks to deal massive damage to it.
After recovery from a staggered state, the Golem will grow its head back and attack with a hammer. You must avoid this and protect yourself from exploding rocks that may drop from above. After some time, the Golem's spine and right arm can be targeted and destroyed. After this, start hitting its head again, and as it gets staggered, hit all your hardest abilities to take it down once and for all.
Deeper into Darkness: Catching up with the party
A new bridge will form, which you can cross to reach the area Aerith opened up with the lever. You must keep heading forward and cross a narrow platform to rendezvous with their party and continue through the tunnels while fighting some ogres along the way.
Upon heading up through the tunnel, you will come across sunlight as it marks the exit from the depths and back out into the open world. As you head outside and approach the cloaked figures, you will begin the journey into the fourth chapter of Final Fantasy 7 Rebirth.
Also read: Final Fantasy 7 Rebirth Dawn of a New Era walkthrough
Check out our other Final Fantasy 7 Rebirth guides:
- How to easily beat the final boss of Final Fantasy 7 Rebirth
- How to easily beat Titan in Final Fantasy 7 Rebirth
- How to easily beat Gi Nattak in Final Fantasy 7 Rebirth
- How to easily beat Galian Beast in Final Fantasy 7 Rebirth
- How to obtain the Magic Pot Summoning materia in Final Fantasy 7 Rebirth
- Best early-game summons in Final Fantasy 7 Rebirth
- Games like Final Fantasy 7 Rebirth on Nintendo Switch

Are you stuck on today's Wordle? Our Wordle Solver will help you find the answer.