
'%20x='0'%20y='0'%20height='100%25'%20width='100%25'%20%0A%20%20%20%20%20%20%20%20%20%20xlink%3Ahref='data:image/jpg;base64,/9j/2wBDAAYEBQYFBAYGBQYHBwYIChAKCgkJChQODwwQFxQYGBcUFhYaHSUfGhsjHBYWICwgIyYnKSopGR8tMC0oMCUoKSj/2wBDAQcHBwoIChMKChMoGhYaKCgoKCgoKCgoKCgoKCgoKCgoKCgoKCgoKCgoKCgoKCgoKCgoKCgoKCgoKCgoKCgoKCj/wgARCAAGAAoDASIAAhEBAxEB/8QAFgABAQEAAAAAAAAAAAAAAAAAAAQH/8QAFQEBAQAAAAAAAAAAAAAAAAAAAgP/2gAMAwEAAhADEAAAAM8hLD//xAAfEAABBAICAwAAAAAAAAAAAAACAQMEEQUSABMhMVH/2gAIAQEAAT8AyOZixy6IWMjtw012Bb2P1tZX9vmSaiLkZSxoLTbCun1gpkqiN+Evn//EABgRAAIDAAAAAAAAAAAAAAAAAAABAhIx/9oACAECAQE/ALOWn//EABURAQEAAAAAAAAAAAAAAAAAADEA/9oACAEDAQE/AAv/2Q=='%3E%3C/image%3E%3C/svg%3E)
The Coil is the newest seasonal activity in Destiny 2. It follows traditional gauntlet-based rogue-like mechanics, and players need to fight their way through different encounters and bosses for scores, which can be used to open up hidden chests in the terrain. There are a total of eight chests in The Coil, each in the Pathways section of an encounter.
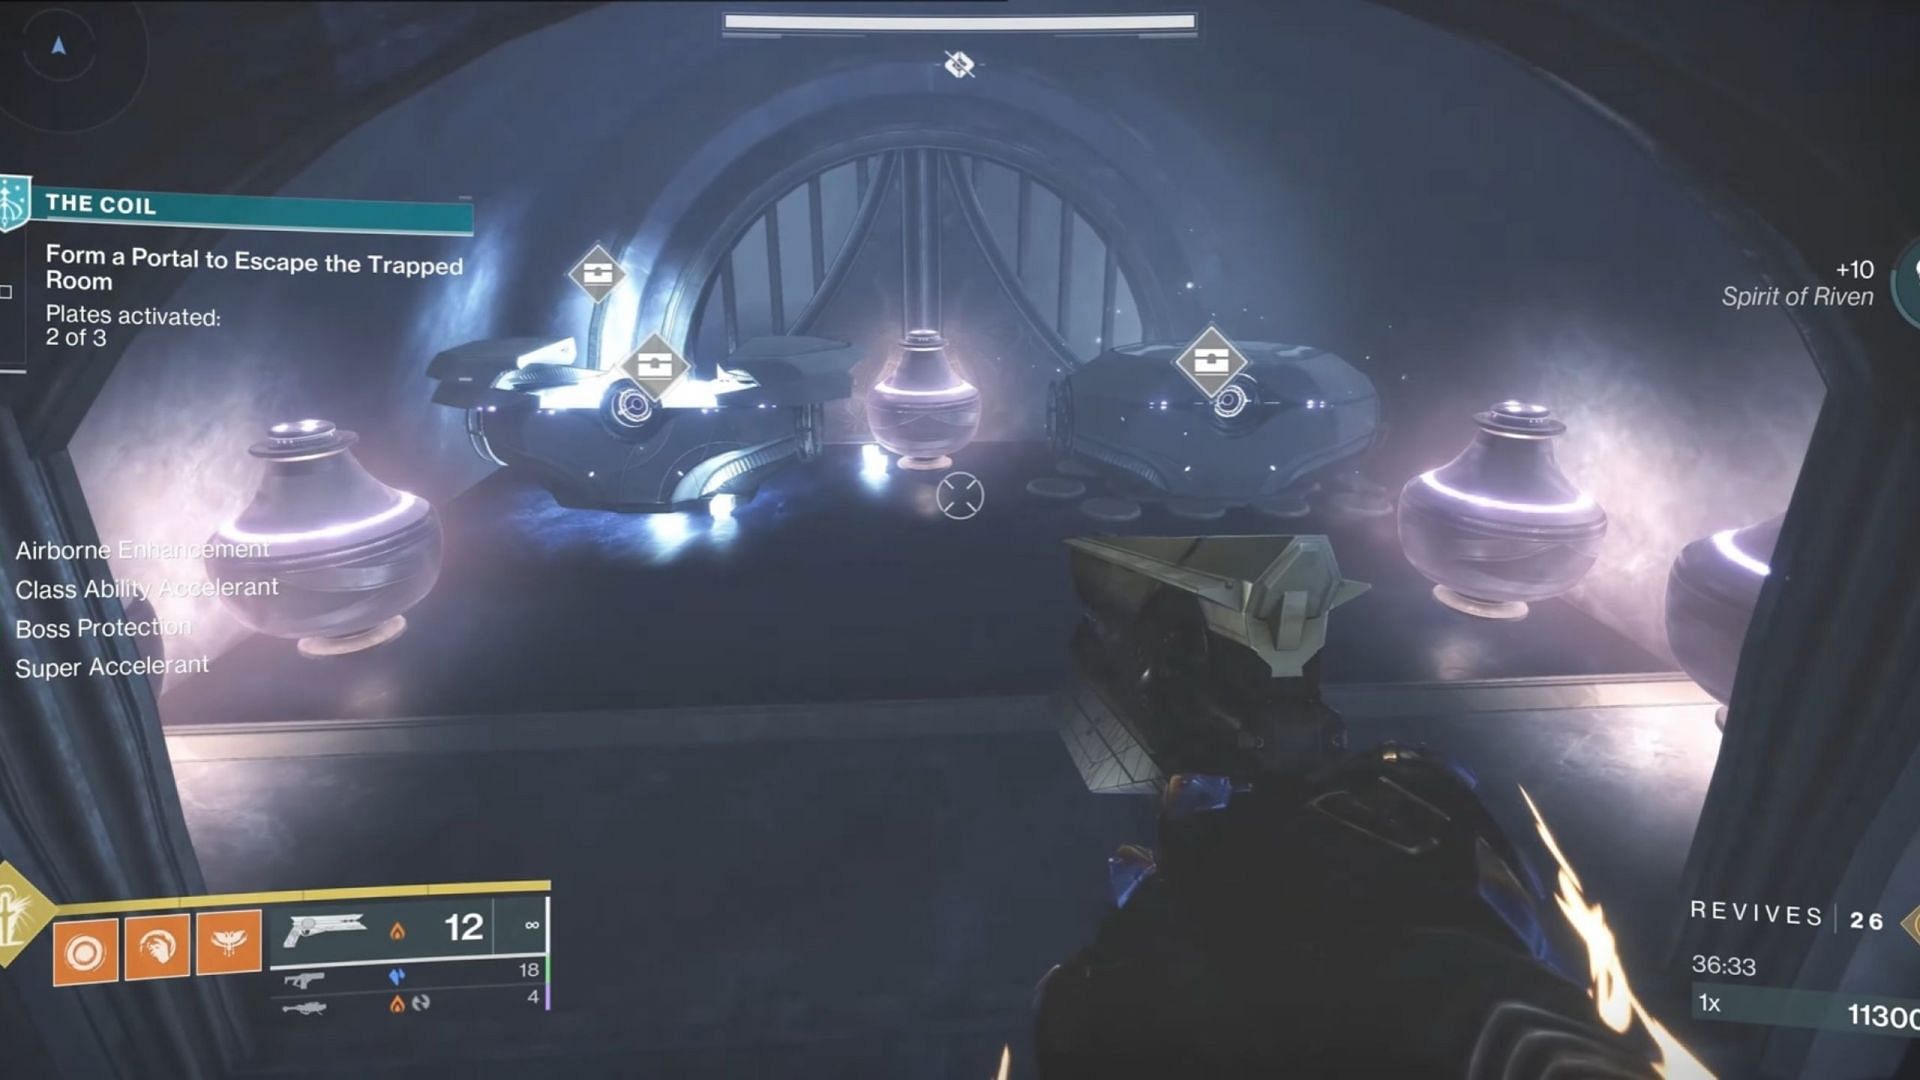
The Pathways section in The Coil can be identified by the plates and several obstacles in the area. There are two Pathways in one encounter, which adds up to eight across all four stages. To highlight the chests from a distance, it is always recommended to have the "Expert Tracker" Ghost mod equipped.
Additionally, this article will briefly explain the locations of these chests from the spawn point in each Pathways zone.
All hidden chests in Destiny 2 The Coil activity
It is important to know that the chests within each stage require a particular score. The deeper you are in The Coil, the higher the requirement to open the door. You can familiarize yourself with The Coil activity before venturing out for the secret chests.
Here are the locations of all eight chests based on the encounter:
Locus of Subjugation, Plate area 1

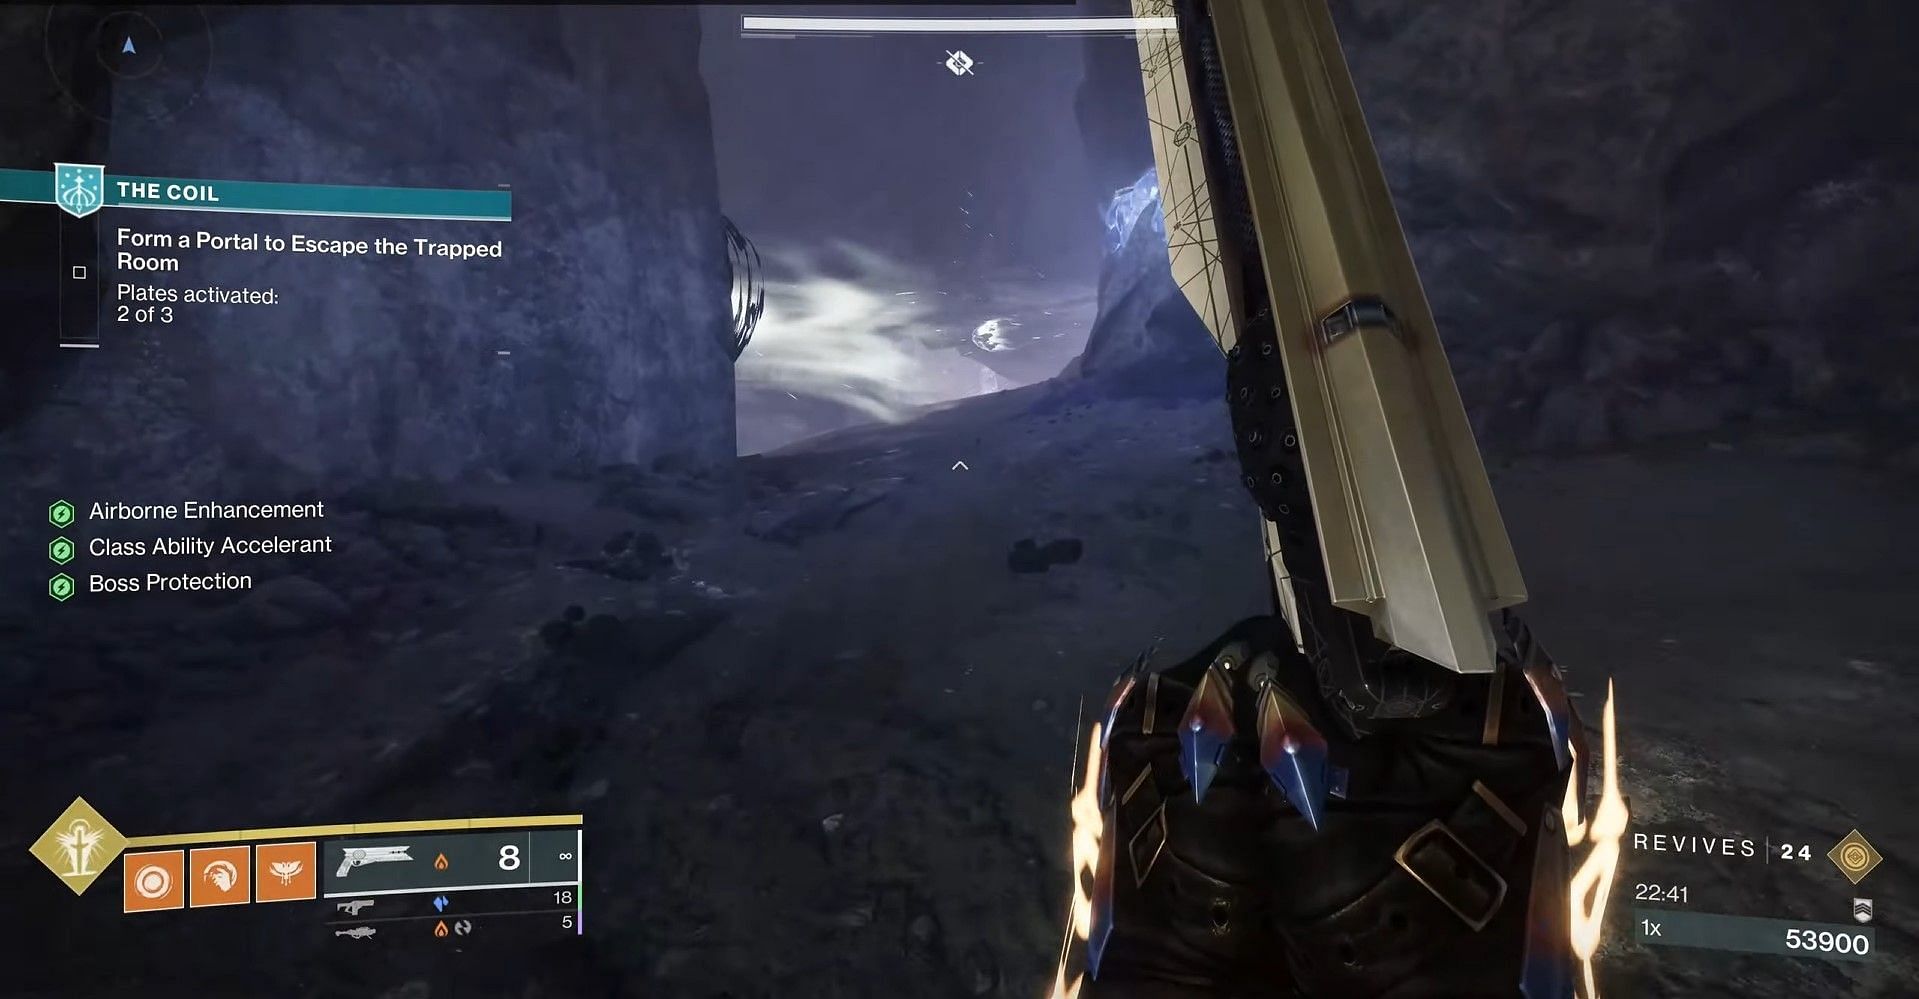
Jump down and head right. Walk straight, and two chest icons will be visible due to your Expert Tracker mod. Look for a small gap in the wall just beside the green light.
Locus of Subjugation, Plate area 2
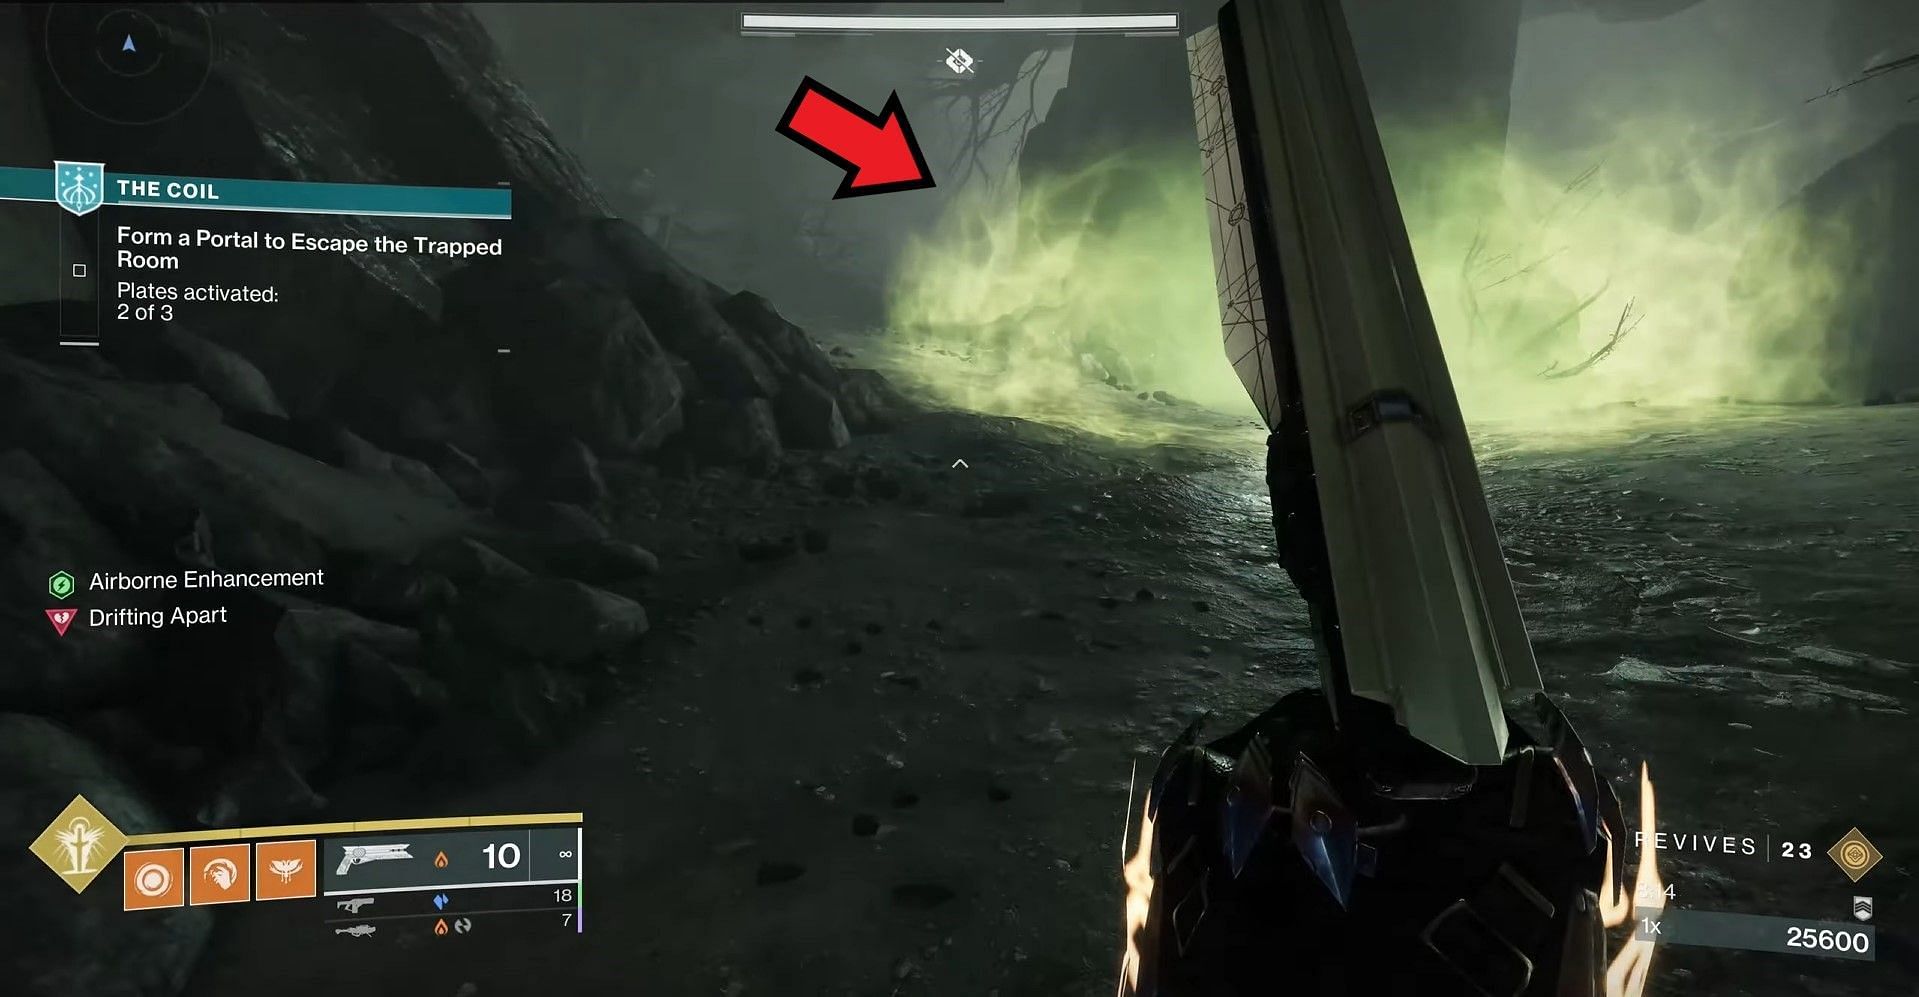
Pass through the first green light and poison cloud, and you will meet the first plate on the edge. Drop down and take the path straight, followed by a left from the poison cloud and the green light. The chests will be marked now.
Ungoloth, Plate area 1
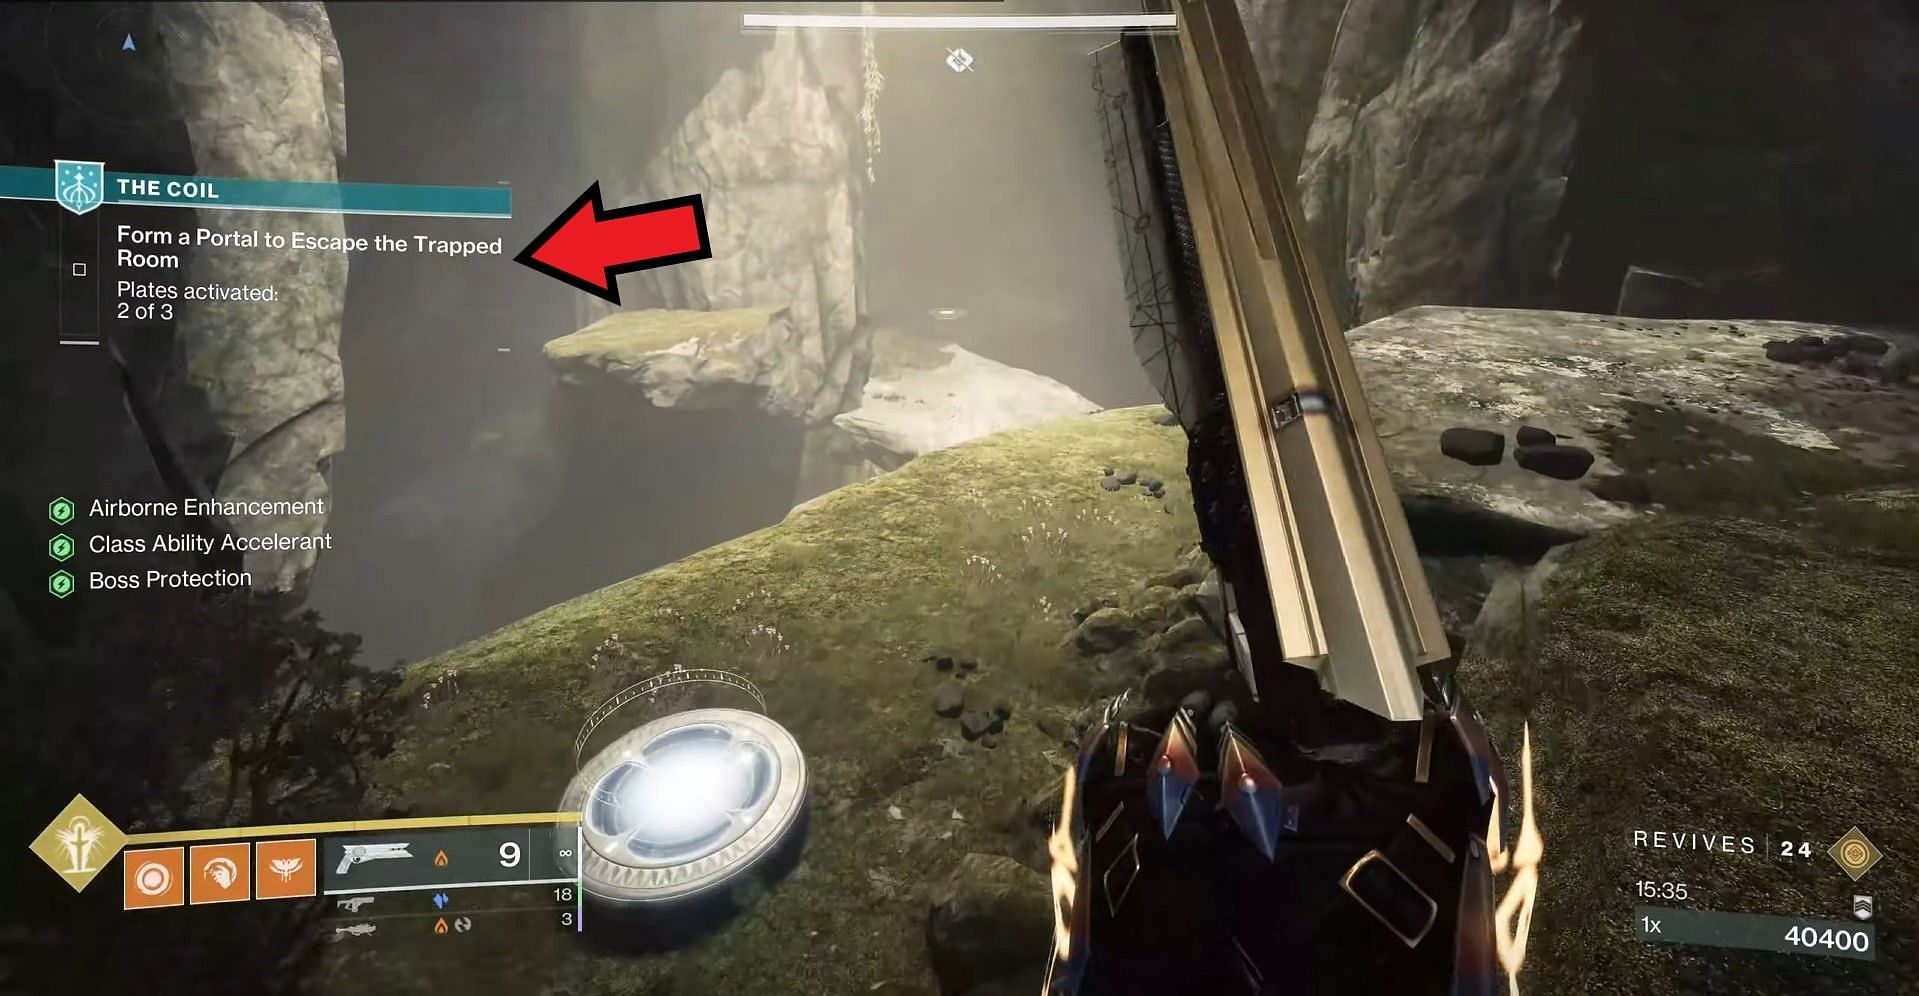
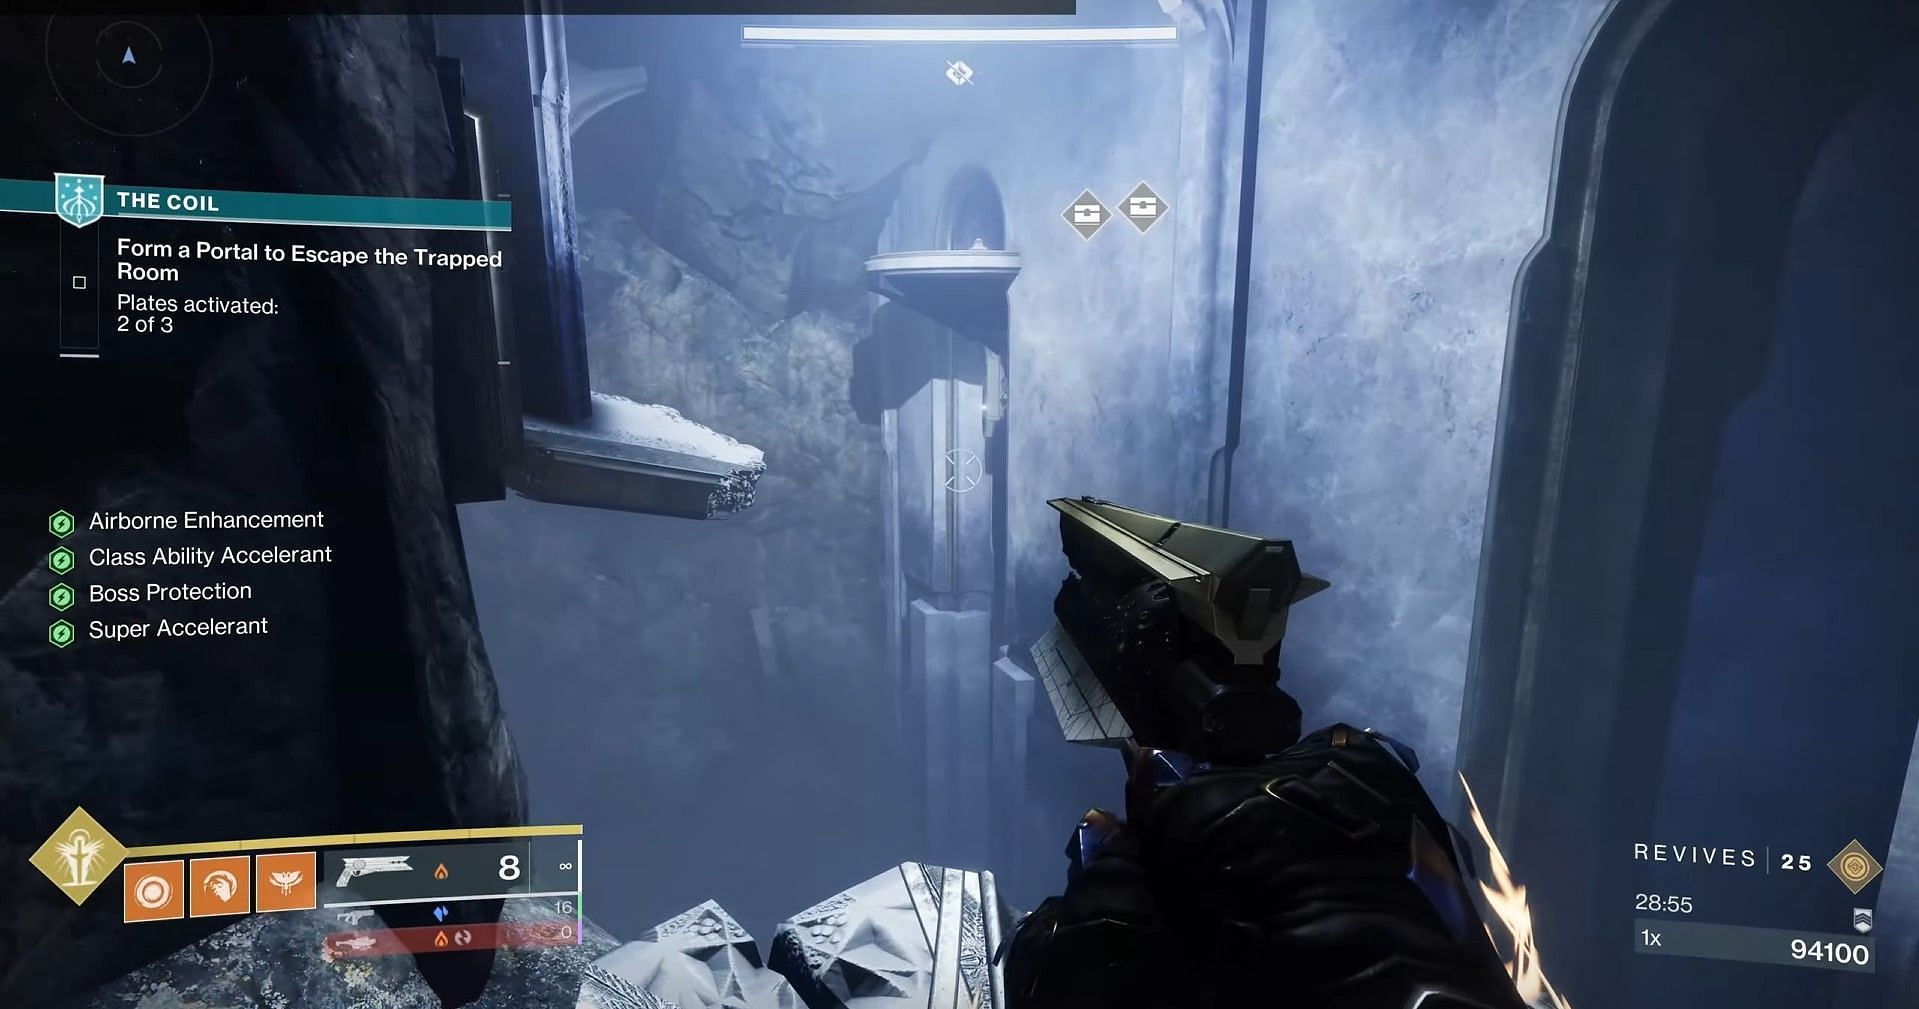
Head towards the first yellow light and take a left to the second light. From the plate near the second yellow light, jump across to the small platform, followed by the gap behind the wall with blue crystals.
Ungoloth, Plate area 2
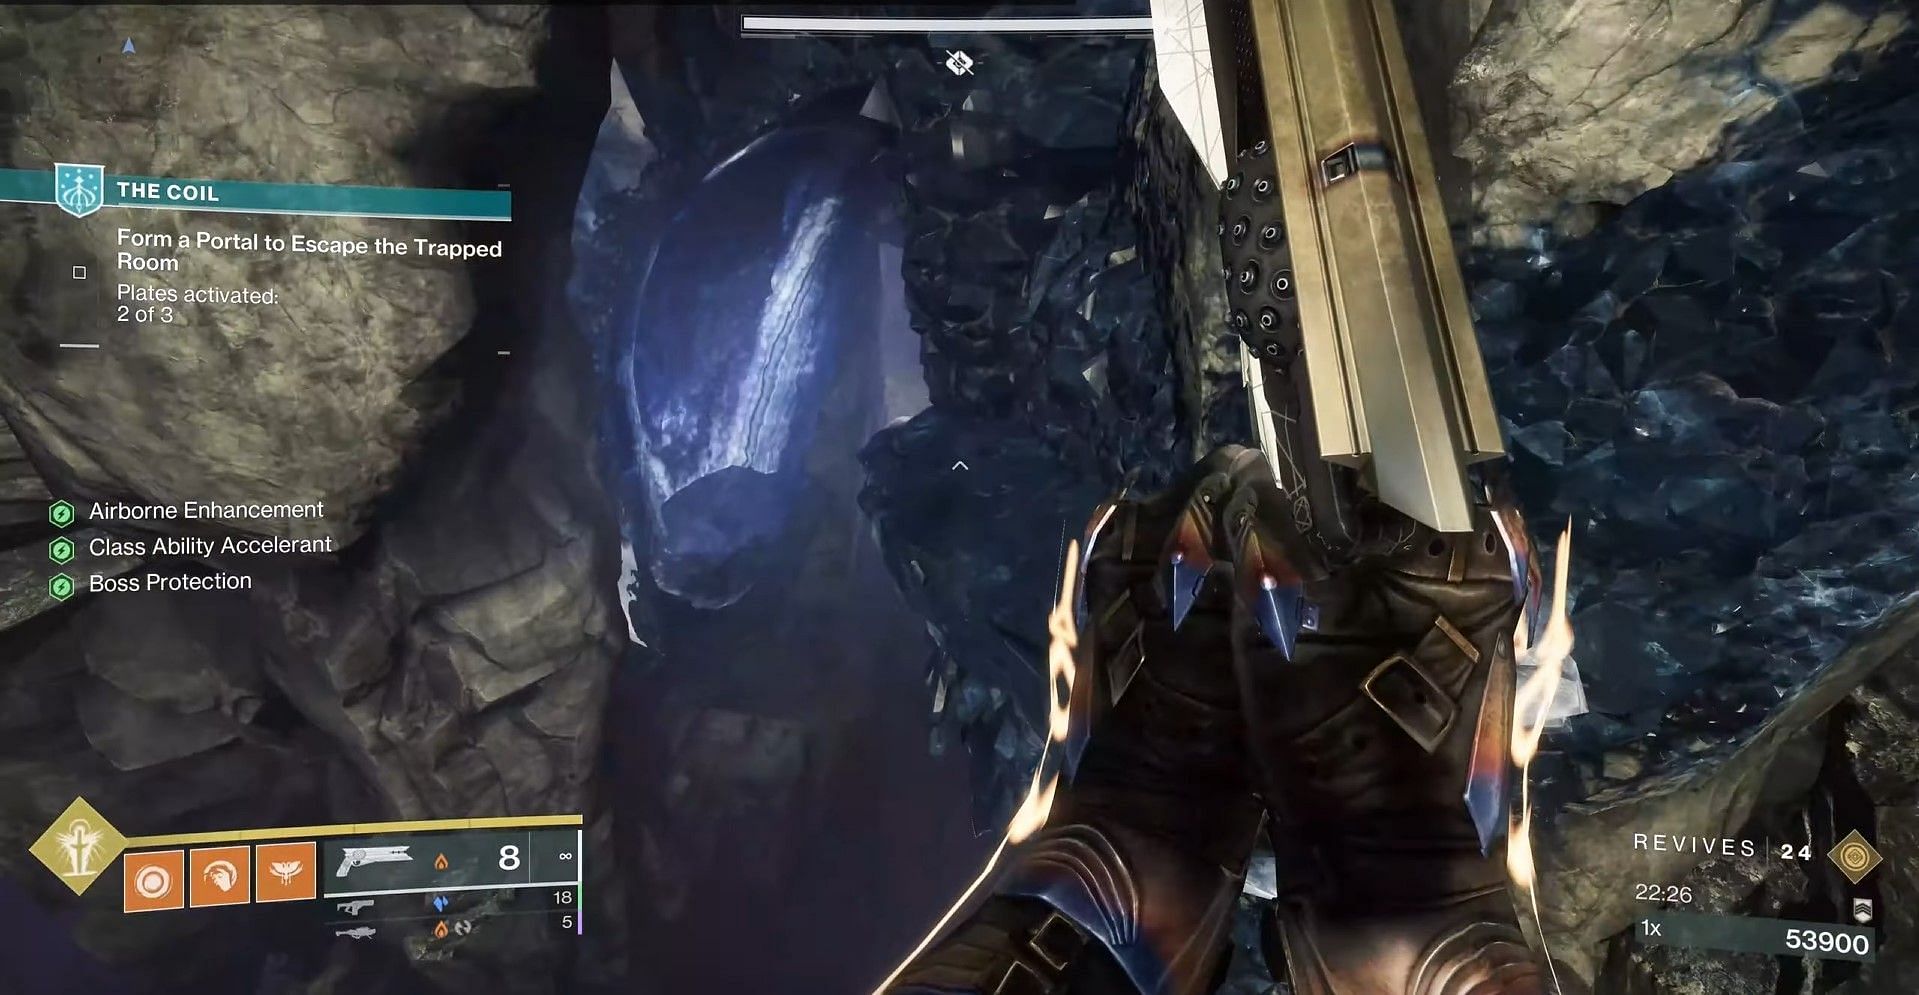
Take a right from the first light, down on the blue platforms with Taken blights on the wall. After arriving at the second light, take a sharp left and follow the narrow platform past the blue crystals, leading you to the third yellow light.
The chests are present behind the third light.
Centroidal Mind, Plate area 1
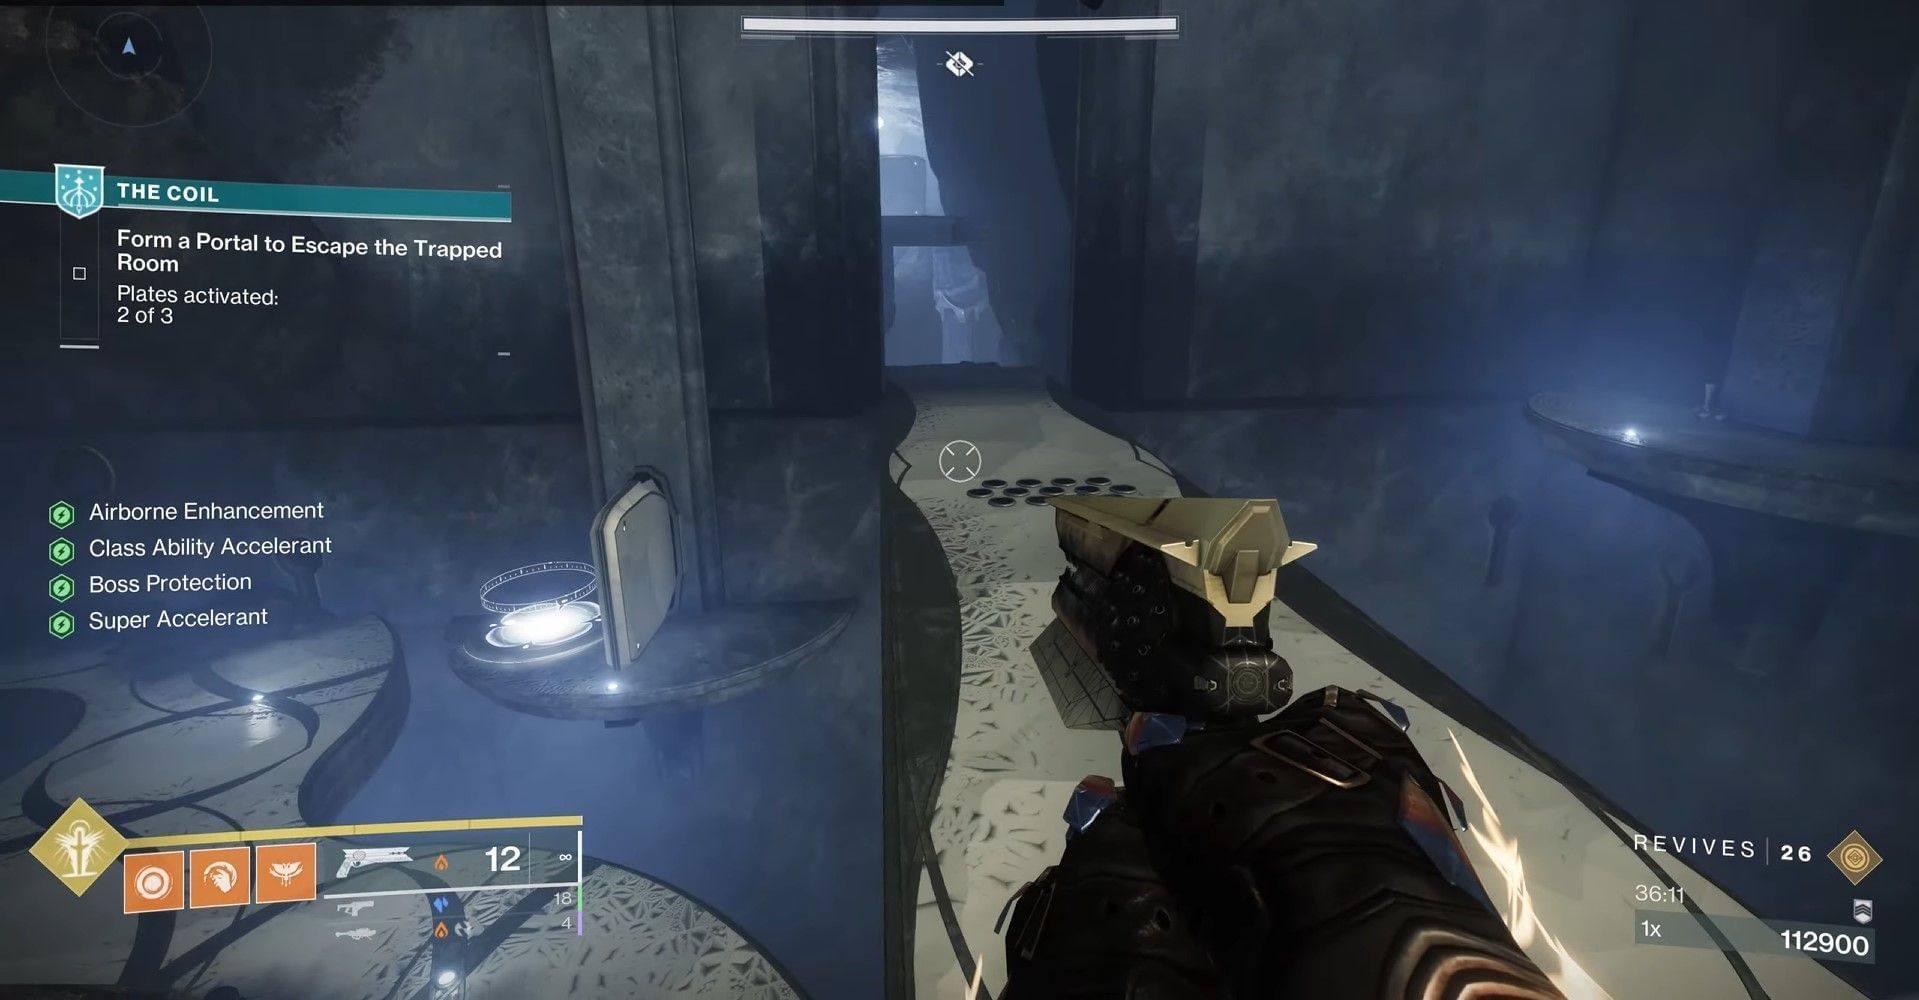
Enter the maze and take the first right from the middle pillar. Jump across onto the broken pillar attached to a pillar from the ceiling, and look for a door to the right wall. The Expert Tracker should be able to mark the locations of the chests.
Centroidal Mind, Plate area 2
Enter the maze, head straight, and take a left that will lead you to a different room. The chests should be marked on your screen by this point in time. Simply walk to the end of the platform and jump down.
Roln'gur, Plate area 1:
Same path as Ungoloth, Plate area 2.
Roln'gur Plate area 2:
Same path as Ungoloth Plate area 1.
Note that each section will have two chests—one will have spiked traps and the other will be legit. Defeat powerful enemies and break all pots throughout the terrain to score high and unlock these chests.
