
'%20x='0'%20y='0'%20height='100%25'%20width='100%25'%20%0A%20%20%20%20%20%20%20%20%20%20xlink%3Ahref='data:image/jpg;base64,/9j/2wBDAAYEBQYFBAYGBQYHBwYIChAKCgkJChQODwwQFxQYGBcUFhYaHSUfGhsjHBYWICwgIyYnKSopGR8tMC0oMCUoKSj/2wBDAQcHBwoIChMKChMoGhYaKCgoKCgoKCgoKCgoKCgoKCgoKCgoKCgoKCgoKCgoKCgoKCgoKCgoKCgoKCgoKCgoKCj/wgARCAAGAAoDASIAAhEBAxEB/8QAFgABAQEAAAAAAAAAAAAAAAAAAAQH/8QAFAEBAAAAAAAAAAAAAAAAAAAABP/aAAwDAQACEAMQAAAAyu8YL//EAB8QAAICAQQDAAAAAAAAAAAAAAECAwQFAAYRIwcxYv/aAAgBAQABPwDL0MNgMfTv1UtXFdkY15+vkH7Q8r6OpfJ+15pHkfAXgzkse1Dr/8QAFxEBAAMAAAAAAAAAAAAAAAAAAQACMf/aAAgBAgEBPwC6mT//xAAYEQACAwAAAAAAAAAAAAAAAAAAAQIREv/aAAgBAwEBPwCC0rZ//9k='%3E%3C/image%3E%3C/svg%3E)
The new Warlord's Ruin Dungeon in Destiny 2 is filled with traps and puzzles. Even the safest-looking treasure chest can lead to death if one's not careful enough. Hence, to secure a flawless run, it is essential to know which treasure chests are safe, alongside their locations throughout the Dungeon's massive tileset.
This article will guide you through each secret chest location in the Warlord's Ruin Dungeon, including the trapped ones. To identify the trapped chest from the safe, look for a blue aura surrounding the chest. You will find two safe chests, while the rest will be trapped. The order of spawning for these chests is random for every run.
Disclaimer: This article is subjective and relies solely on the writer's opinion.
All secret chest locations in Destiny 2 Warlord's Ruin
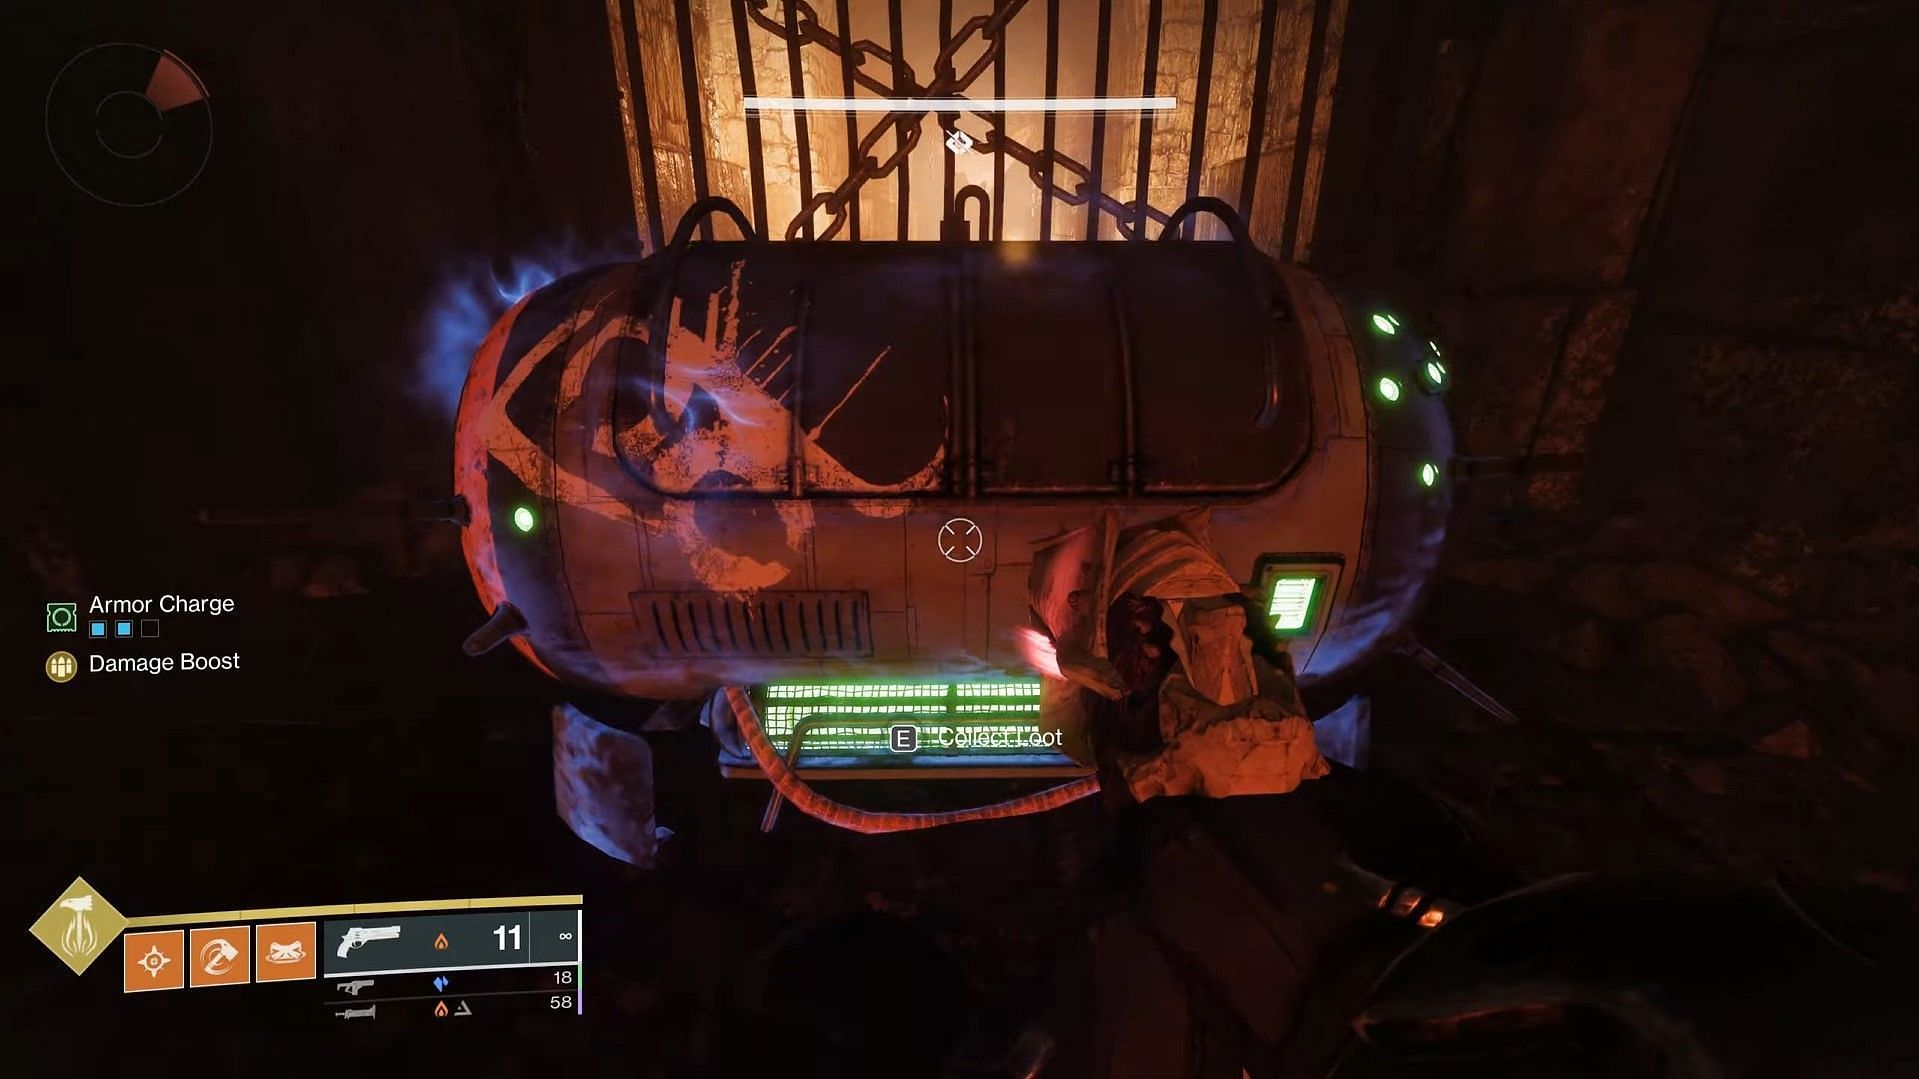
To tell the trapped chest apart from the safe one, keep an eye on a blue aura, as shown in the image above. It will mean that the particular chest is rigged with a trap, and opening it will lead to your death.
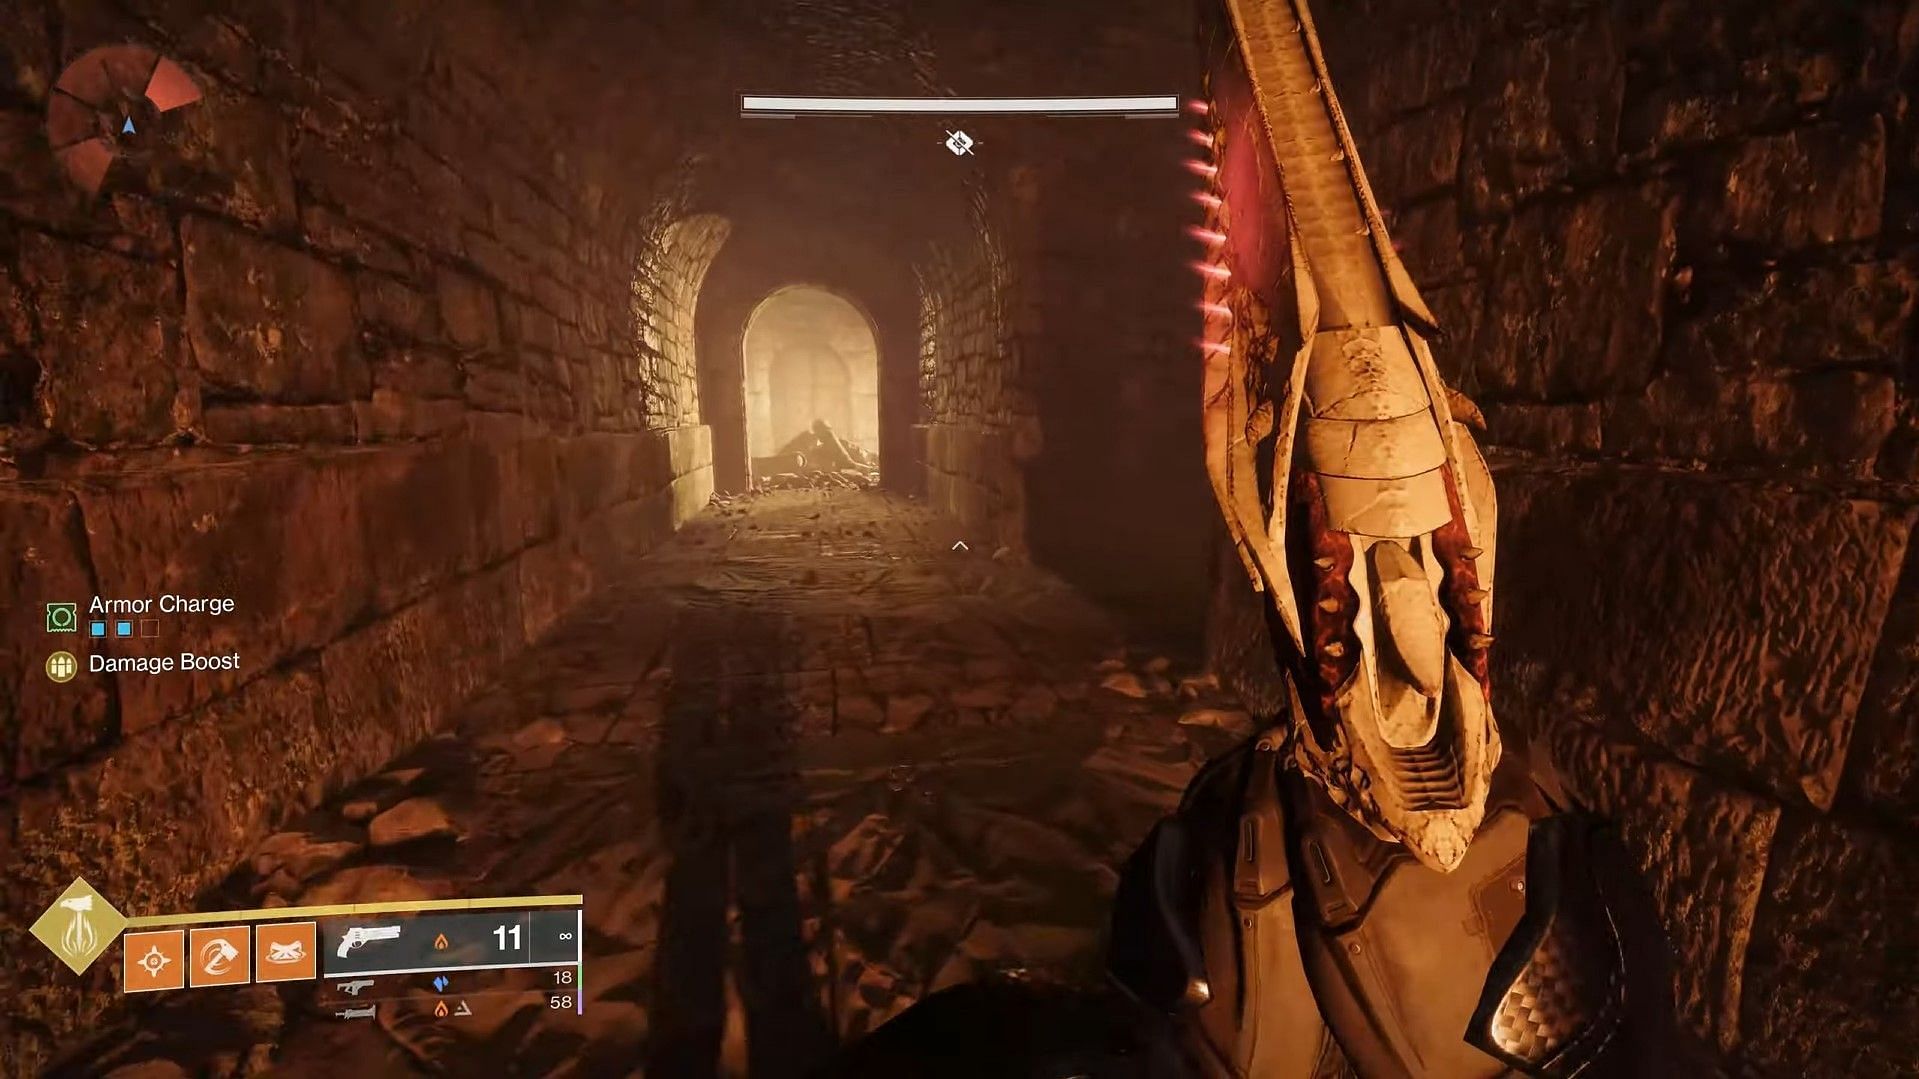
1) Location 1: Before the first bridge
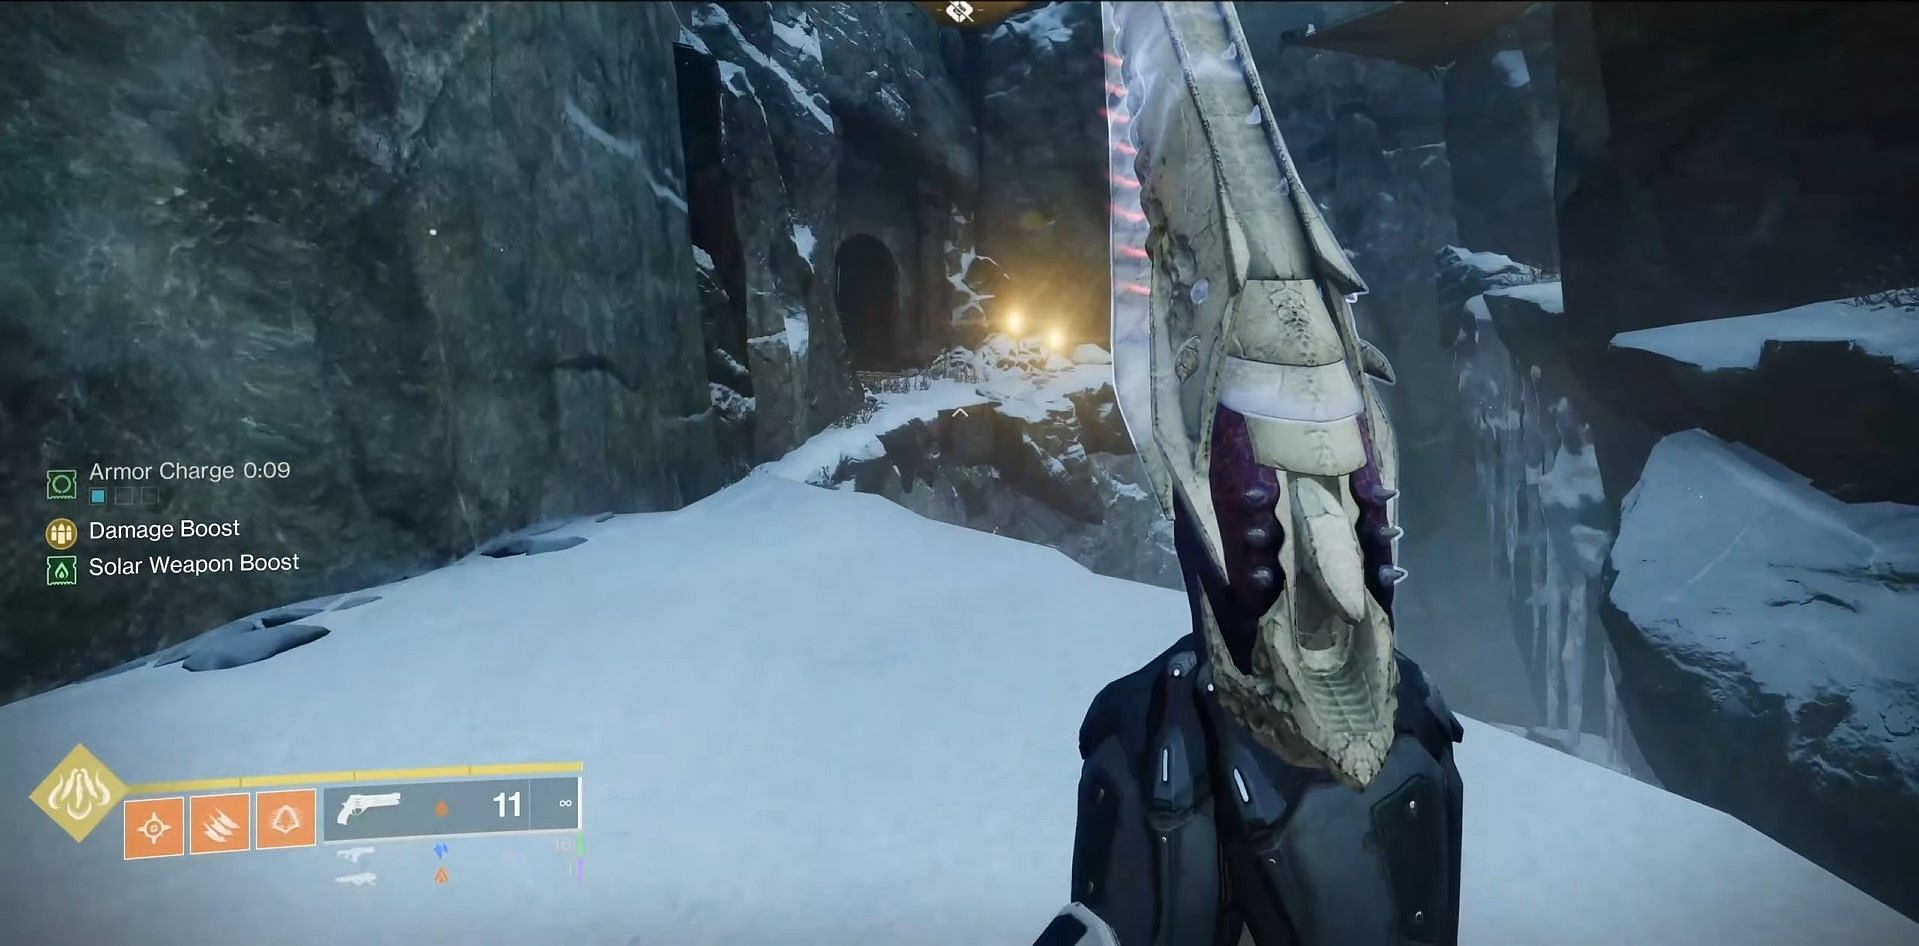
While traversing through the first jumping puzzle, you will find the chest just before the bridge and the first boss. After you climb through the mountain edges for the first time, you will come across a gap between you and the next edge. Instead of jumping across, take the left, and you will see the chest.
2) Location 2: After the prison and inside the maze
After the first boss and the prison encounter, traverse through the maze until you come across staircases that resemble the ones given above.
Walk down, take a right, and pass through the debris of rocks blocking the hallways. You can go through the gap, and the chest will be present there.
3) Location 3: Before the room filled with cylinders
Within the same maze, just before you enter the room filled with cylinders on the floor, look for an entrance to another room to your right. Clear out the room and approach the chest located near a wall.
4) Location 4: Tower after the broken bridge
After exiting the maze, you will face a lot of Scorn enemies while making your way through a broken bridge. You will find additional enemies coming out from the tower's entrance at the end of the bridge, including a few Scorches and an Abomination boss. Defeat everything and look for the chest inside the tower.
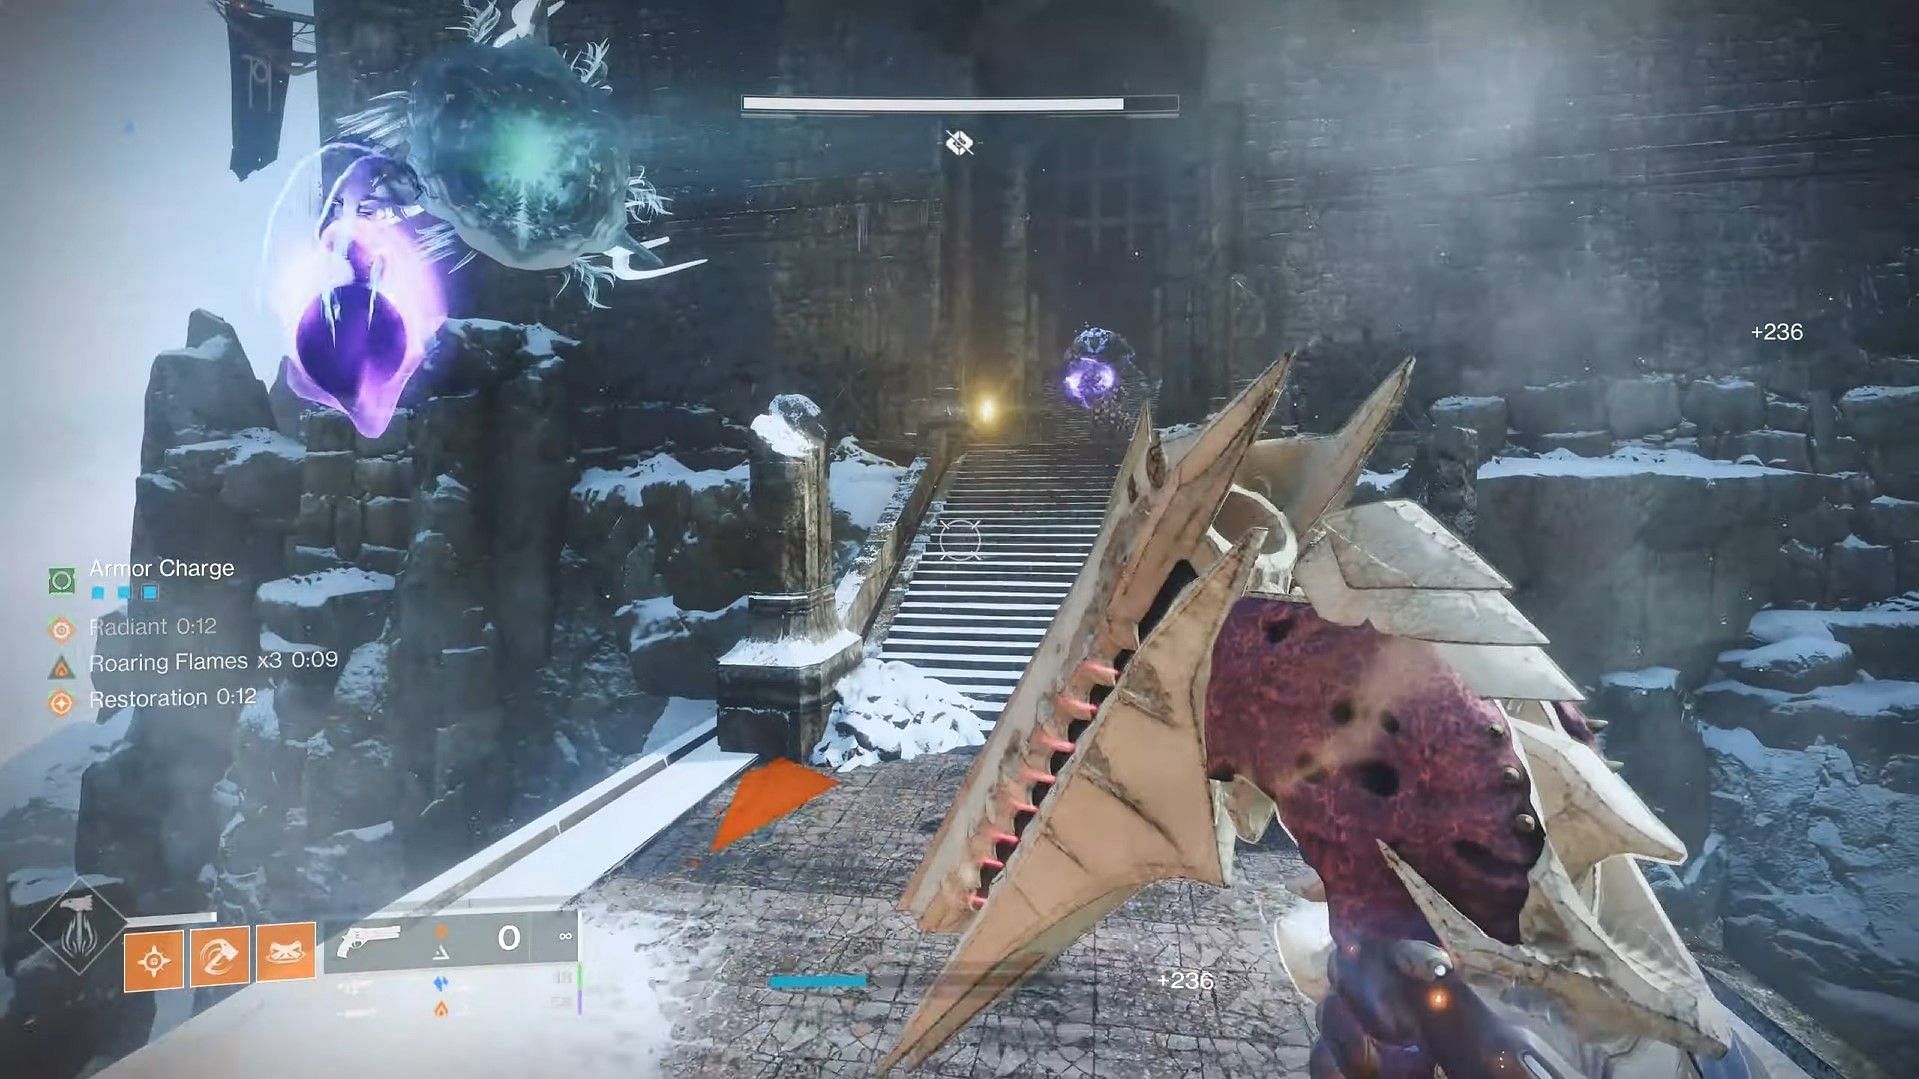
5) Location 5: After the second boss fight
This location is easy to find, following a linear path after the second boss fight. Look for the blue aura on the chests and interact with the one that does not have the aura on it.
6) Location 6: Mountain edges after Location 5
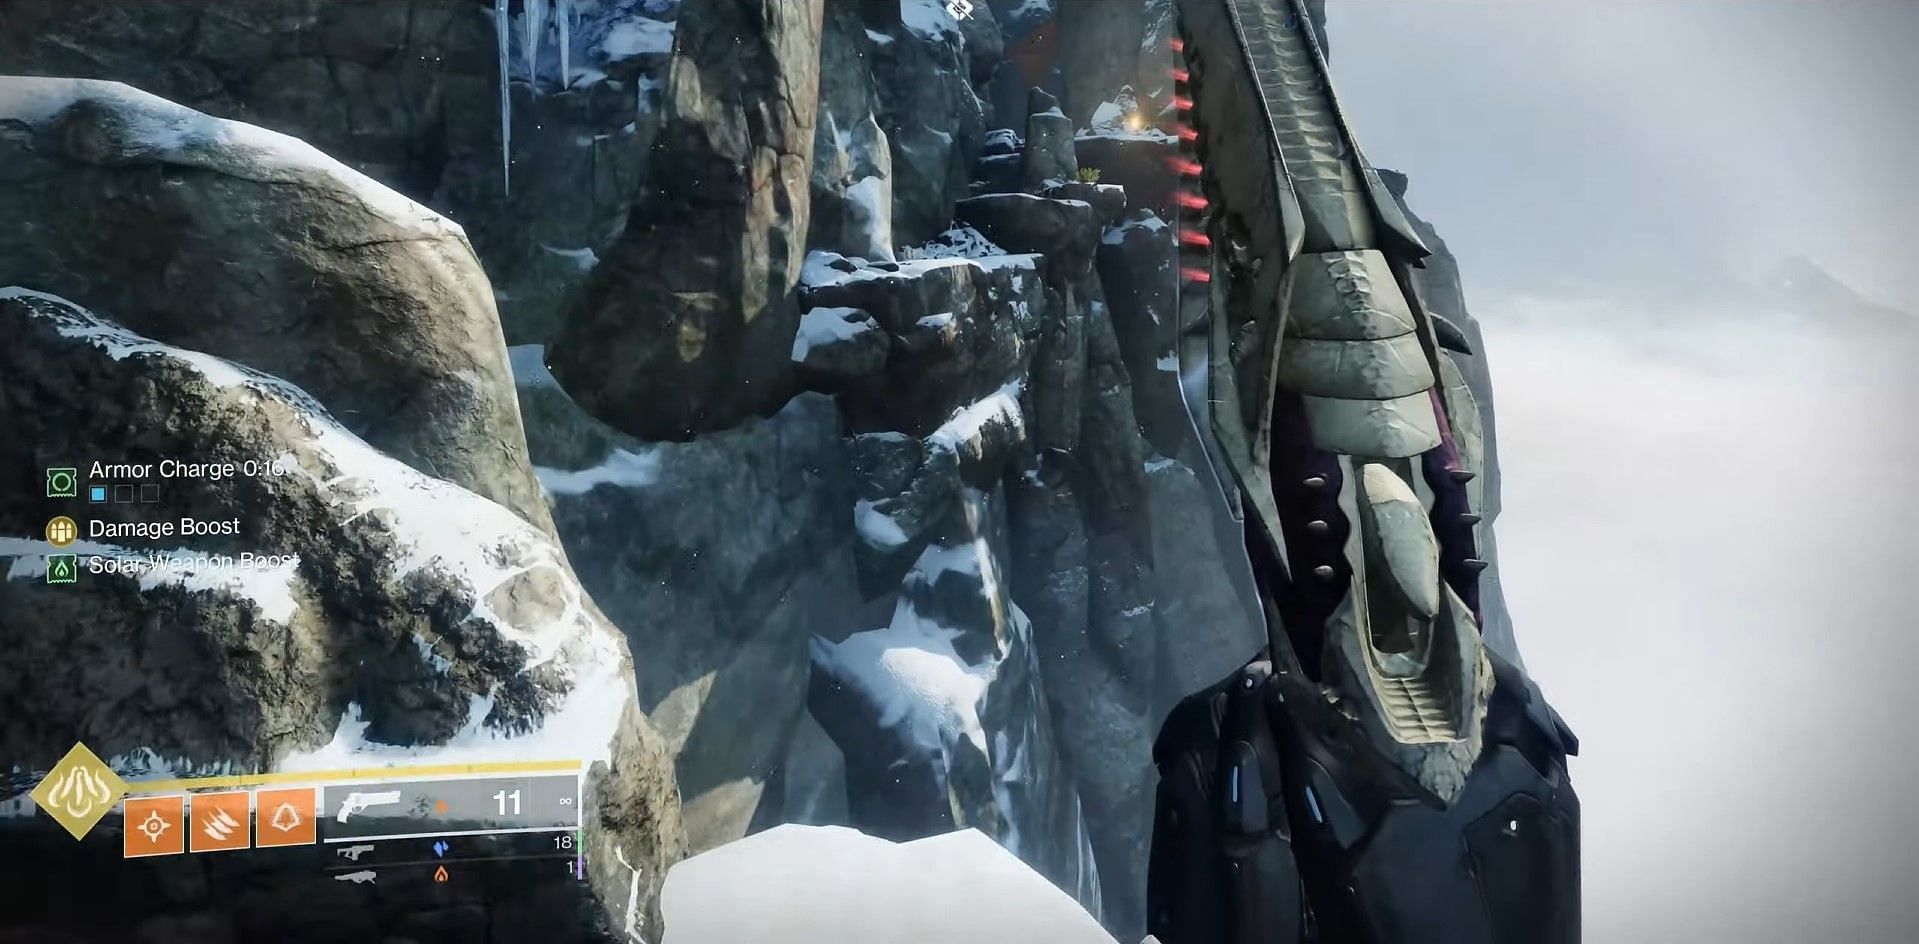
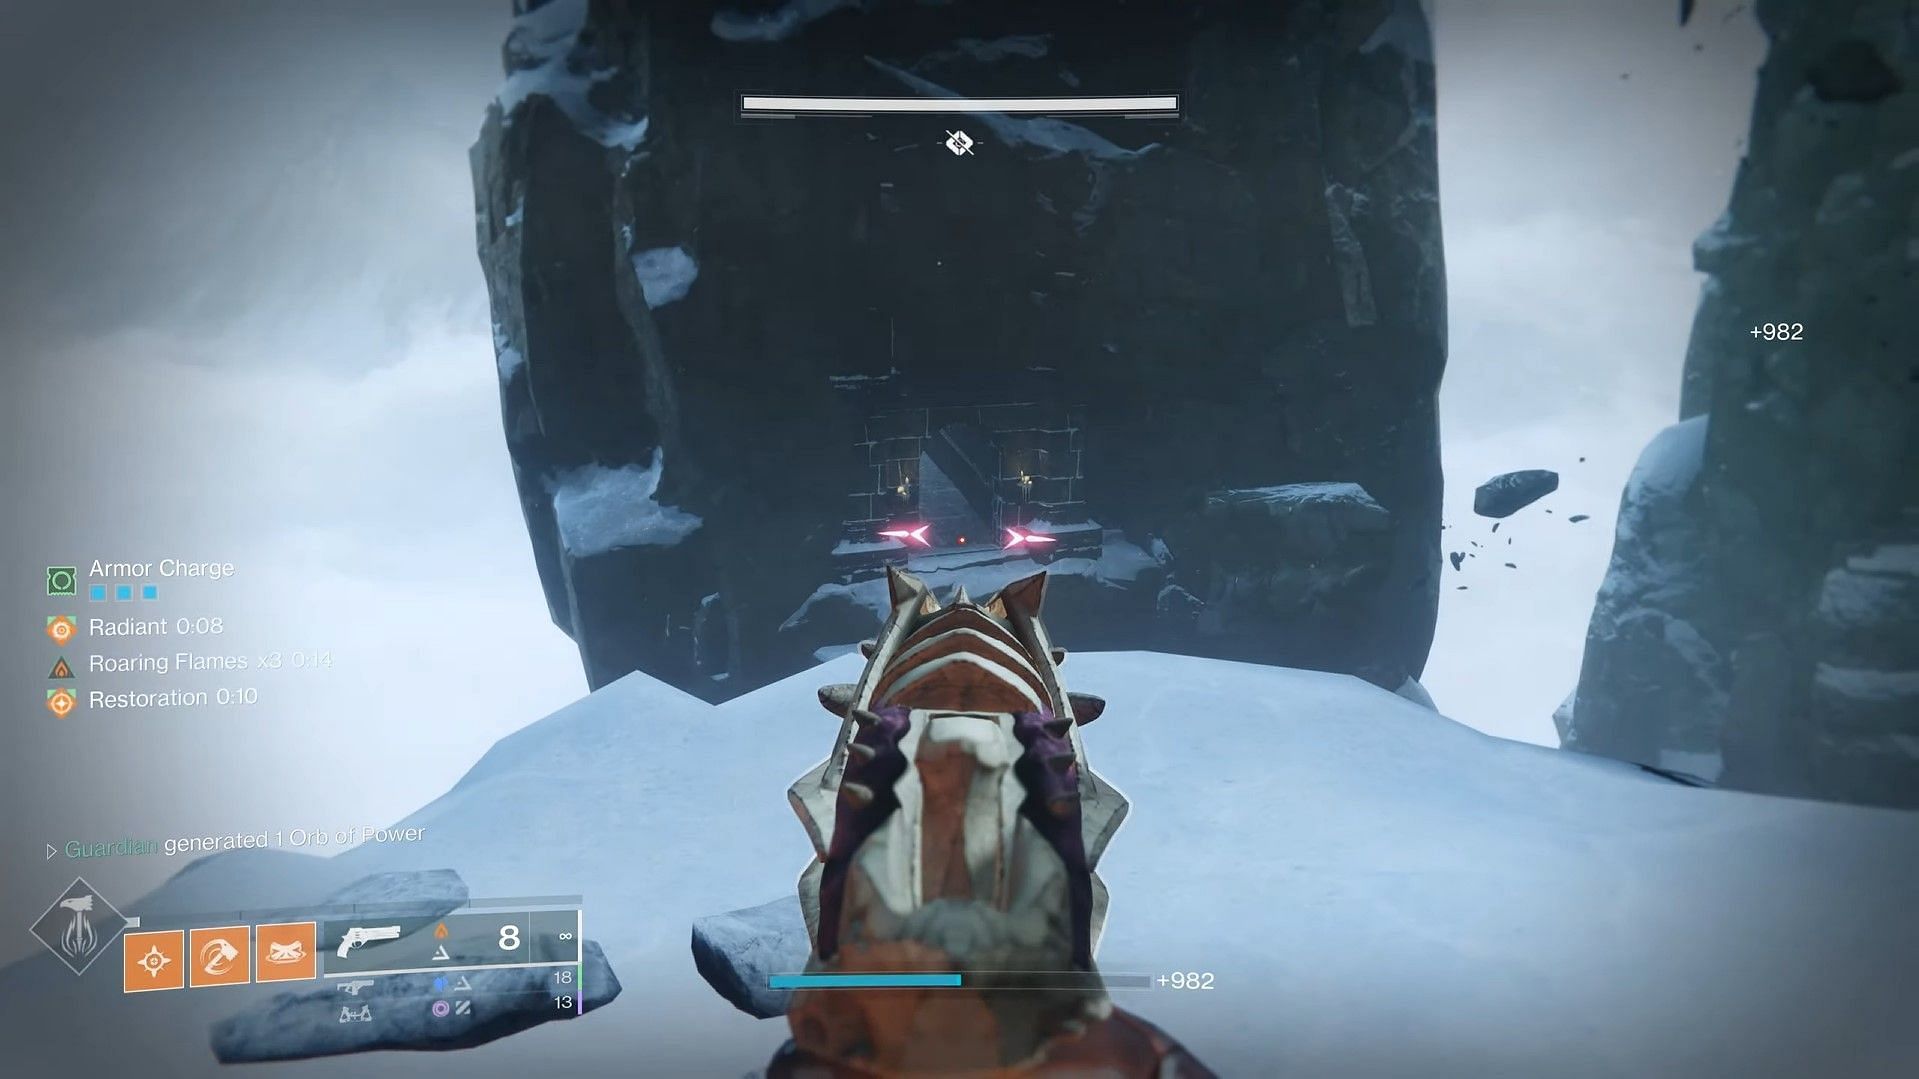
Climb and head outside after you're done with Location 5, and keep going until you meet the end of the path. Do not take the cave leading to the massive Blight room. Instead, go straight until you see a door to your left.
The chest should be located on the snowy edge opposite the doorway.
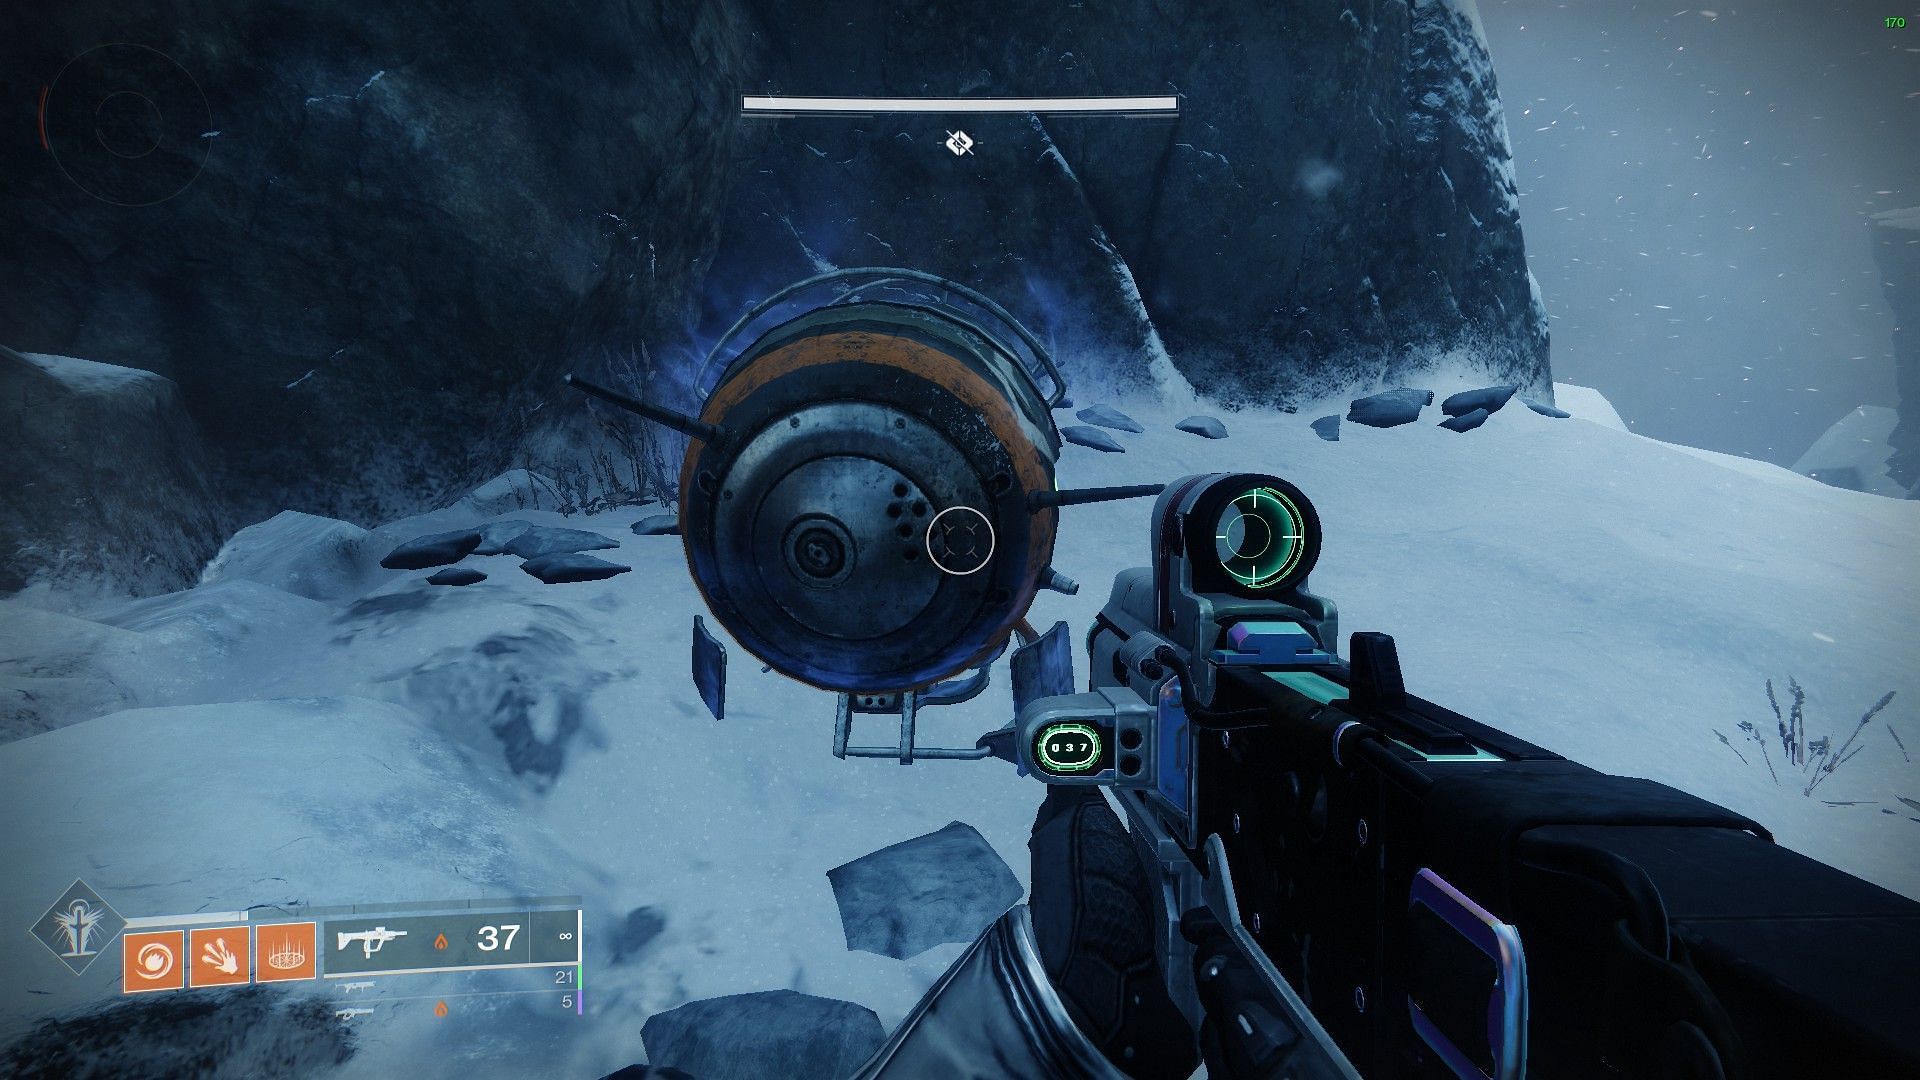
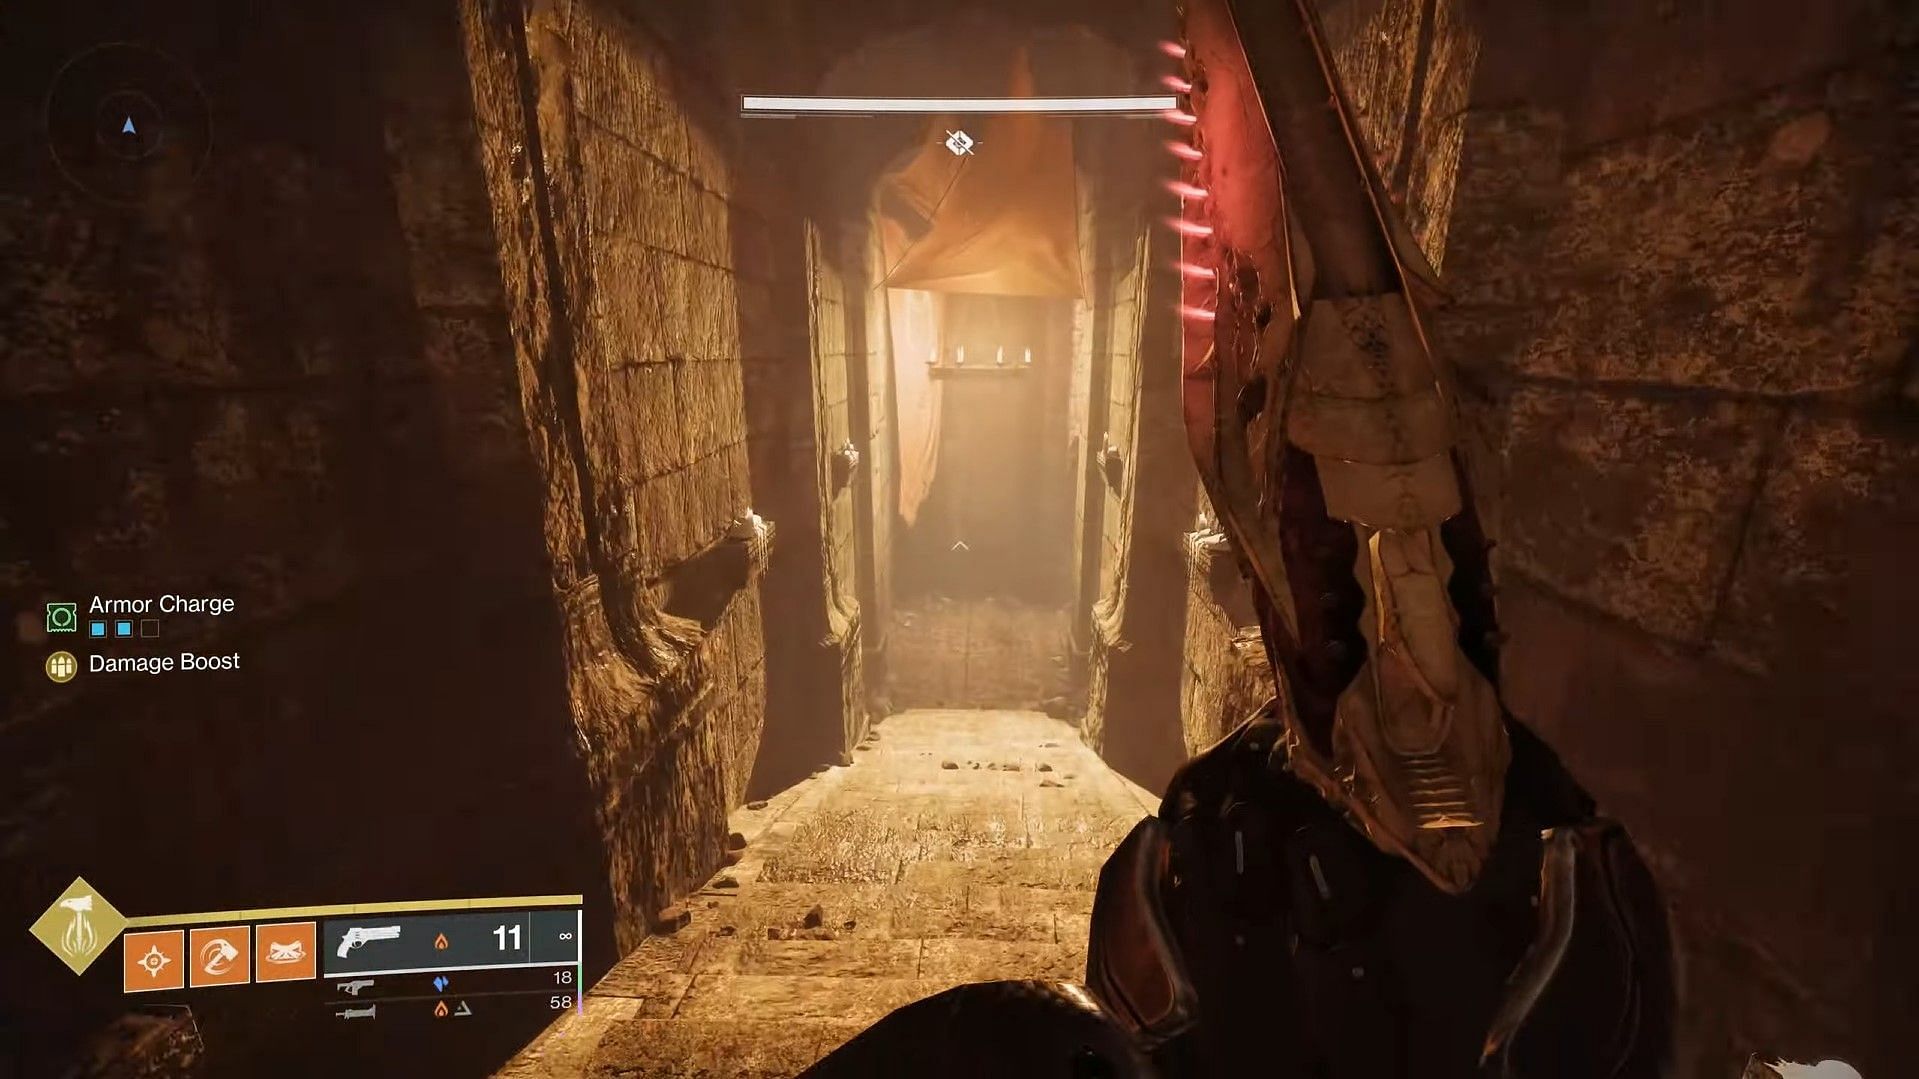
7) Location 7: After the room with a huge Taken Blight
Once you head outside from the huge Blight room, you will eventually come across another medium-sized Blight in the air. Look bottom-left from where you just entered, and jump across to the doorway, as shown above. Go straight and look to your left for the chest.
